How To Create DataSouces For CMS
1. Go to data source page
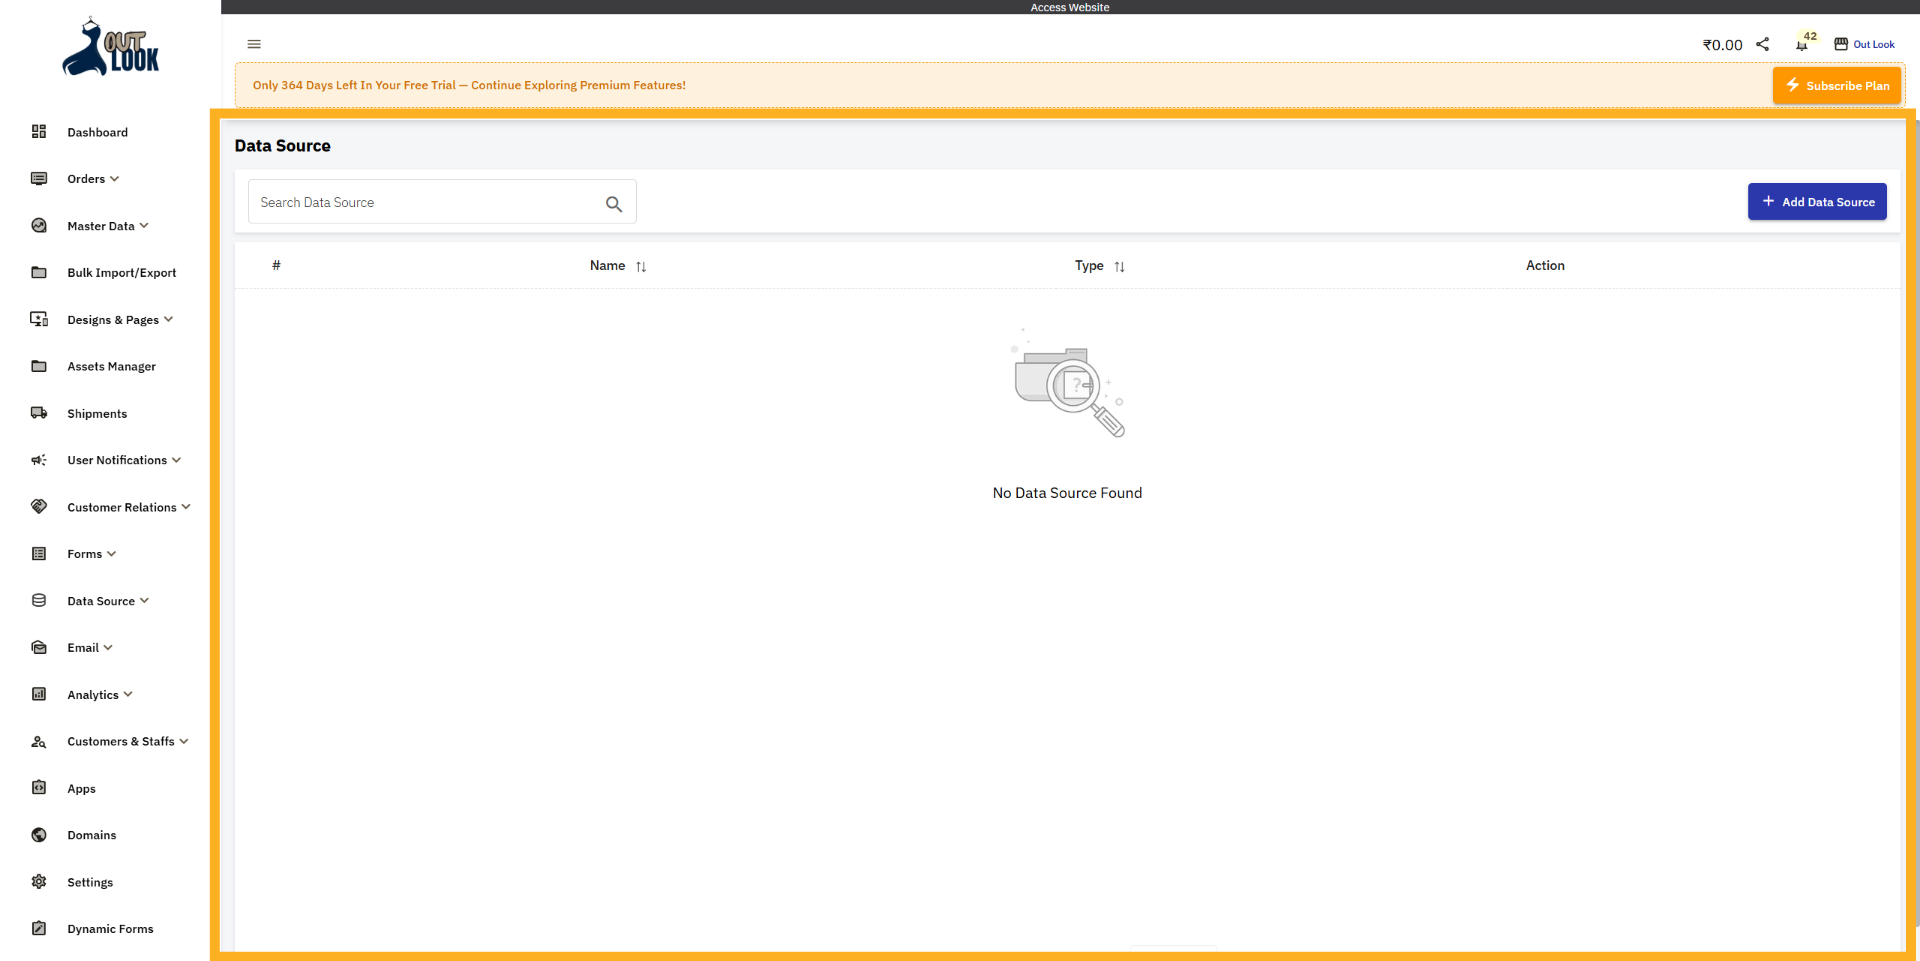
Now we are in the Admin Panel. In the sidebar menu, you will find the “Data Source” menu. Click on it to
be redirected to the Data Source page.
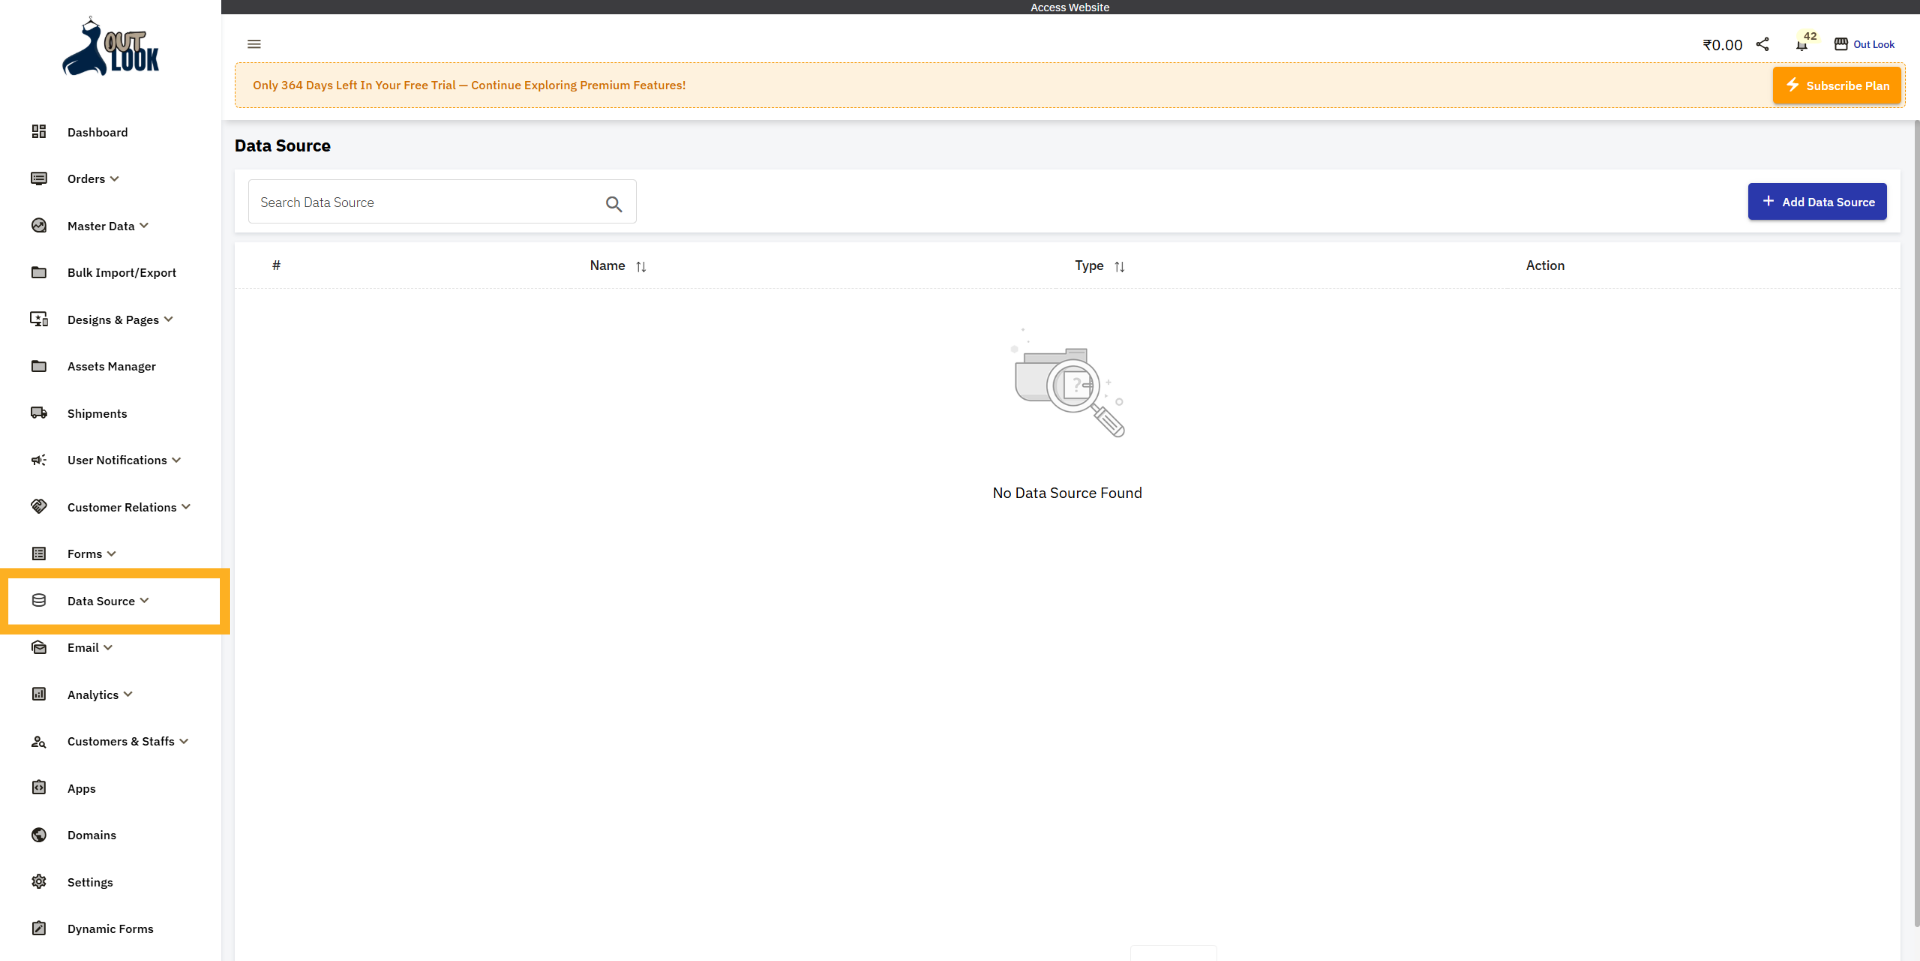
2. Data Source page
Now you are on the Data Source Listing page. On the top right side, you will see the “Add Data Source”
button, which you can click to create a new data source.
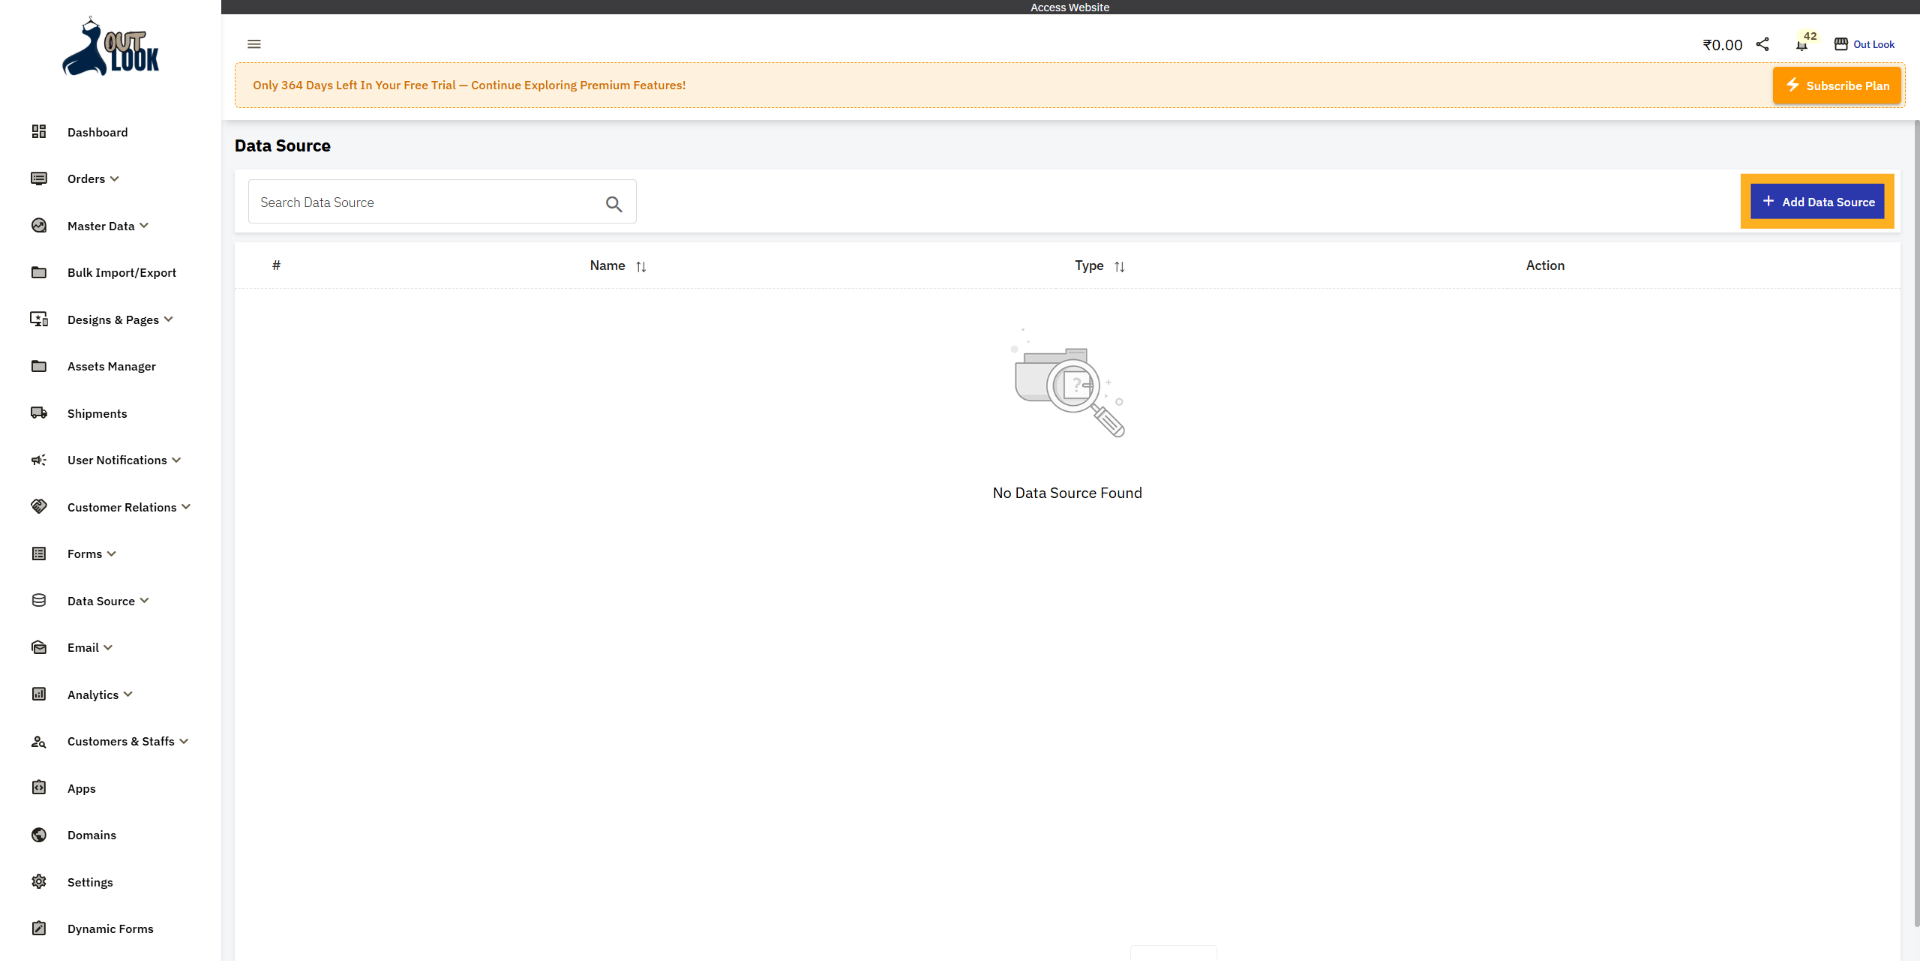
3. Click Add Data Source Button
Click the Add Data Source button to start creating a new data source in your site.
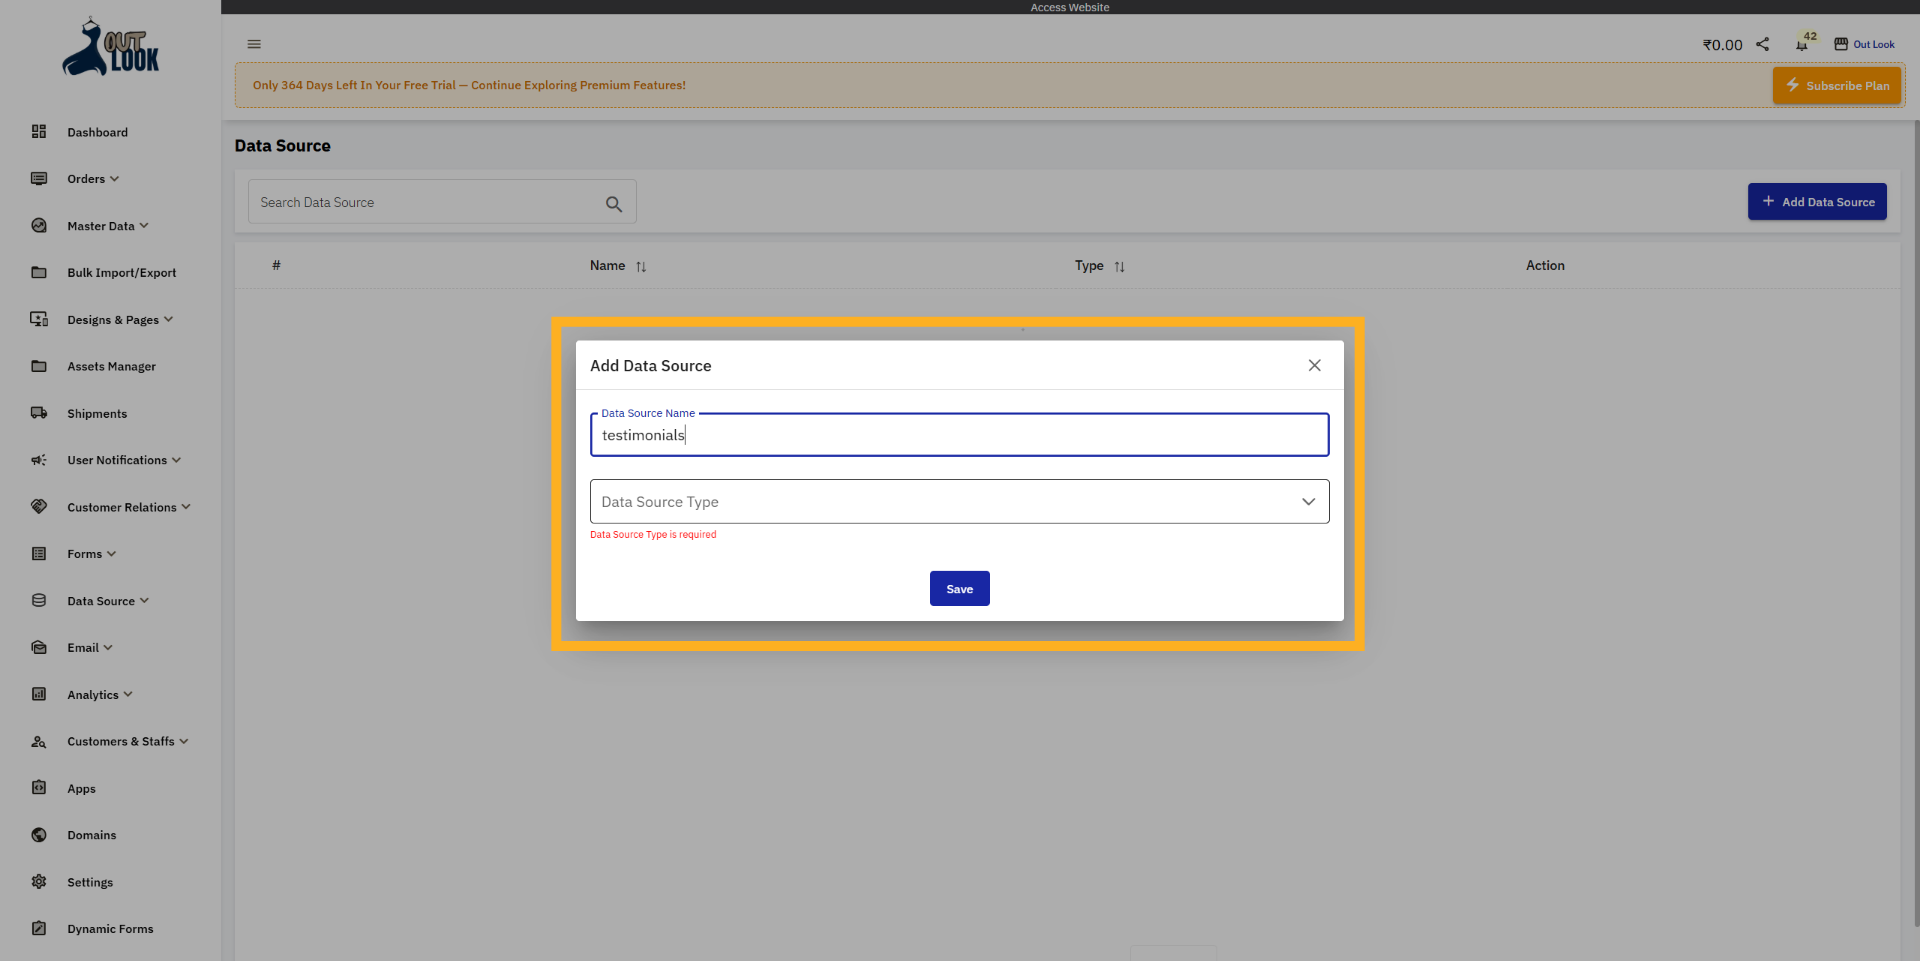
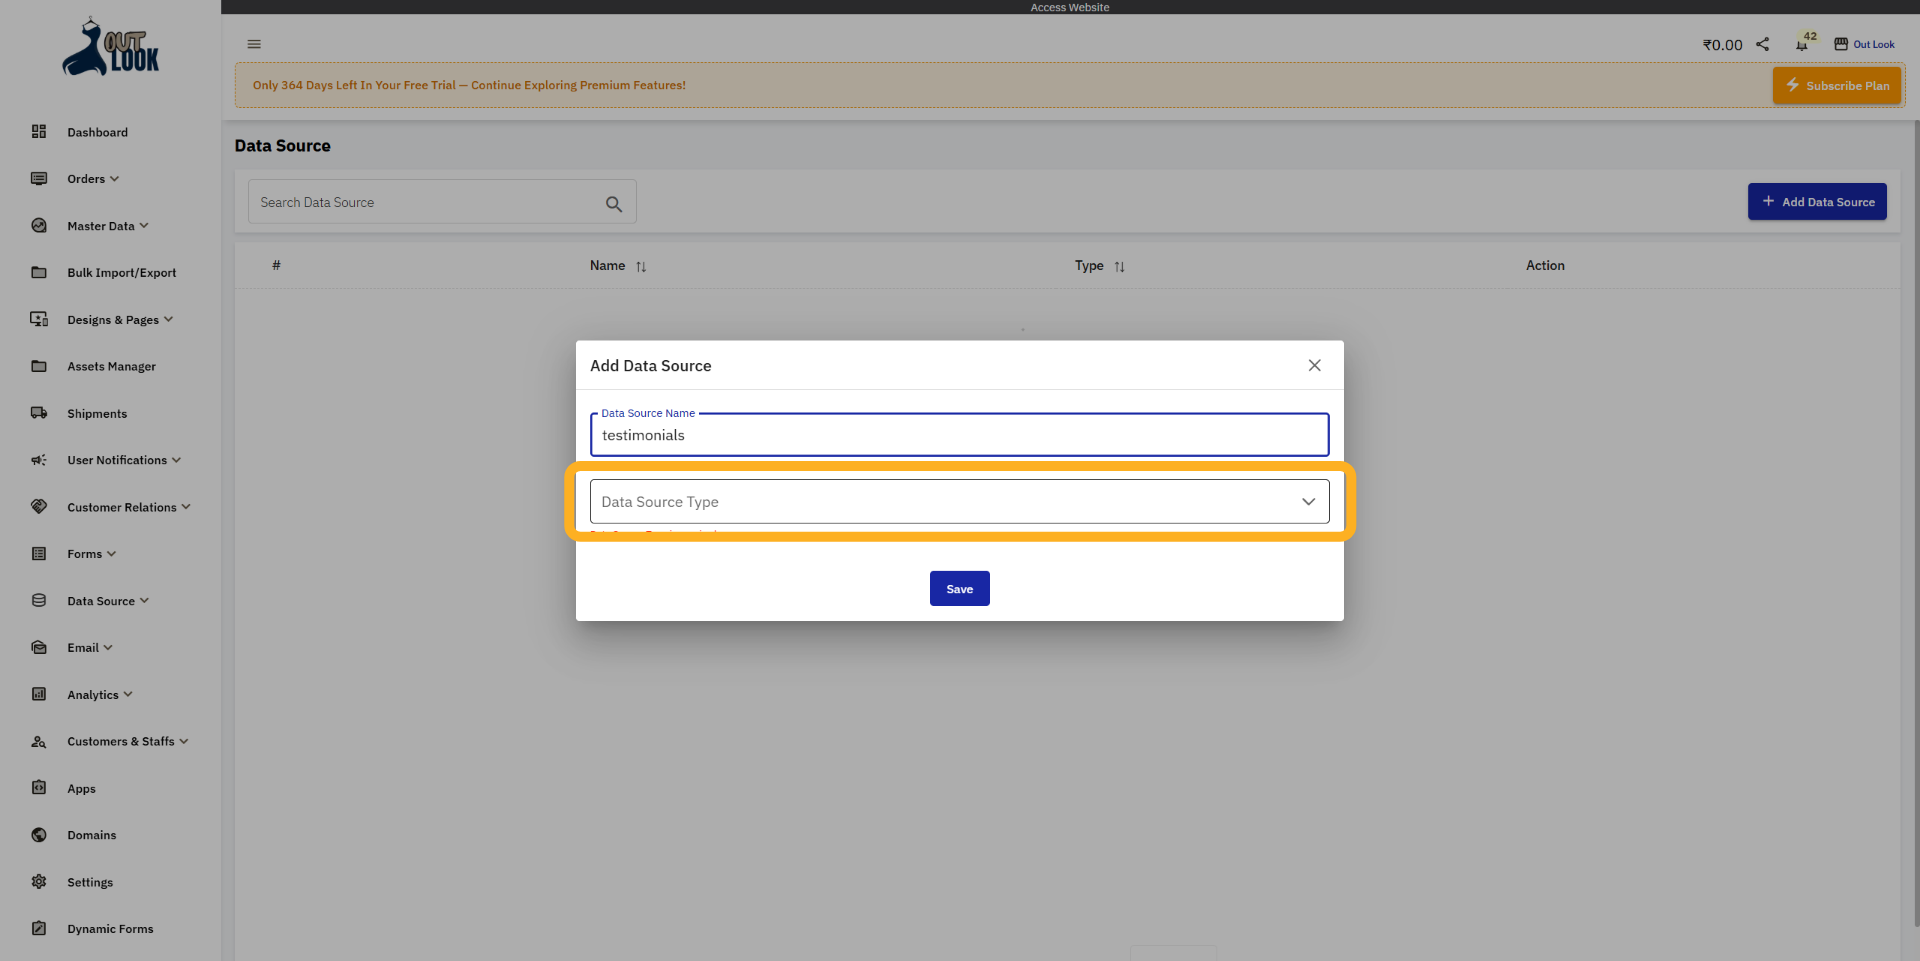
4. Add Data Source
When you click the Add Data Source button, the Add Data Source form will open. Here you need to enter
the Data Source Name and select the Data Source Type.
5. Open Data Source Type Menu
Click Select Data Source Type to choose the type of data source you want to create.
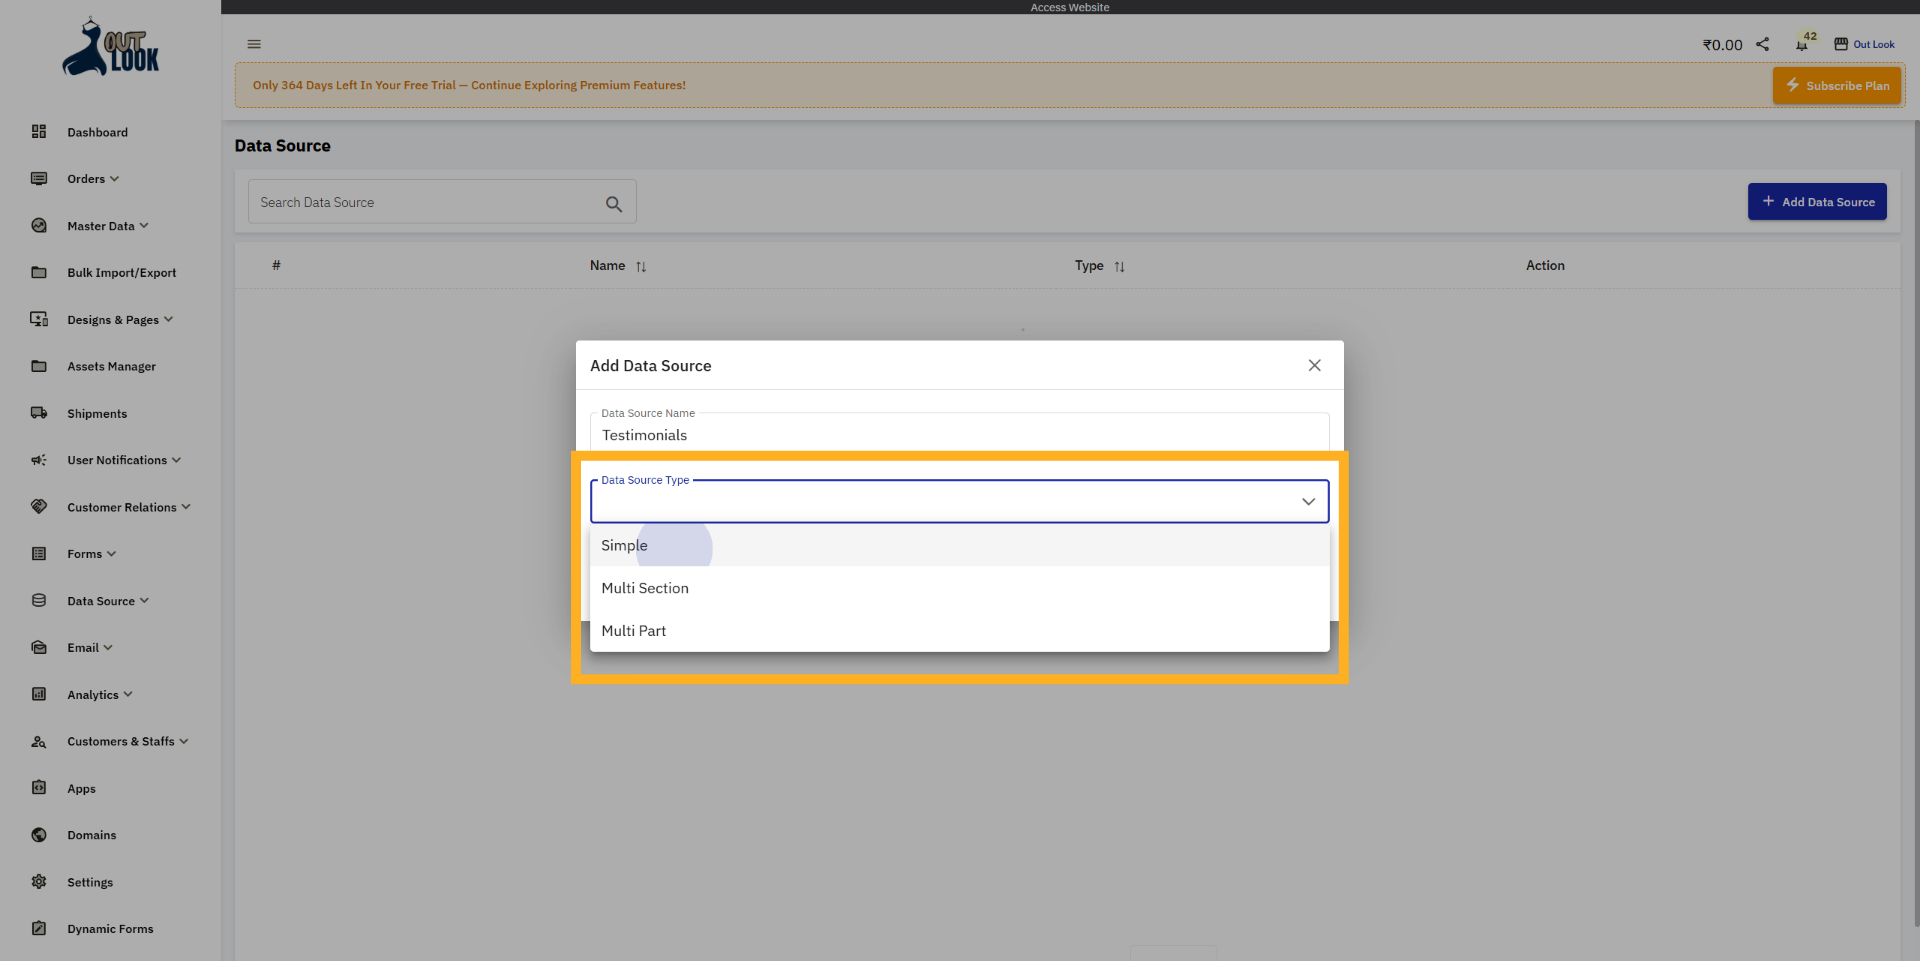
6. Choose Data Source Type
After selecting Data Source Type, you will encounter various options, including Simple, Multi Section,
and Multi Part. You can choose the type that best fits your requirements.
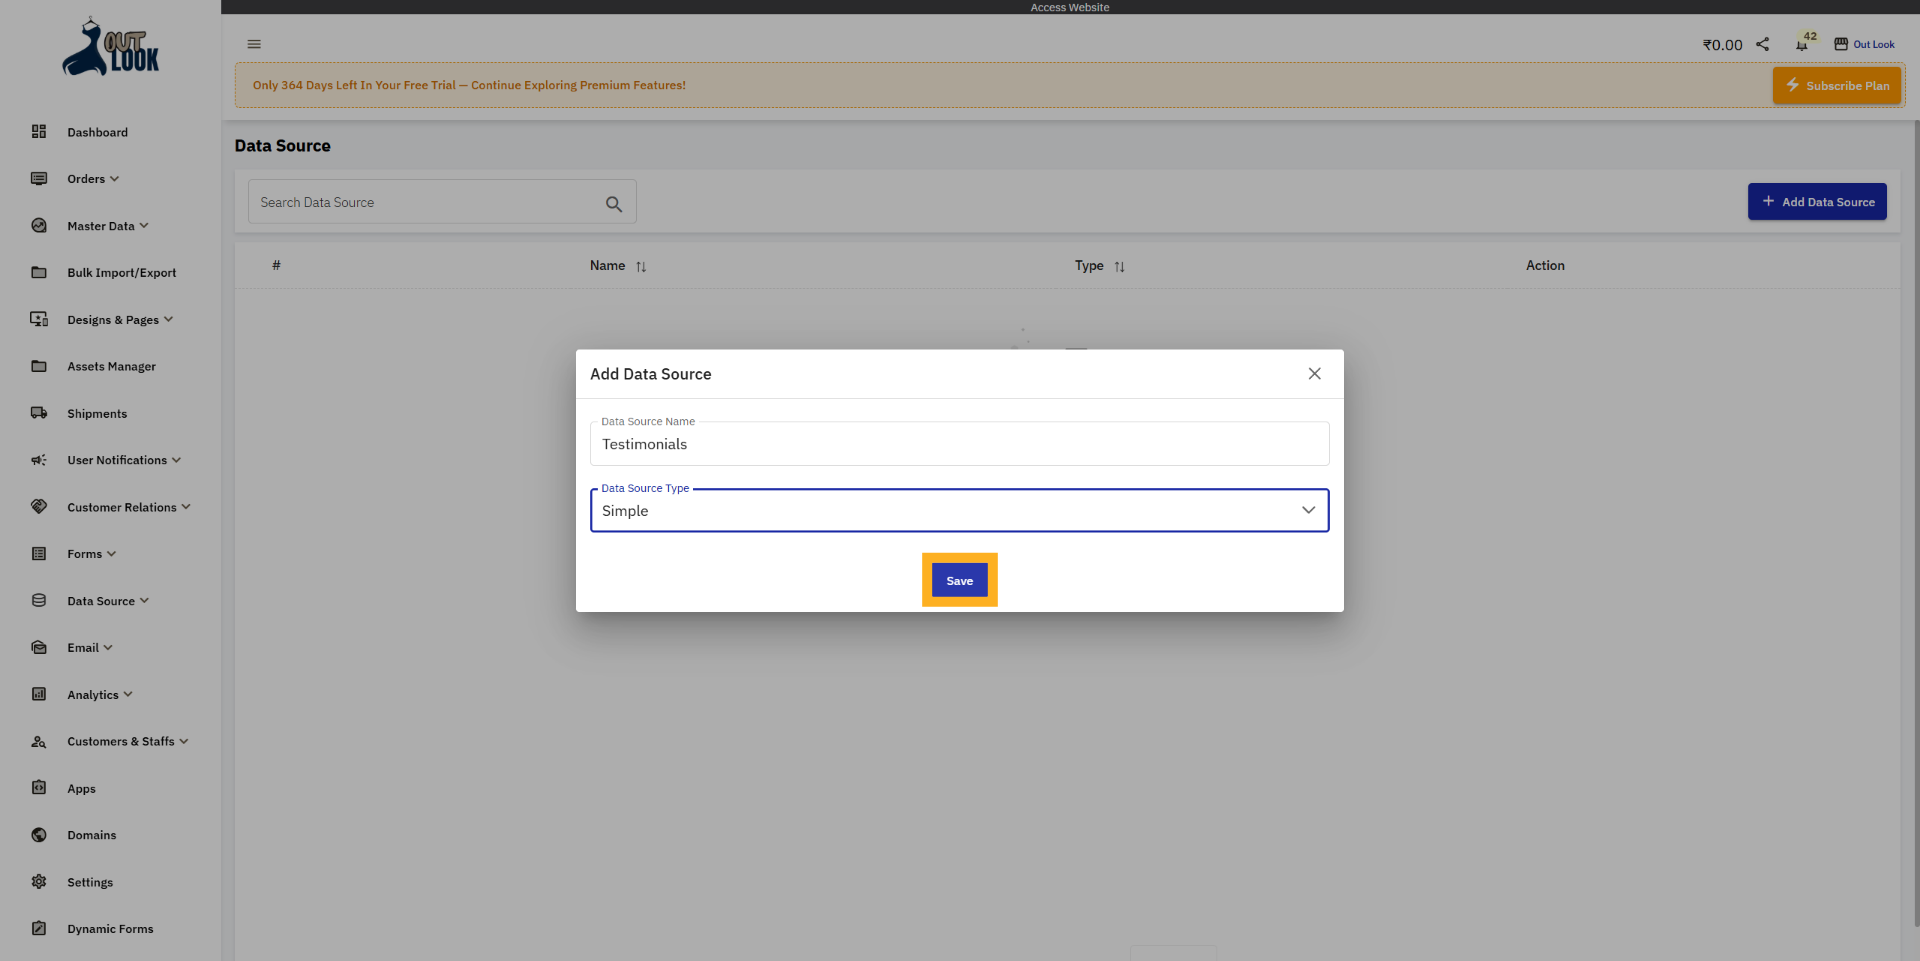
7. Save Data Source Configuration
After filling in the Data Source Name and Data Source Type, click the Save Data Source button to save
it.
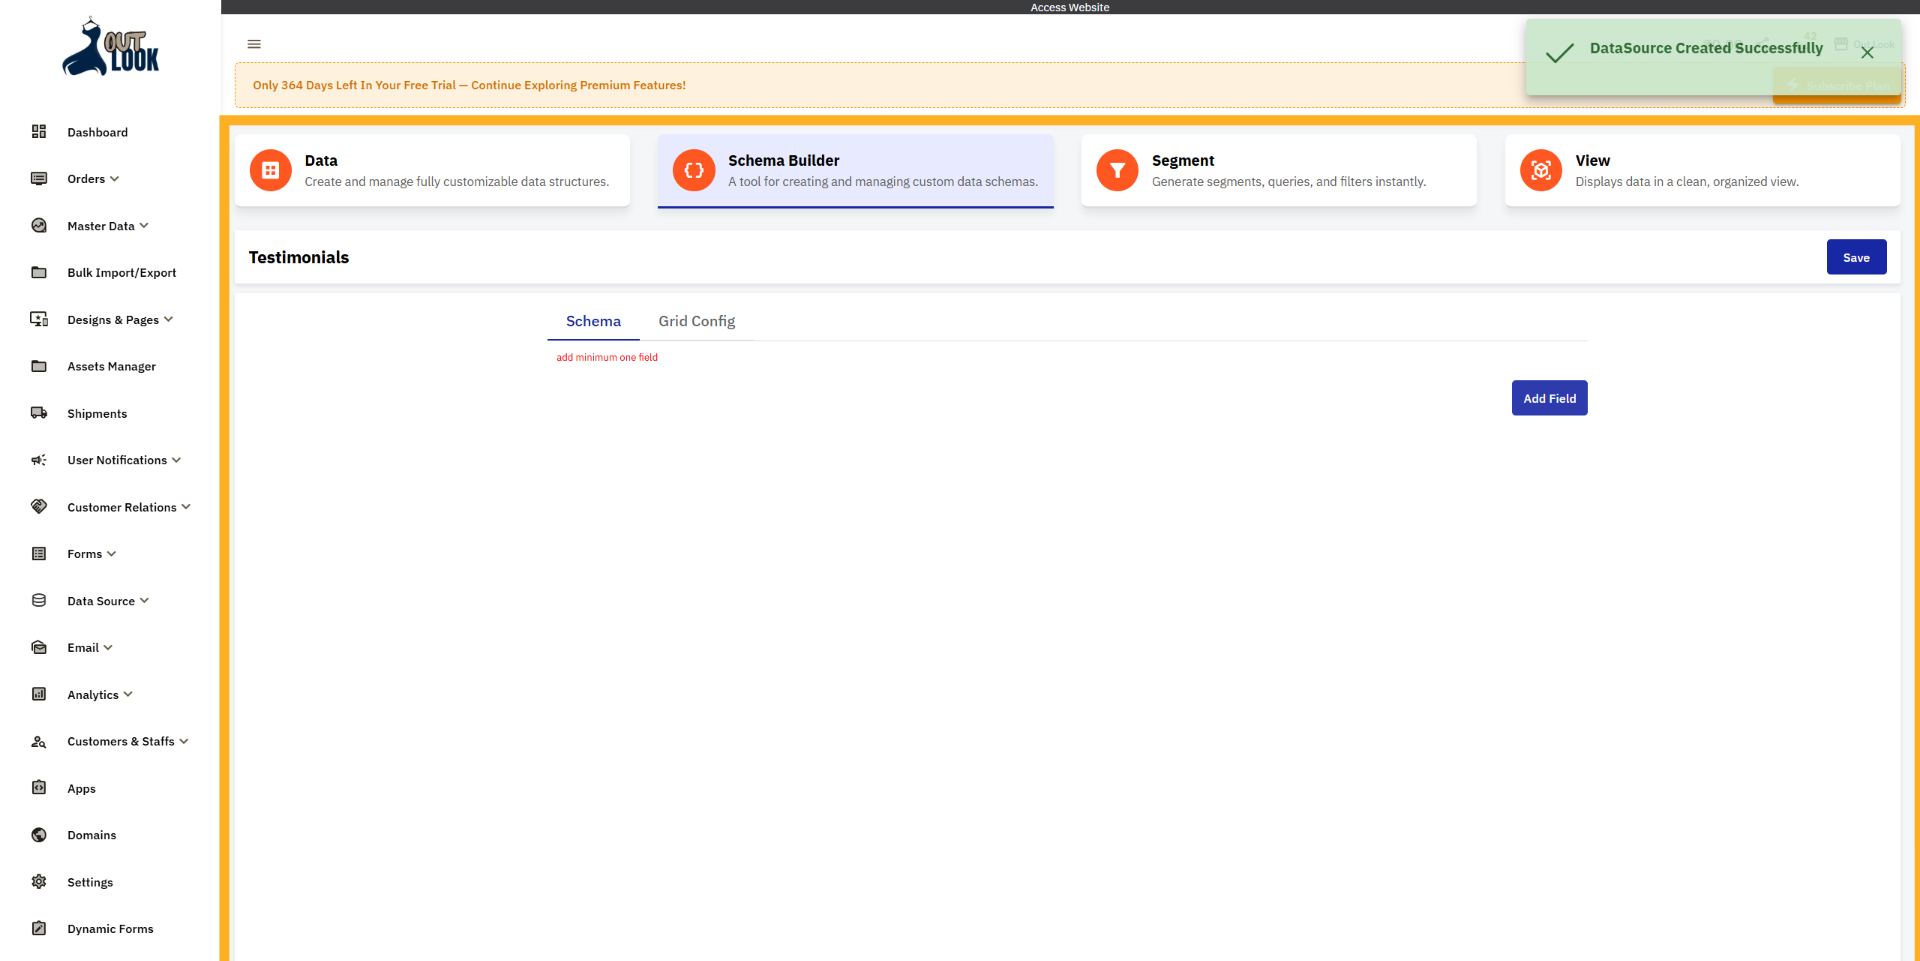
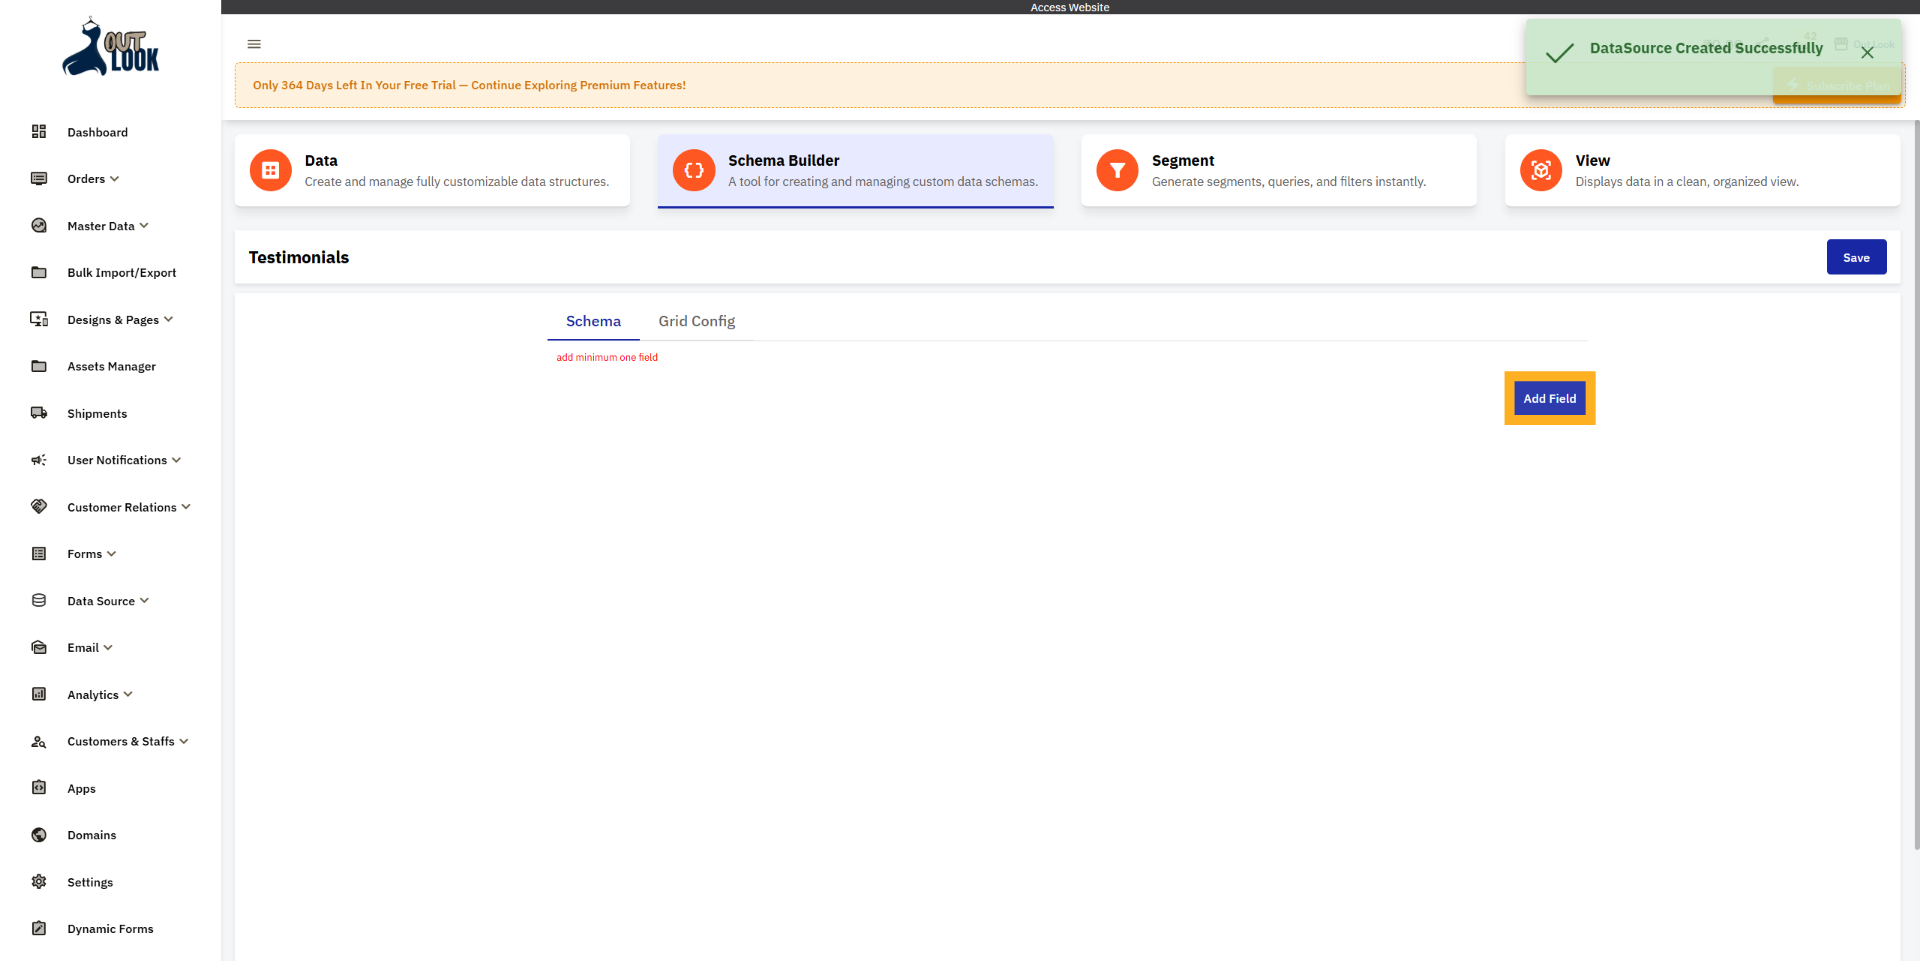
8. Data source config page
After saving the Data Source, you will be redirected to its configuration page. For example, if you
created a data source named “Testimonial”, you will now be on the Testimonial Data Source config page,
where you need to set up the Schema and Grid Config.
9. Add New Field
Click Add Field to begin defining a new field within your data source.
10. Add New Field
When you click the Add Field button, a modal opens to allow you to add a new field, as shown. To create
the field, you must enter the Label, Placeholder, Class Name, and select the Field Type. If you wish to
apply validation, you can also choose the required validation option.
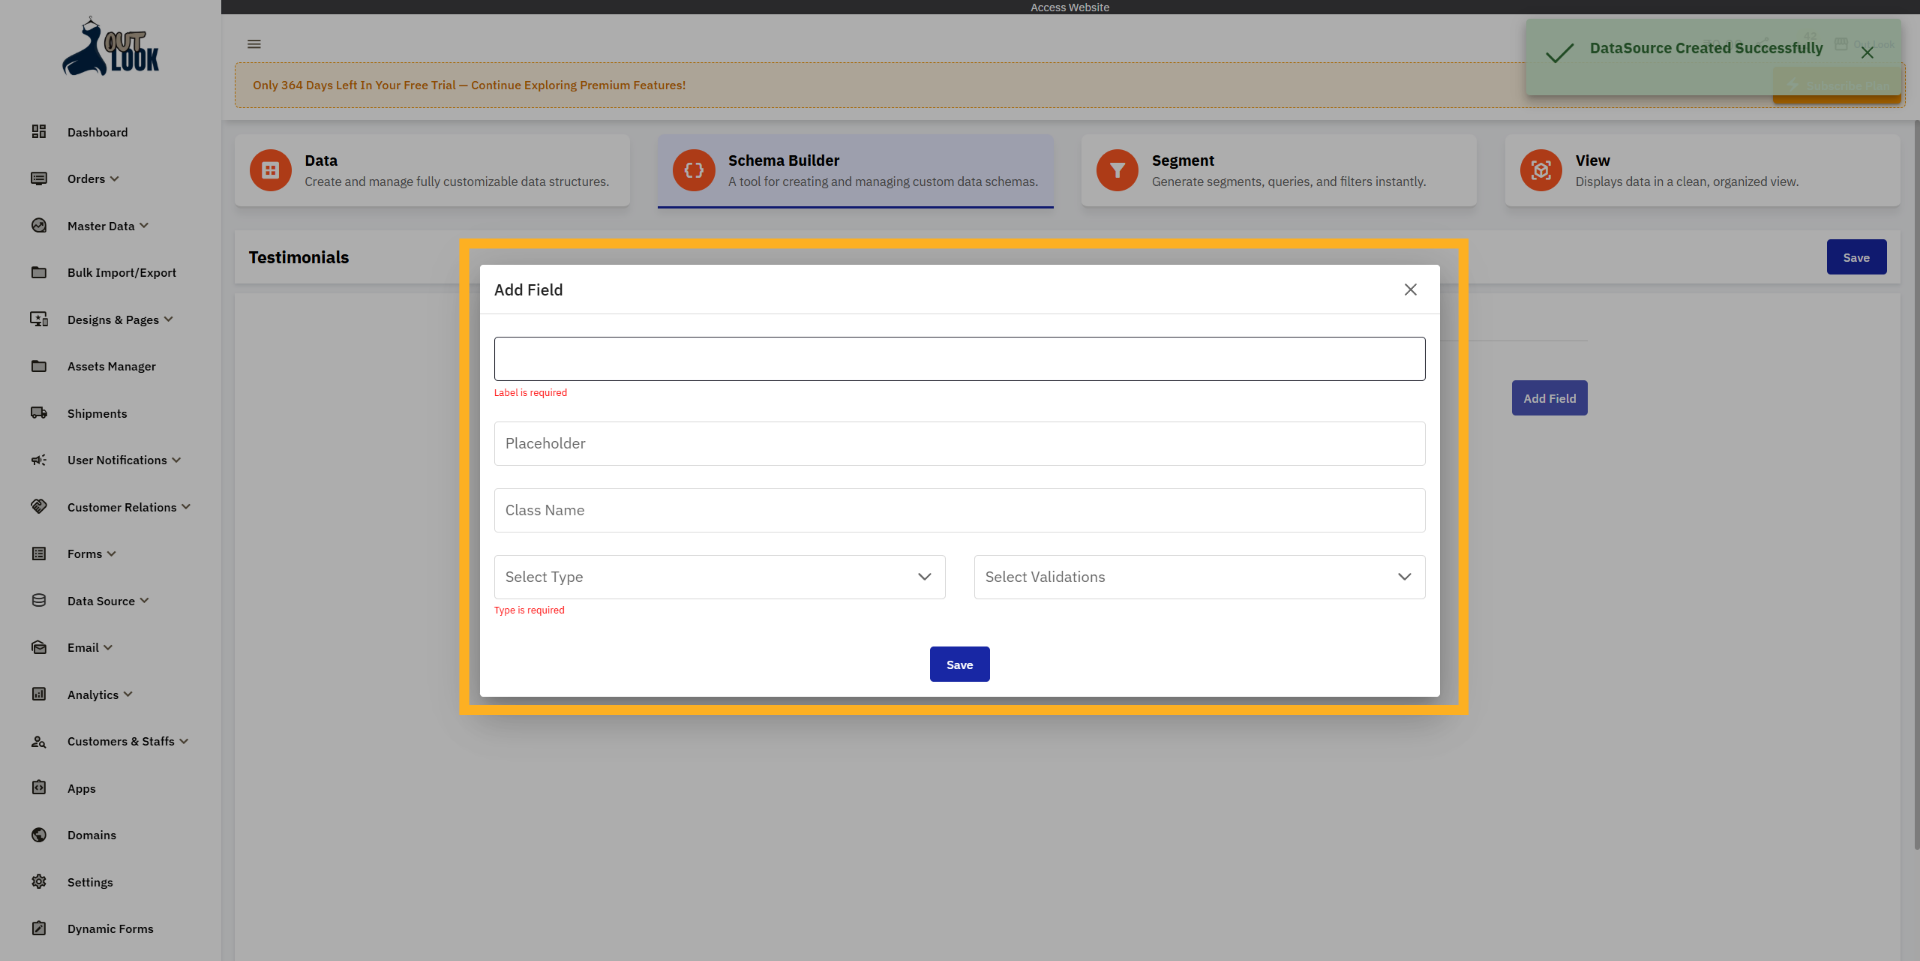
11. Select Type for the Field
When you click on Select Field Type, you will see different options such as Text, Number, Textarea,
Email, Checkbox, Radio, Select, Date, File Manager, and Editor. You need to choose the field type
according to the type of input you want to create.

12. Save
After filling in the Add Field form, click the Save button to save the field.

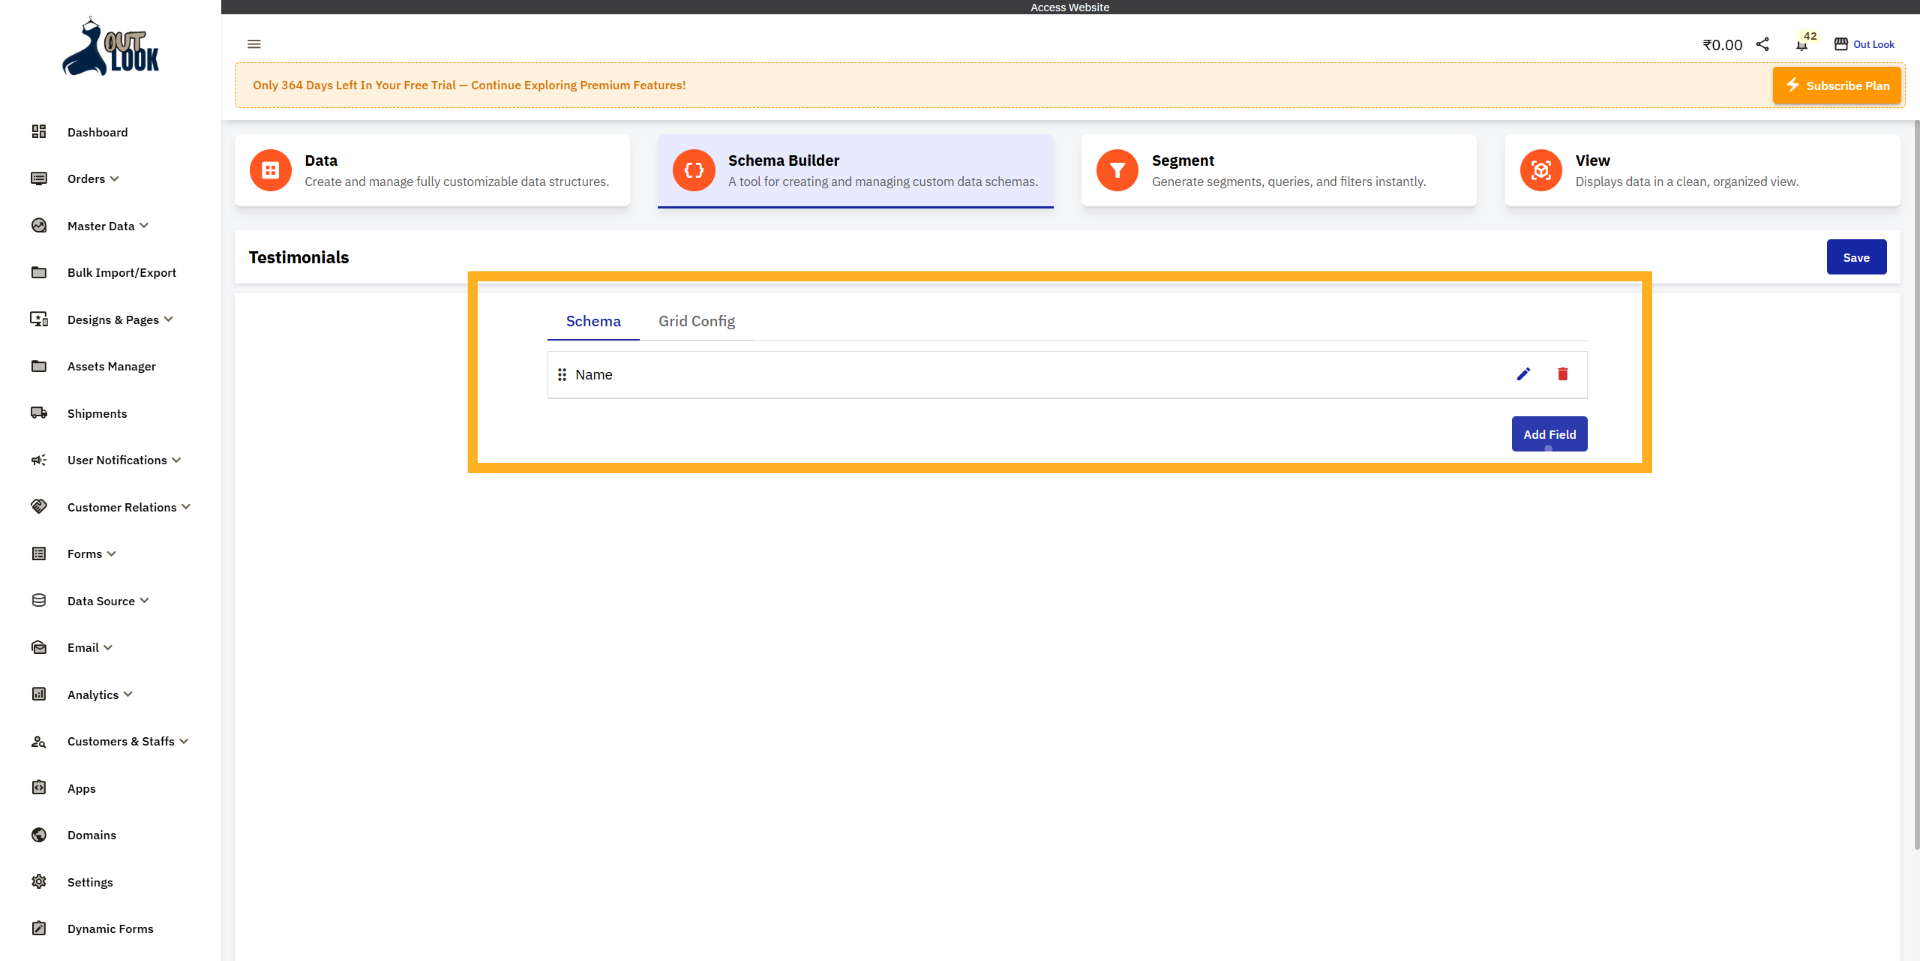
13. successfully created data source Field
Here you can see that we have successfully created one field called Name. If you want to add more
fields, you can follow the same process by clicking Add Field and creating additional fields as needed.
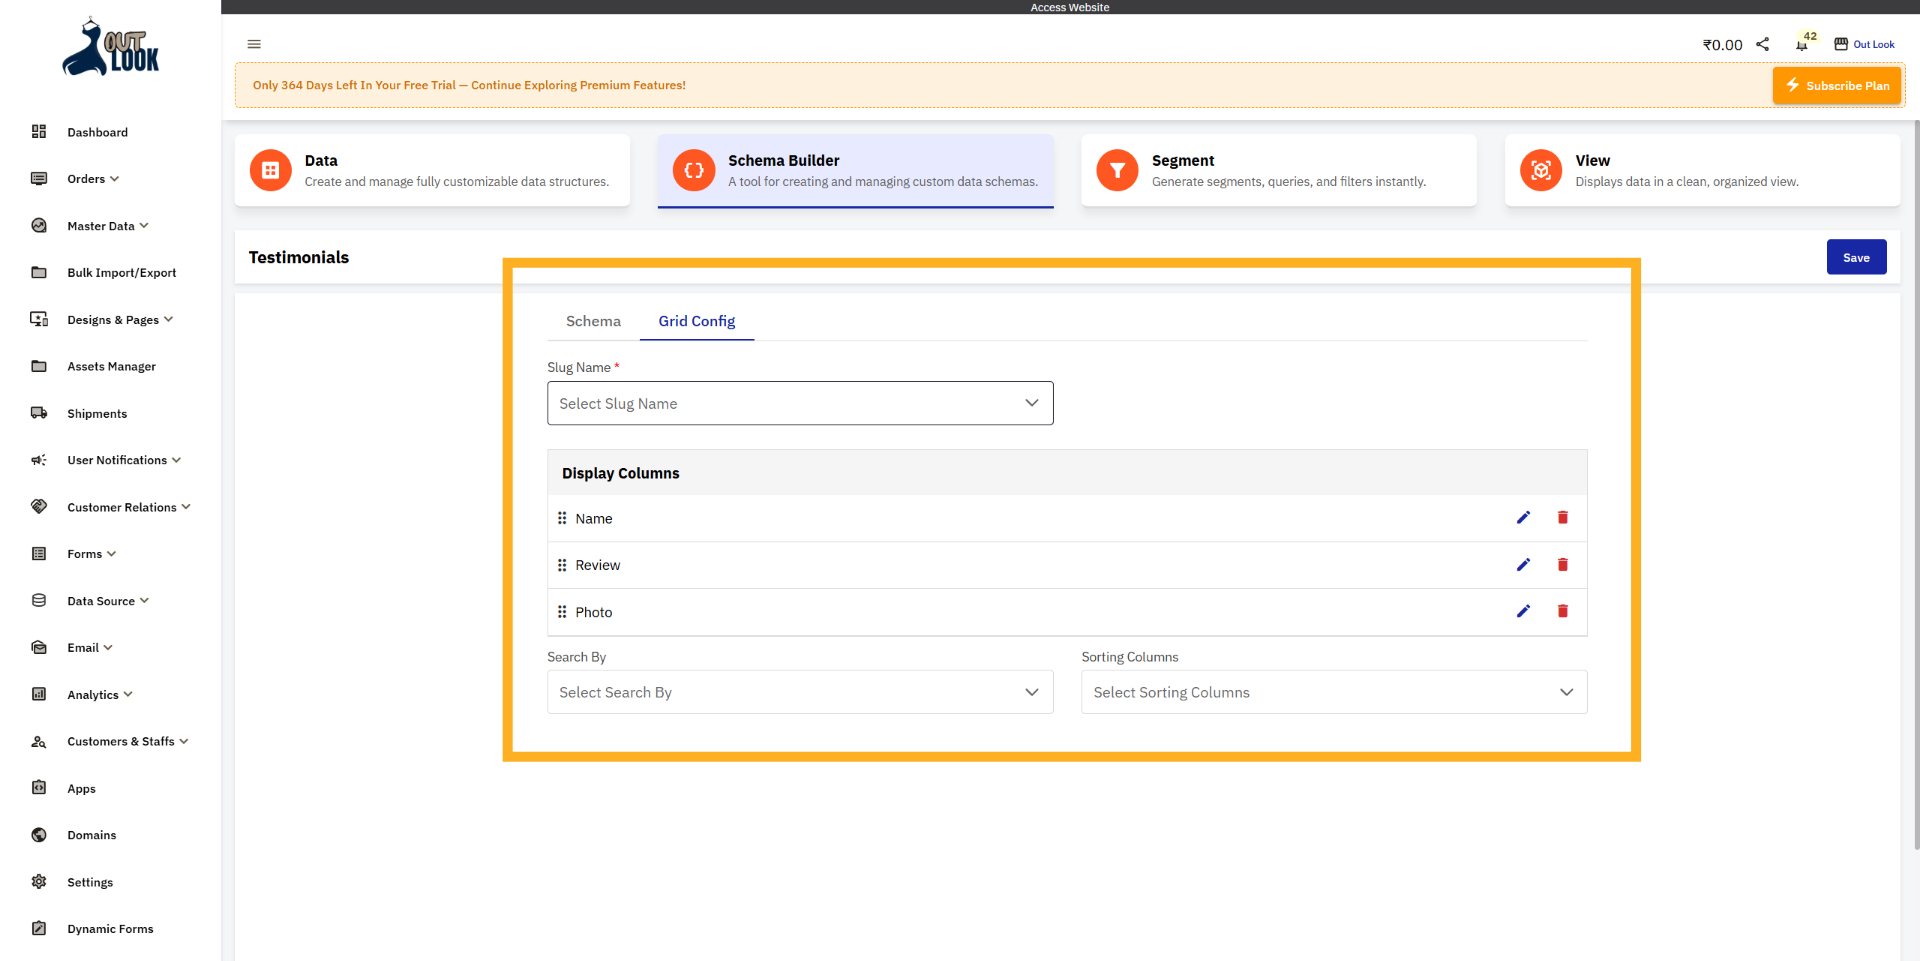
14. Open Grid Configuration
Click on Grid Config to customize the display of data in the grid.
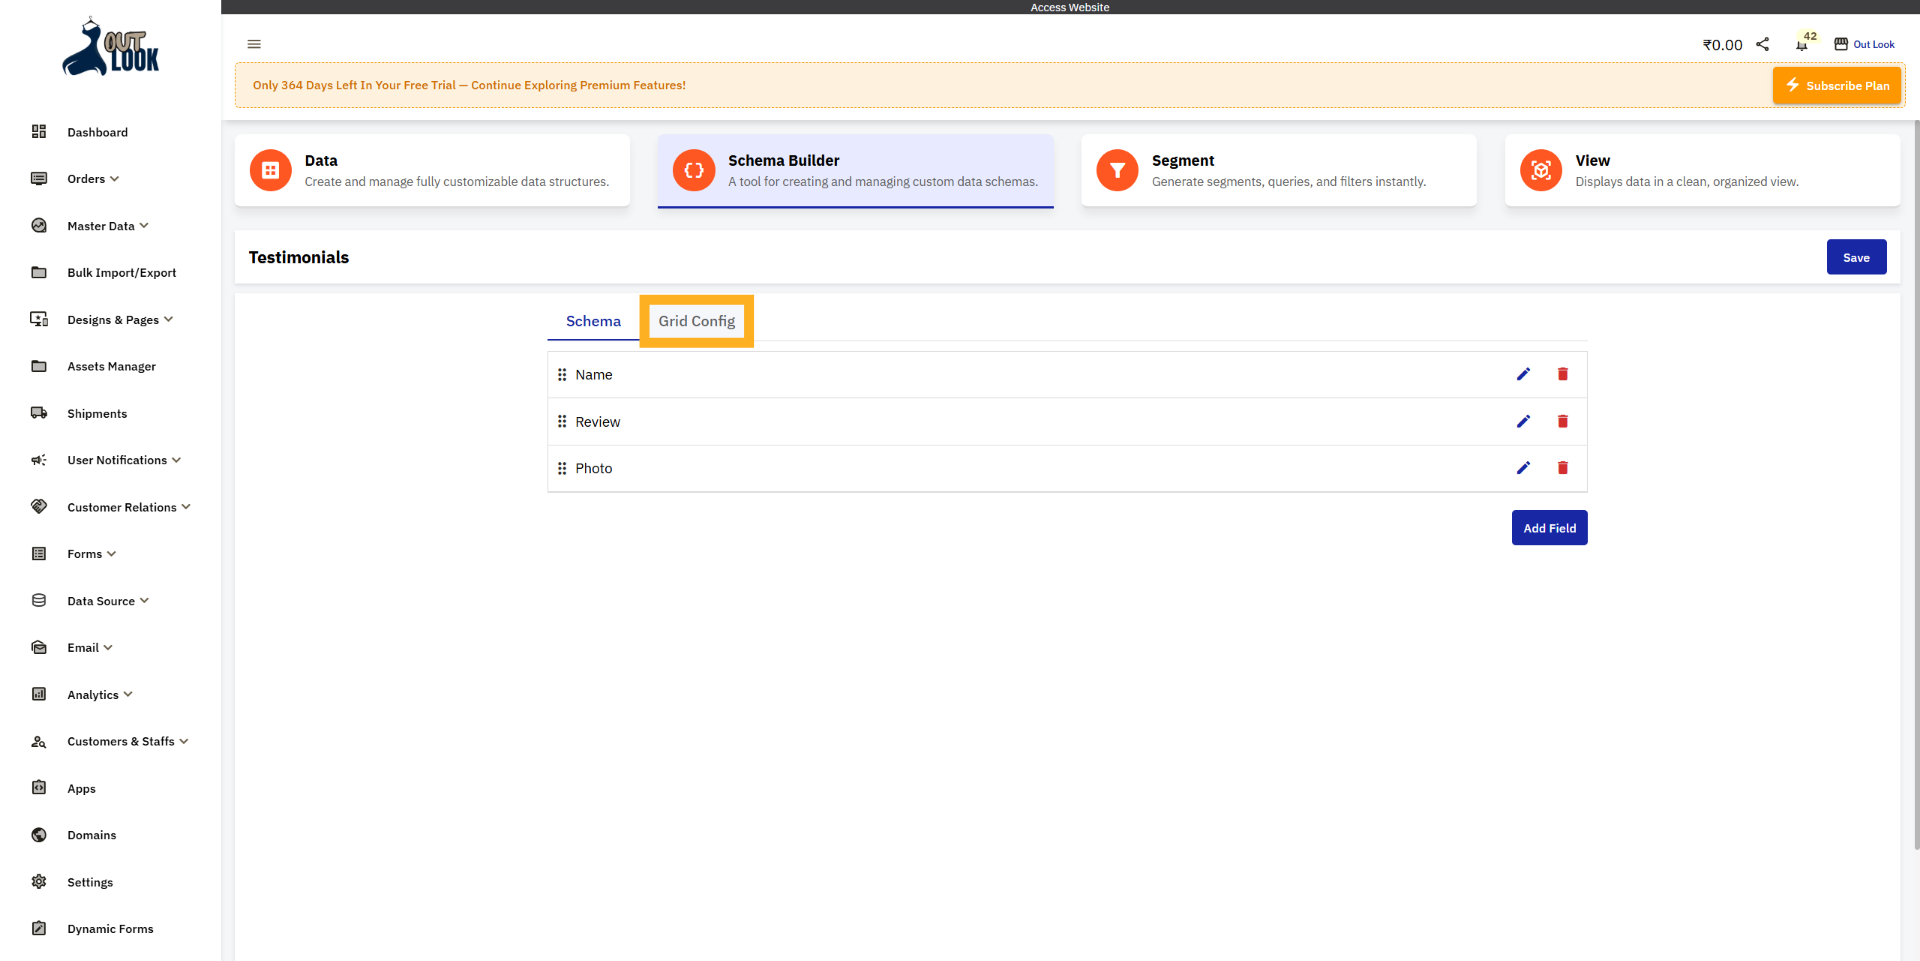
15. Grid Config
As you can see, after clicking Grid Config, you have reached the Grid Configuration setup. Here you need
to fill in details such as Slug Name, Search By, and Sorting Columns.
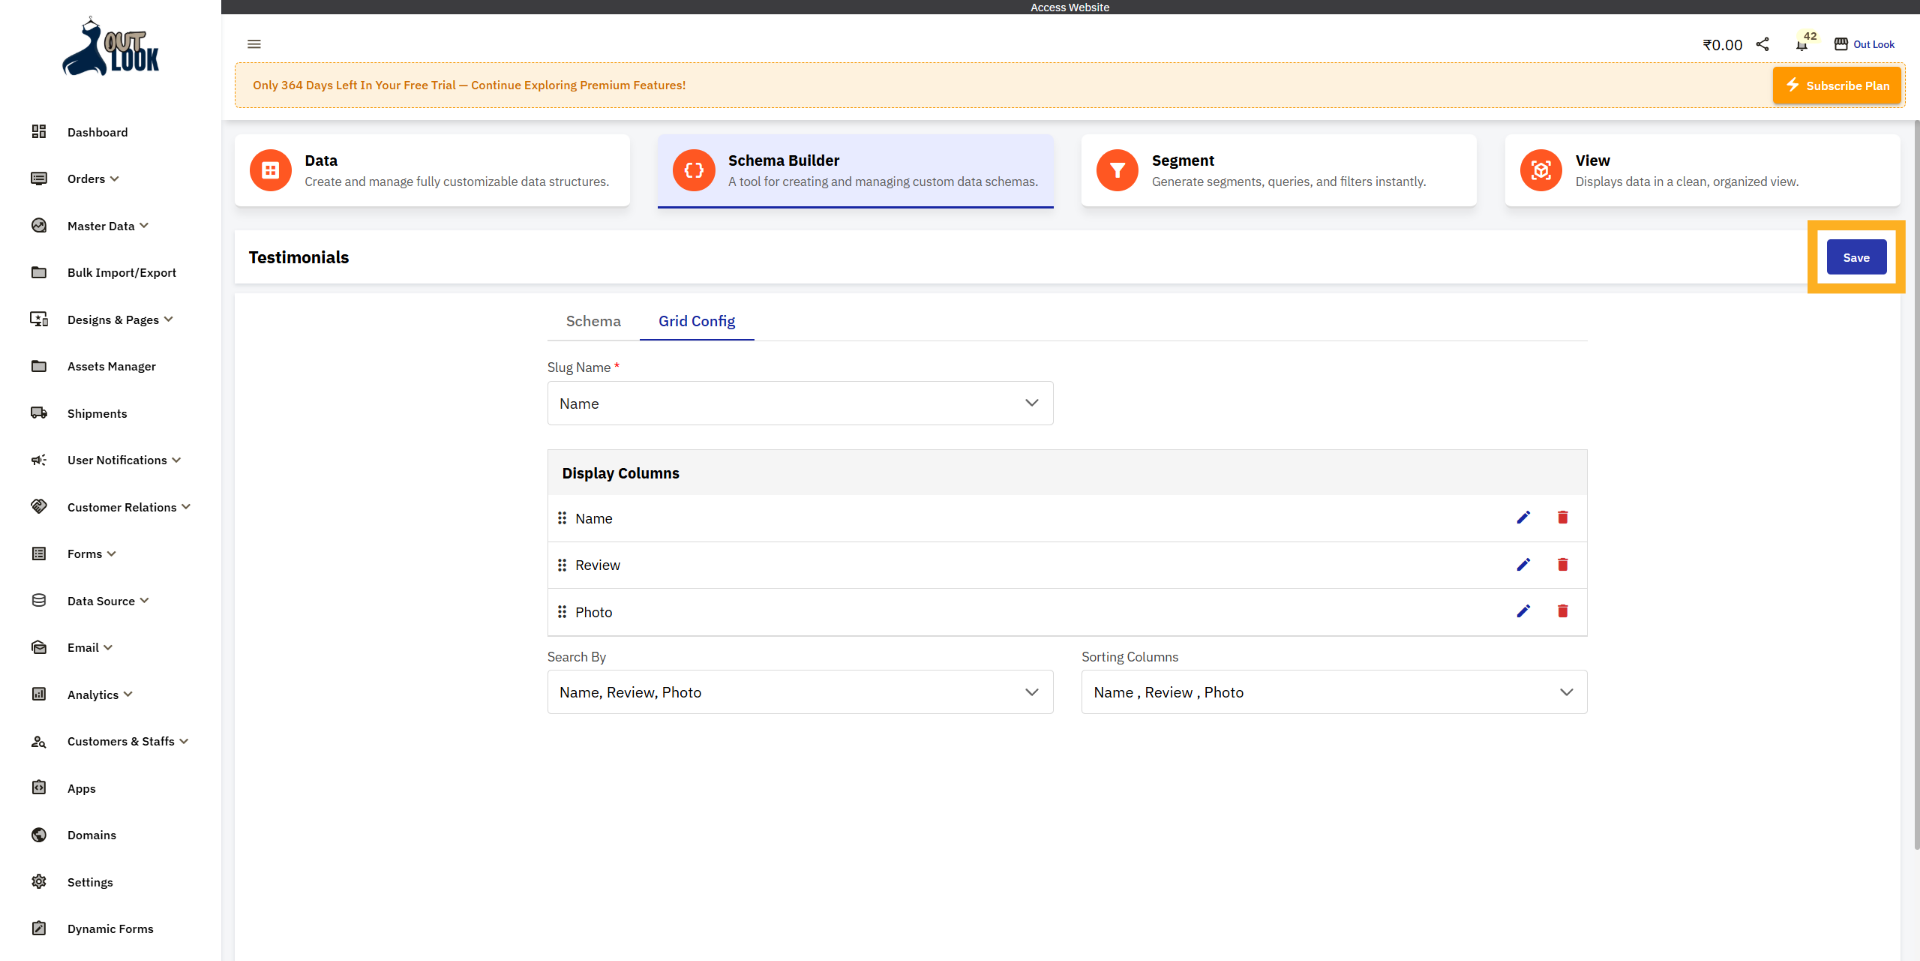
16. Save
After completing the Schema and Grid Config setup, click the Save button to save the Schema Builder.
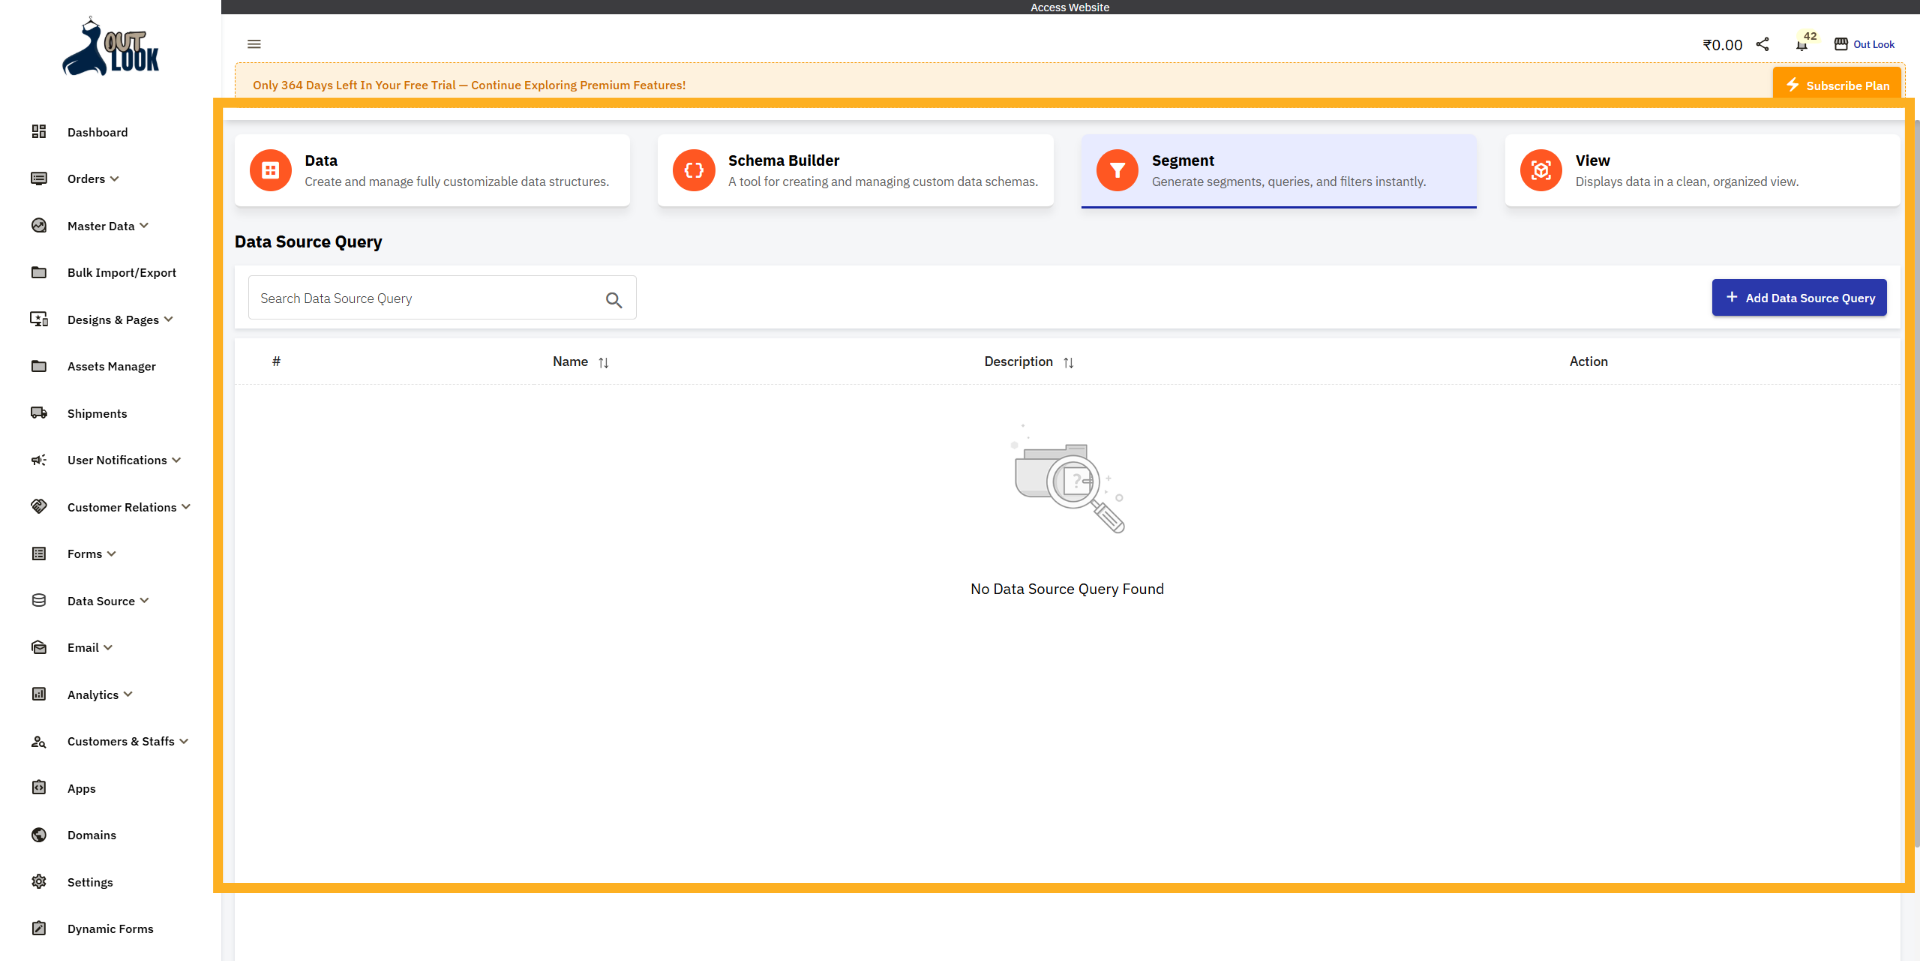
17. Open Segment Settings
Now, we will set up the Segment. To do this, click on the Segment tab at the top to access the Segment
page.

18. Segment Query
As you can see, we are now on the Segment page. Here you will see the list of segments that you create.
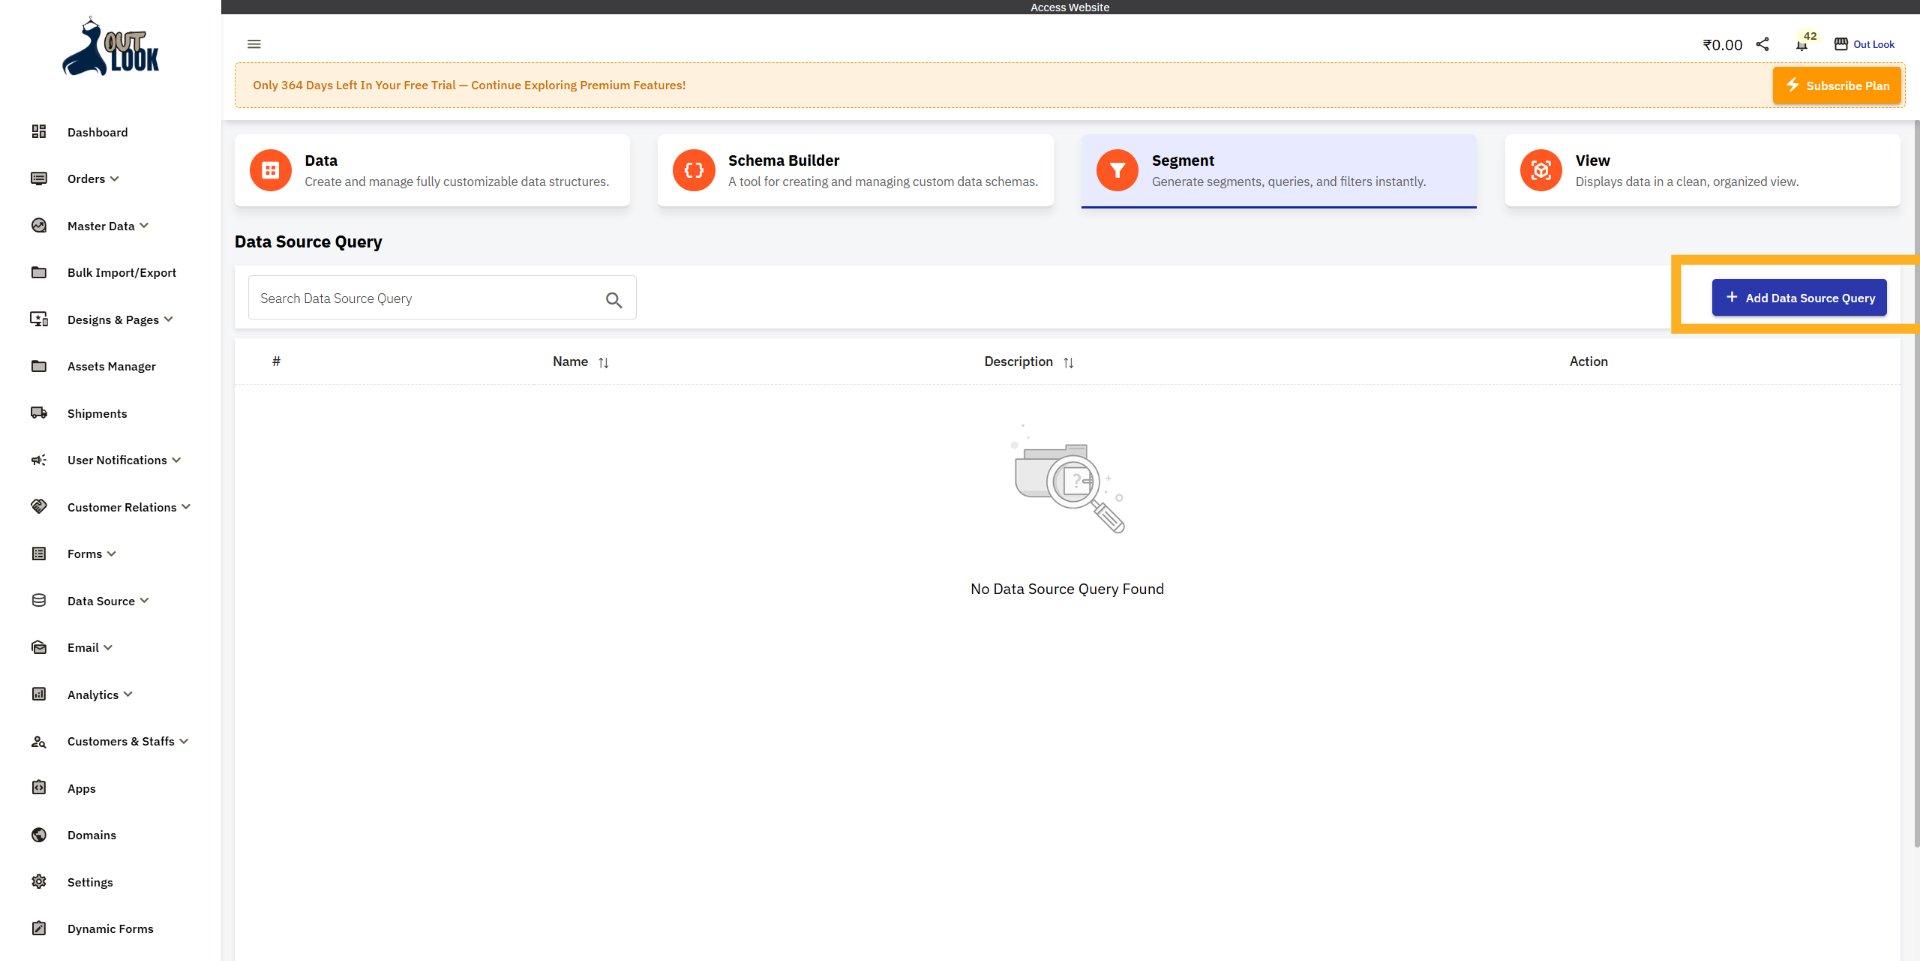
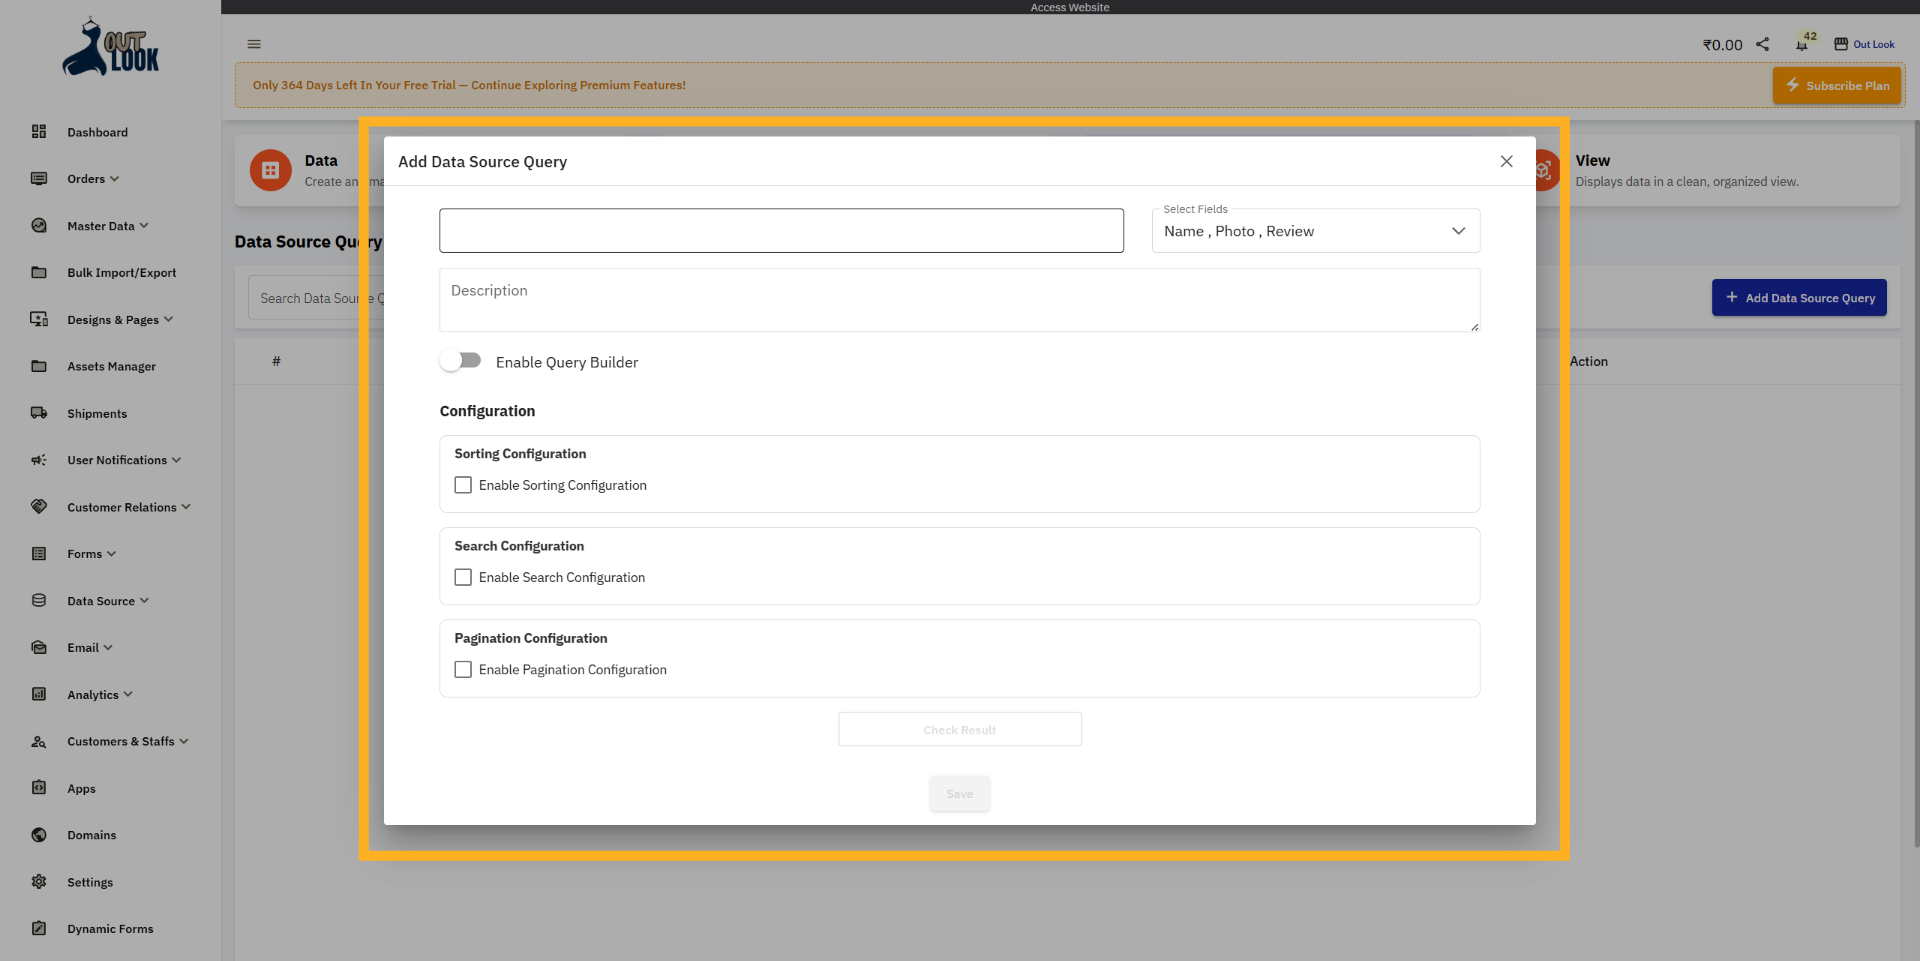
19. Add Data Source Query
To create a Segment Query, click the Add Data Source Query button and then create your query.
20. Add Data Source Query Form
When you click Add Data Source Query, a form modal opens to create the query. Here you can build a query
to display your data.
To create the query, fill in the form with the following details:
Query Name
Select Fields
Description (optional)
If you want to show all data, keep Enable Query Builder turned off. If you want to display data based on
specific query conditions, turn Enable Query Builder on.
After that, configure the options below:
Sorting Configuration
Search Configuration
Pagination Configuration
Once everything is set, you can proceed with saving the query.
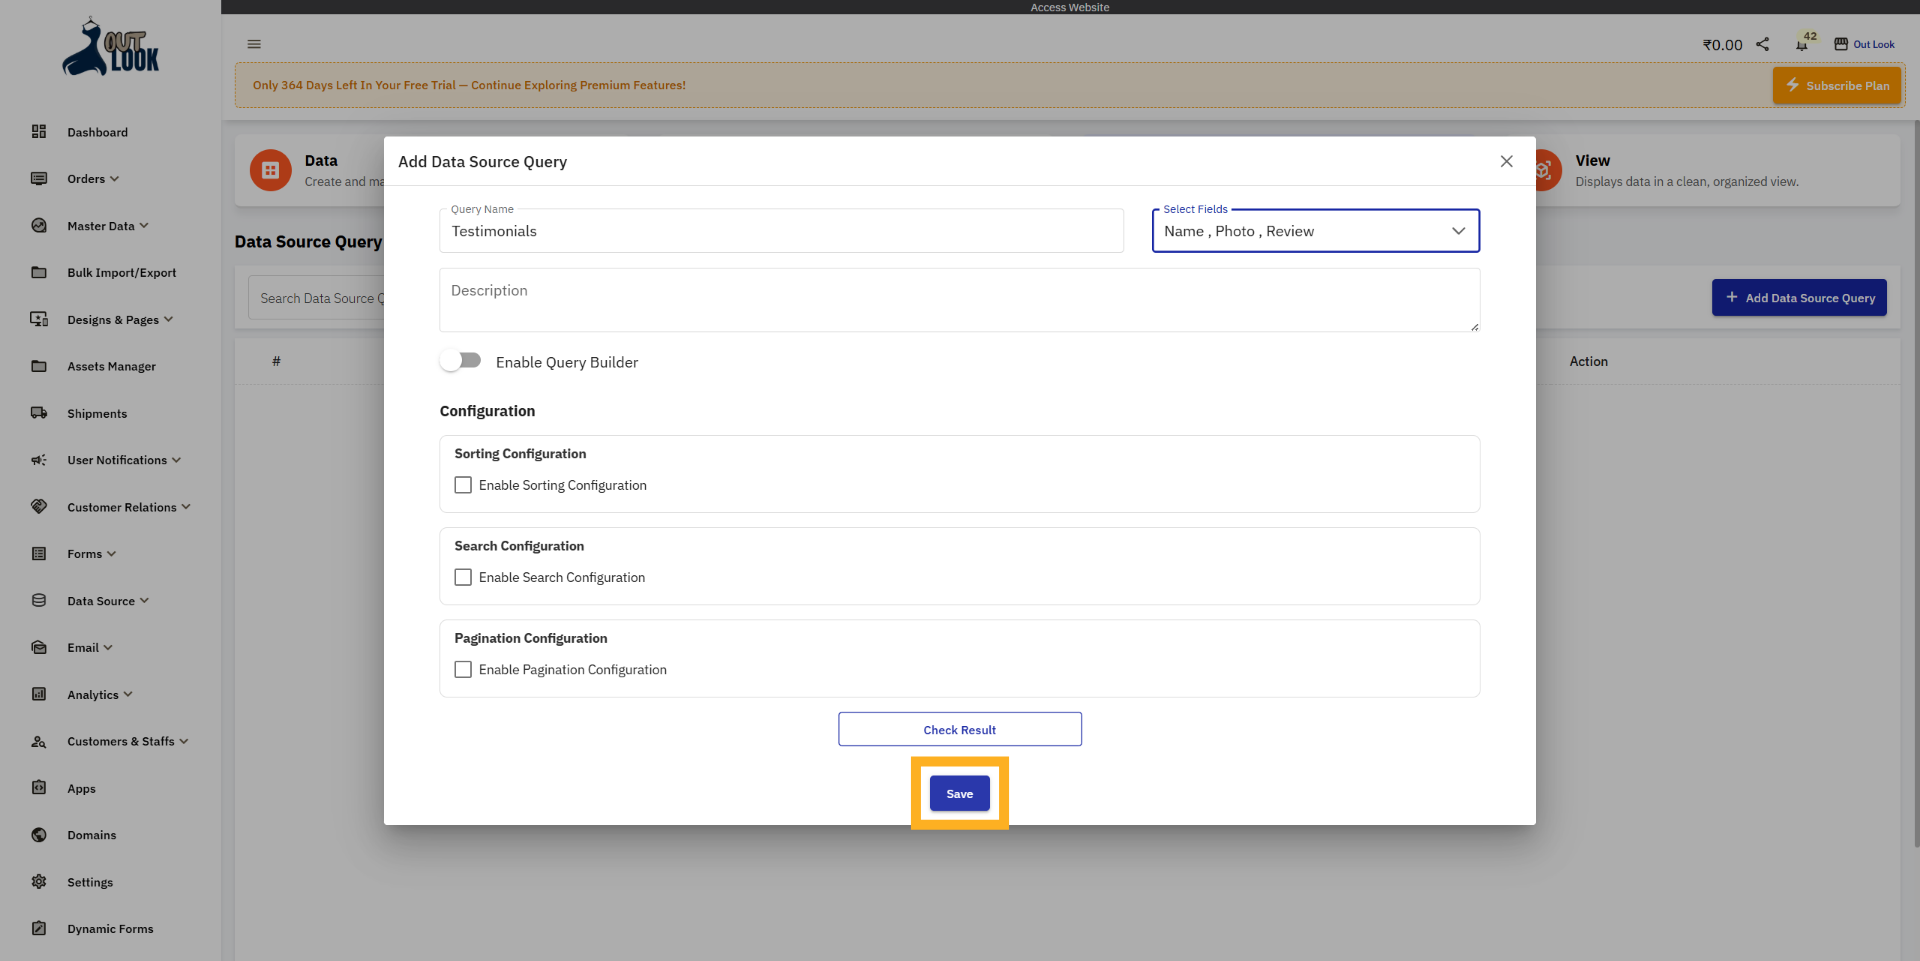
21. Save Query Configuration
Click Save to store your data source query.
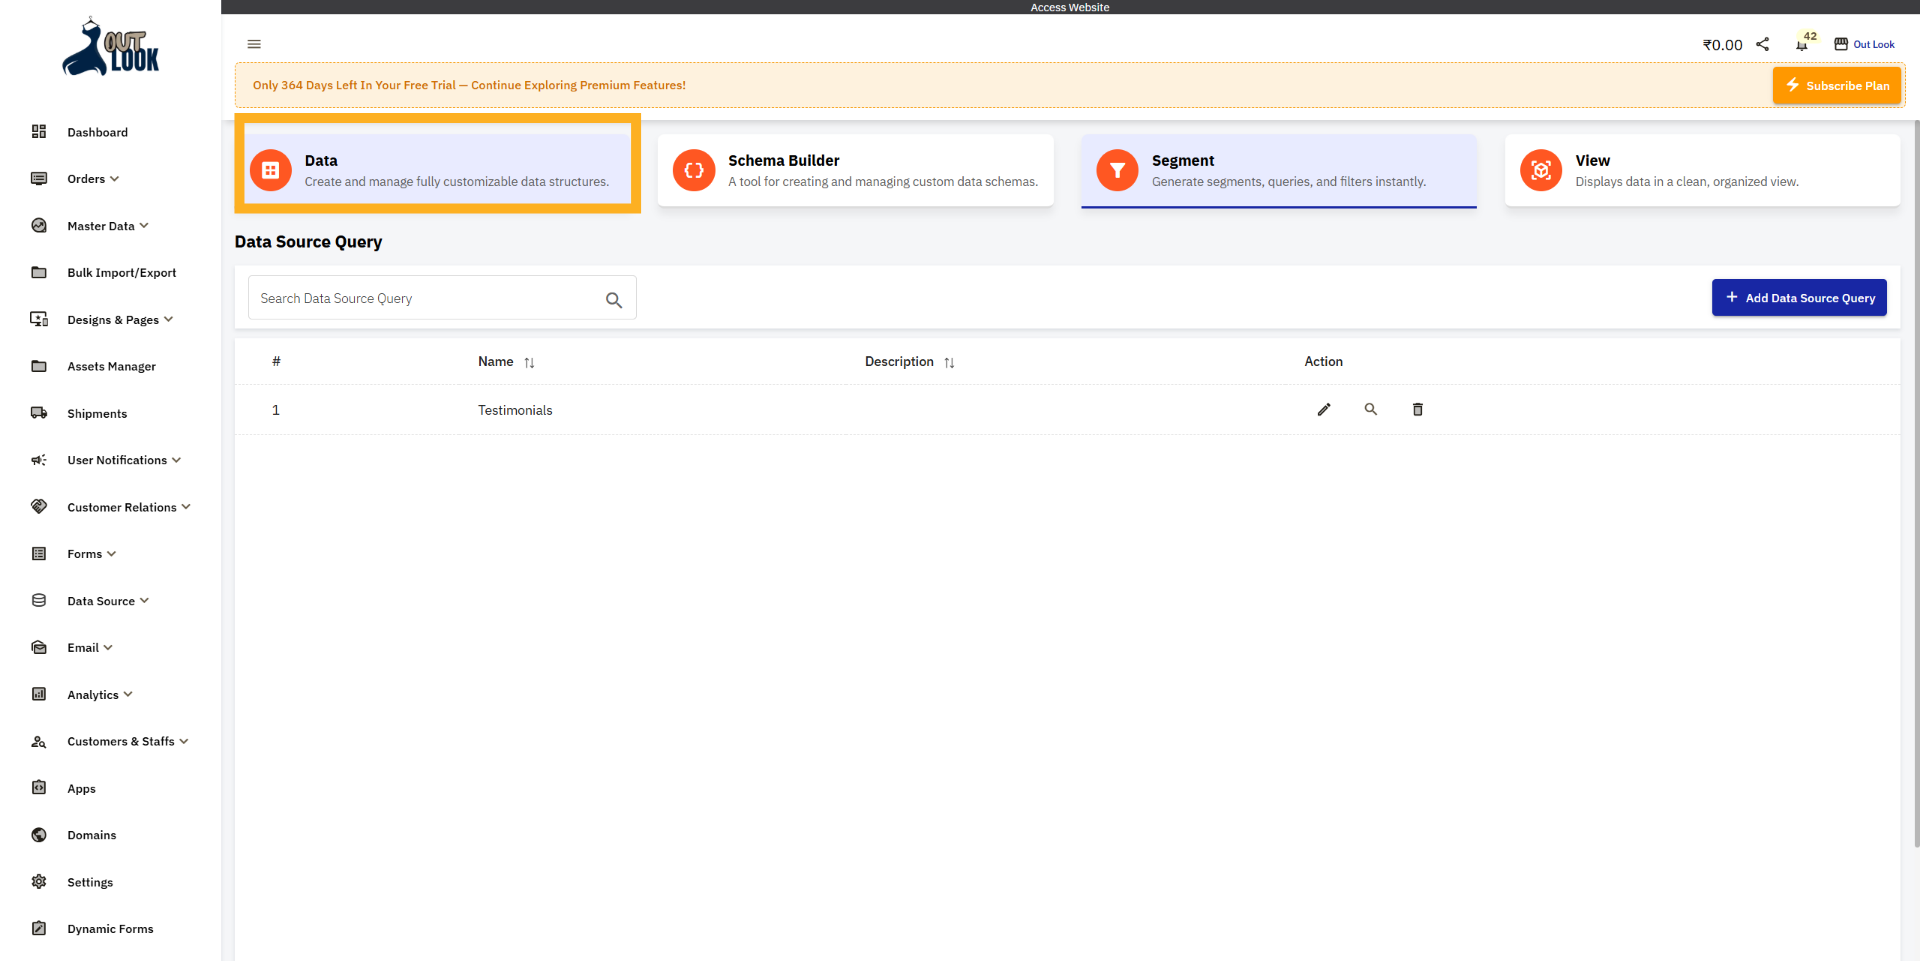
22. Access Data Source Management
If you want to add, update, or delete data in the Data Source, you need to click on the Data tab.
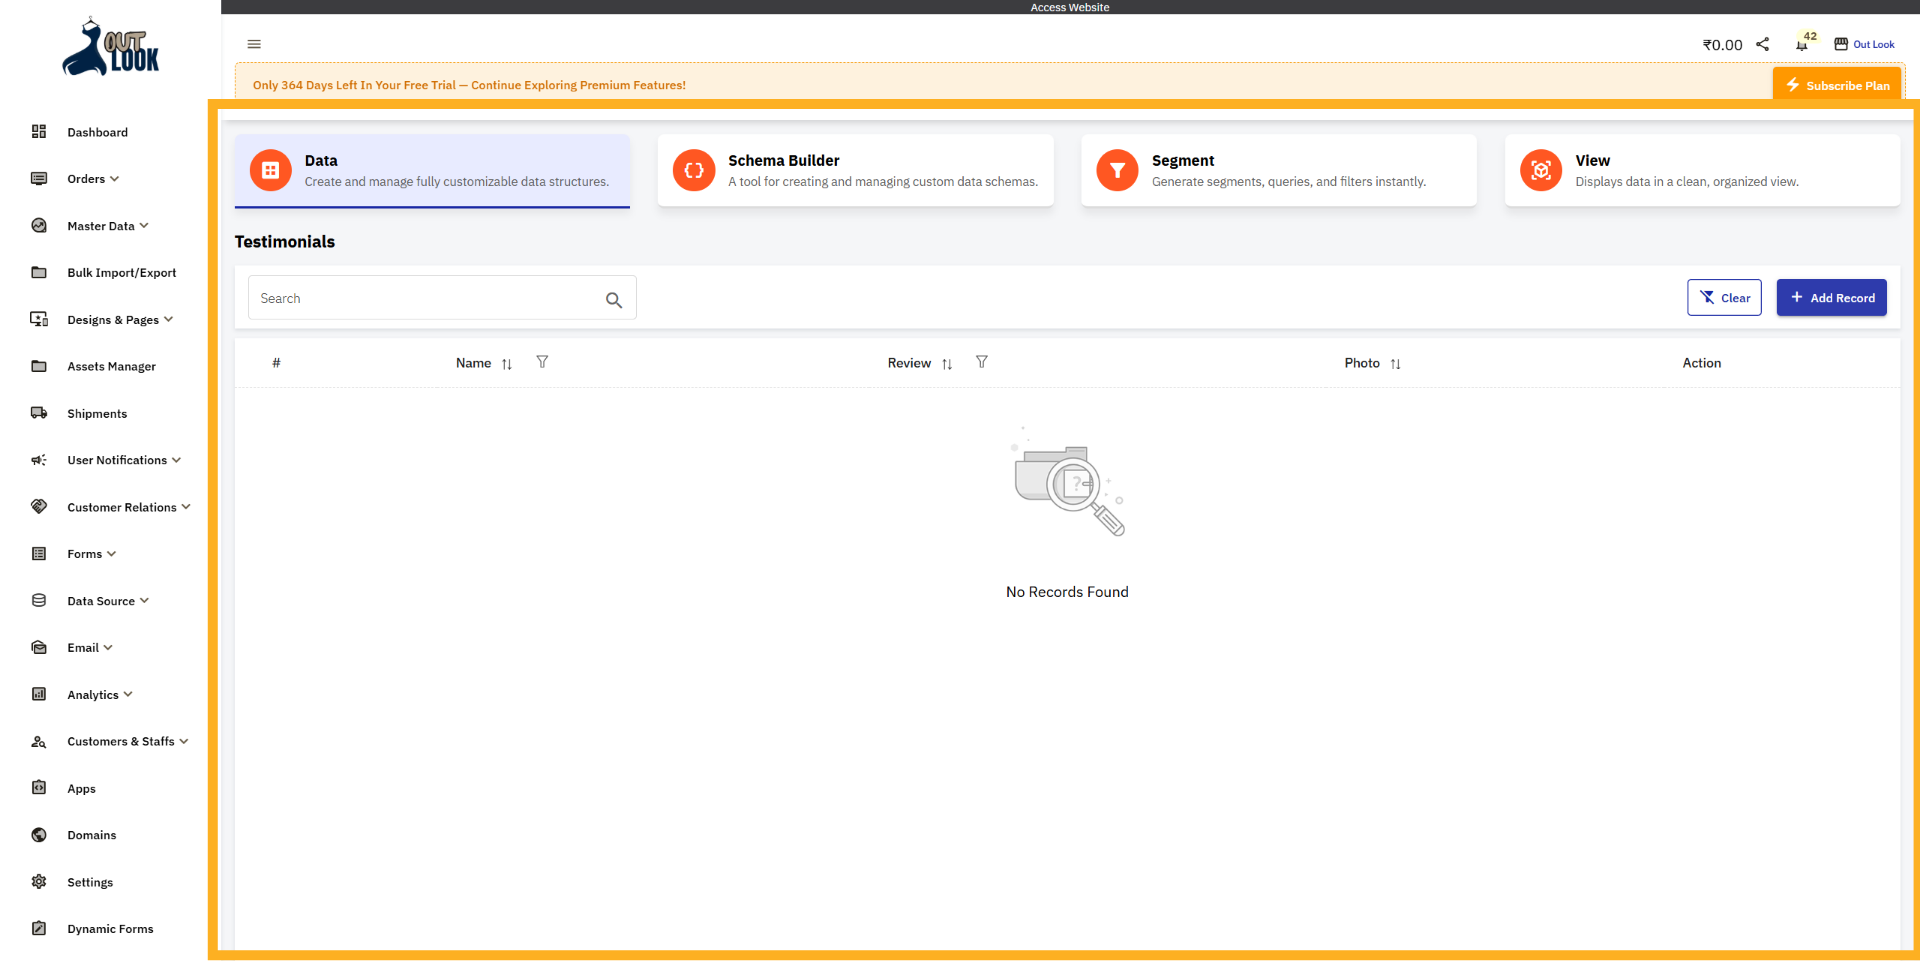
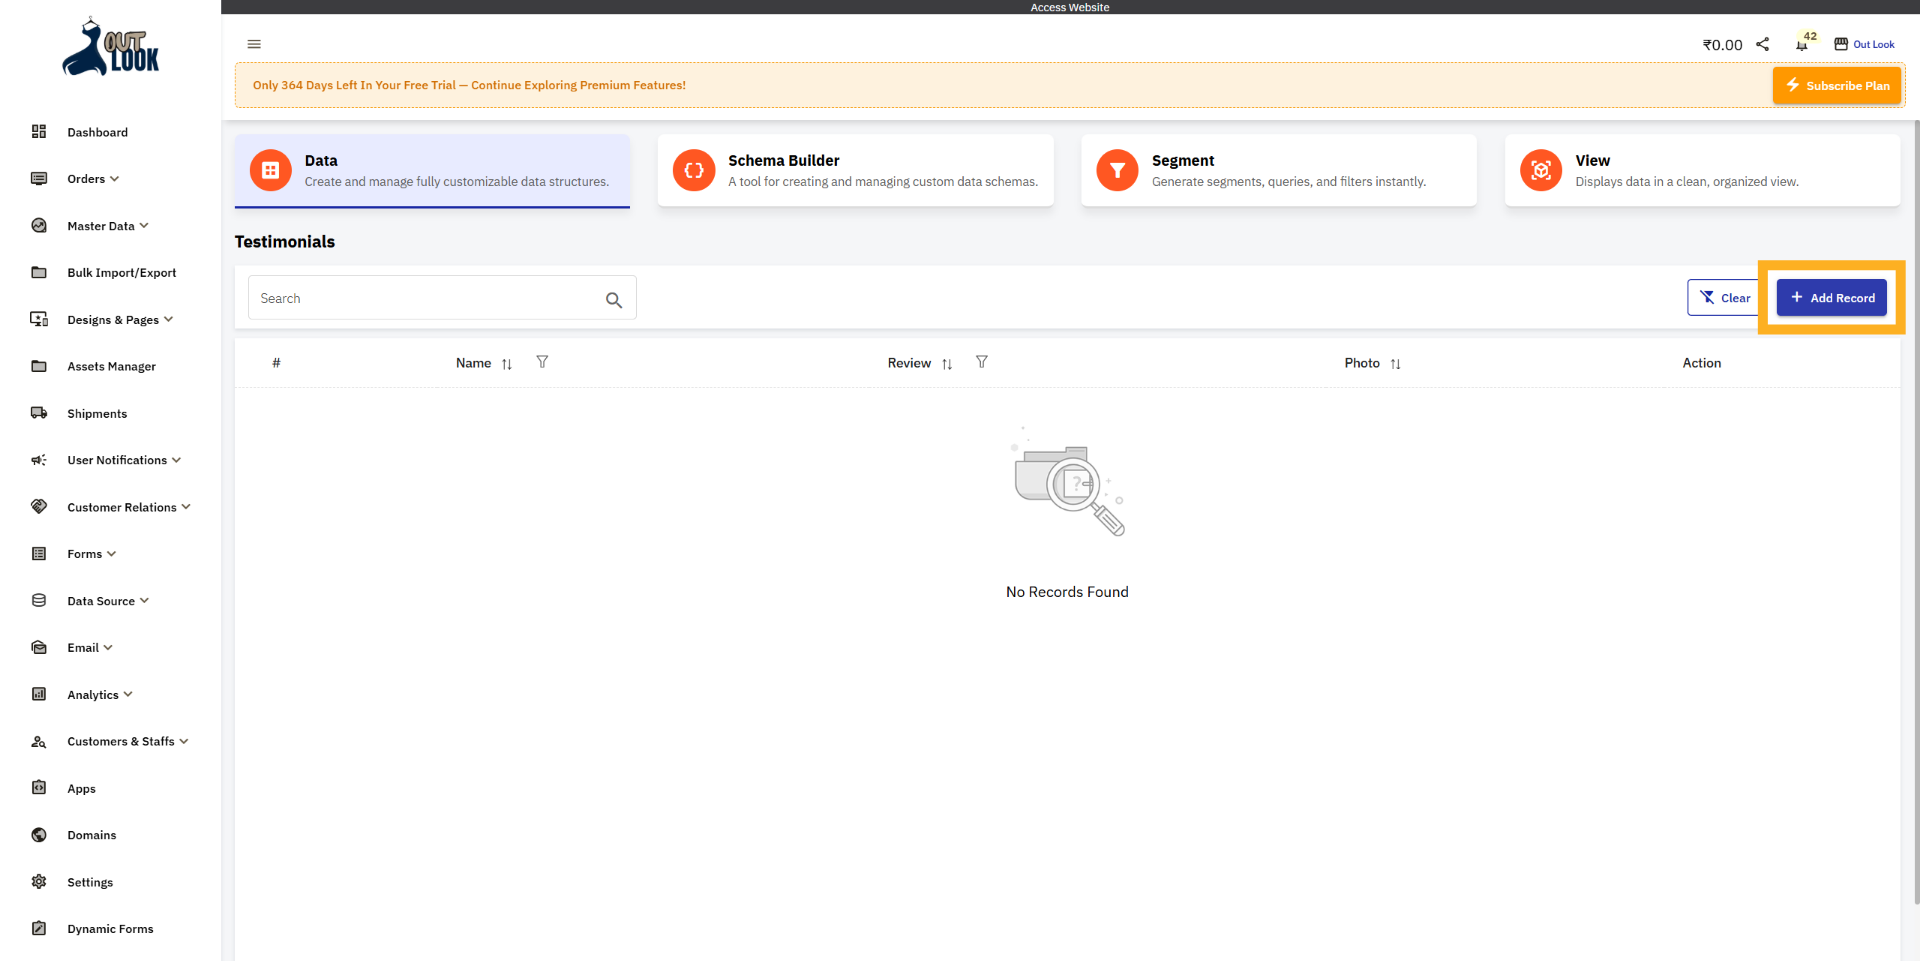
23. Data View (Data Source)
As you can see, we are now on the Data page. Currently, there is no data available, but to add new data,
you need to click the Add Record button.
24. Add New Record
Click Add Record to input new data into your data source.
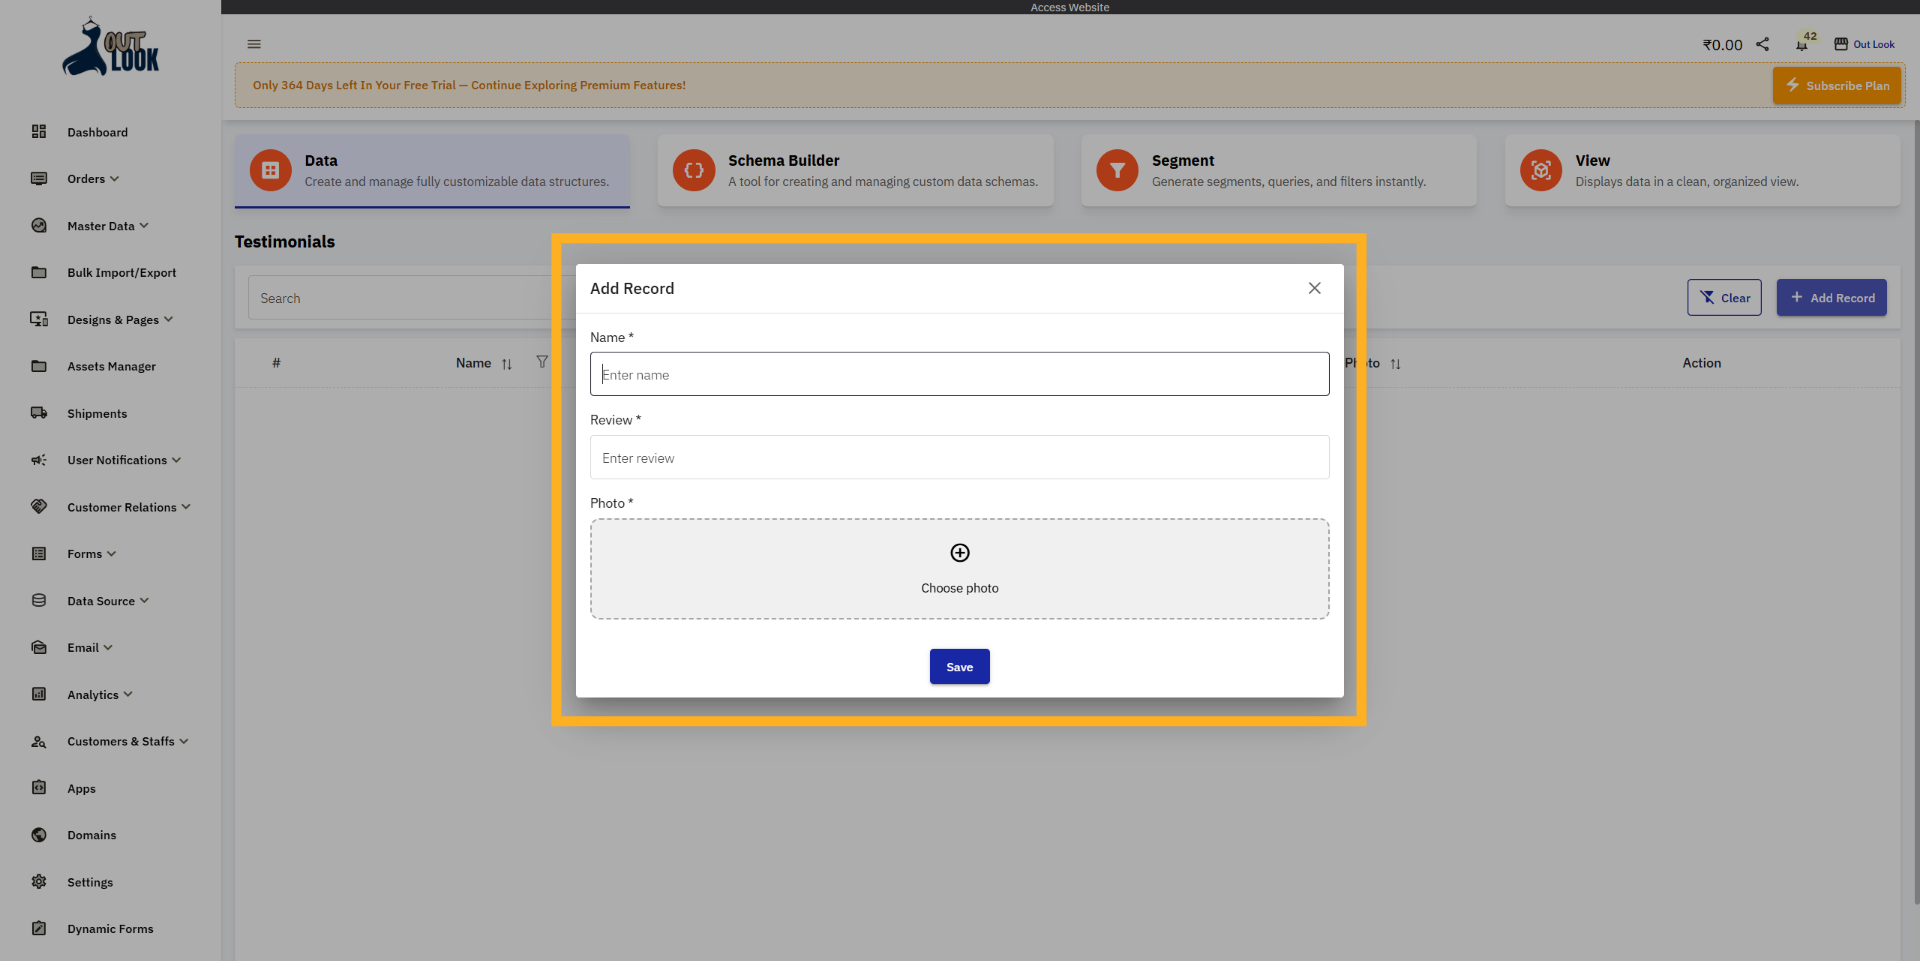
25. Add Data Source Record Form
You can see the form for adding a record, which is generated from the Data Source Schema fields we
created earlier. Because of this, the fields in this form match the schema structure. Now you just need
to fill in the fields and create the data record.
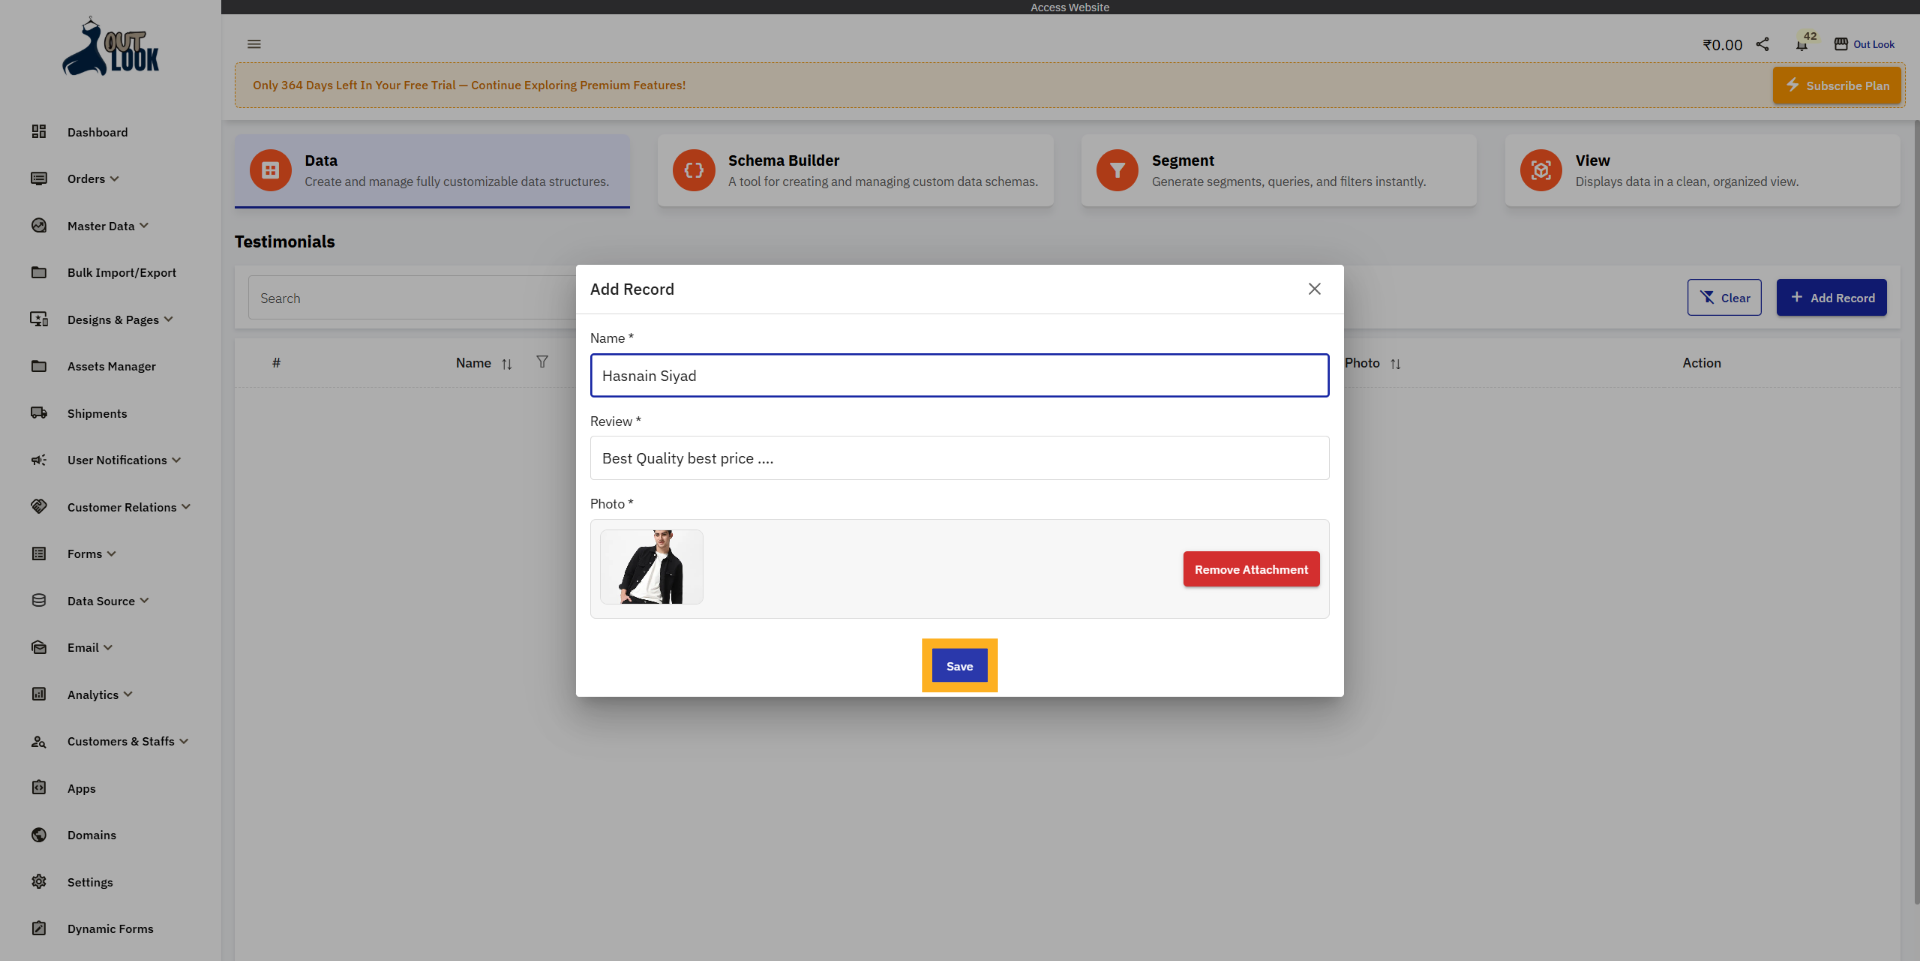
26. Save New Record
Click Save to store the new record in your data source.
You have successfully created and configured a custom data source in Boniii CMS, including defining
fields, setting validations, and adding records. Next, explore advanced query options or integrate your
data source with your CMS pages for dynamic content management.
Uploading...