How To Chenge And Set Footer
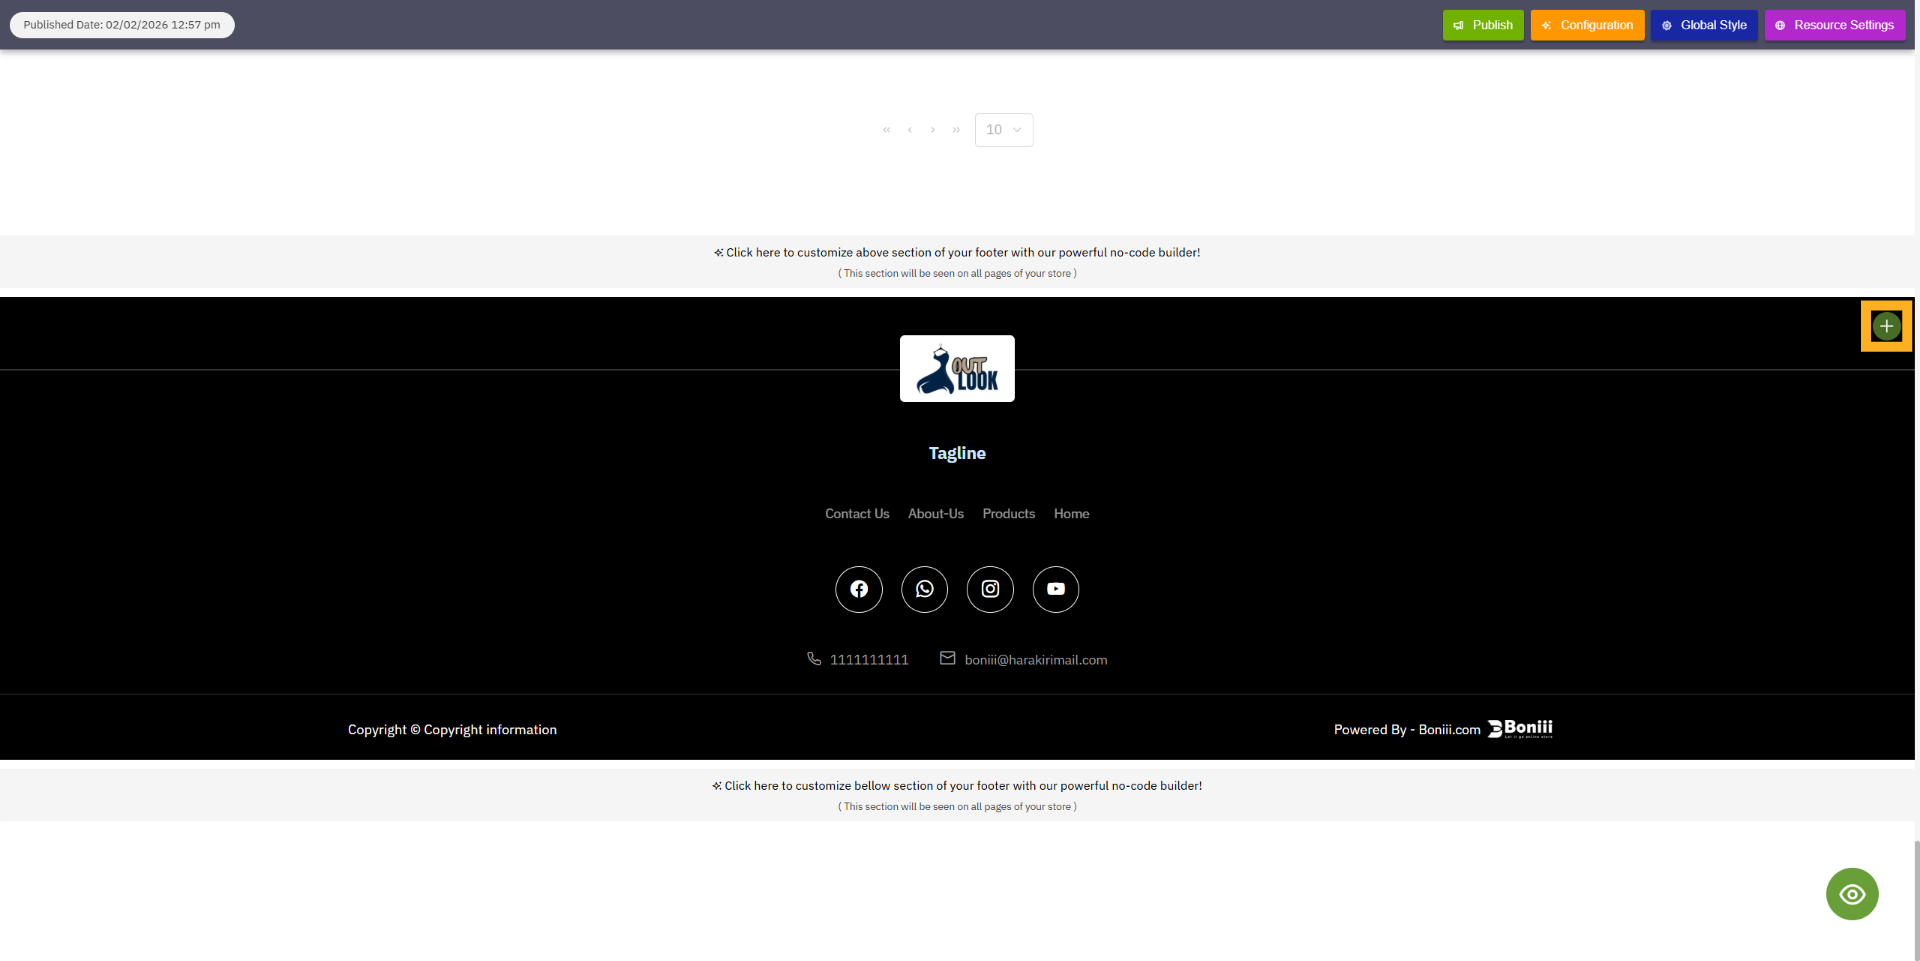
1. Open Footer Settings
Begin by clicking the footer action area to access the footer settings in Boni.
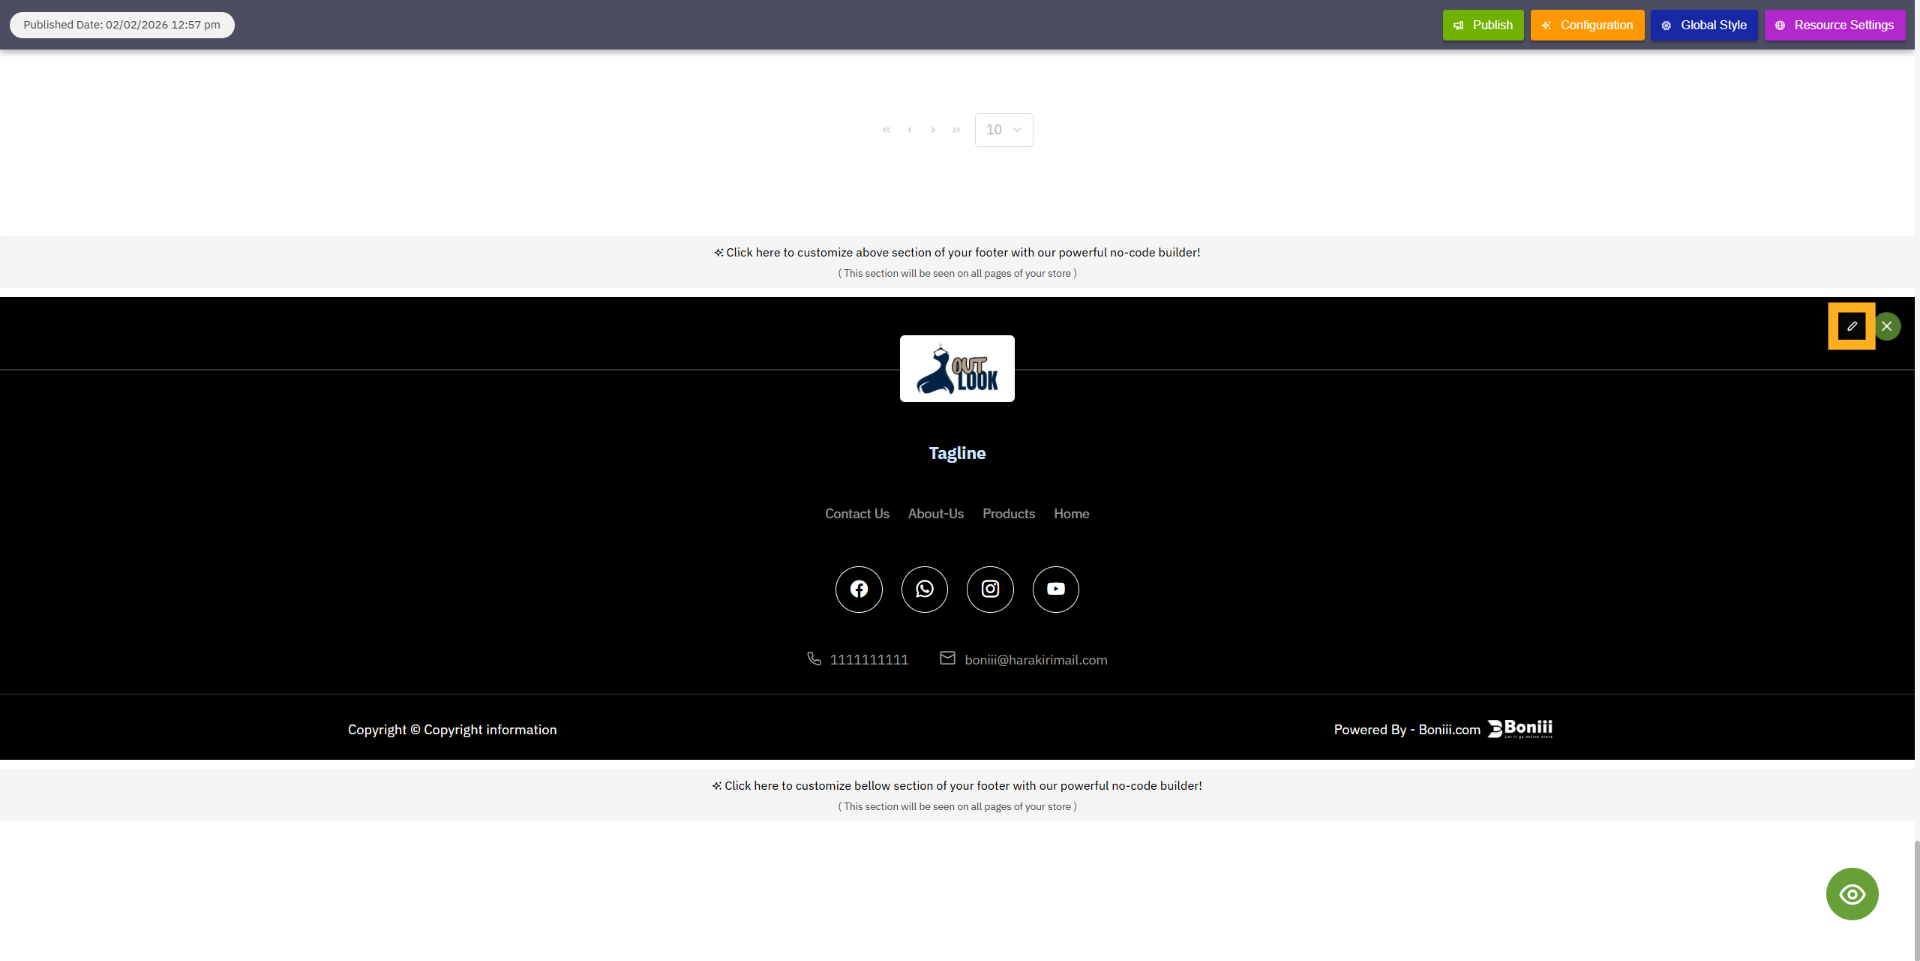
2. Access to edit footer configuration
Click the edit option to proceed to the footer configuration panel where you can make changes.
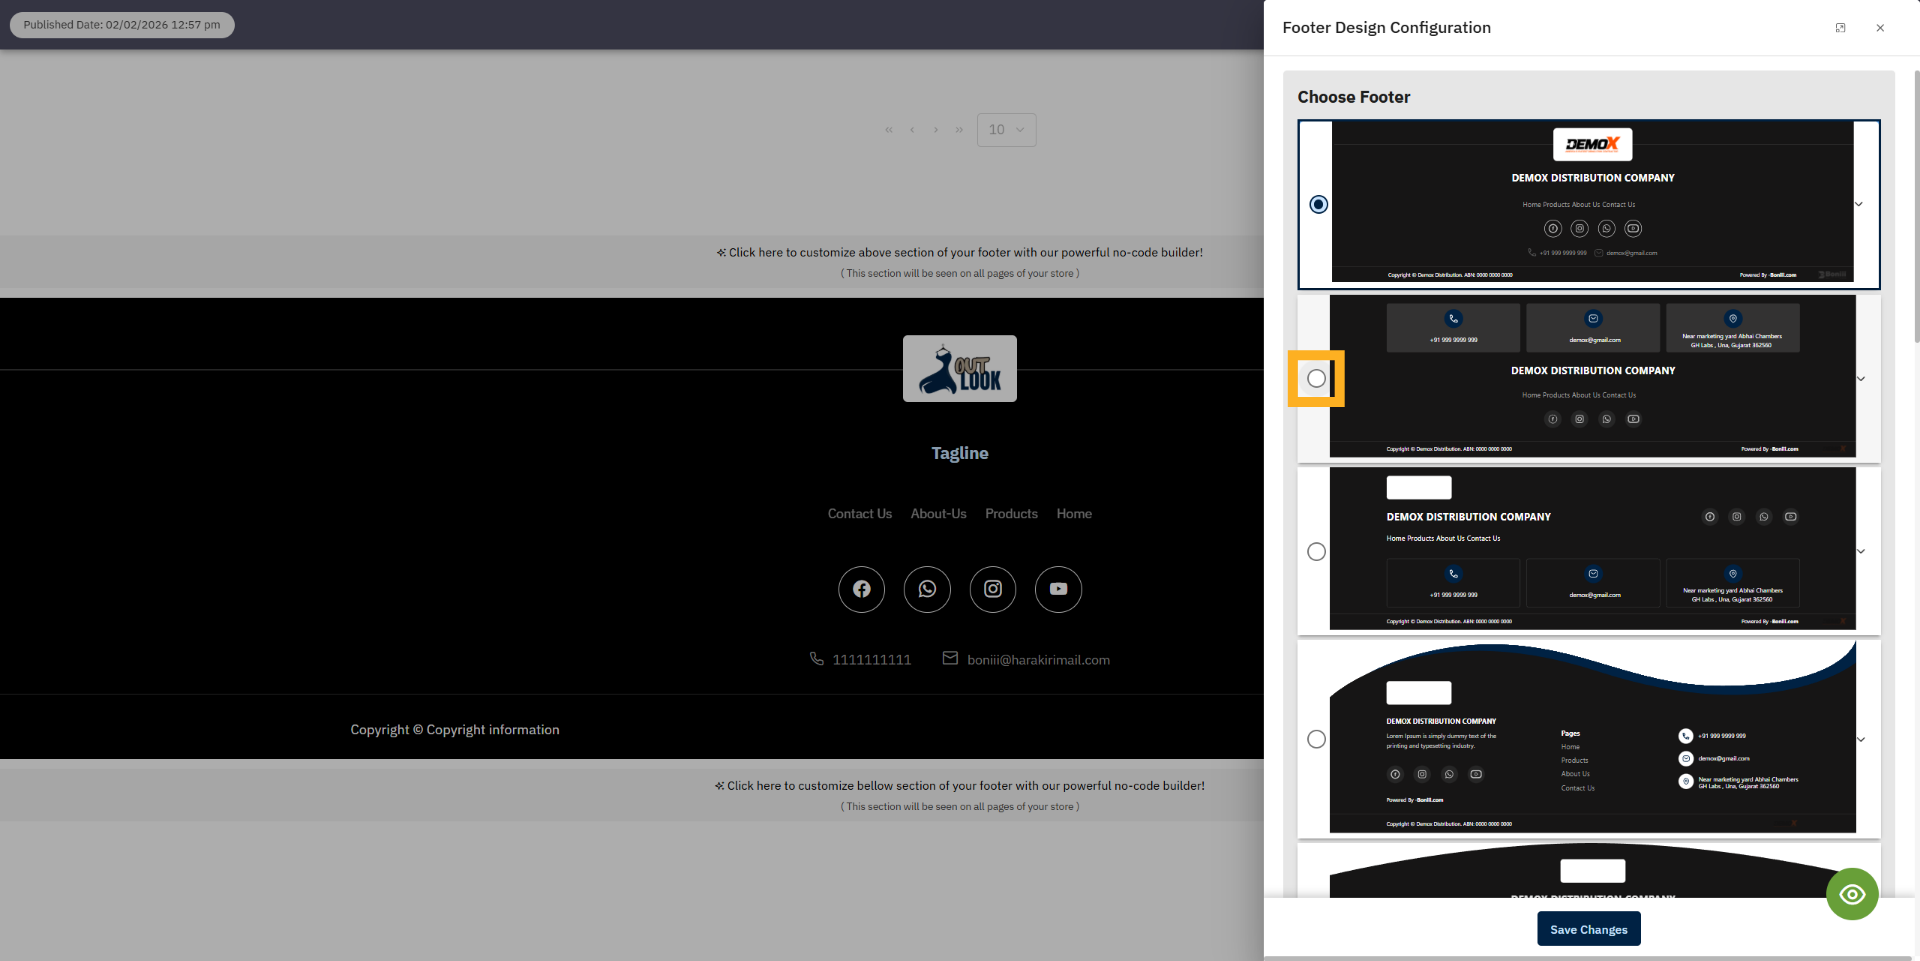
3. Choose footer template design
Choose a footer template designs.
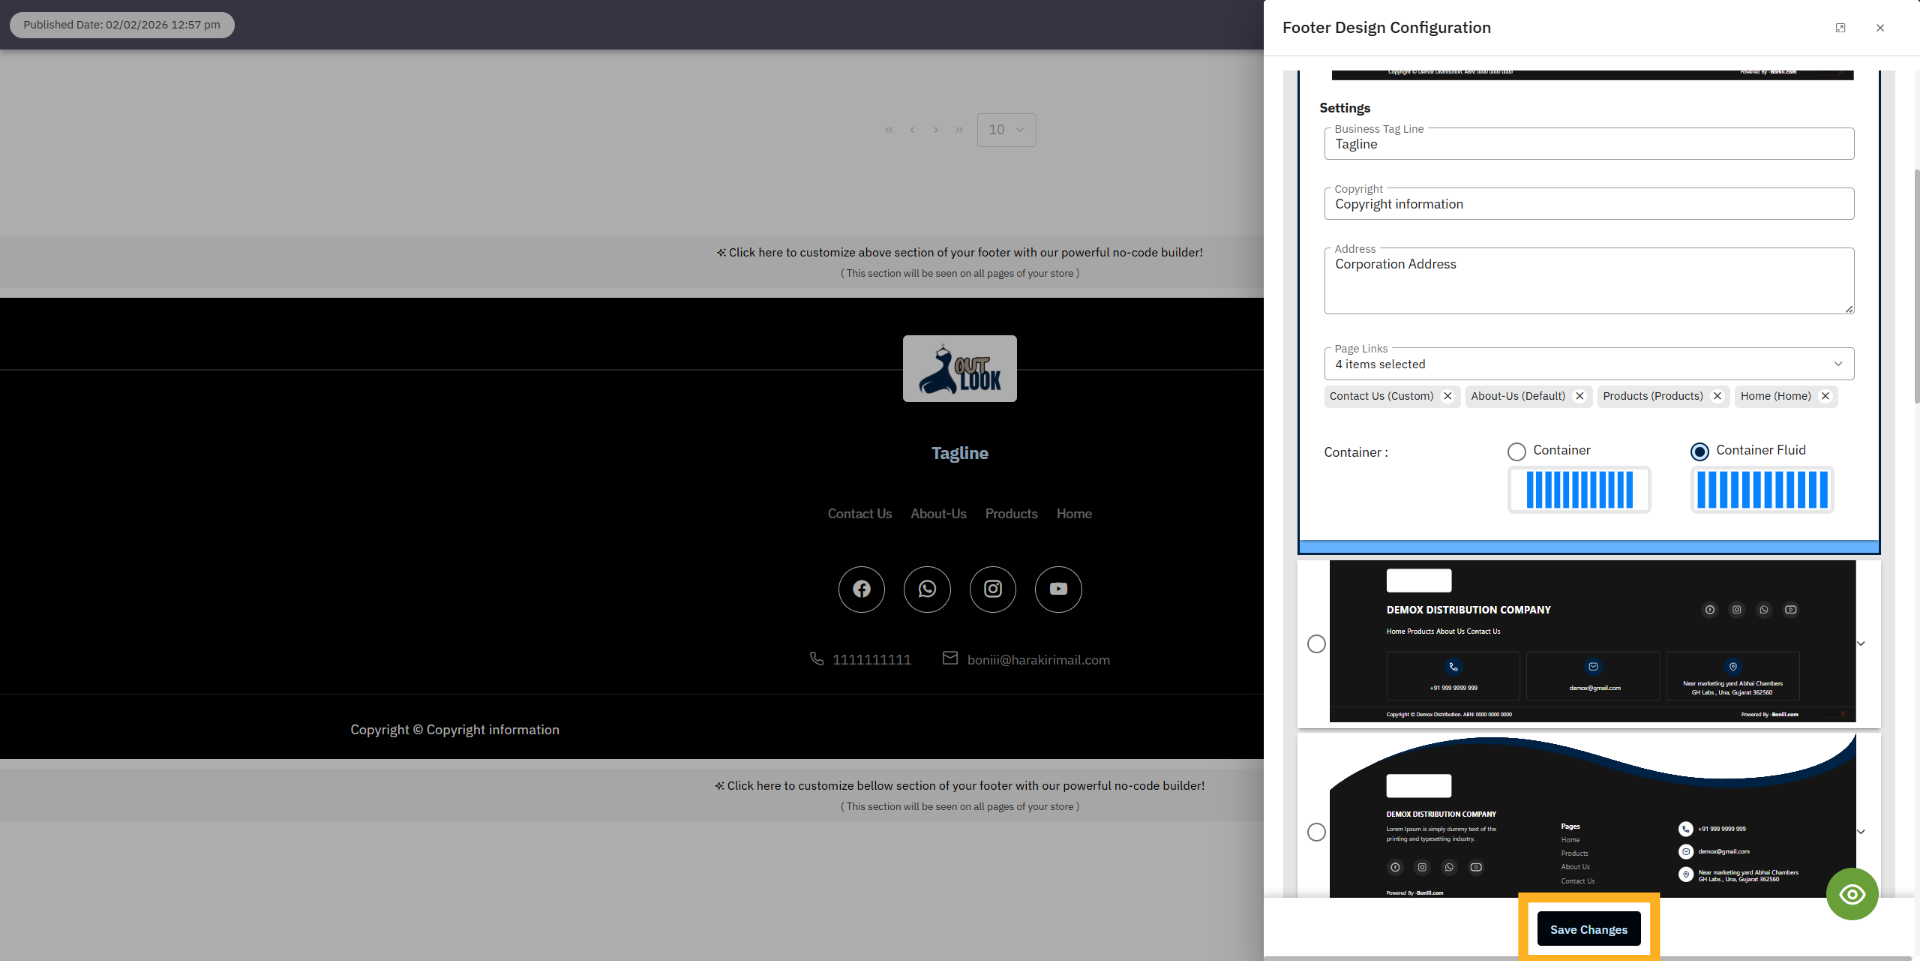
4. Select Tagline Field
Click the Business Tag Line field to edit or update in footer Business Tag Line text.
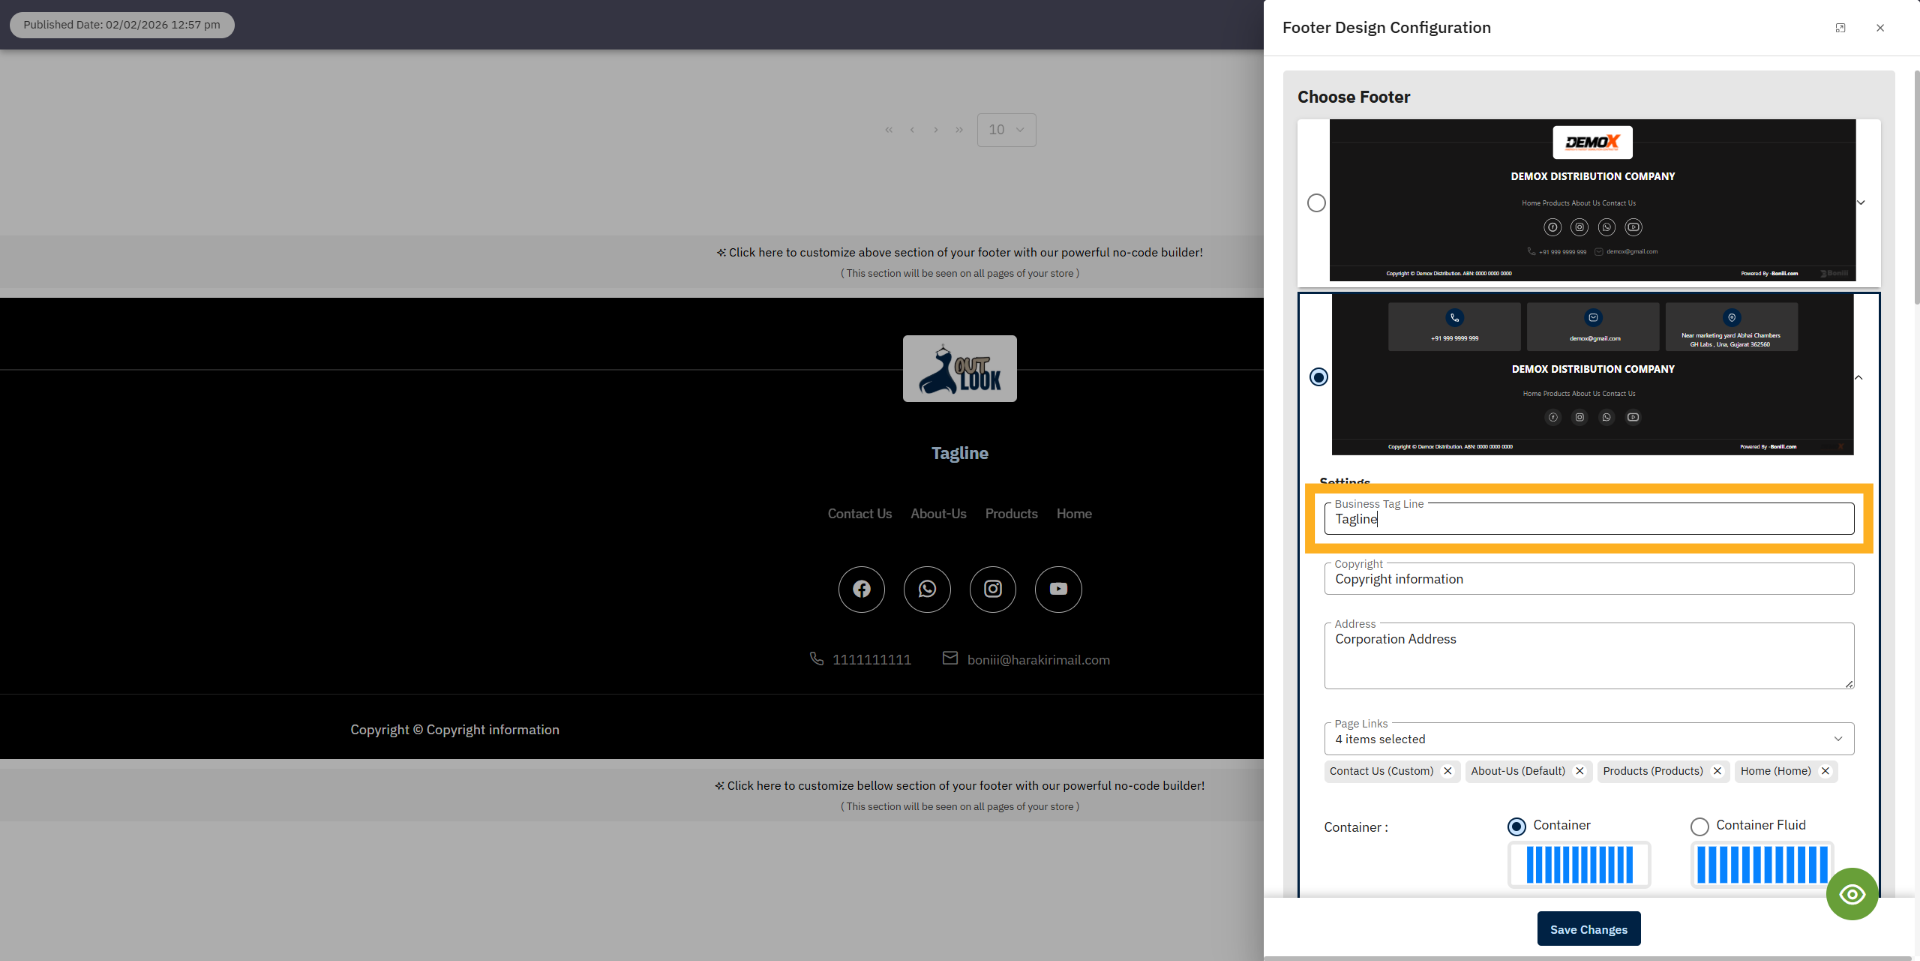
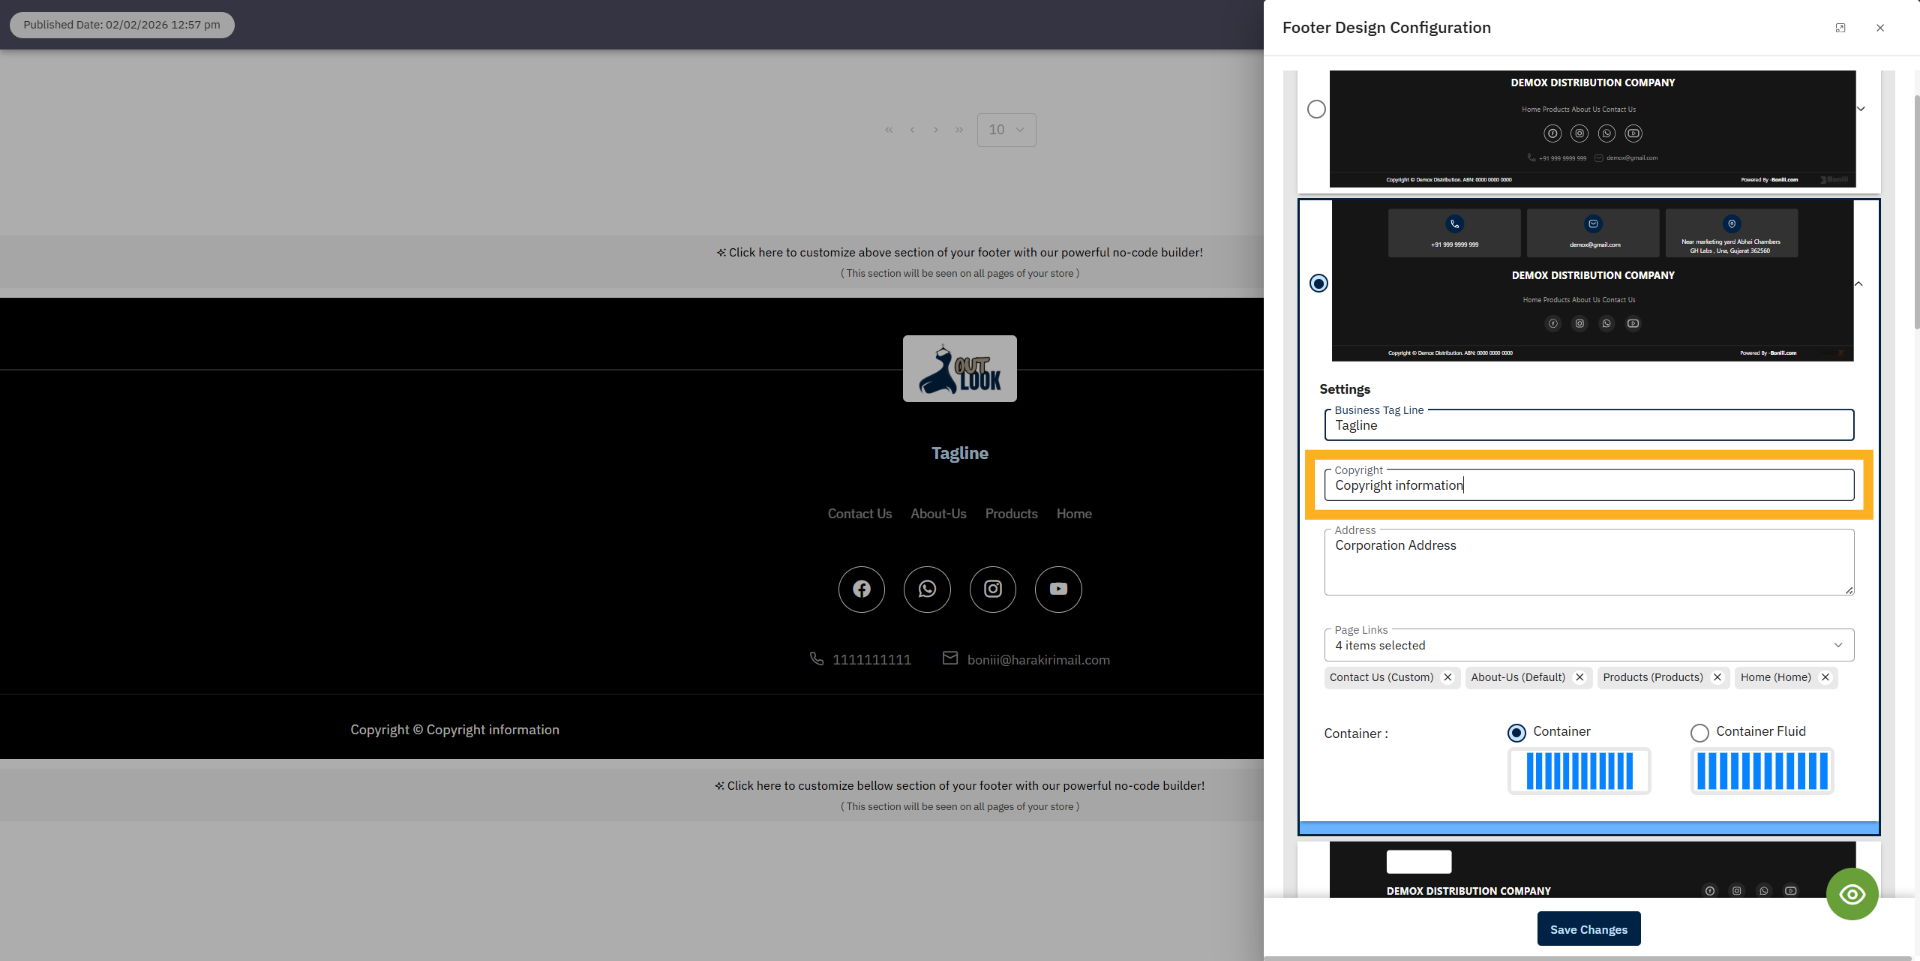
5. Choose Copyright Information
Click the Copyright content information section to modify the copyright content details displayed in the
footer.
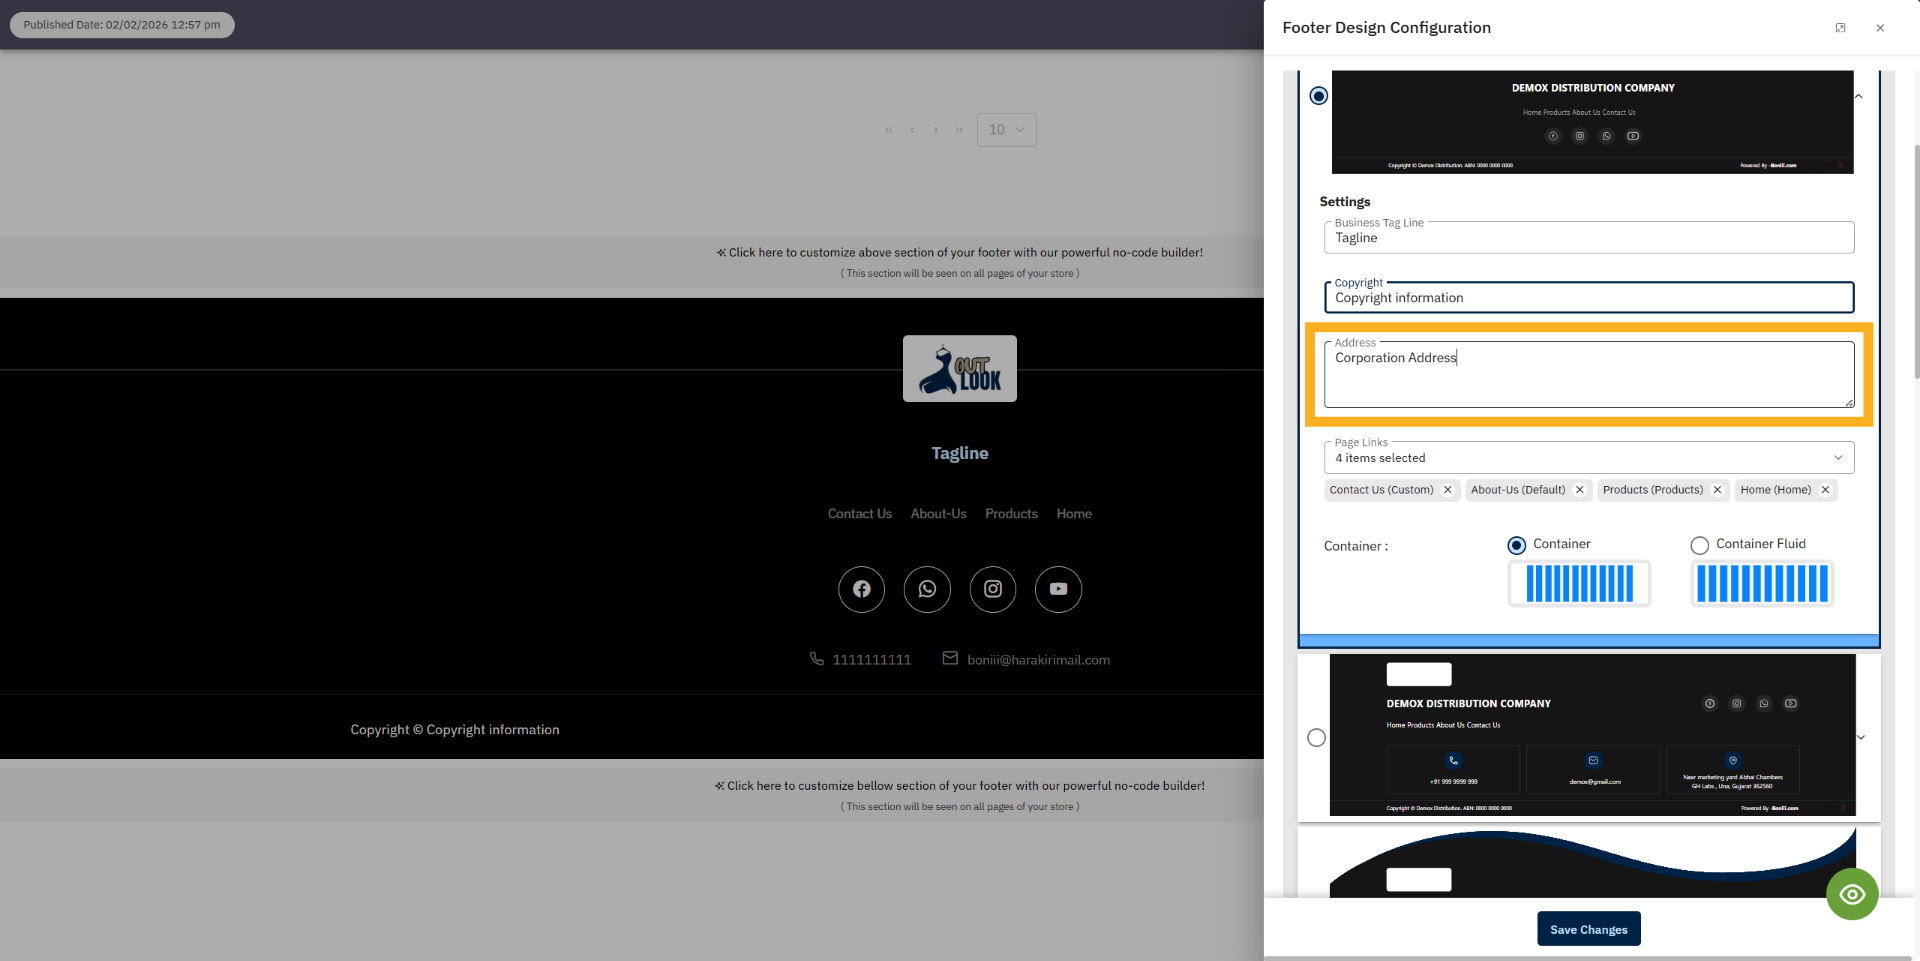
6. Click Address Field
Click the Address field to update the company address displayed in the footer.
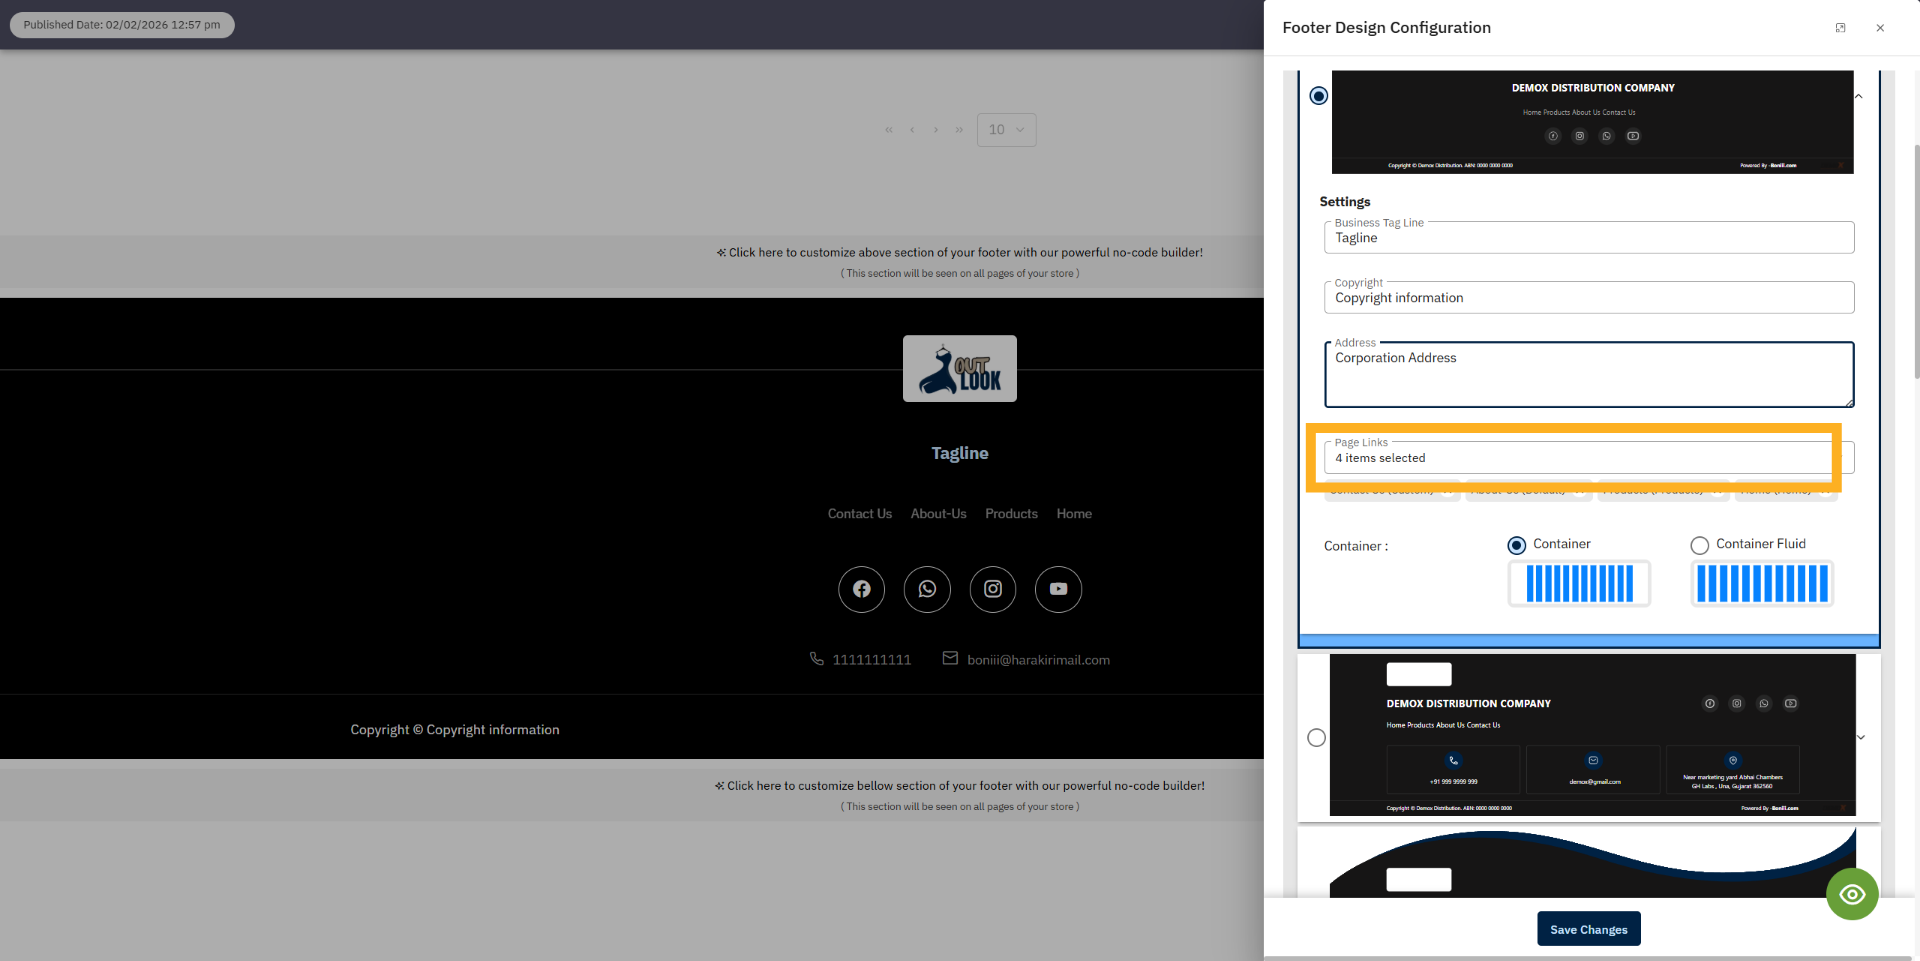
7. Footer menu links
Click the Page Link dropdown to see a list of all the pages on your website. From this list, you can
easily select and add a page link to display in your footer section, helping users quickly navigate to
important pages.
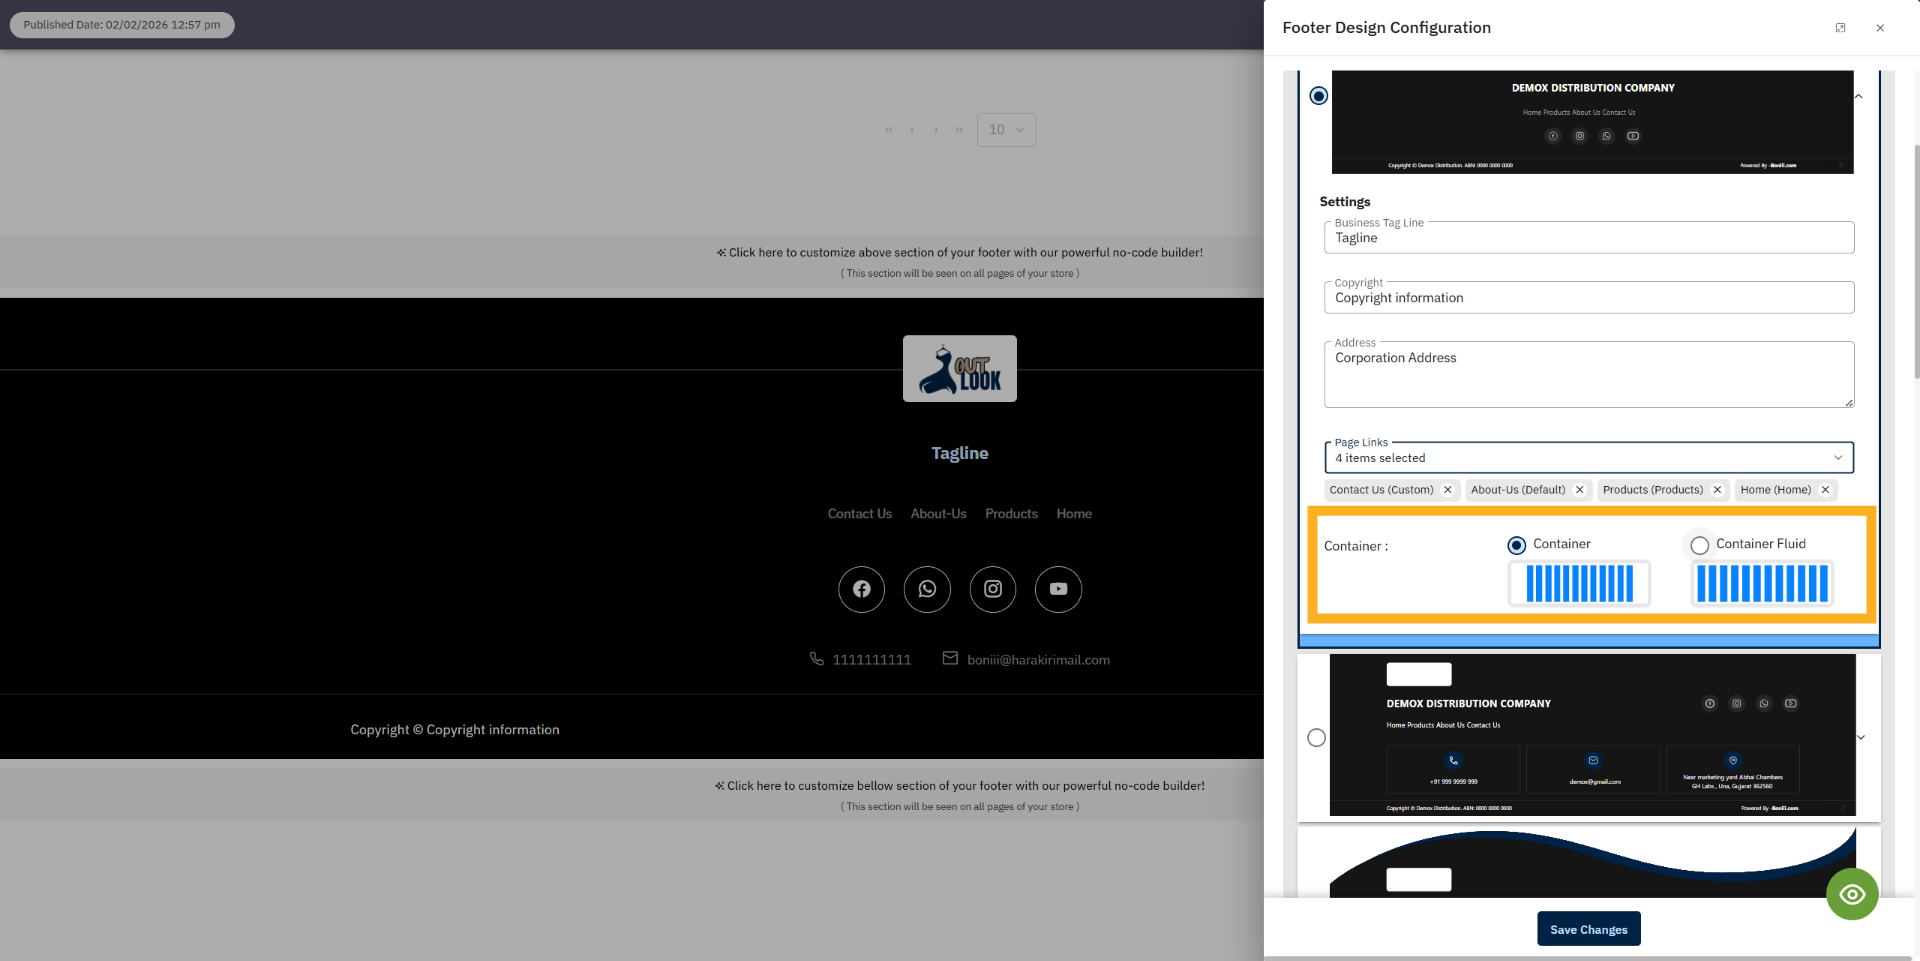
8. Choose Footer Container size
Choose the footer container size.
9. Save Footer Changes
Click Save Changes to save the footer settings. Once saved, the footer will be updated and applied to
your website.
You have successfully learned how to configure the footer, including selecting footer design templates,
adding content, and setting page links. Your footer setup is now complete.
Uploading...