Create And Launch CMS Website Using Boniii Platform
1. Introduction
You will learn how to set up your account, customize your site, and launch it successfully.
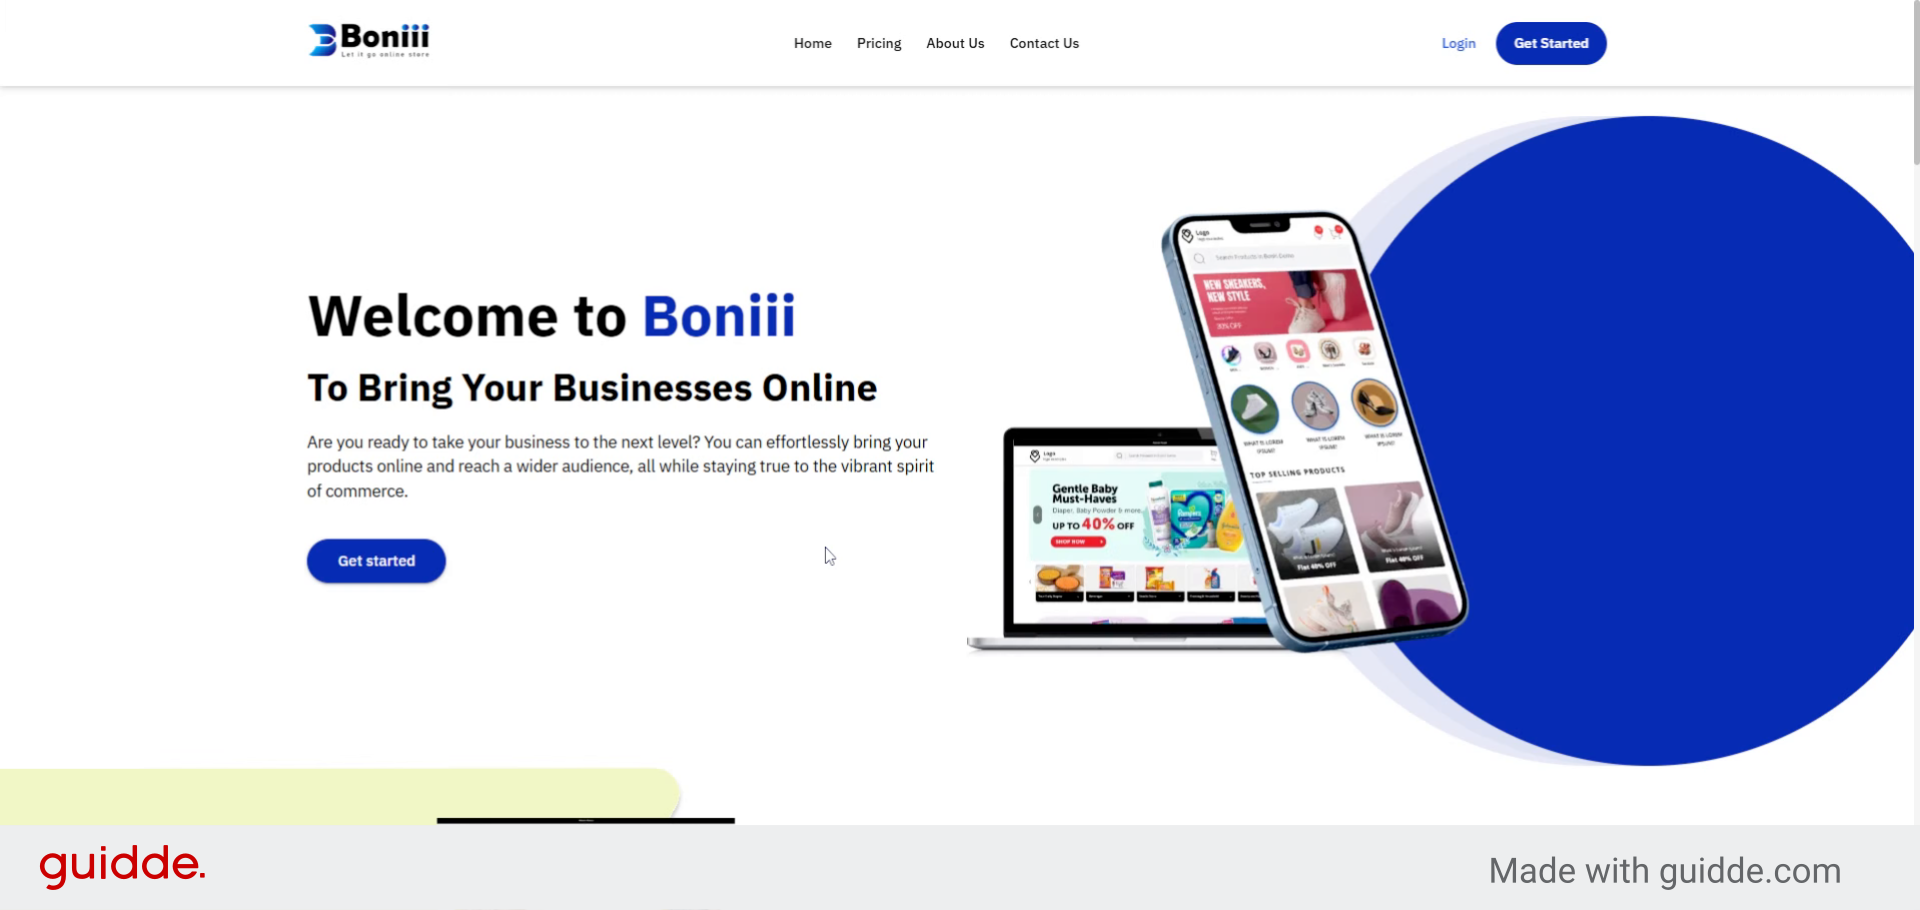
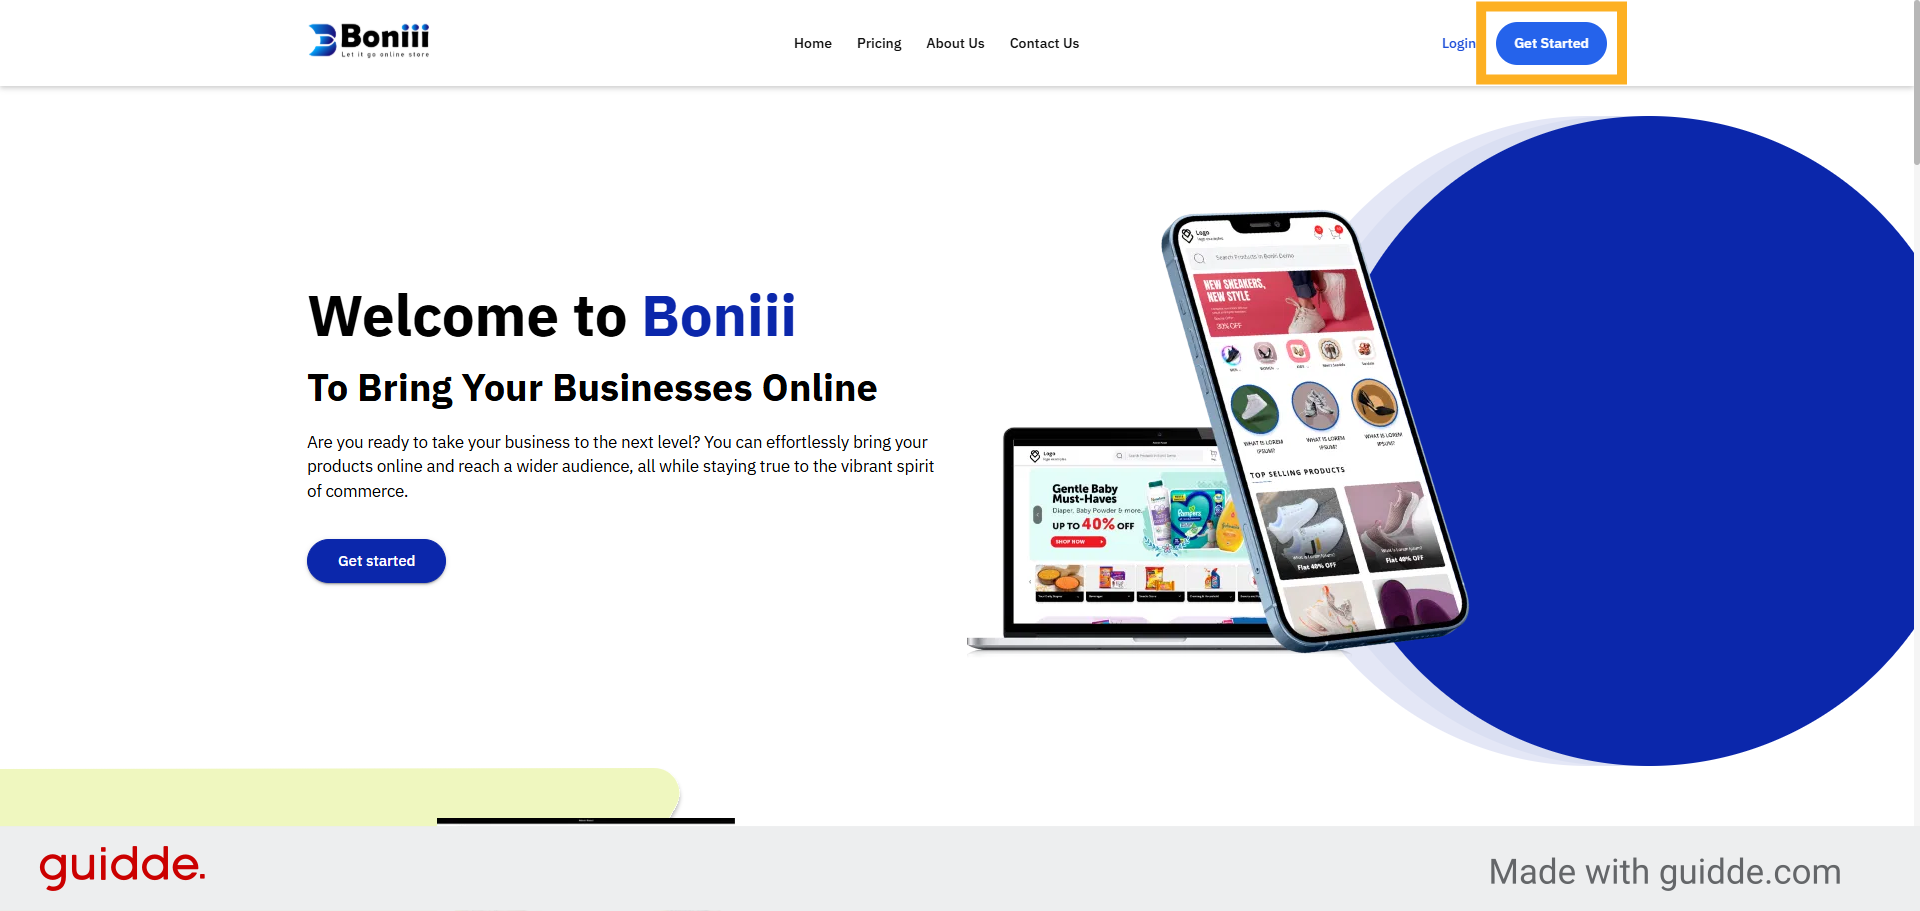
2. Click Get Started Button
Click the Get Started button on the Boniii homepage to begin creating your CMS website.
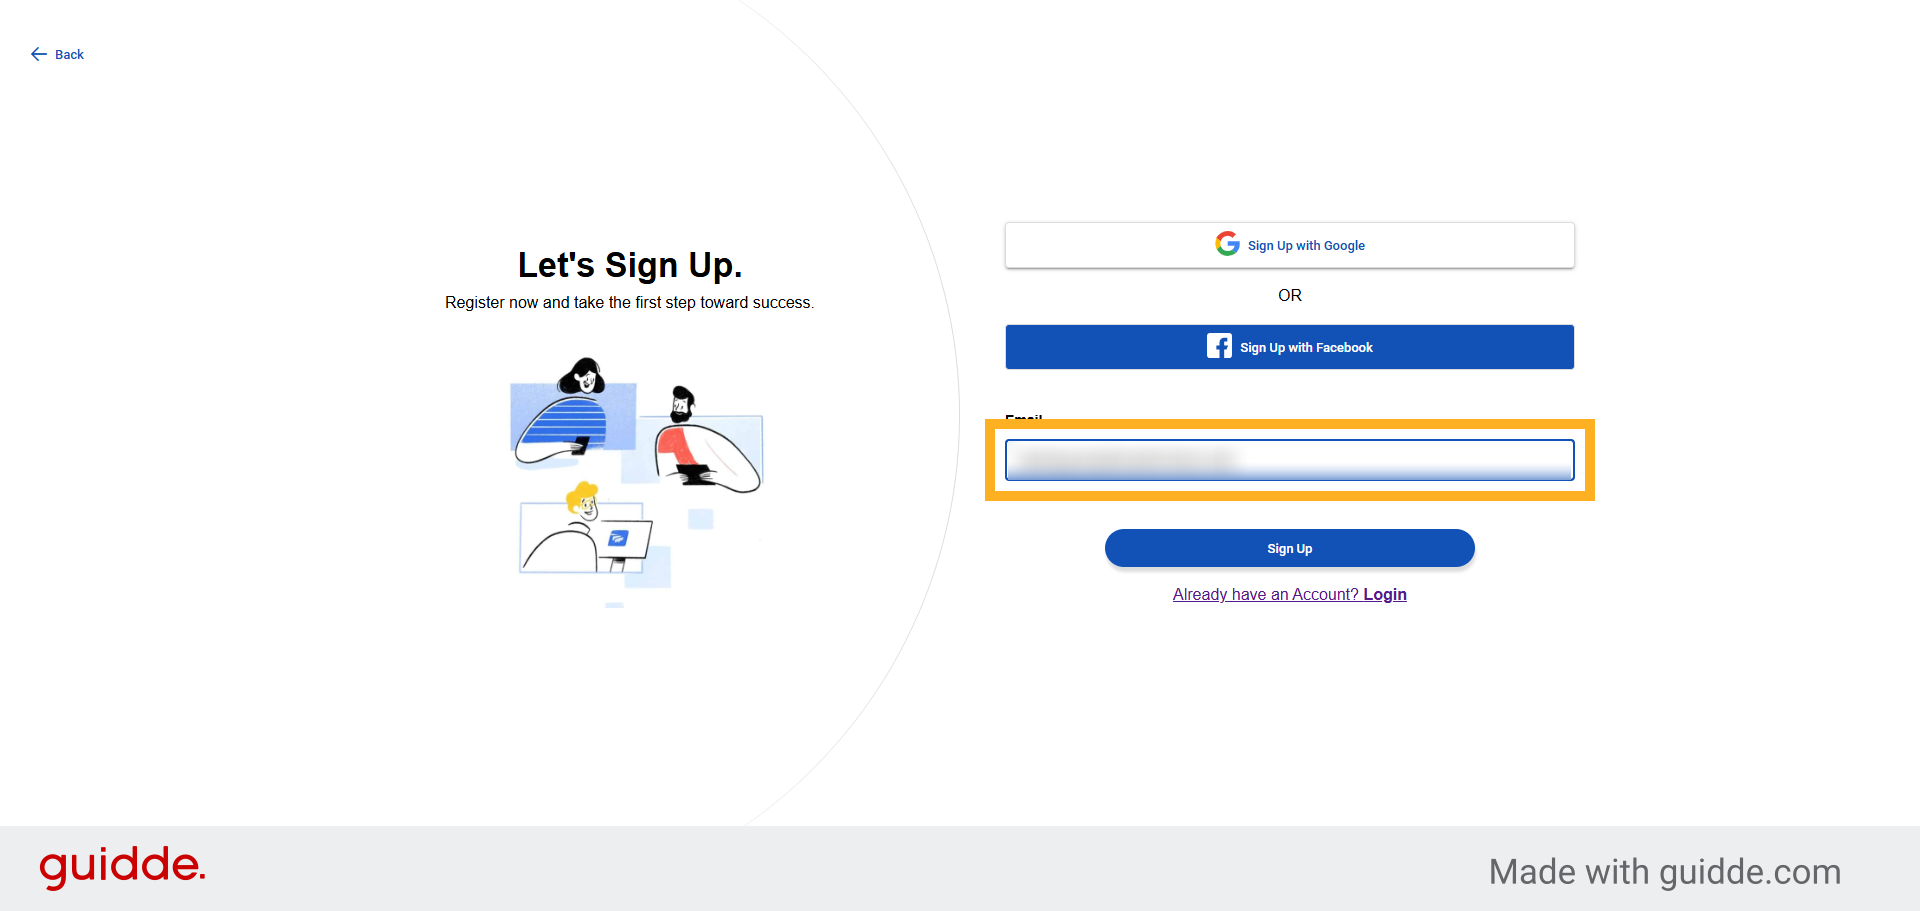
3. Enter Your Email Address
Enter your email address to register your Boniii account.
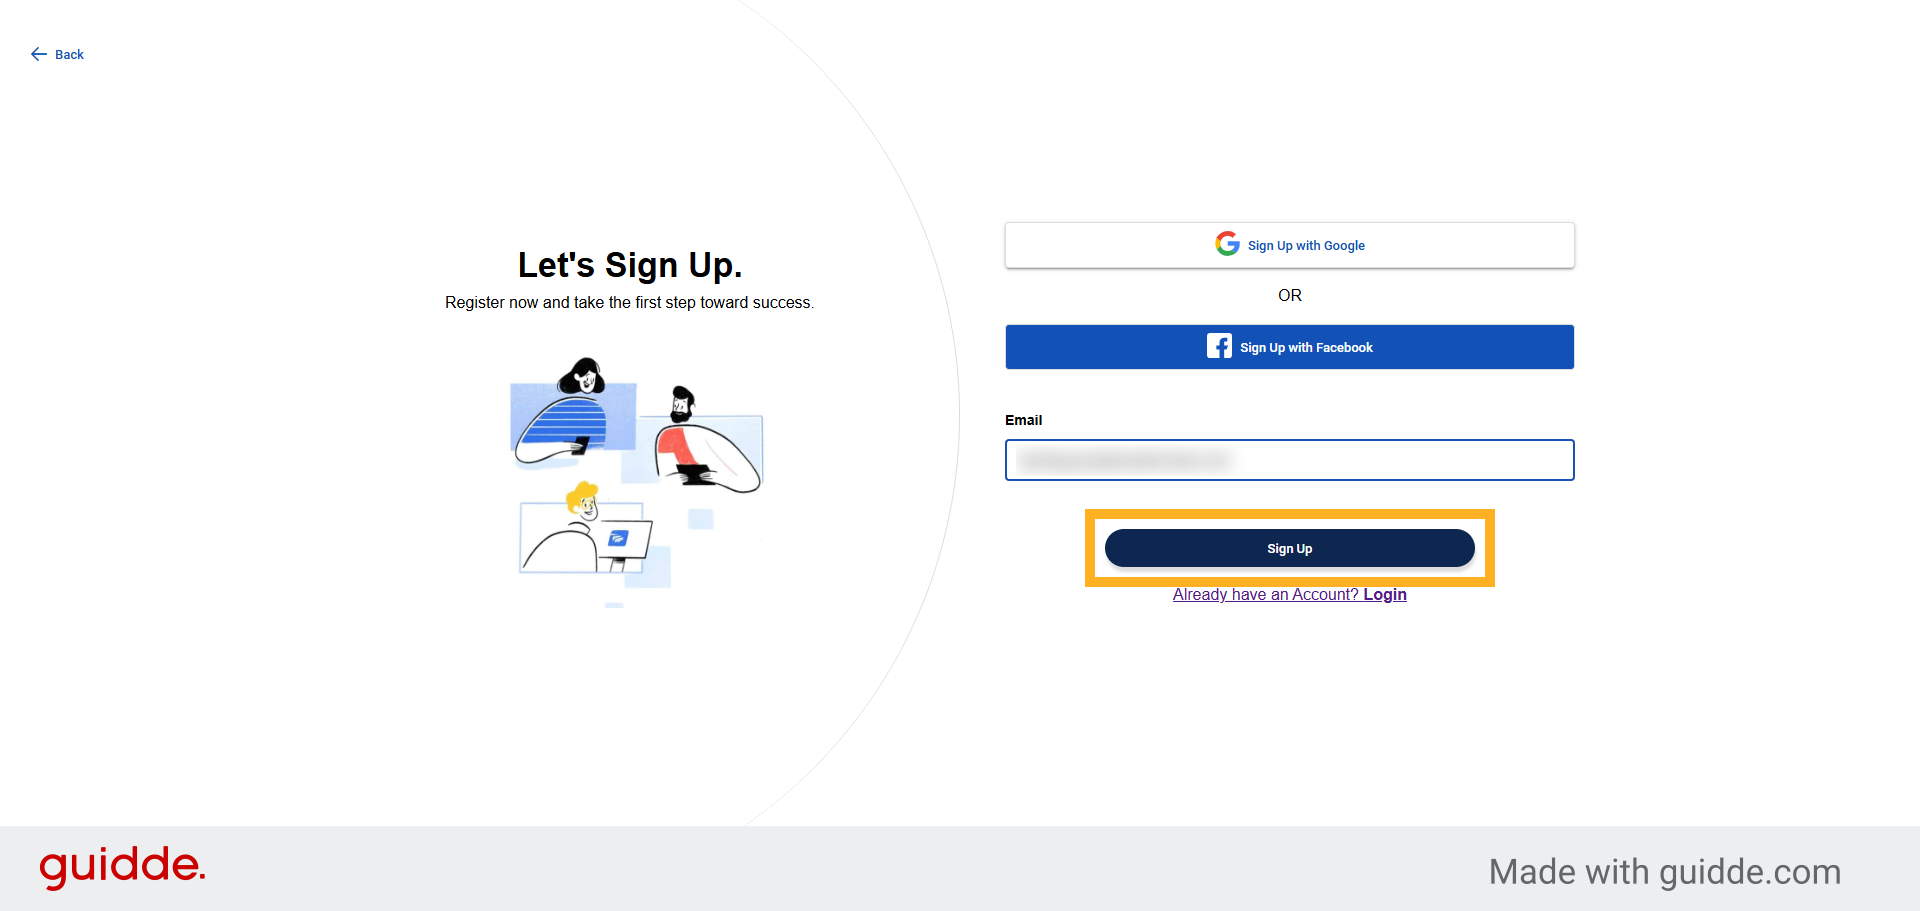
4. Click Sign Up Button
Click the Sign Up button to submit your registration information and continue.
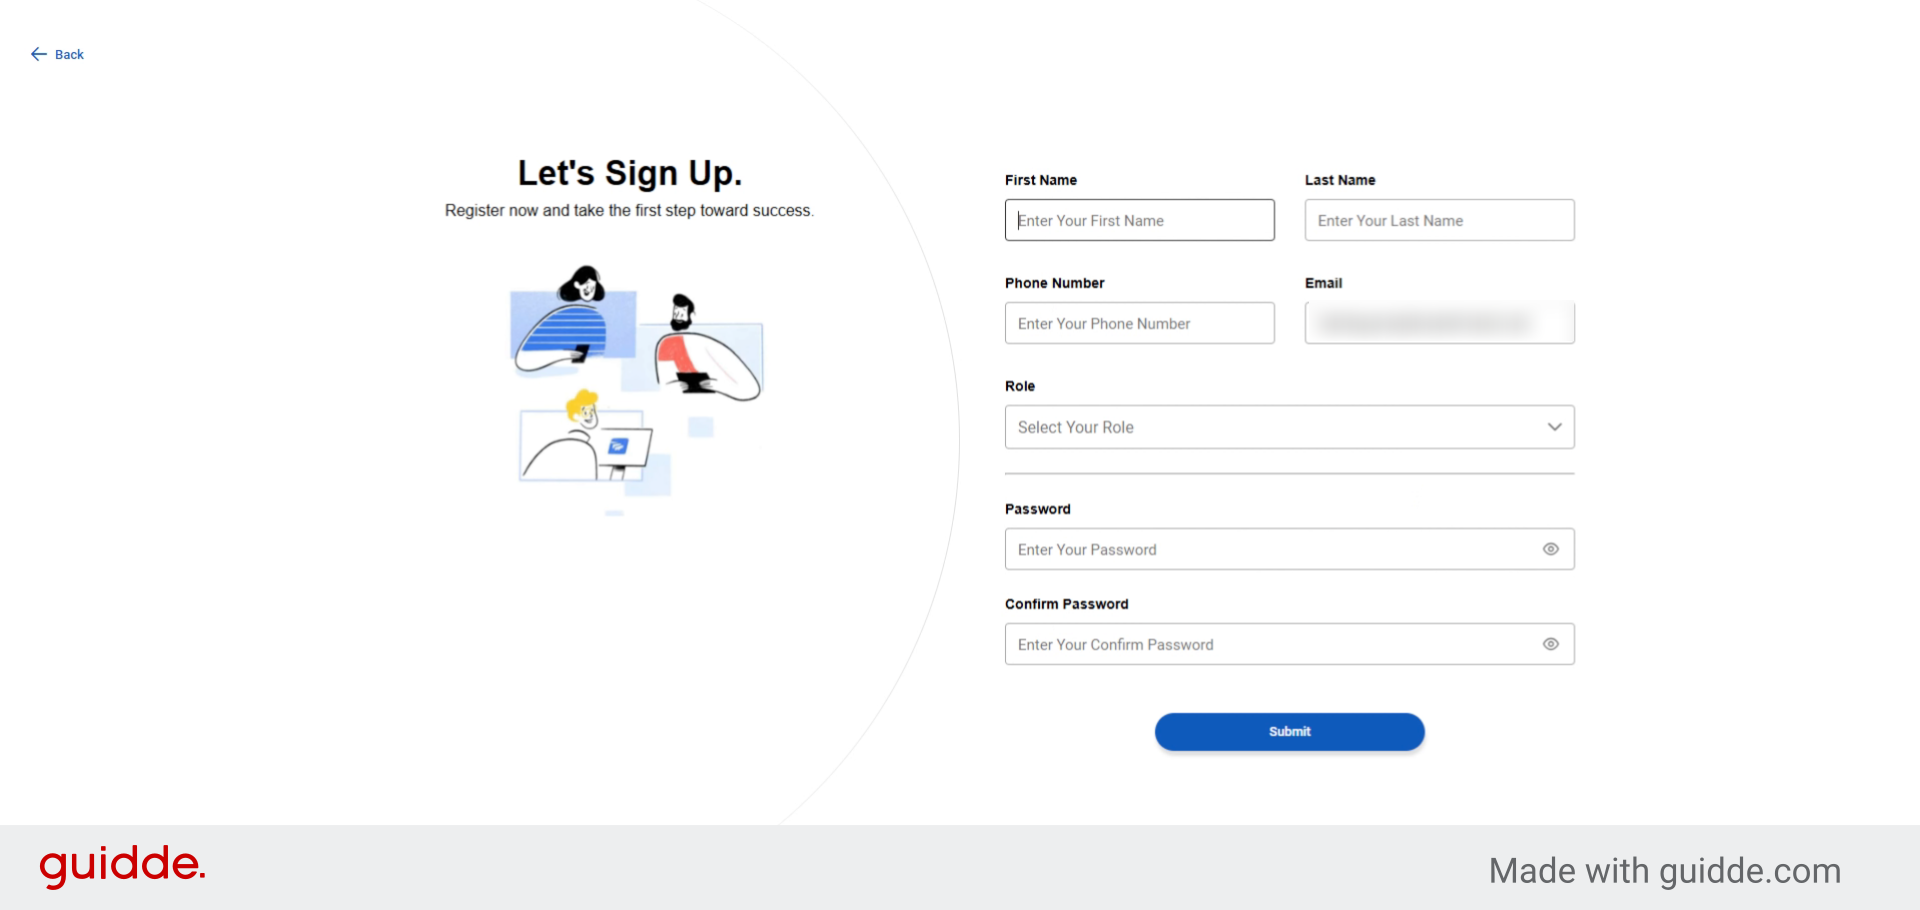
5. Fill Details Of Sign Up Form
Enter your personal details including first name, last name, phone number, email, role and set your
password to complete signup.
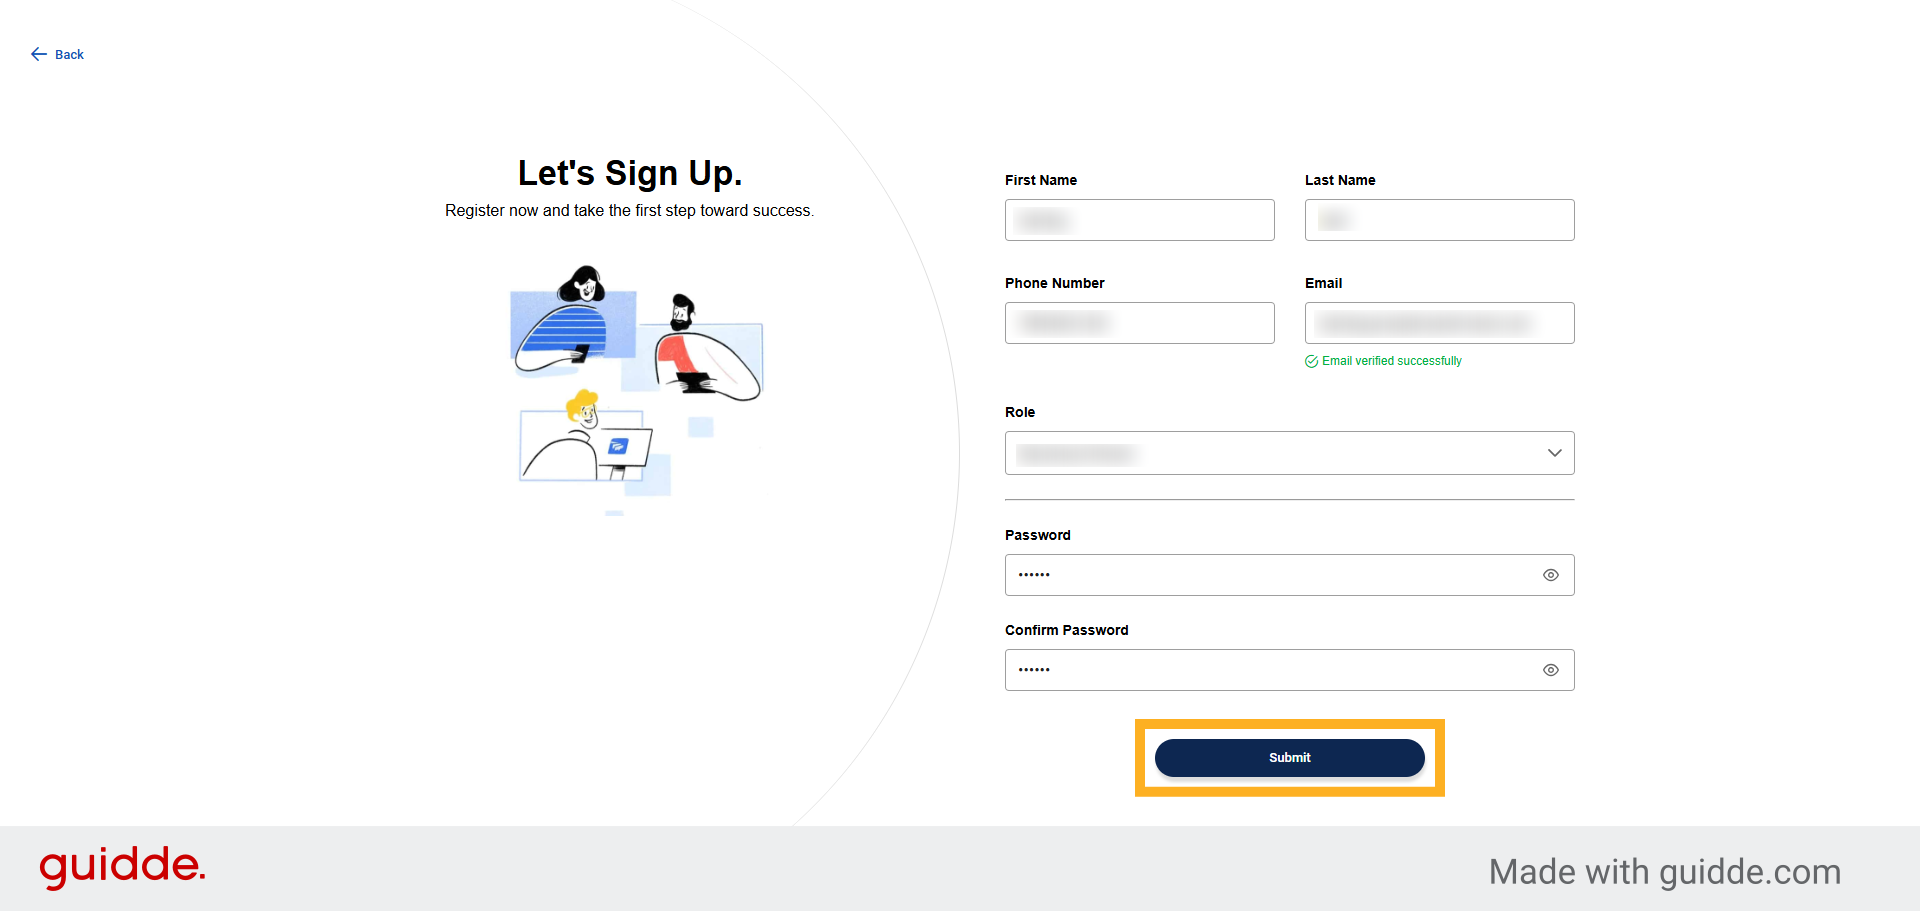
6. Click Submit Button
Click the Submit button to complete your account registration process.
7. Select Static Site Option
Select the Static Site option to begin setting up your website type.
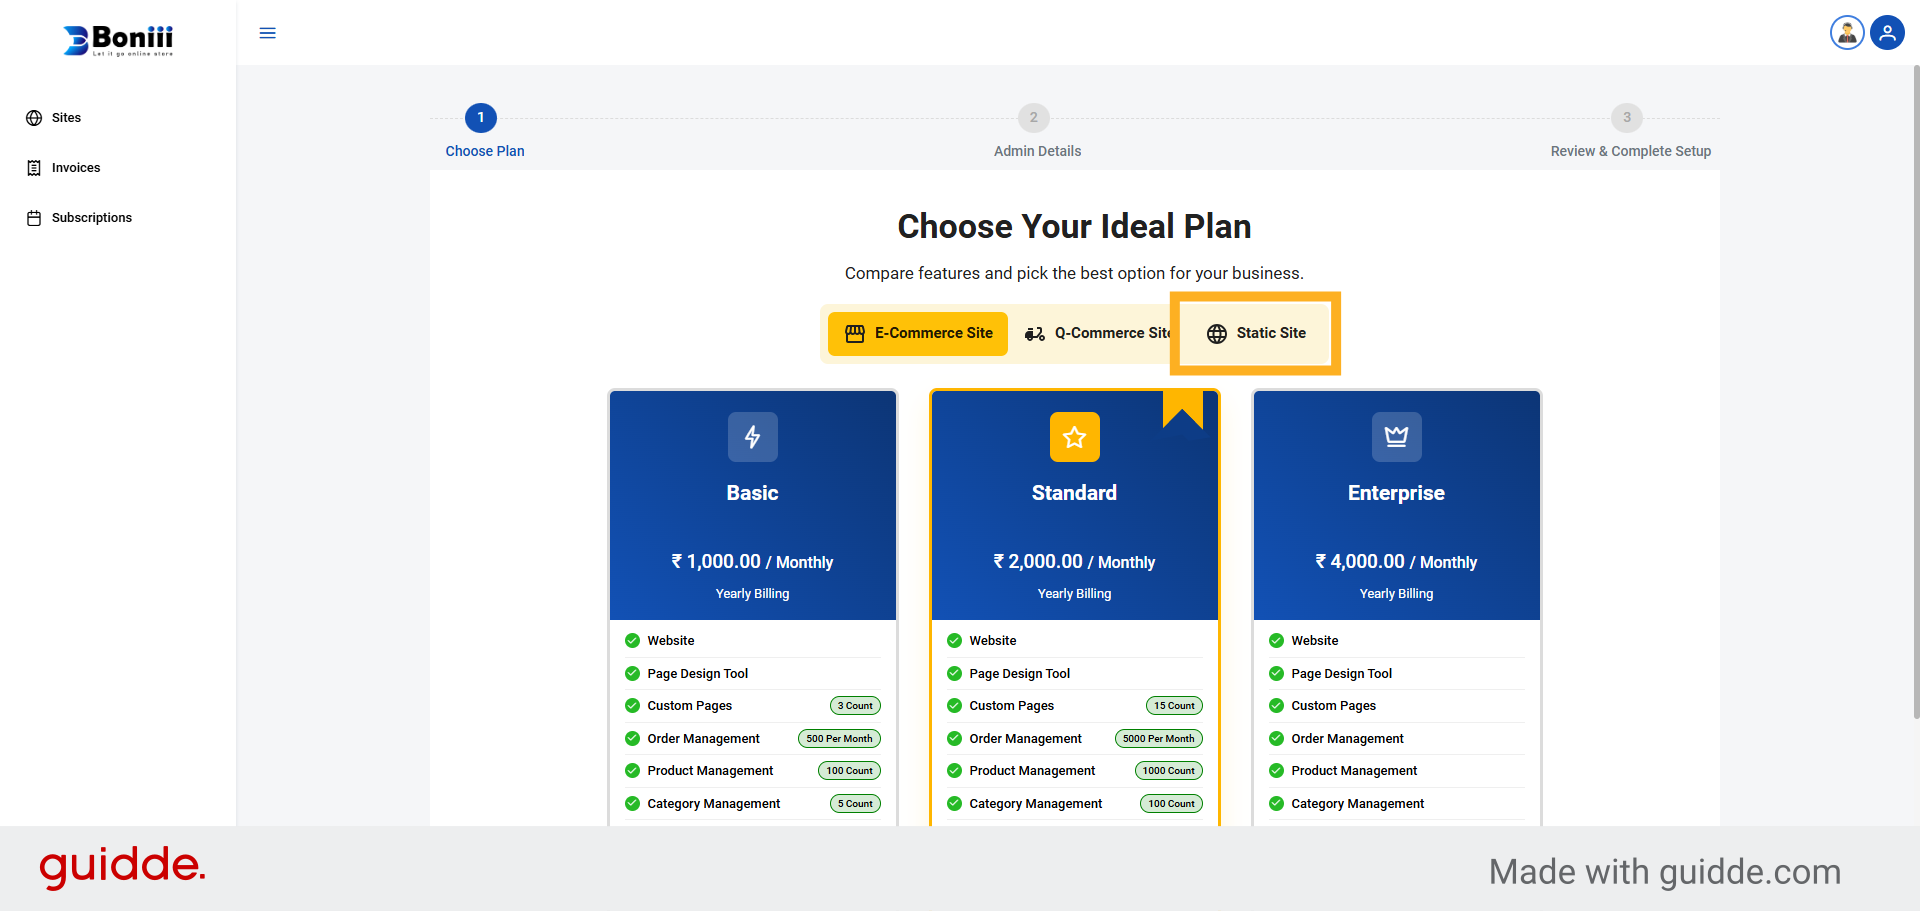
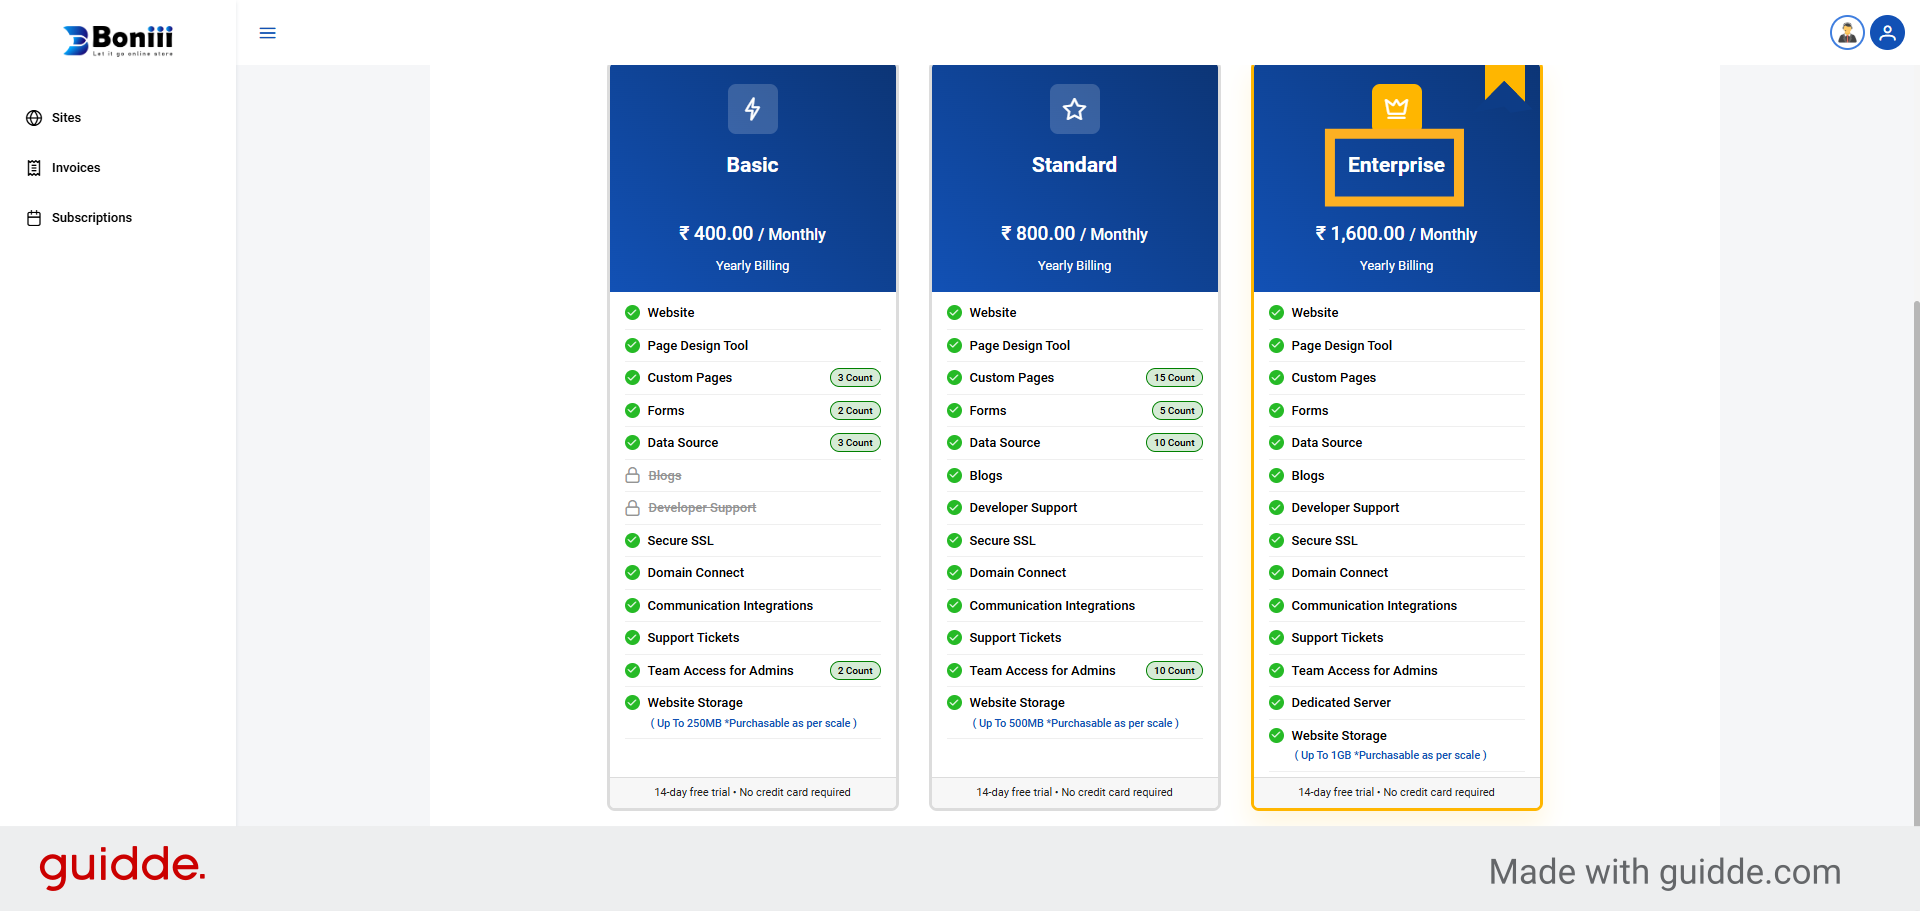
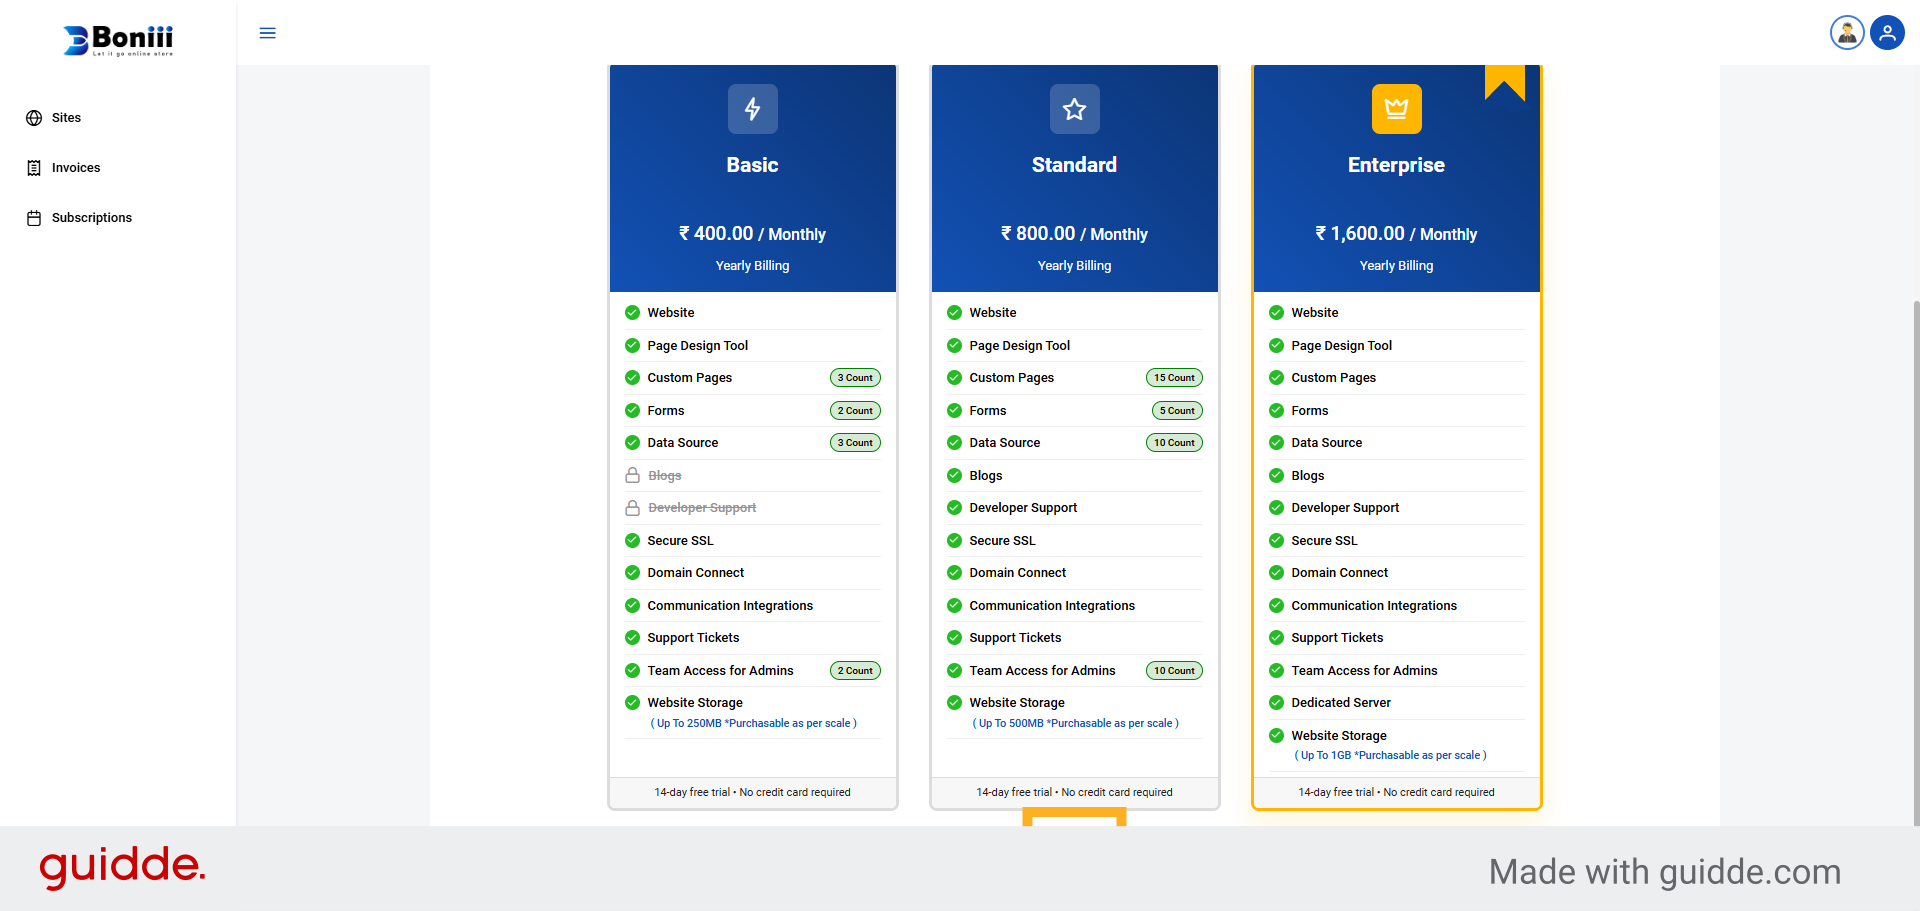
8. Select Plan
Choose a subscription plan that best fits your business needs and features.
9. Click Next Button
Click the Next button to advance to the next stage of website setup.
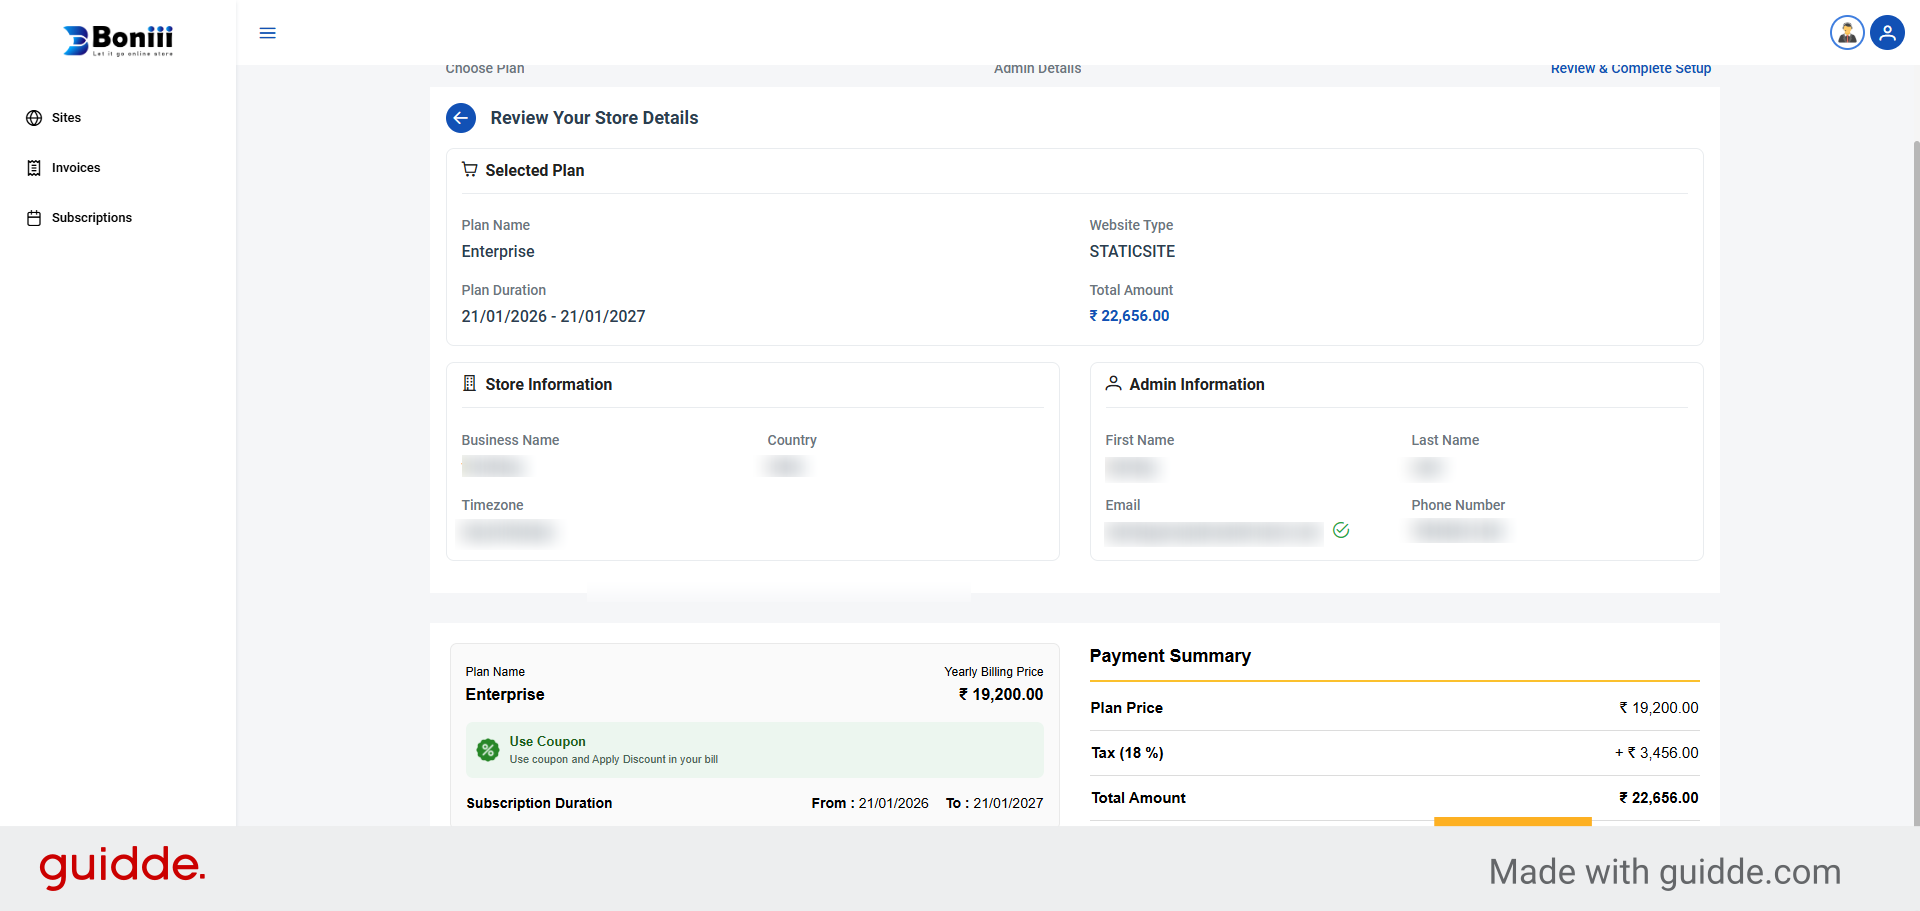
10. Fill Business Detail Form
Provide accurate business details to complete your store setup
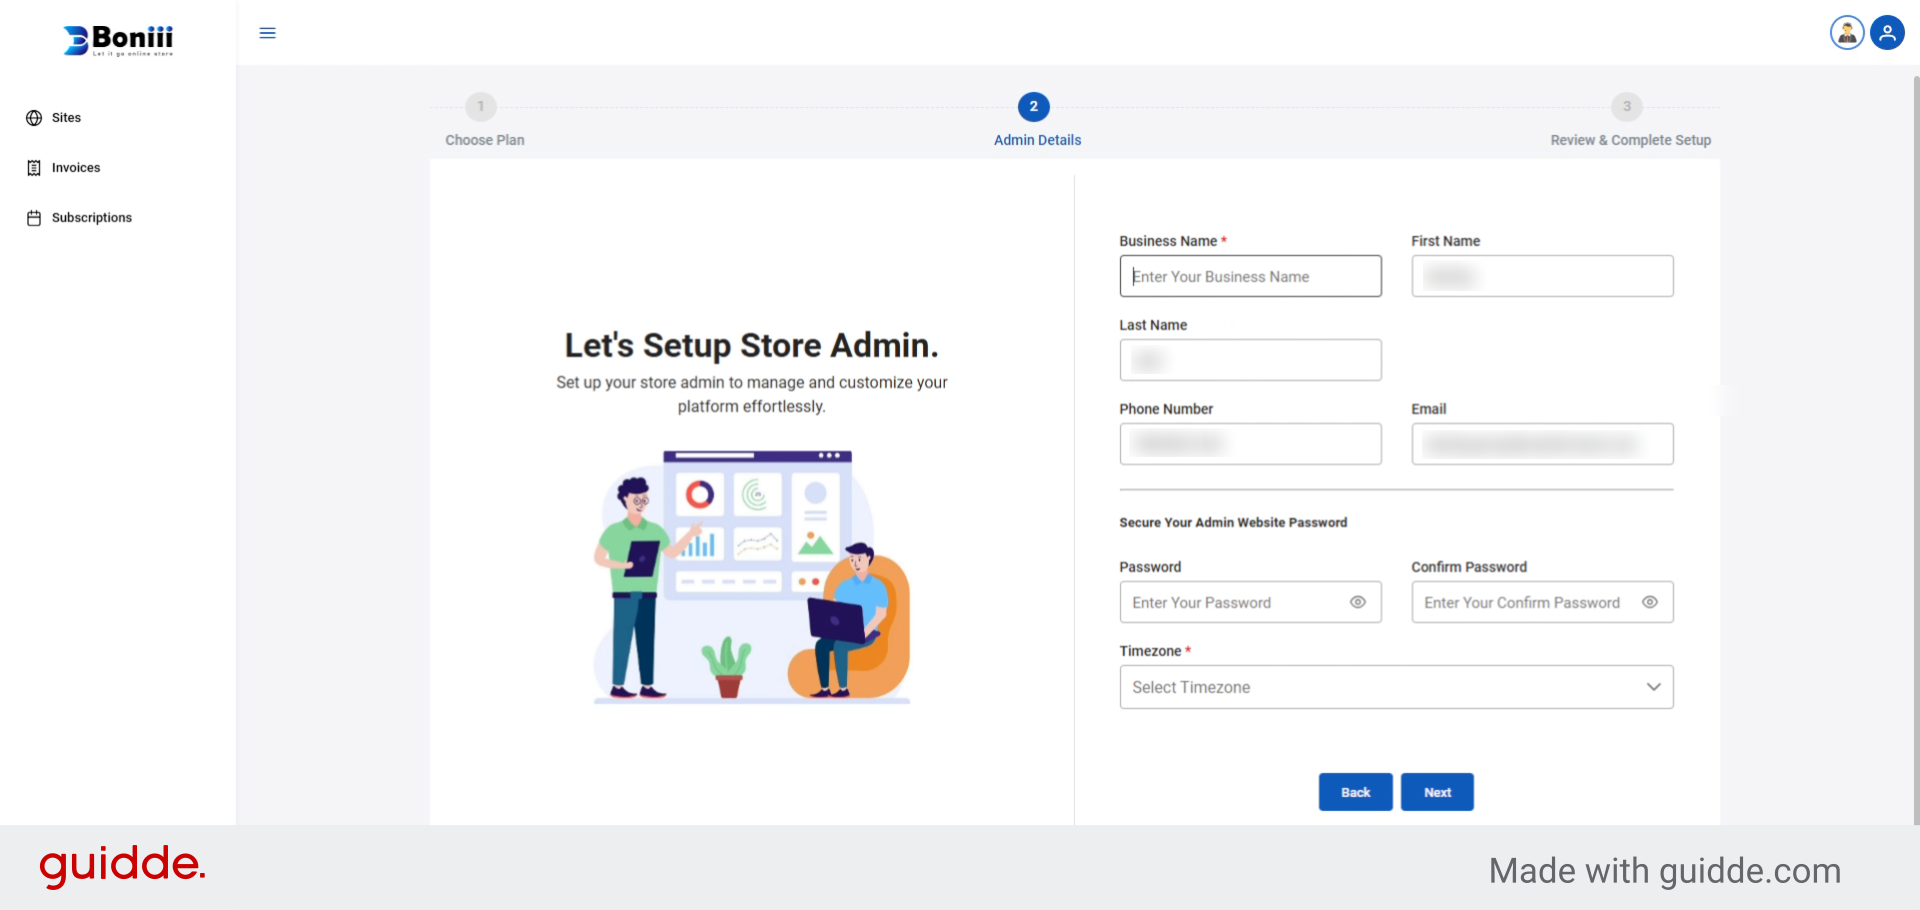
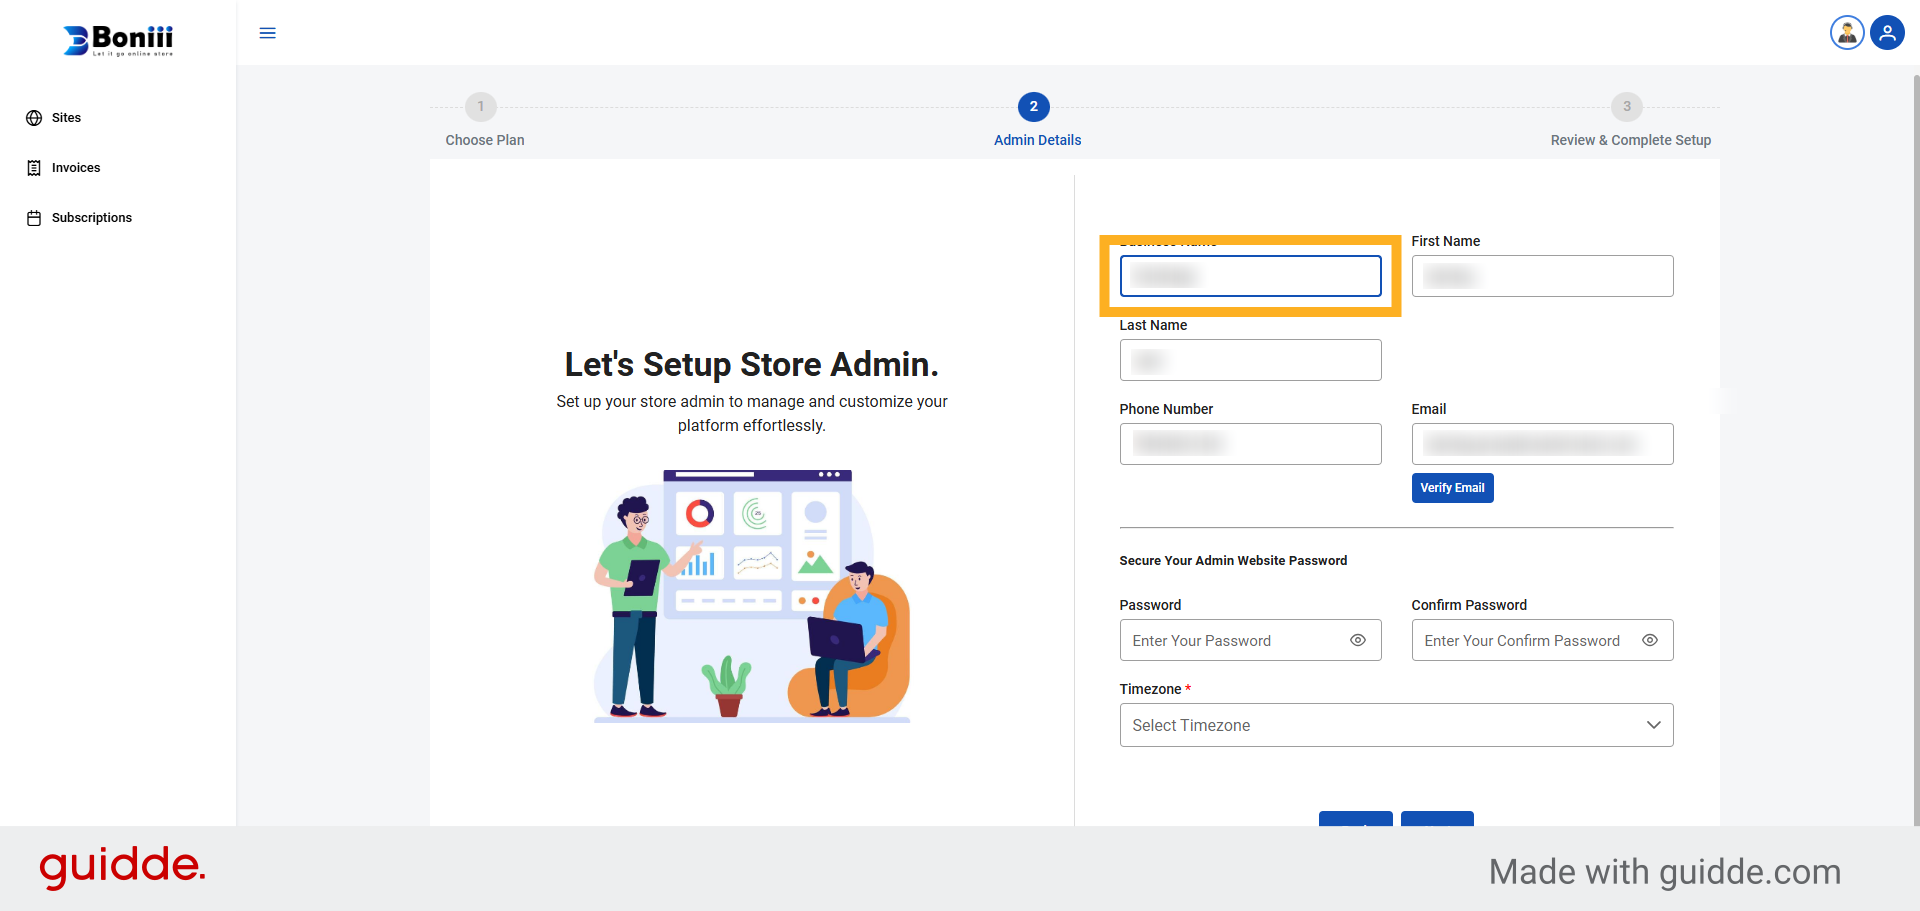
11. Enter Business Name
Enter your business name to personalize your website identity.
12. Enter Password Field
enter the password field and enter a secure password to continue.

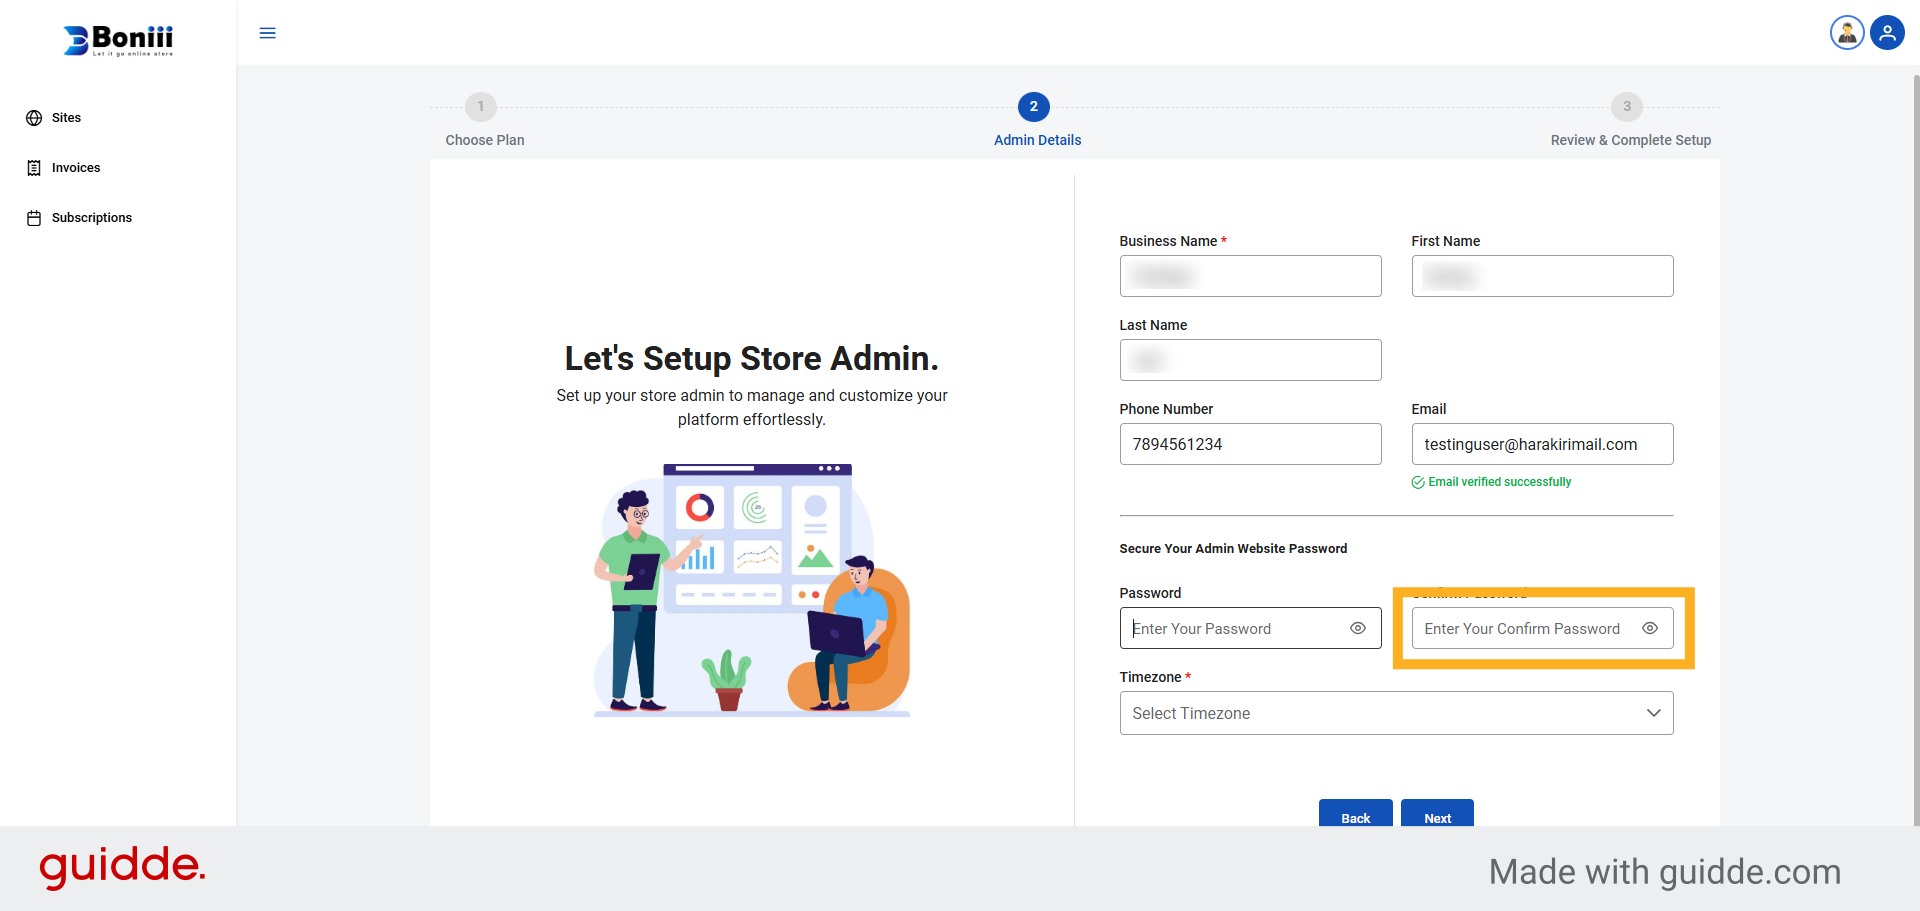
13. Enter Confirm Password Field
enter the confirm password field and enter a secure password to continue.
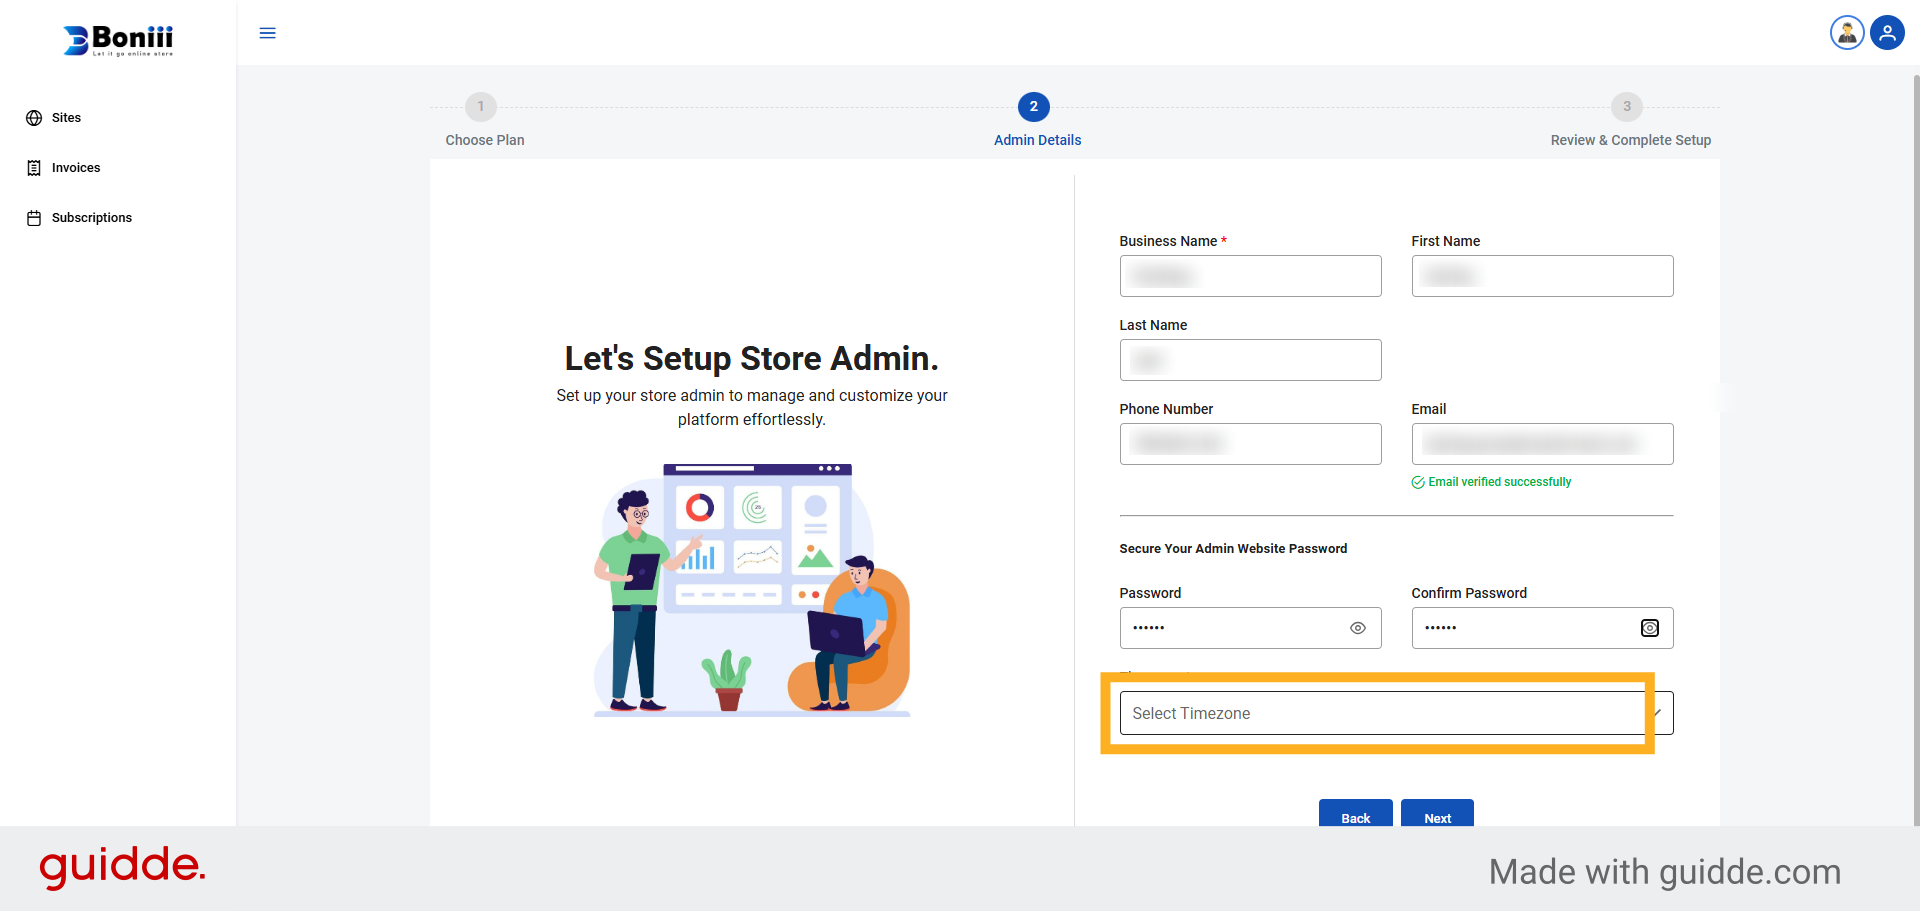
14. Select Timezone Dropdown
Click the Select Timezone dropdown to choose your local timezone.
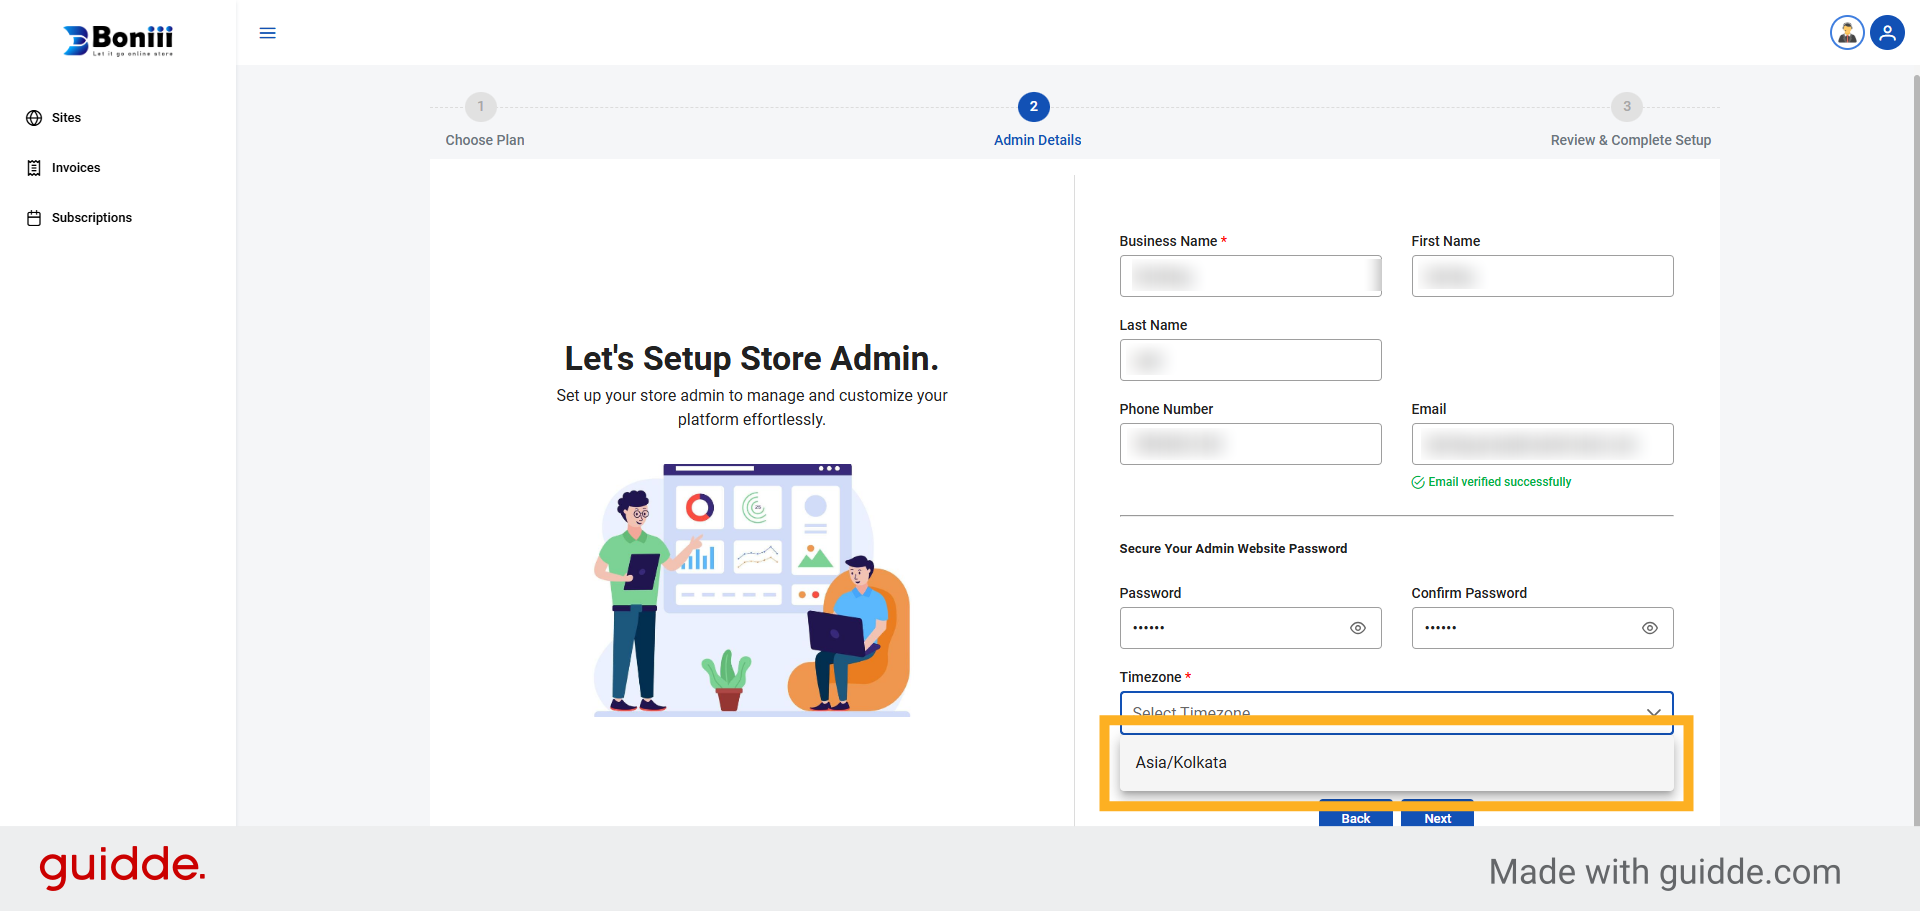
15. Choose Asia/Kolkata Timezone According To Your Country
Select Asia/Kolkata as your timezone to set correct time settings.
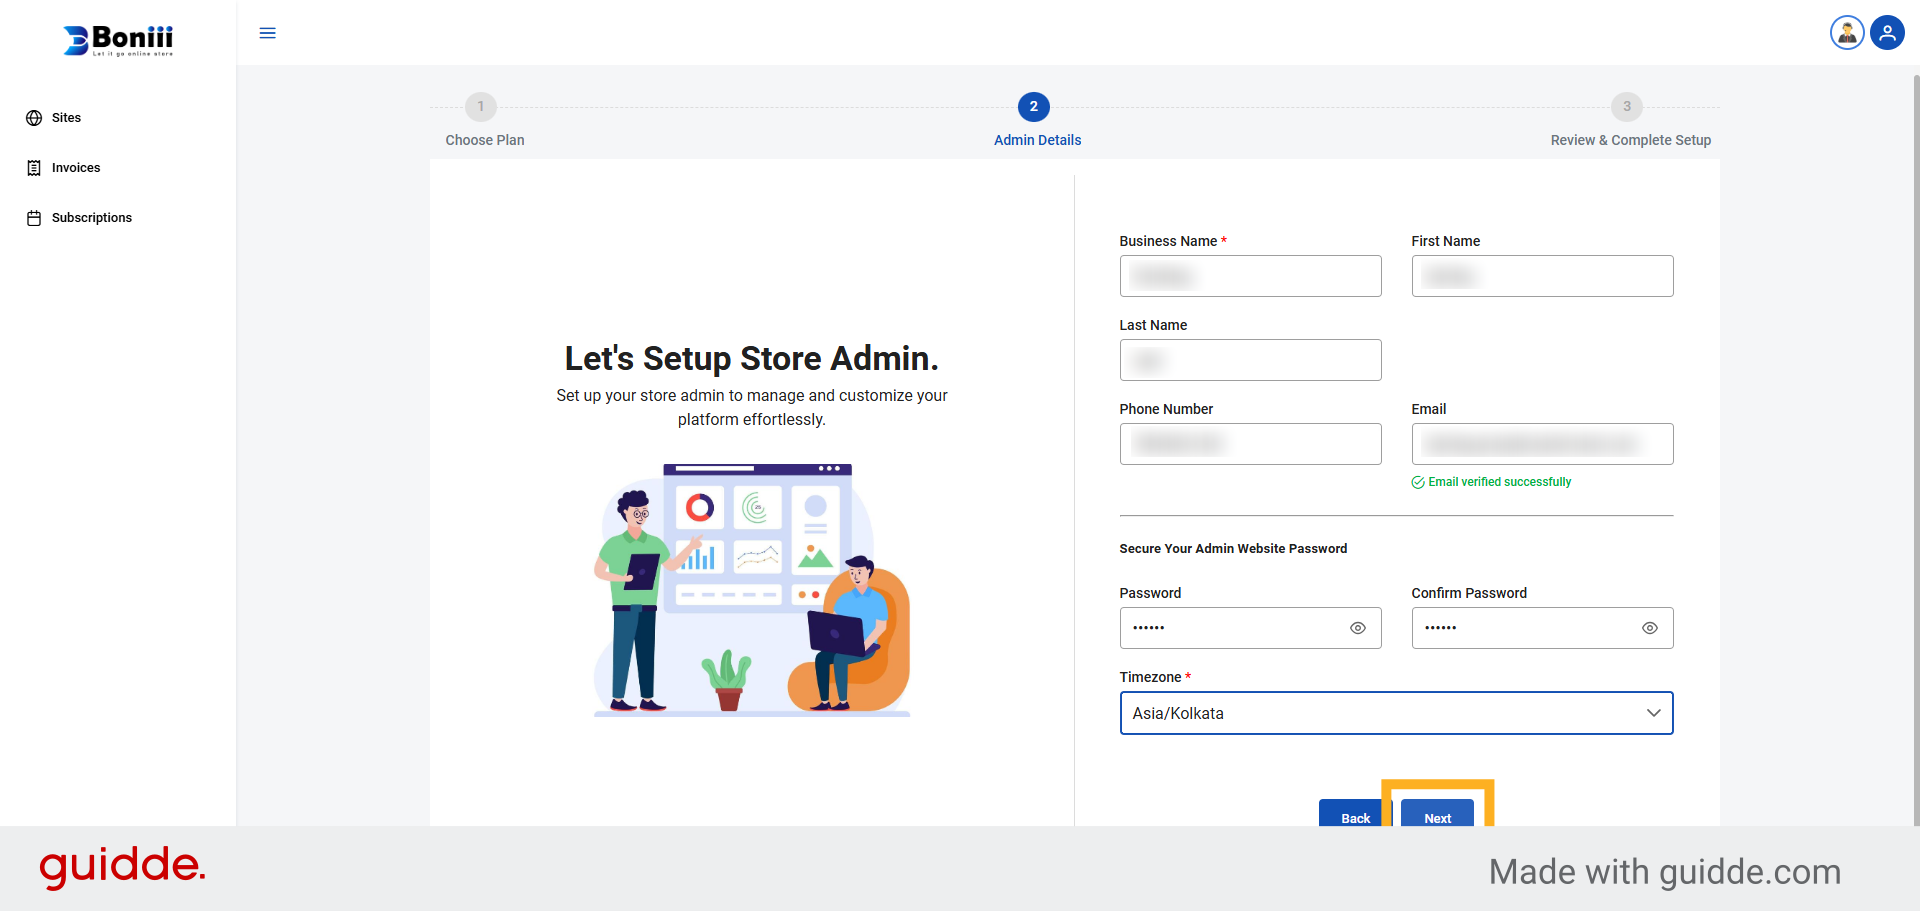
16. Click Next Button
Click the Next button to continue with the website setup process.
17. Click Start Free Trial
Click the Start Free Trial button to begin using Boniii's services without immediate payment.
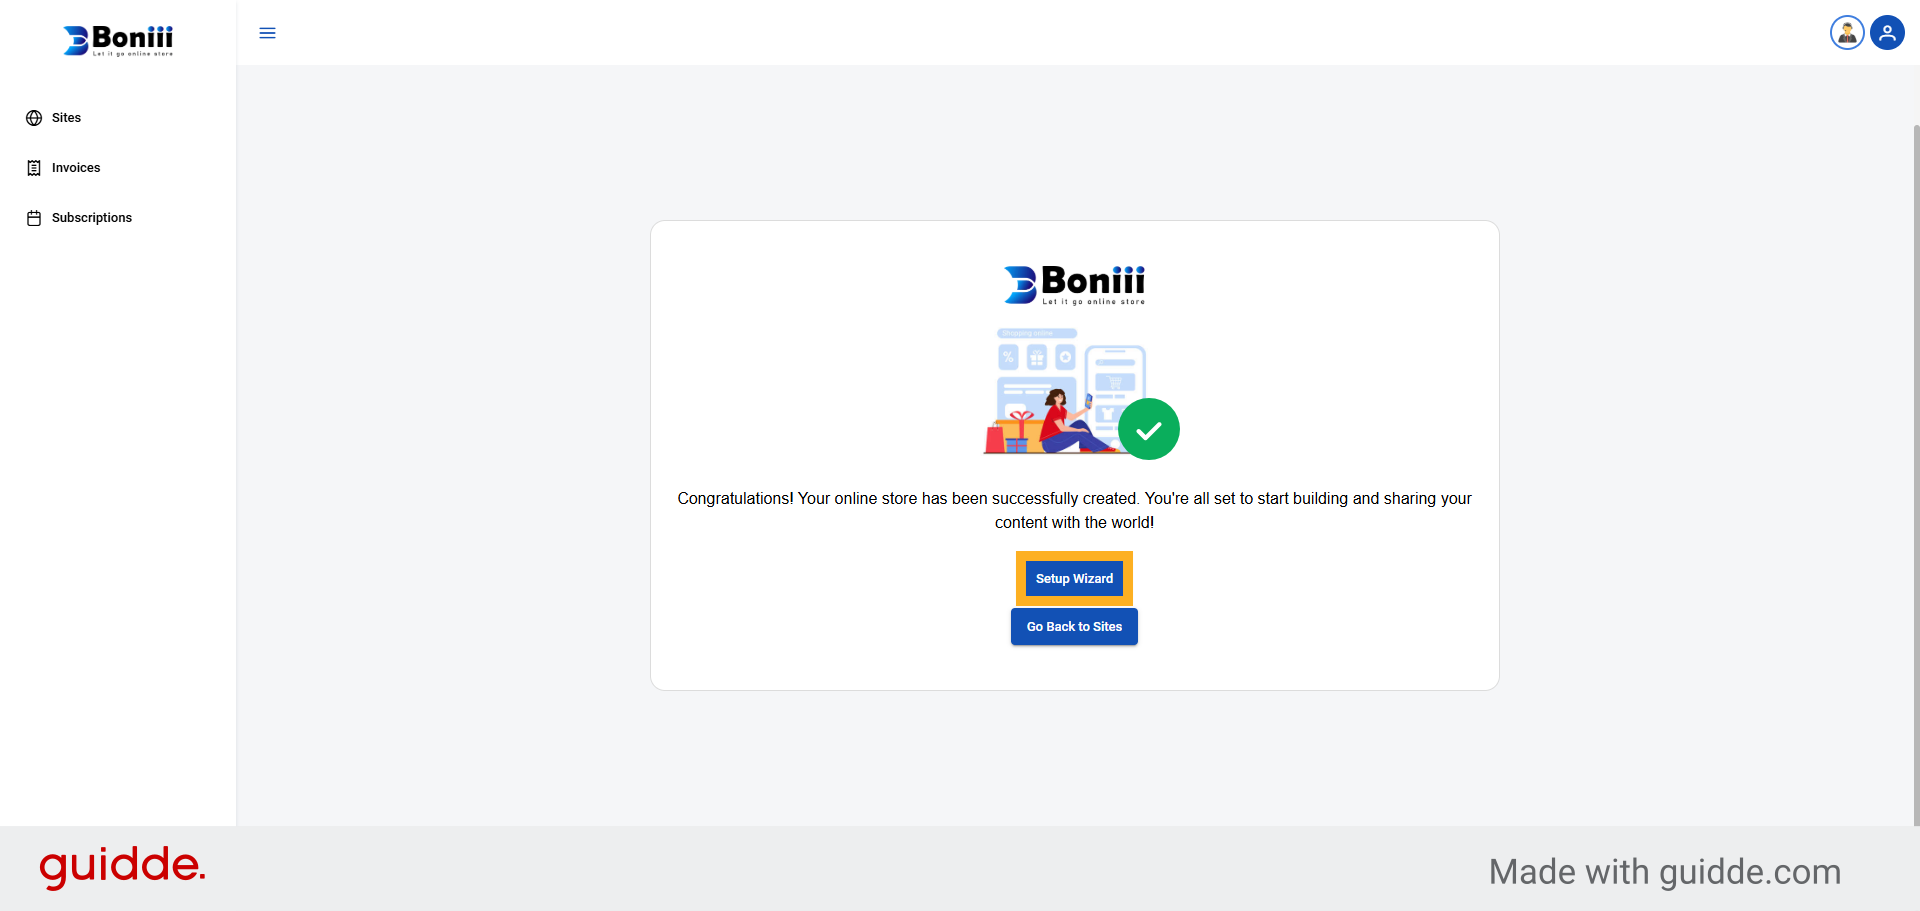
18. Click Setup Wizard
Click the Setup Wizard to guide you through customizing your new website.
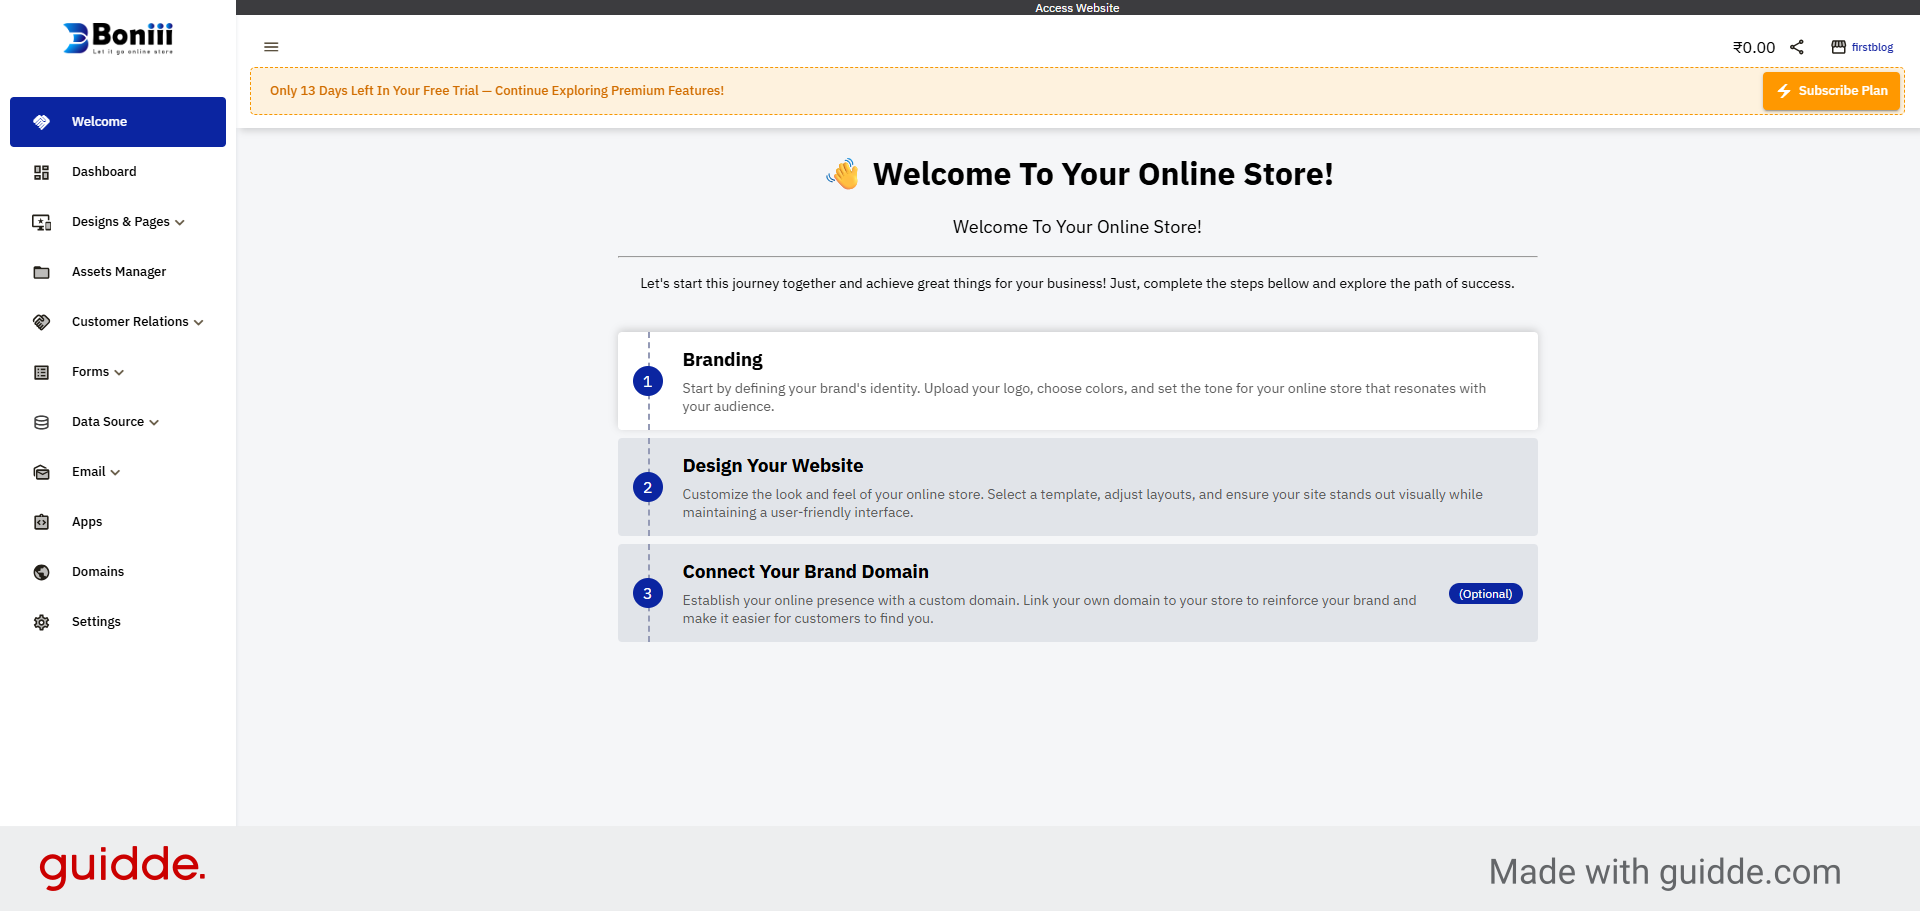
19. Setup Wizard For Your Store
Setup wizard for branding and design customization.
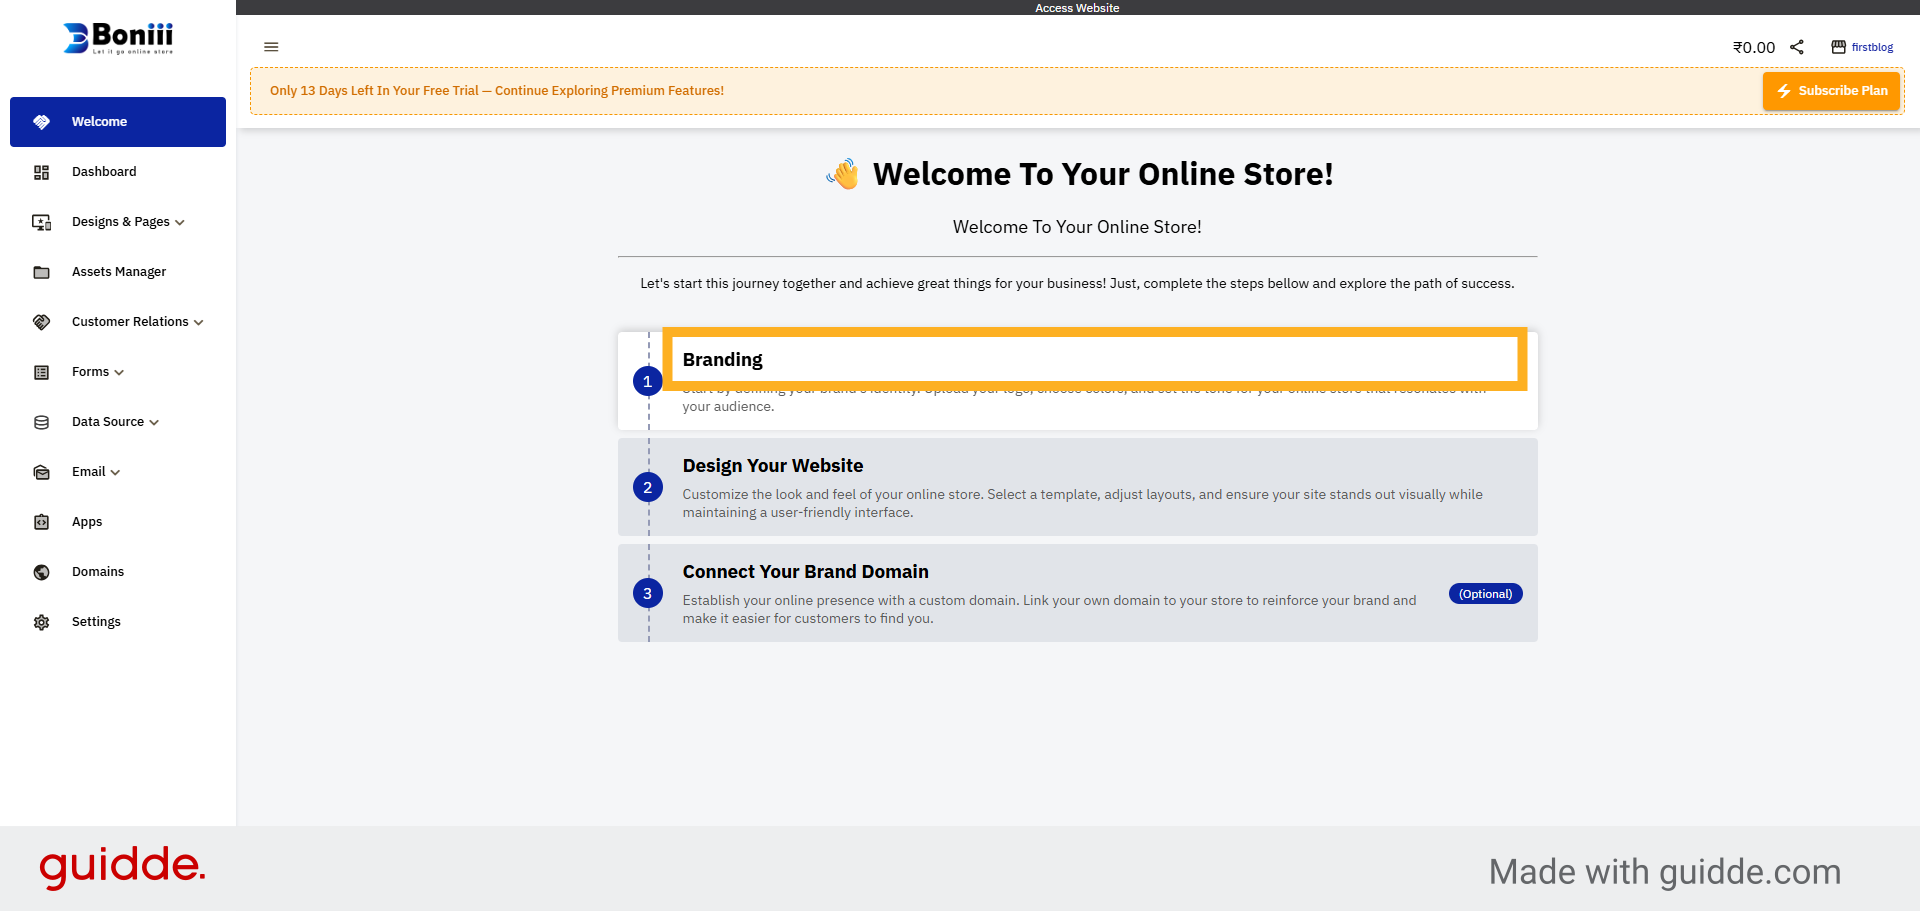
20. Click Branding Section
Click the Branding section to start personalizing your website's visual identity.
21. Upload Branding Logo
Click the Add icon to upload your branding logo.
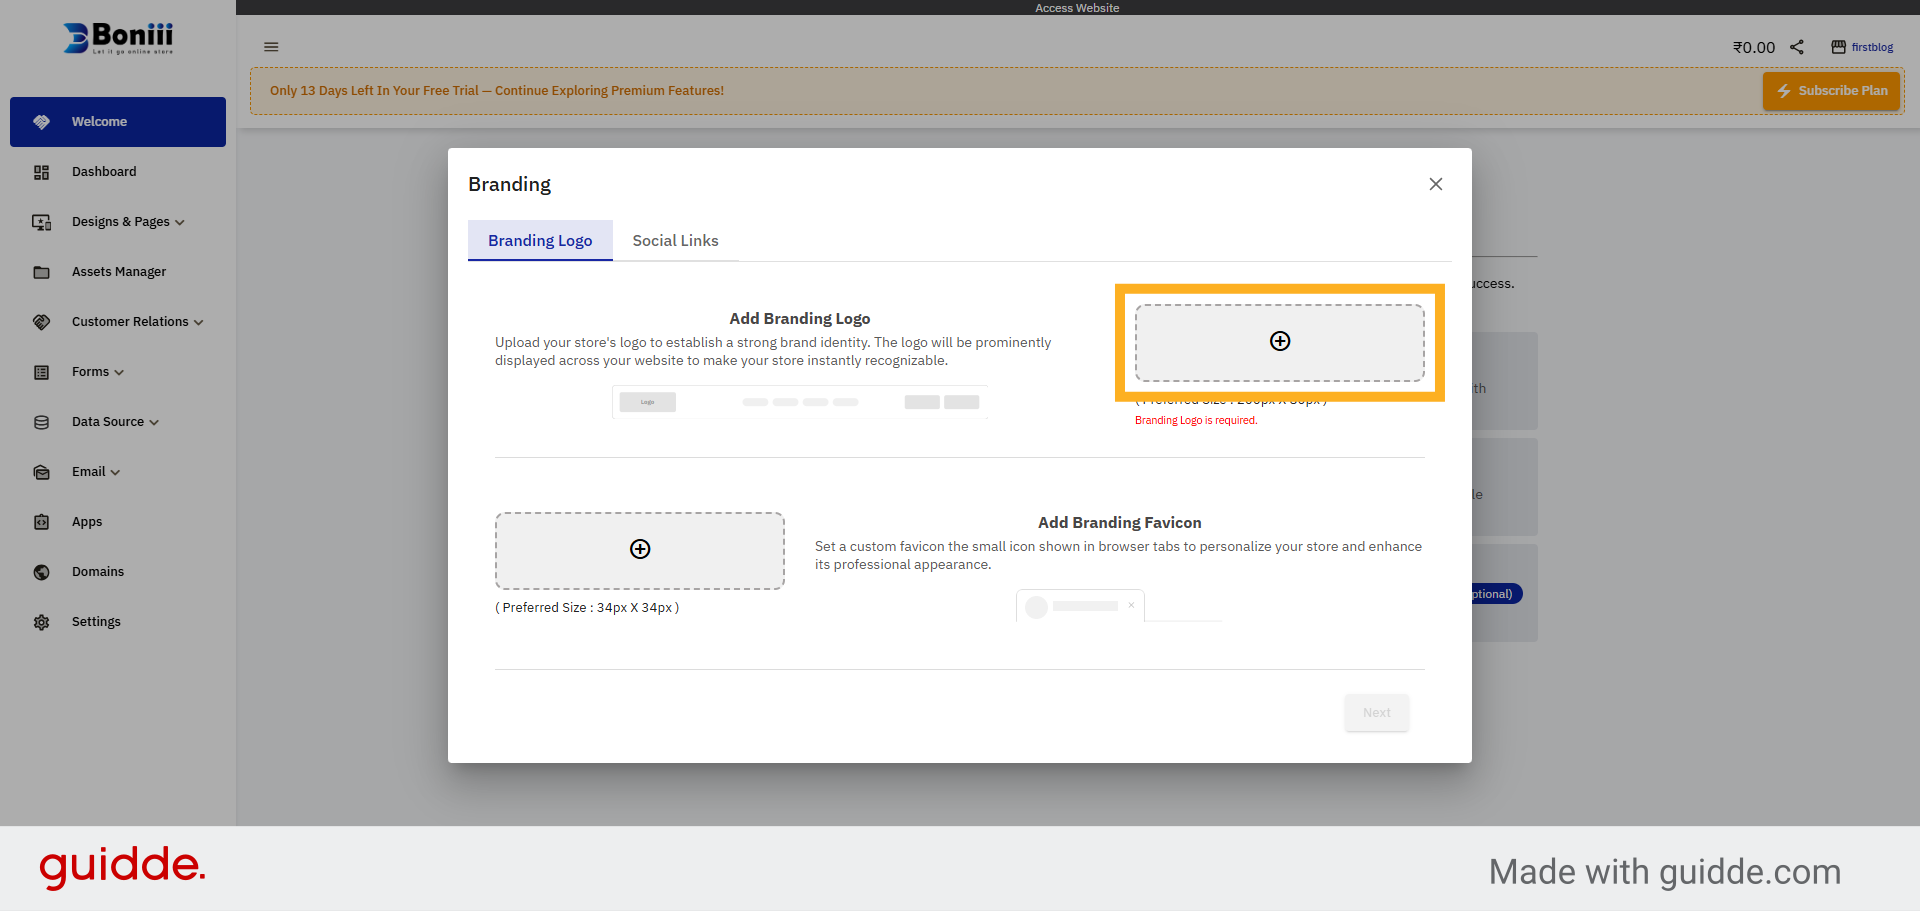
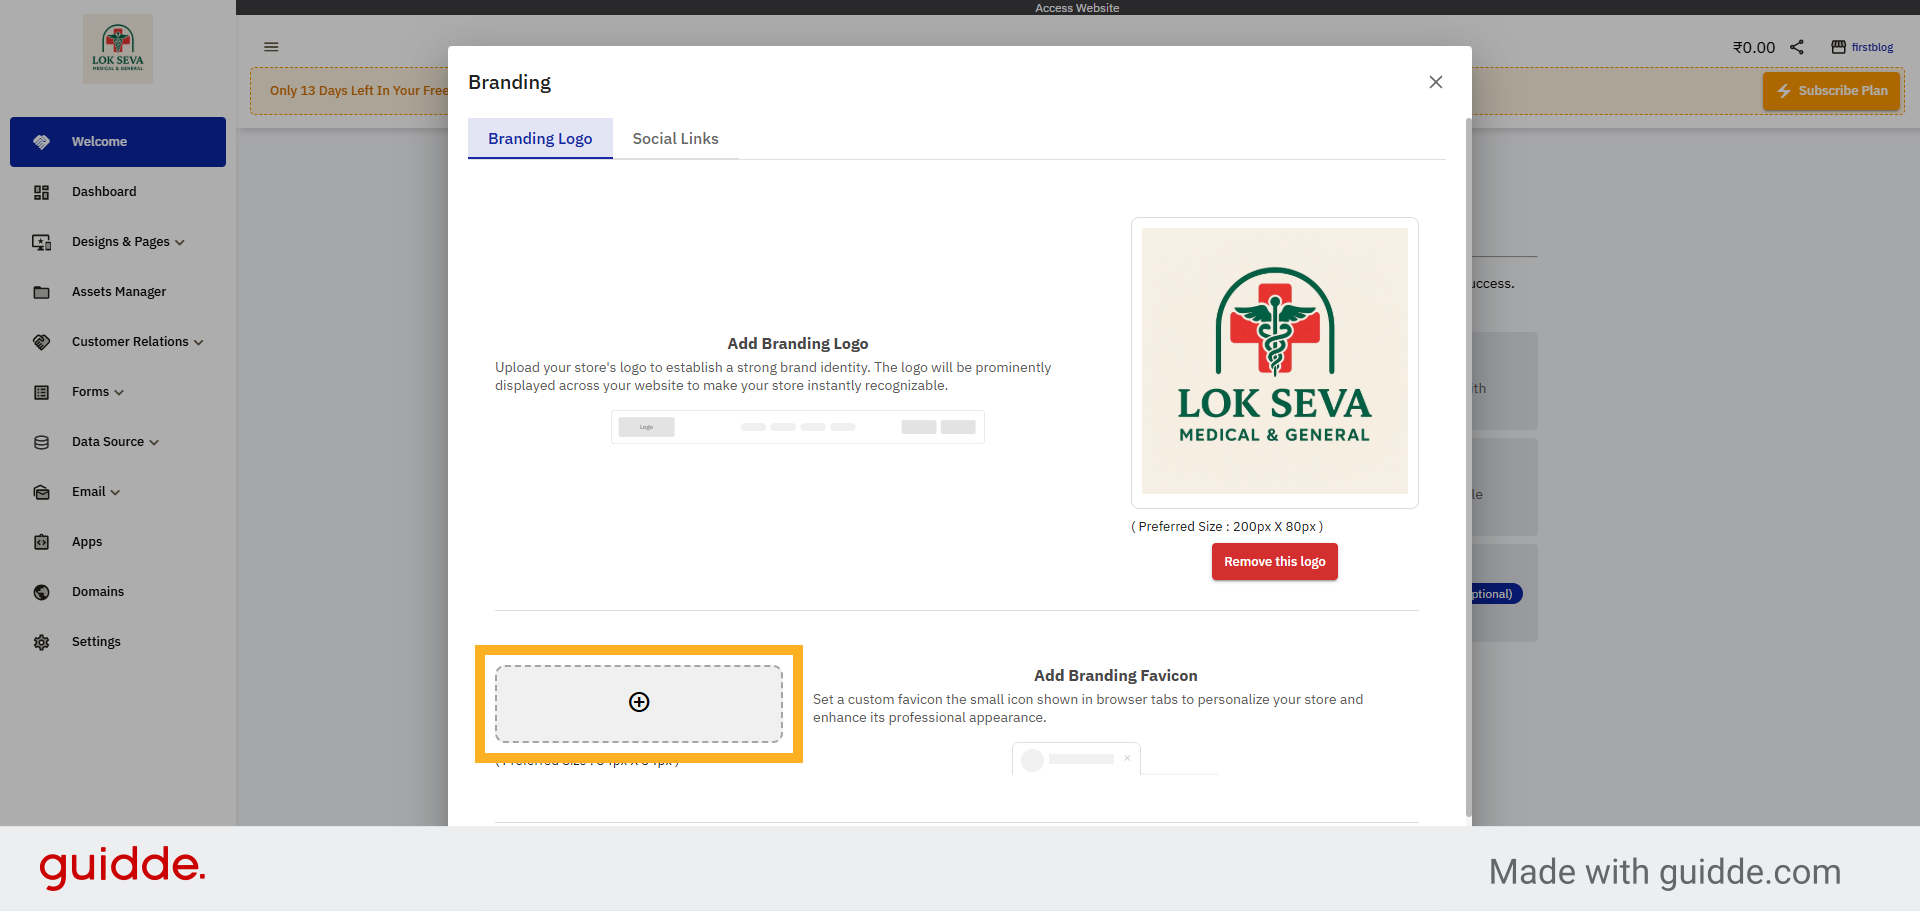
22. Upload Branding Favicon
Click the Add icon to upload your branding favicon.
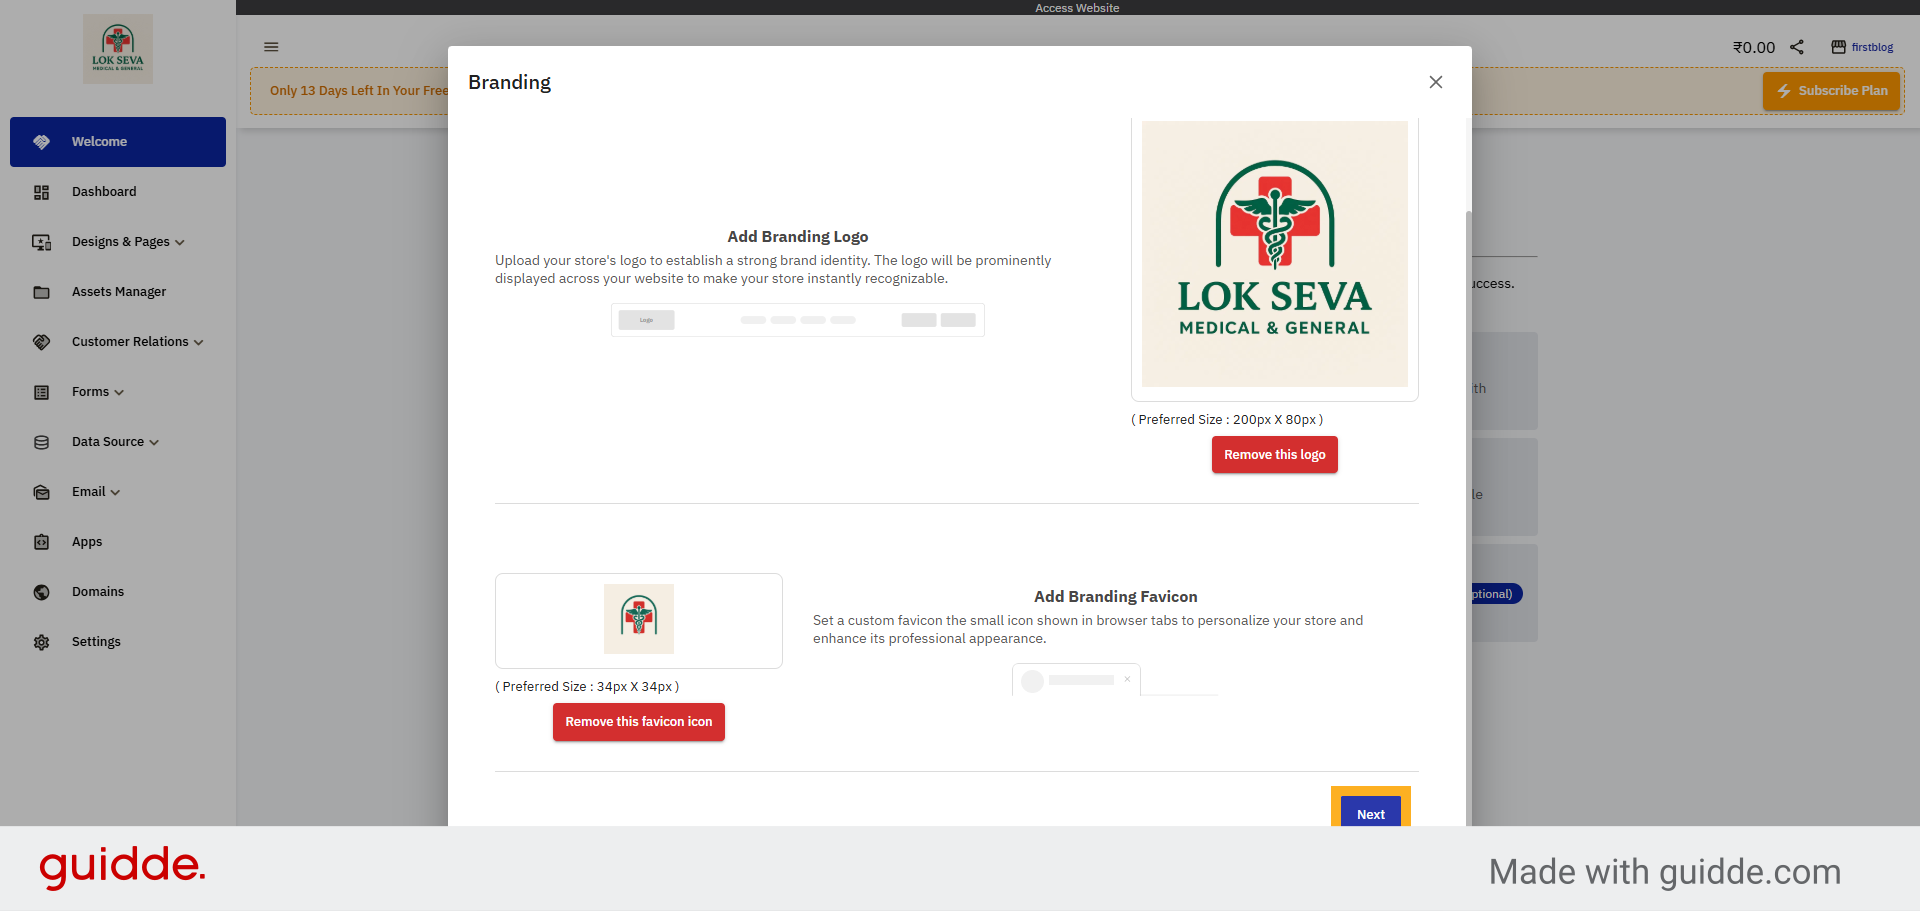
23. Click Next Button
Click the Next button to proceed to the next customization step.
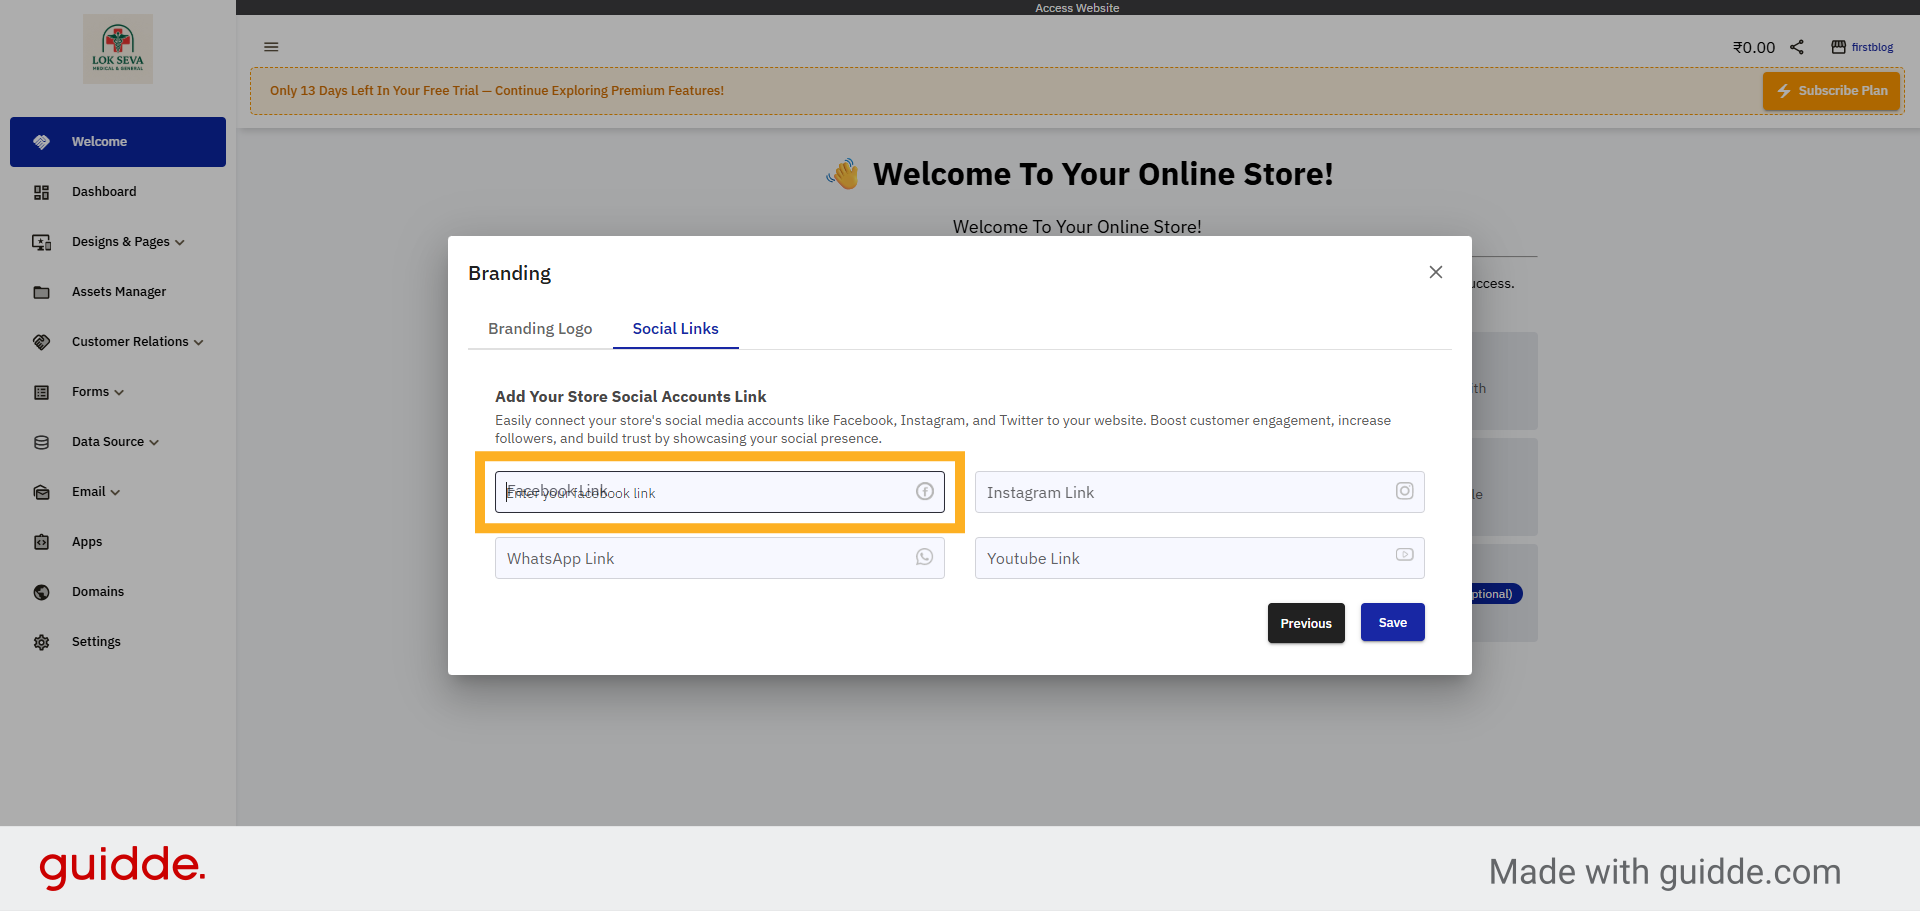
24. Provide Social Links
update social media links for your website.

25. Select Facebook Link Field
Select the Facebook Link field to enter your Facebook page URL.
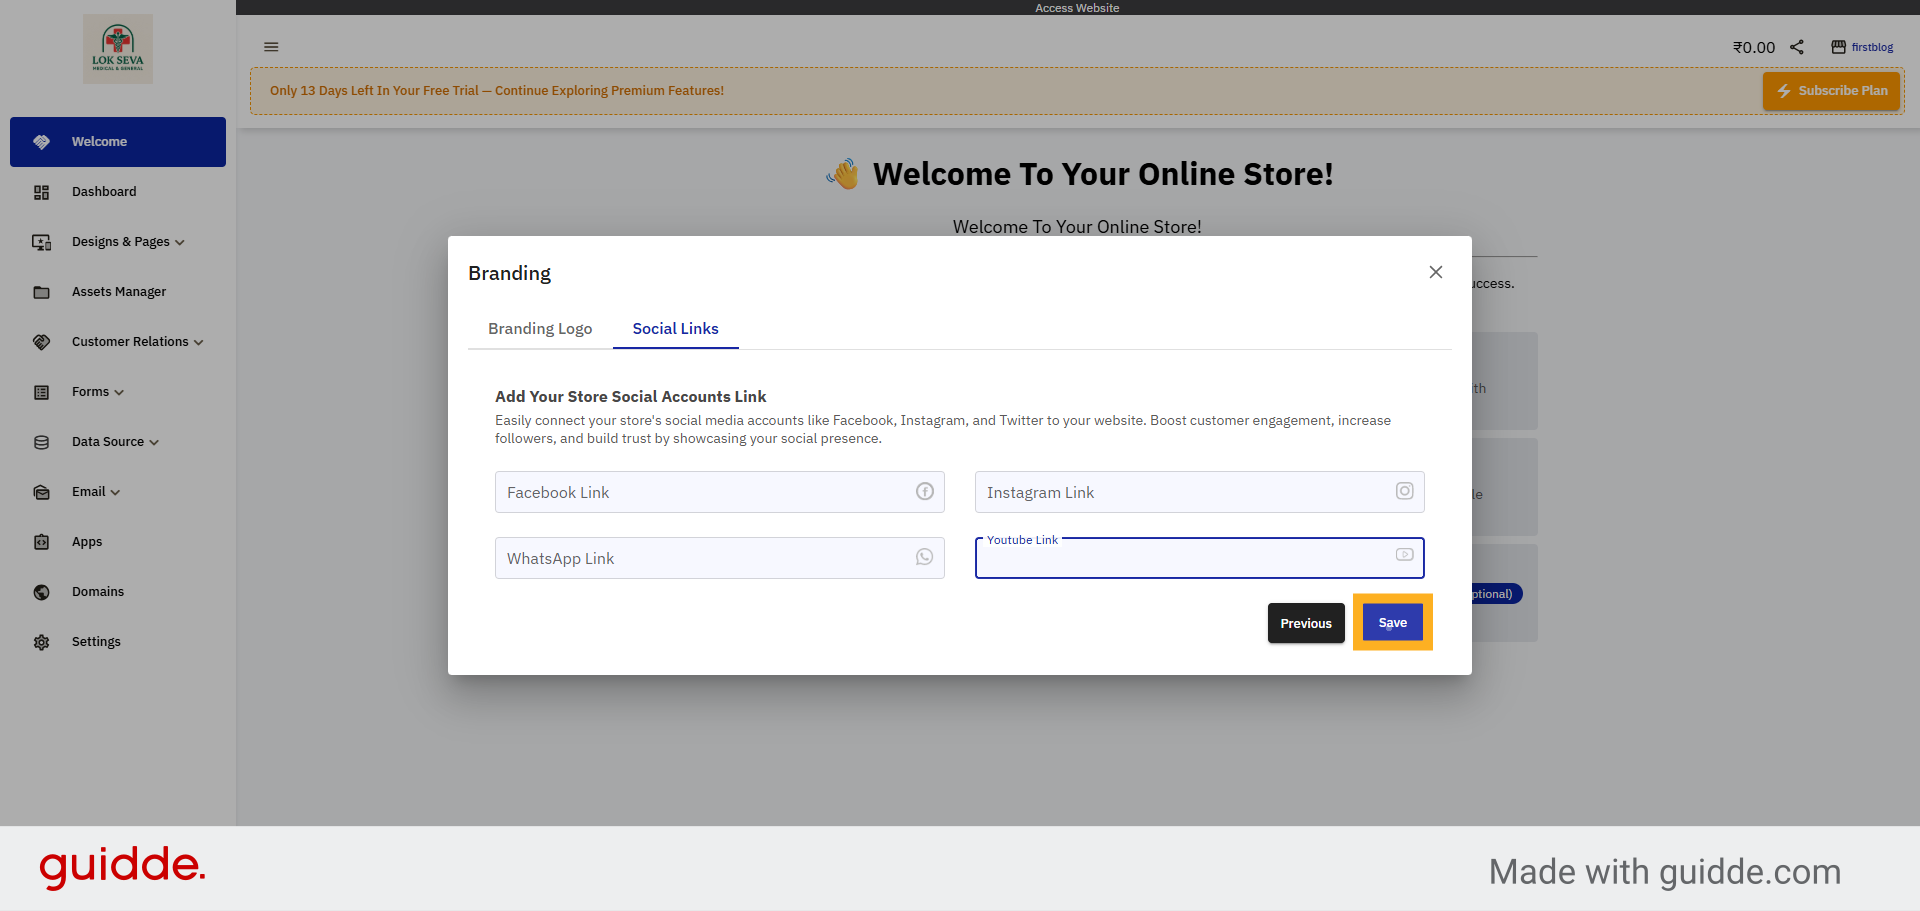
26. Click Save Button
Click the Save button to apply your social media link changes.
27. Open Design Website Section
Open the Design Your Website section to customize the look and feel of your online store.

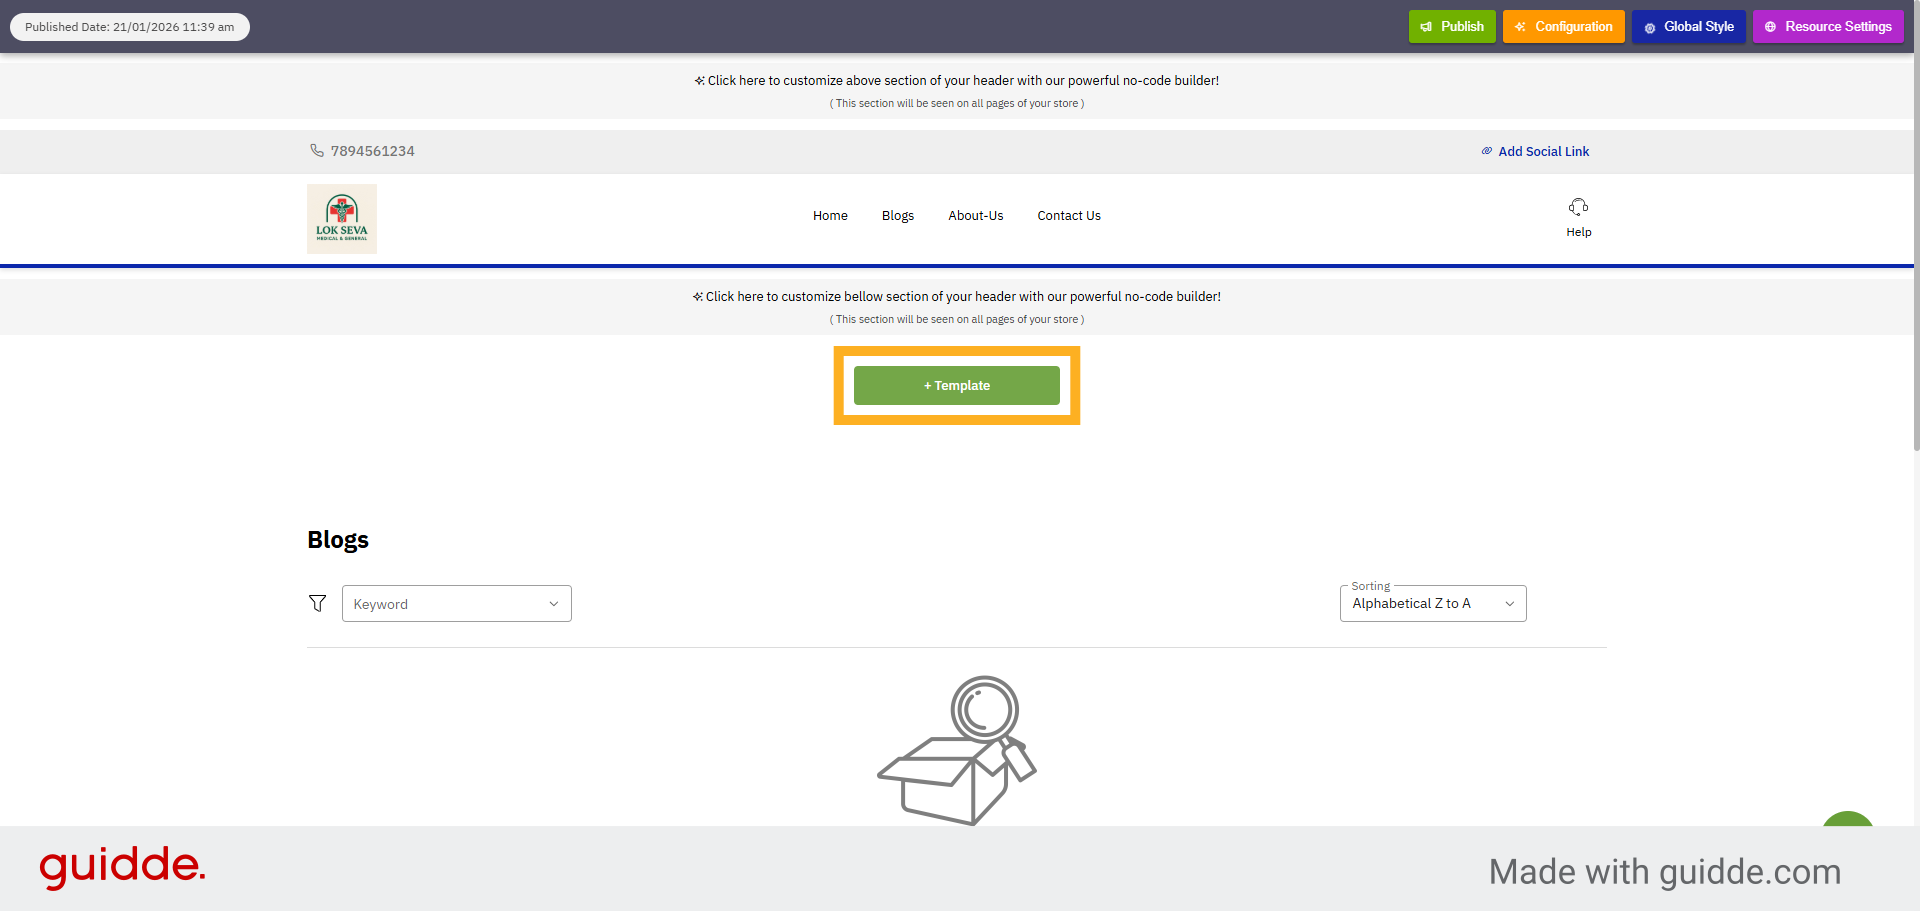
28. Click Add Template Button
Click the Template button to add a new design template to your website.
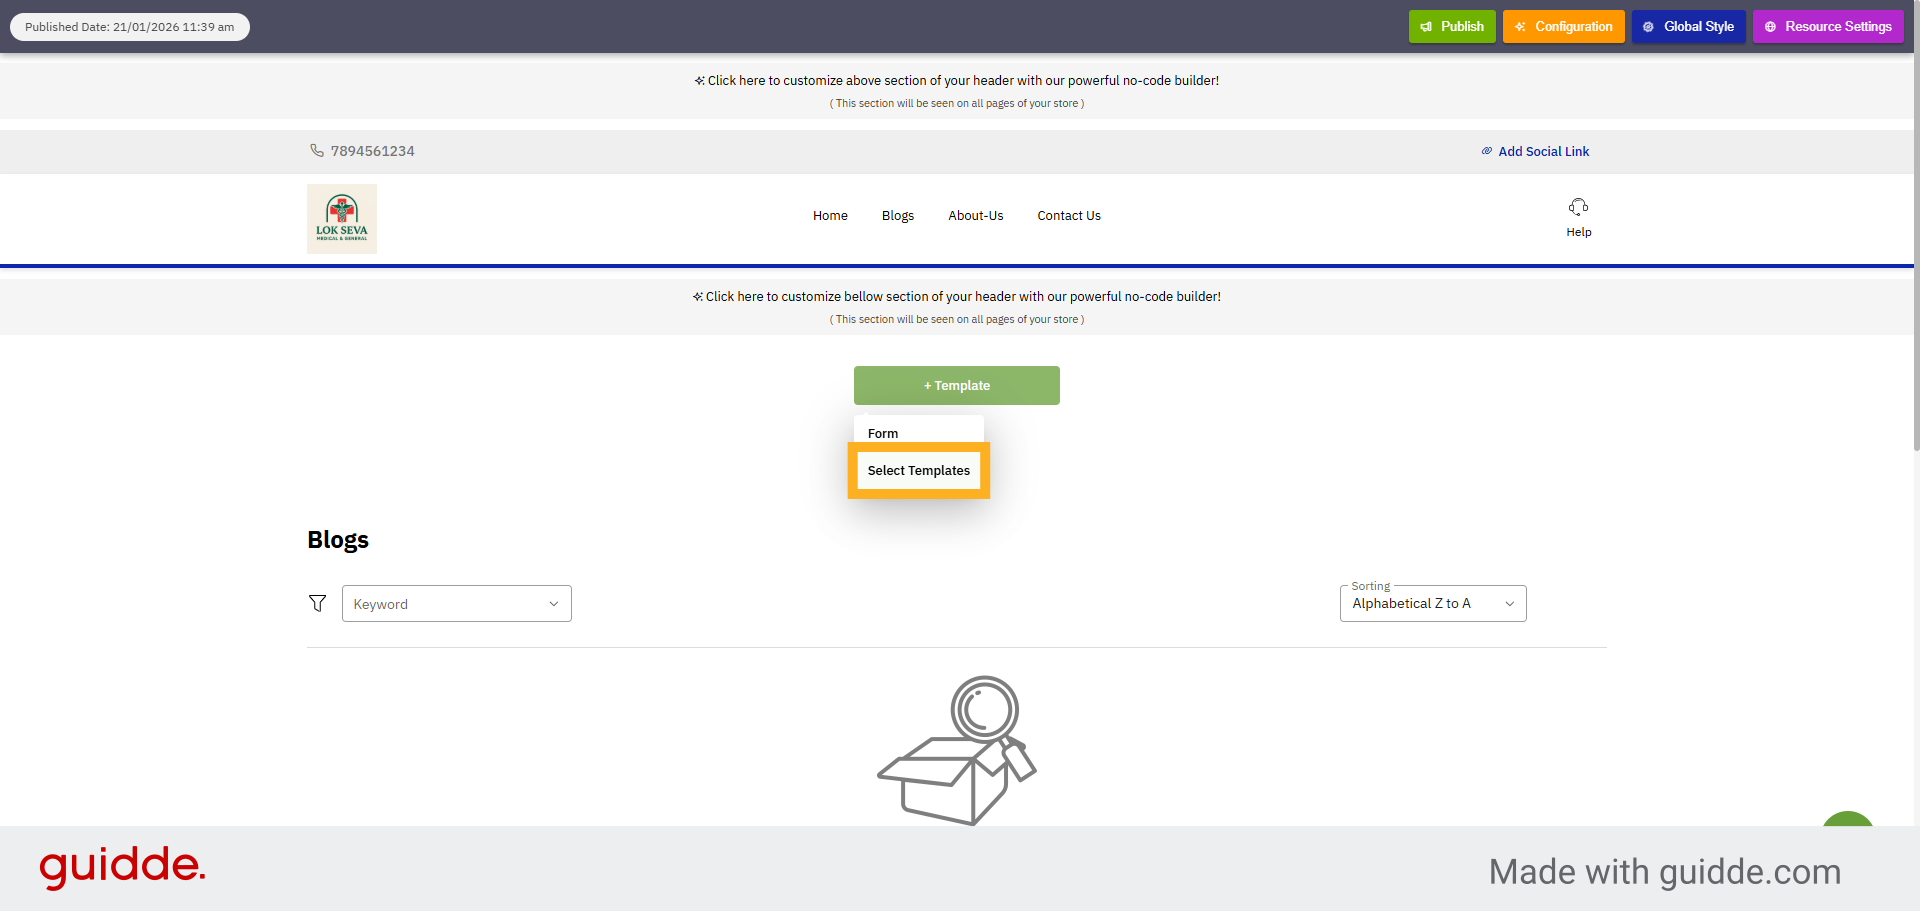
29. Select Templates Option
Click Select Templates to browse available website design templates.
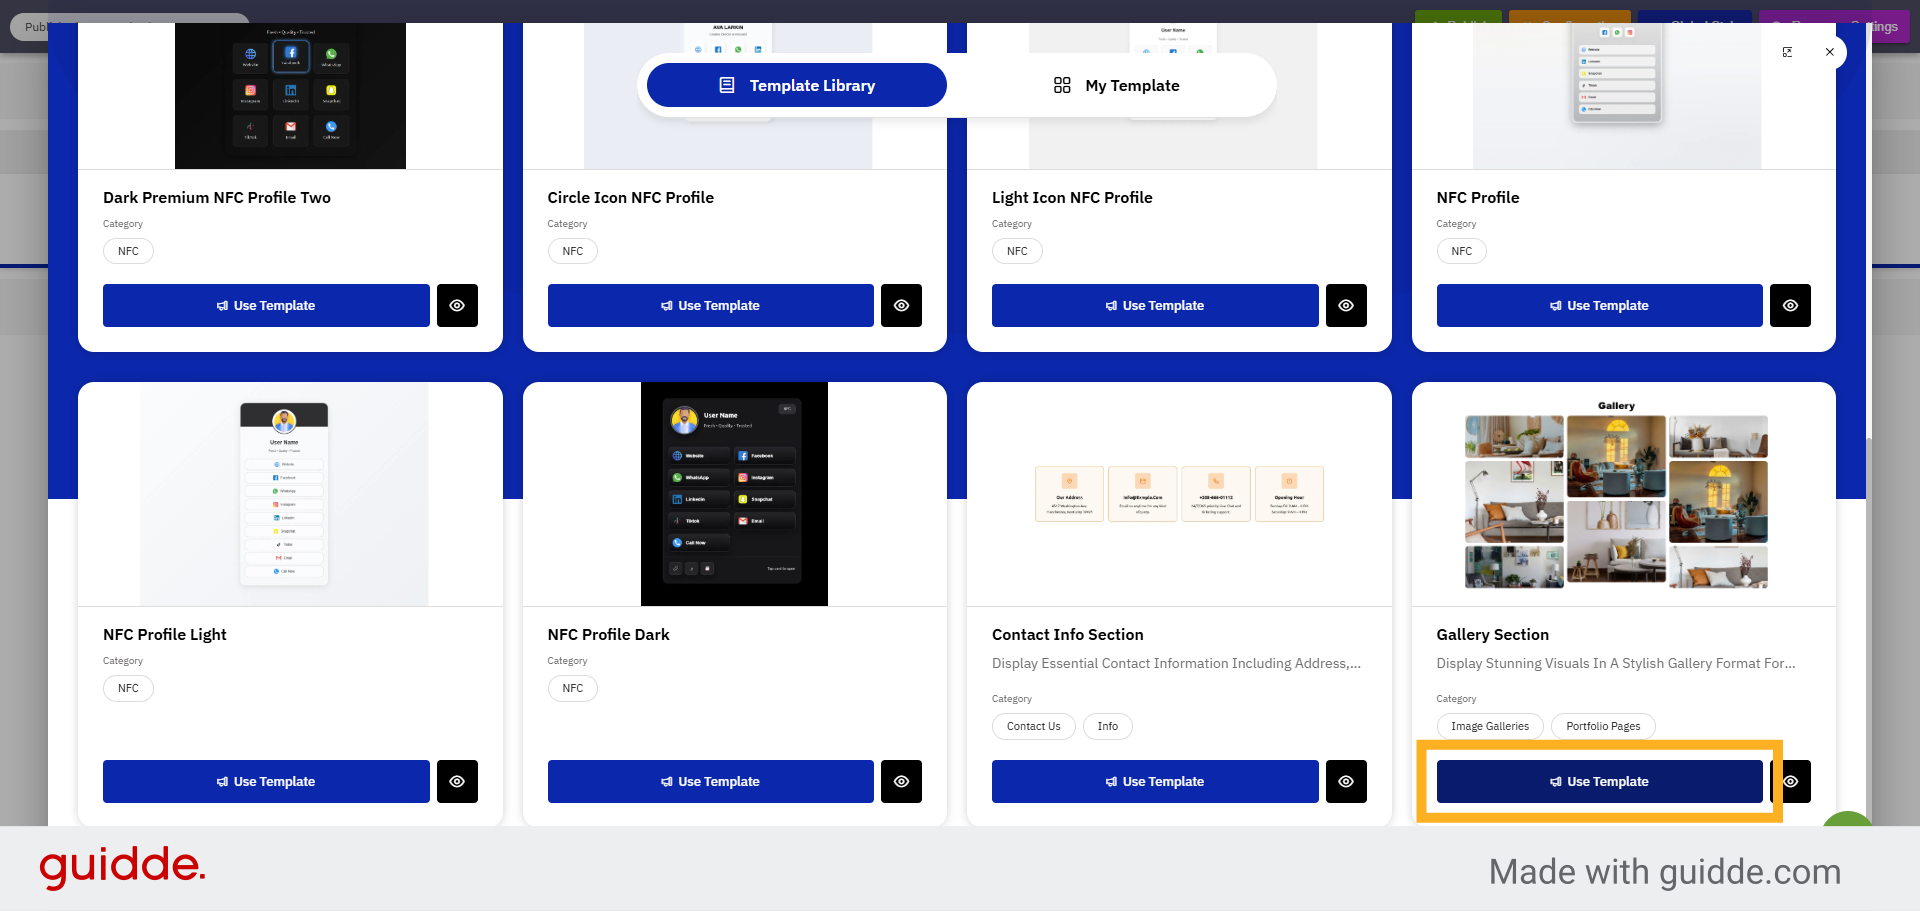
30. Template Selection
Click Use Template to apply the chosen design template to your website.
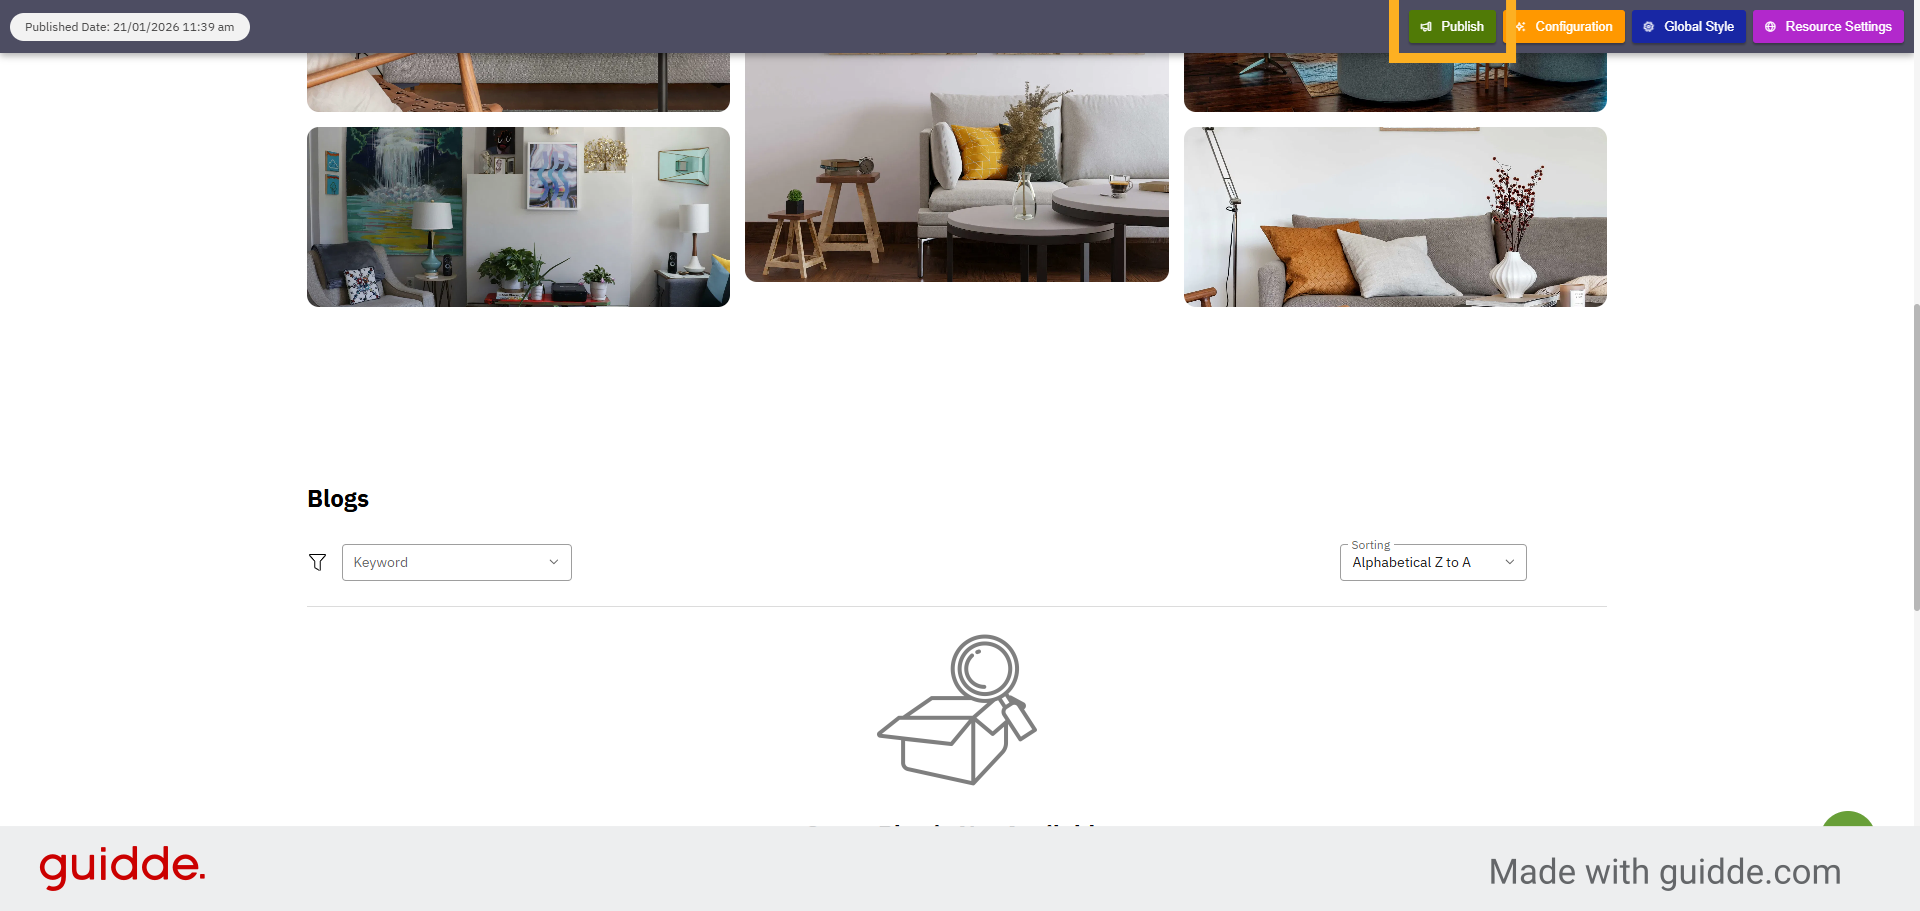
31. Click Publish Button
Click the Publish button to make your website live and accessible to visitors.
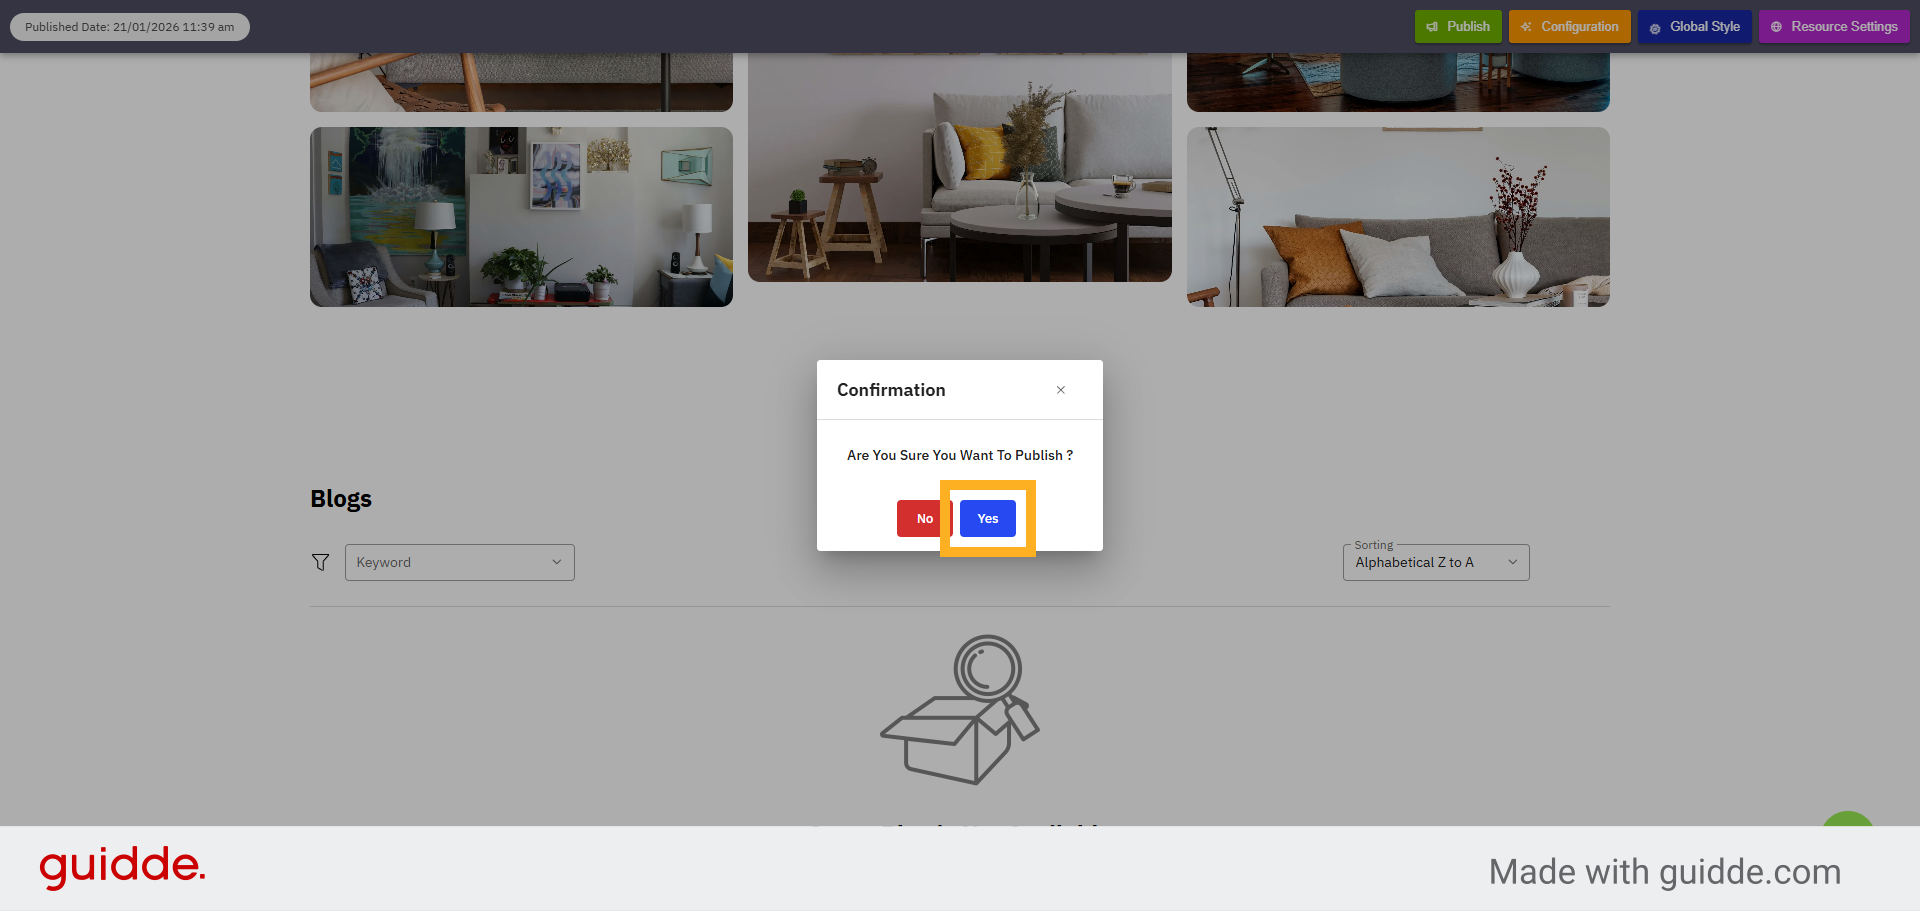
32. Confirm Publish Action
Click Yes to confirm publishing your website and finalize the launch process.
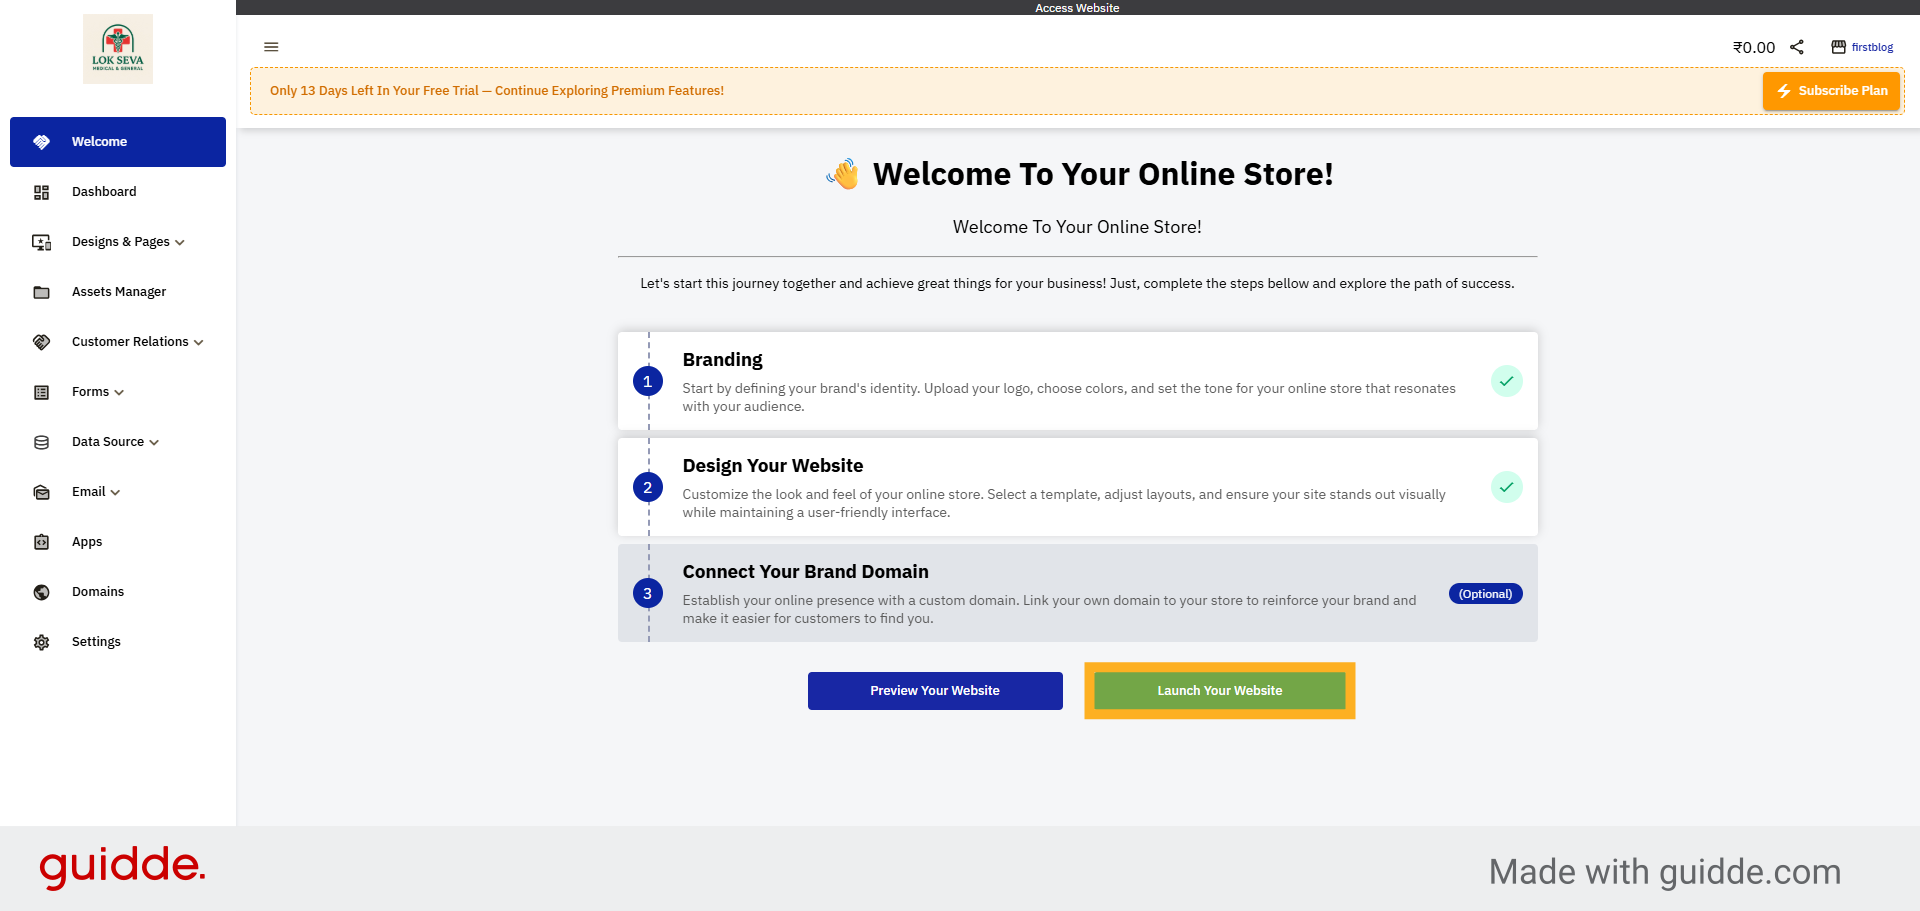
33. Click Launch Website Button
Click Launch Your Website to officially open your CMS website to the web.
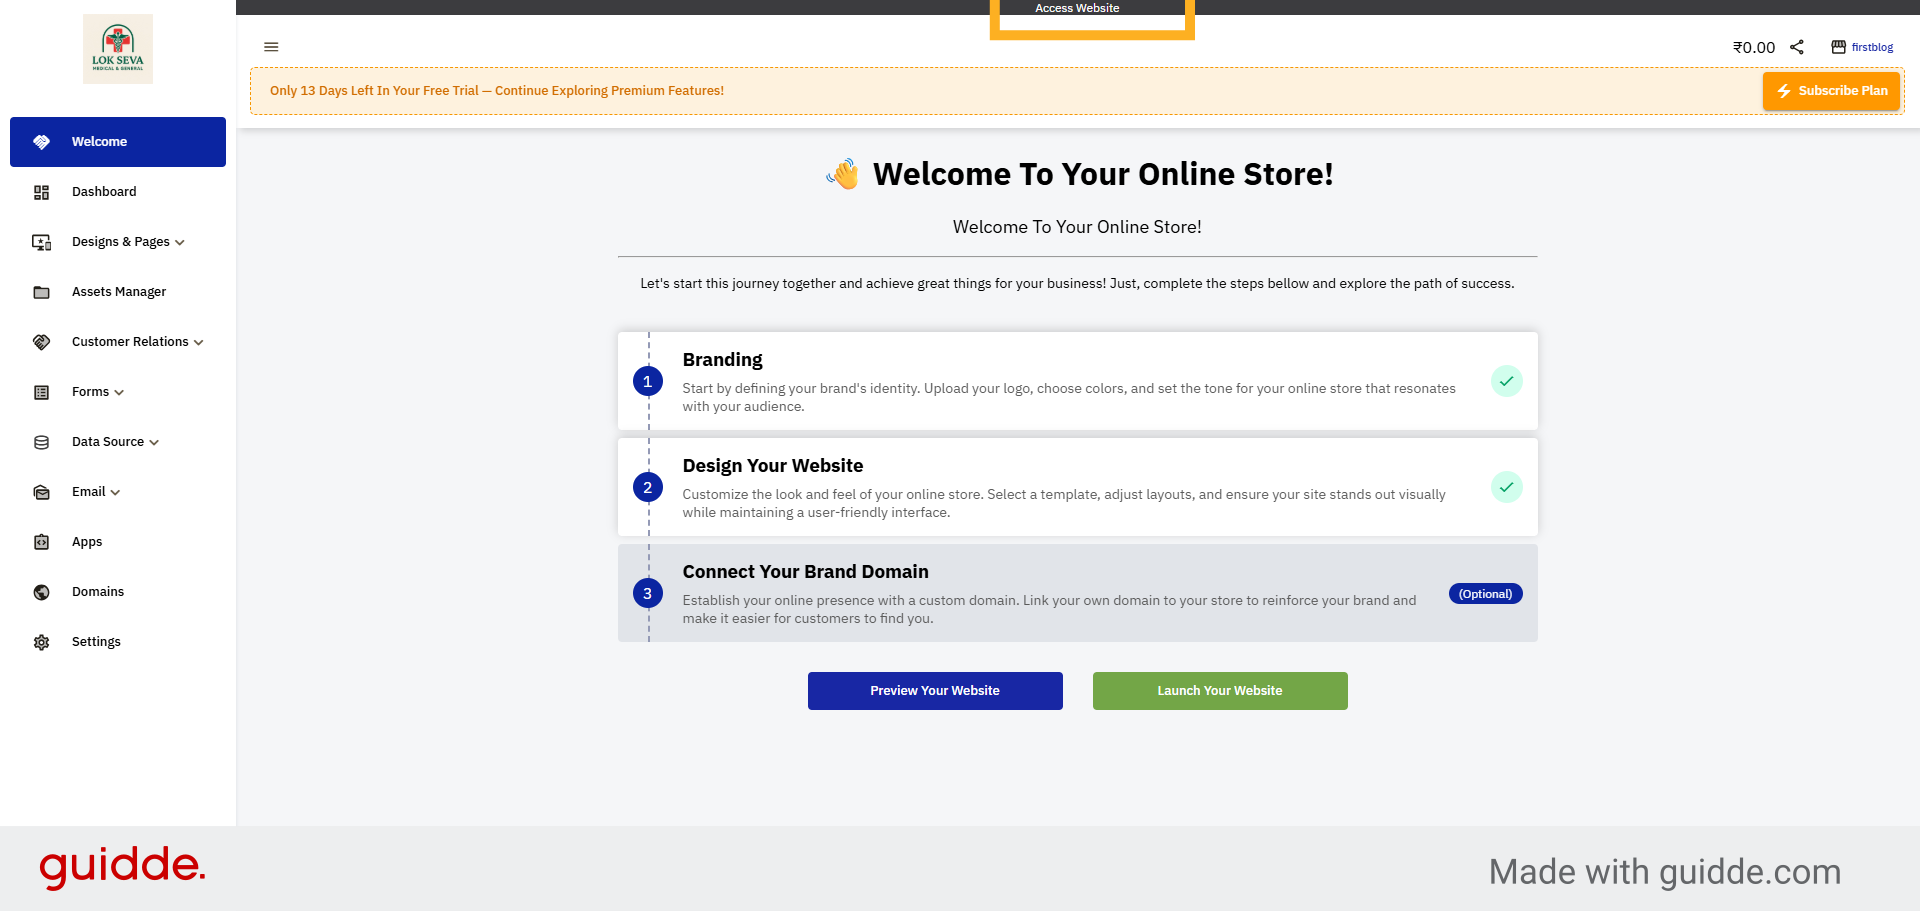
34. Click Access Website
Click Access Website to open and view your live website.
35. Your Website Is Live
Congratulations! Your website has been successfully launched and is now live and ready to use.
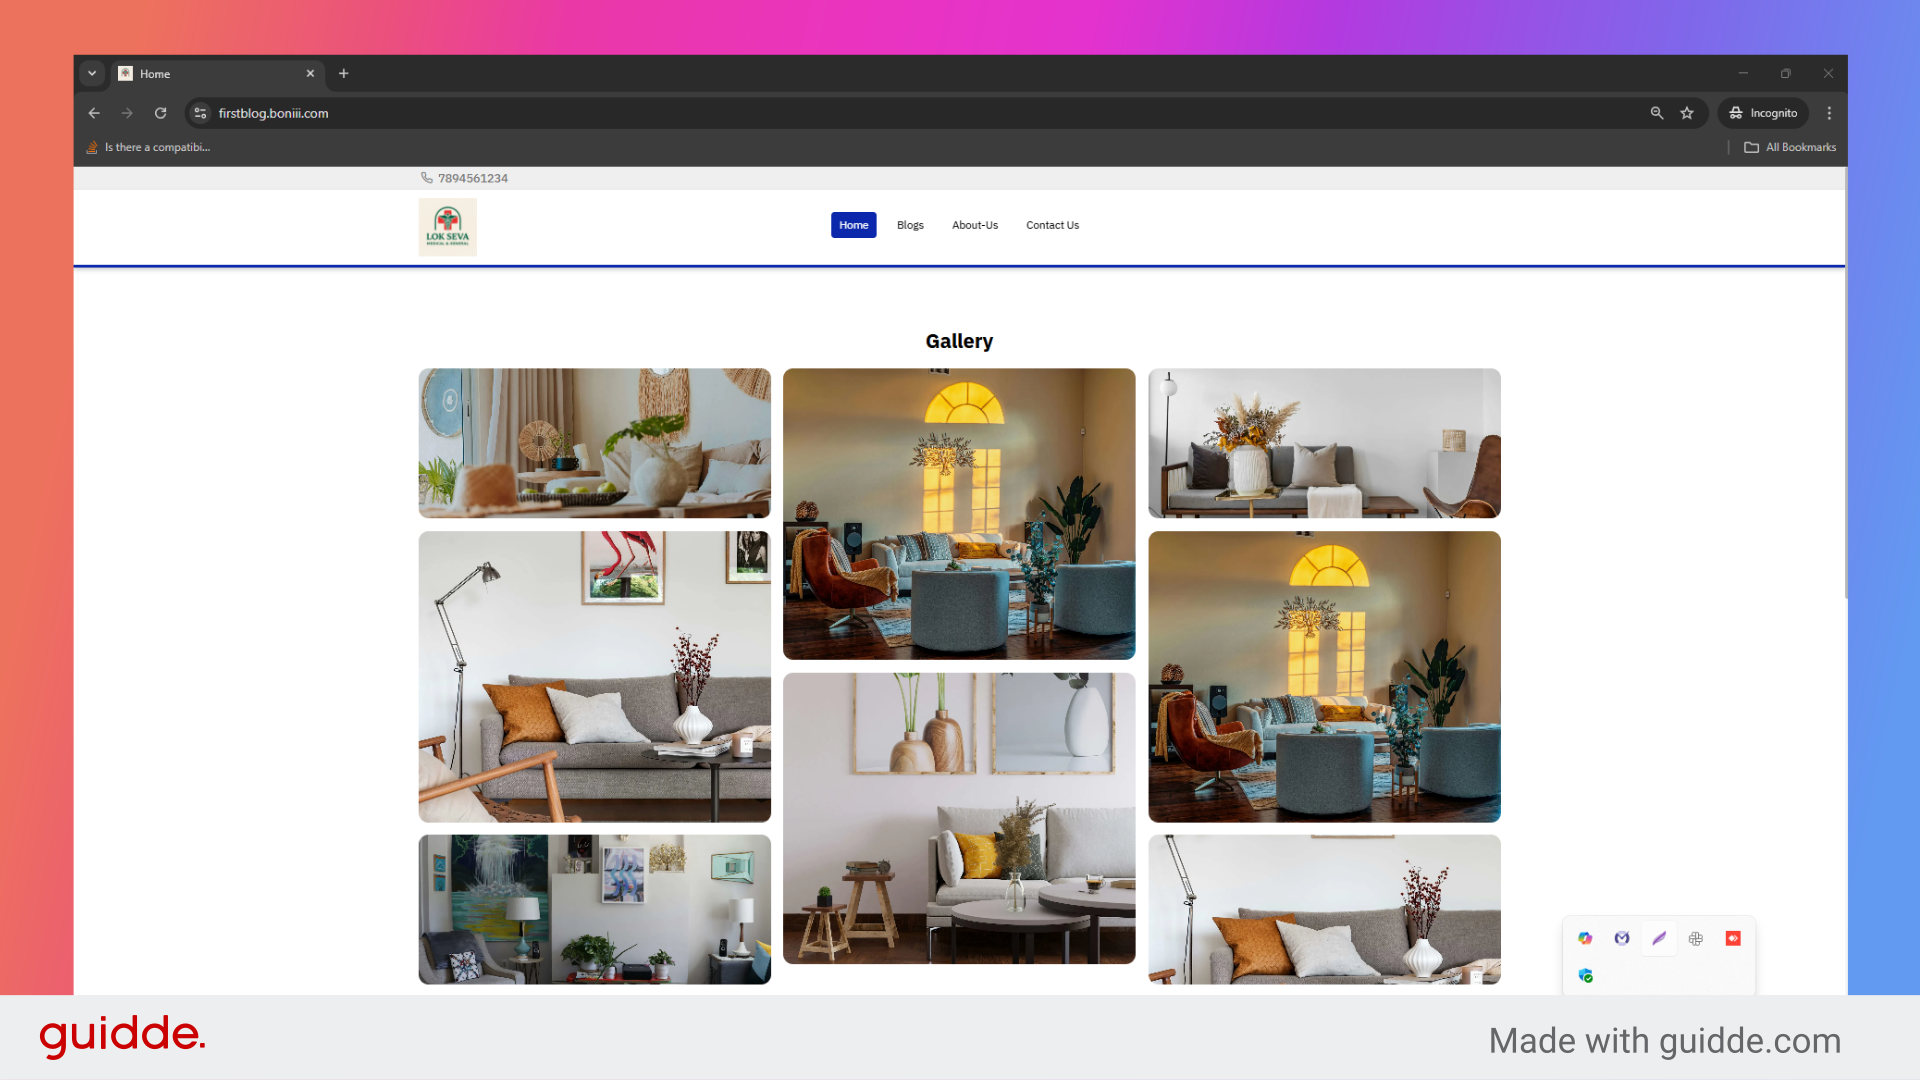
You have successfully created and launched your CMS website using the Boniii platform. Your site is now
live, and you can further customize or manage it as needed.
Uploading...