Configure Committed Inventory Settings In Your Store
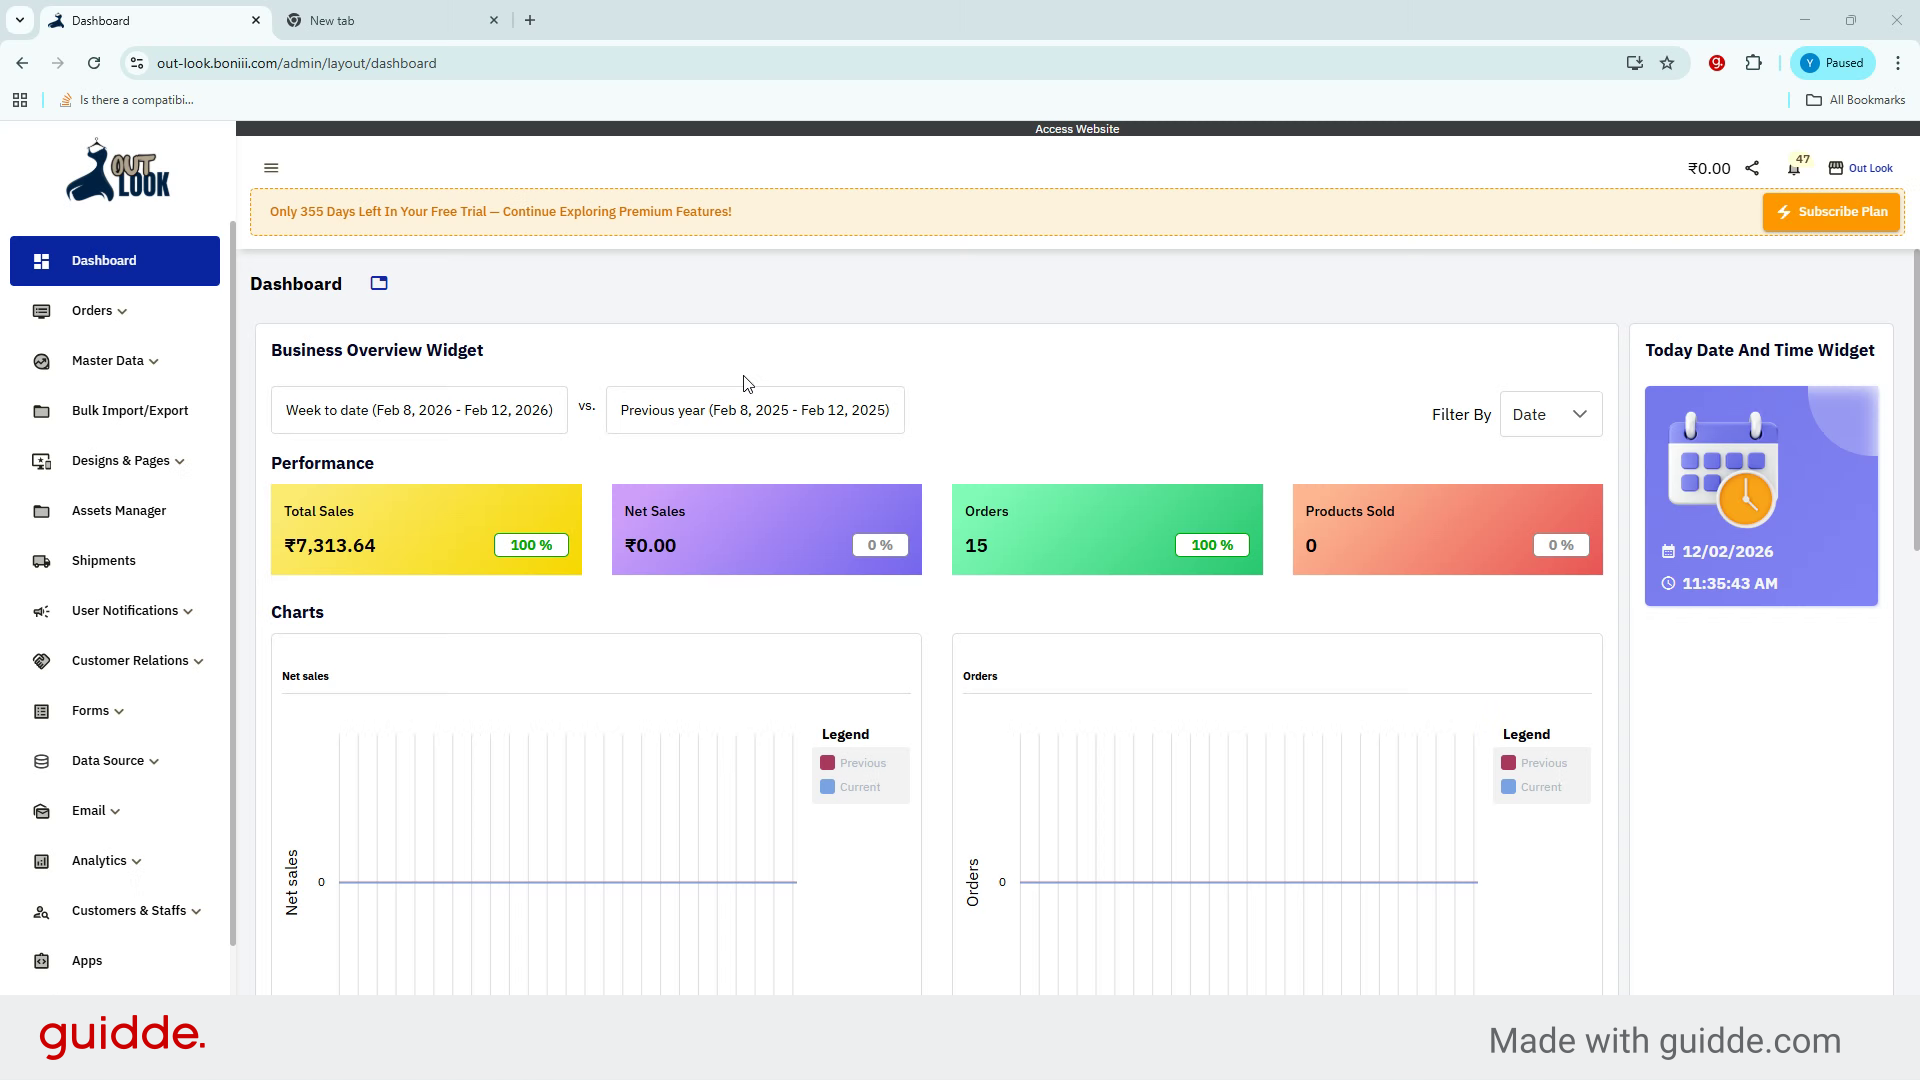
1. Introduction
You will learn how to adjust product stock levels and manage orders effectively.
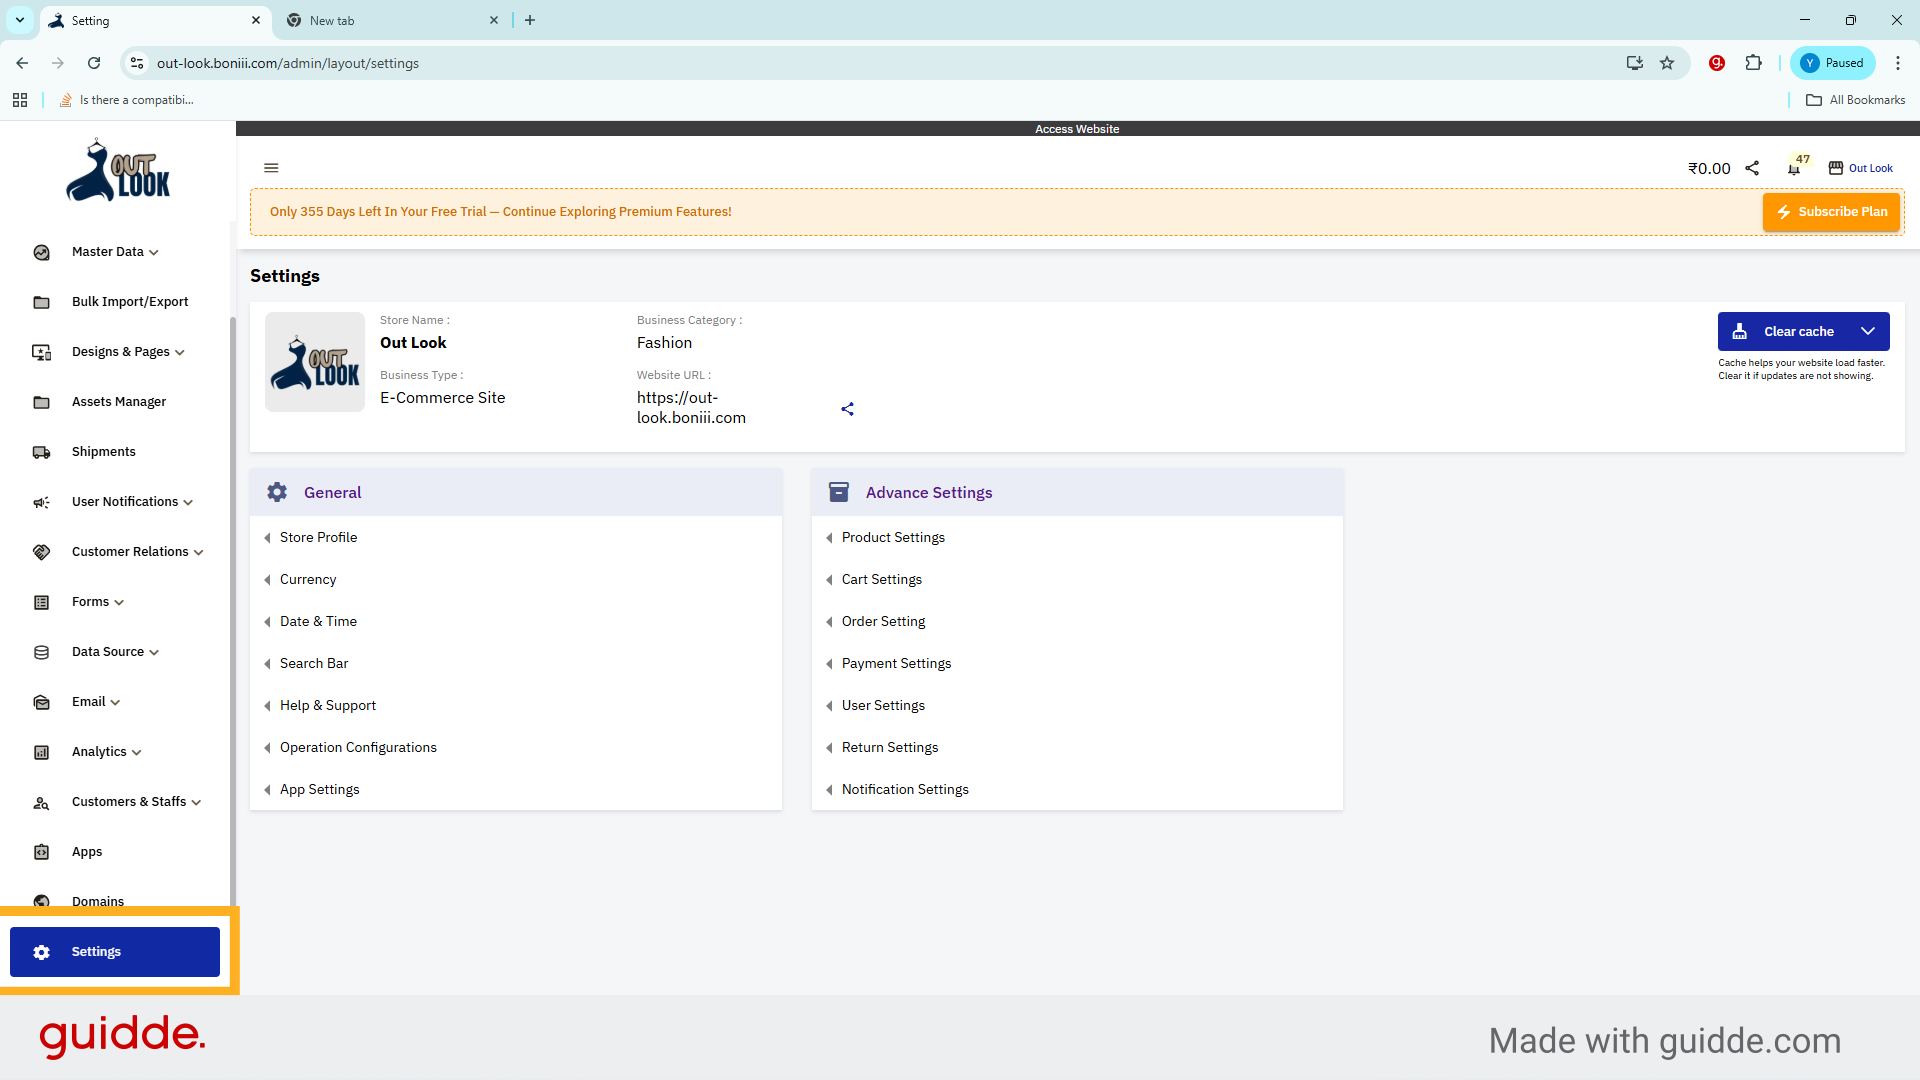
2. Open Settings Menu
Click the Settings menu to access store configuration options.
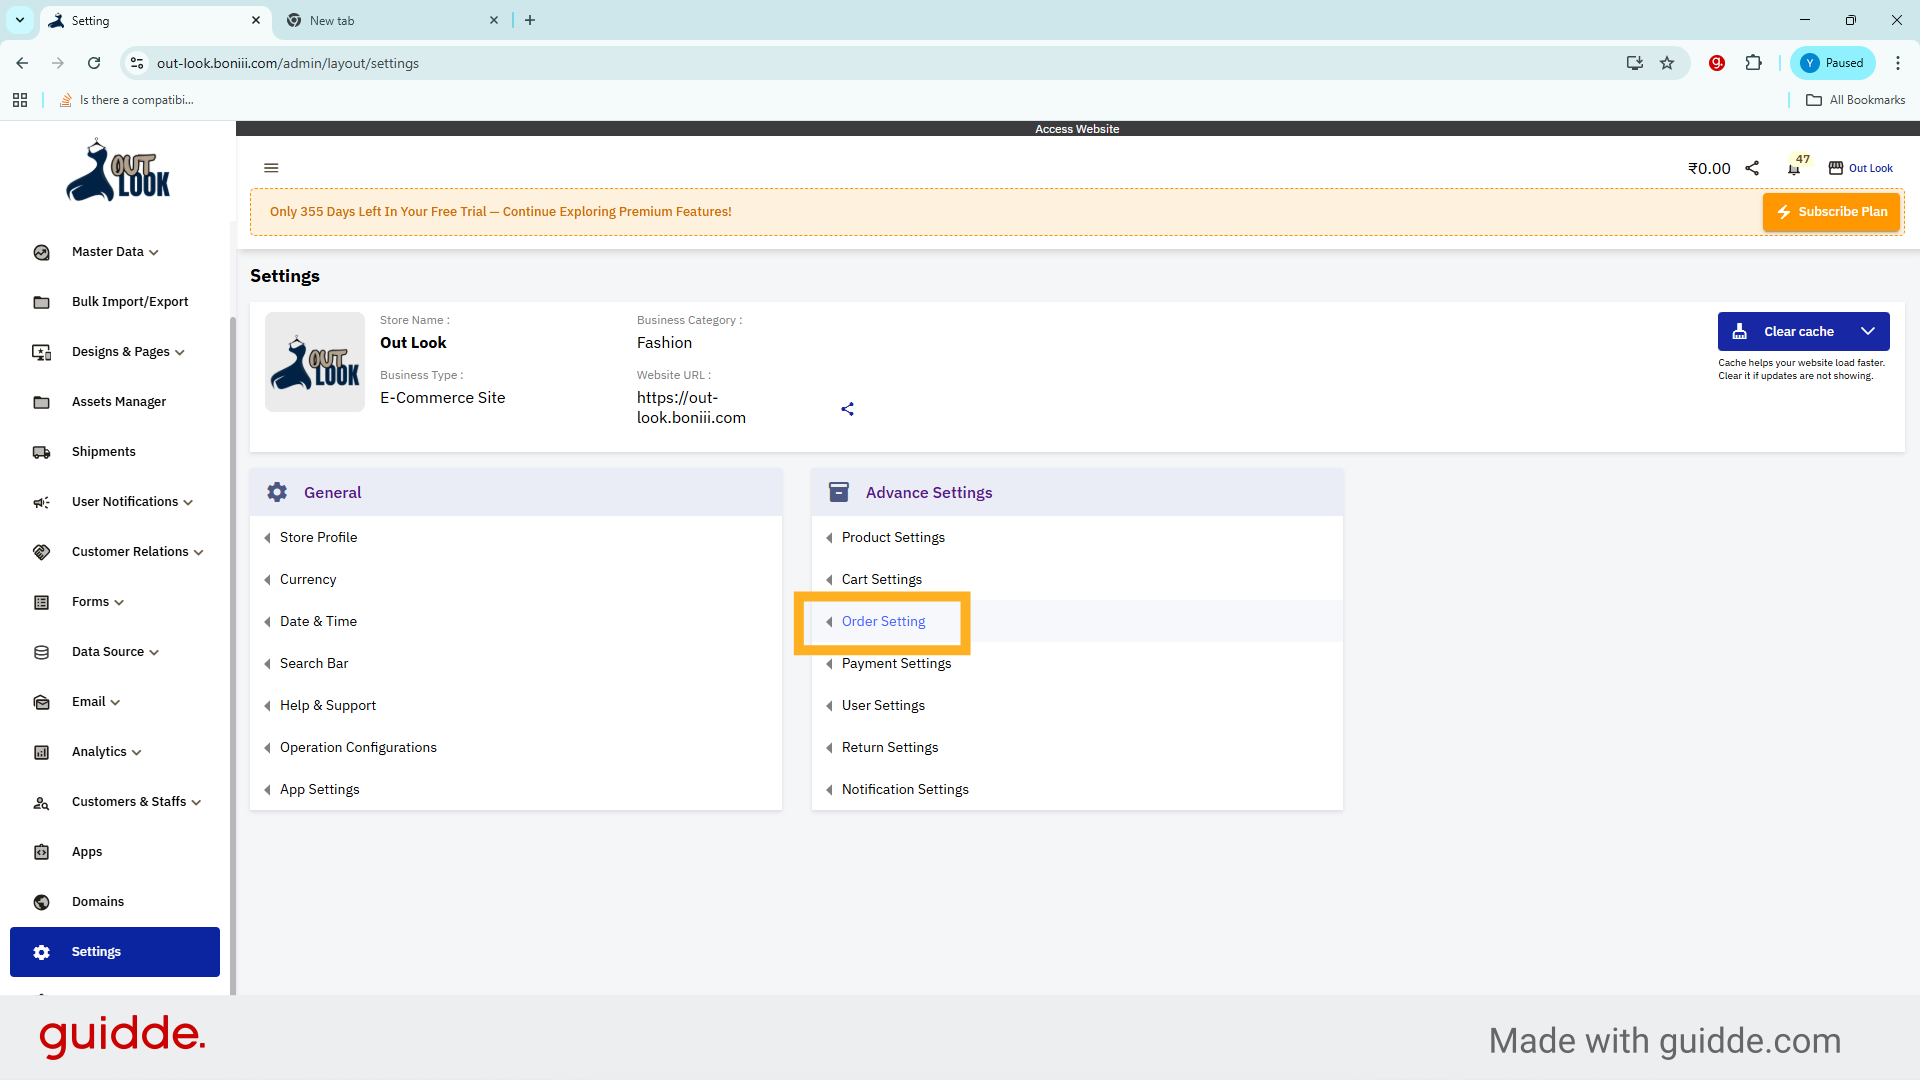
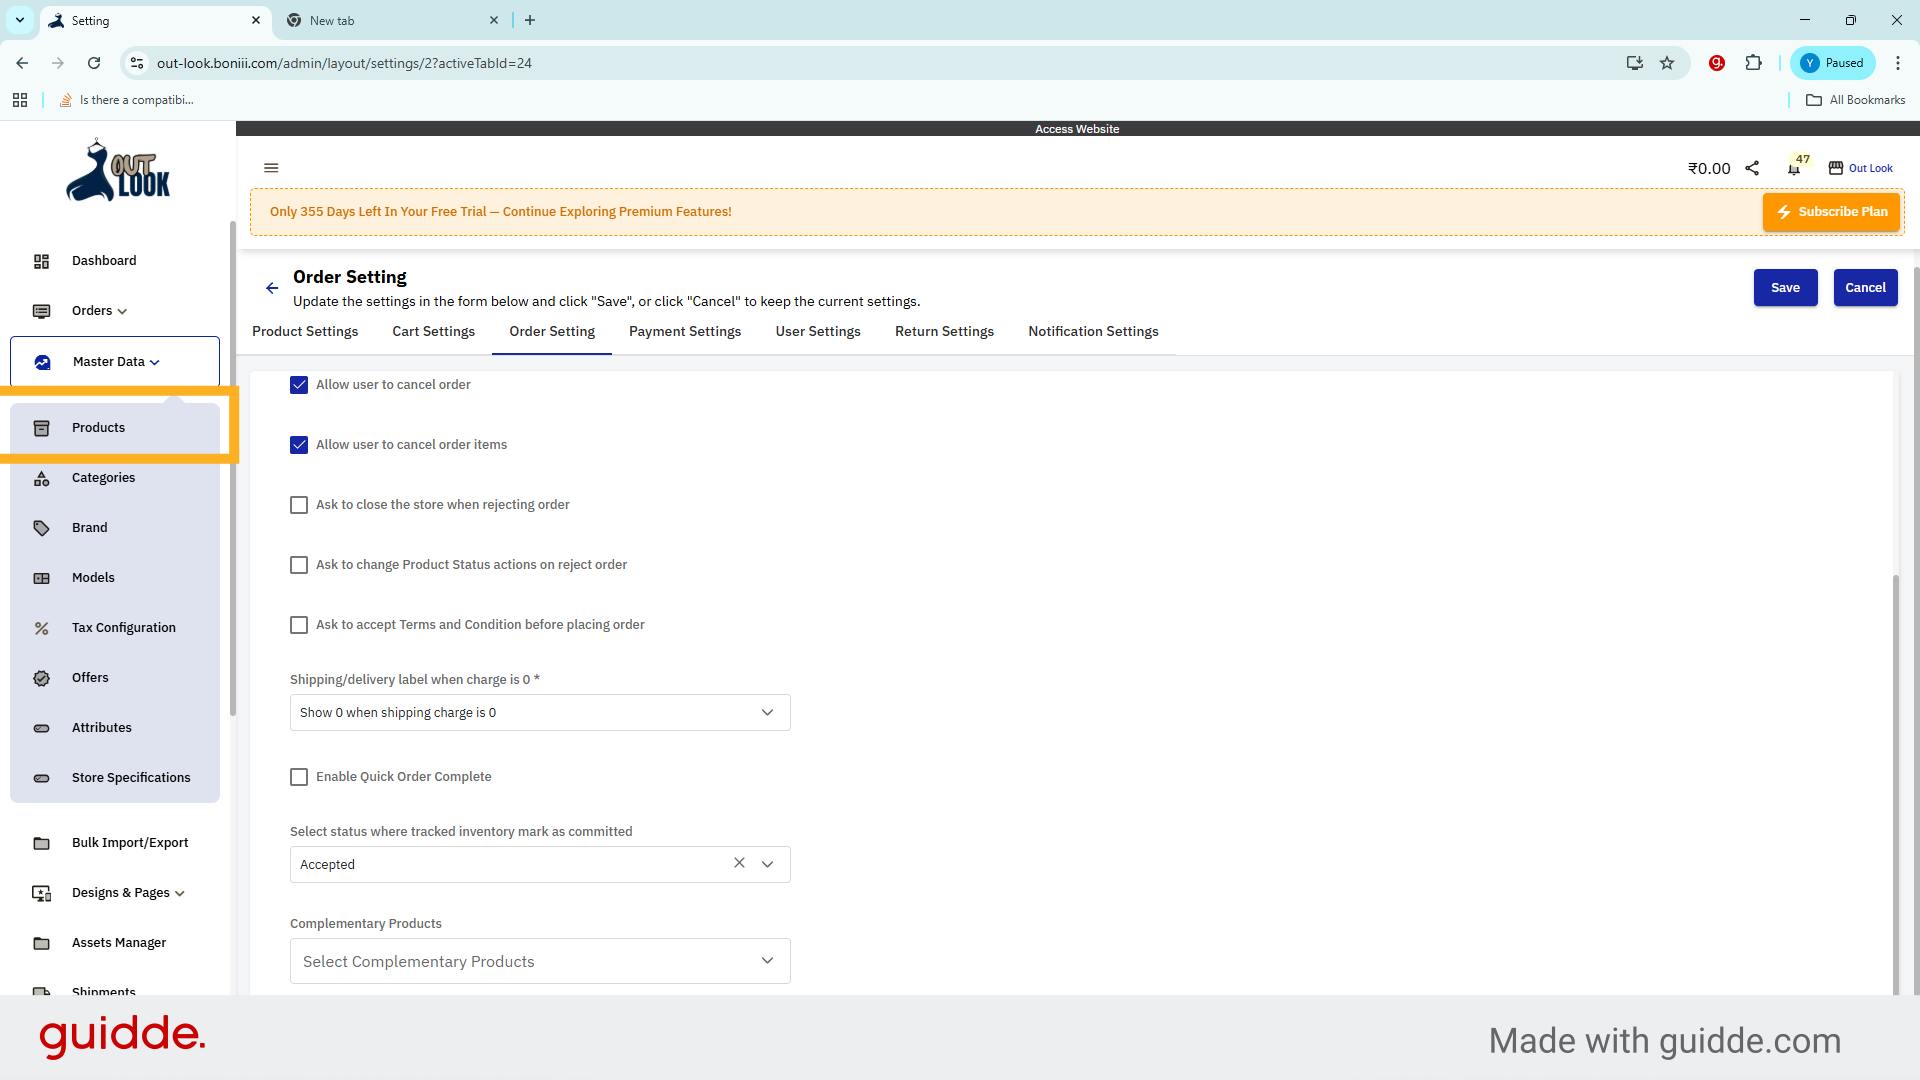
3. Access Order Setting Section
Click the Order Setting option to proceed to inventory configuration.
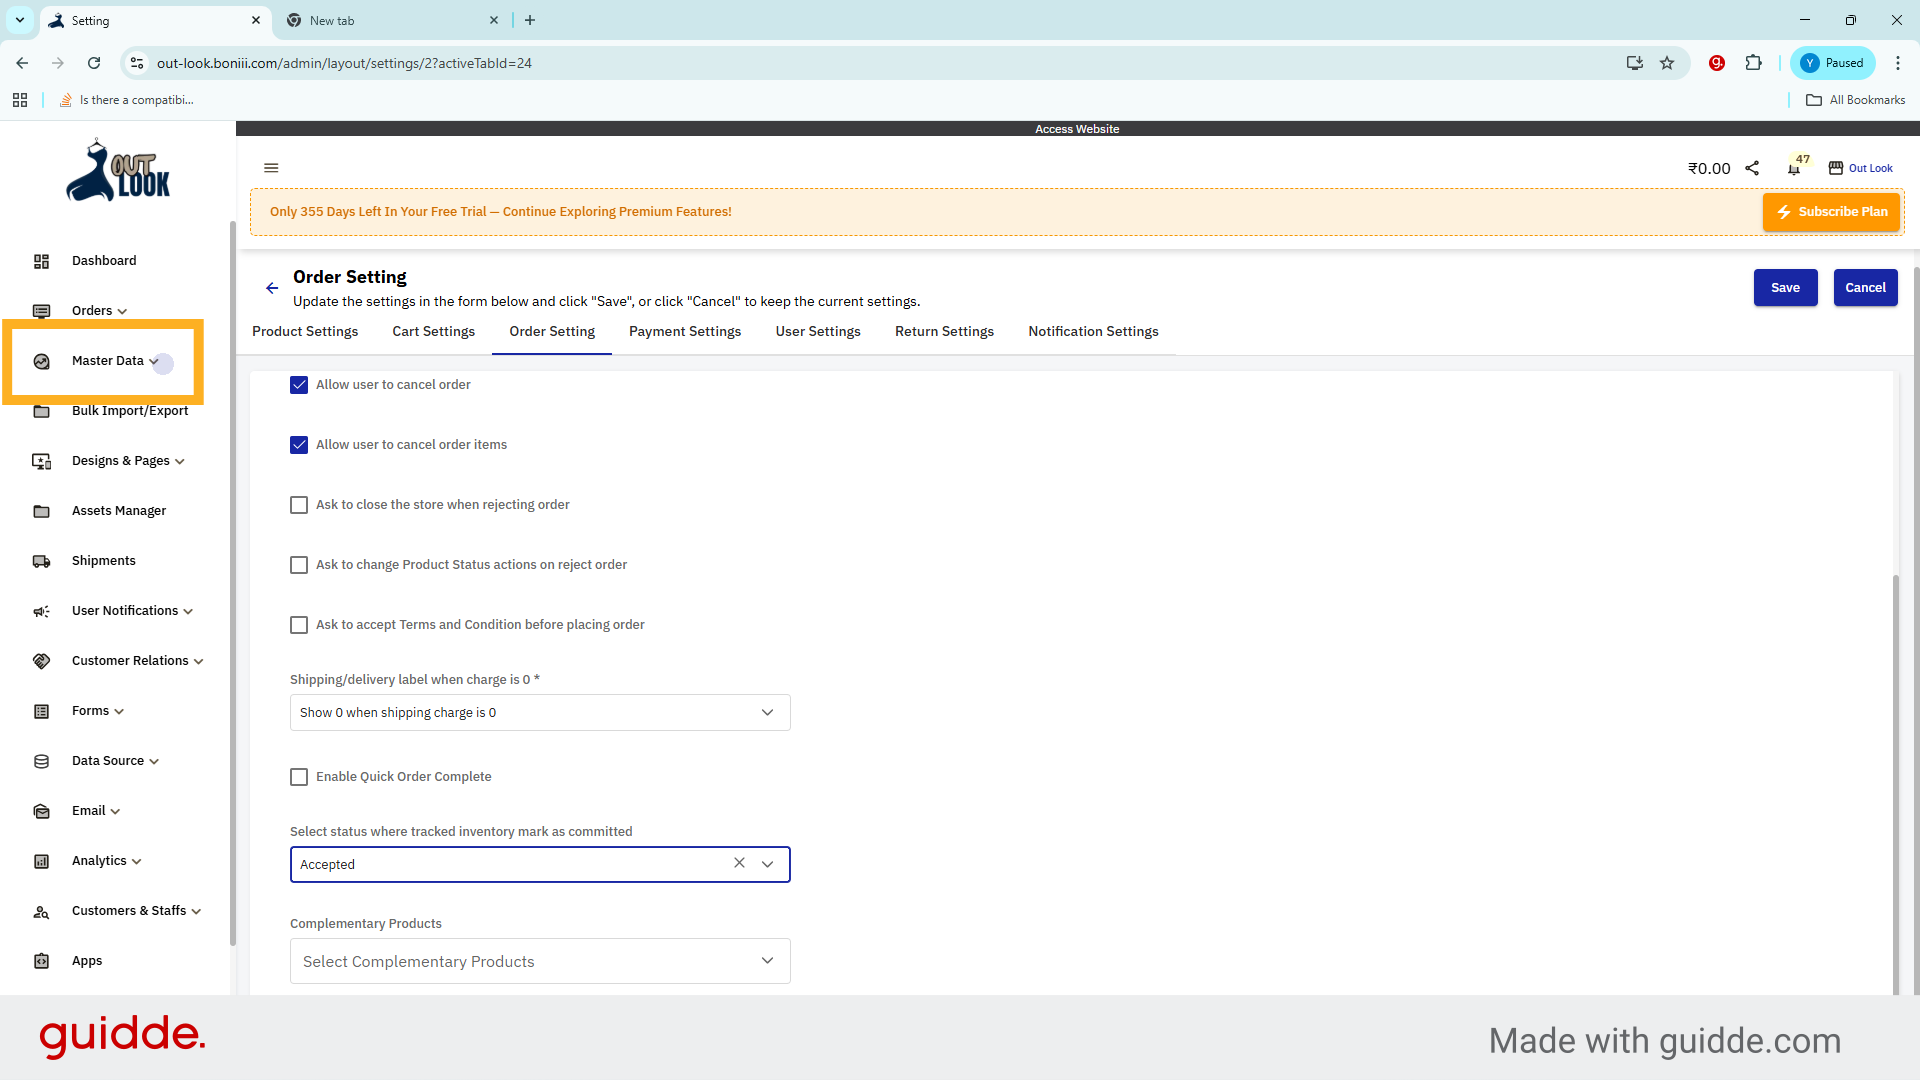
4. Select Accepted Status for Inventory Commitment
Choose the Accepted order status to mark the tracked inventory as committed for the order.

5. Click Master Data Menu
Click Master Data menu to reveal inventory options.
6. Click Products Menu
Click the Products to view and manage product listings.
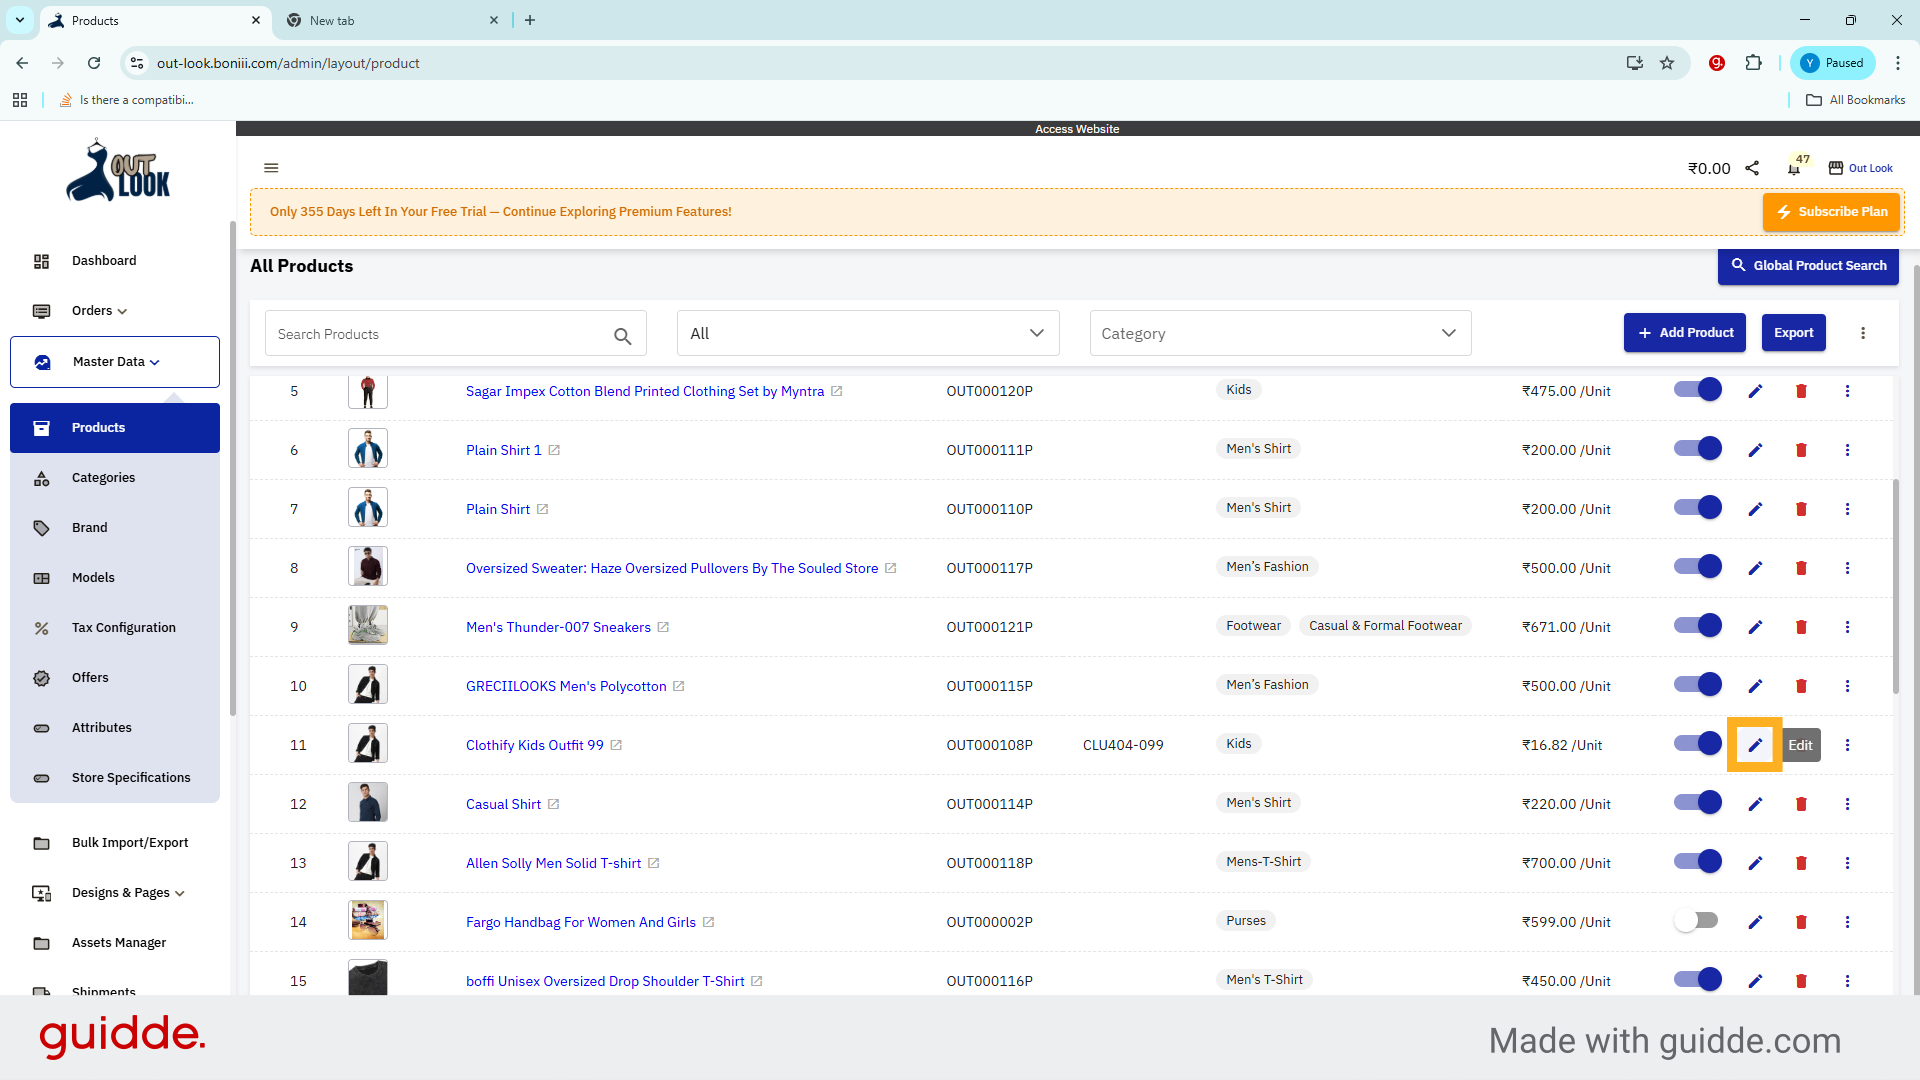
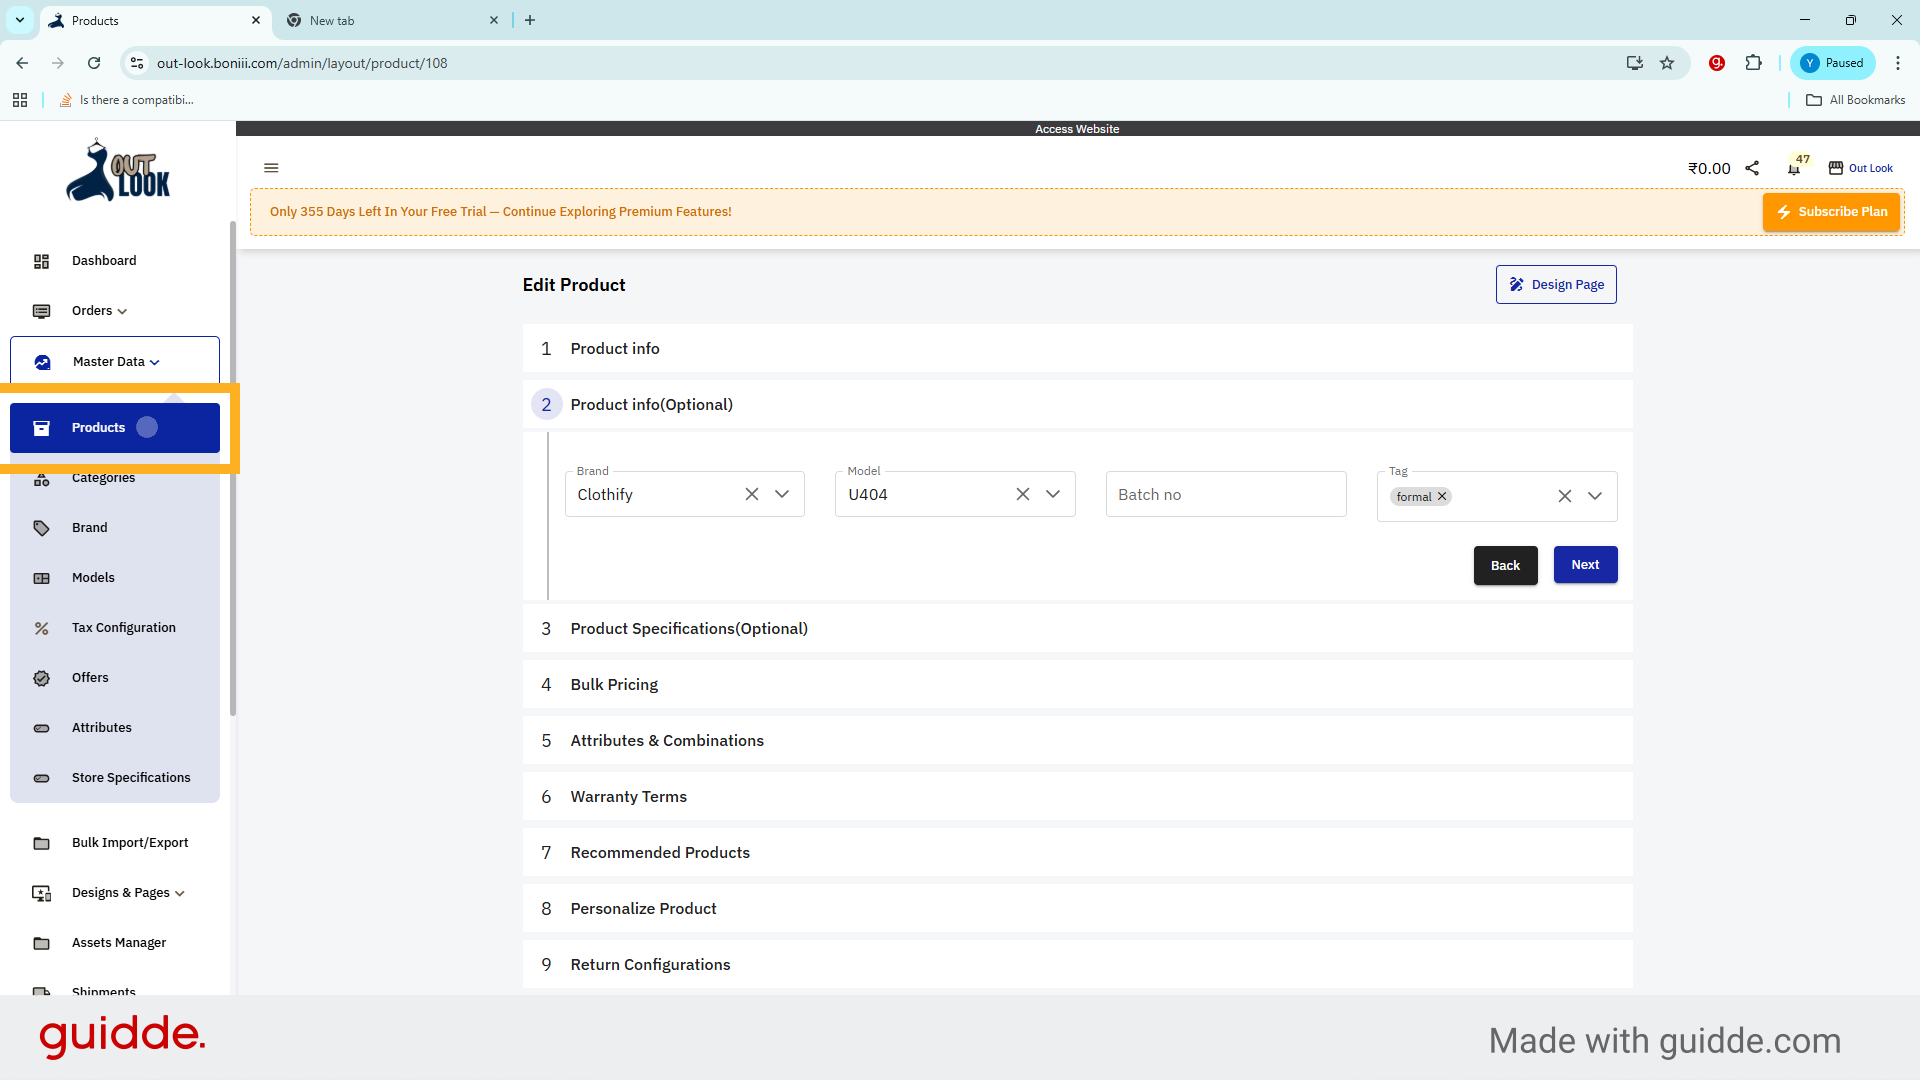
7. Edit Product
Click edit to modify the committed inventory configurations.
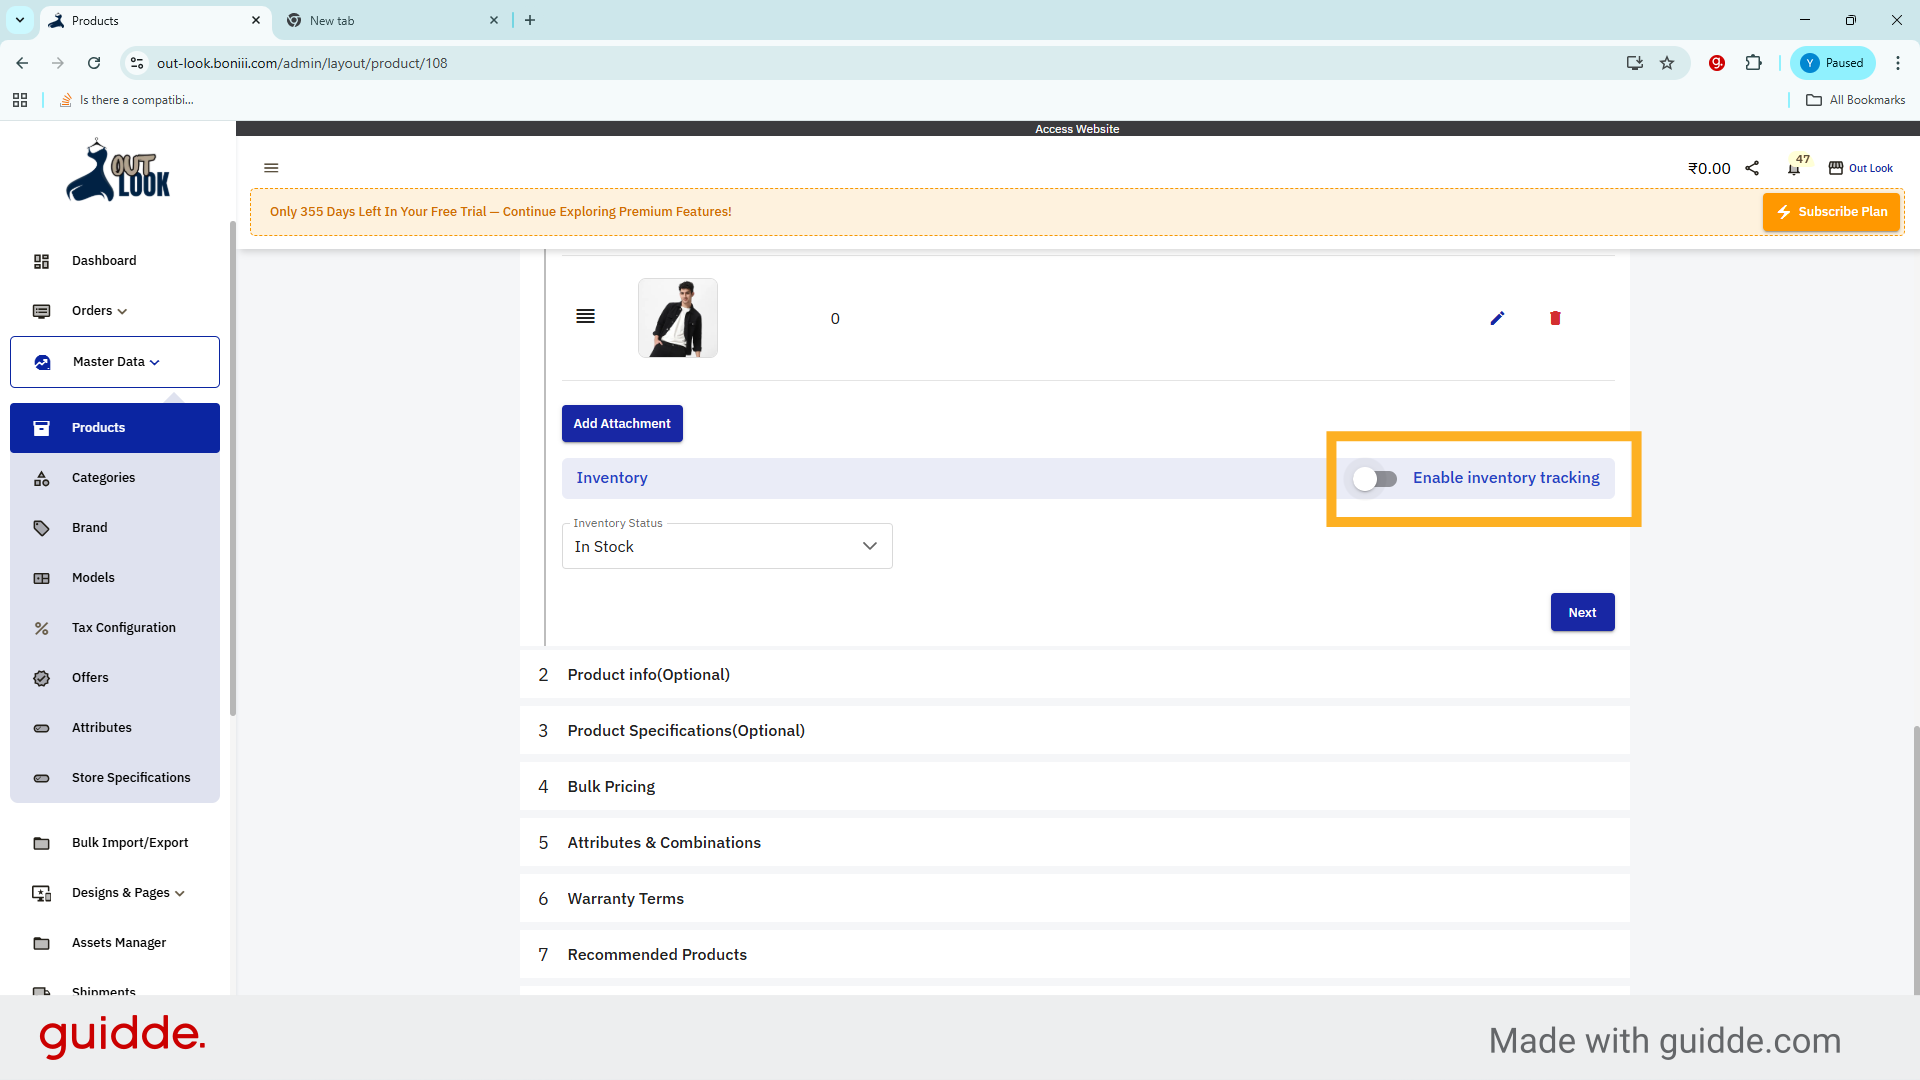
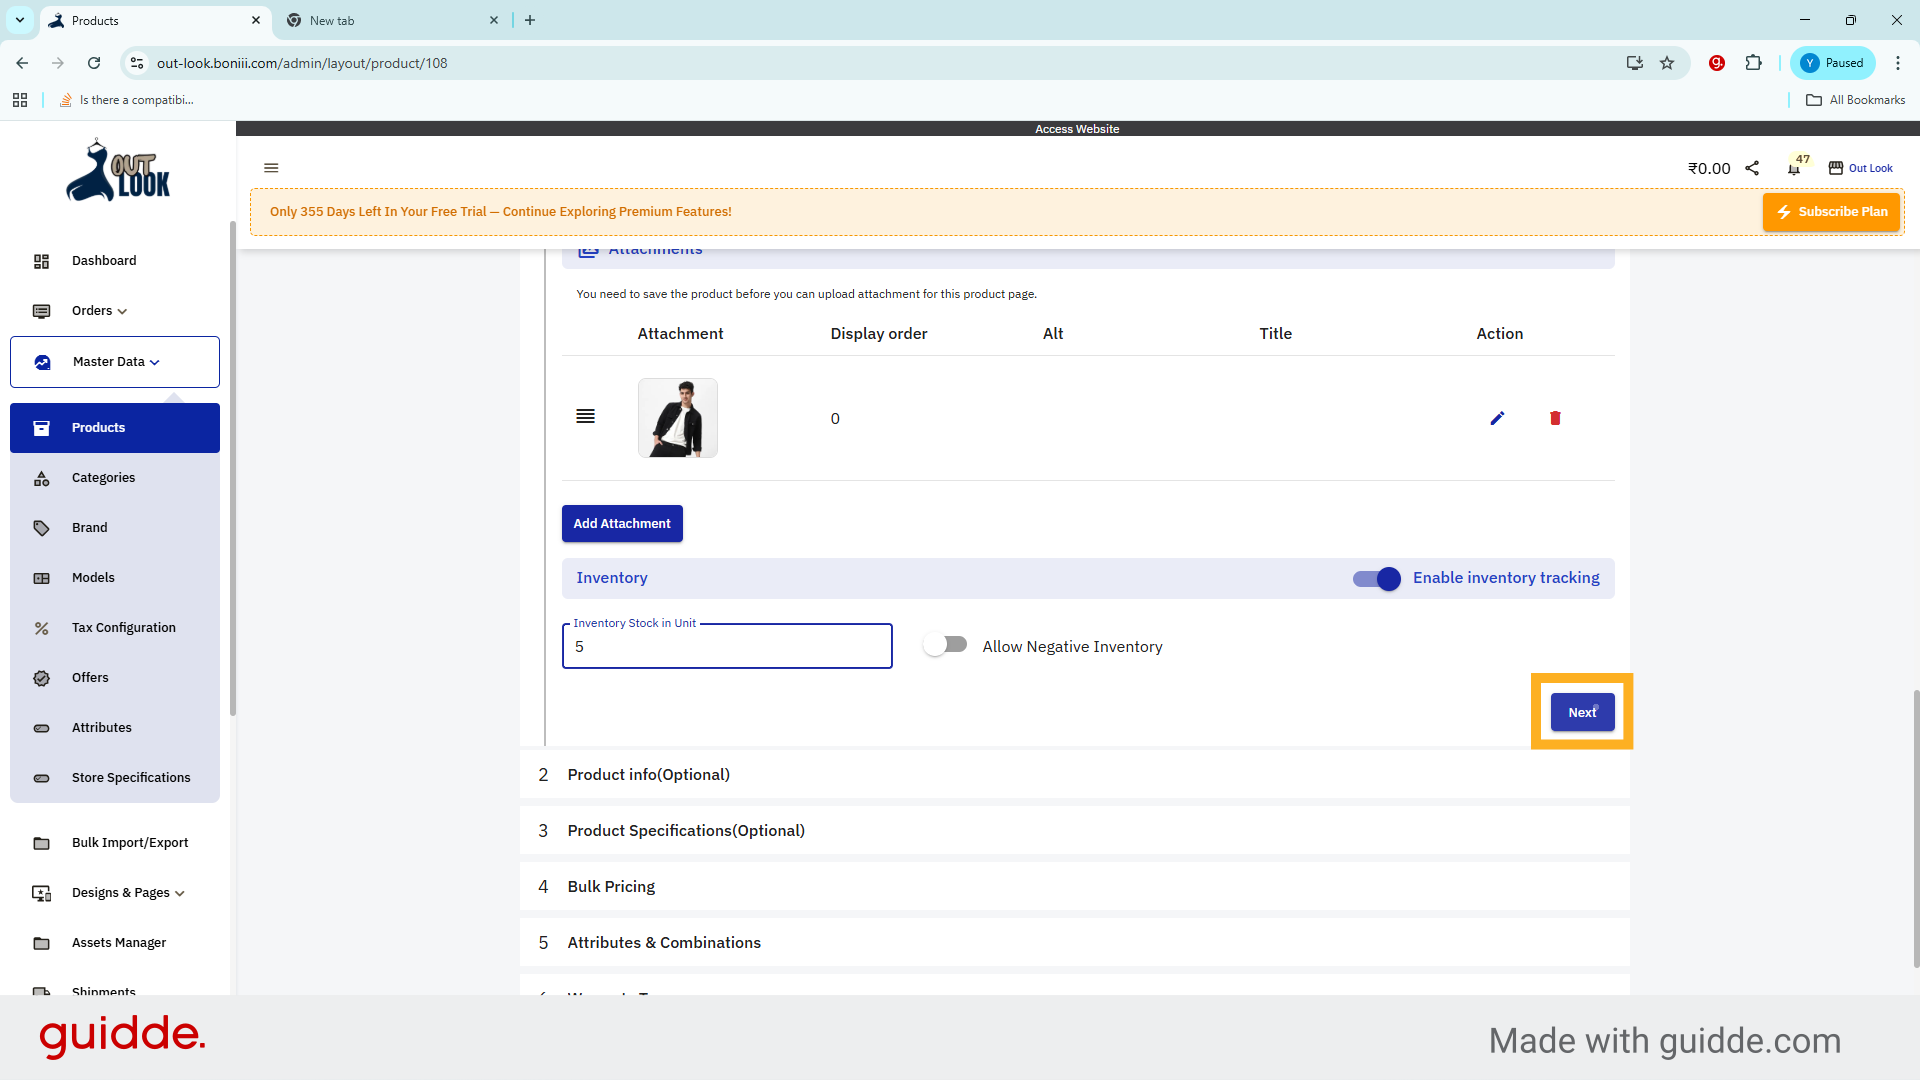
8. Enable Inventory Tracking
Turn on to track stock levels and update product availability when orders are placed.
9. Enter Inventory Stock
Add the inventory stock of this product to keep stock levels accurate and manage order availability.
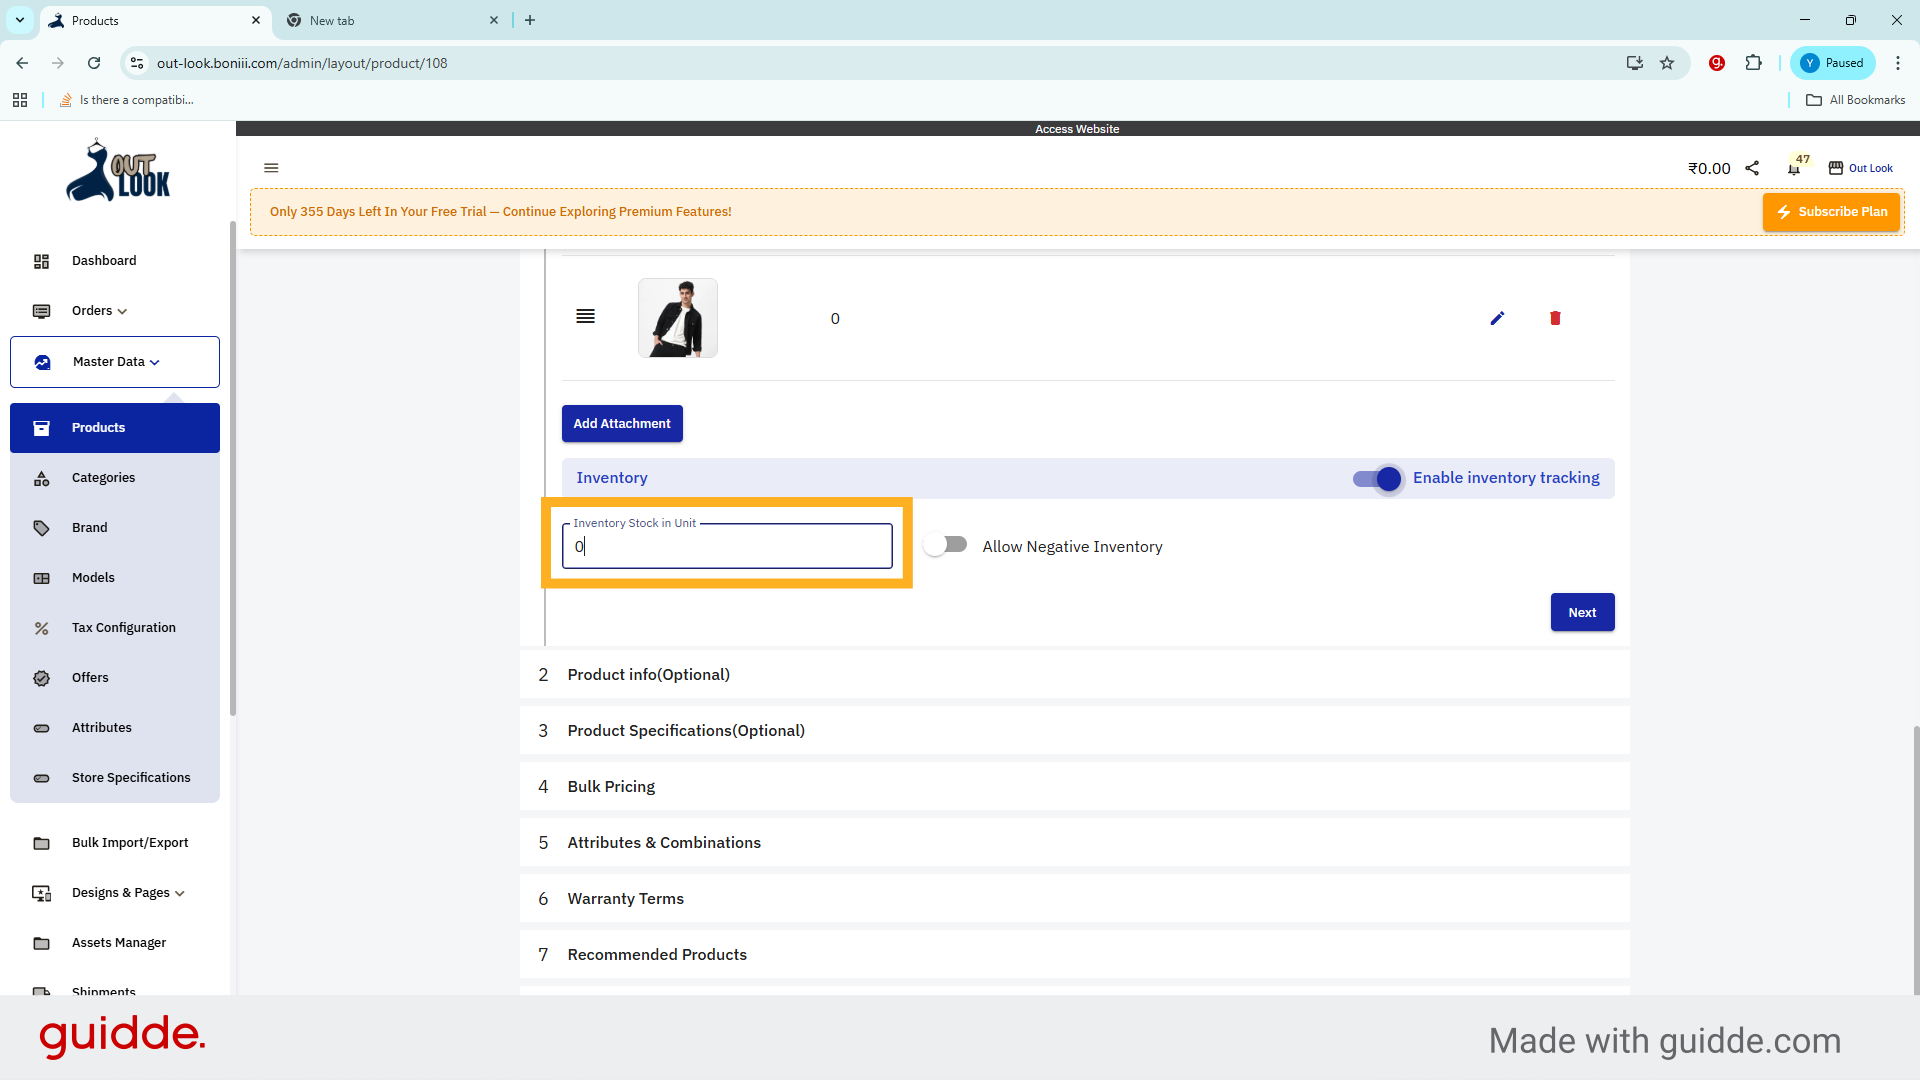
10. Proceed To Next Step
Click Next to continue with the inventory configuration process.
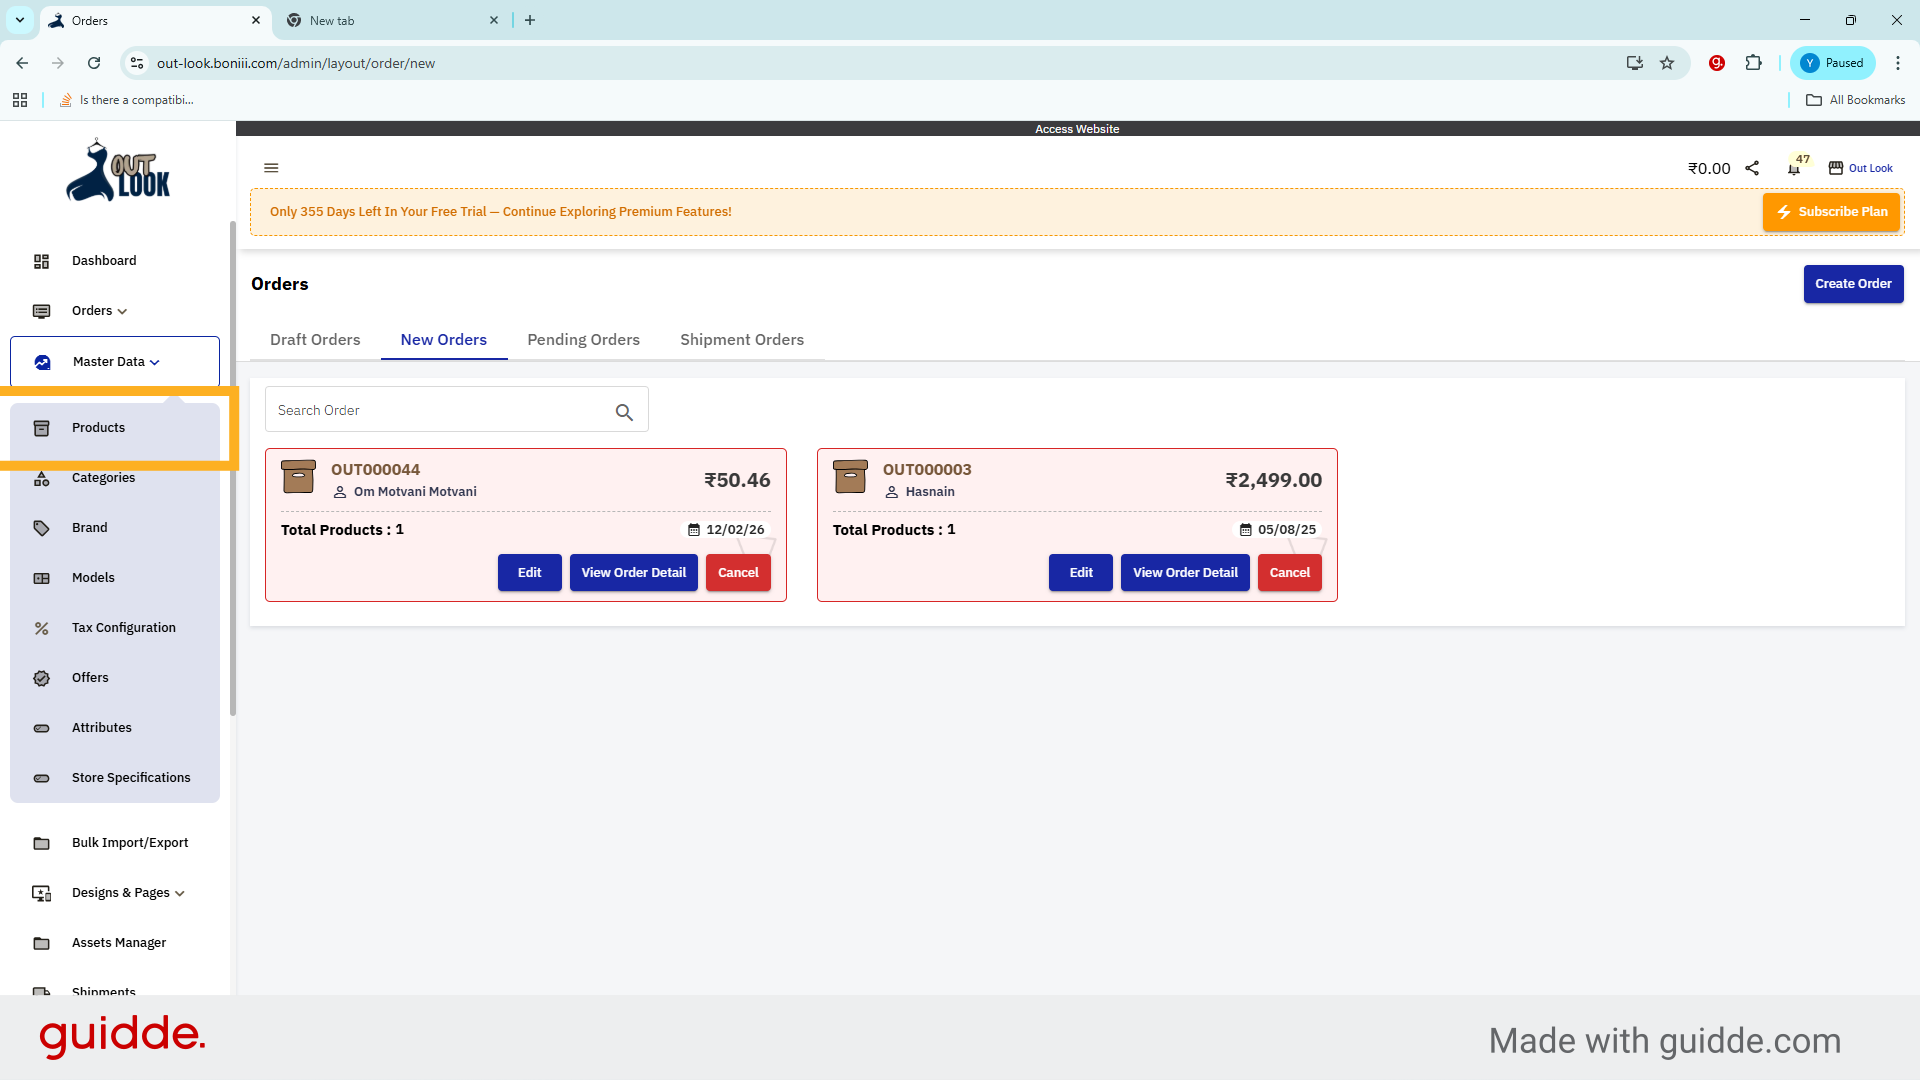
11. Open Products
Click Products to view product details.
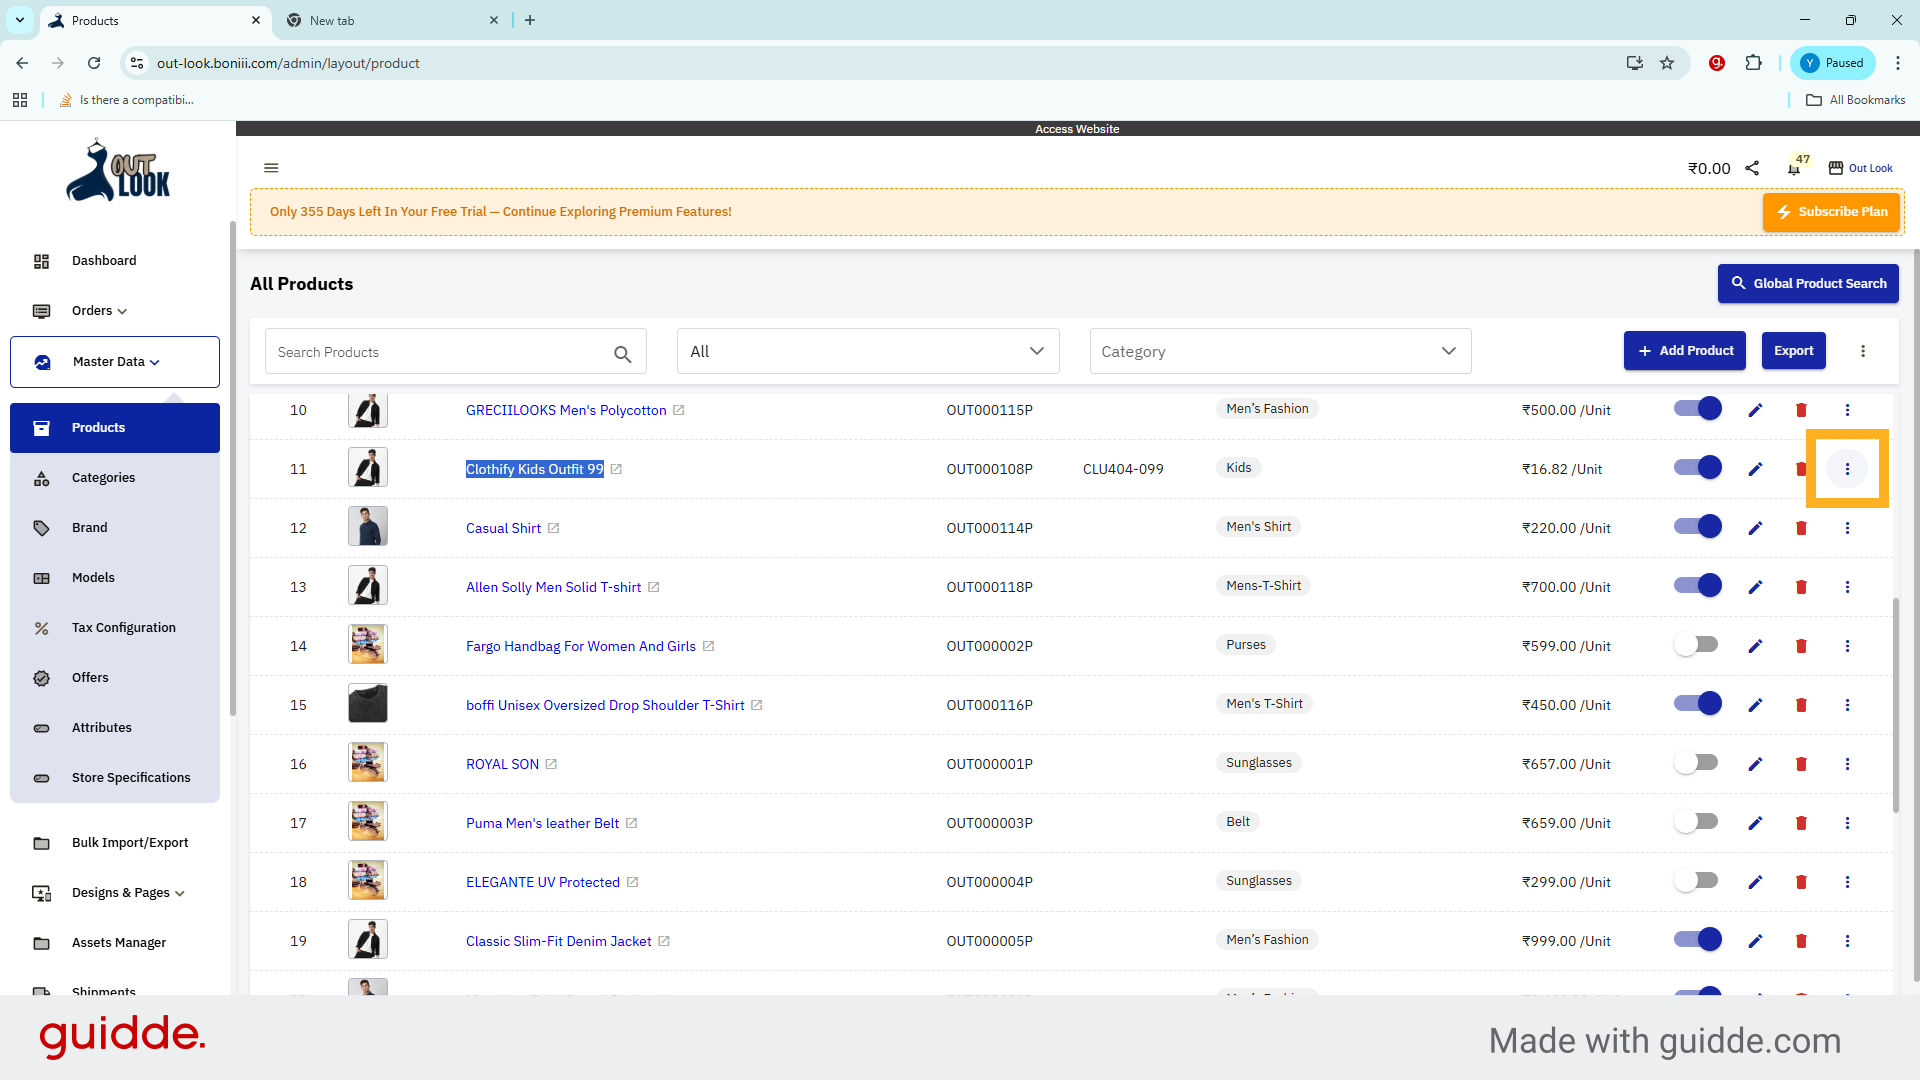
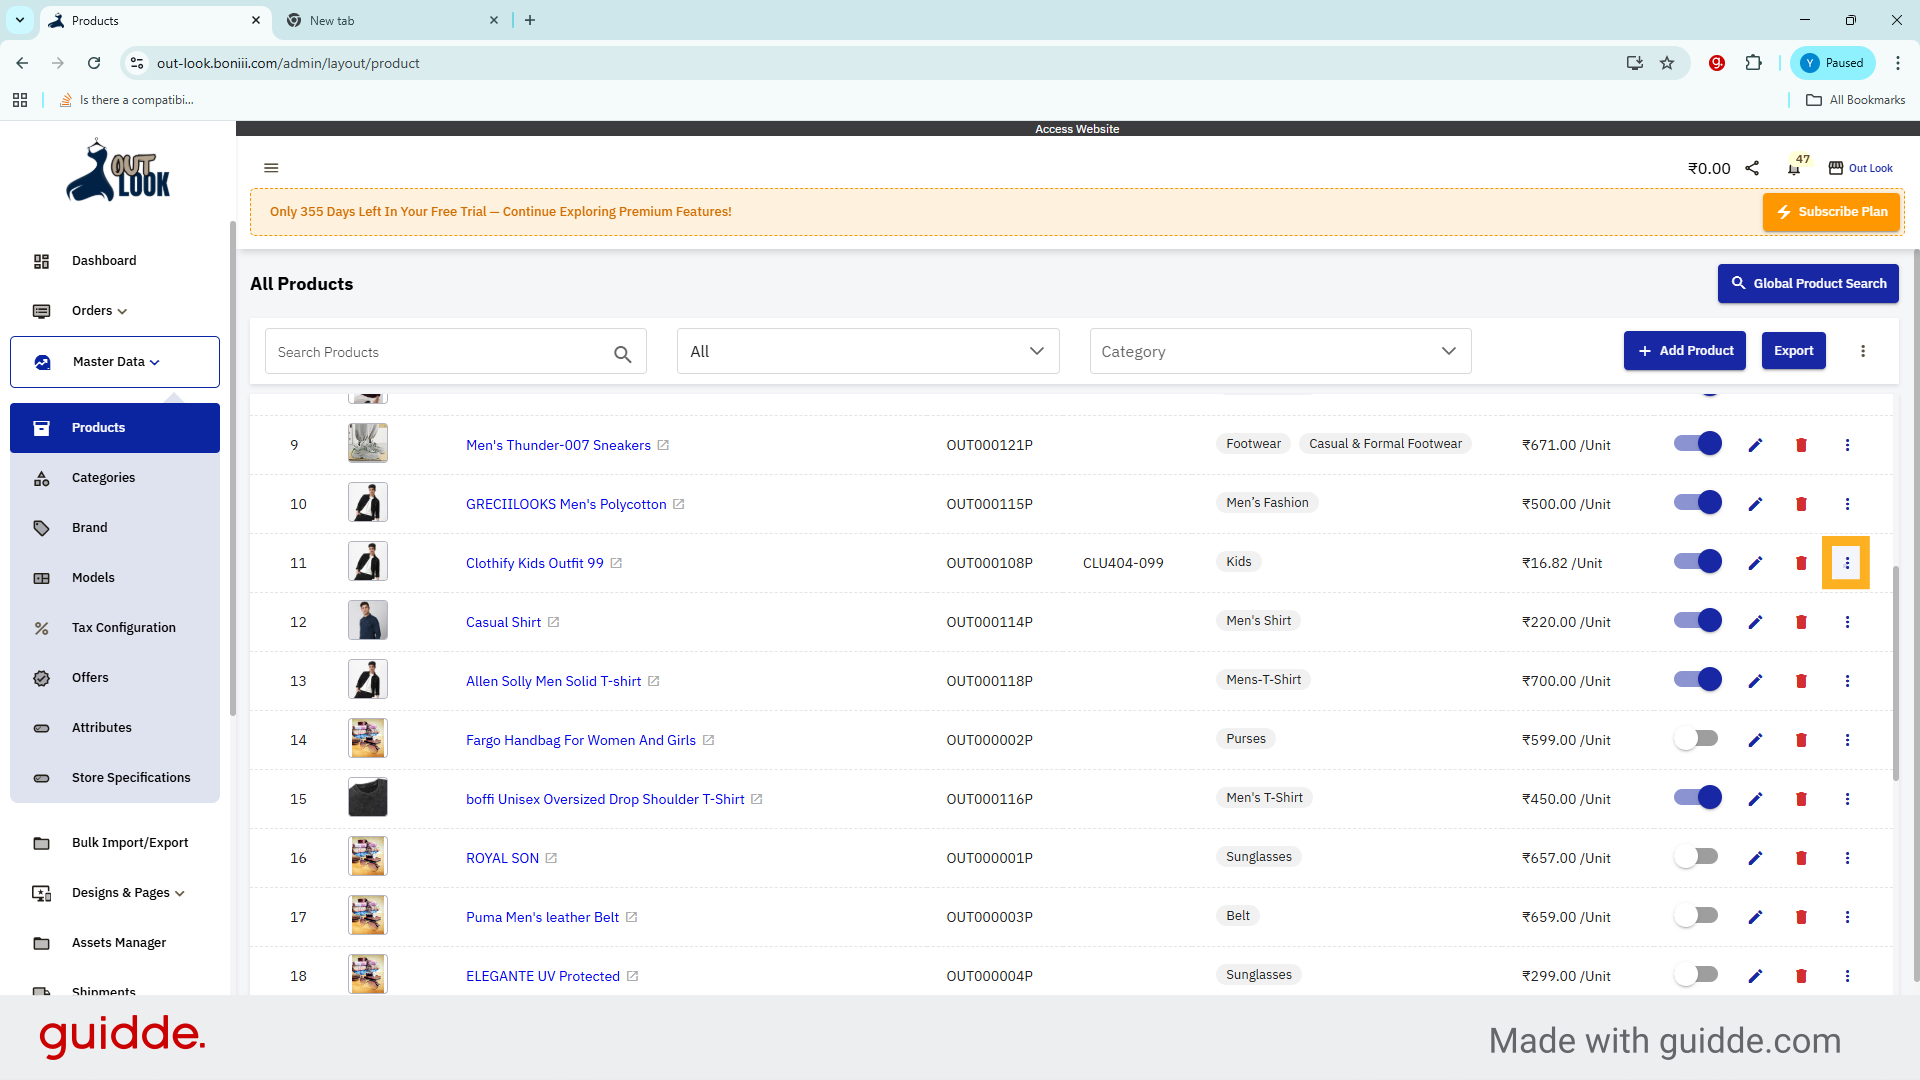
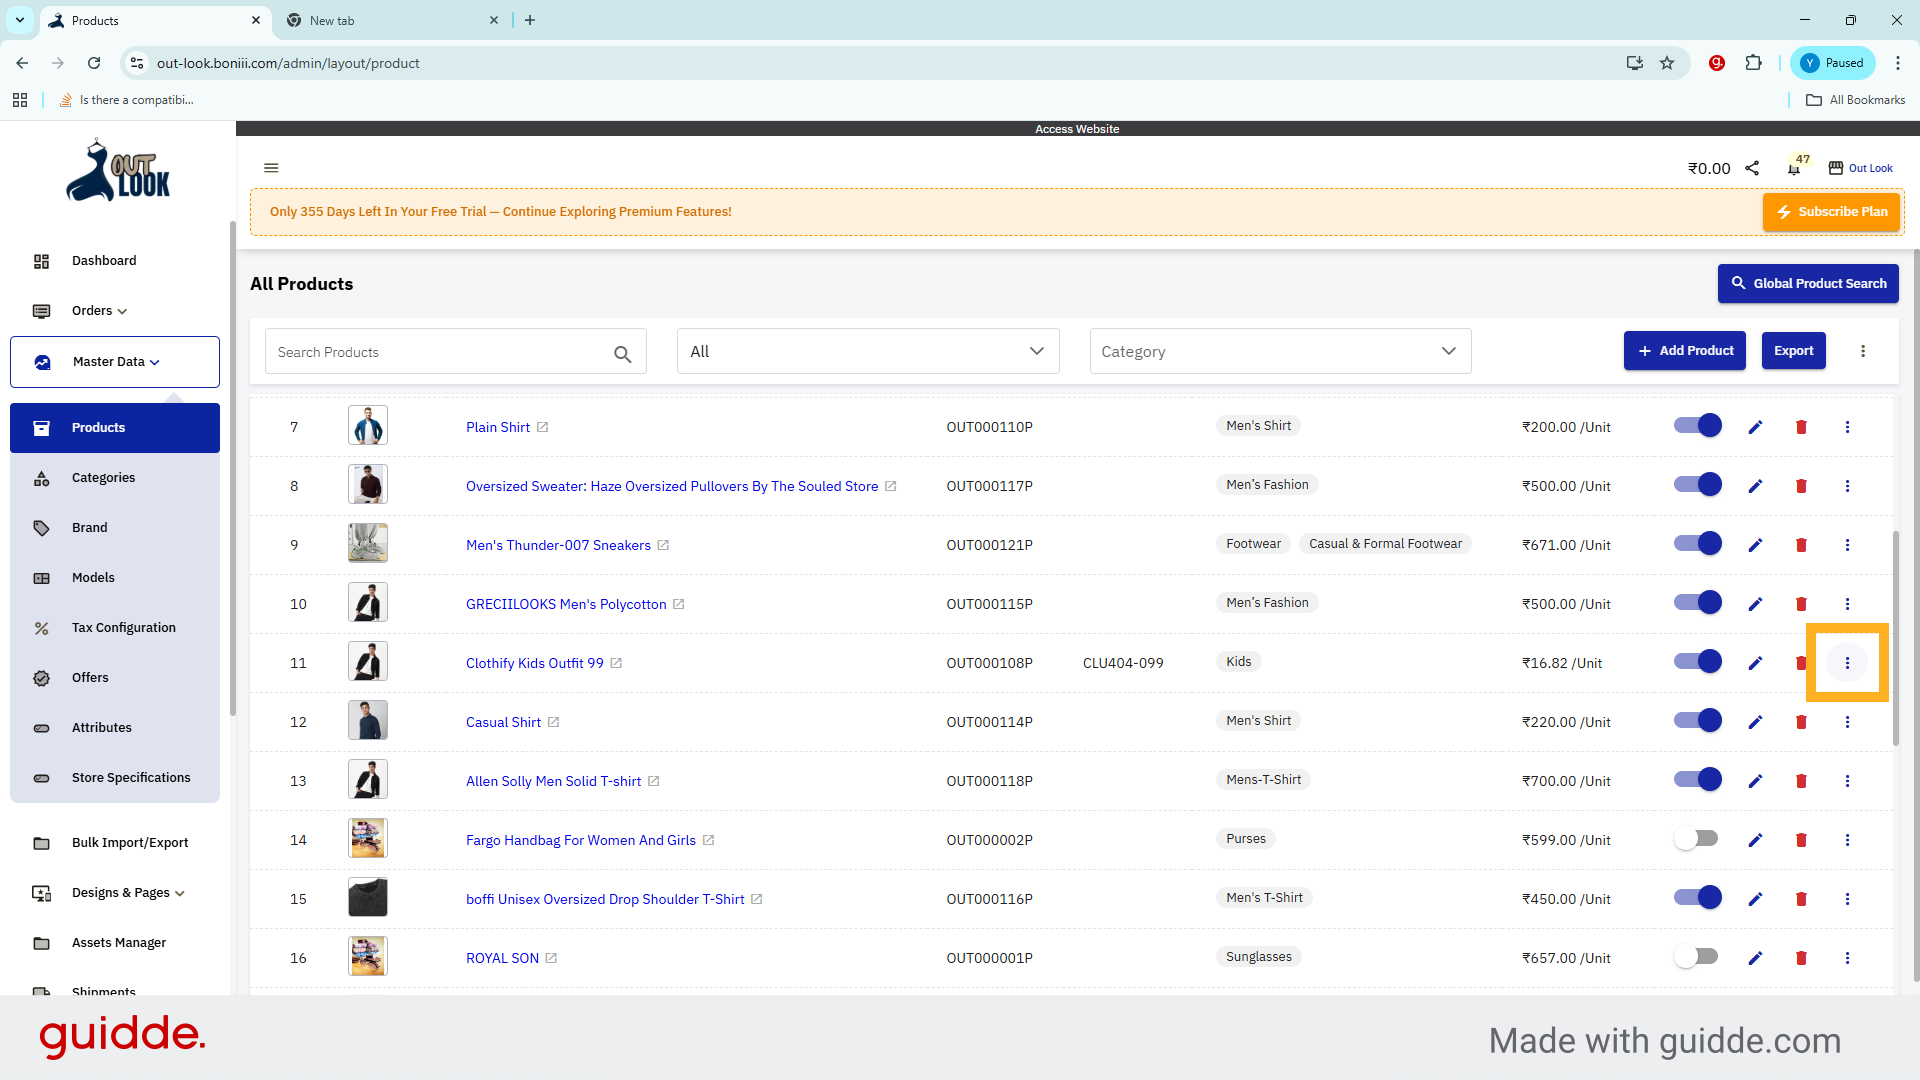
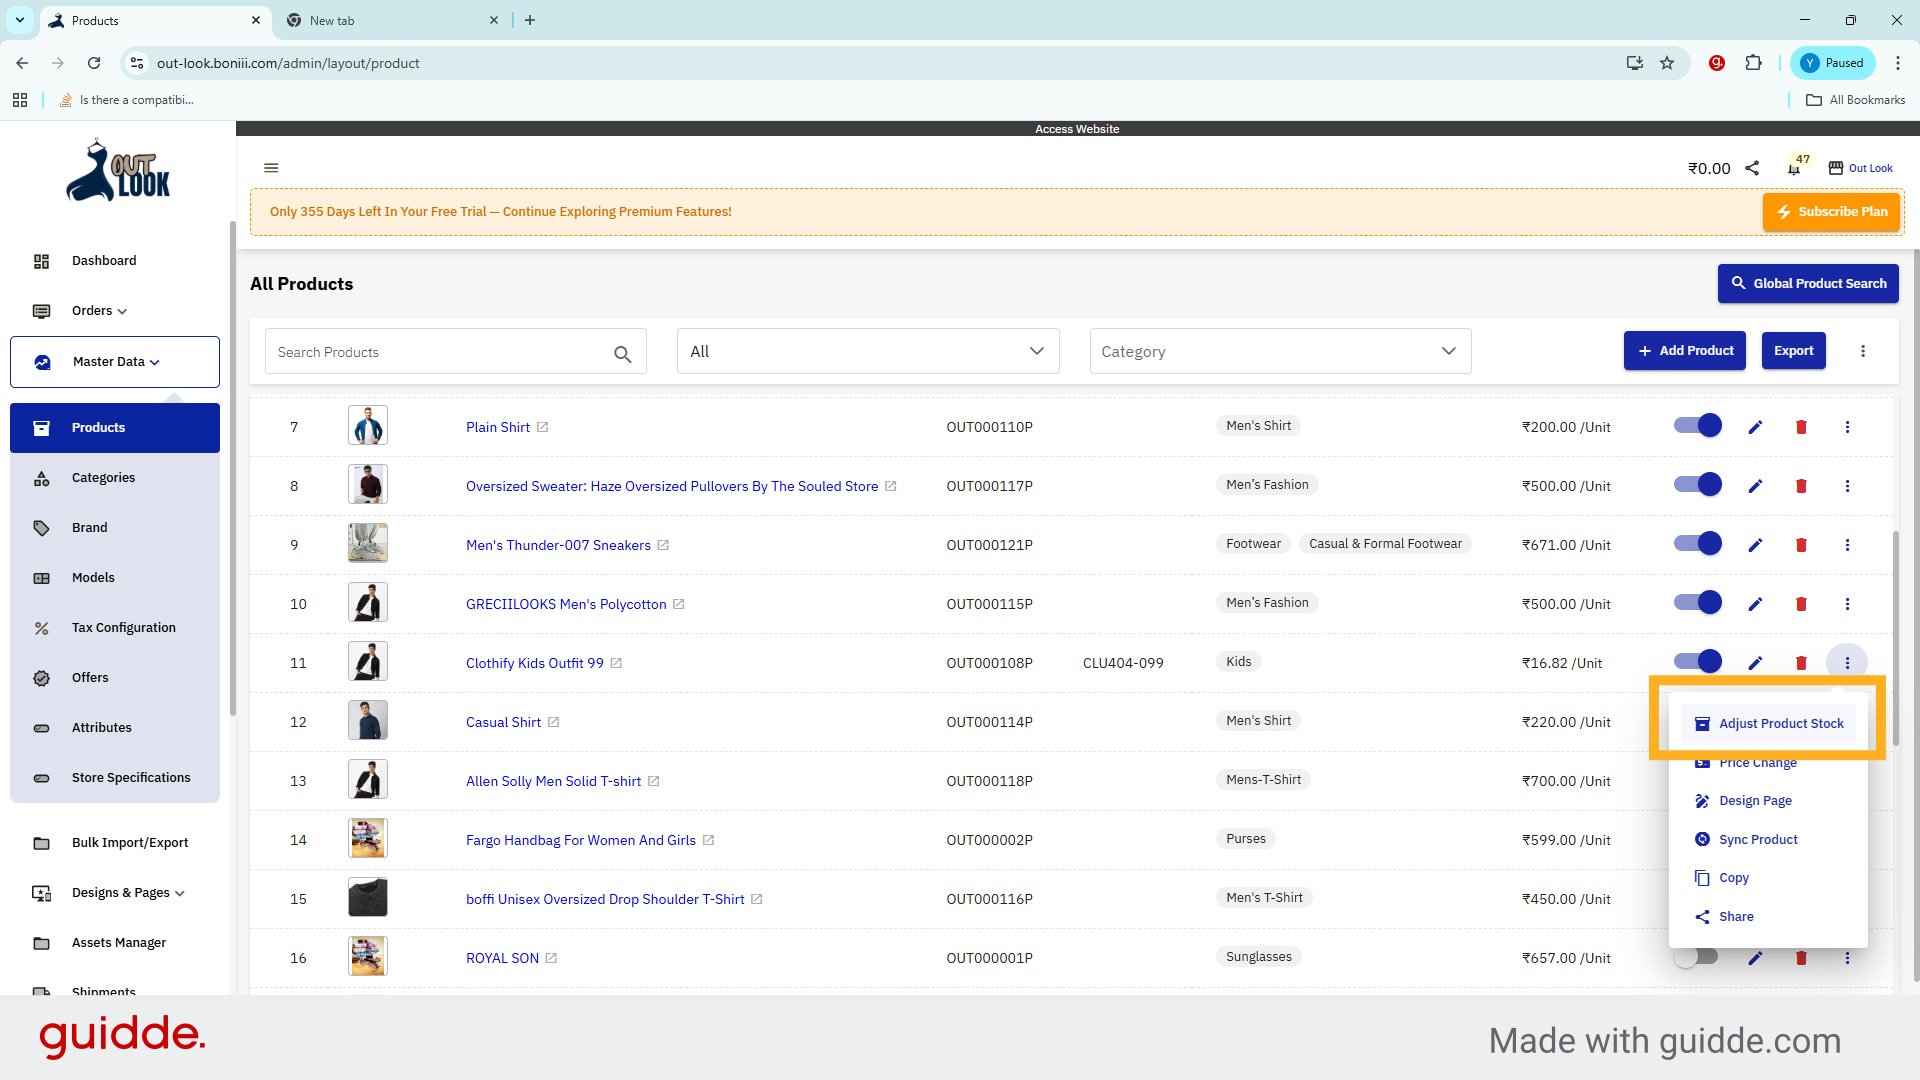
12. Open More Options
Click more icon to access additional product, management, options.
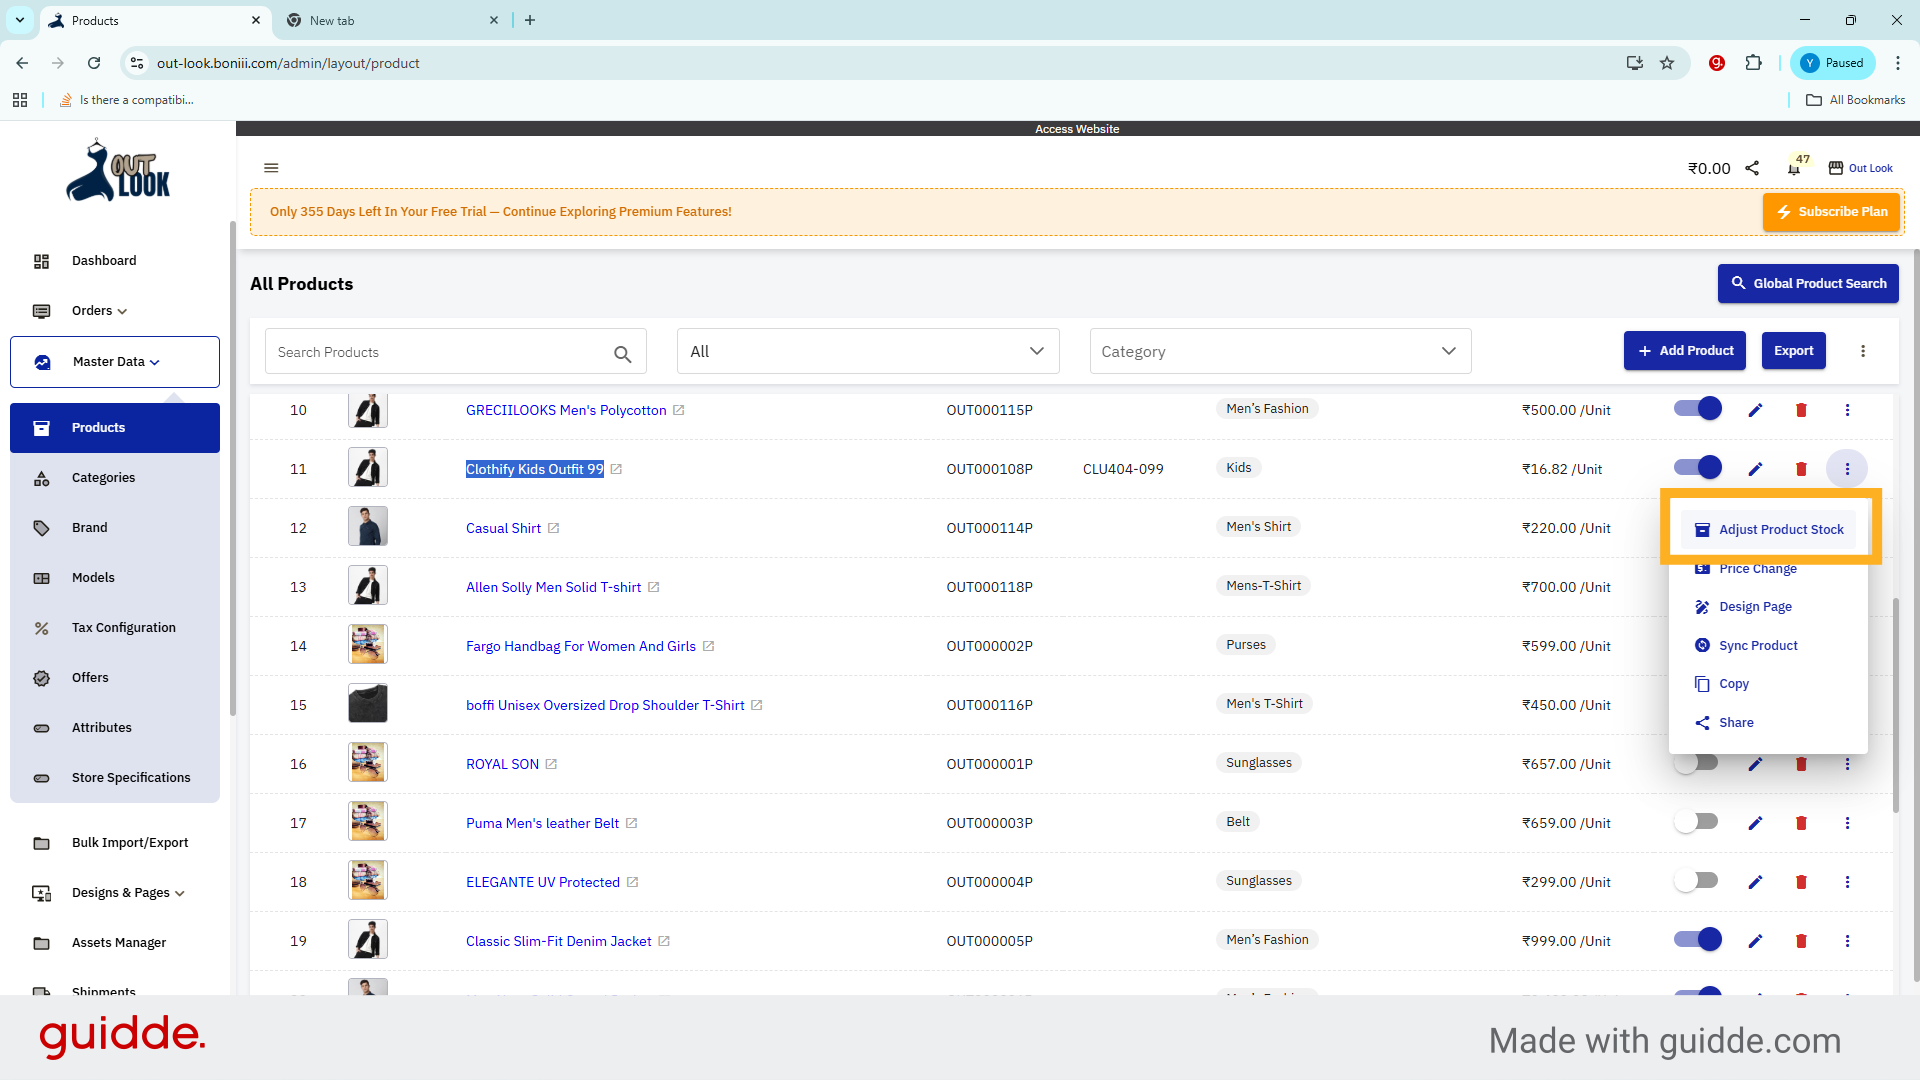
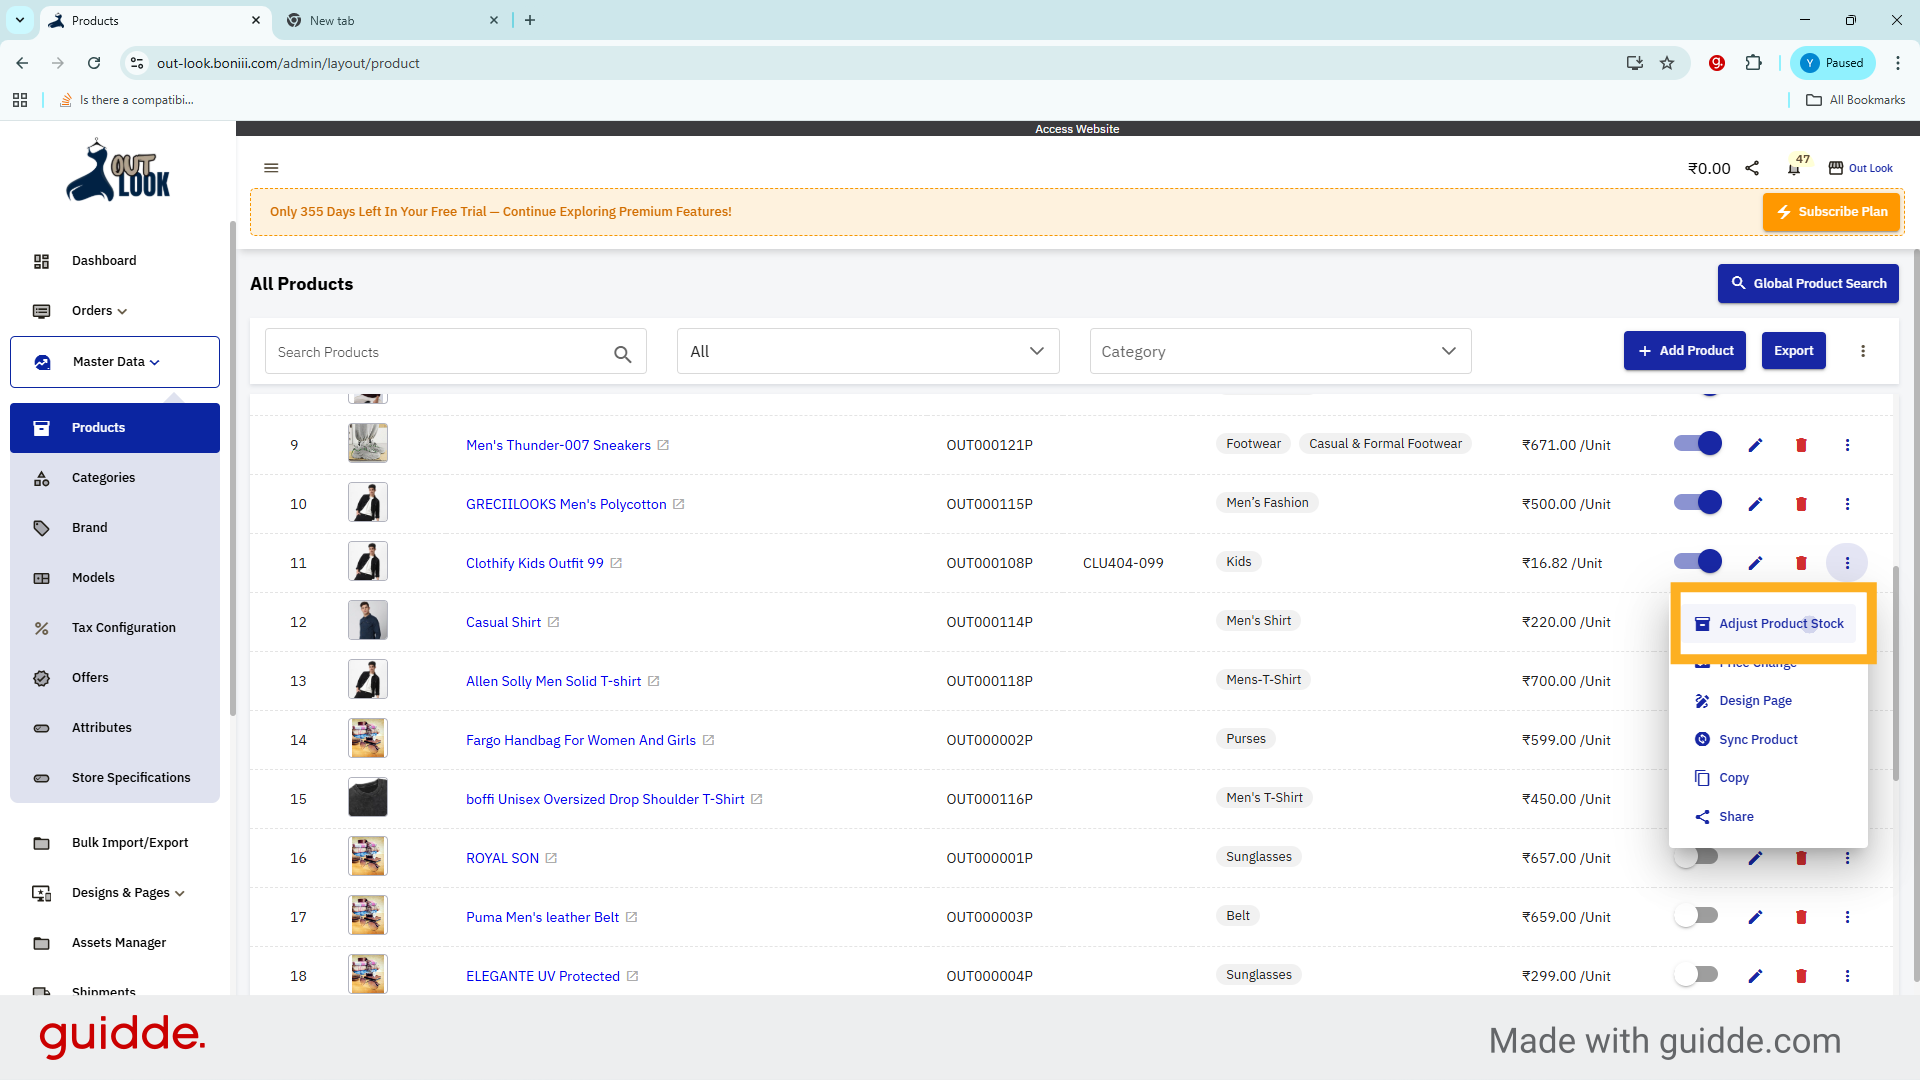
13. Choose Adjust Product Stock
Click Adjust Product Stock to Change modify stock levels.
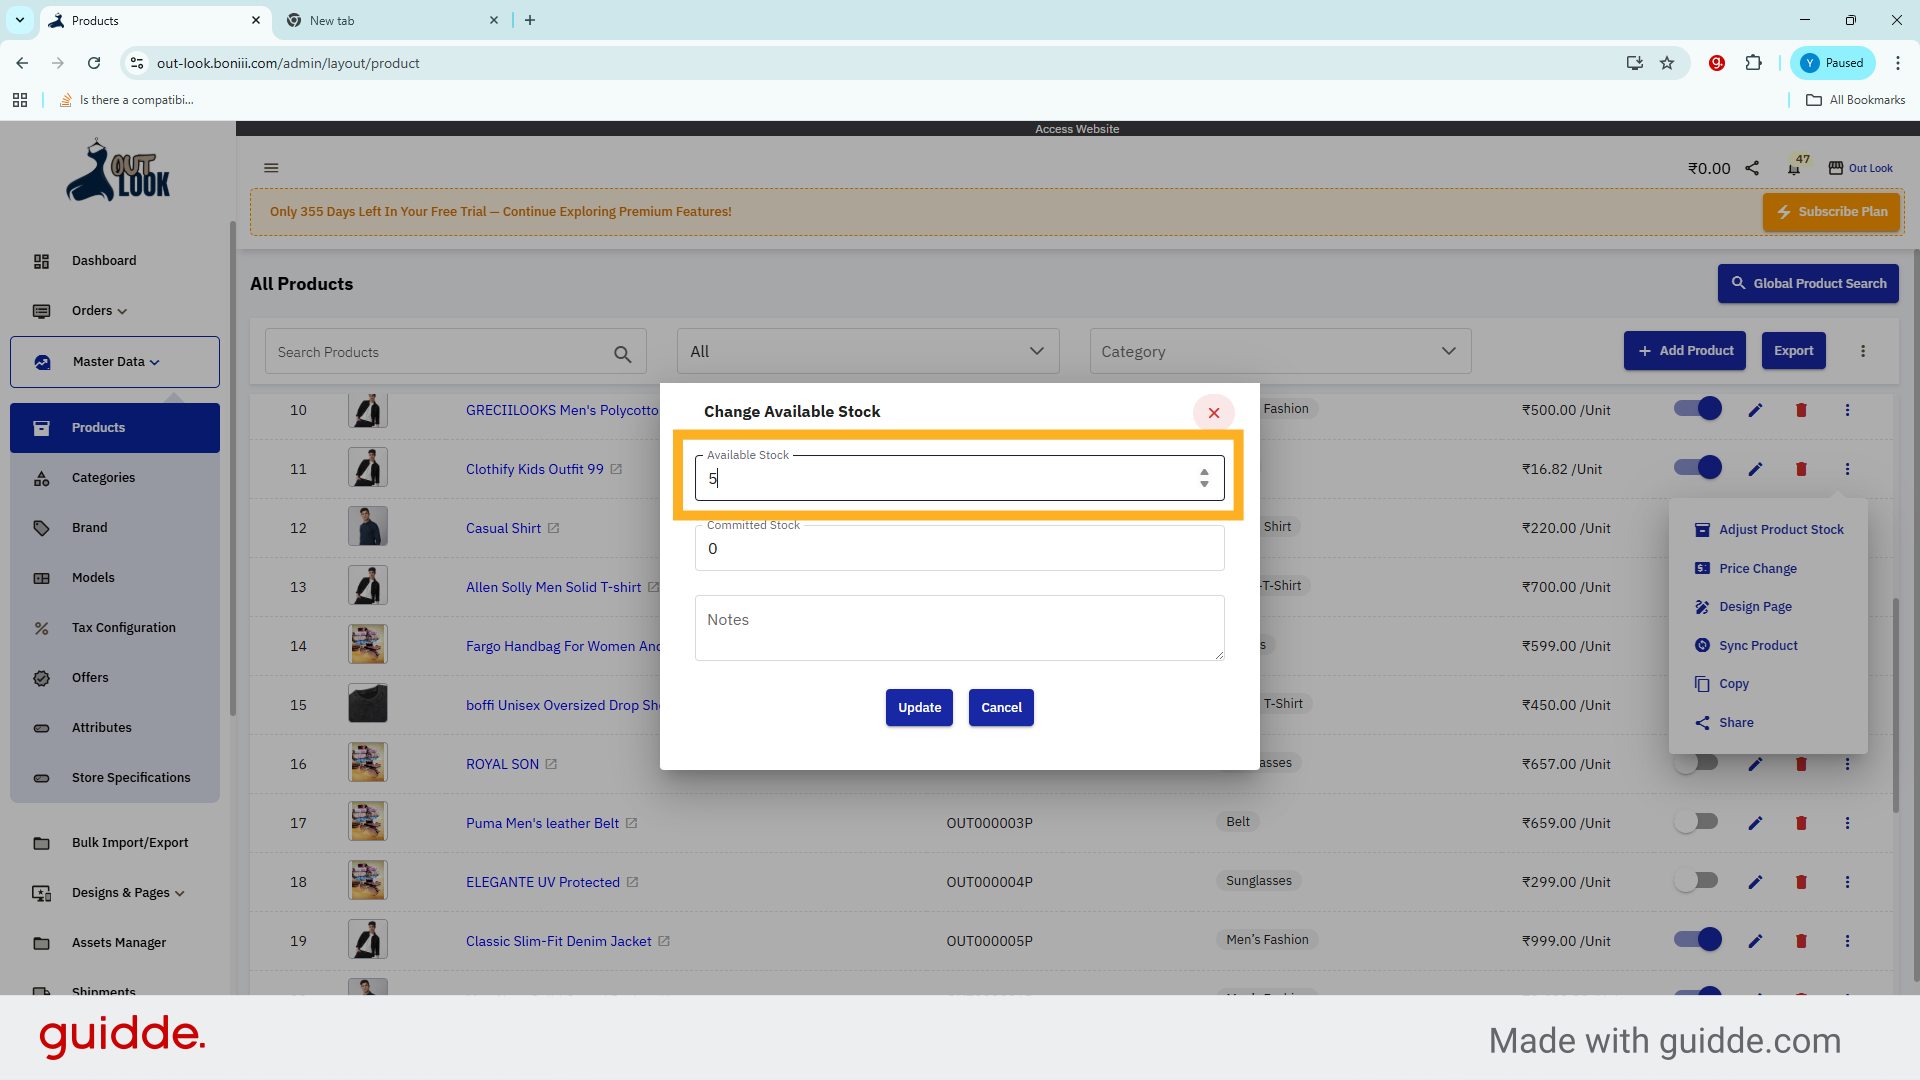
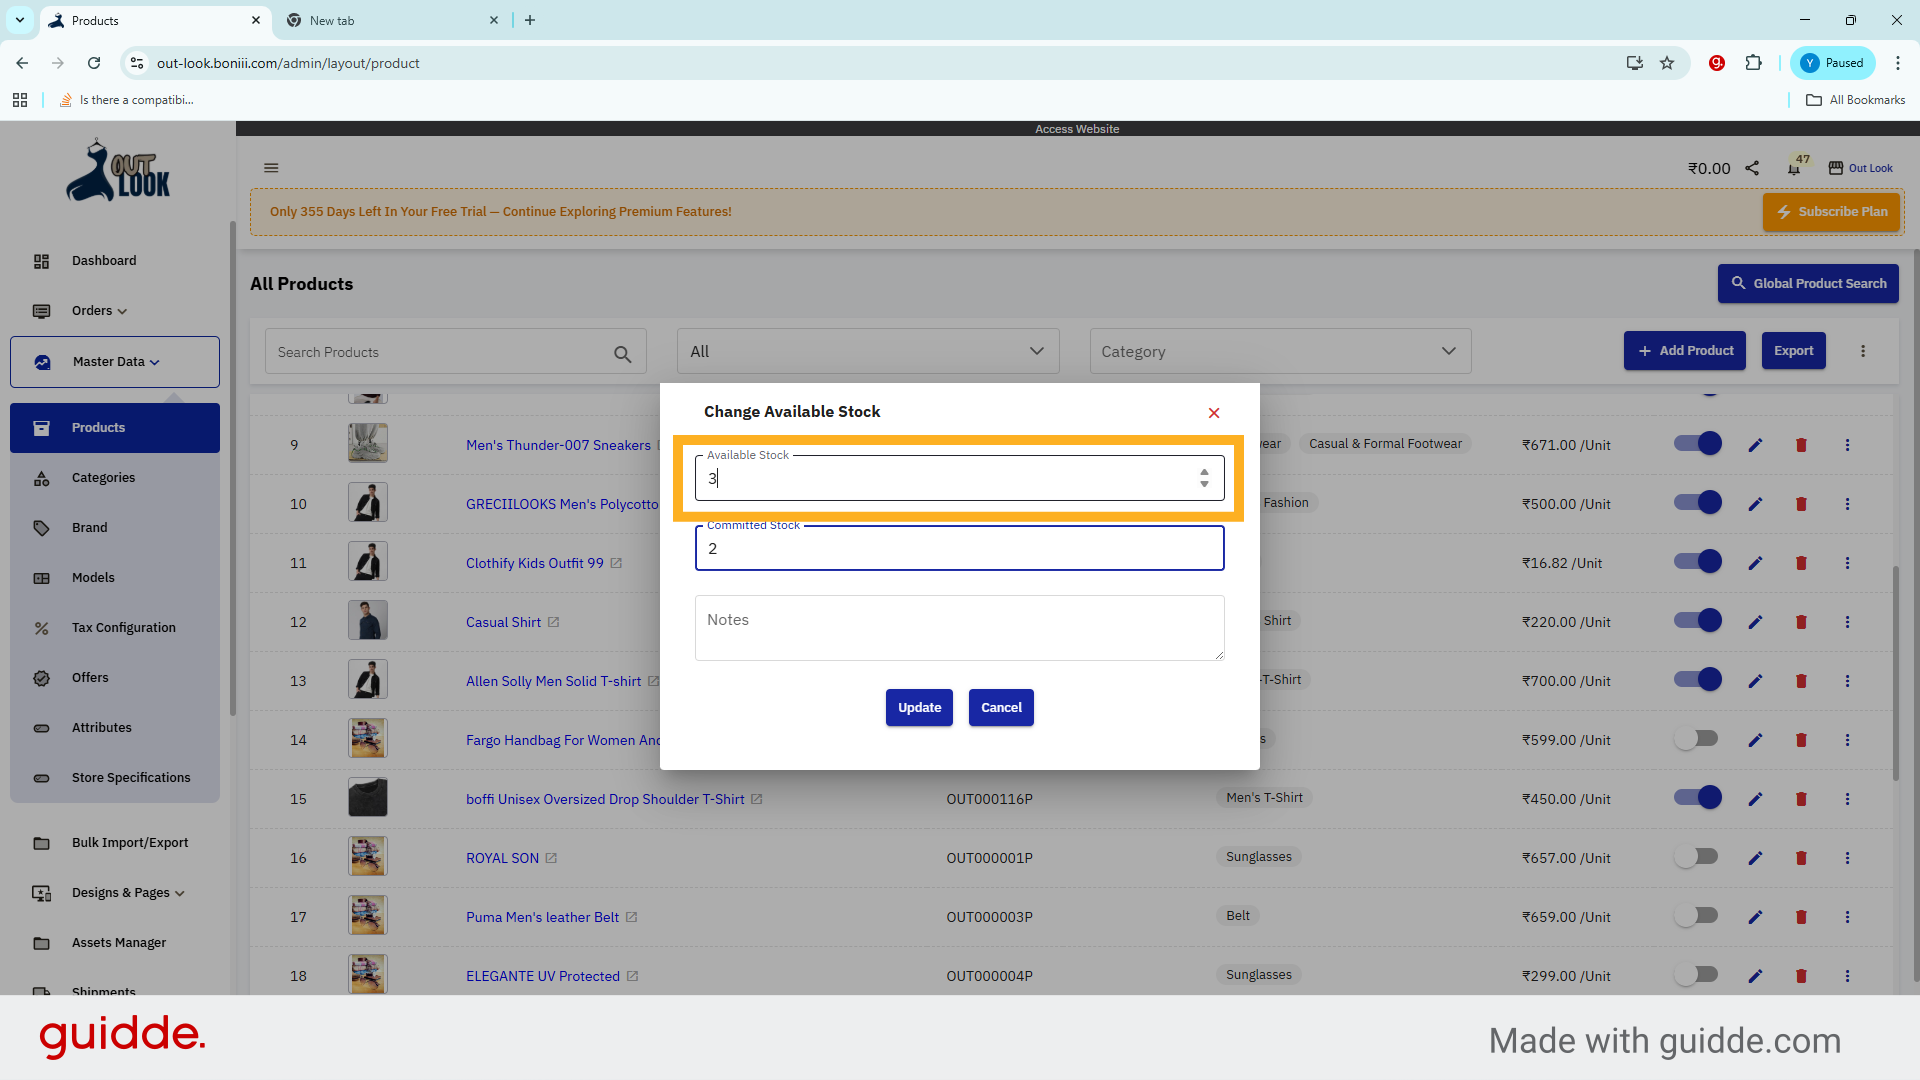
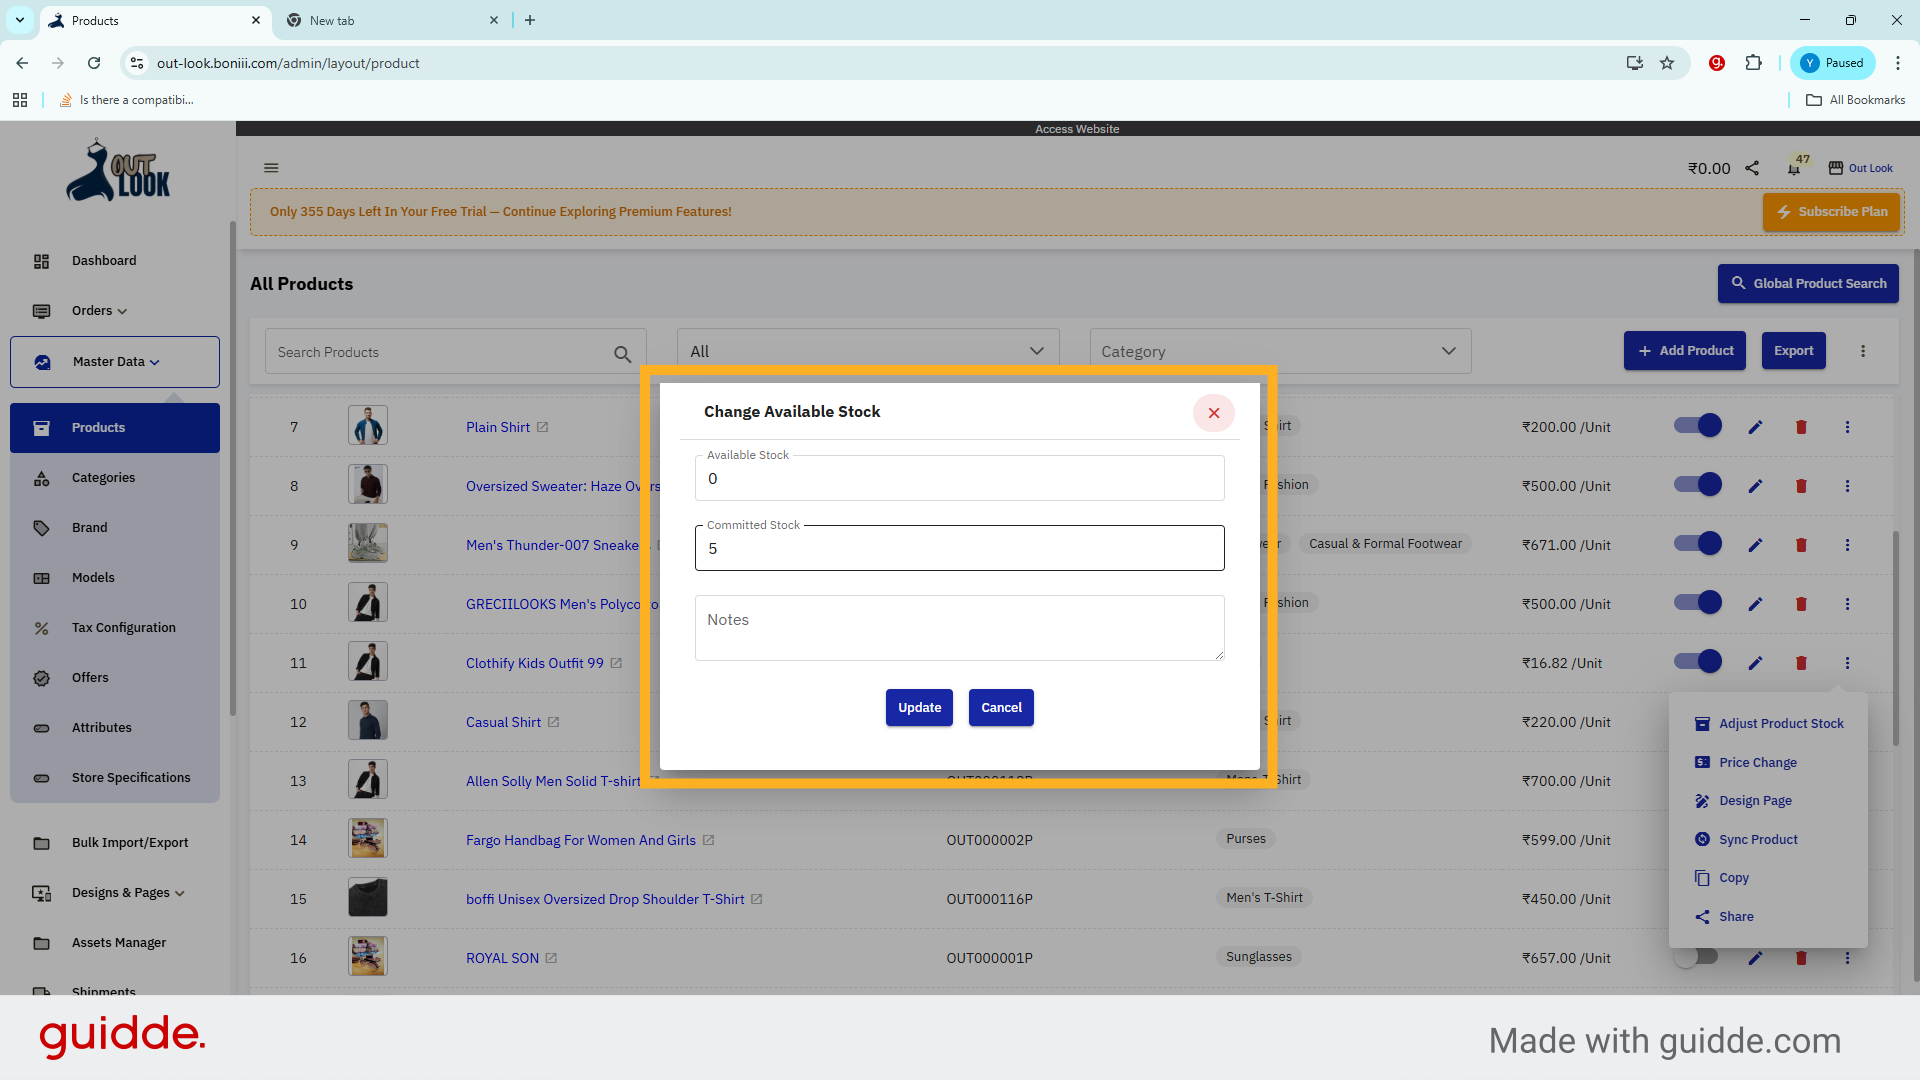
14. Review Available Stock
Available stock shows how many items you can still sell
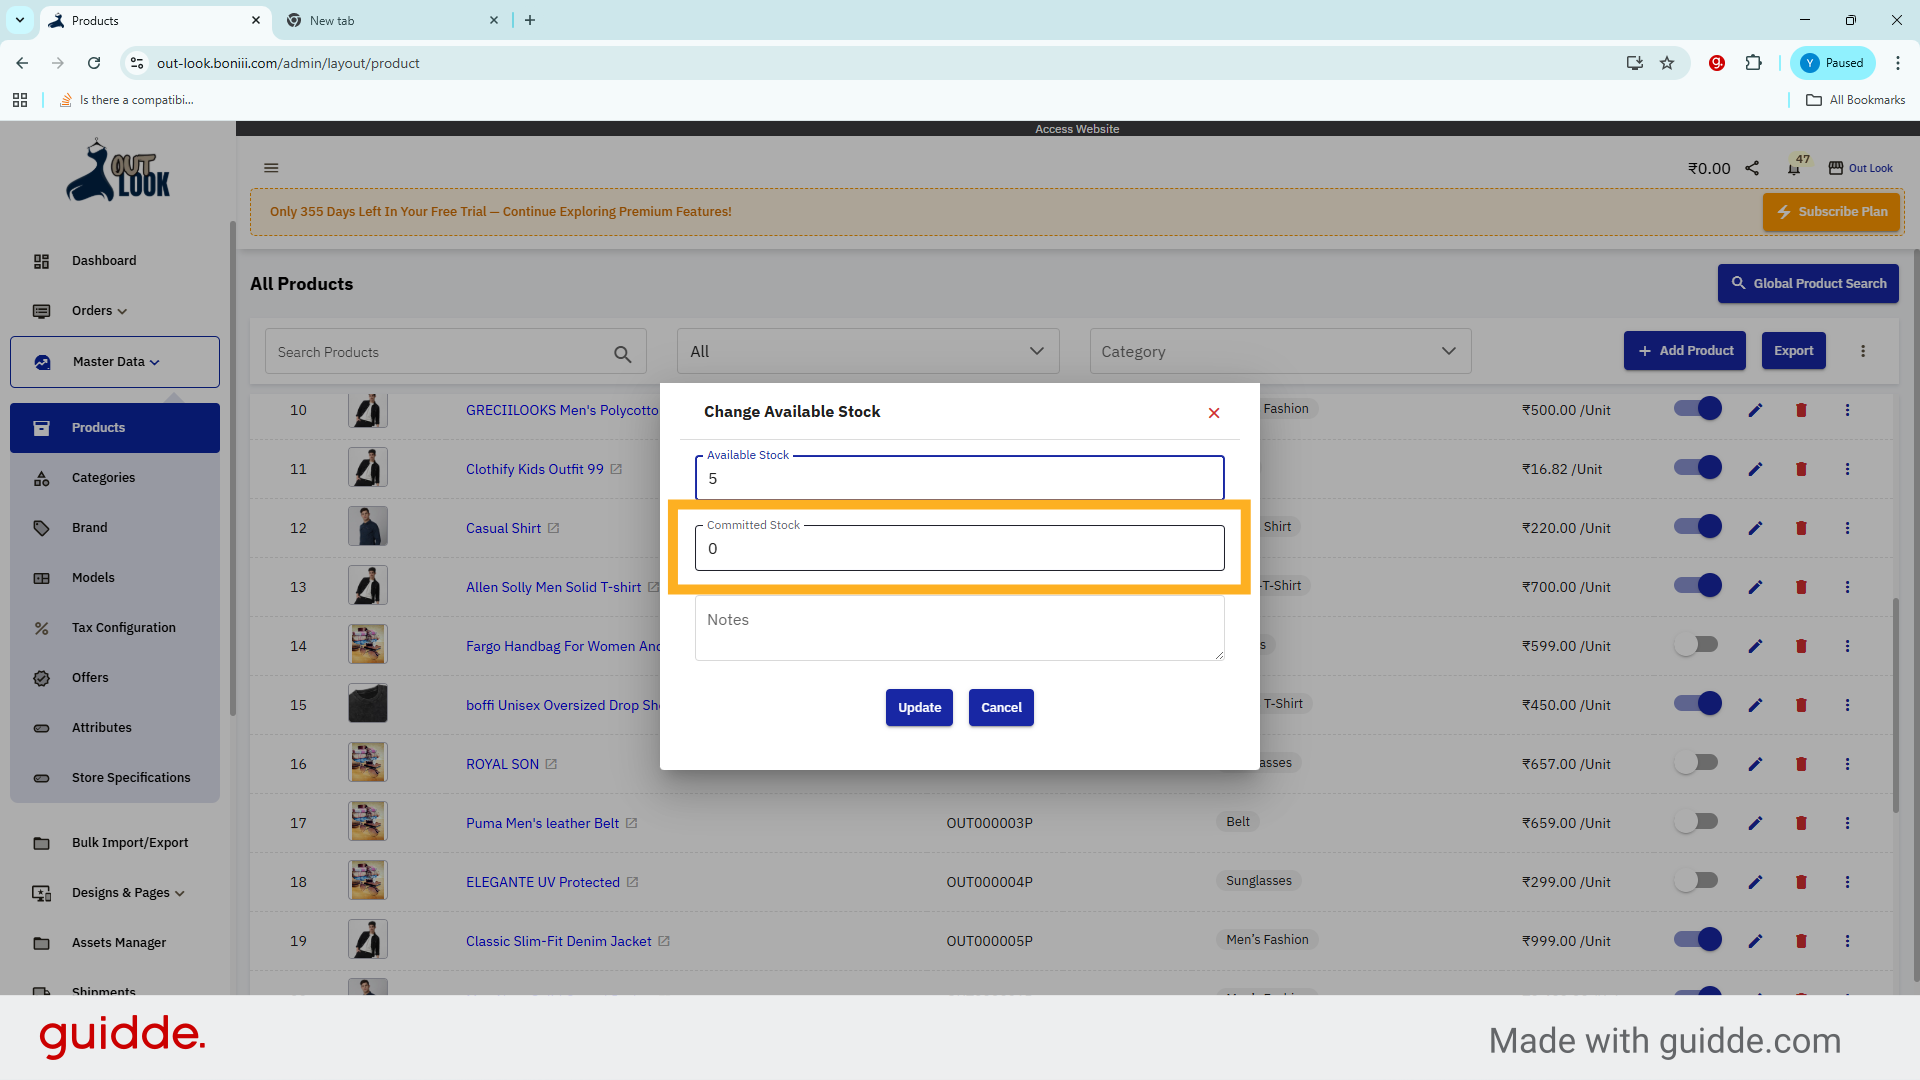
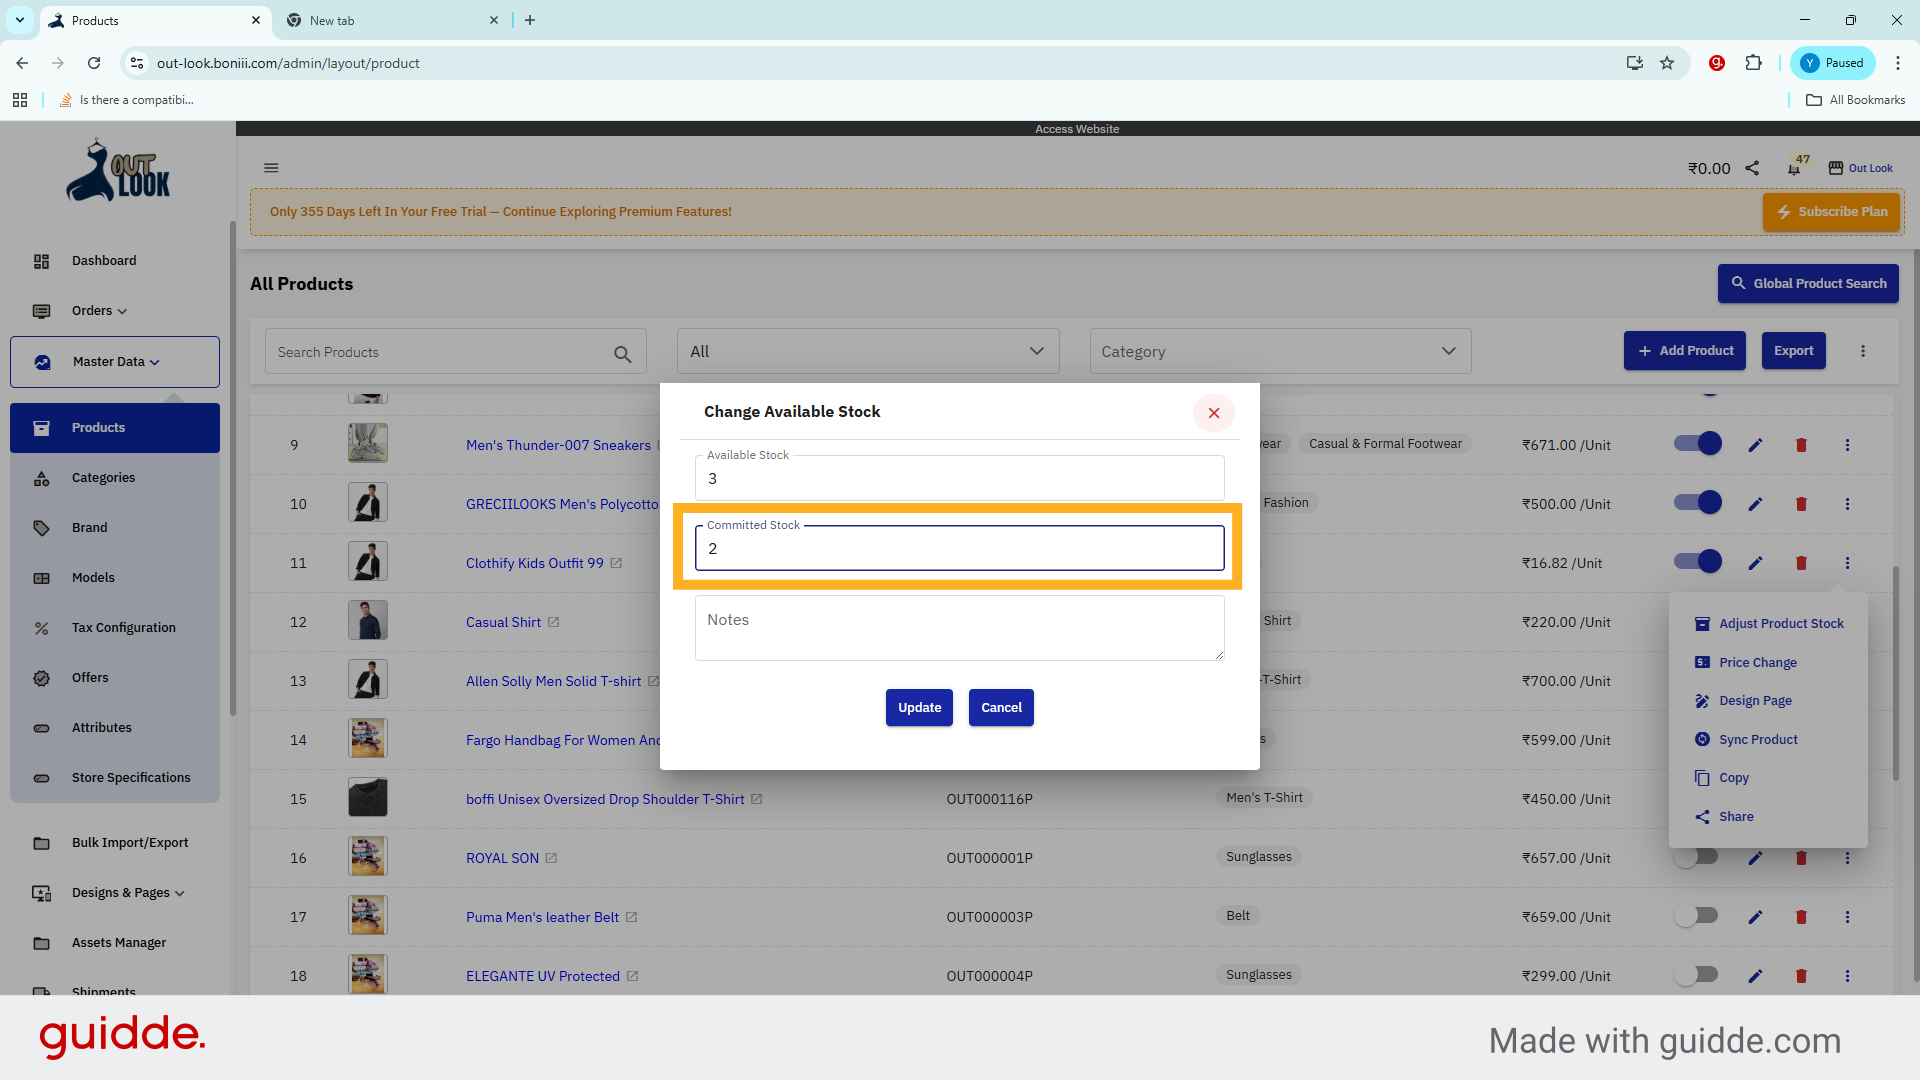
15. Review Commited Stock
committed stock shows how many items are already reserved for pending or accepted orders
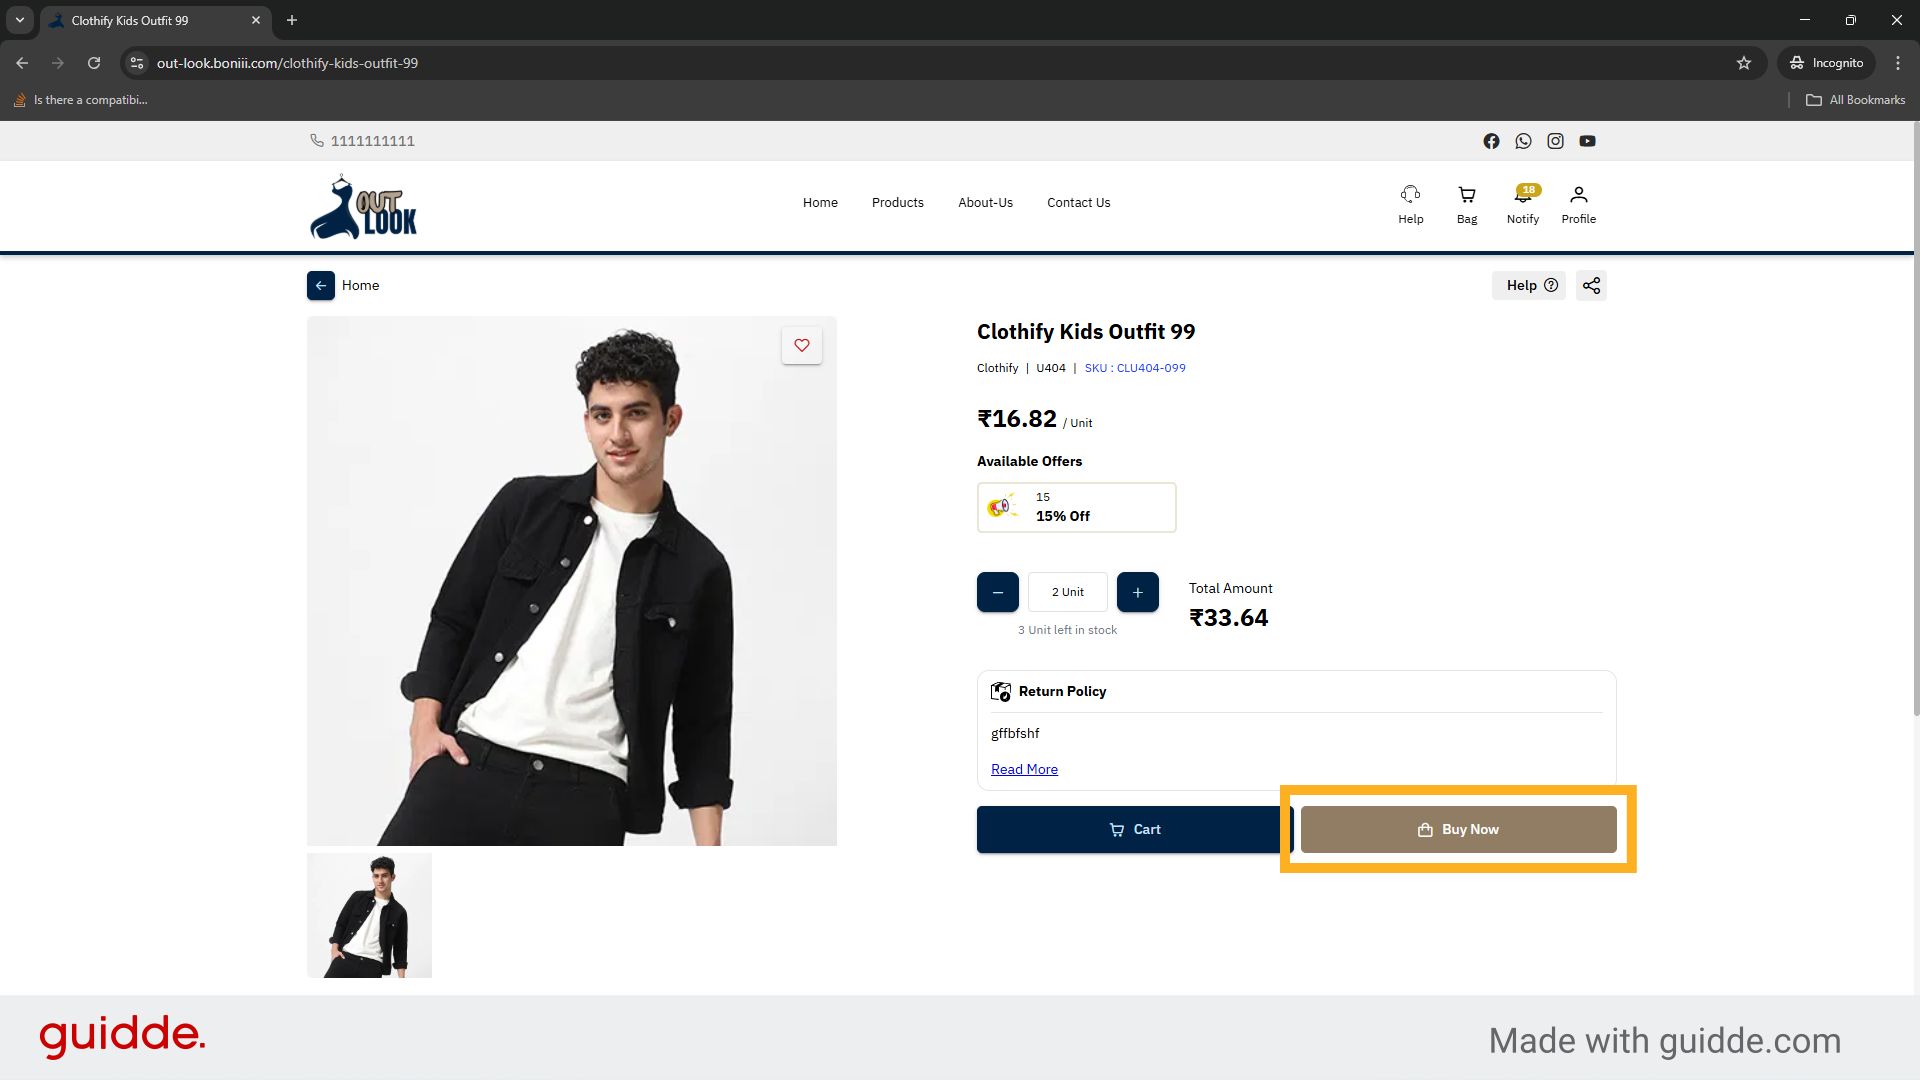
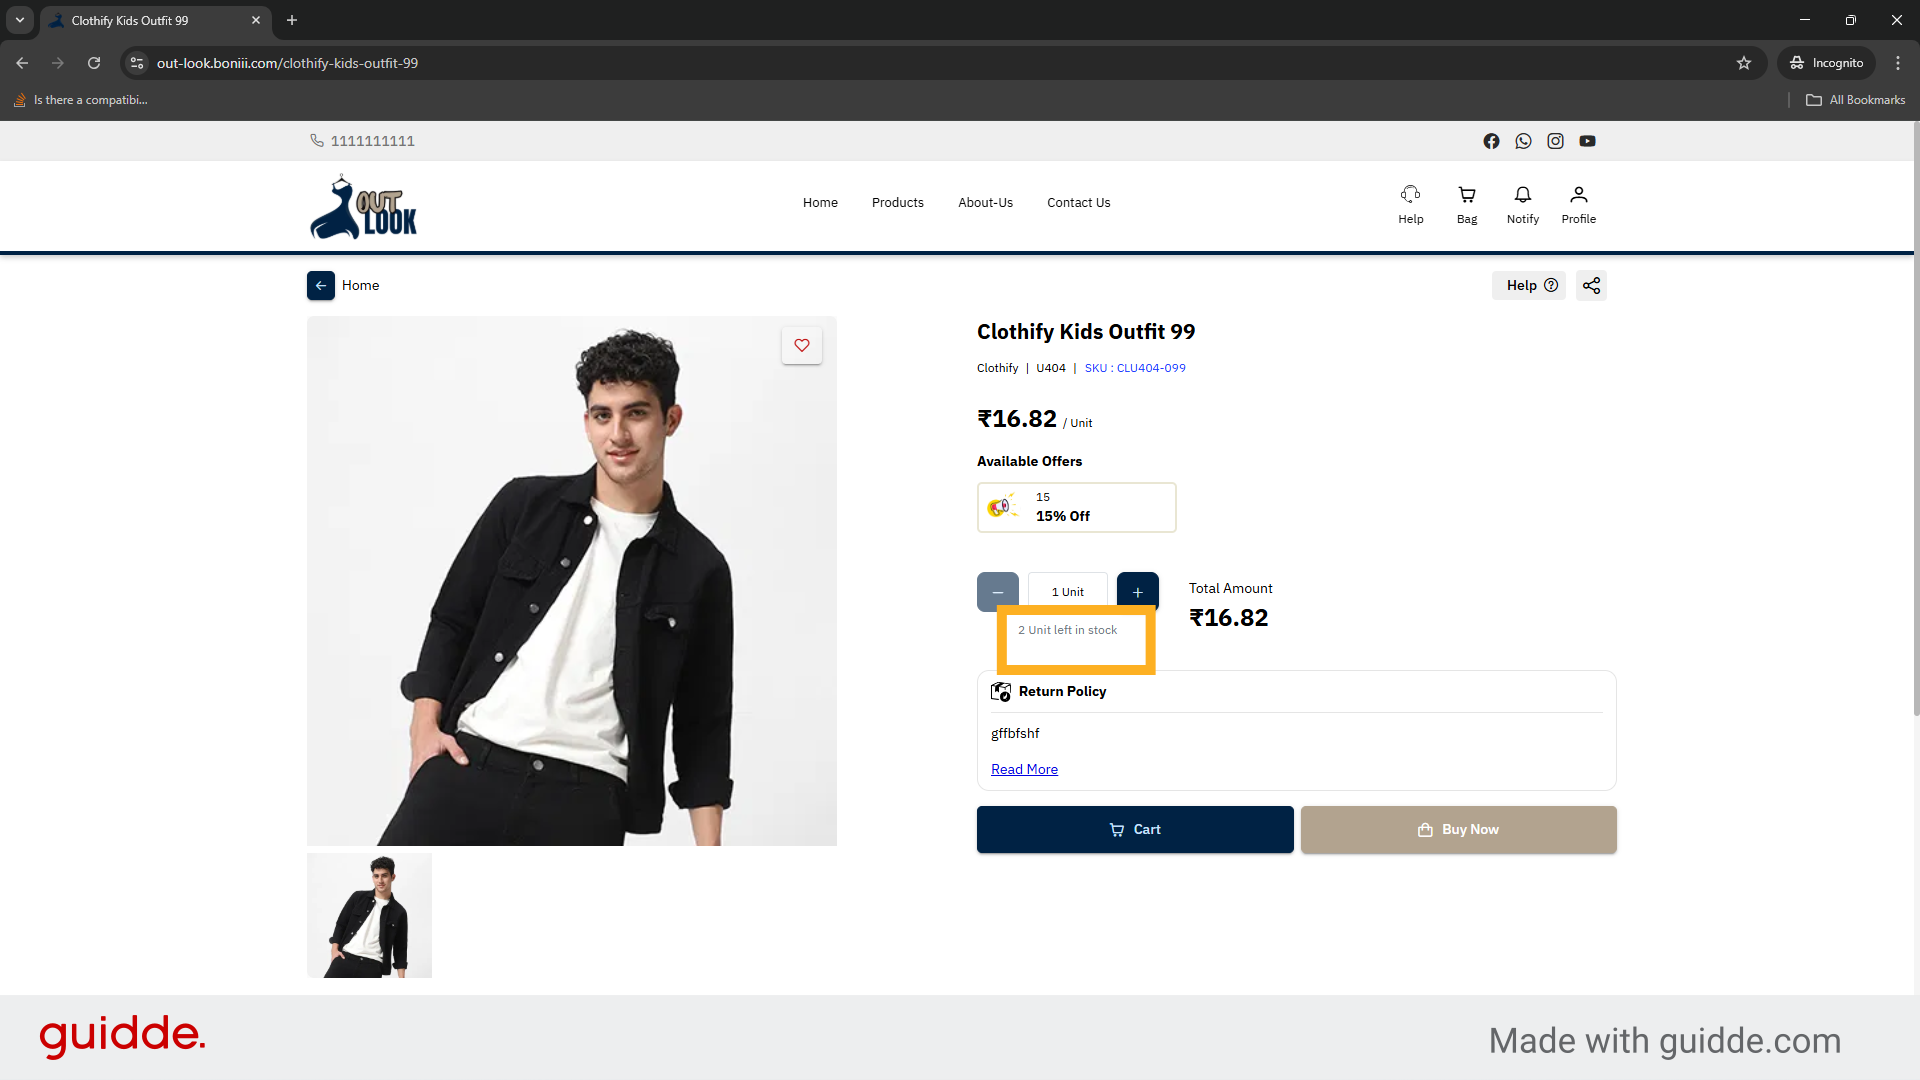
16. View Stock Left
4 Unit left in stock to check current available quantity.

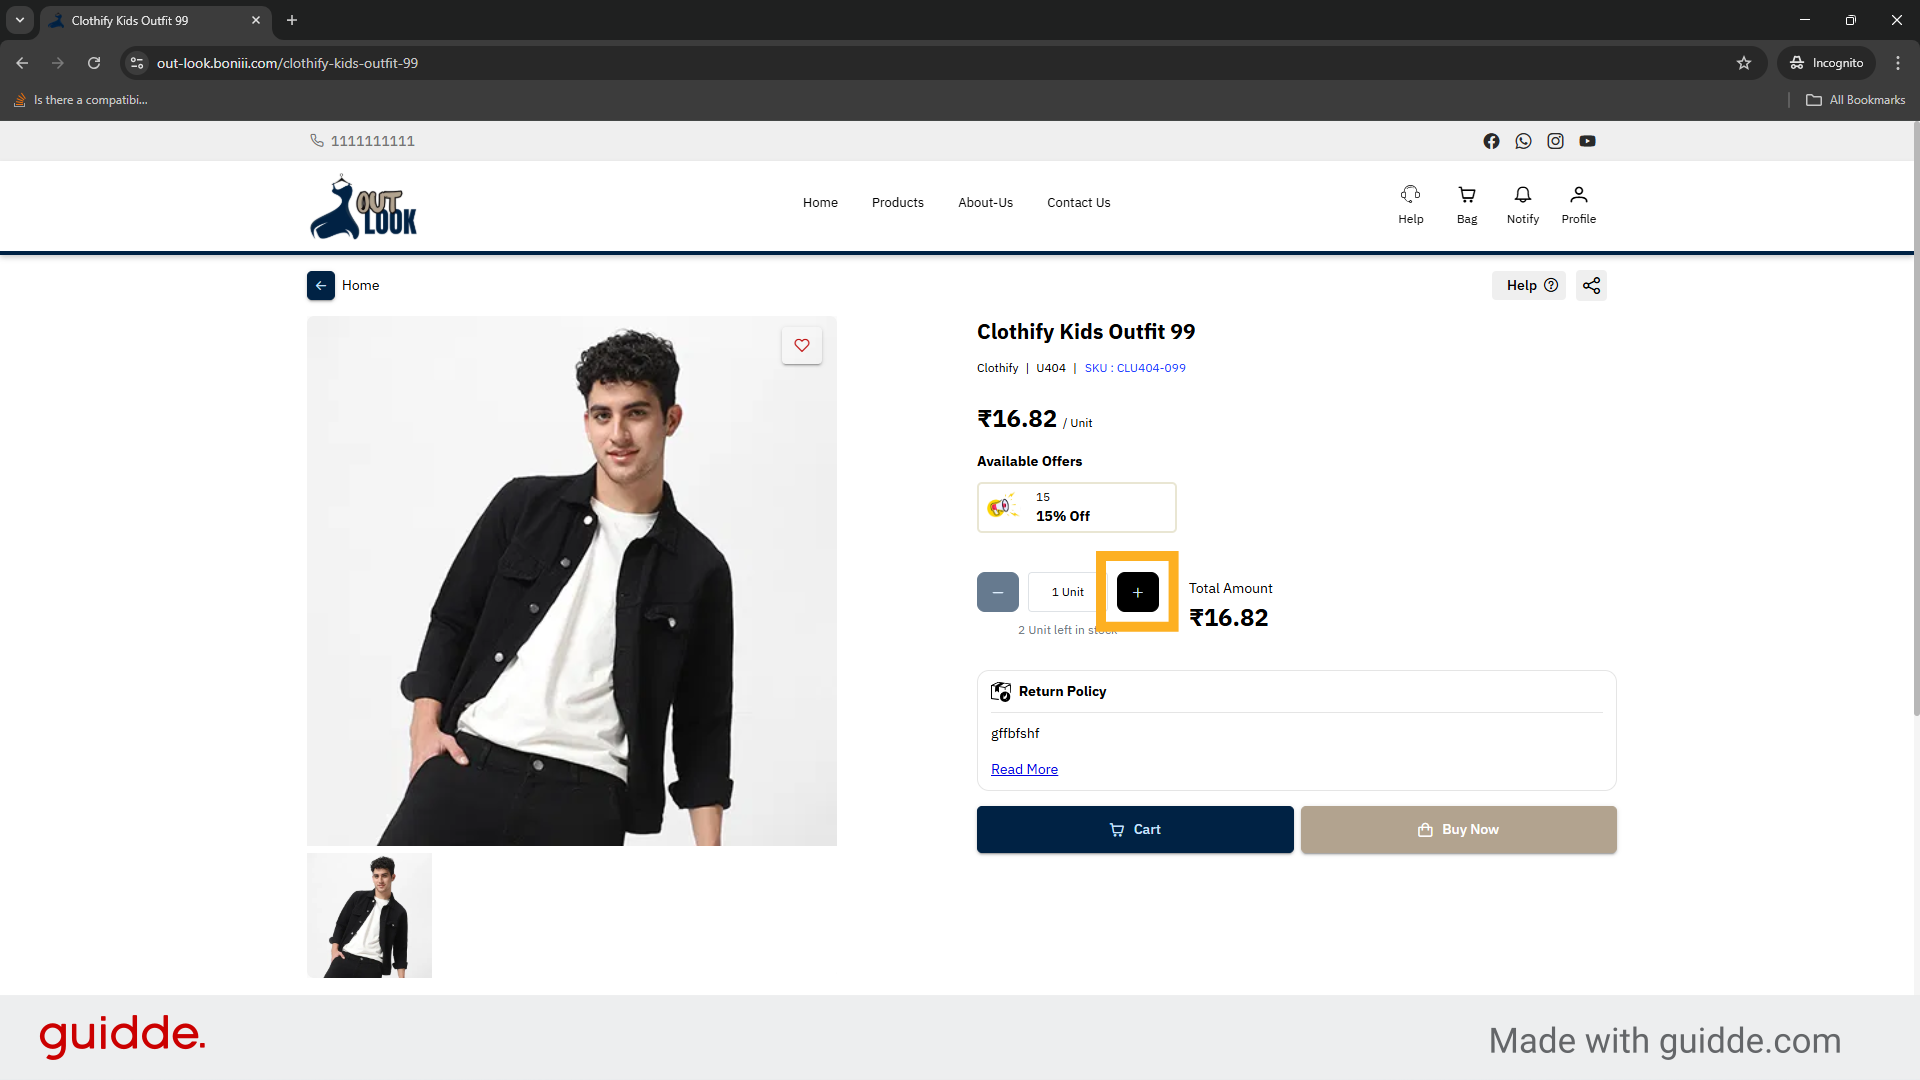
17. Increase Stock Quantity
Click the plus symbol button to increase Quantity

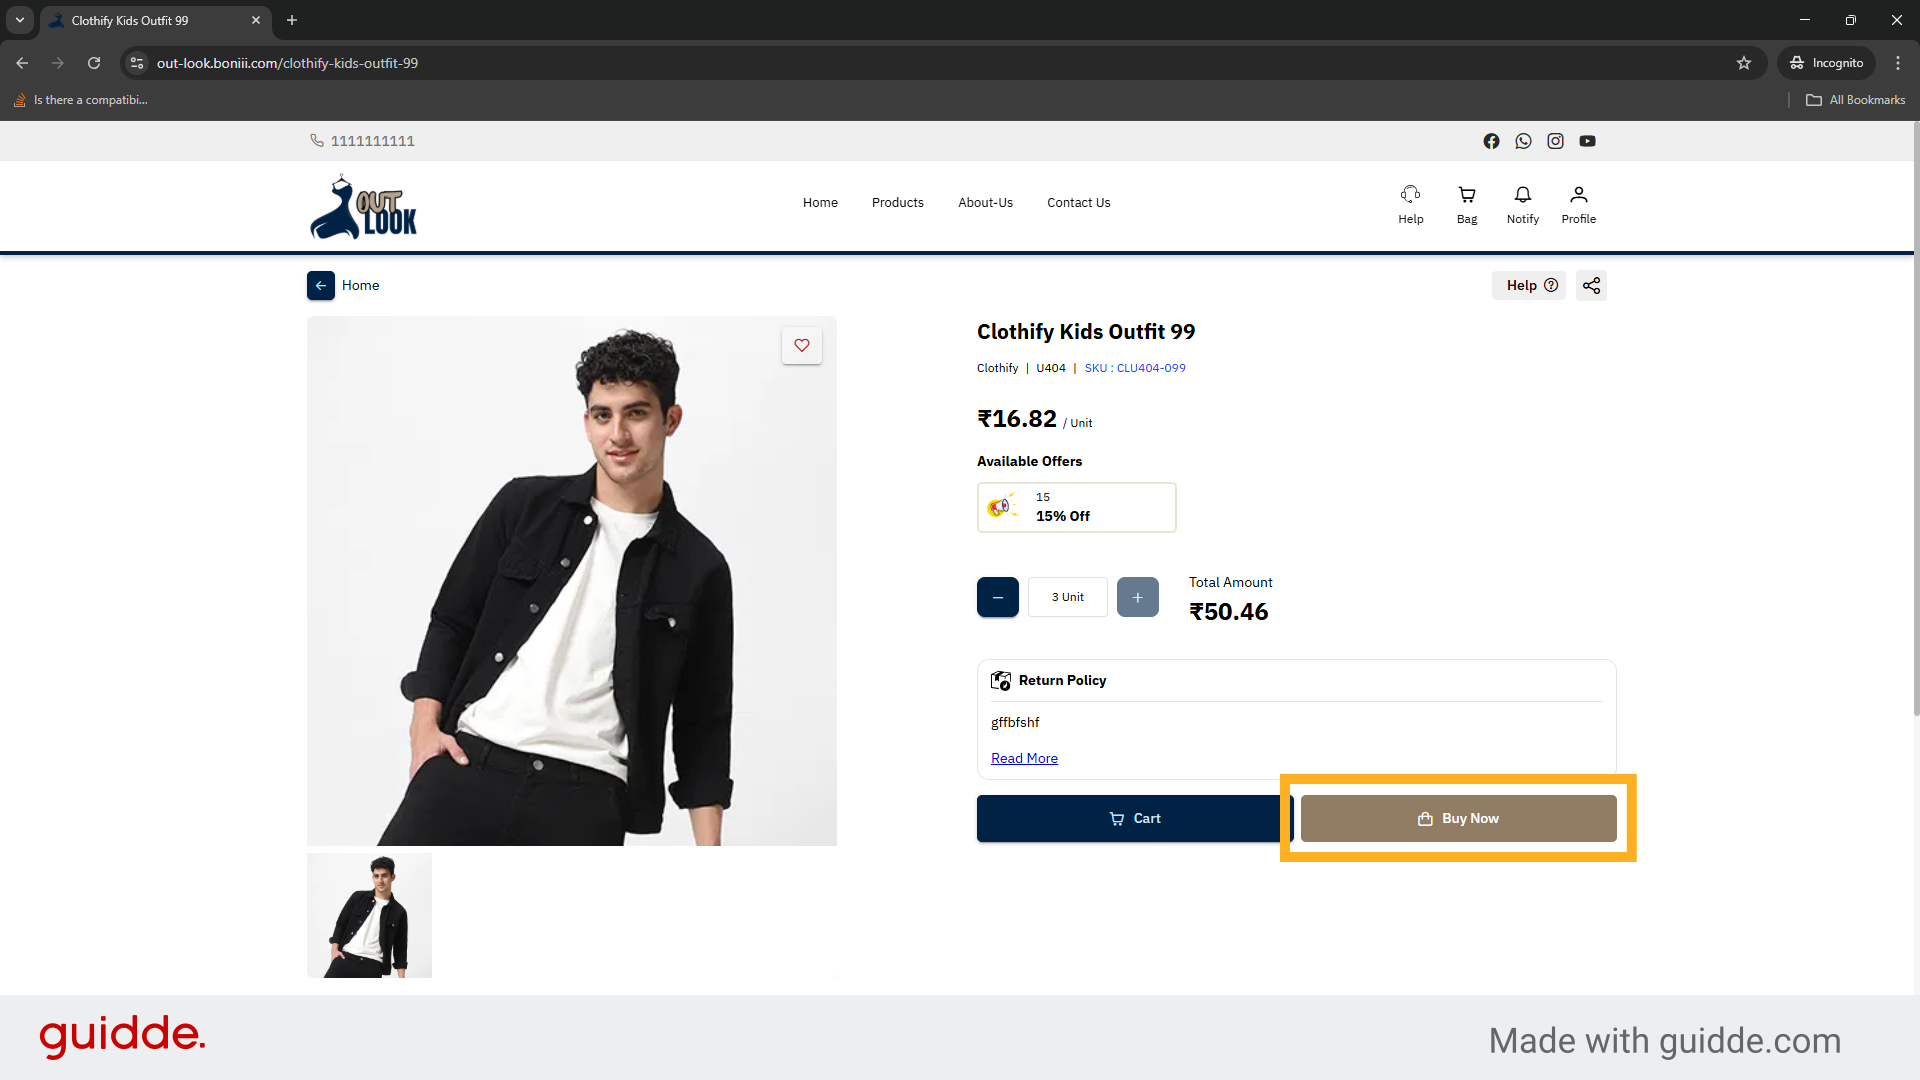
18. Initiate Purchase
Click Buy Now to start the purchase process for additional stock.
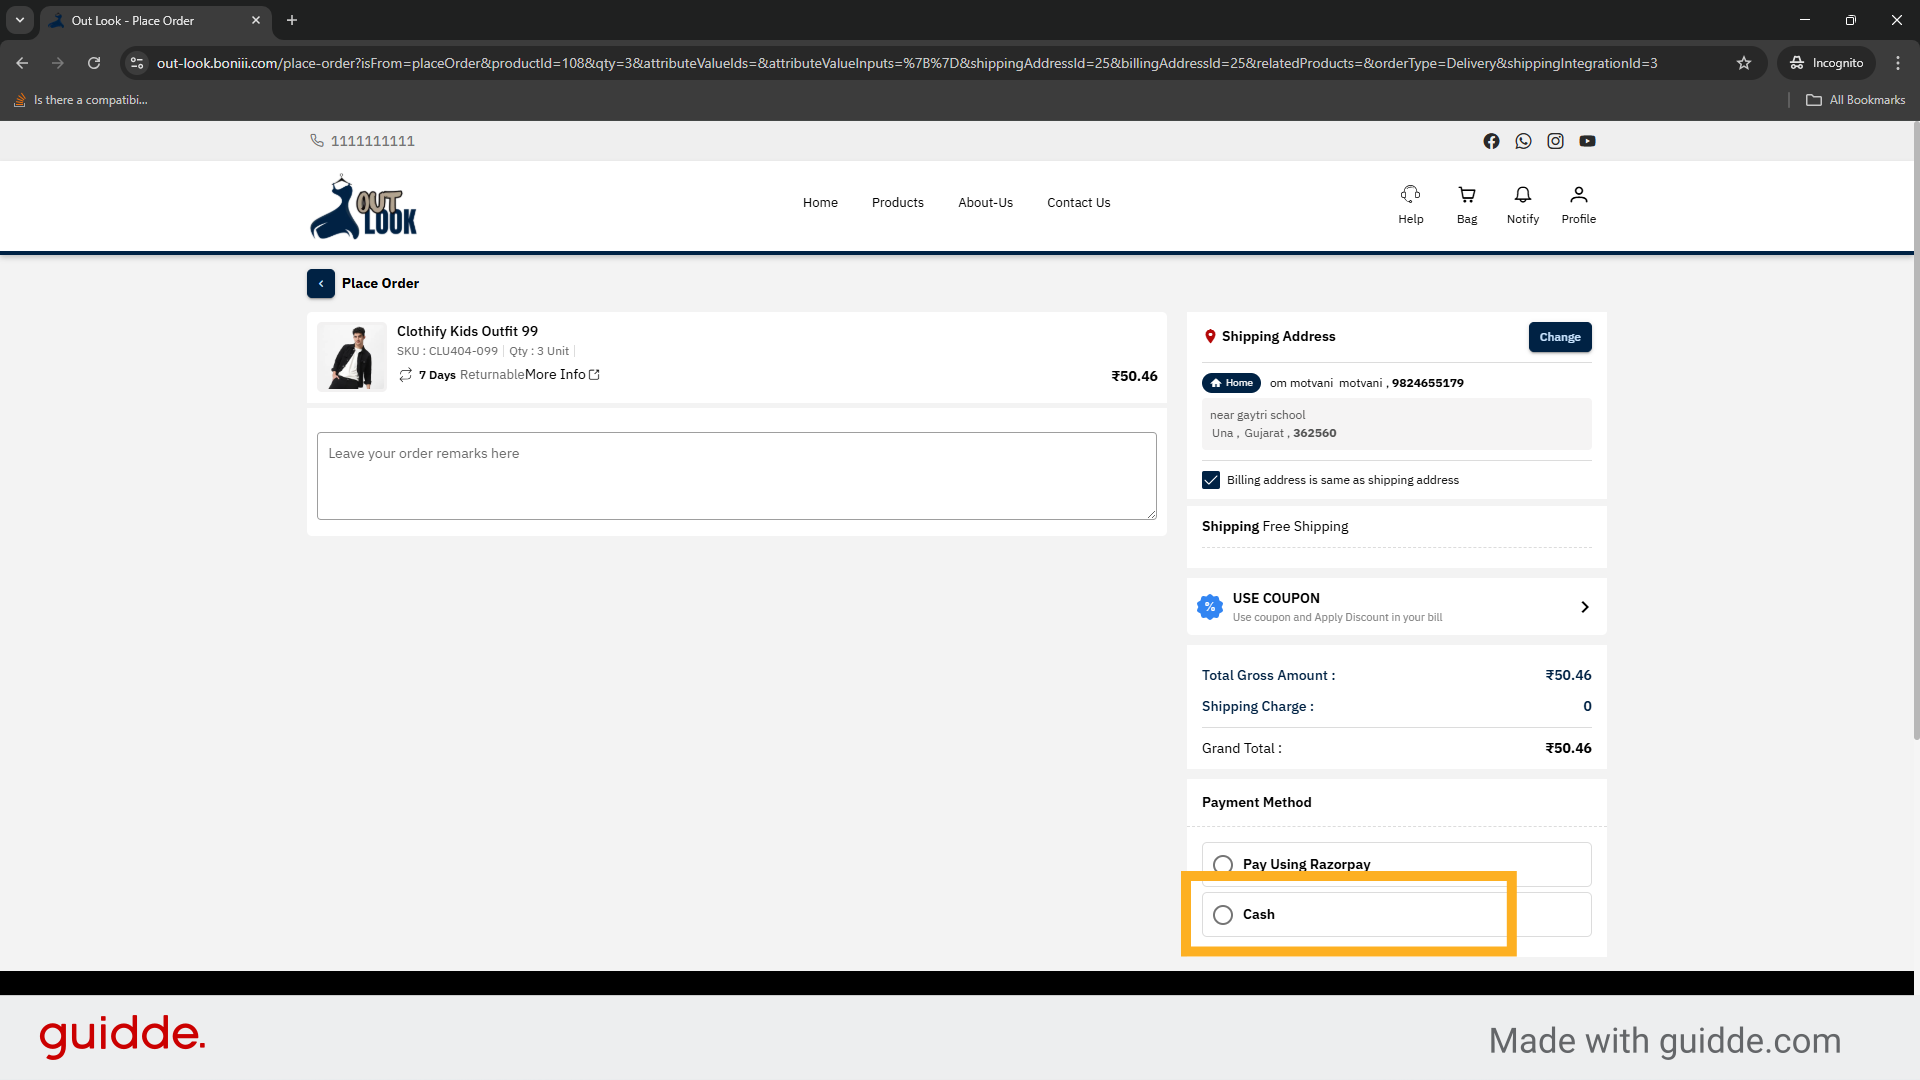
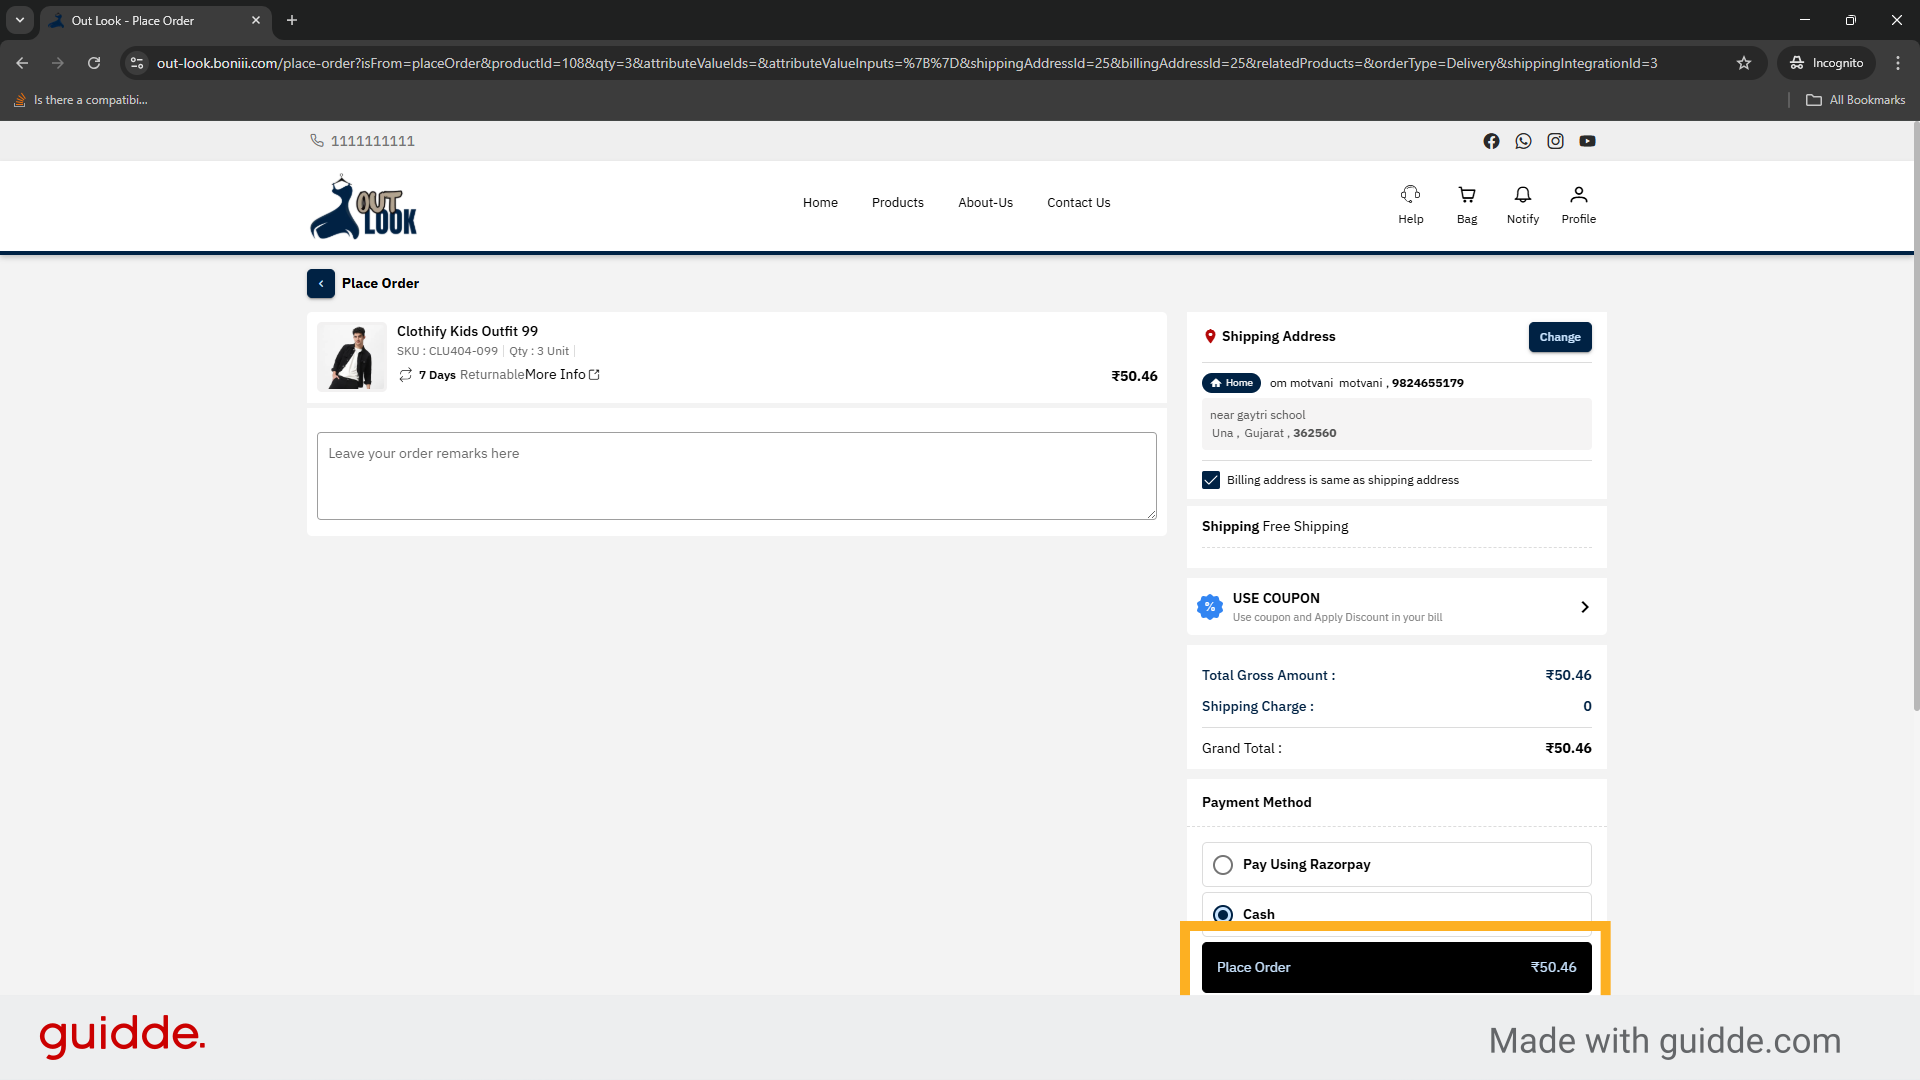
19. Select Payment Method
Click Cash to choose cash as the payment method for the order.
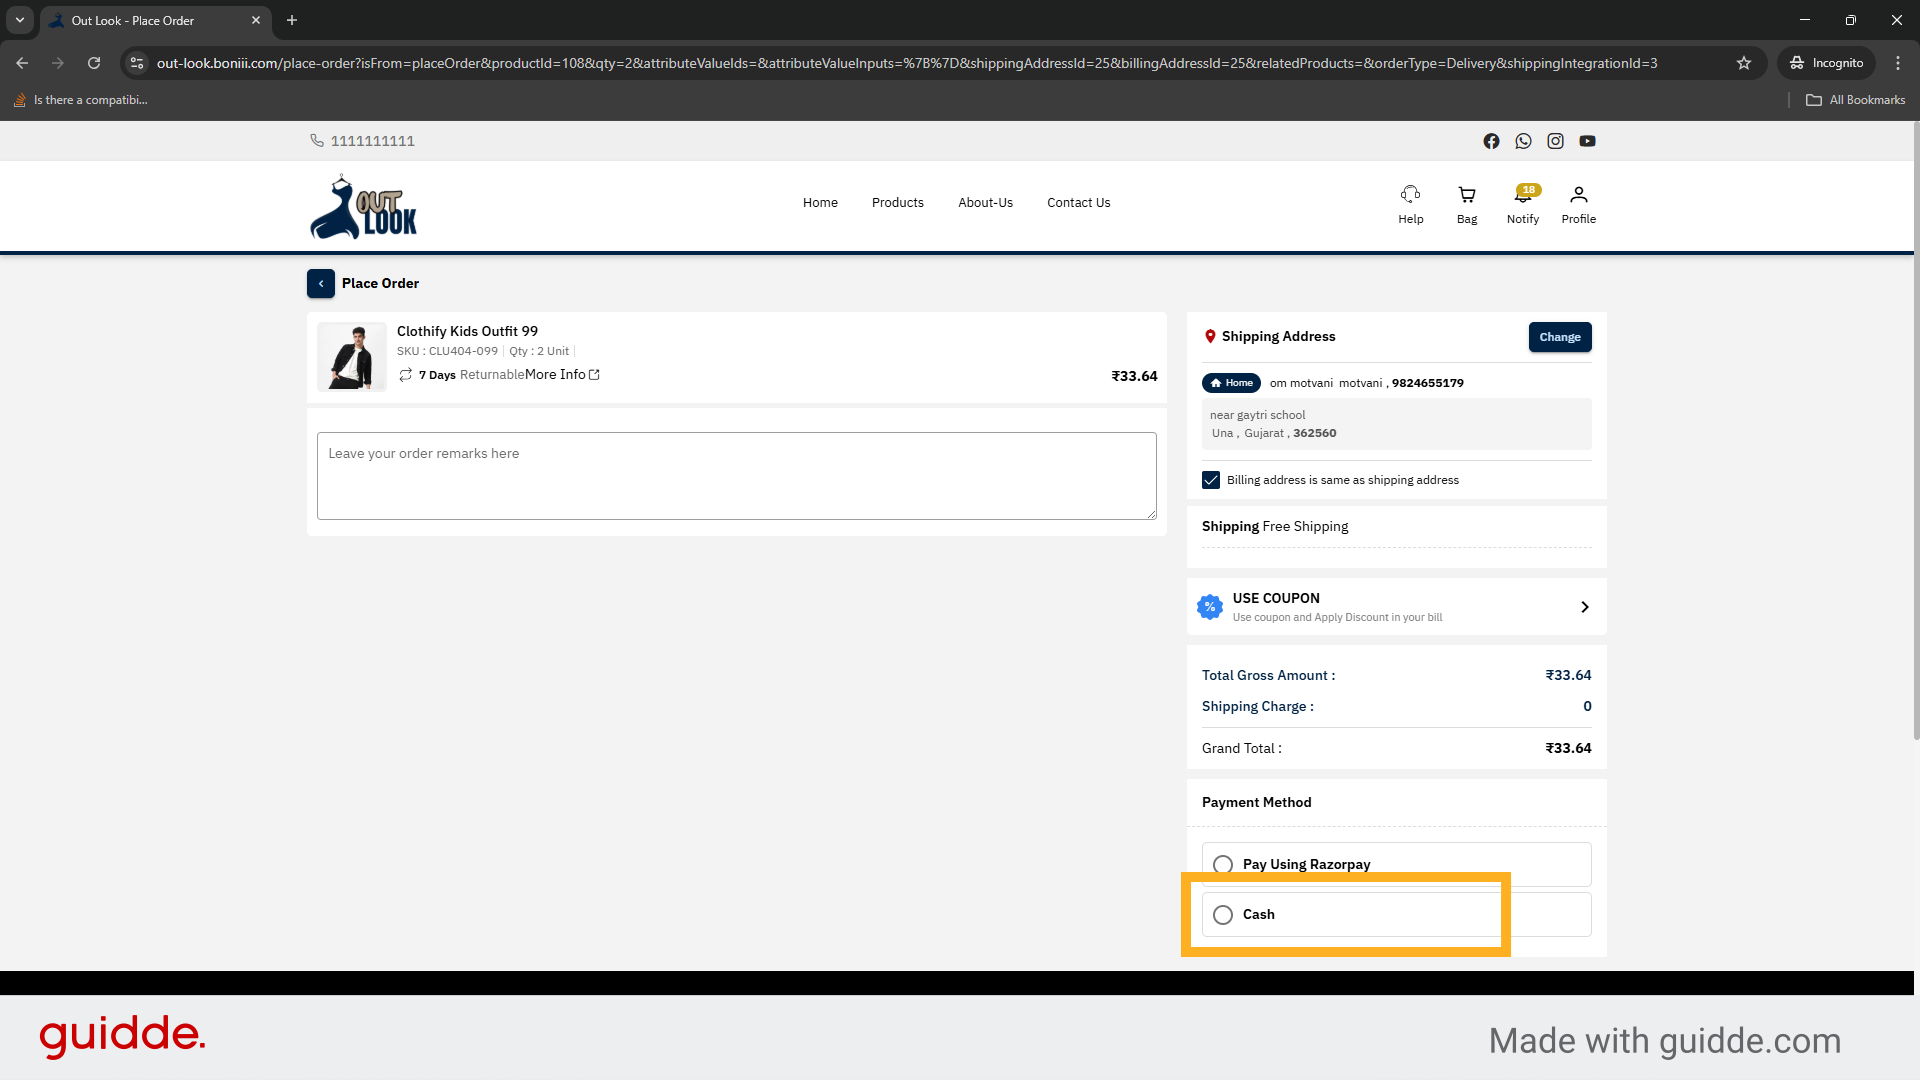
20. Click Place Order
Click Place Order to confirm and submit the stock purchase order.

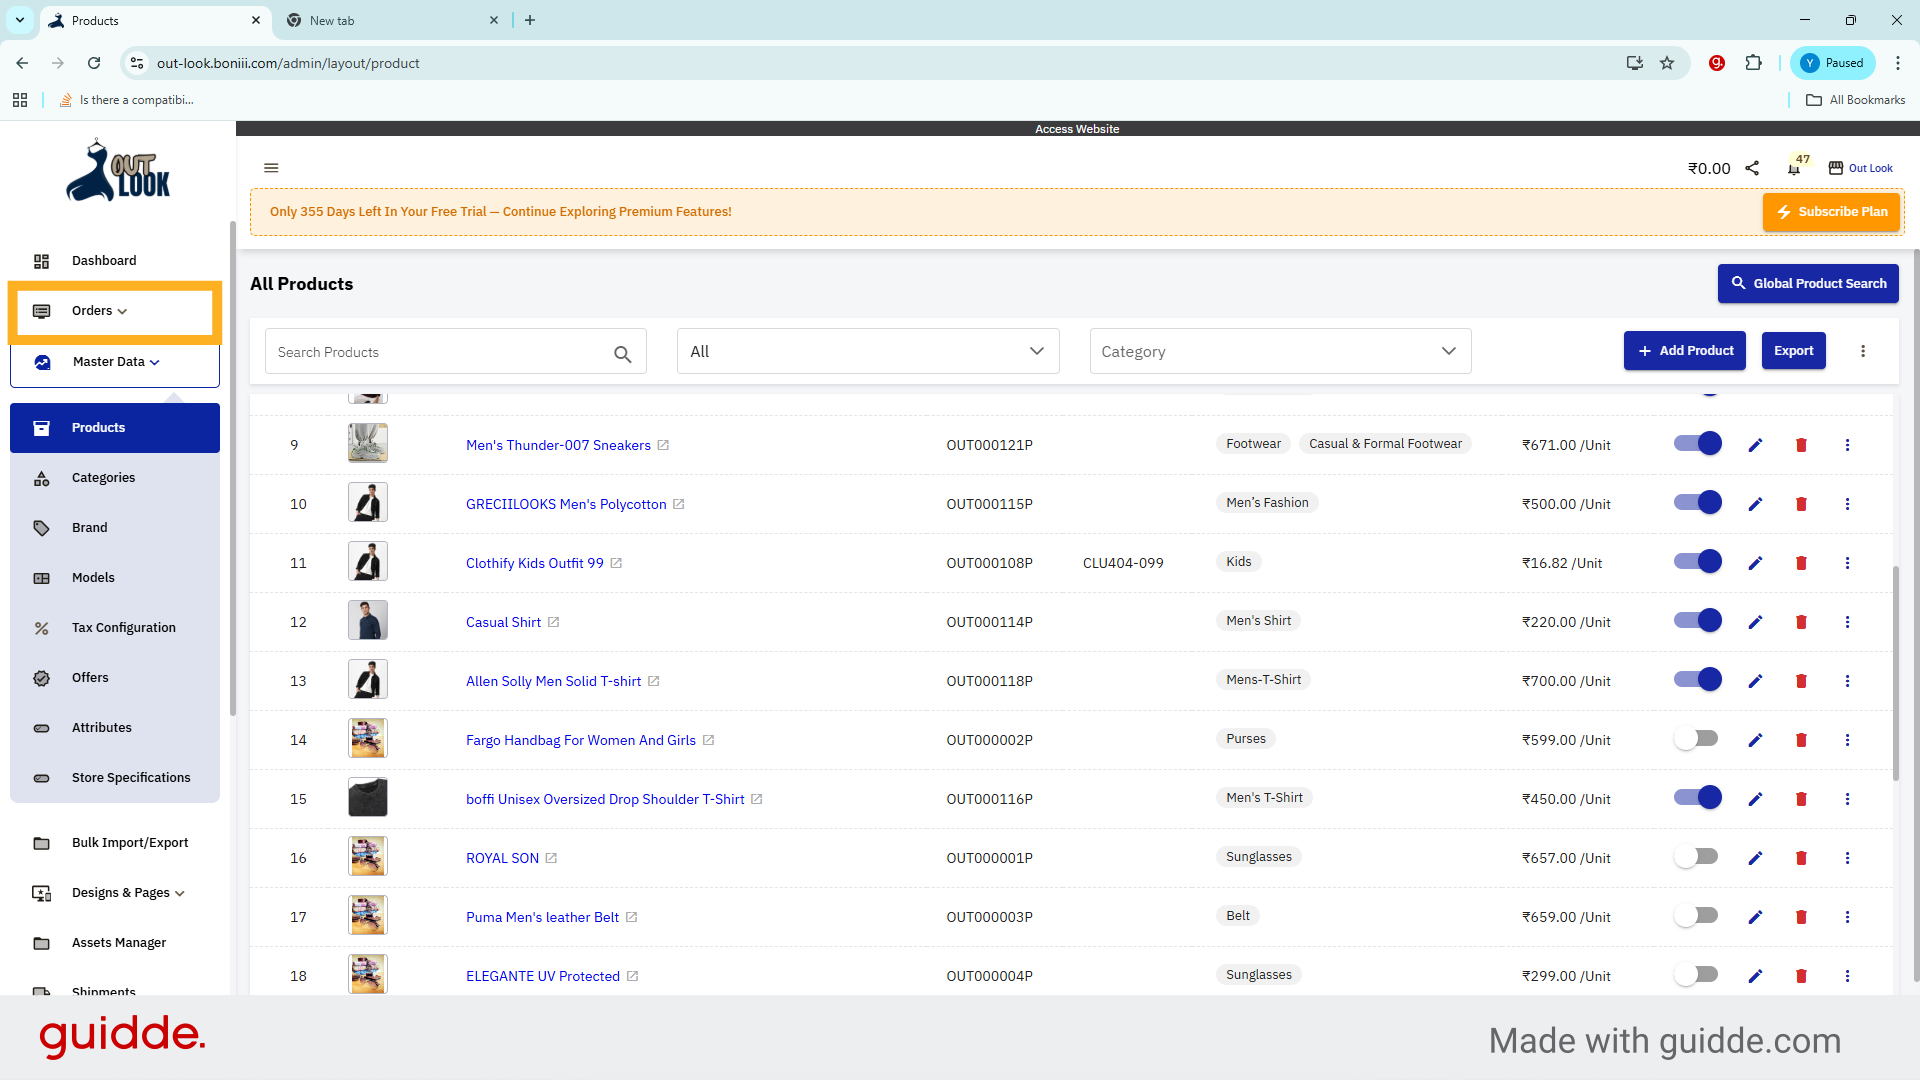
21. Open Orders Dropdown
Click Orders to access order management options.
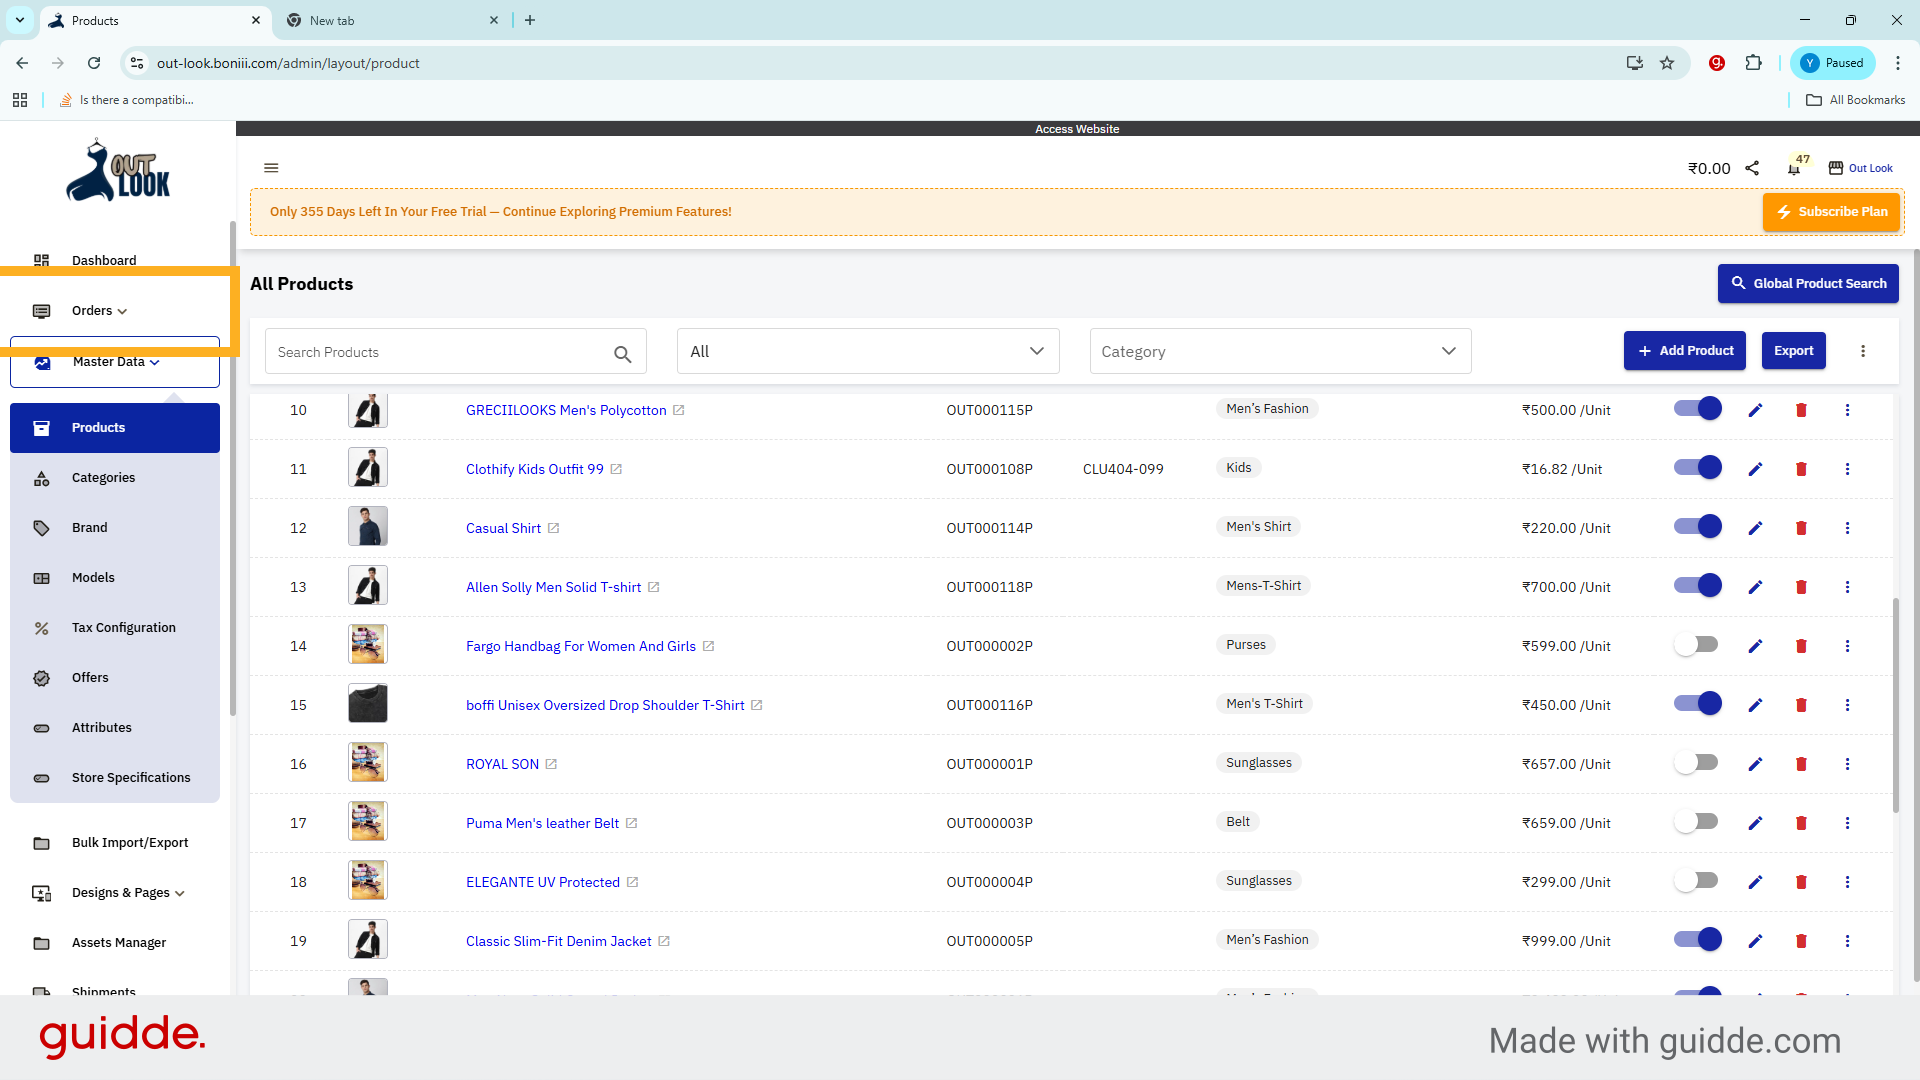
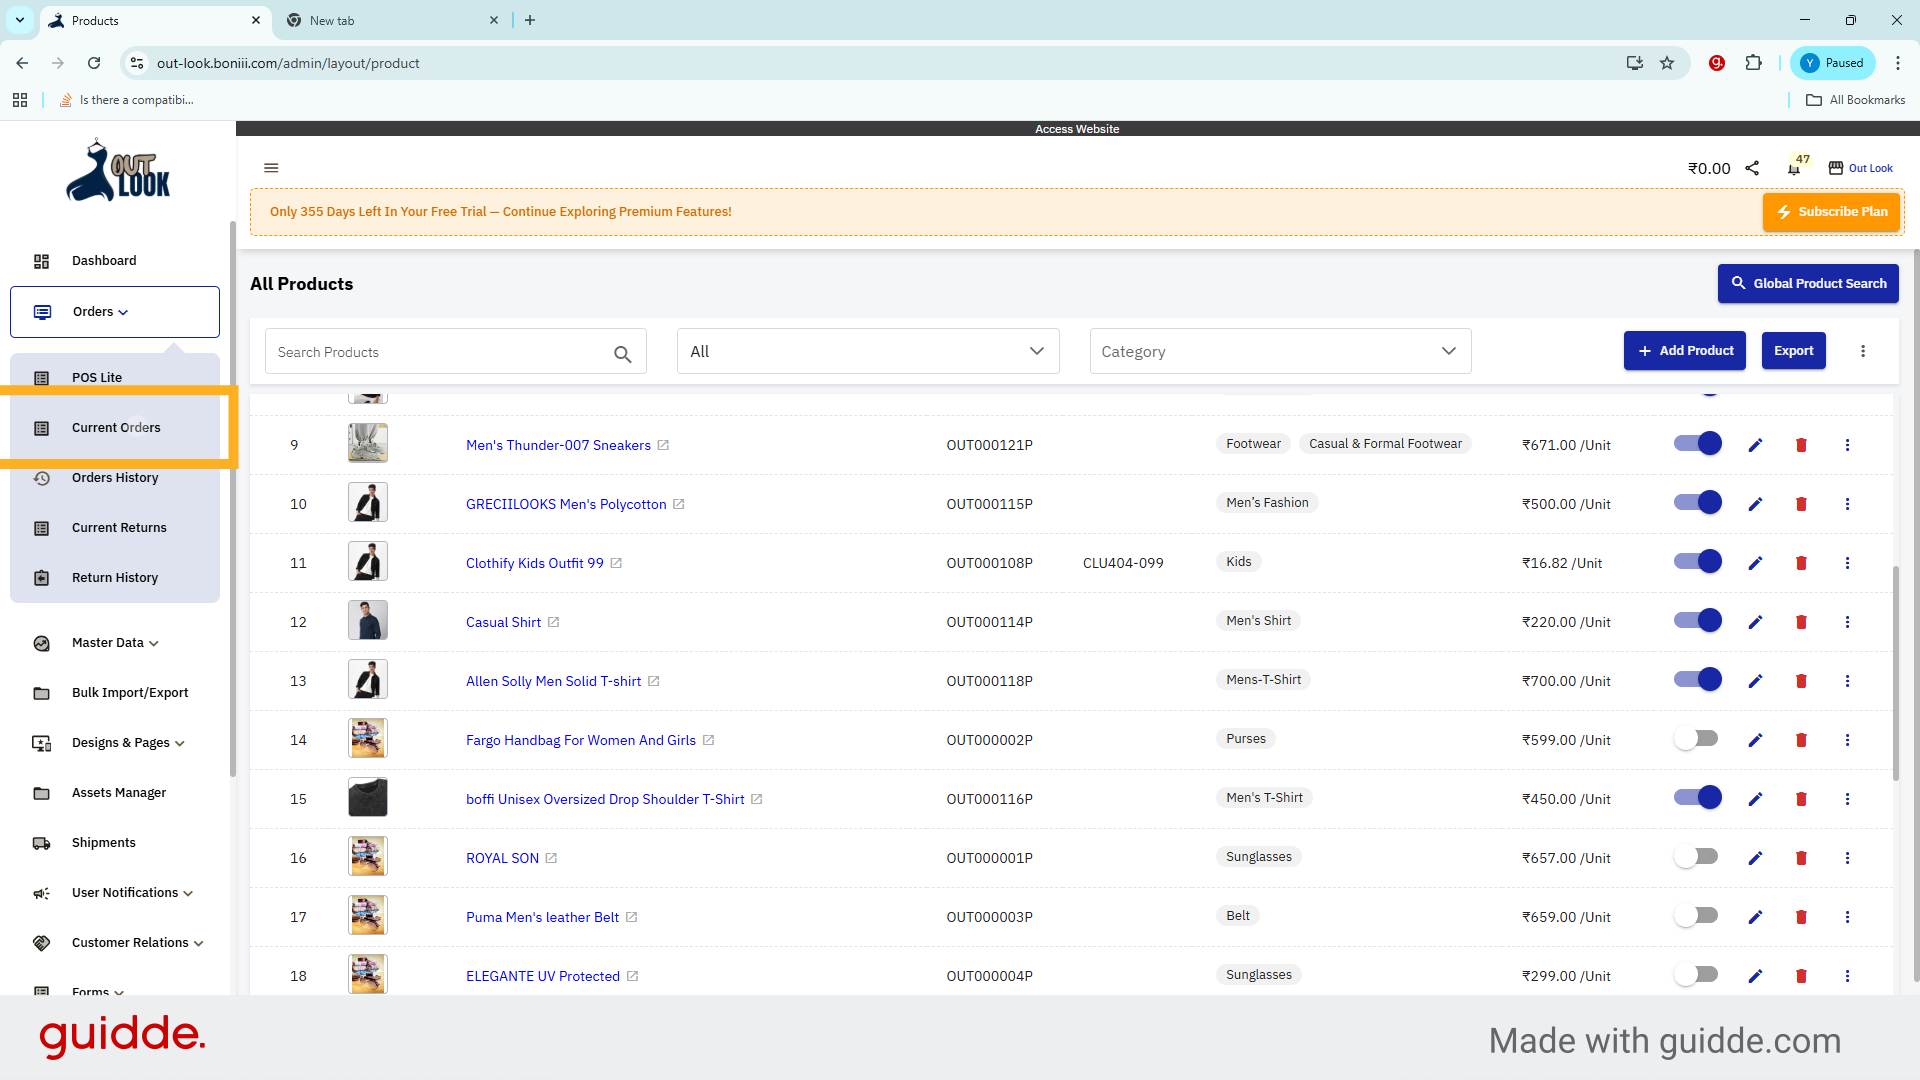
22. Access Current Orders
Click Current Orders to view past and current orders.
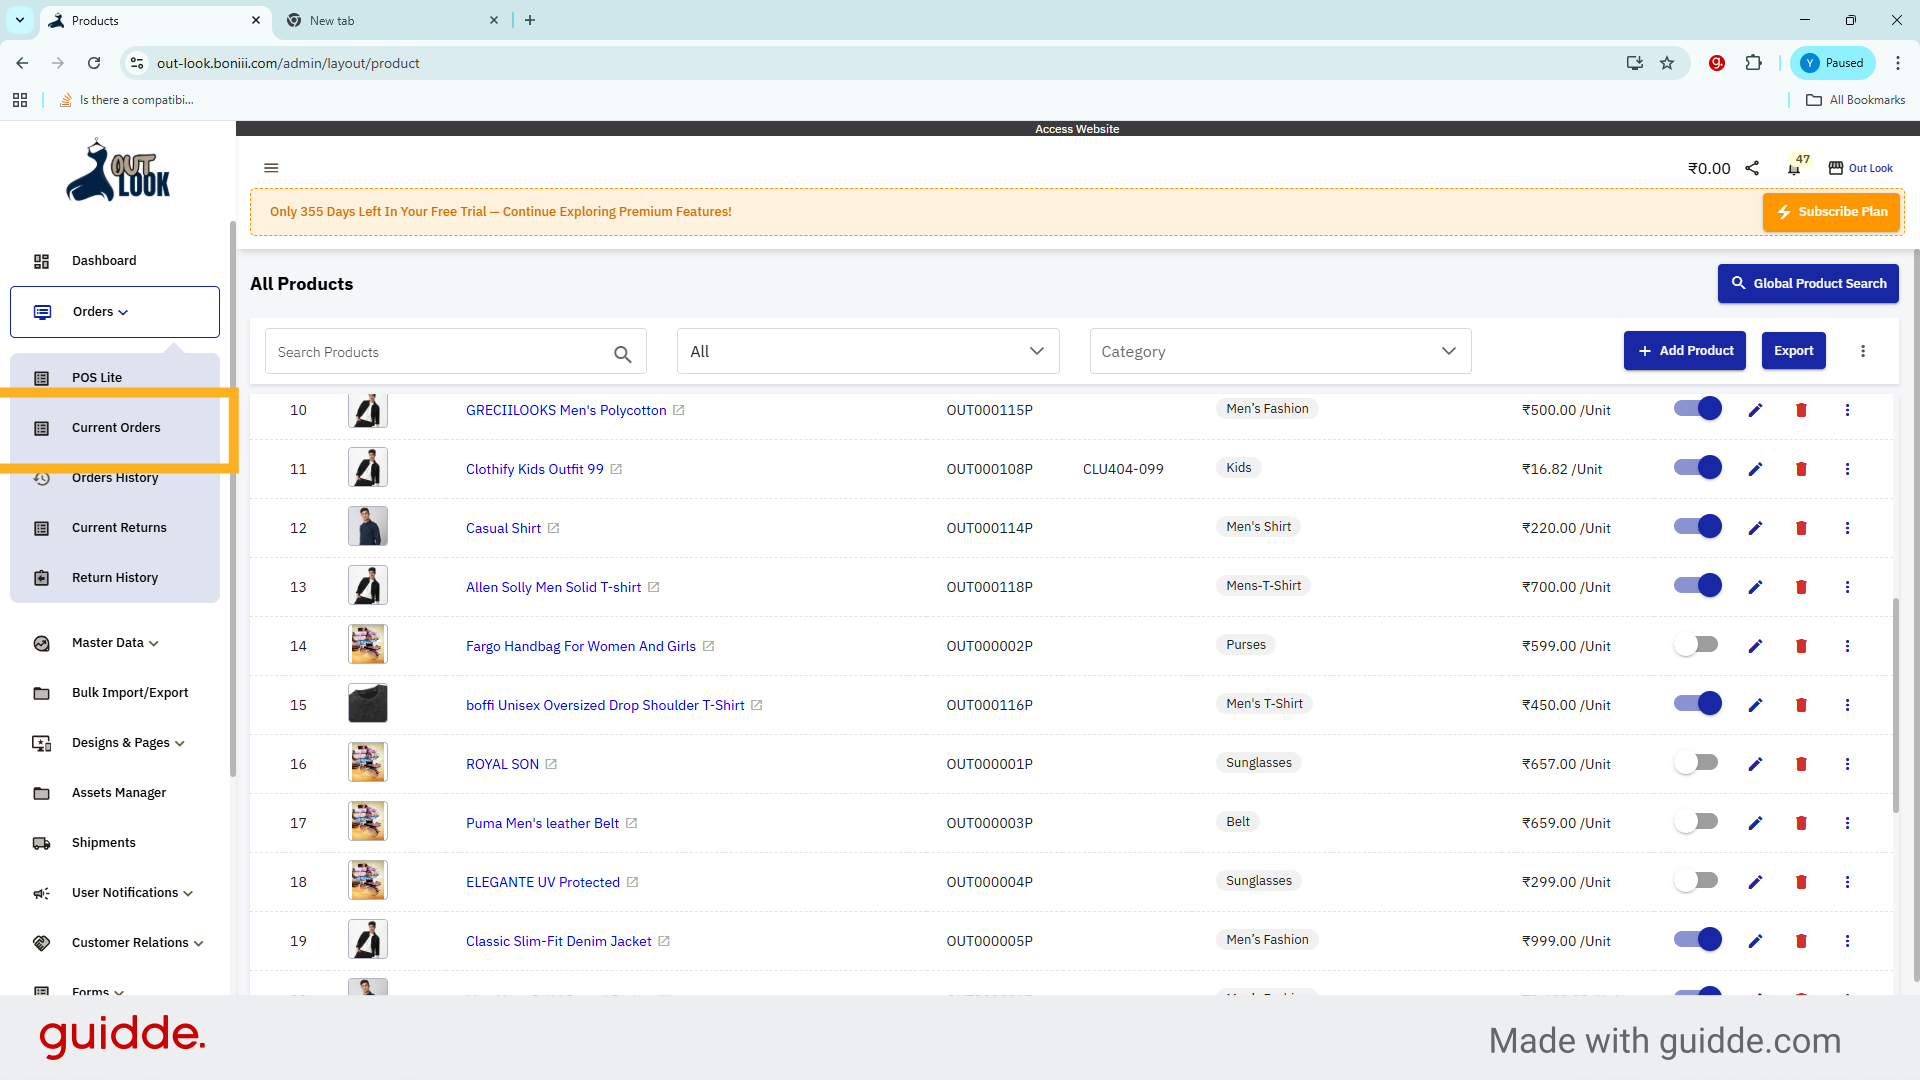
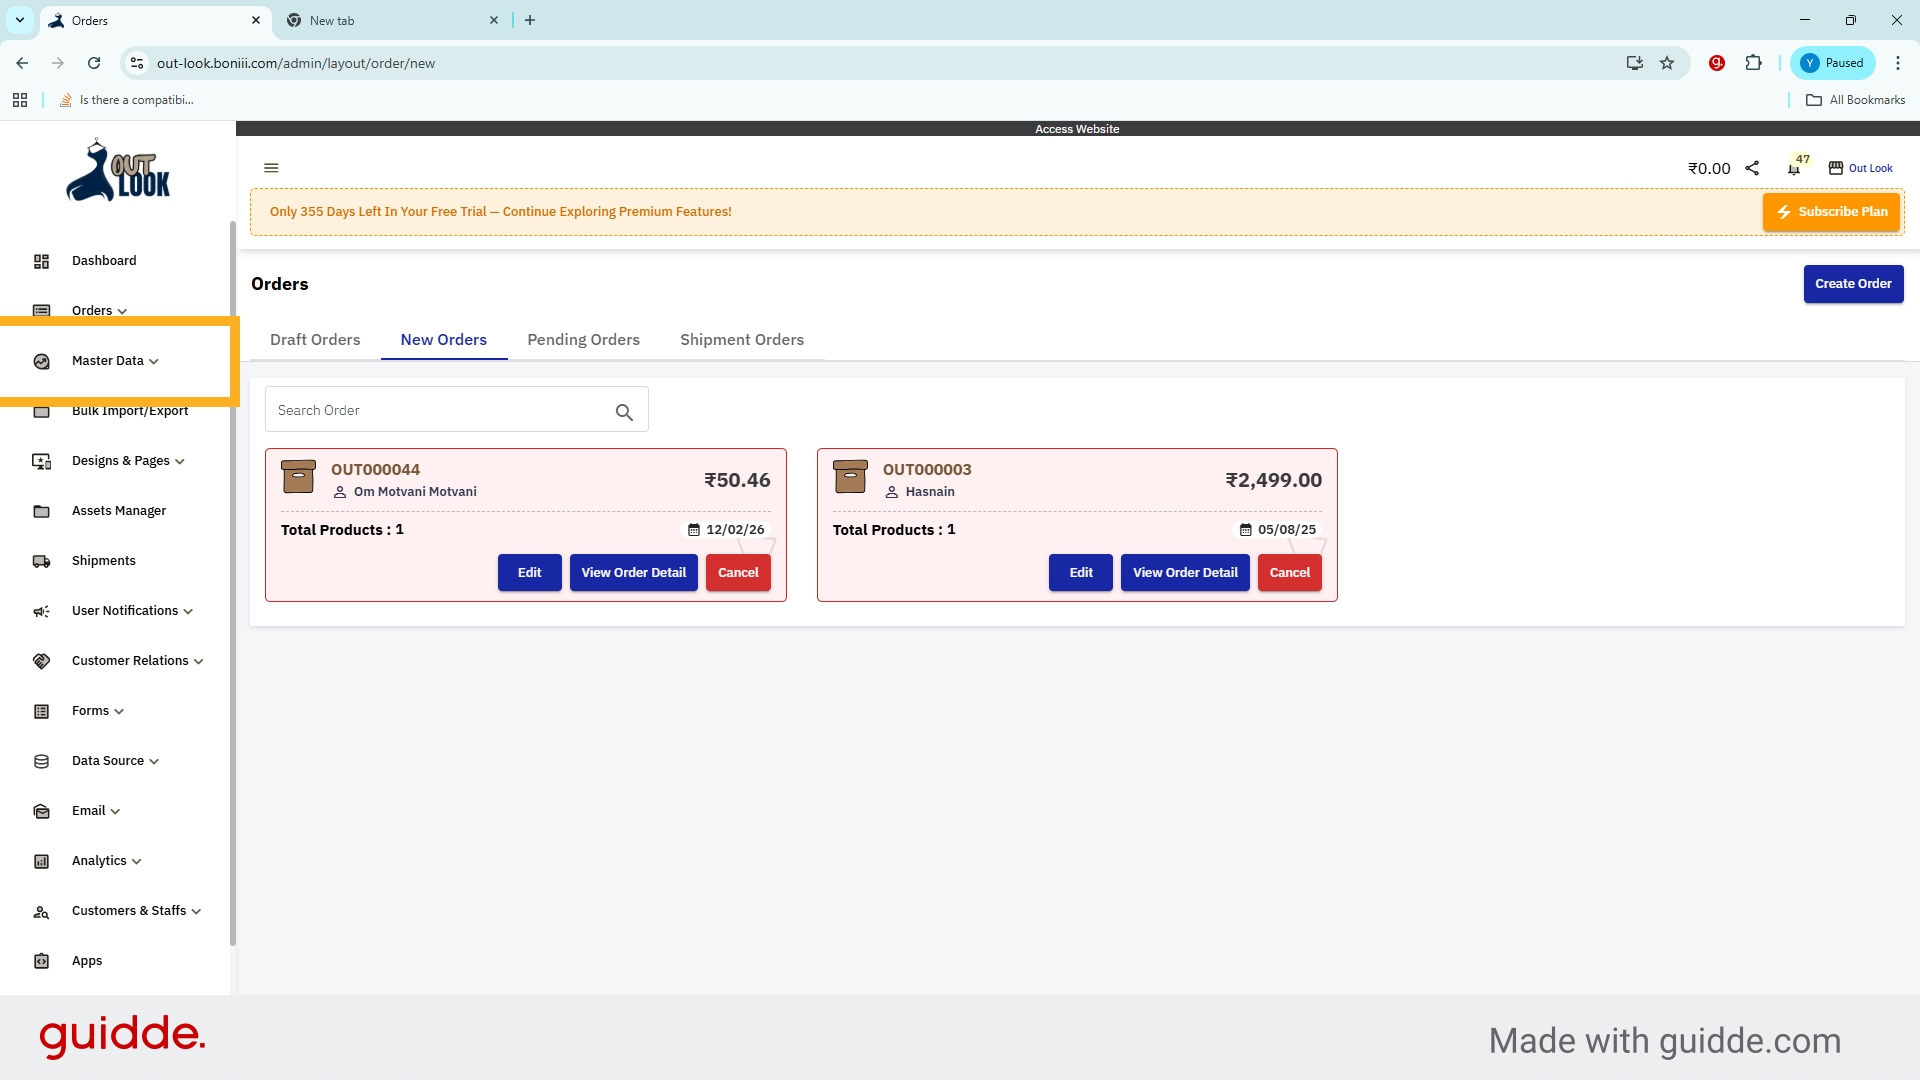
23. Select Specific Order
Click View Order Detail to manage this order.

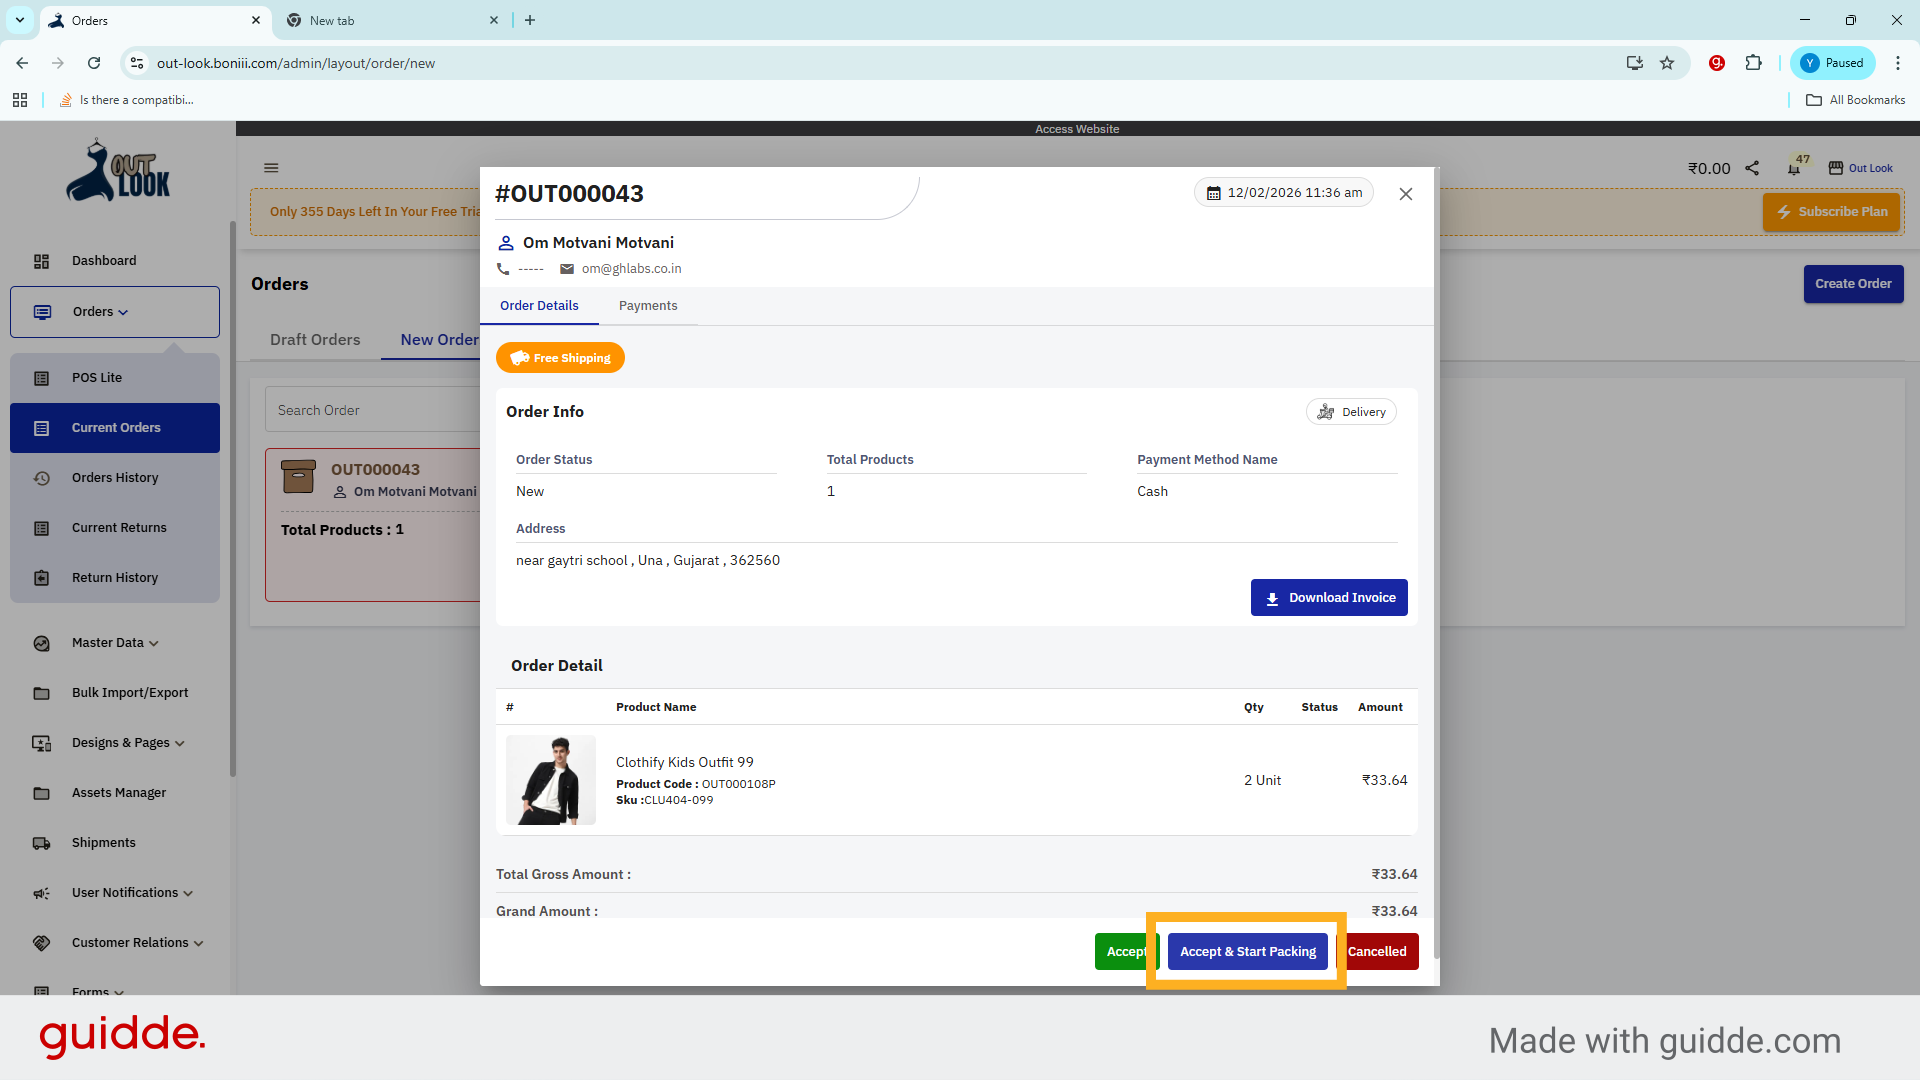
24. Accept & Start Packing
Click to Accept & Start Packing the order and begin preparing the items for packing and shipment.
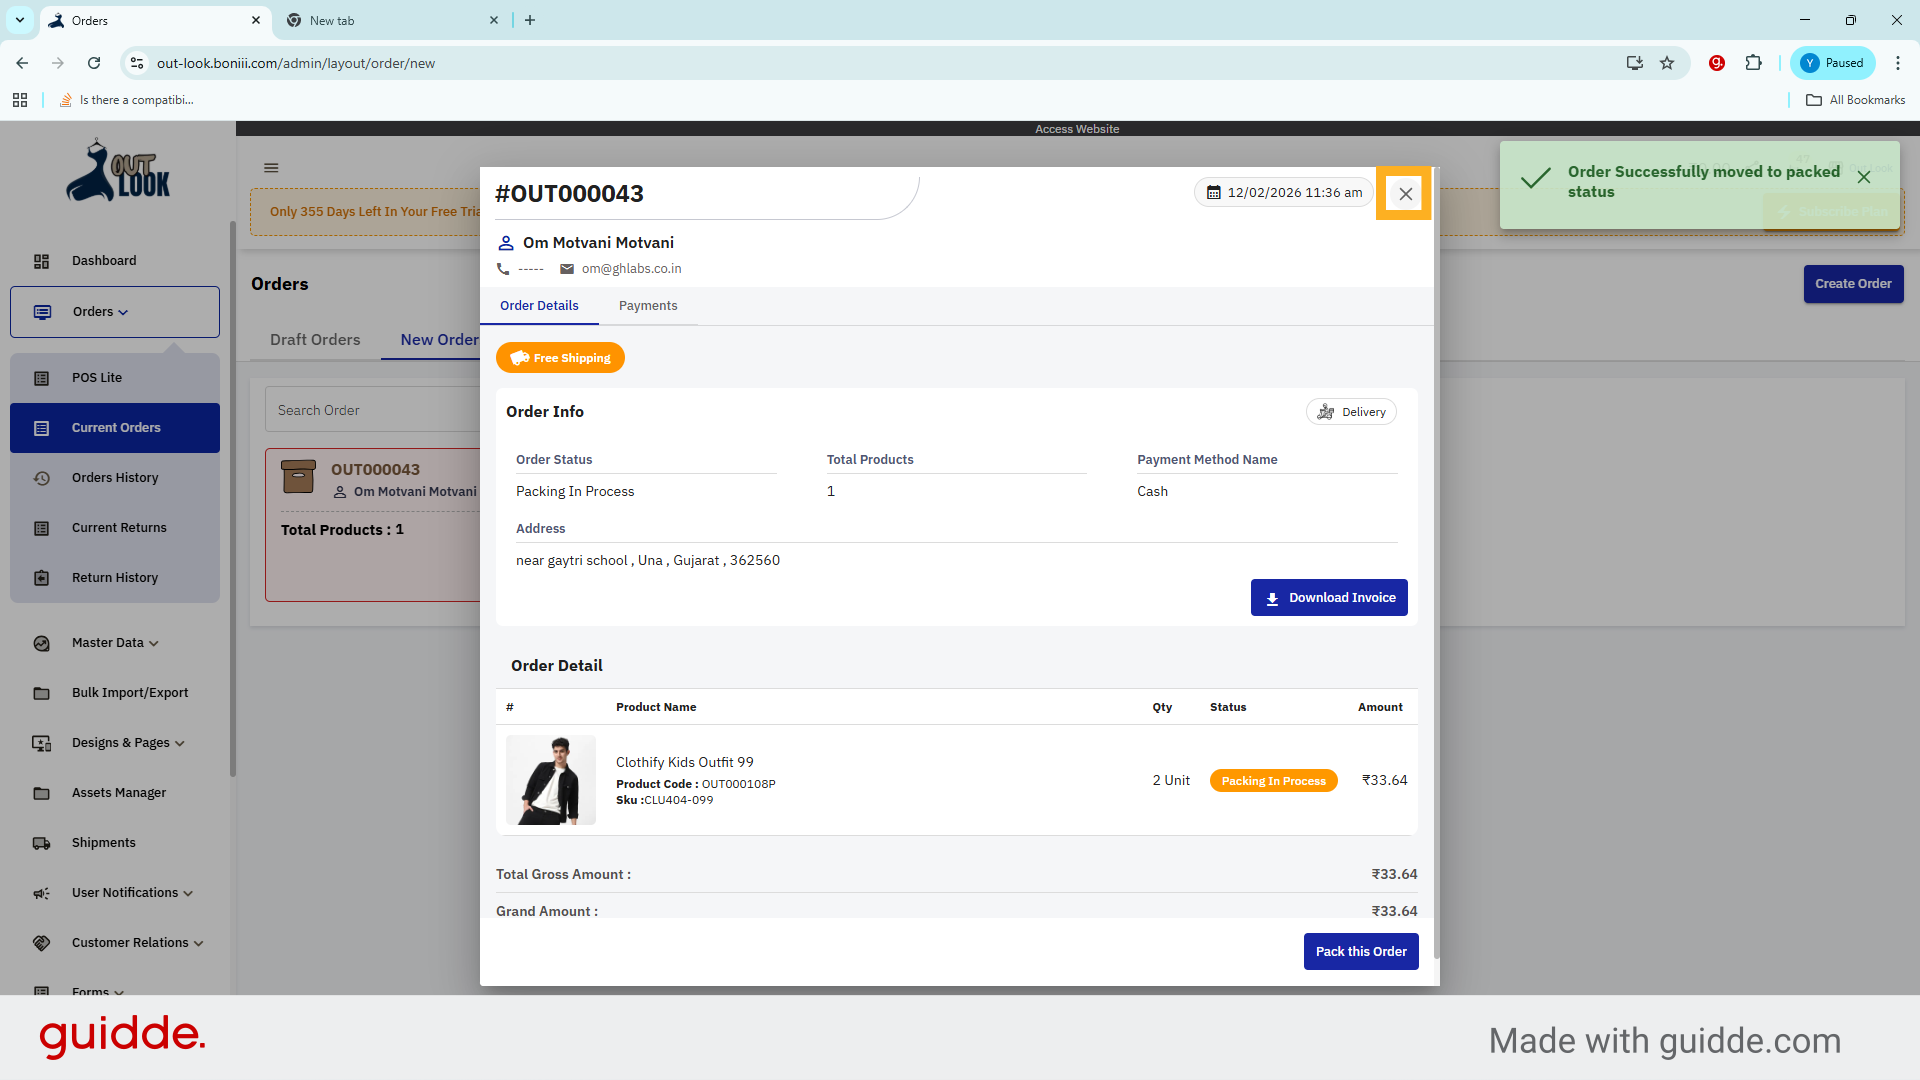
25. Close Order Details
Click to close the order details popup and return to the current orders
26. Access Master Data Menu
Click Master Data menu to reveal inventory options.

27. Access Products Menu
Click Products to view and manage product listings

28. Open More Options
Click more to reveal additional inventory management options.
29. Select Product Stock
Click Adjust Product Stock to adjust stock quantities.
30. Review Available Stock
Available stock shows how many items you can still sell
31. Review Commited Stock
committed stock shows how many items are already reserved for pending or accepted orders
32. Review Stock Left
2 Unit left in stock to check current available quantity.
33. Increase Stock Quantity
Click the plus button to increase Quantity
34. Initiate Purchase
Click Buy Now to start the purchase process for additional stock.
35. Select Payment Method
Click Cash to choose cash as the payment method for the order.
36. Place Purchase Order
Click Place Order to confirm and submit the stock purchase order.
37. Open Orders Dropdown
Click Orders to access order management options.
38. Access Current Orders
Click Current Orders to view past and current orders.
39. View Order Details
Click View Order Detail to see detailed information about a specific order.

40. Accept And Start Packing
Click Accept & Start Packing to begin processing the order.

41. Open Master Data Dropdown
Click Master Data dropdown to reveal inventory options.
42. Access Products Menu
Click Products to view and manage product listings
43. Open More Options
Click more icon to reveal additional inventory management options.
44. Choose Adjust Product Stock
Click Adjust Product Stock to adjust stock quantities.
45. Review Inventory
Review Available & Commited Stock
46. Product Out Of Stock
OUT OF STOCK to indicate the product is no longer available.
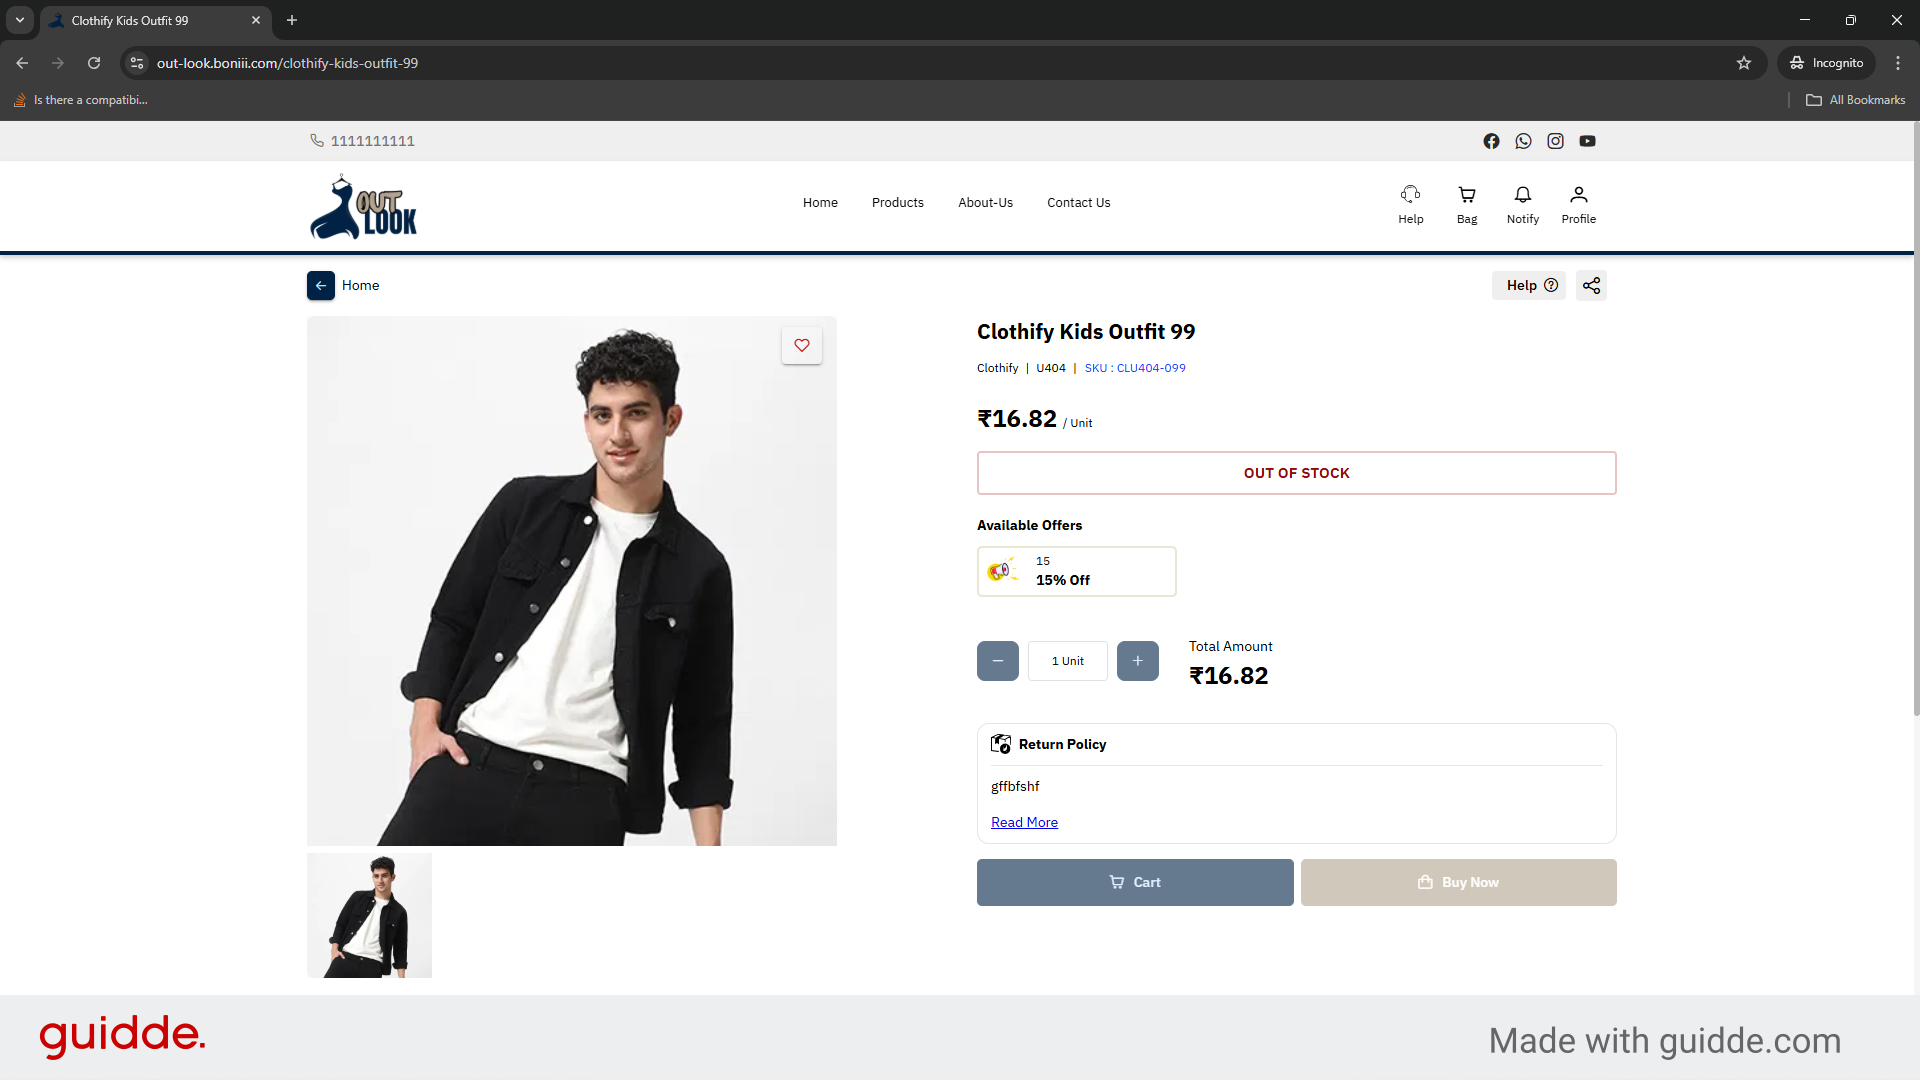
You have successfully configured committed inventory by adjusting stock levels and managing orders for
your products. Verify stock quantities and order statuses to ensure accurate inventory management and
prepare for future sales.
Uploading...