Add Product Variants Efficiently In Boniii Platform
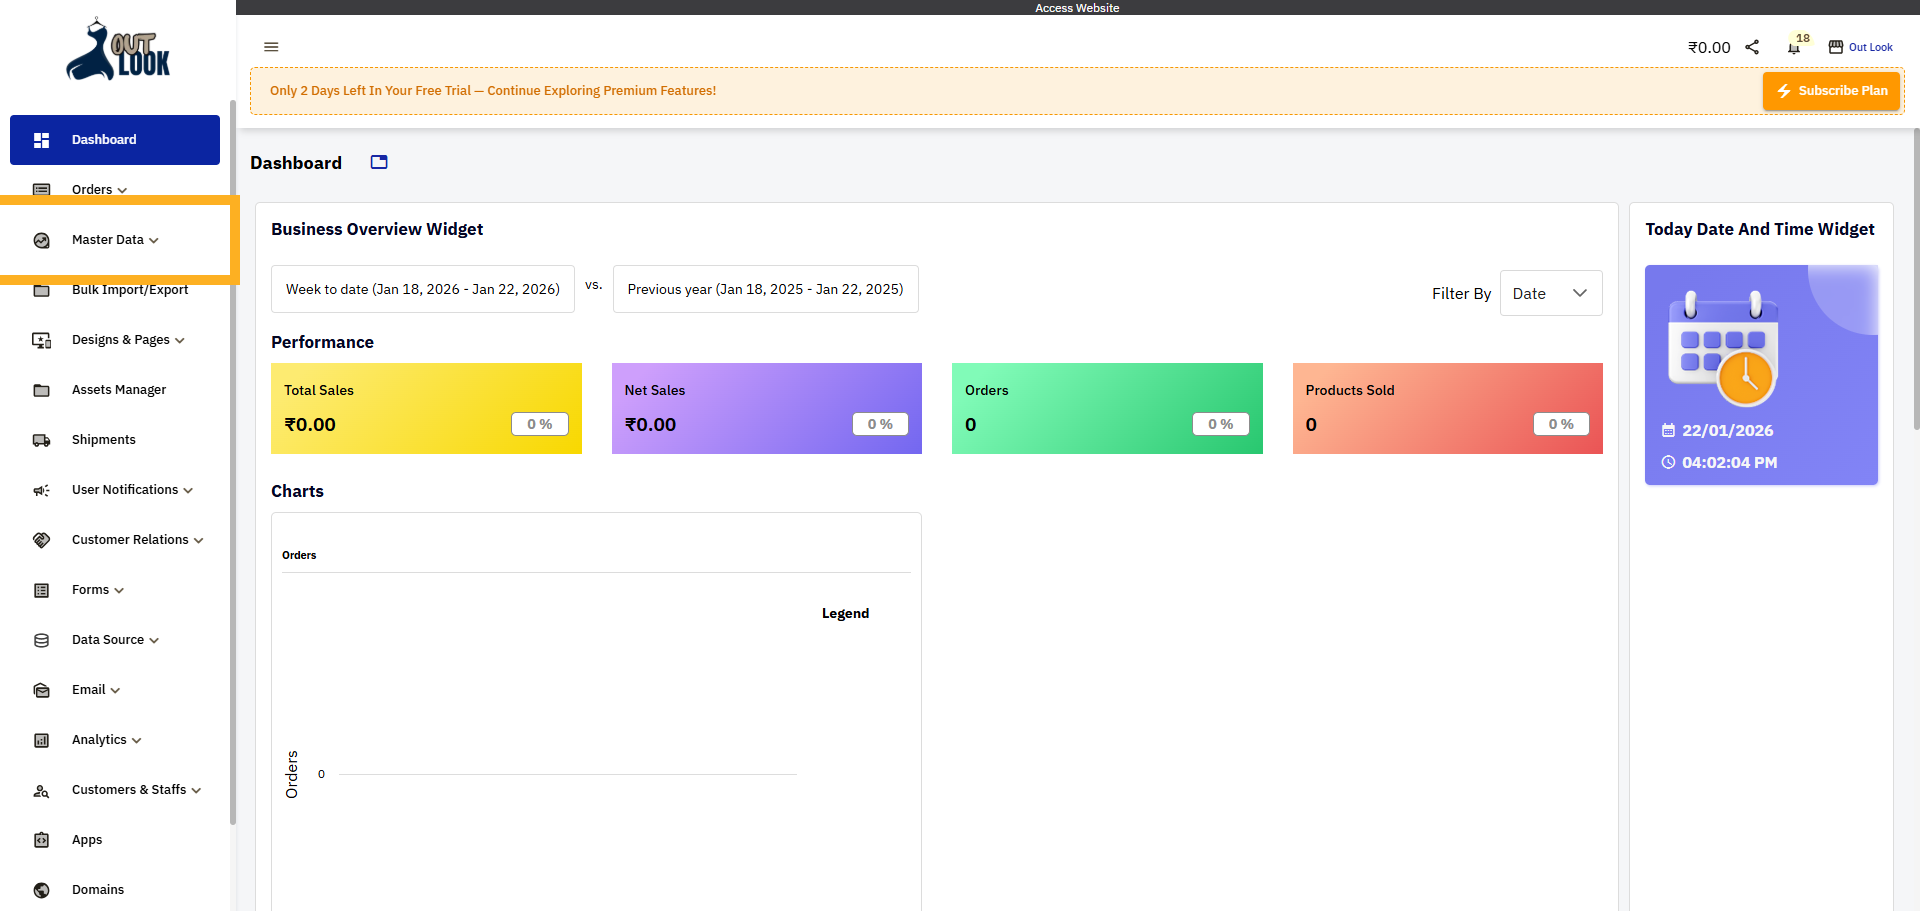
1. Click Master Data Menu
Click the master data menu to access product-related options.
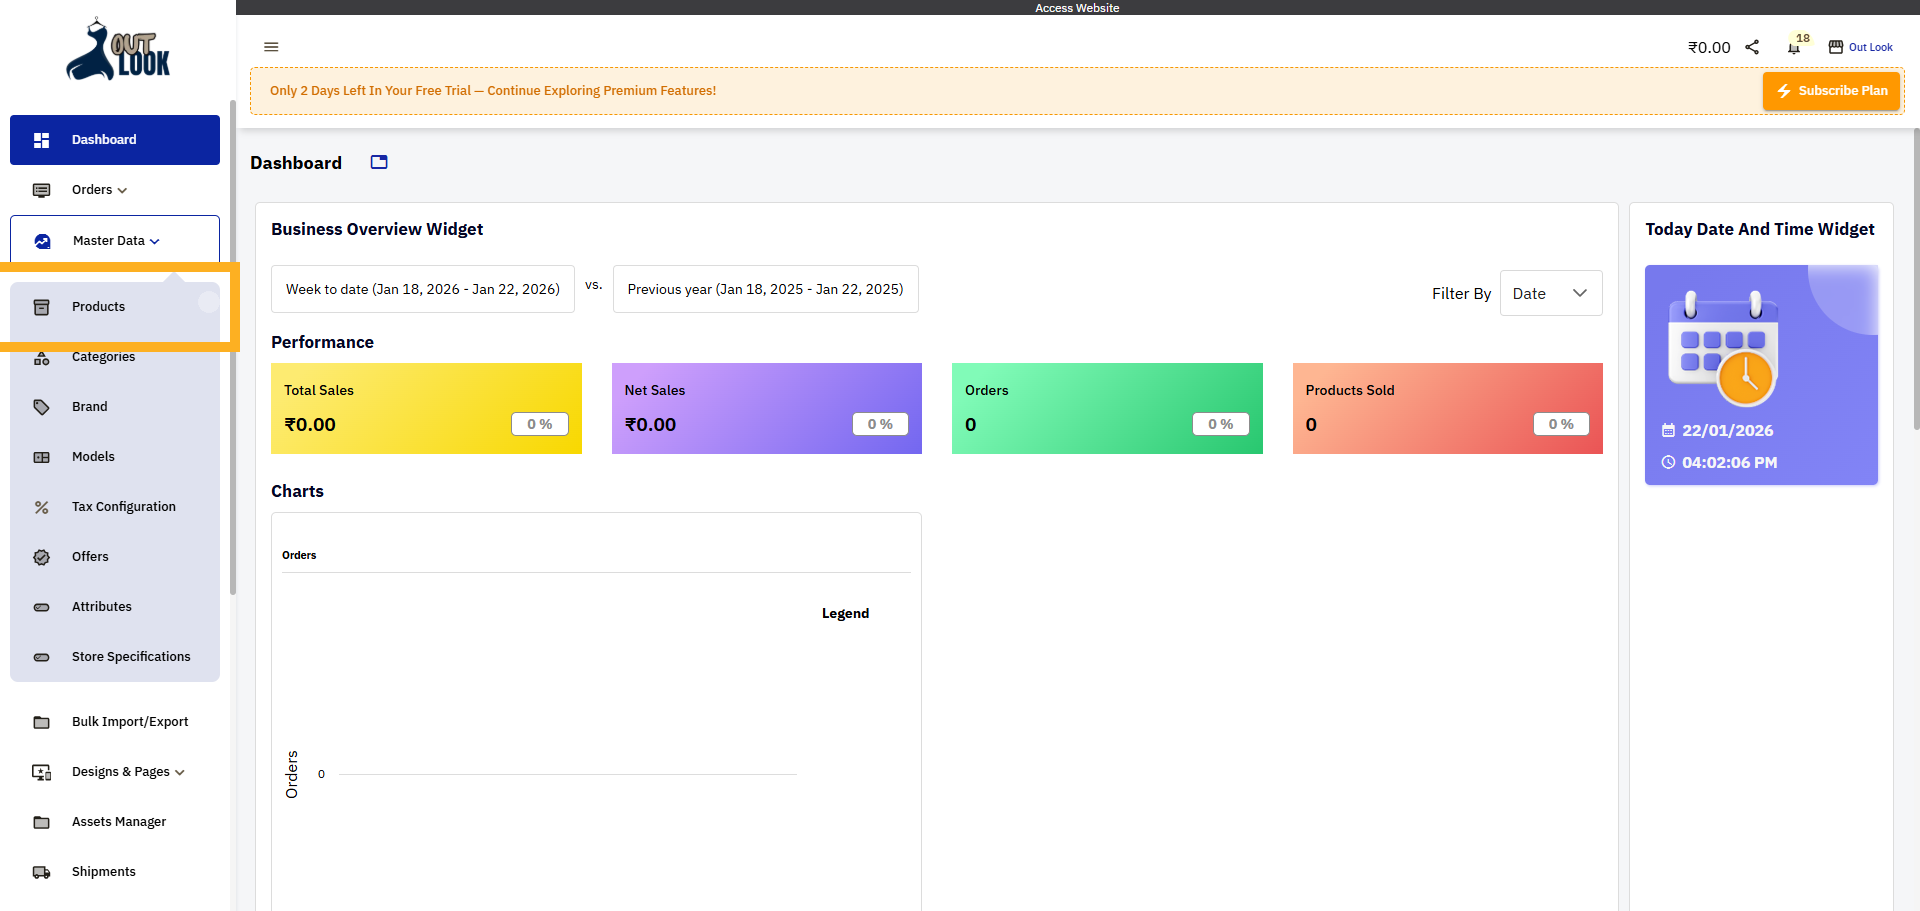
2. Click Products Menu
Click the Products option to view and manage your product inventory.
3. Initiate Add Product
Click the Add Product button to start creating a new product entry.

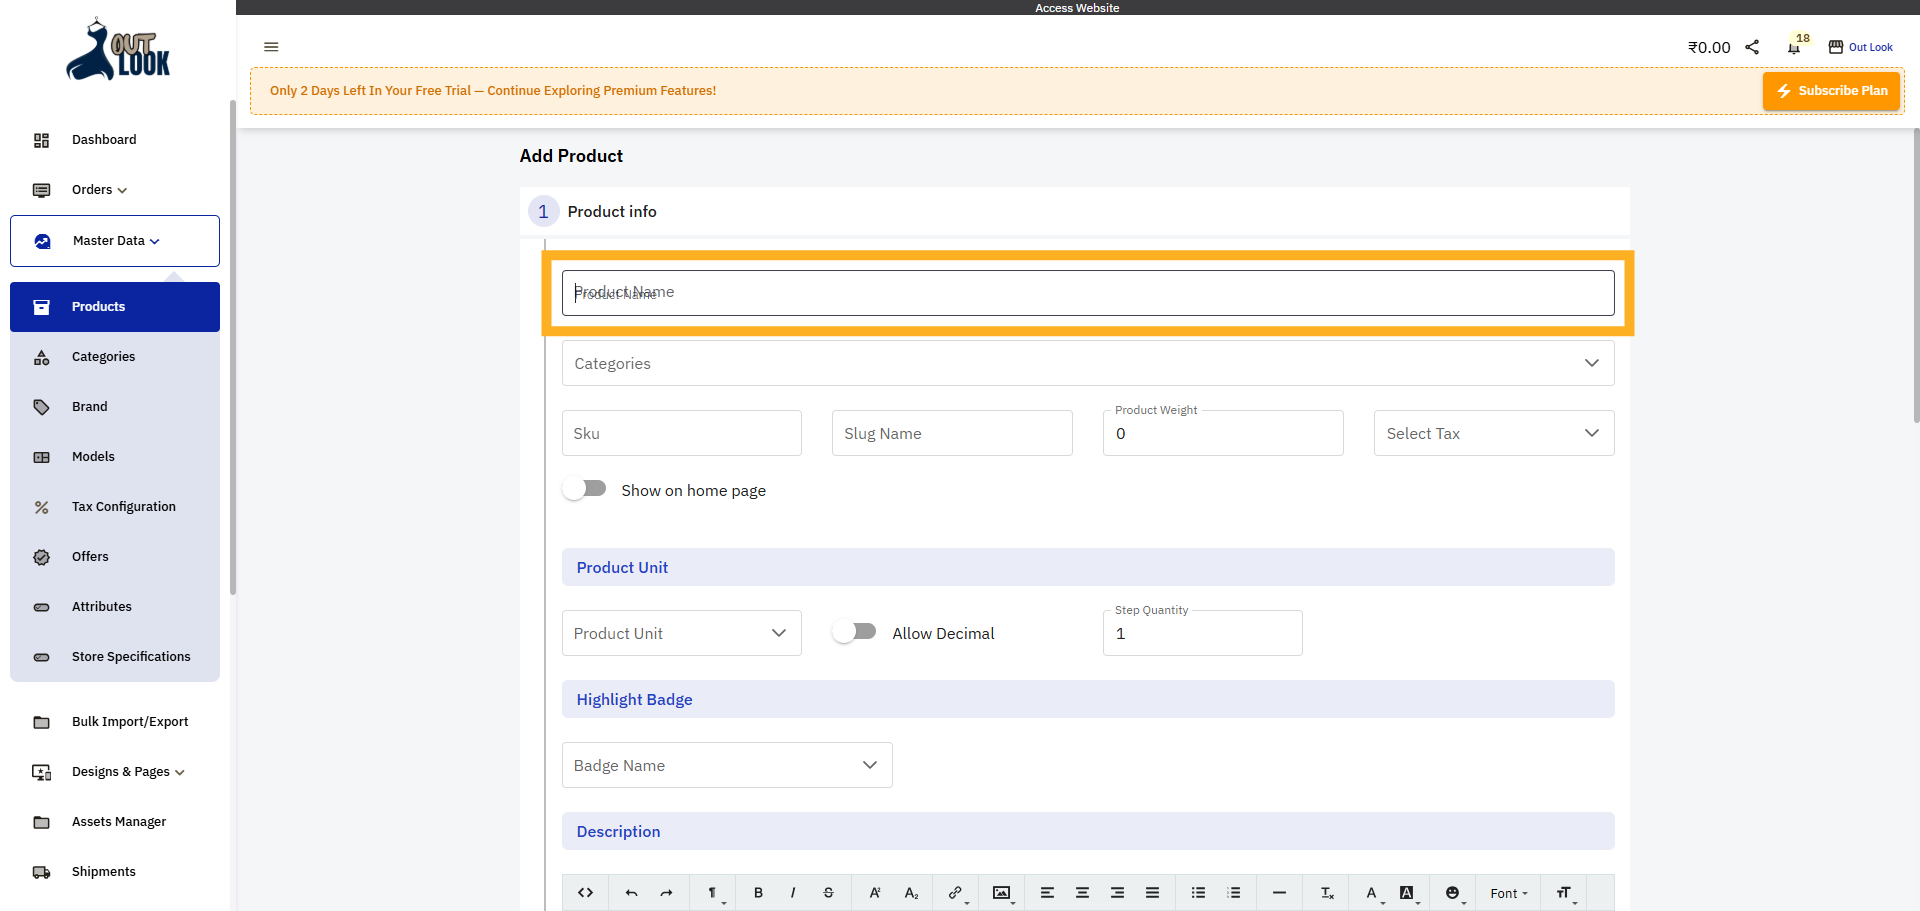
4. Enter Product Name Field
Click the Product Name field to enter the name of your new product.
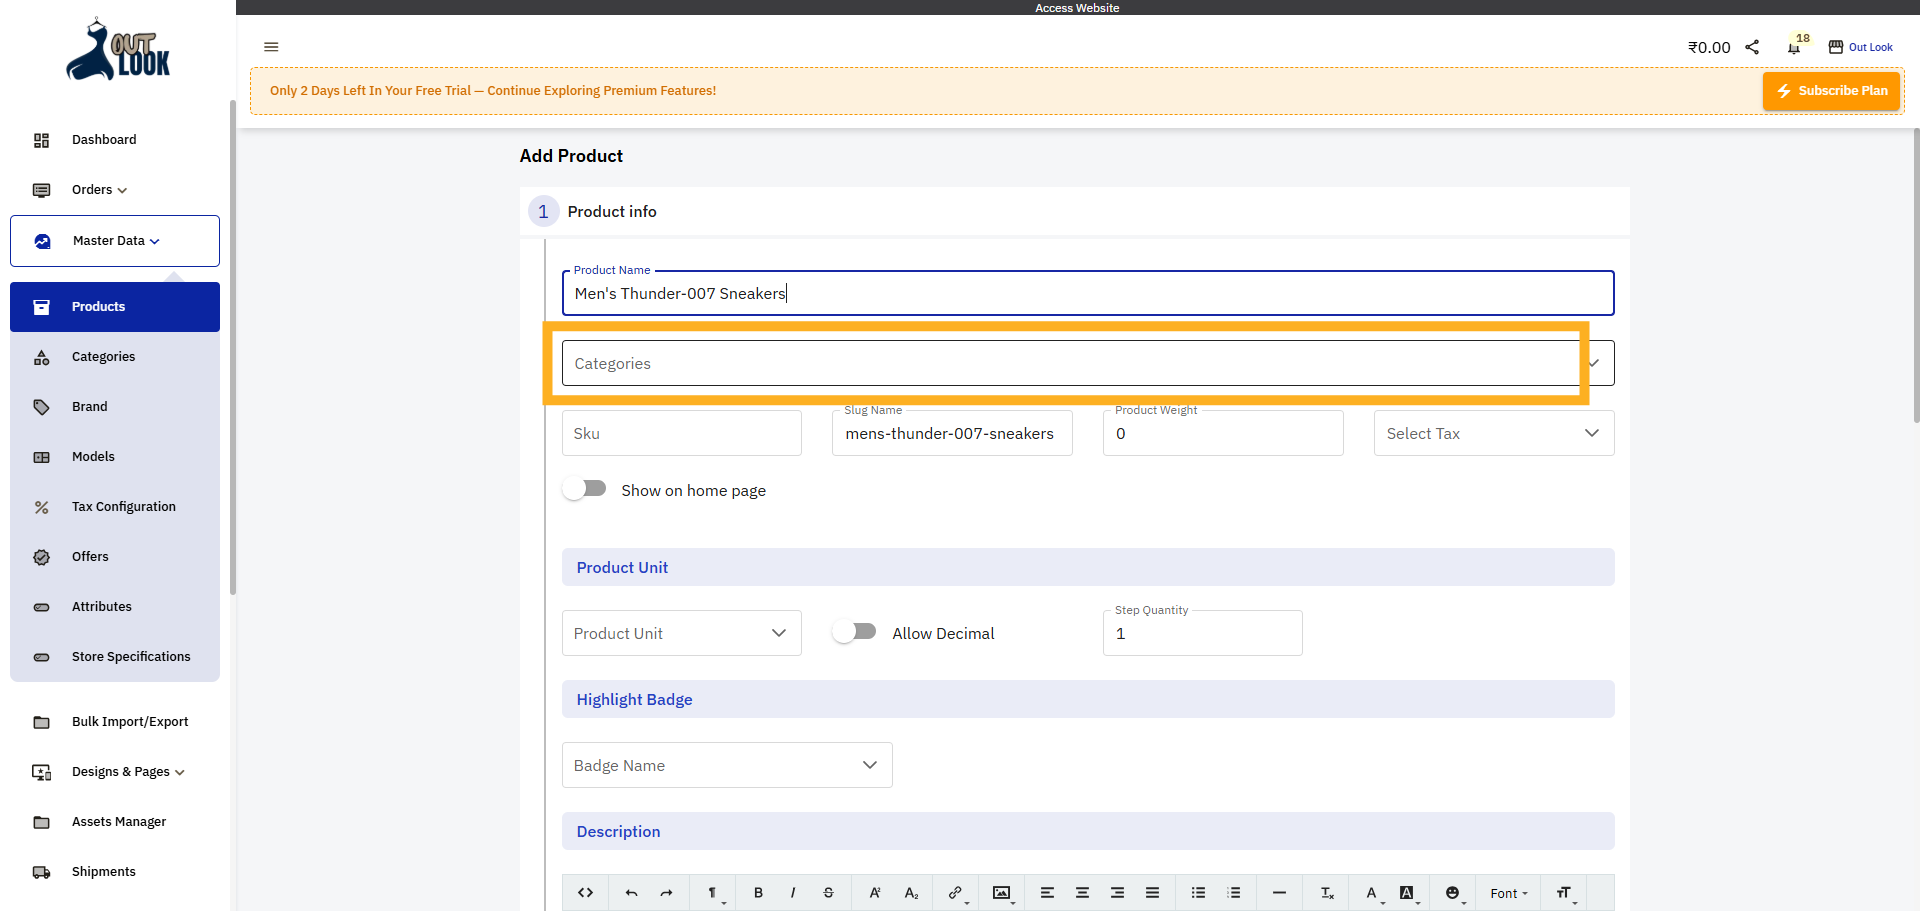
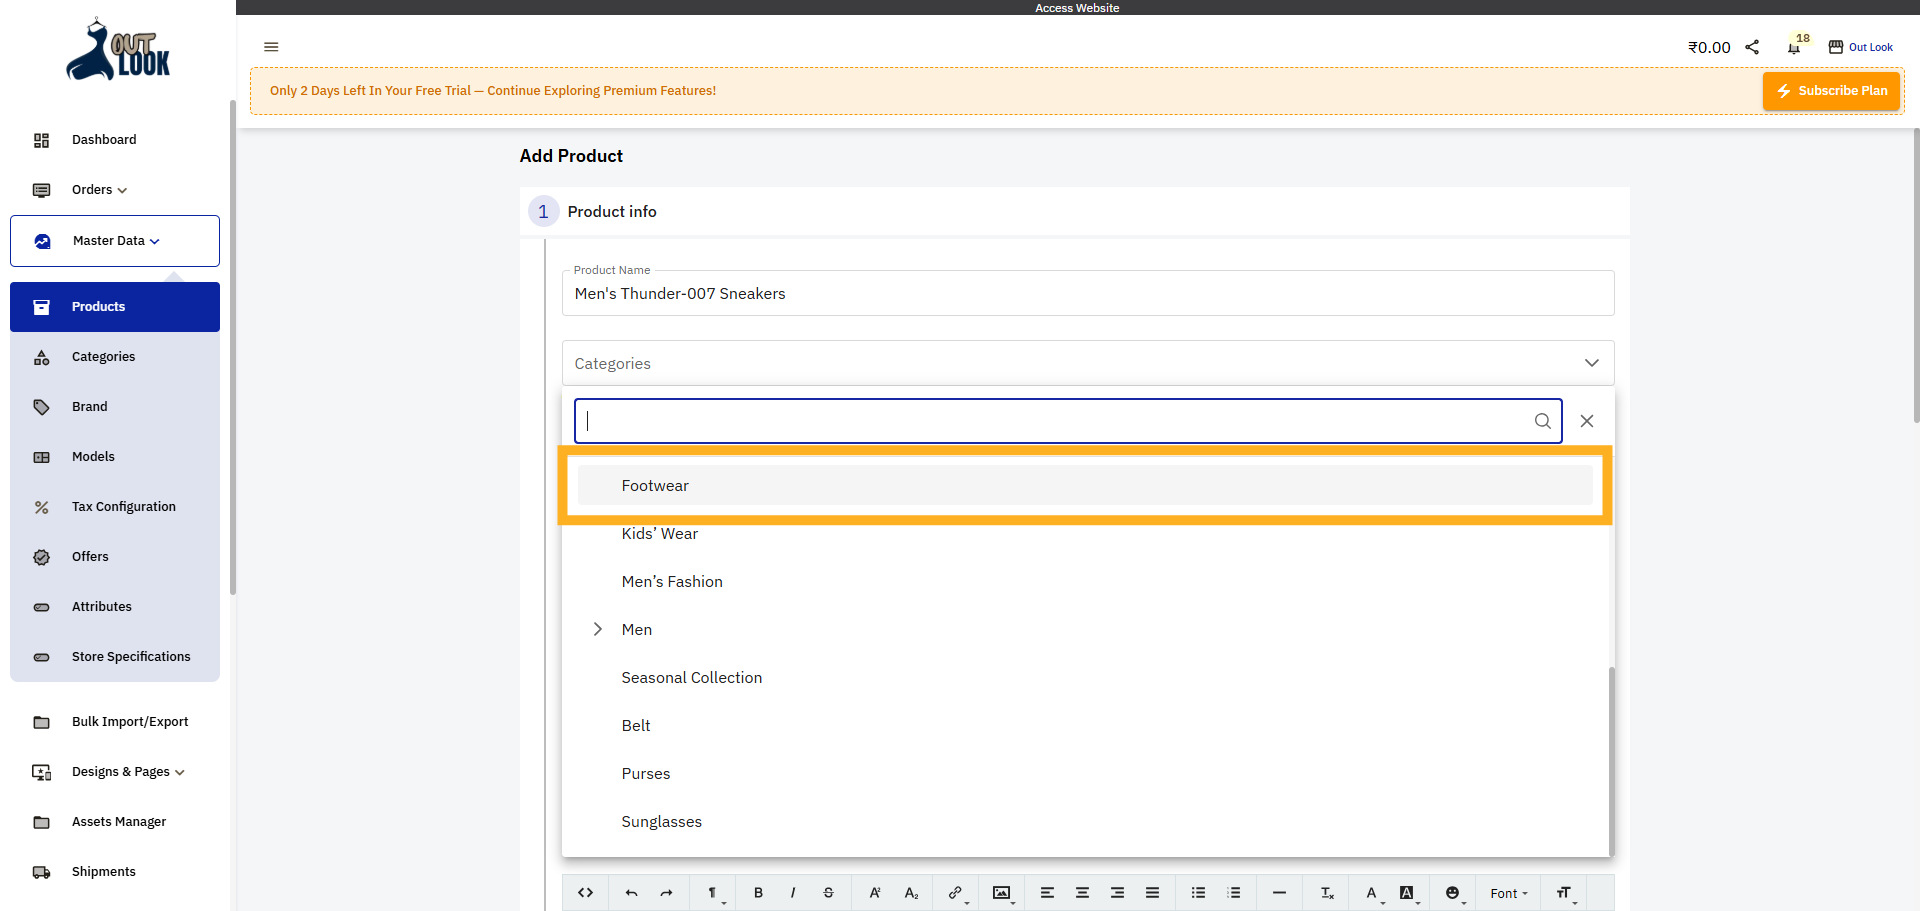
5. Open Categories Dropdown
Click the Categories dropdown to assign your product to a relevant category.
6. Choose Footwear Category
Select the Footwear category to classify your product appropriately.
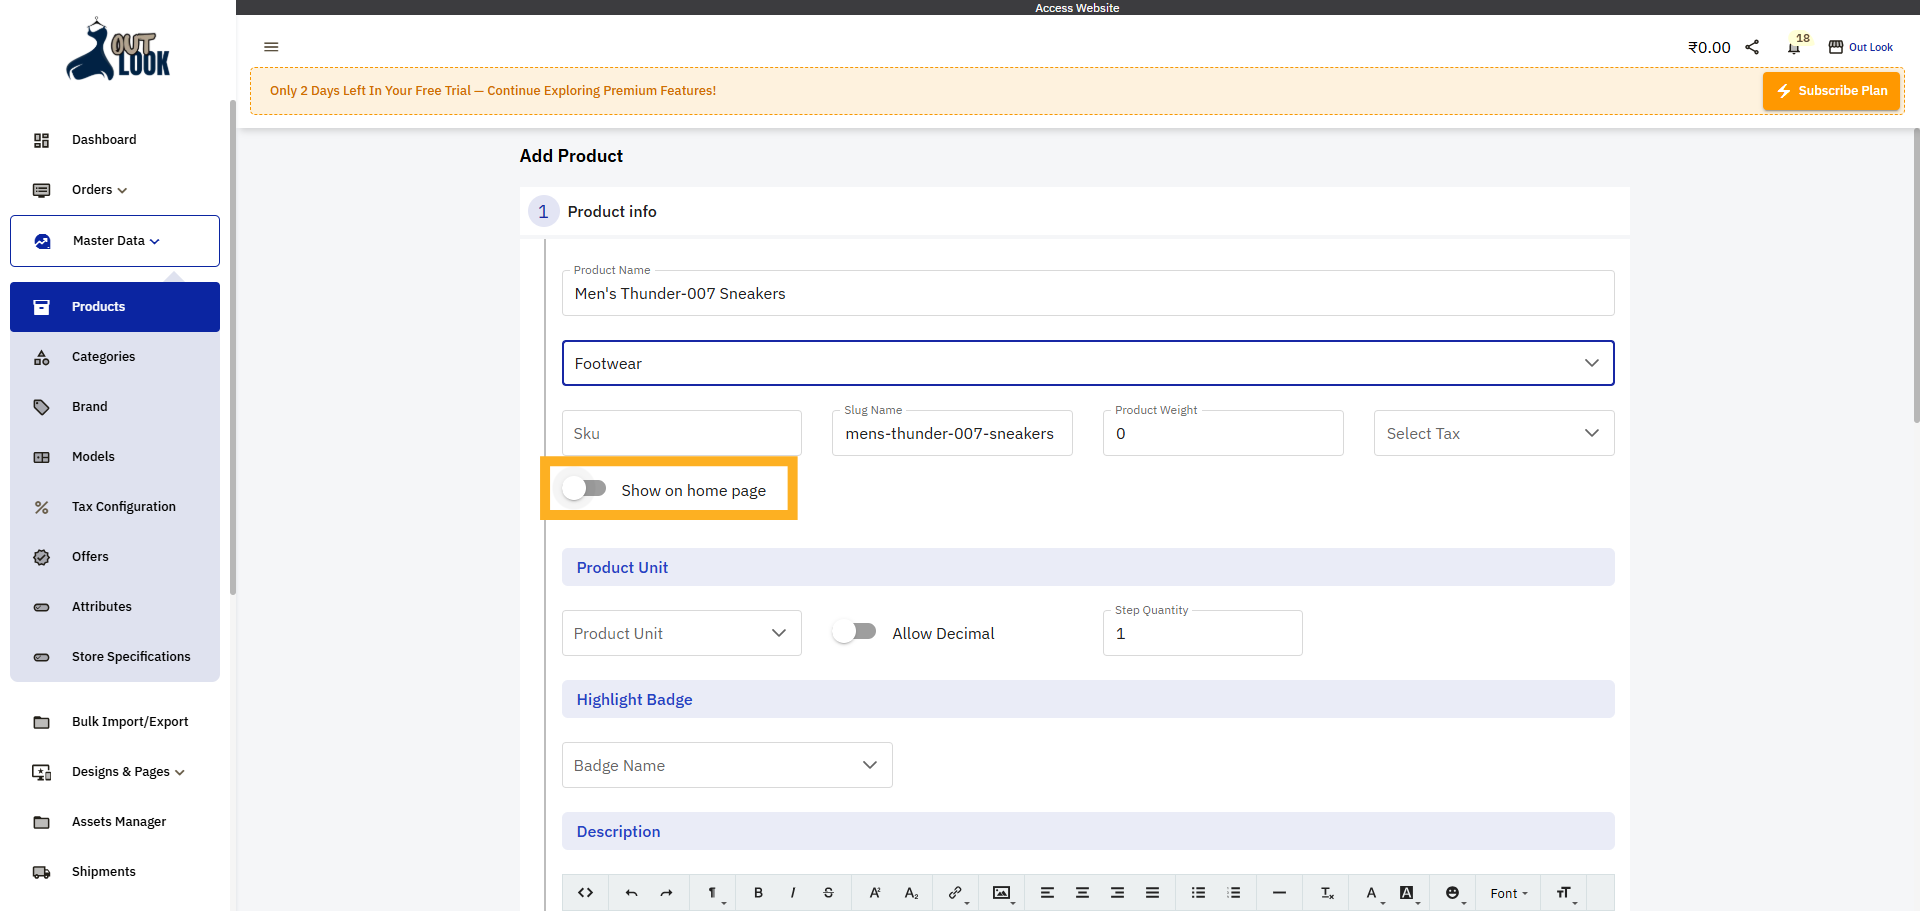
7. Enable Show on home page
Enable Show on home page to see this product in website home page
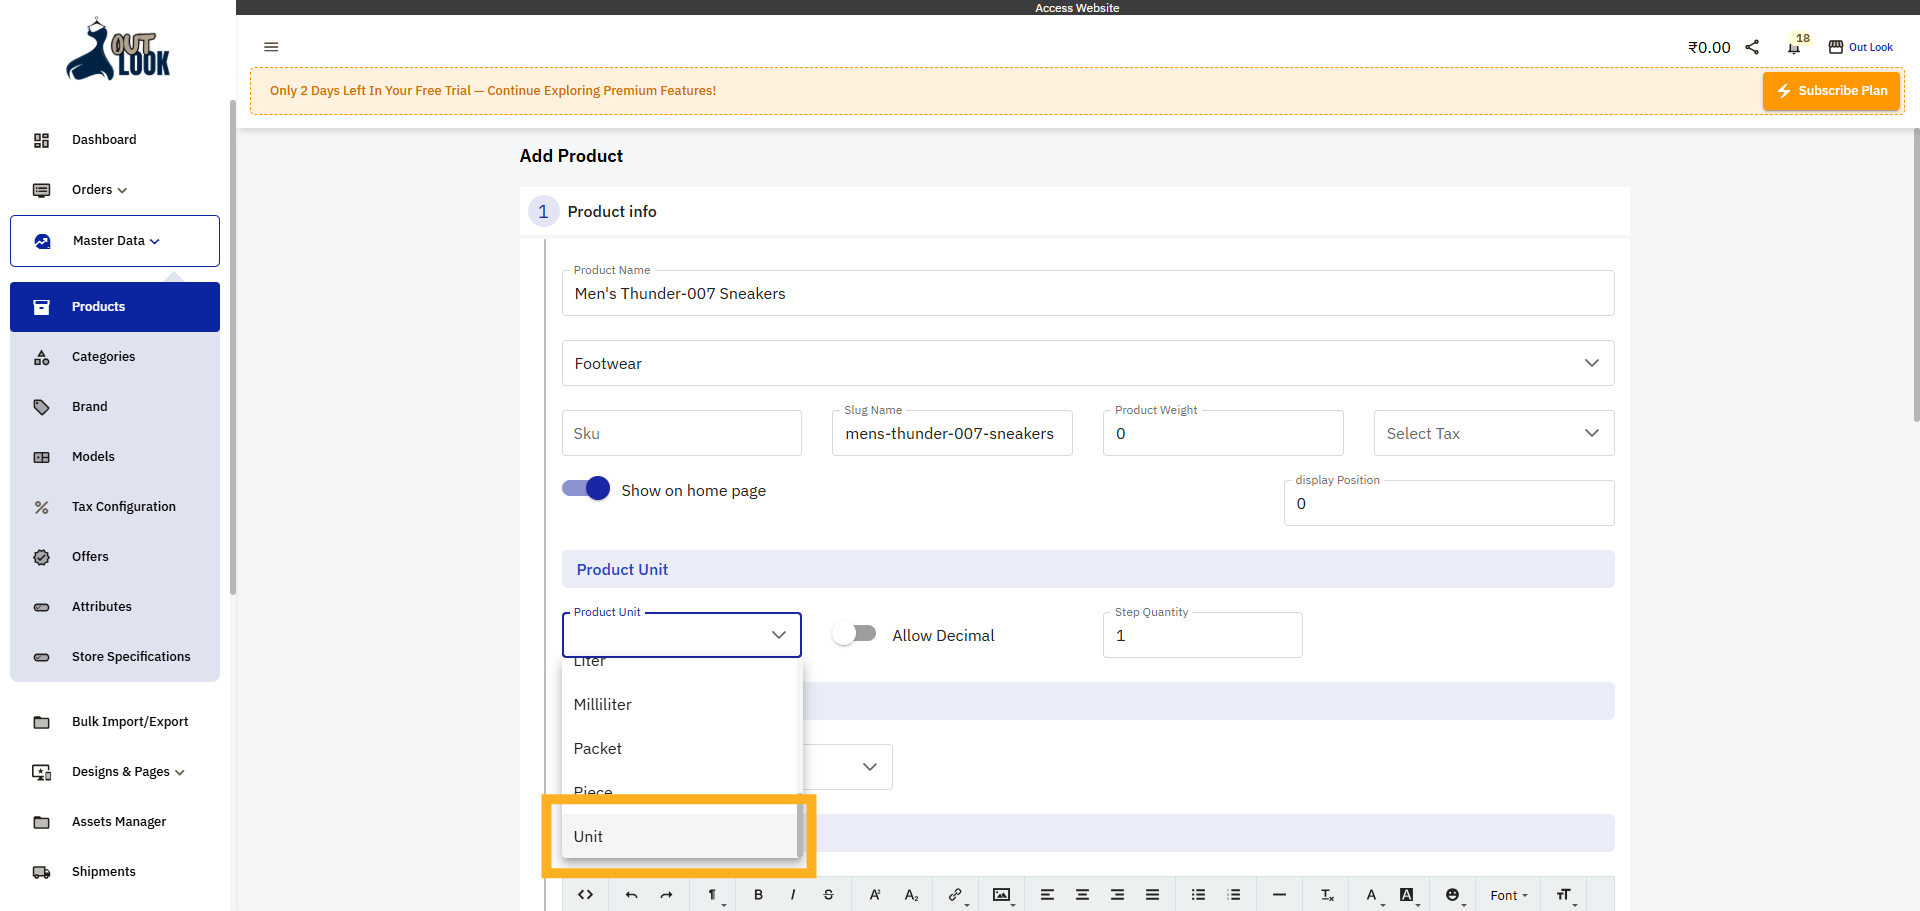
8. Select Unit
Select the unit type that best represents your product's measurement.
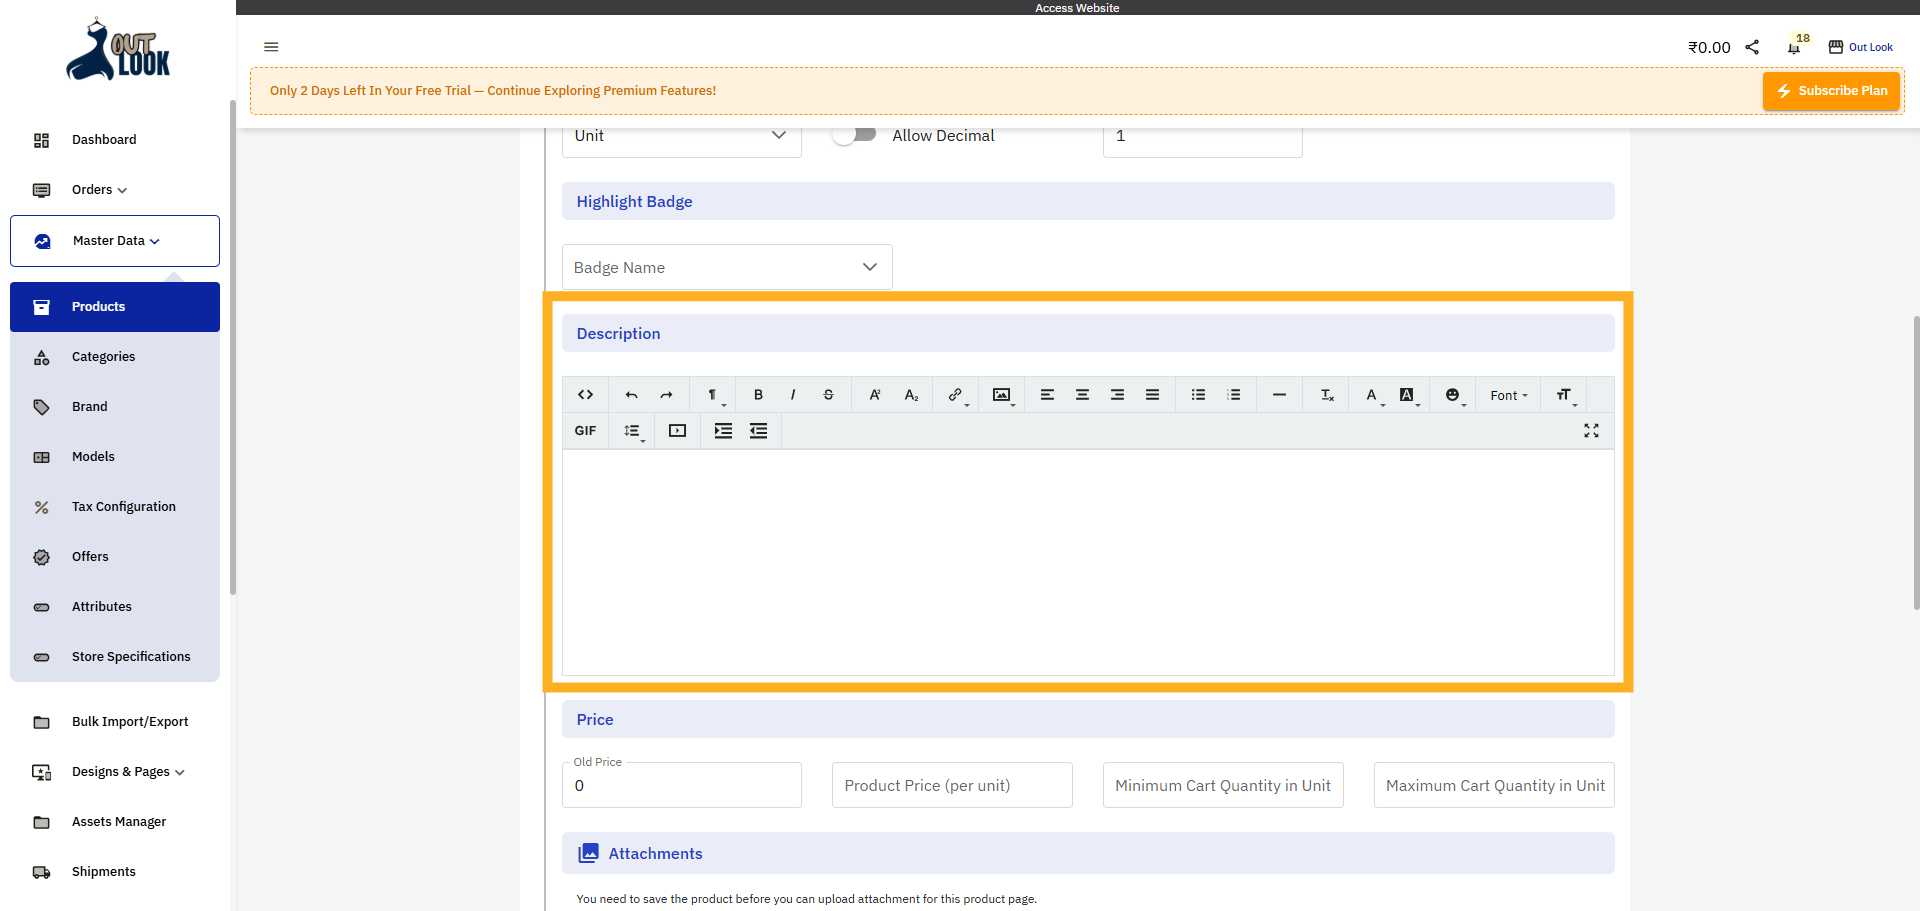
9. Enter Description
Click to focus on the description input field for editing.
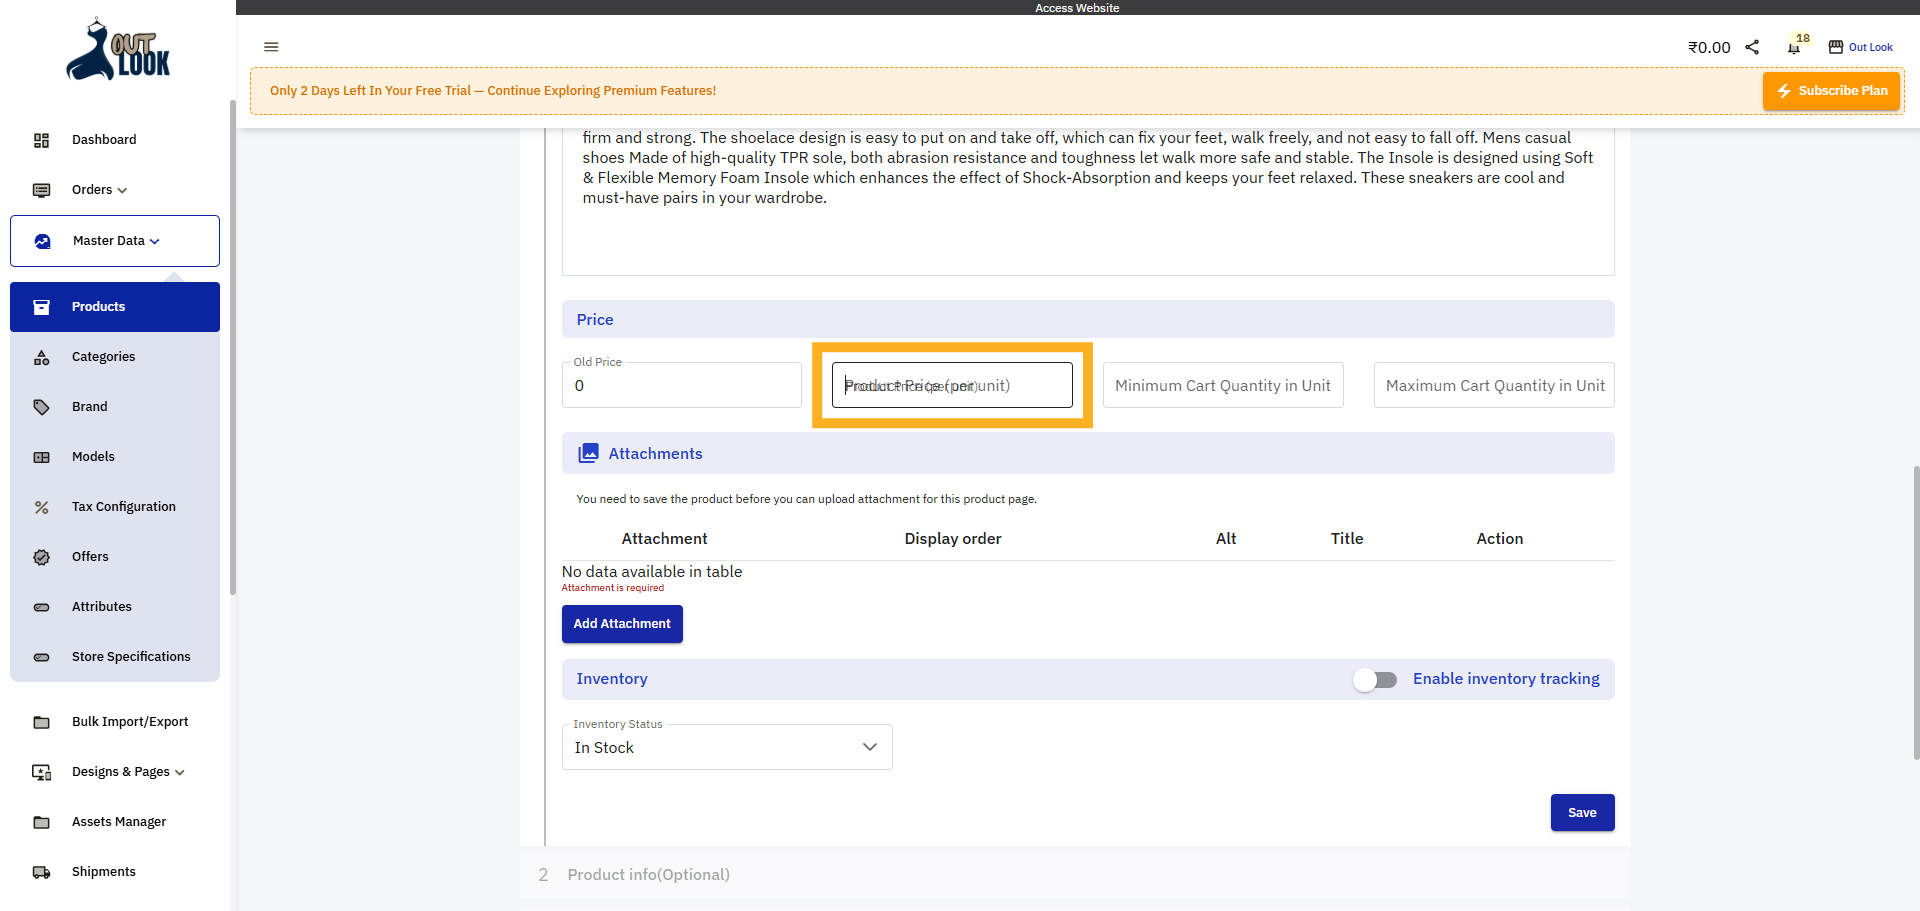
10. Enter Product Price
Click the Product Price (per unit) field to set the selling price for your product.
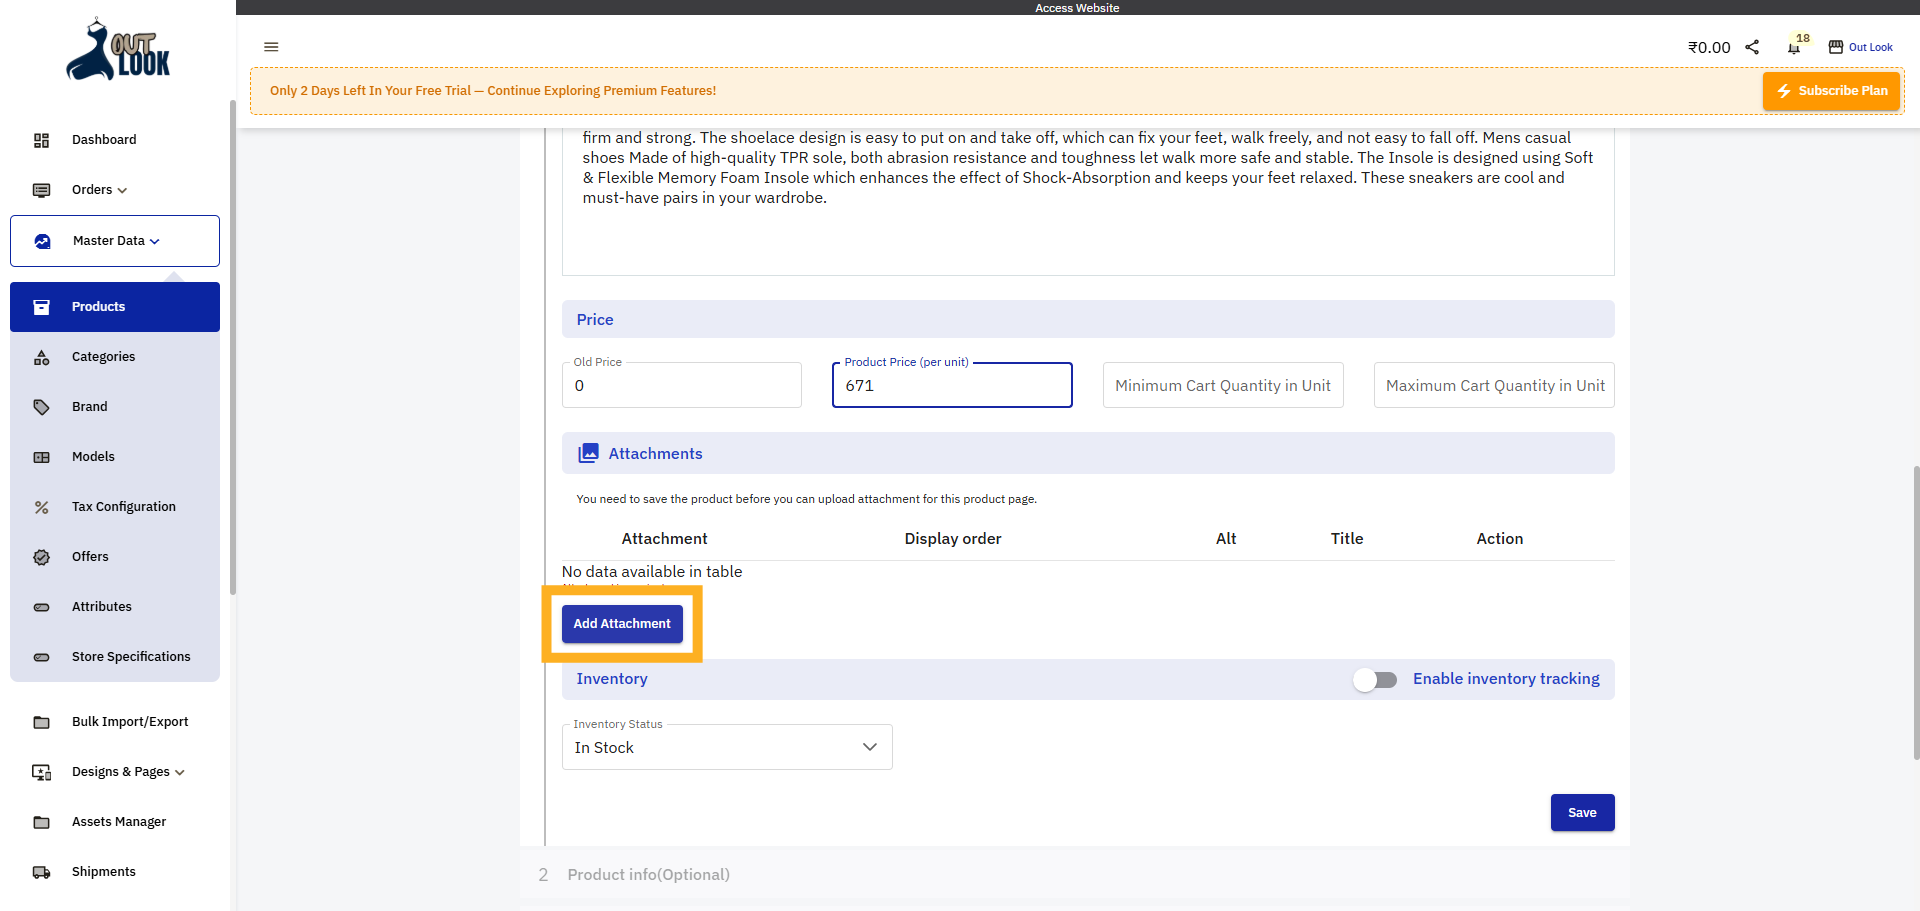
11. Add Product Attachments
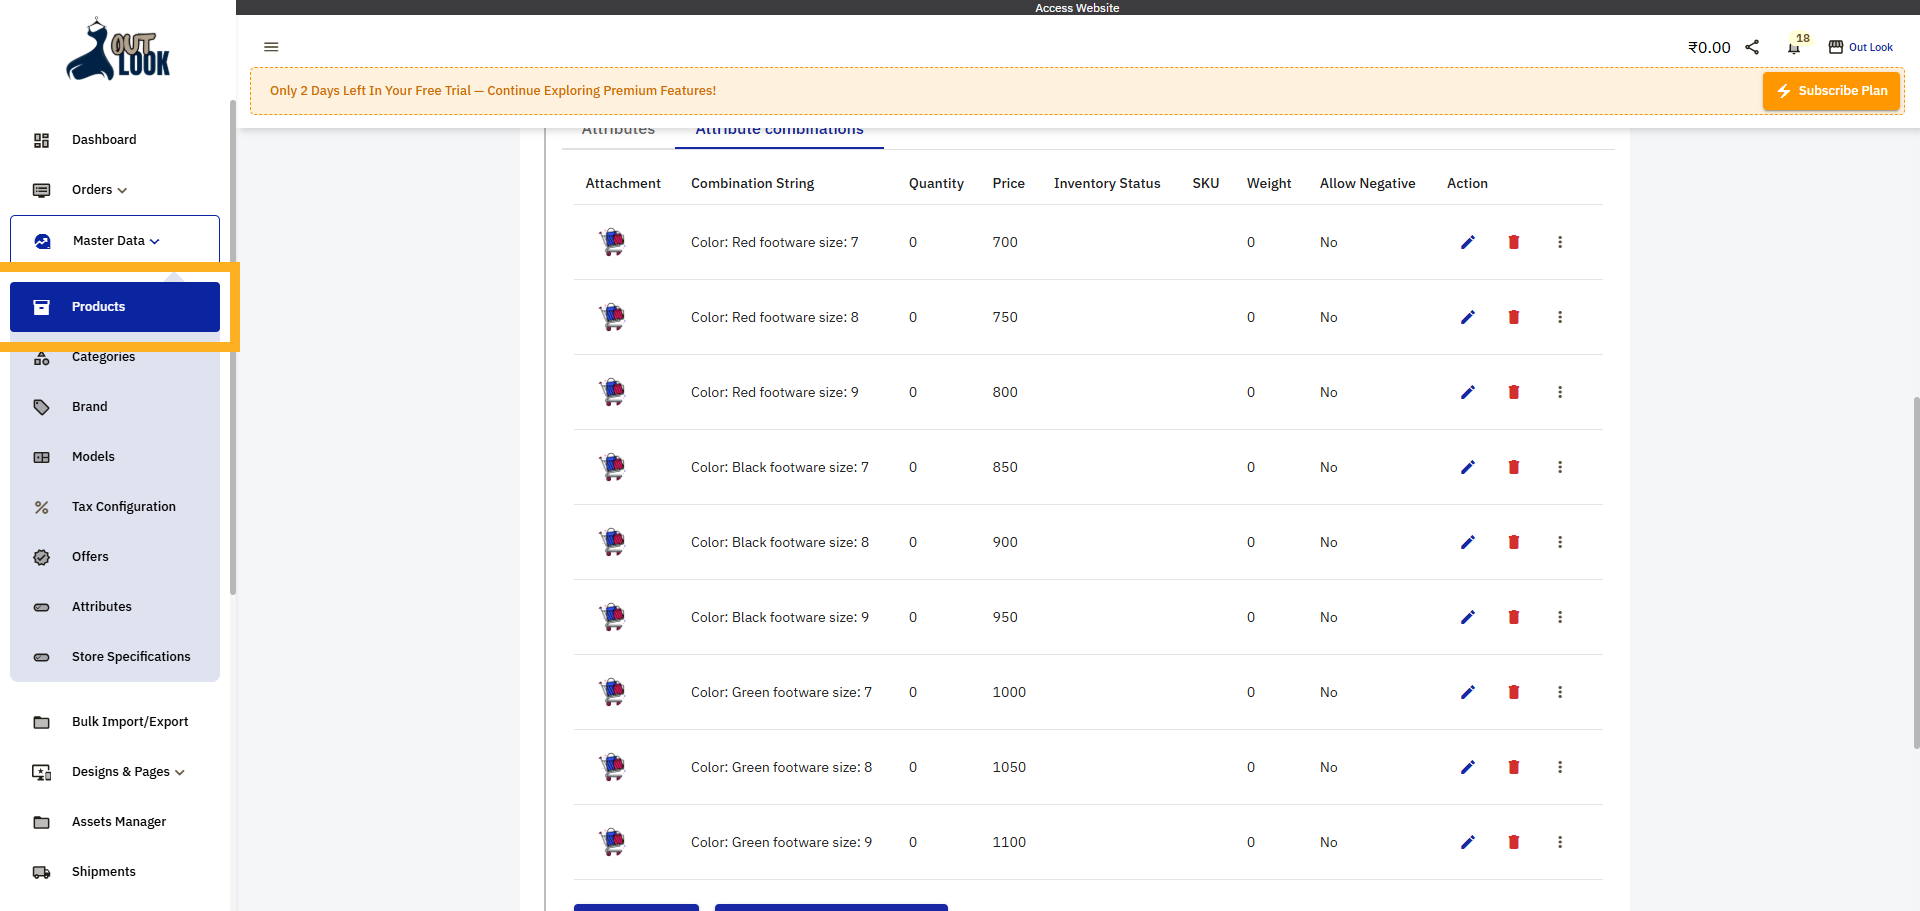
Click Add Attachment to upload images or files related to your product.
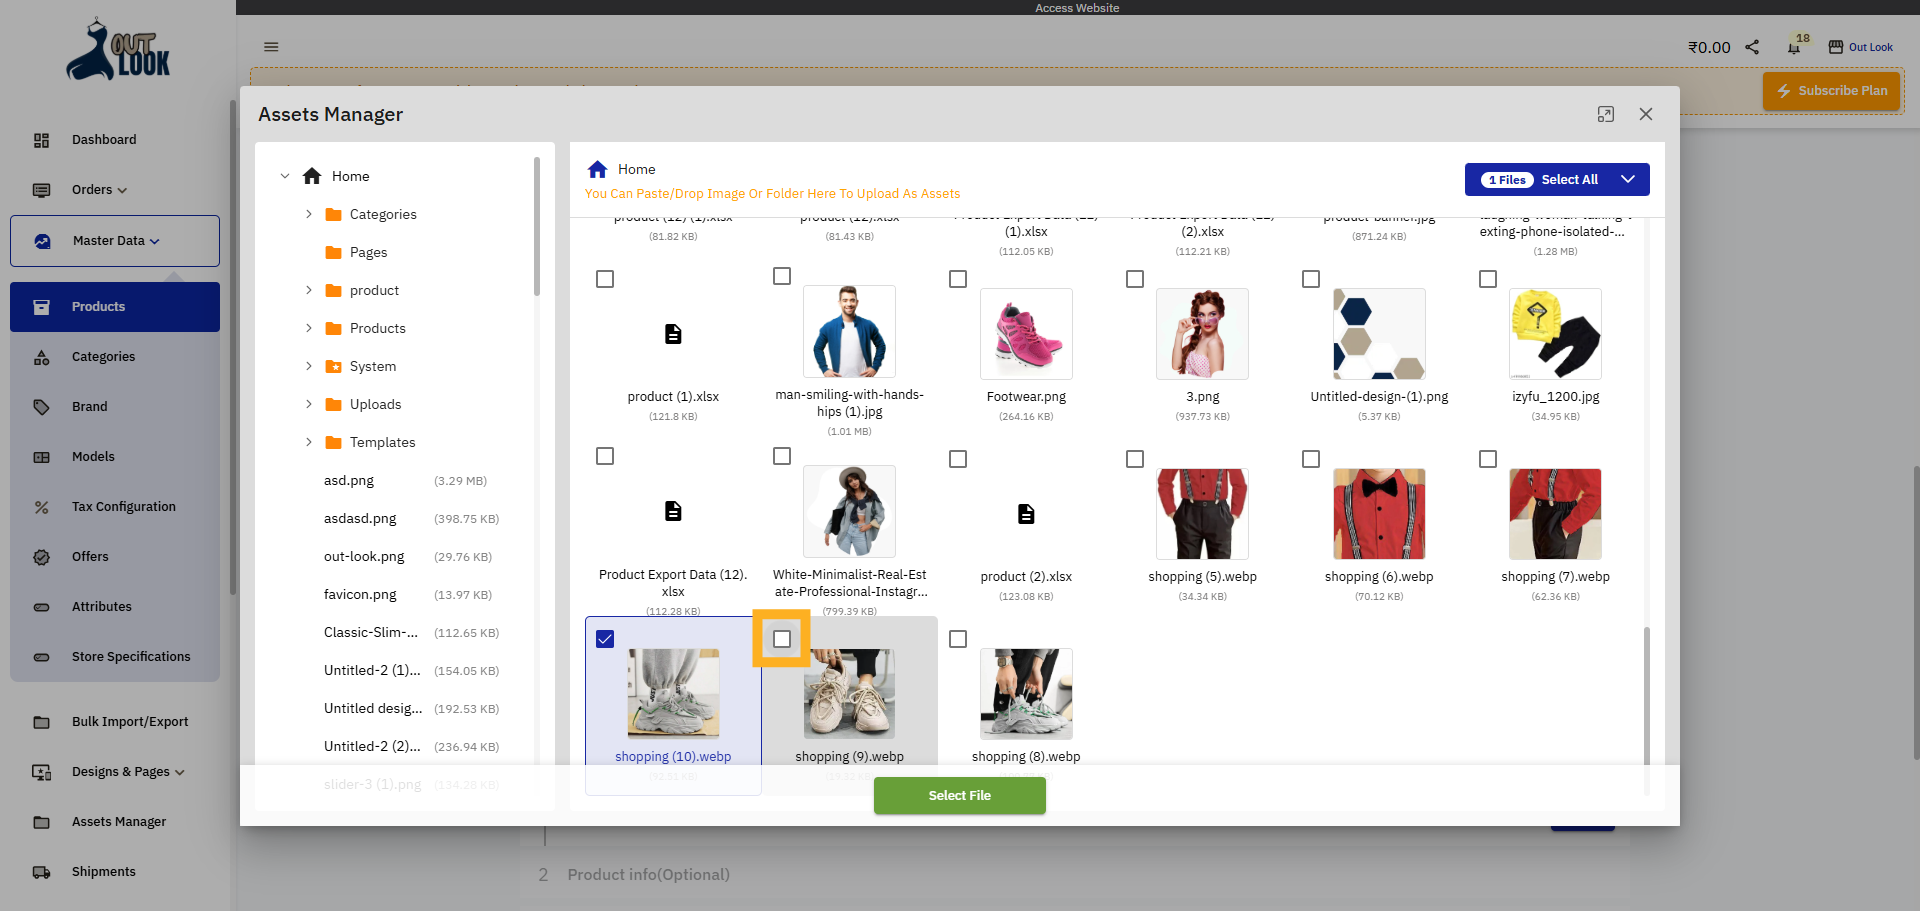
12. Open File Selection
Click to open the file selection dialog for uploading attachments.
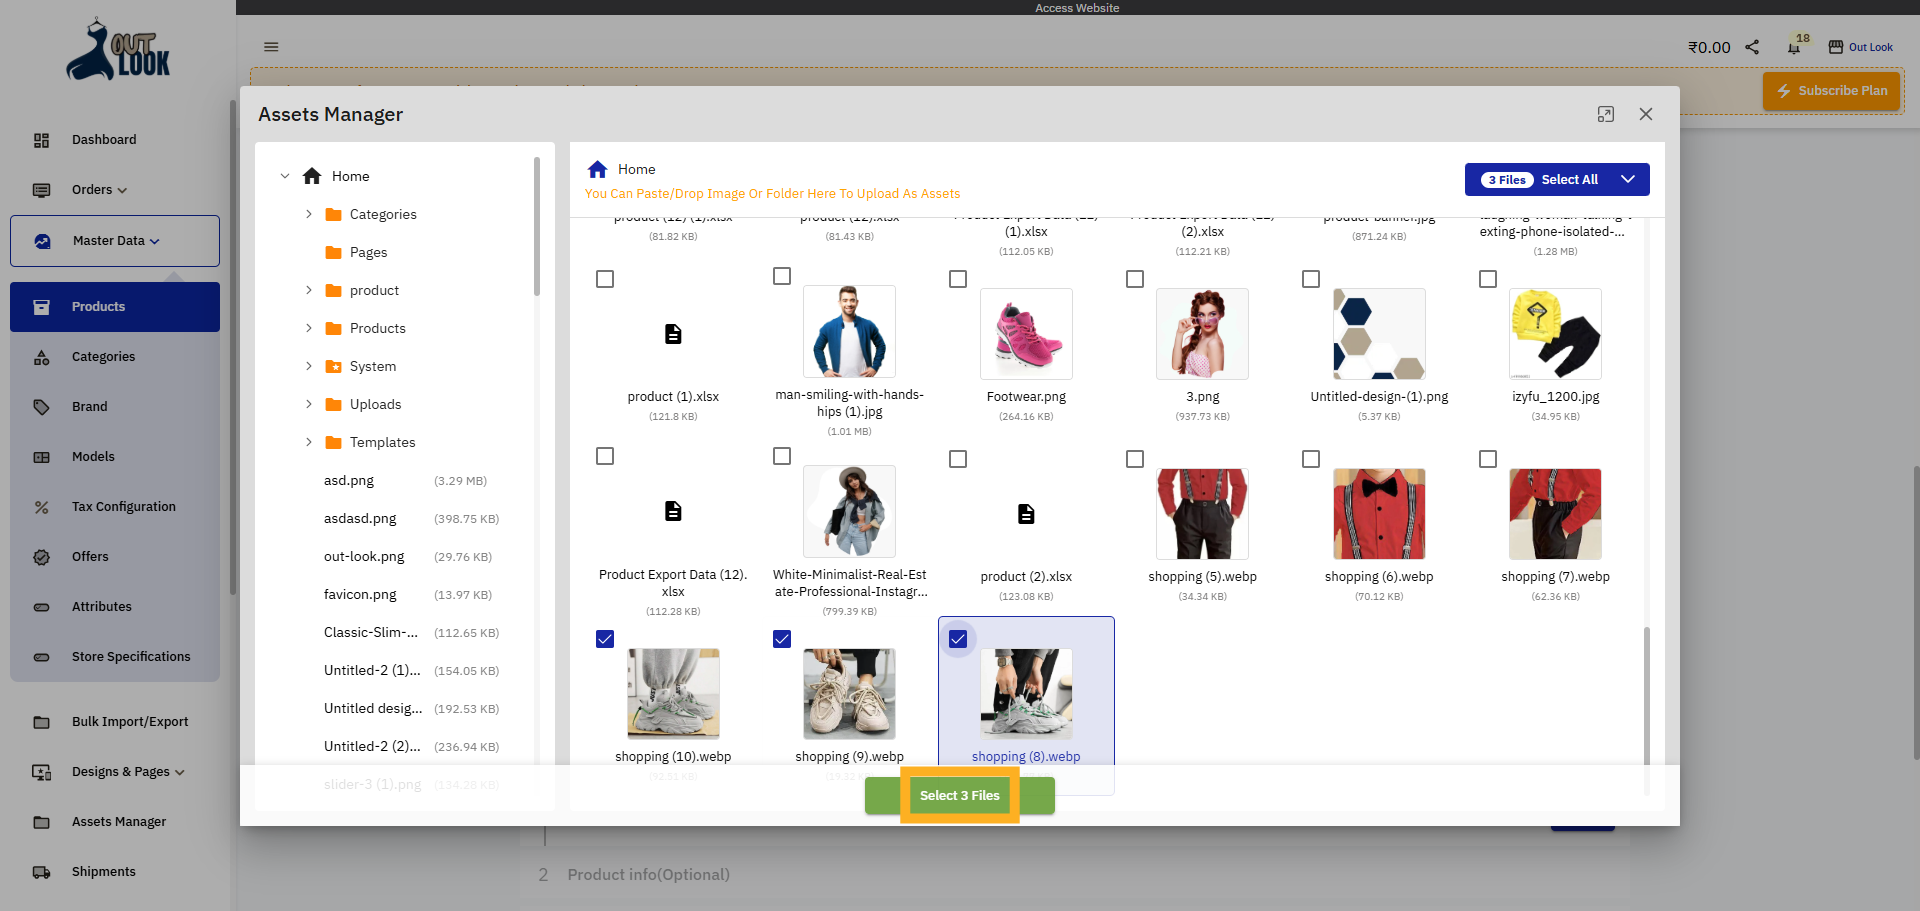
13. Select Files to Upload
Click Select 3 Files to choose multiple files for attachment to your product.
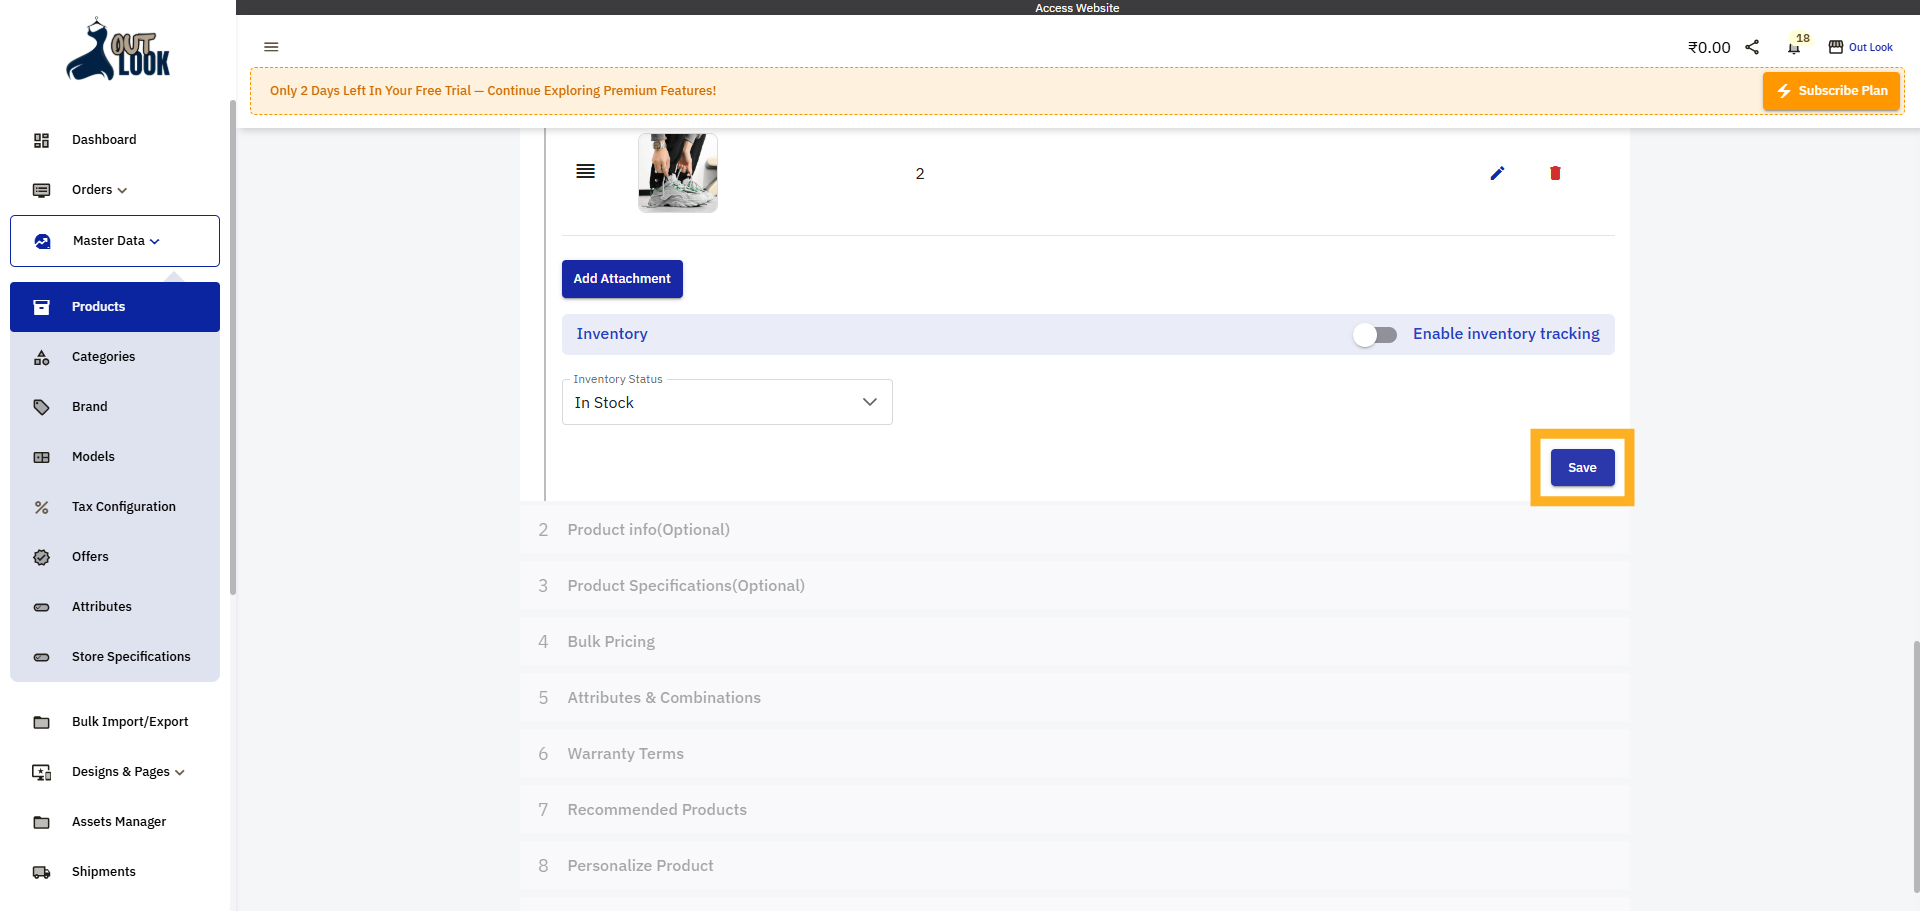
14. Click save to start product creation
Click Save product creation process started
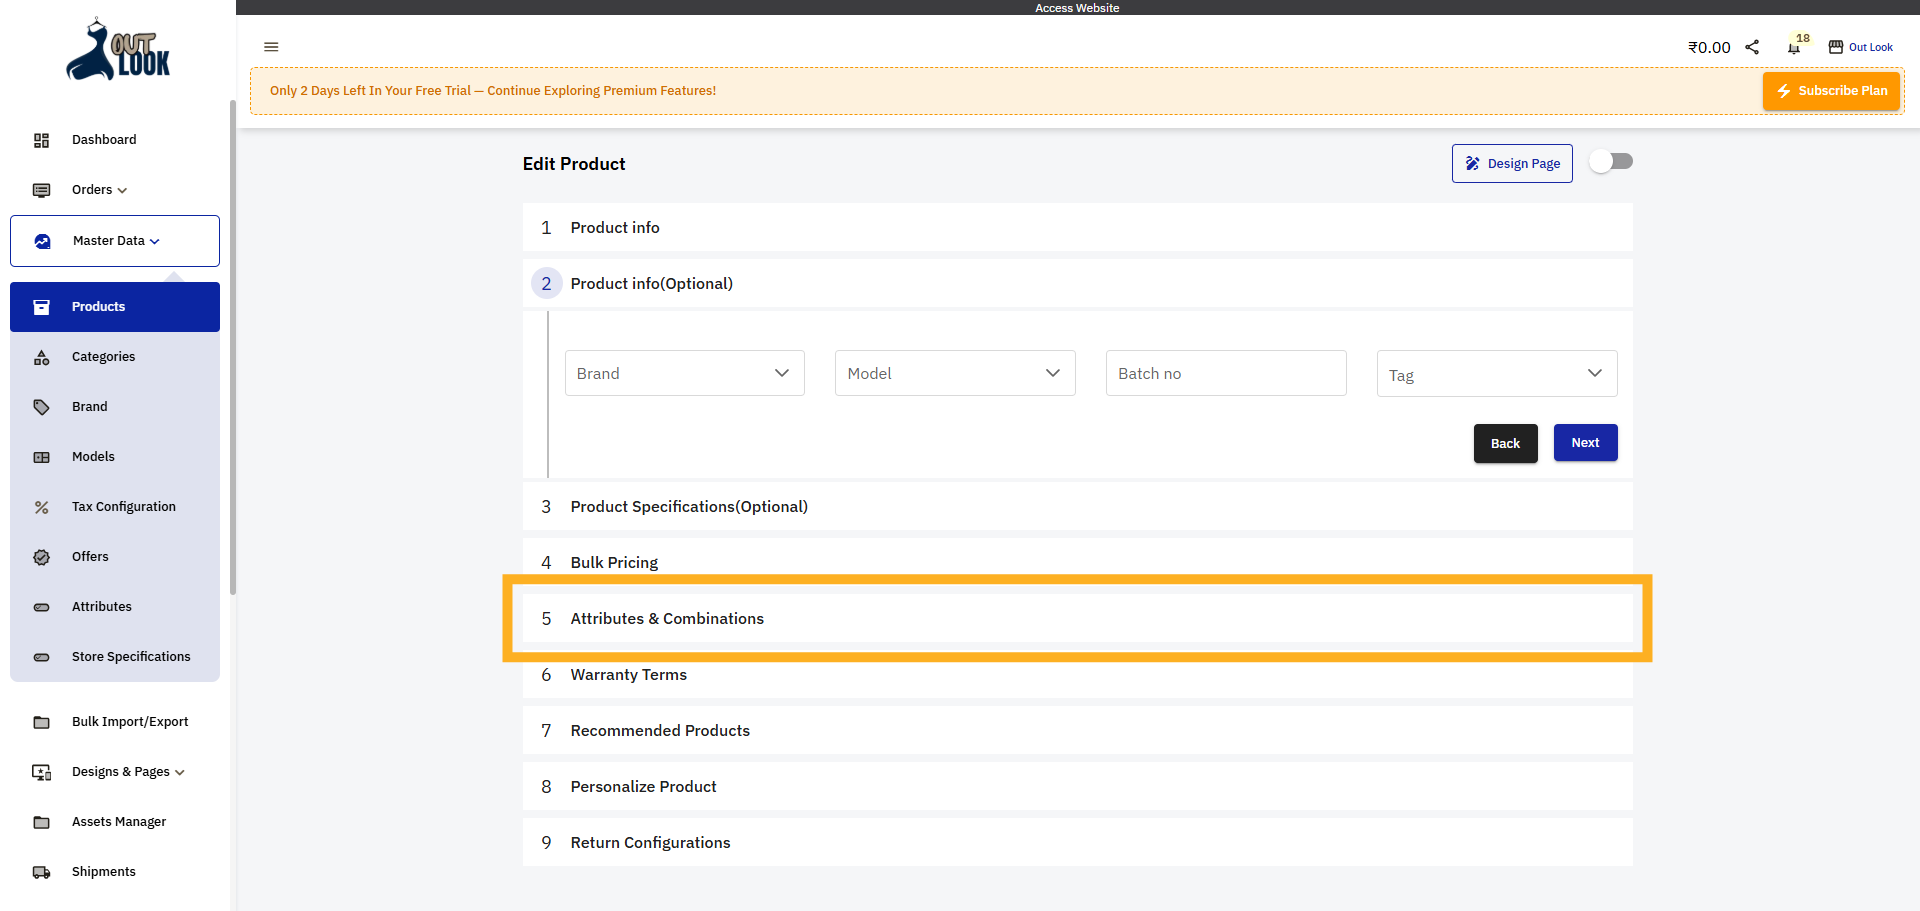
15. Open Attributes & Combinations
Click Attributes & Combinations to manage product variations and options.
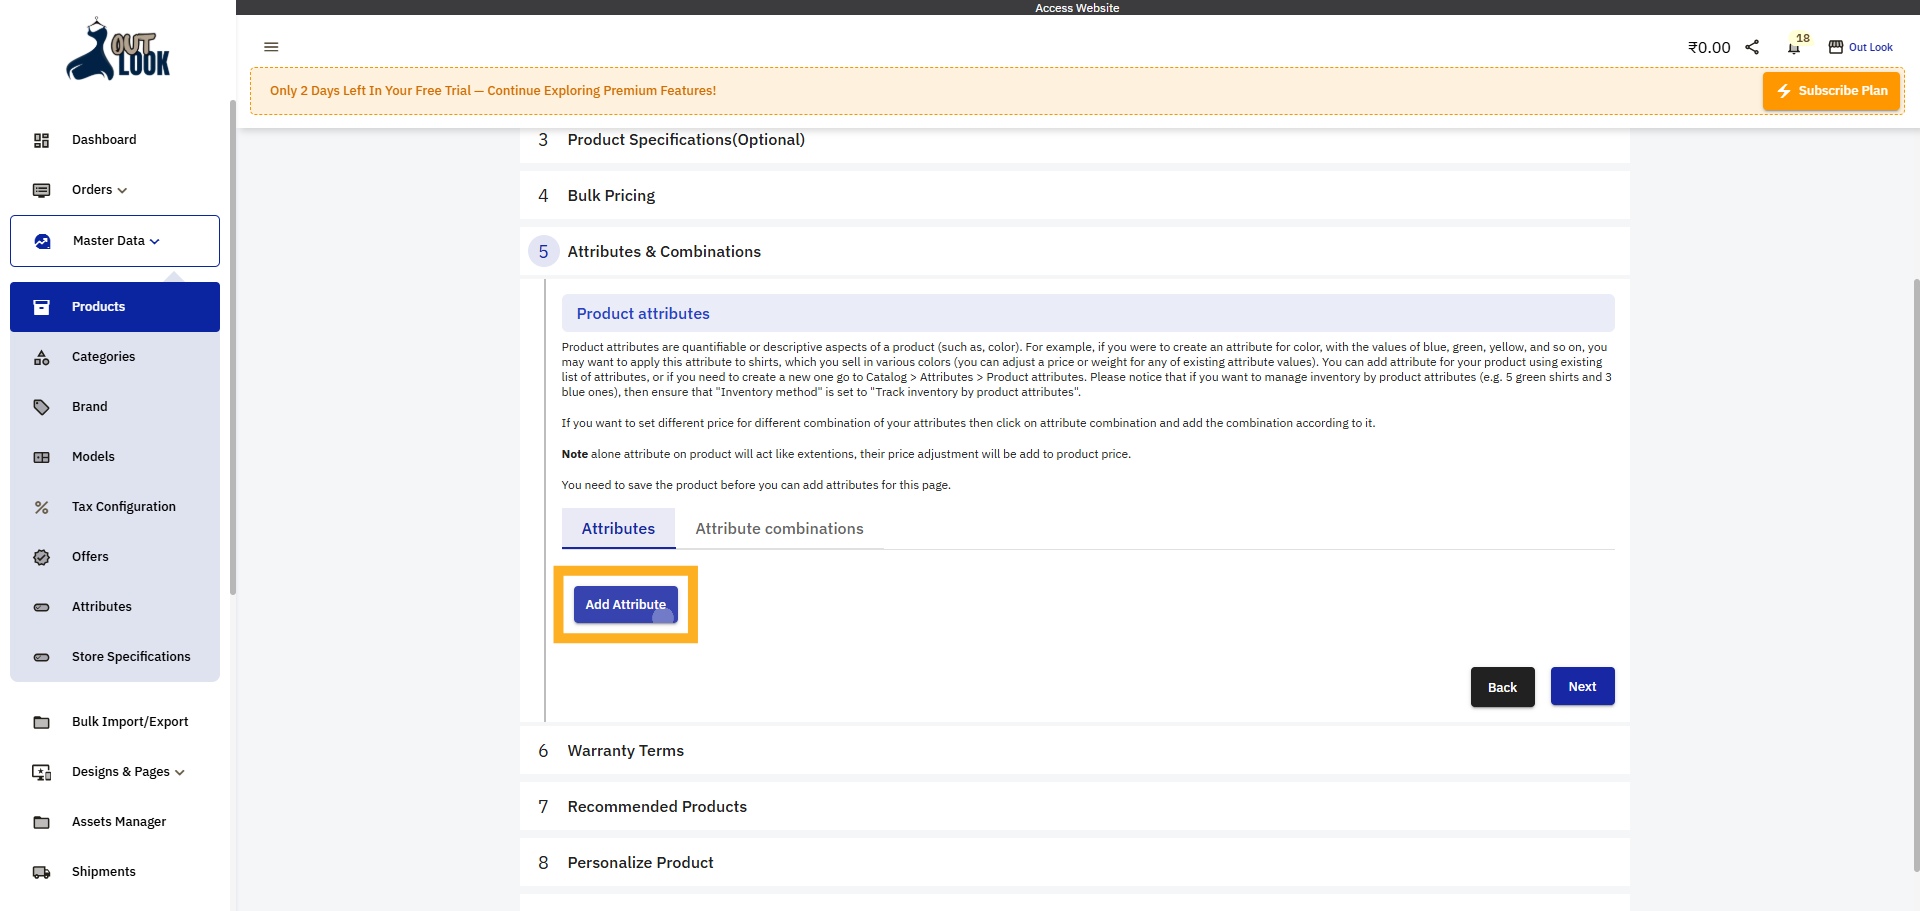
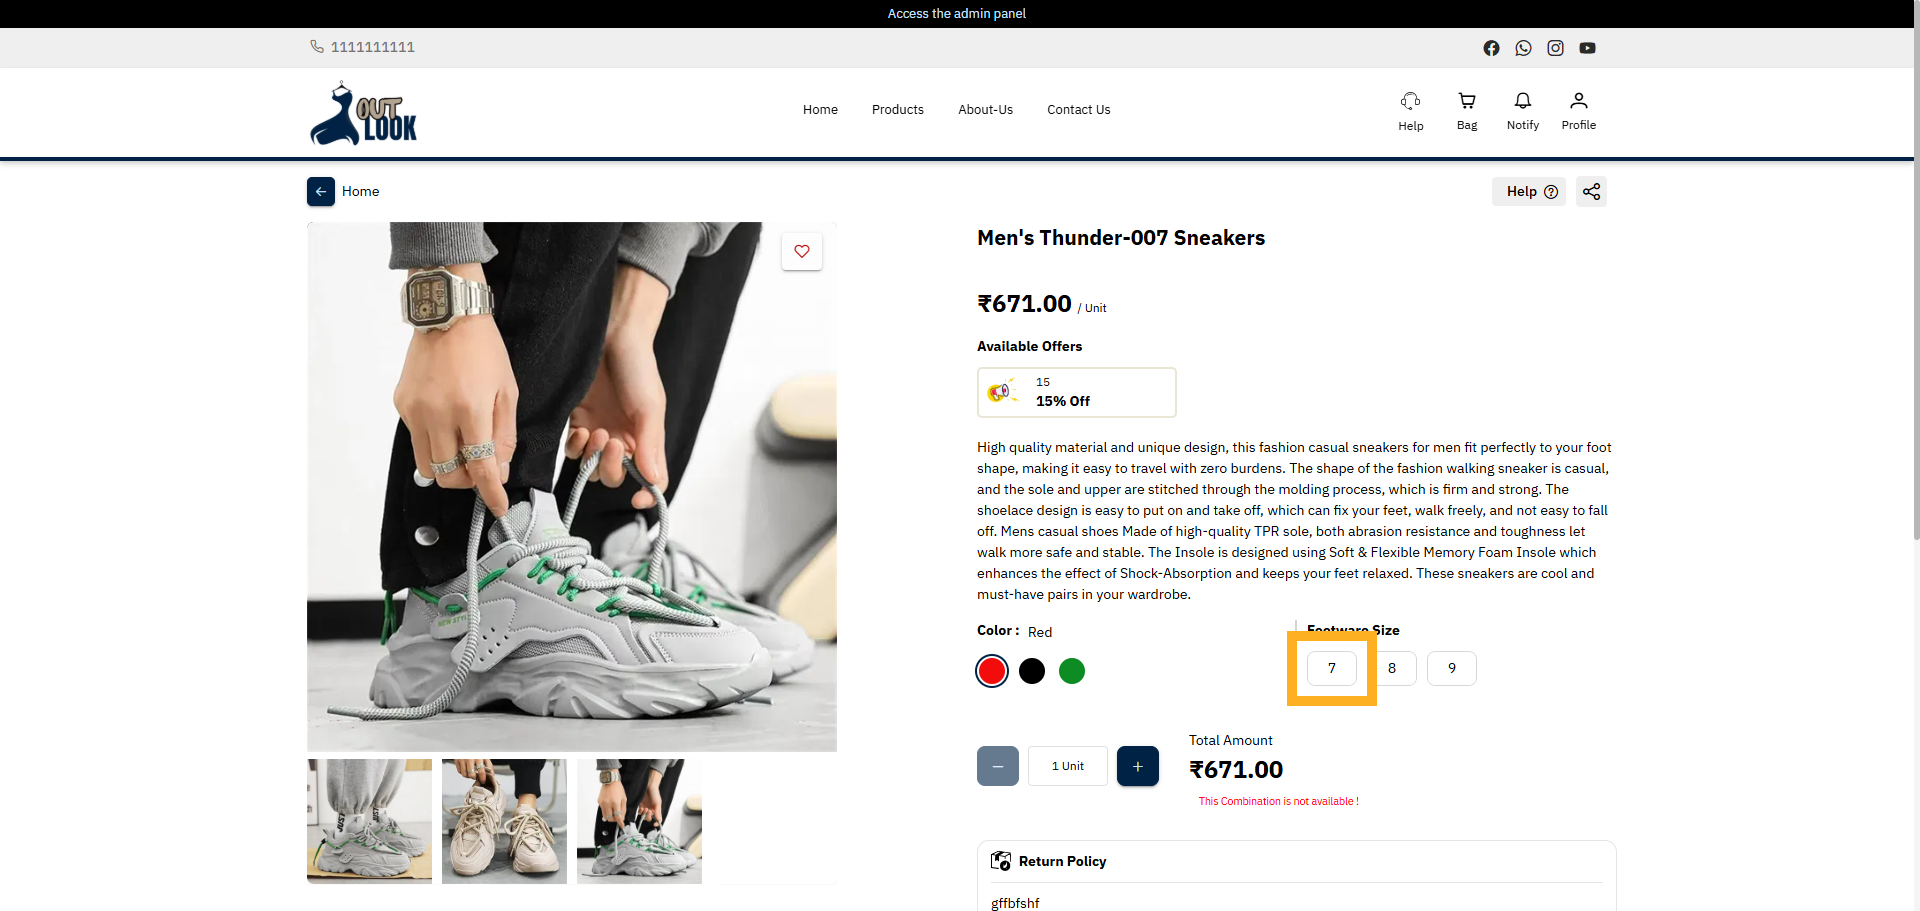
16. Click Add Attribute Button
Click the Add Attribute button to start adding a new product attribute.
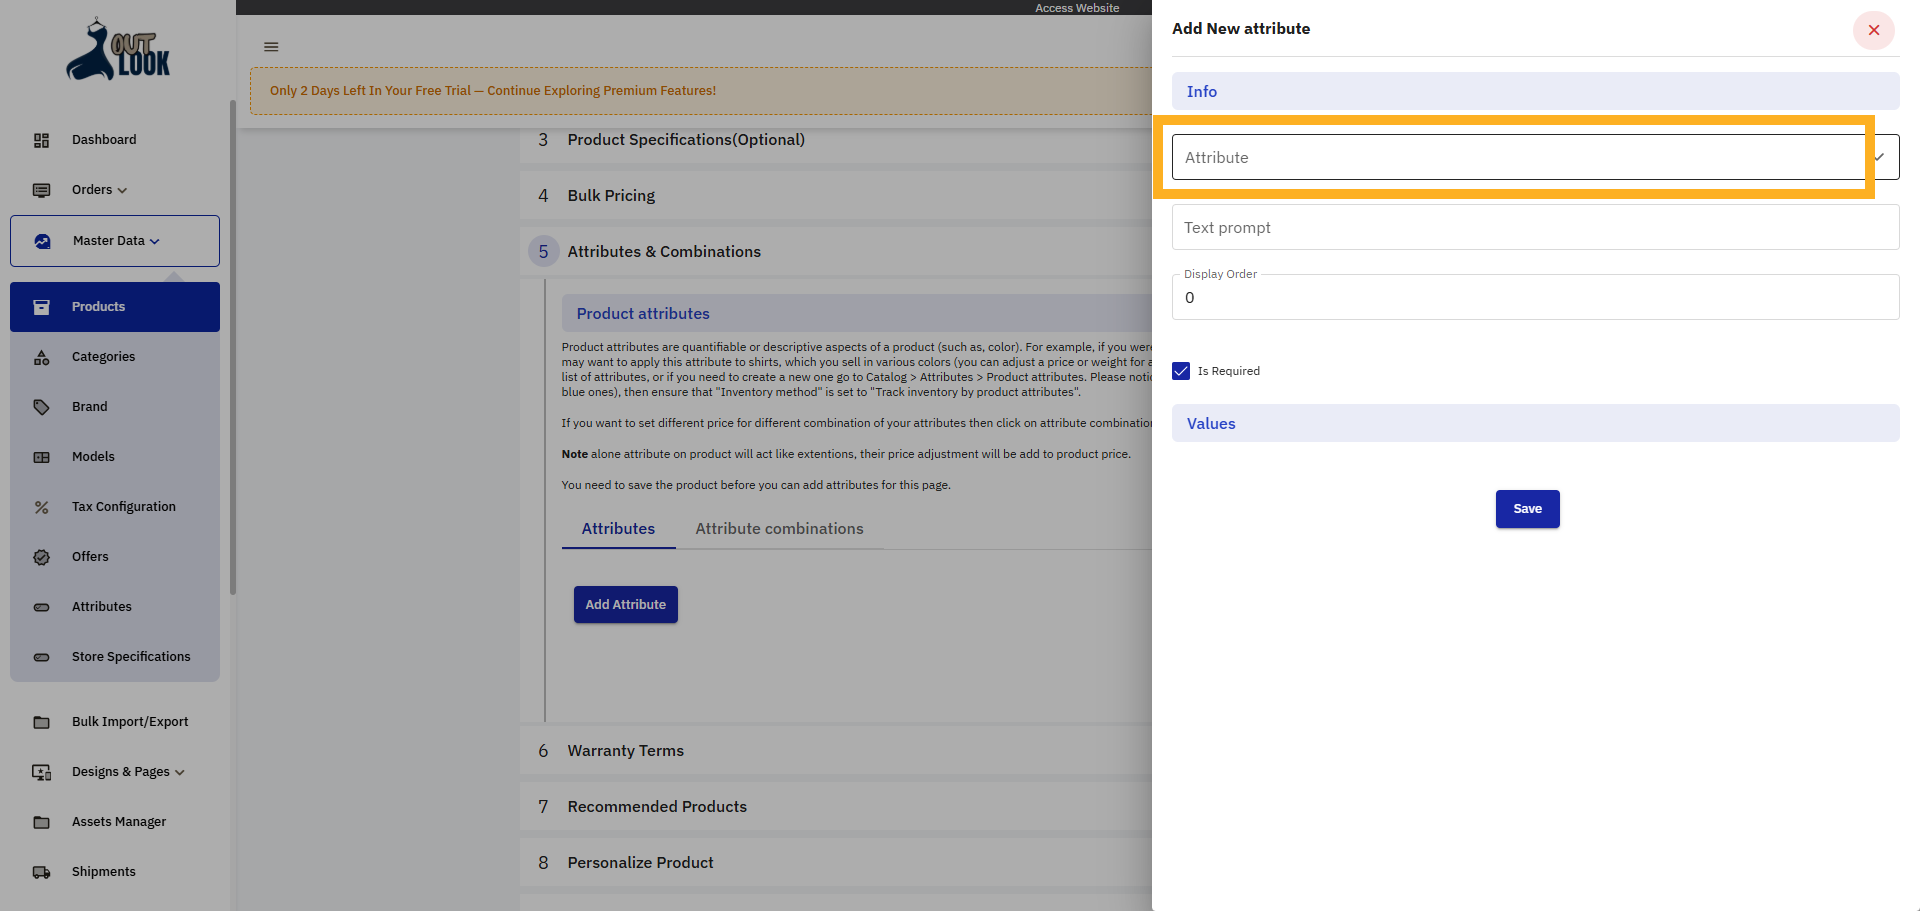
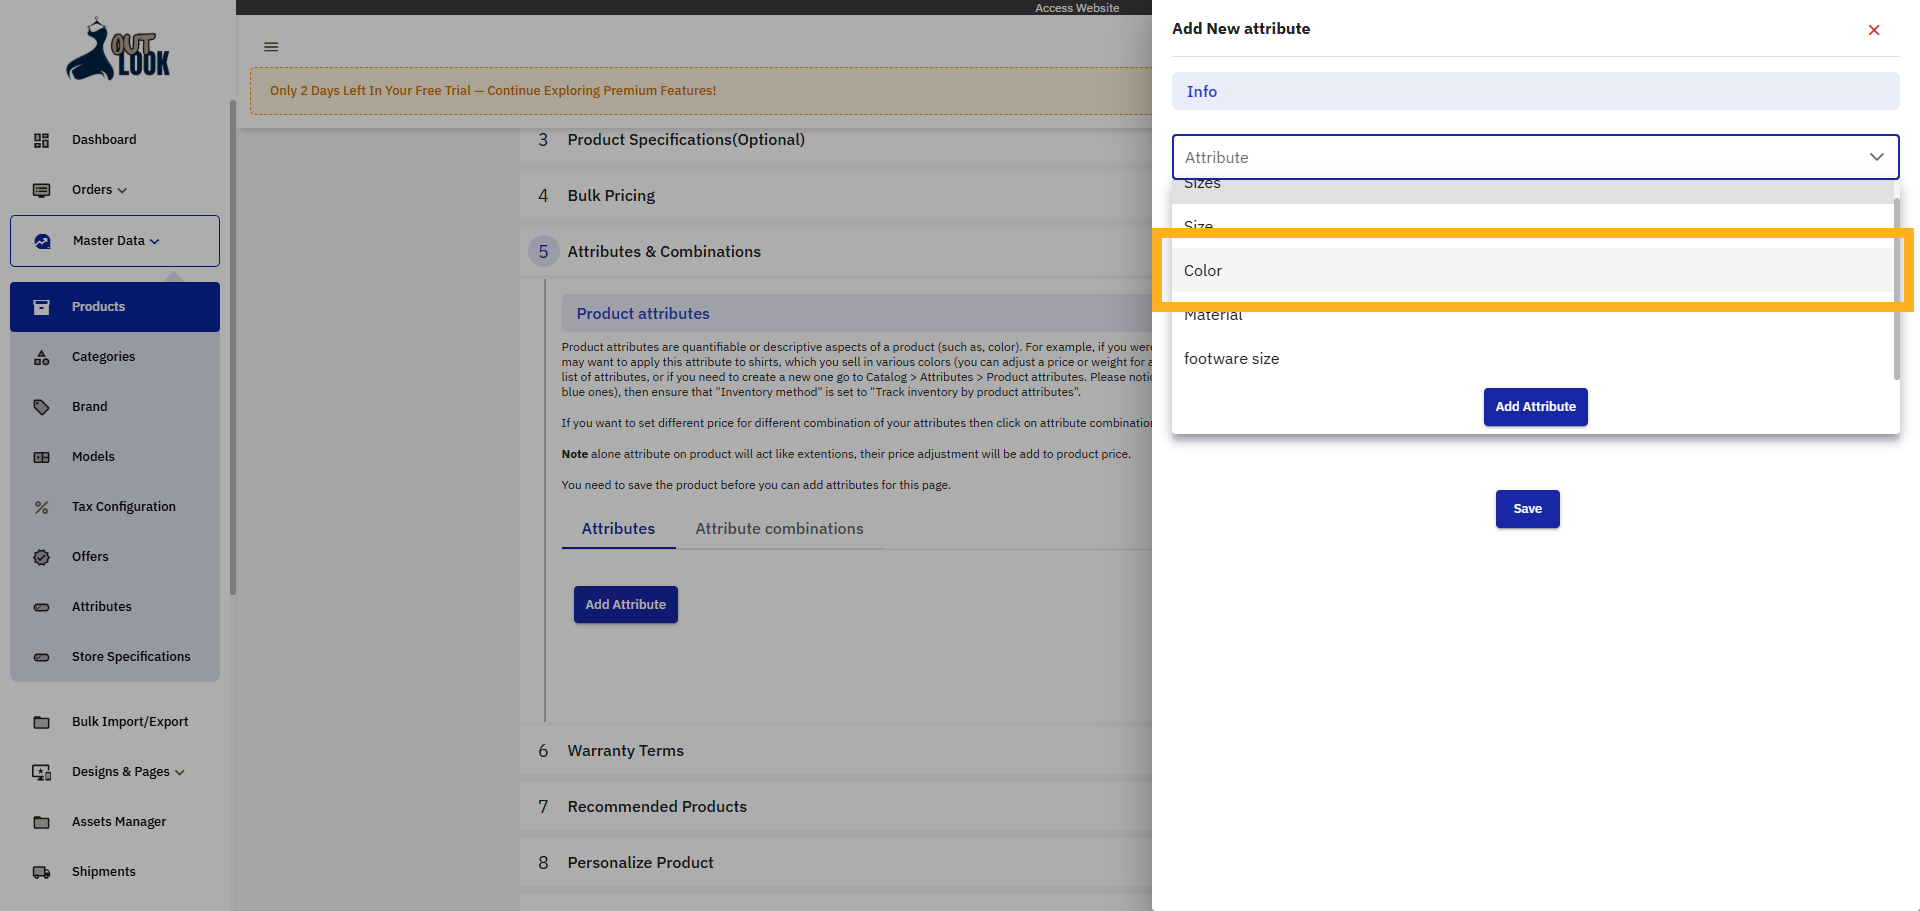
17. Select Attribute Option
Click the Attribute option to choose the type of attribute you want to add.
18. Choose Color Attribute
Select the Color attribute to specify color options for the product variants.
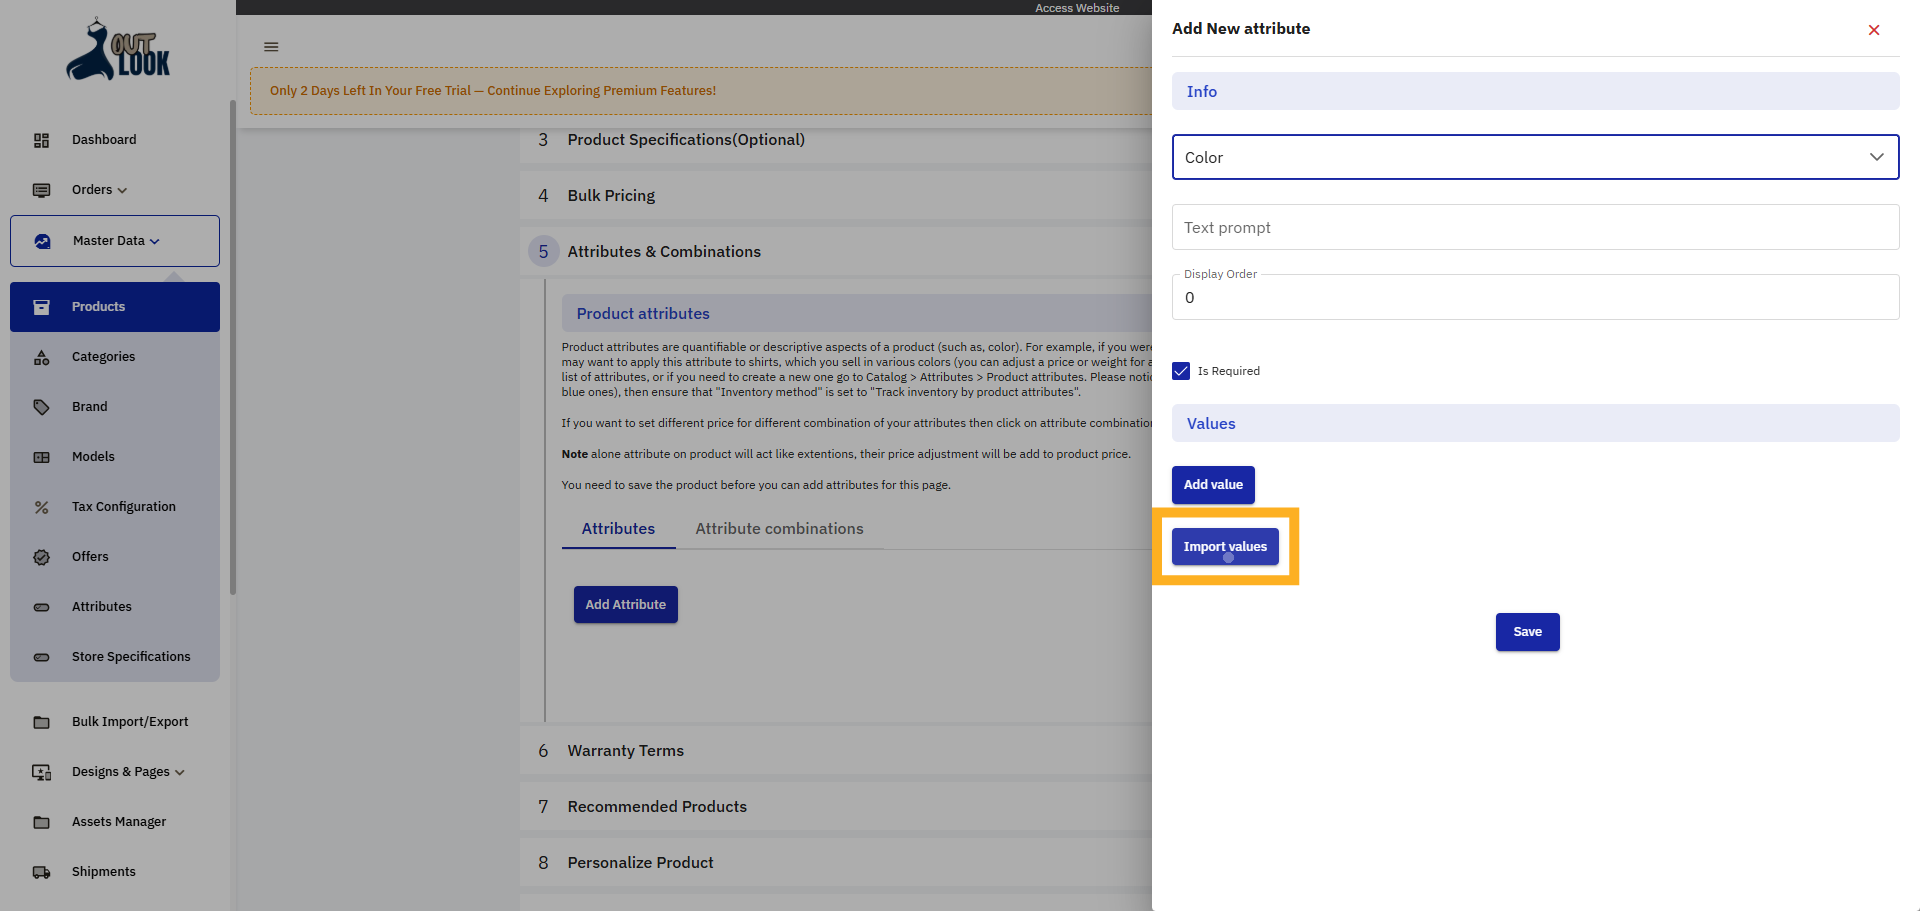
19. Click Import Values
Click Import values to add predefined color options to the attribute.
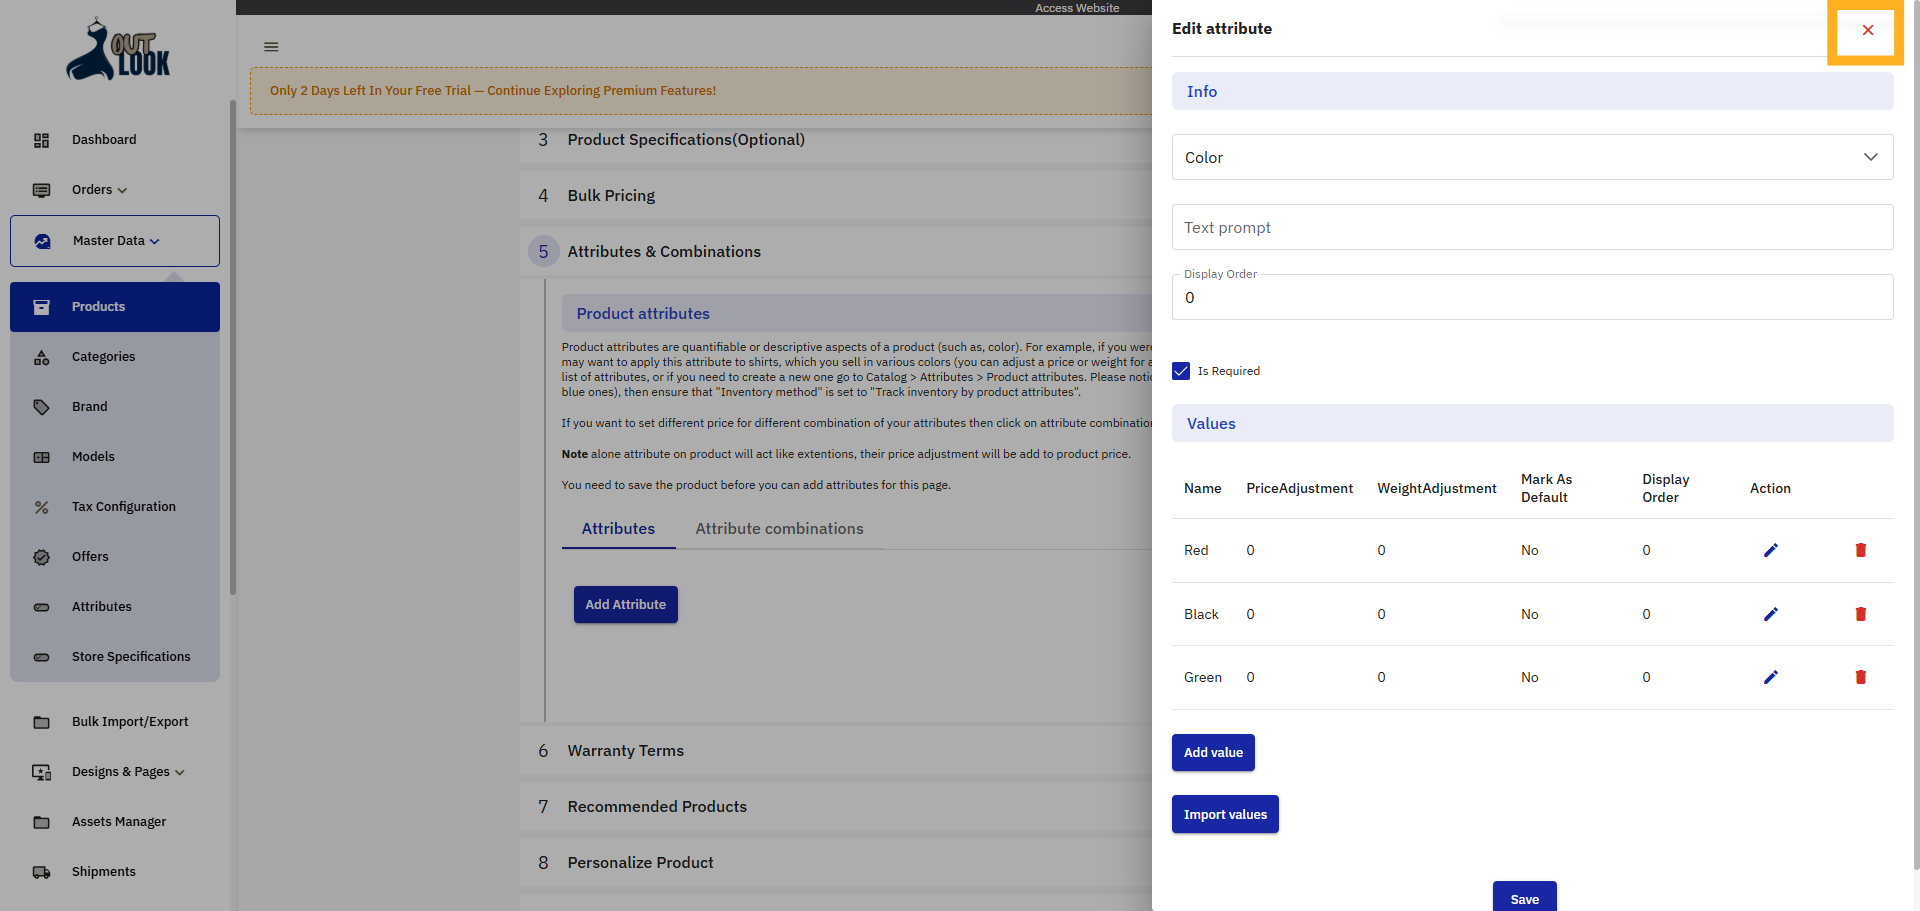
20. Save Attribute Settings
Click Save to confirm and store the imported color attribute values.

21. Close Attribute Editor
Click close to exit the attribute editing interface.
22. Open Attribute Combinations
Click Attribute combinations to manage variant combinations for the product.
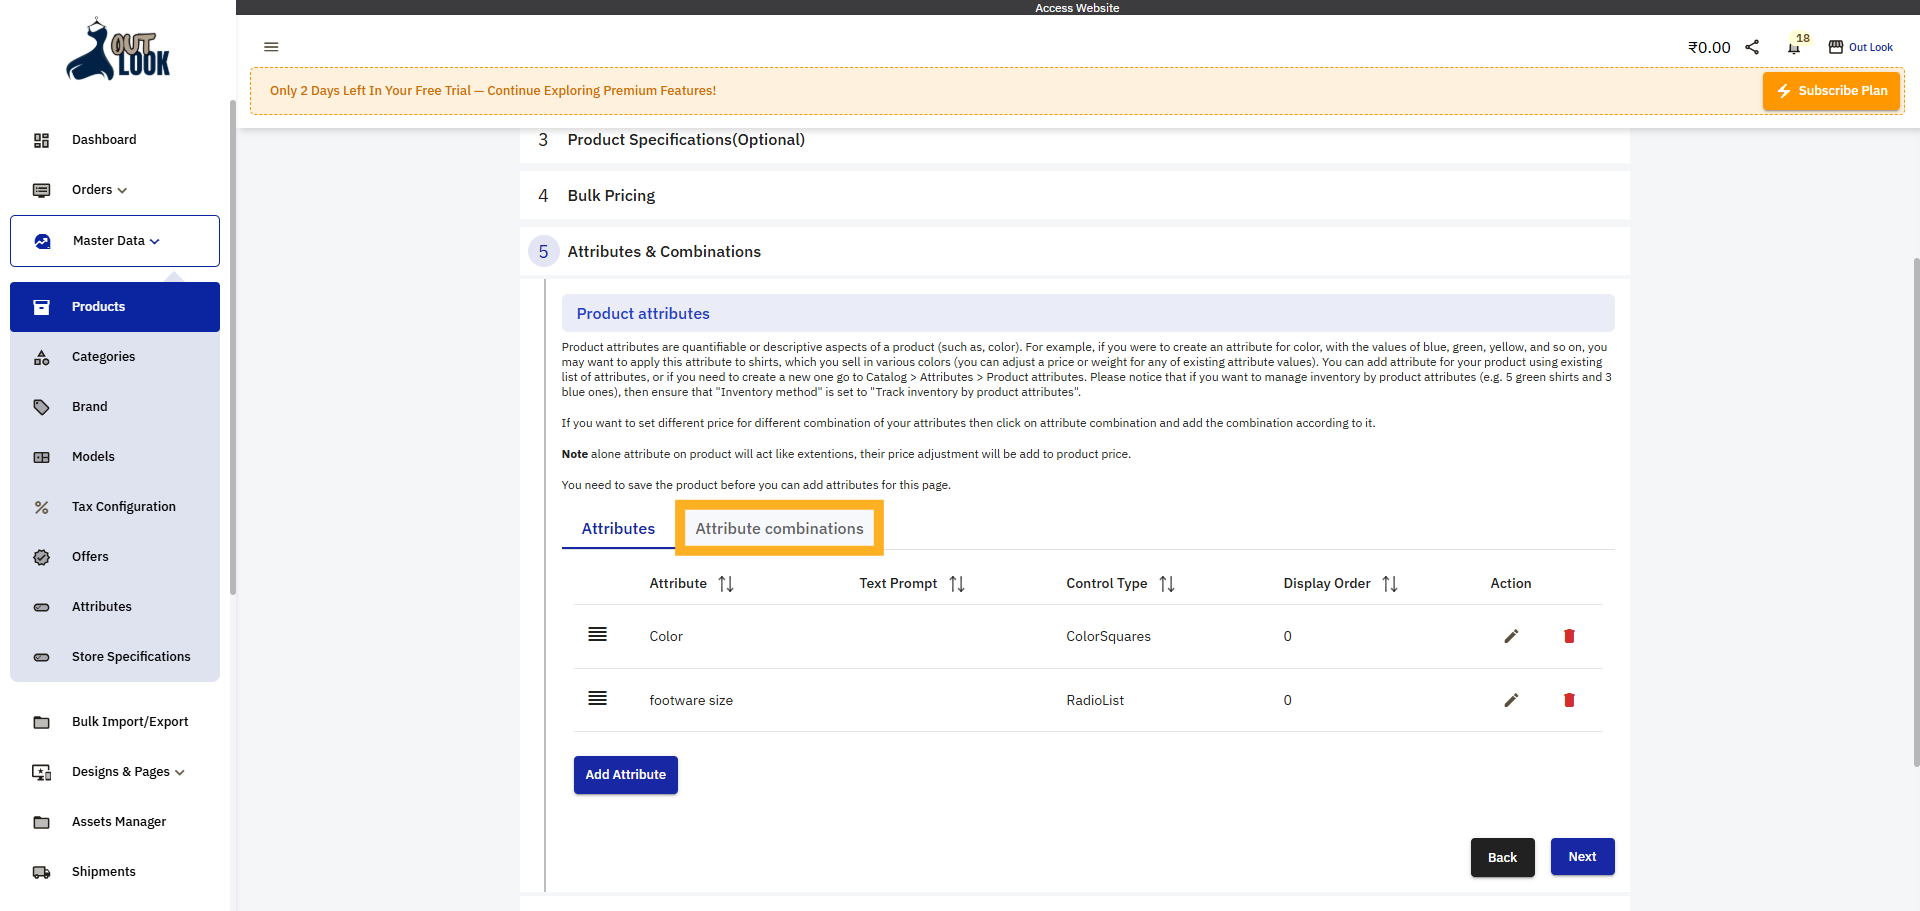
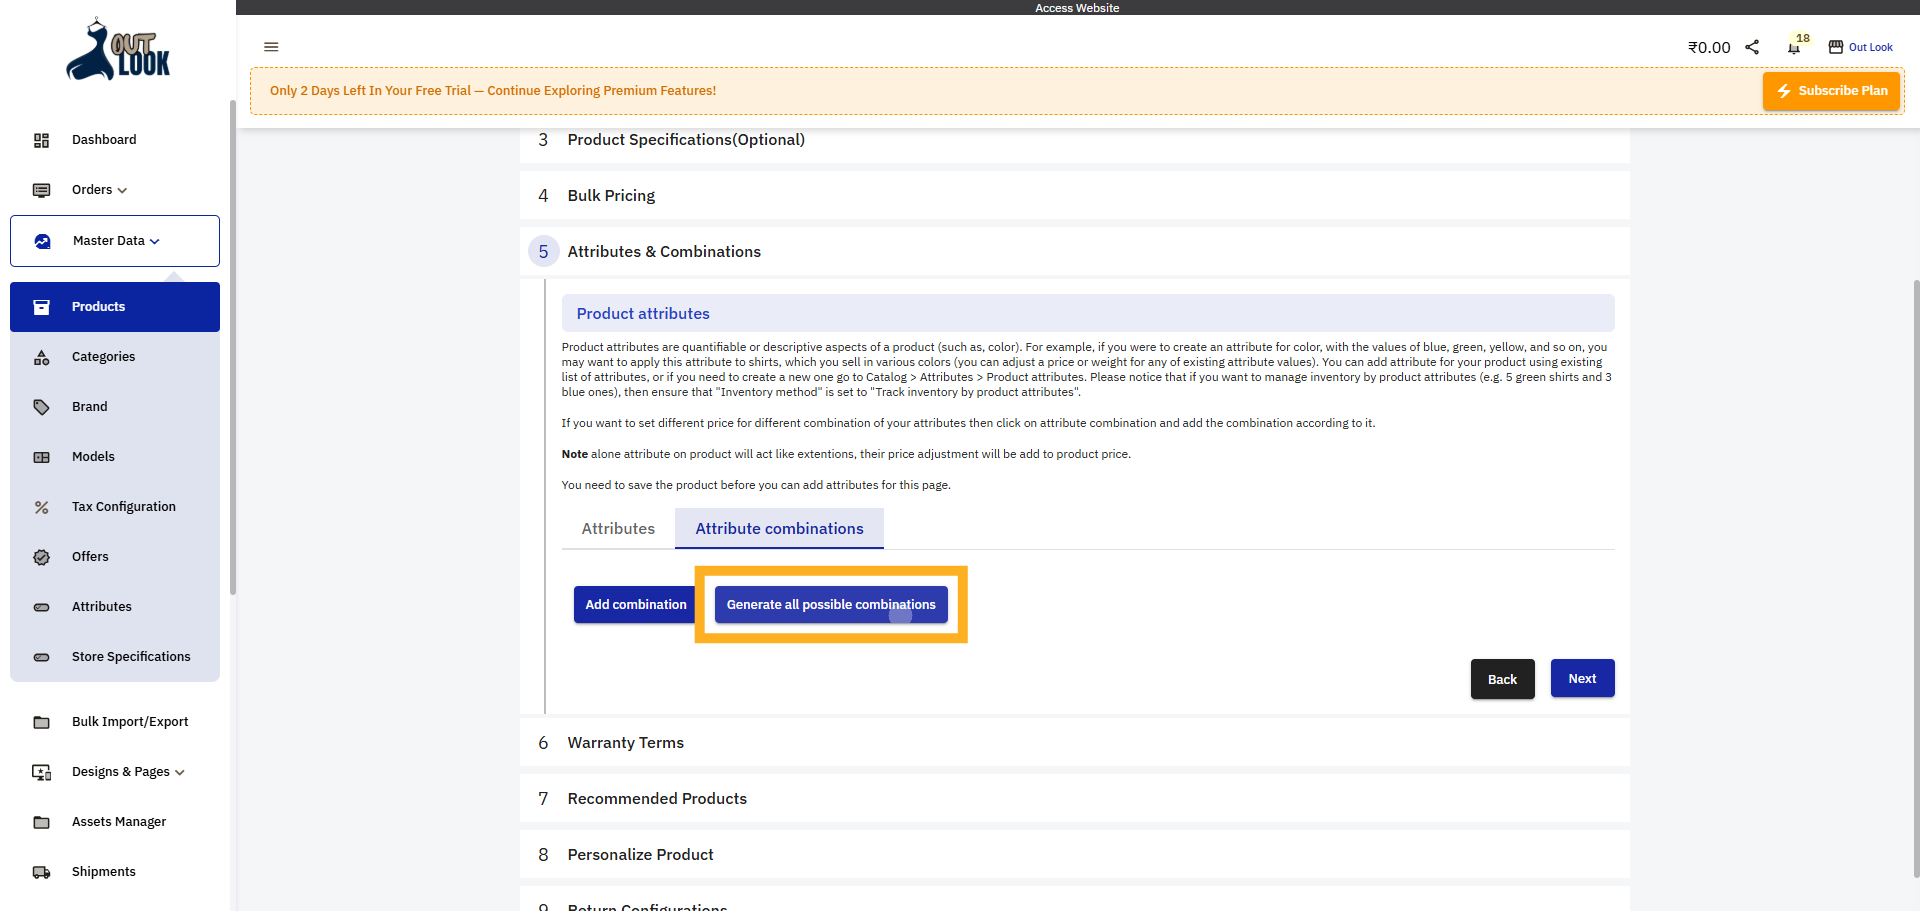
23. Generate All Combinations
Click Generate all possible combinations to create every variant based on selected attributes.
24. Assign Price According Combination
change value of price or weight or status or delete generated combination accoring to your choise
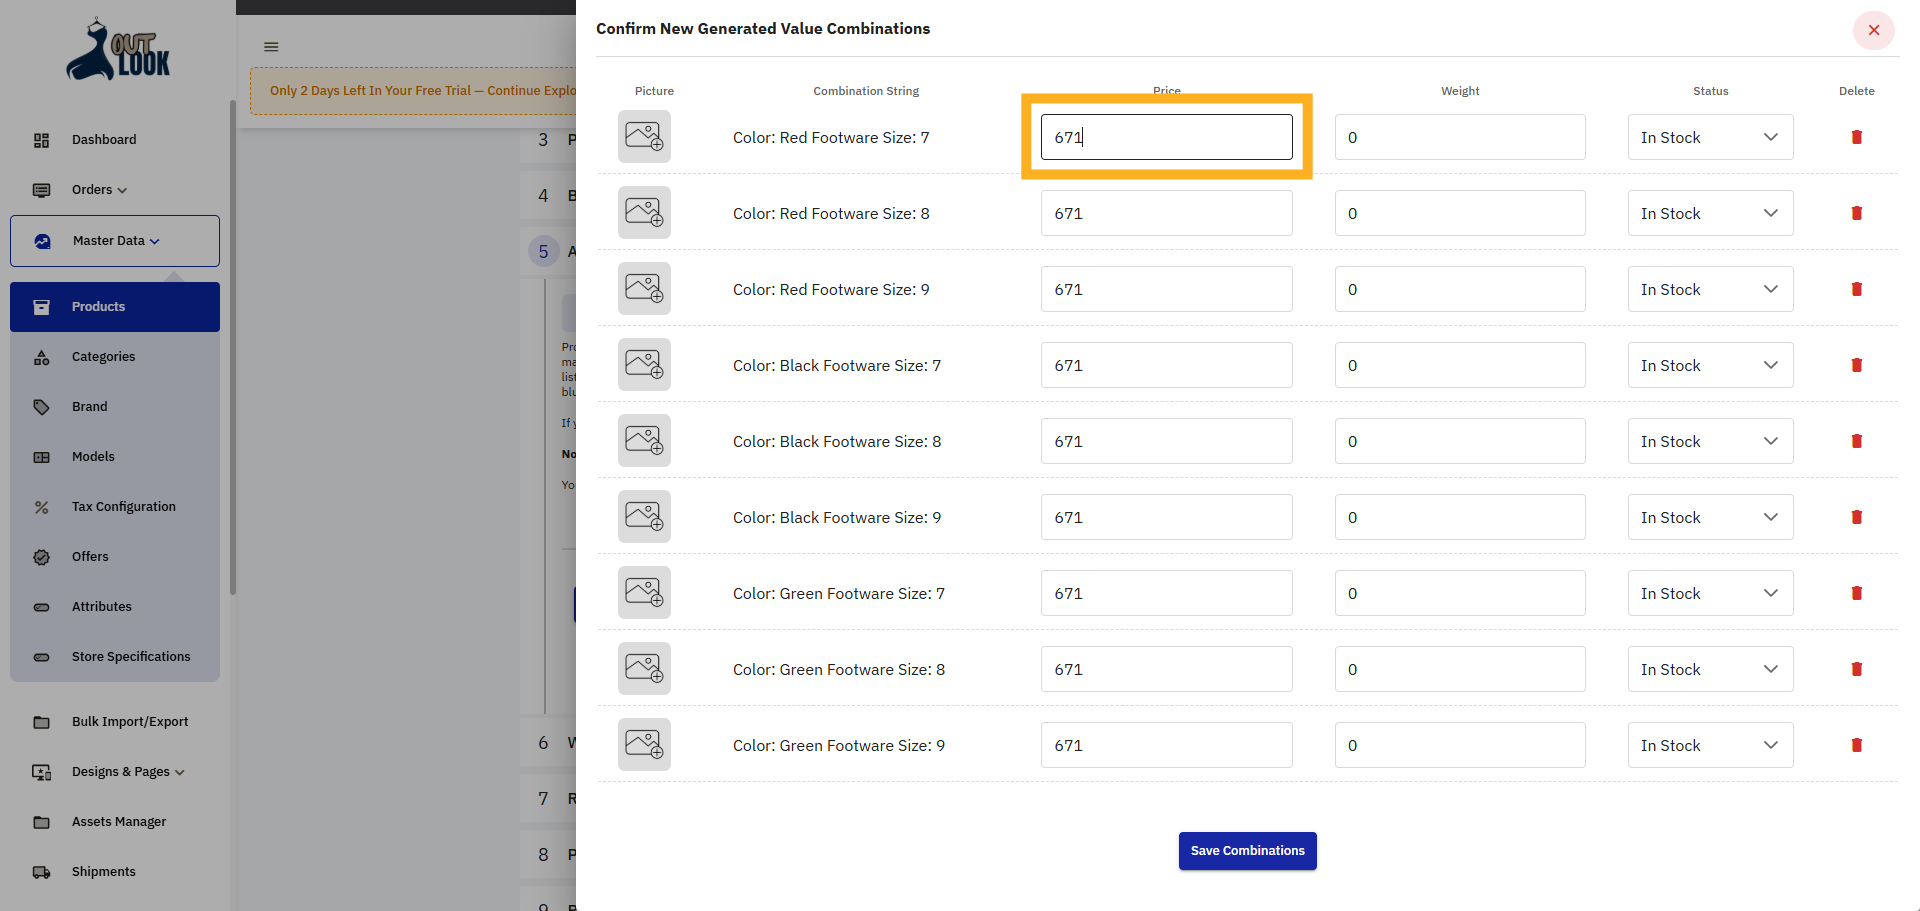
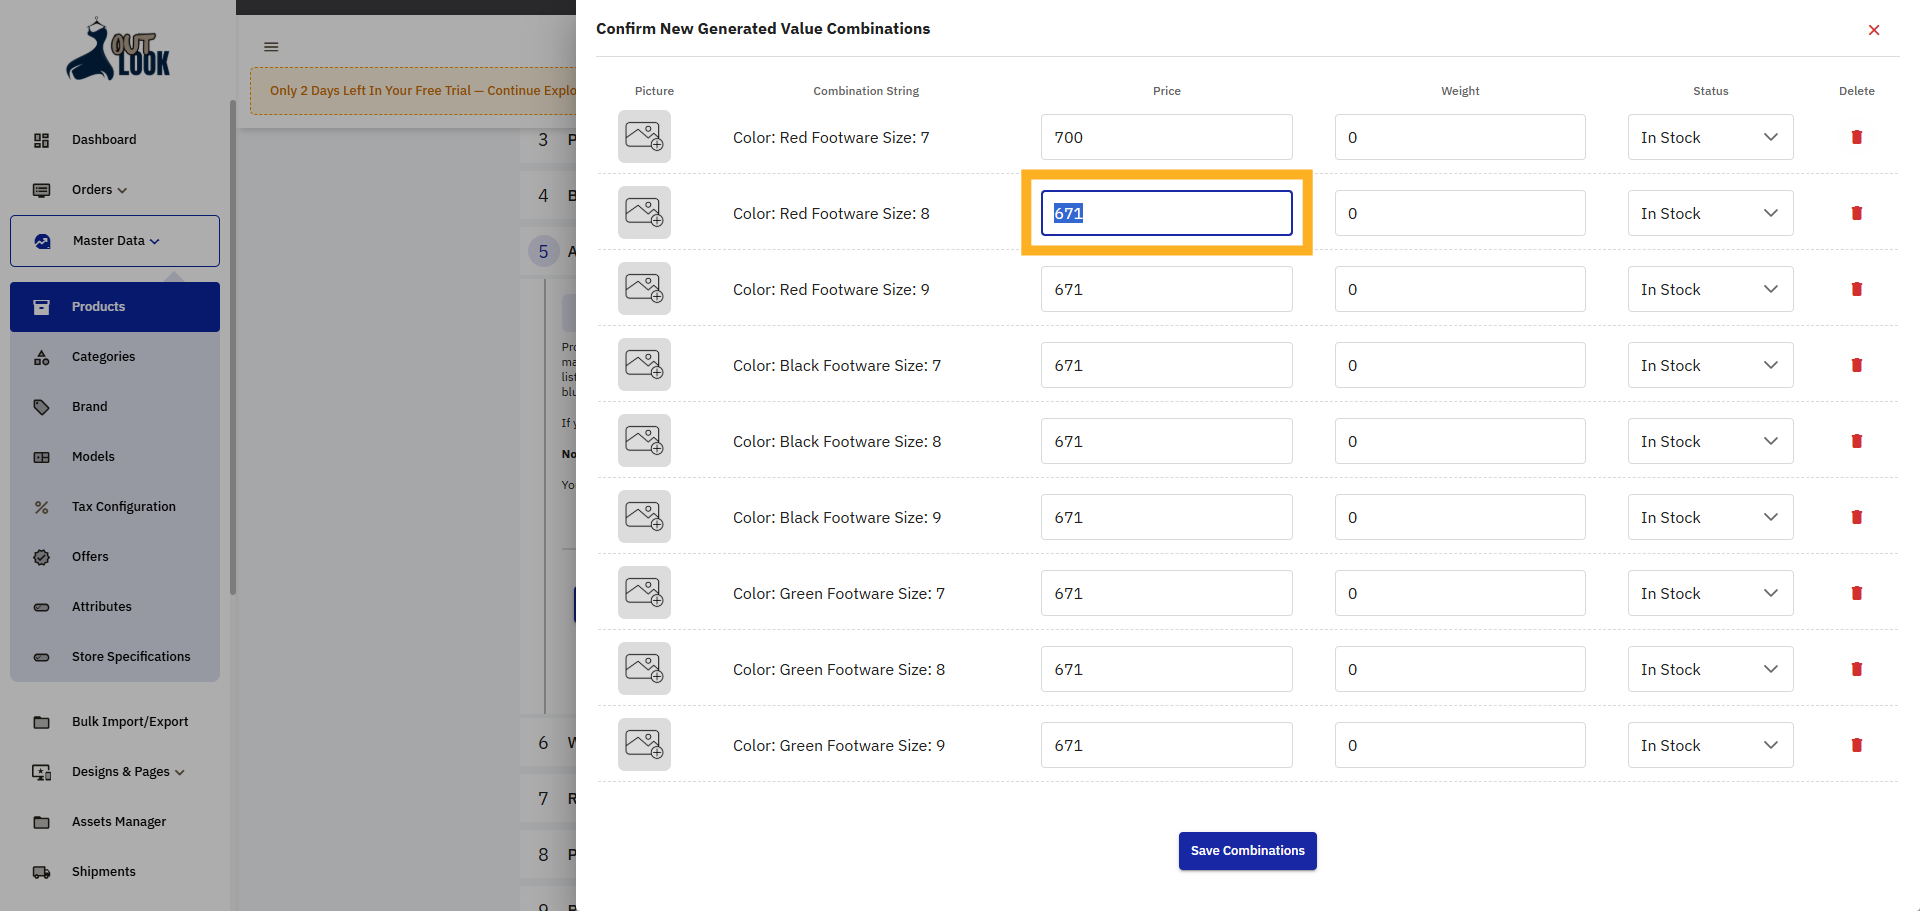
25. Fill Price According Combination
Fill Price According Combination
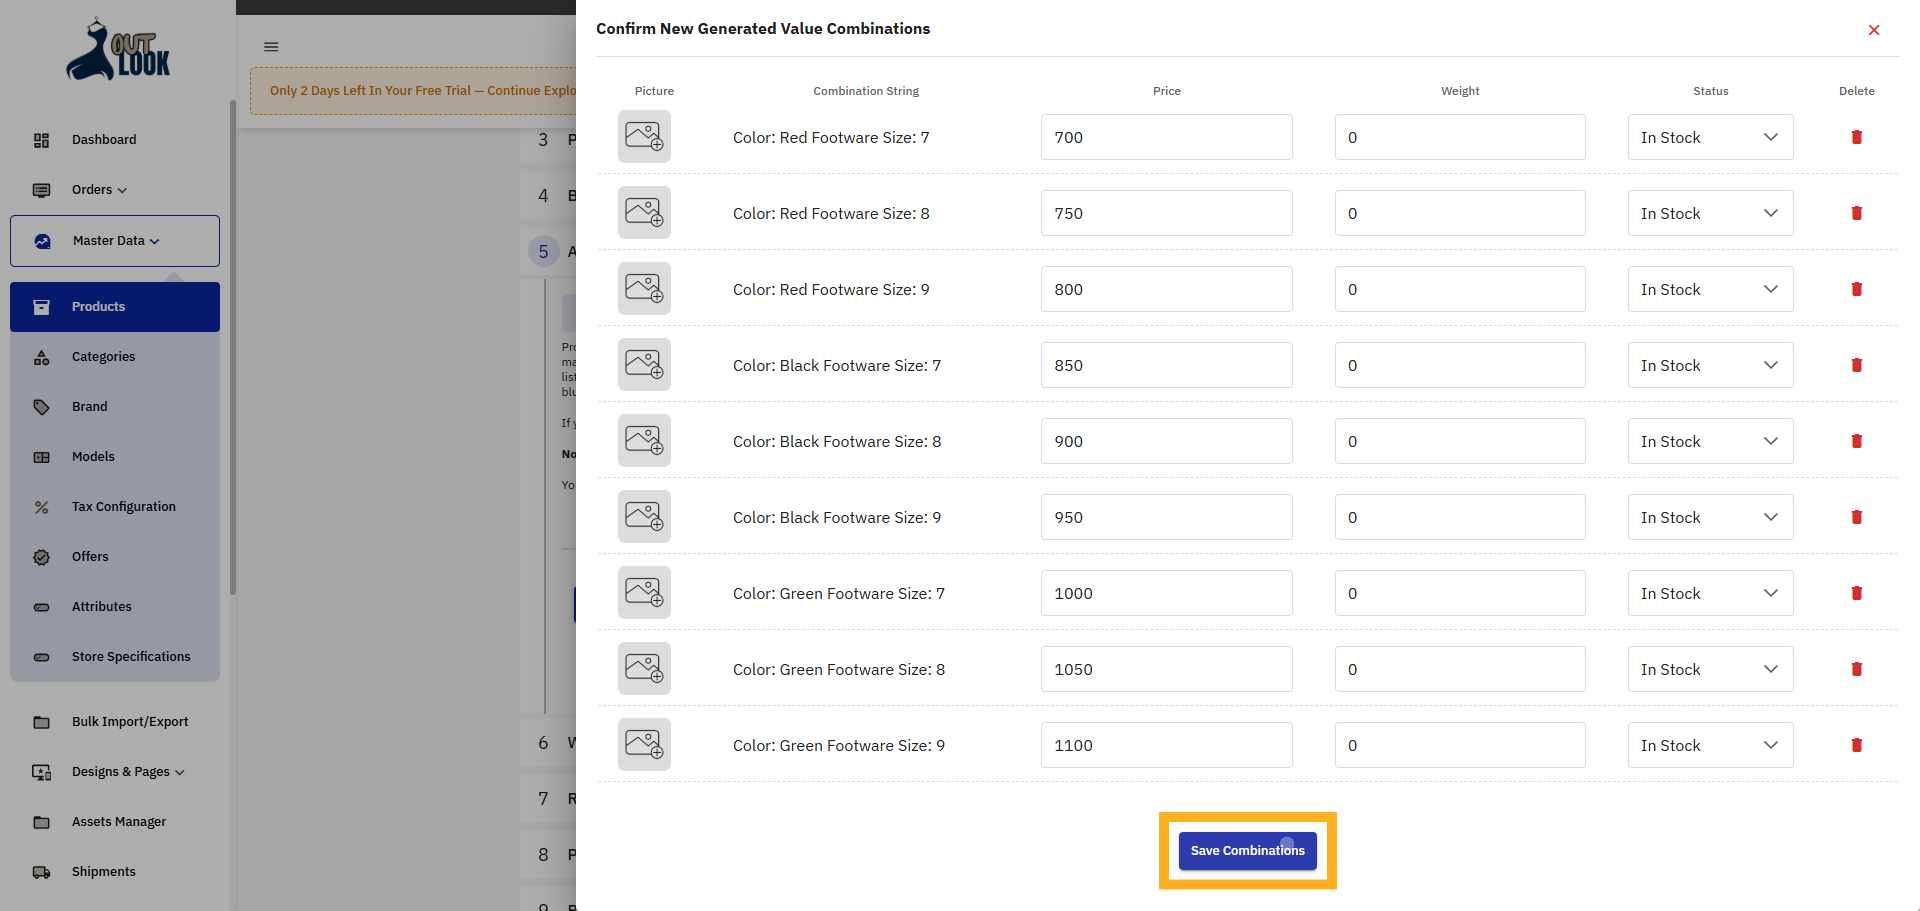
26. Save Variant Combinations
Click Save Combinations to store all generated product variant details.
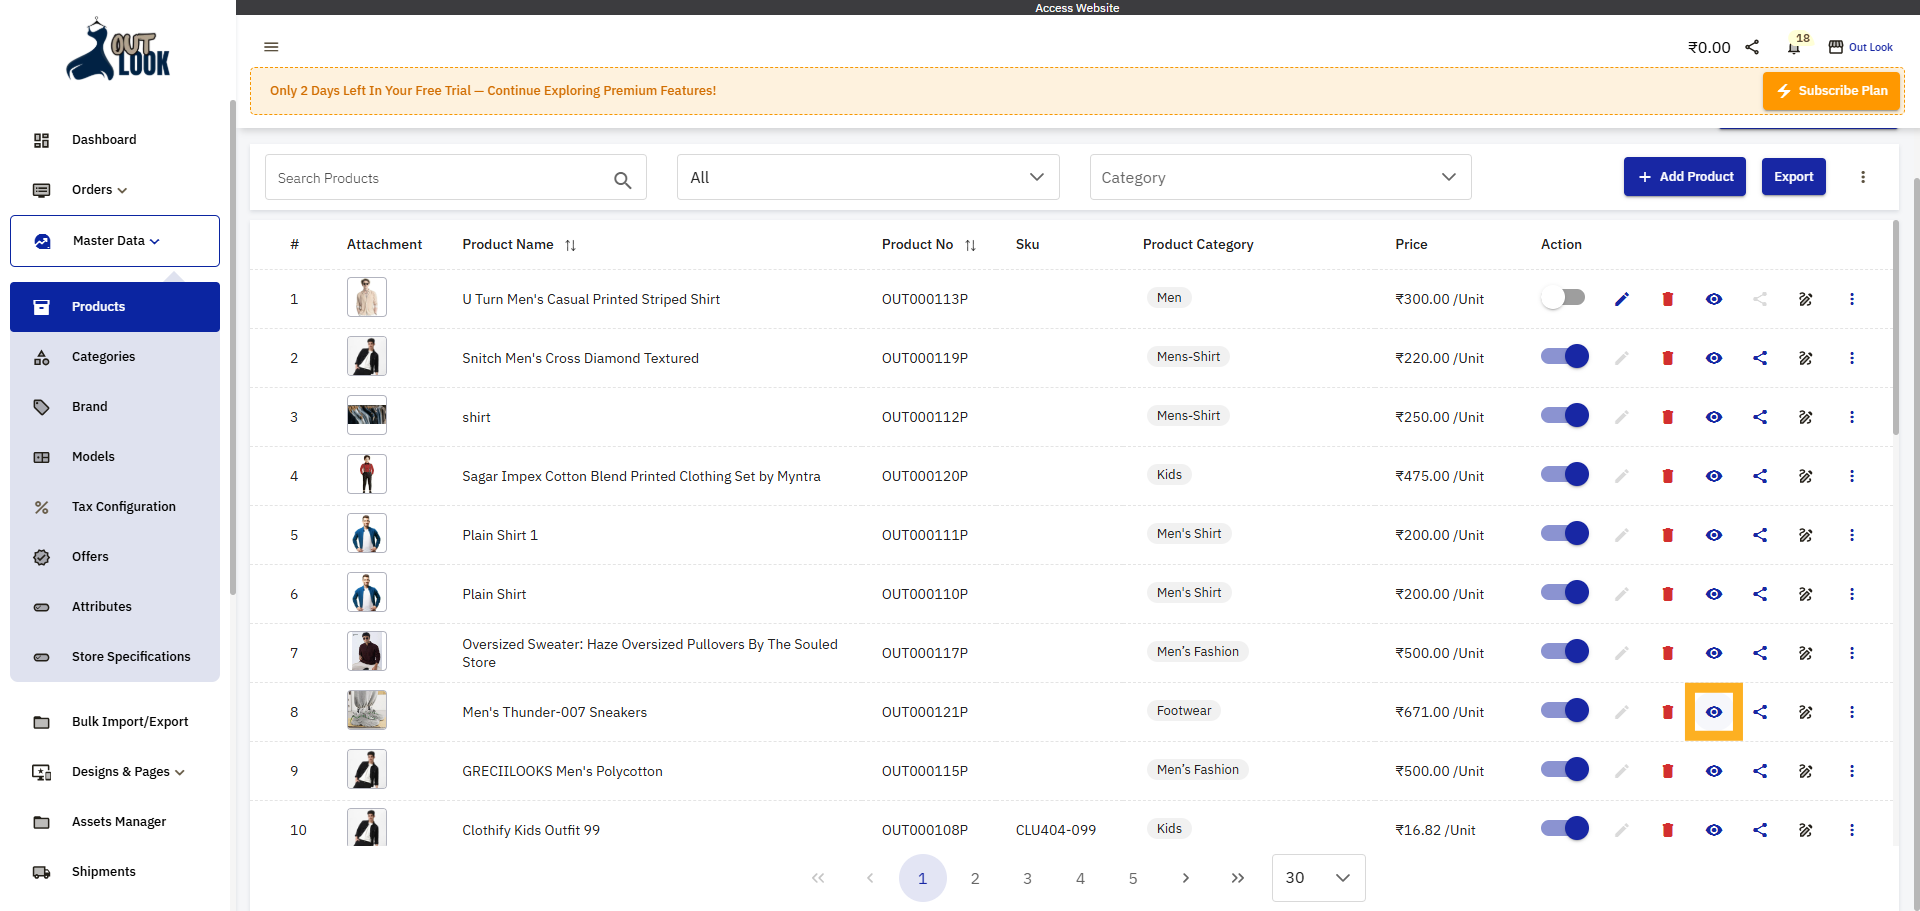
27. Return to Products List
Click Products to go back to the main product inventory page.
28. Product Visibility
Click the eye (visibility) icon to open the product’s live page in a new tab to see applied changes
29. View Product Details
product view detailed information and offers.
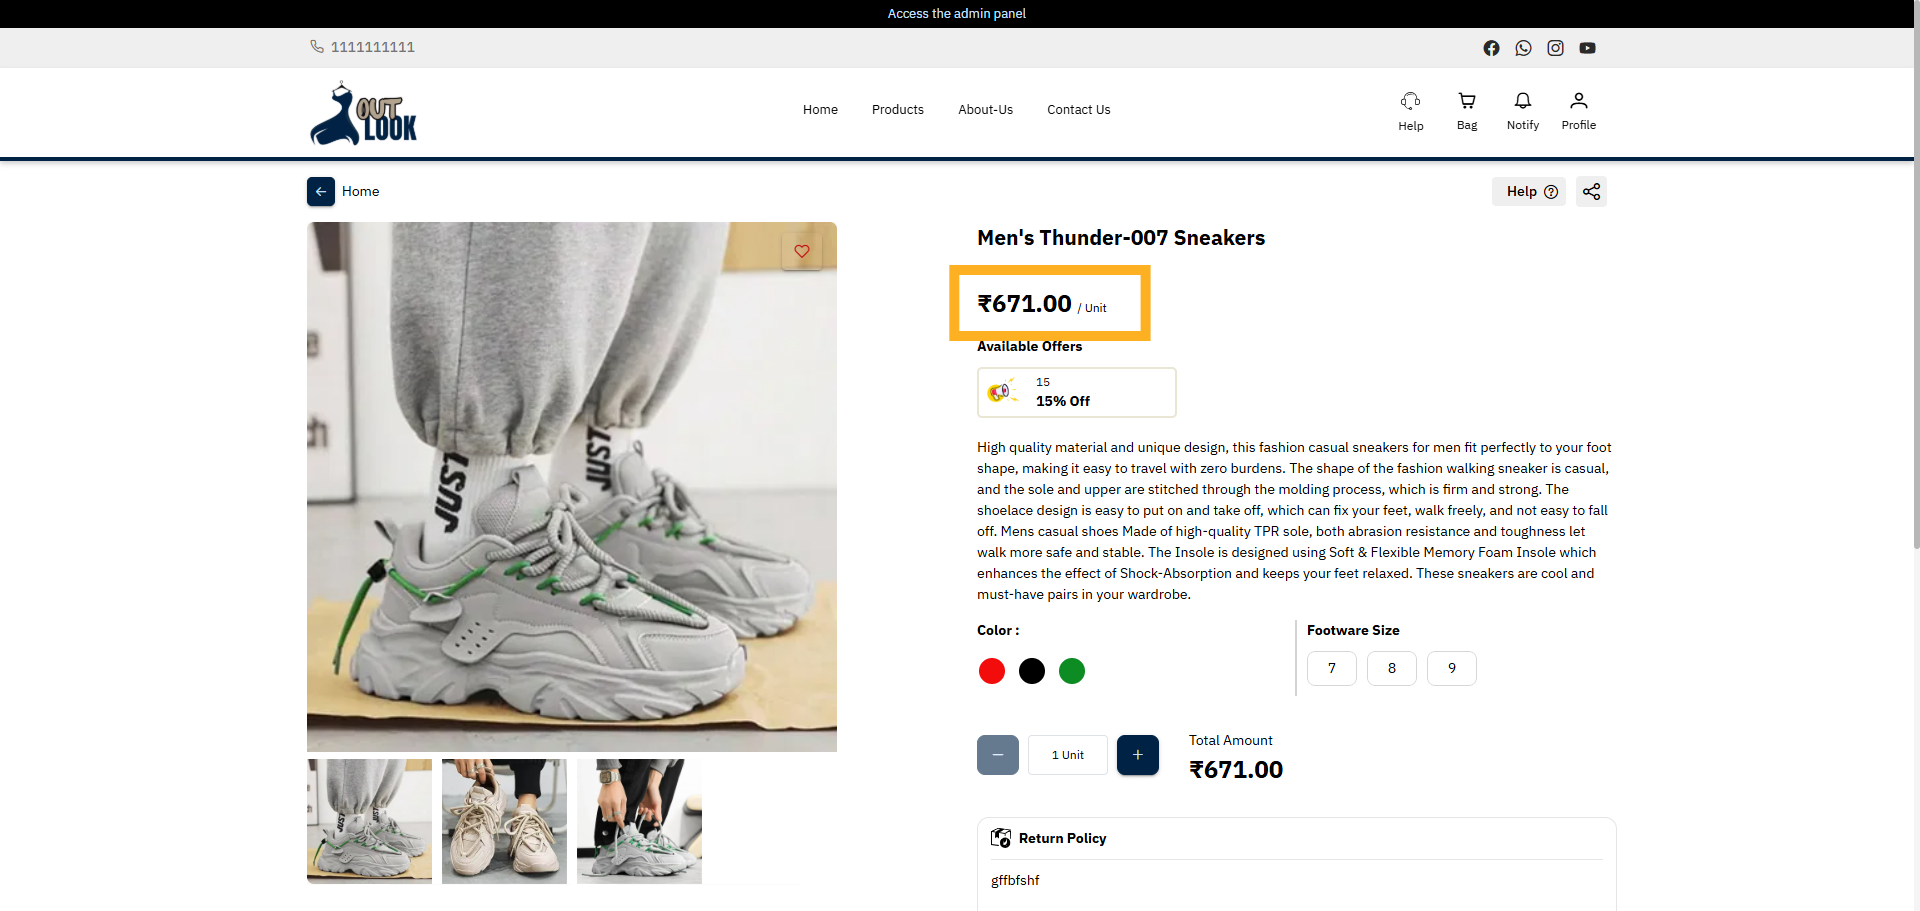
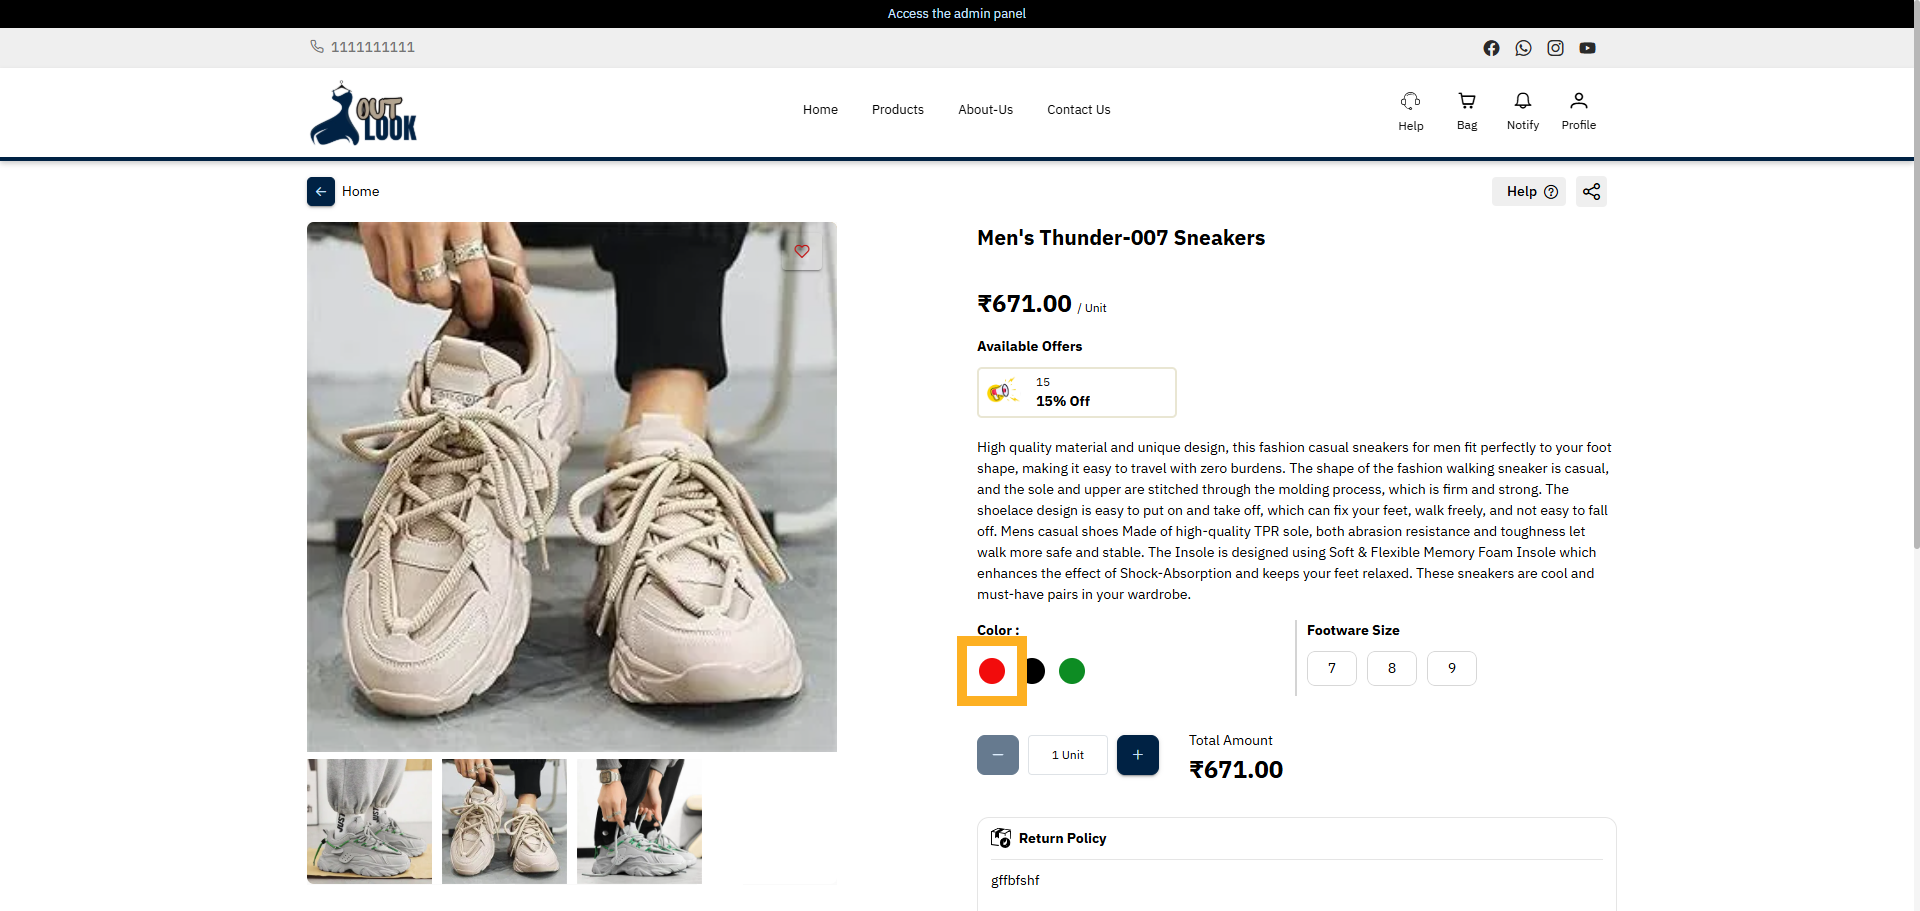
30. Access Color Attribute
select color attribute Value to see price changes are affected accoring to genereated combination
31. Access Footware Size Attribute
select Footware Size attribute Value to see price changes are affected accoring to genereated
combination
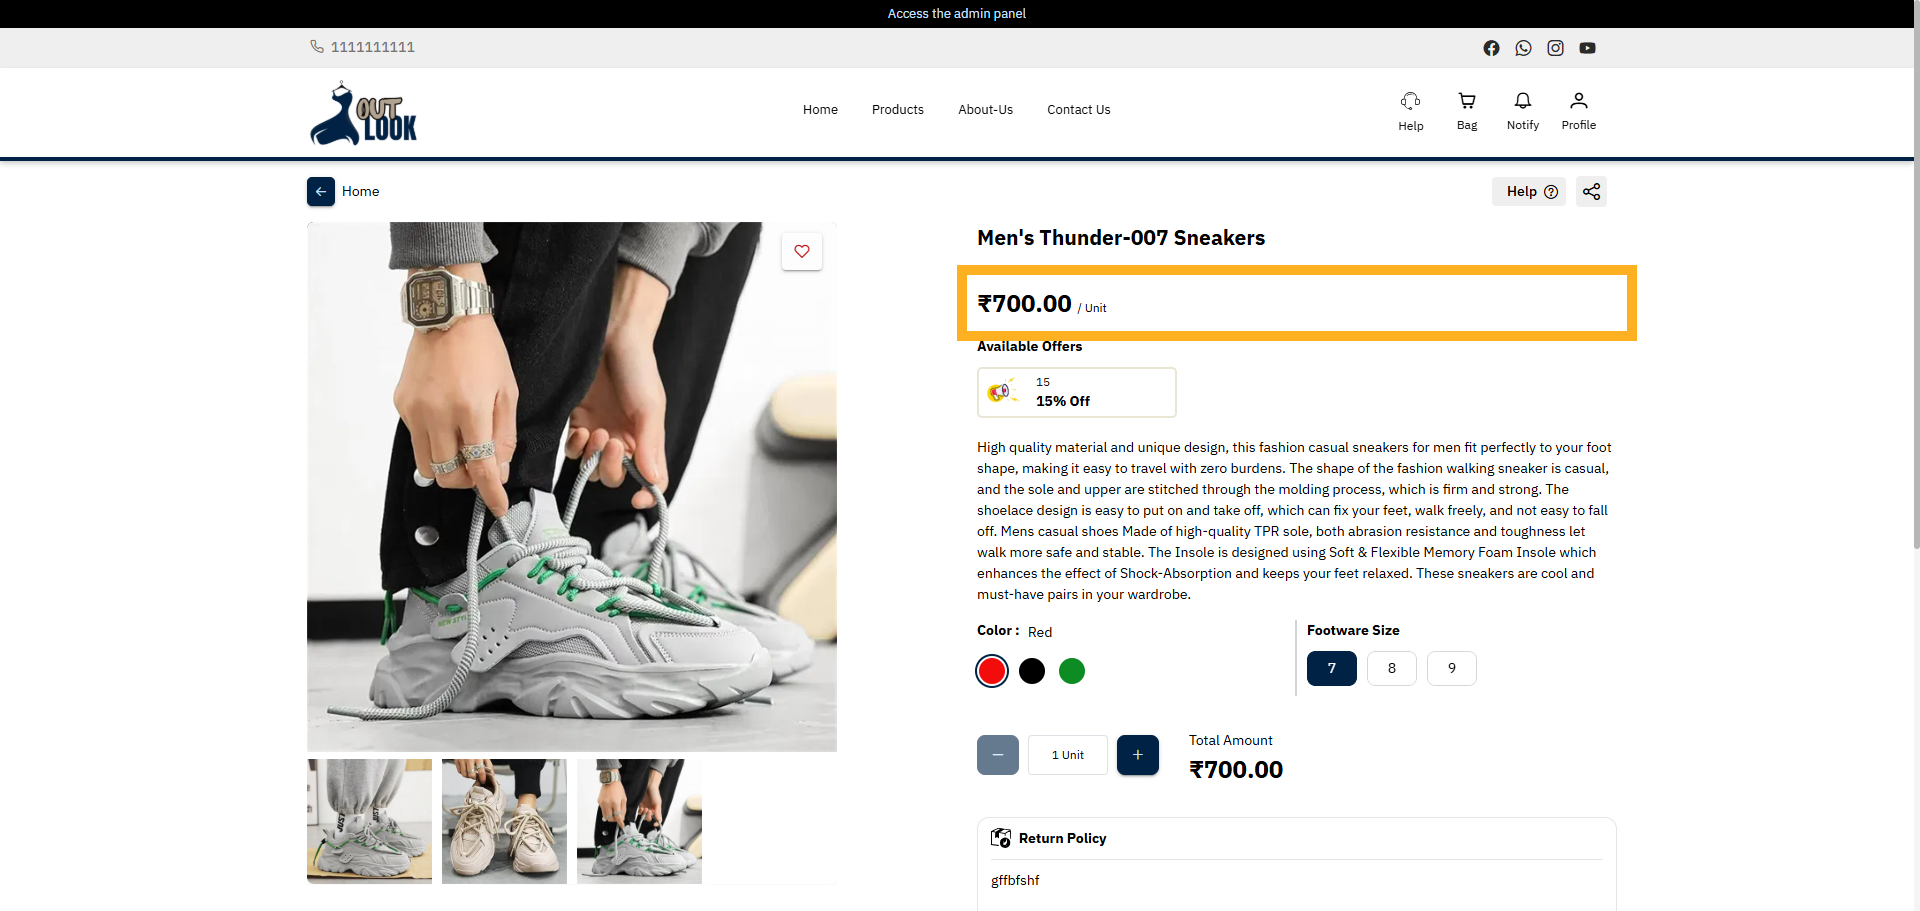
32. View Product Details With Affected Price
Click the unit price field showing ₹700.00 to update the price for another variant.
You have successfully added and configured product variants by creating attributes, importing values,
generating combinations, and setting prices. Next, you can manage inventory or update variant visibility
settings as needed.
Uploading...