Add Product AddOns Efficiently In Boniii Platform
1. Click Master Data Menu
Click the master data menu to access product-related options.

2. Click Products Menu
Click the Products option to view and manage your product inventory.

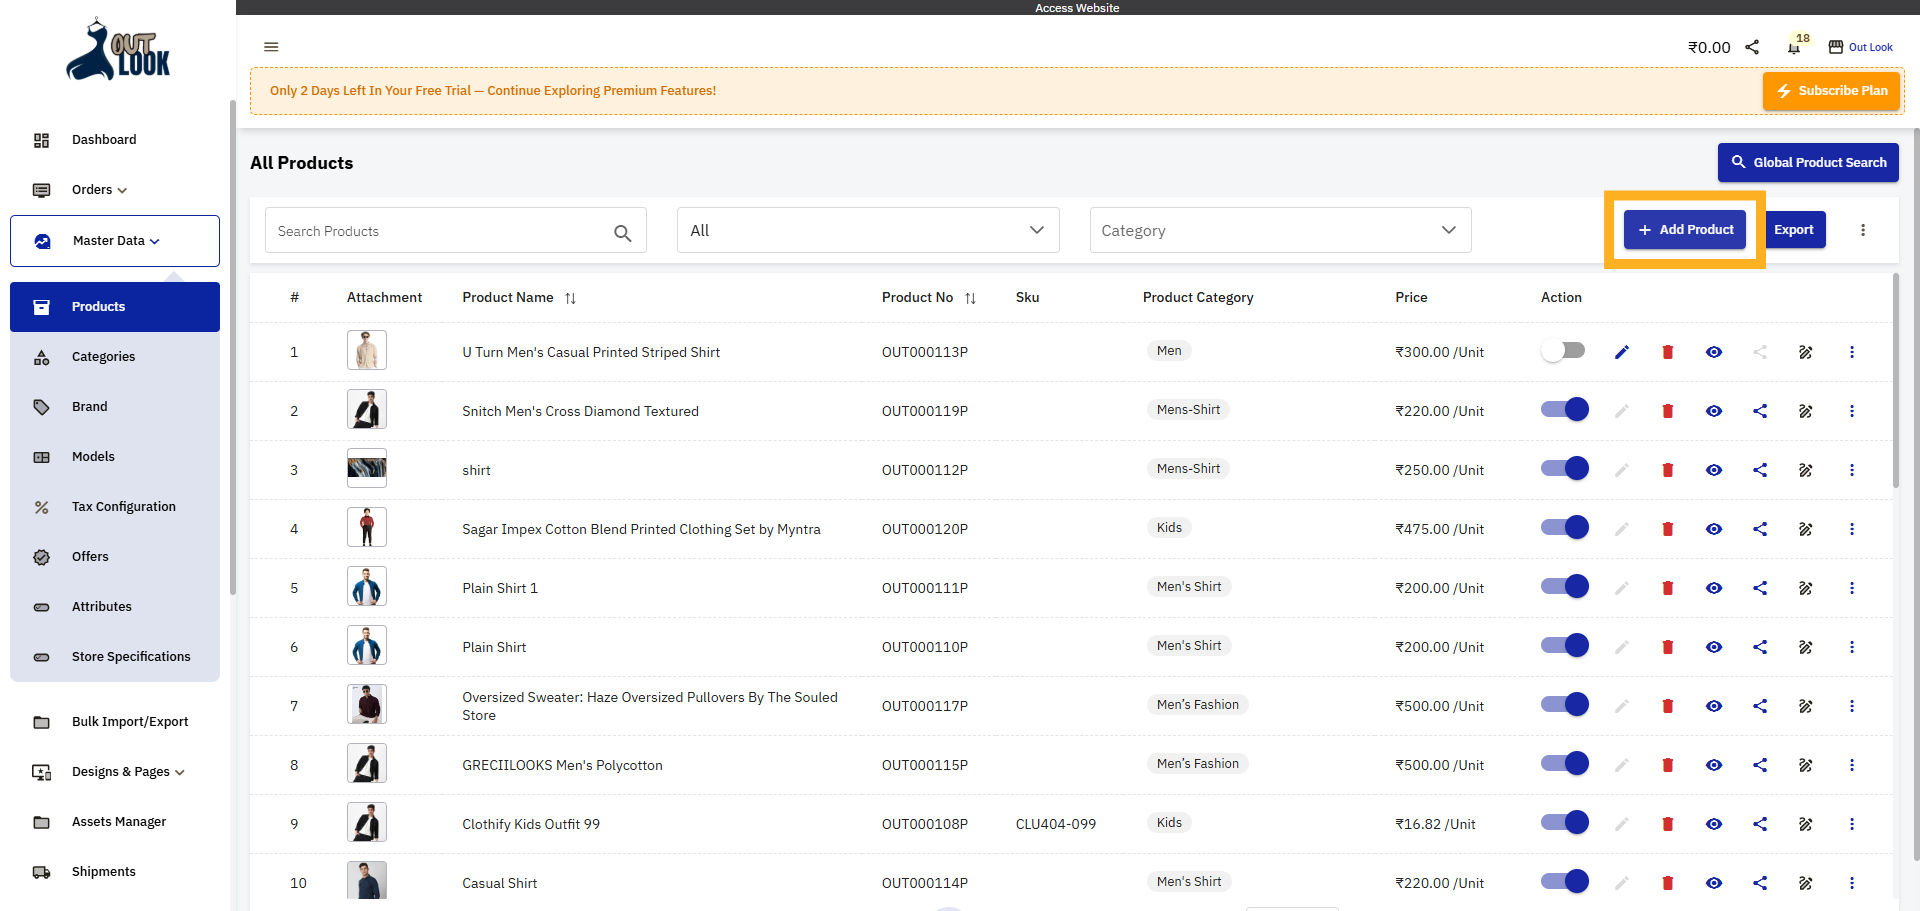
3. Initiate Add Product
Click the Add Product button to start creating a new product entry.
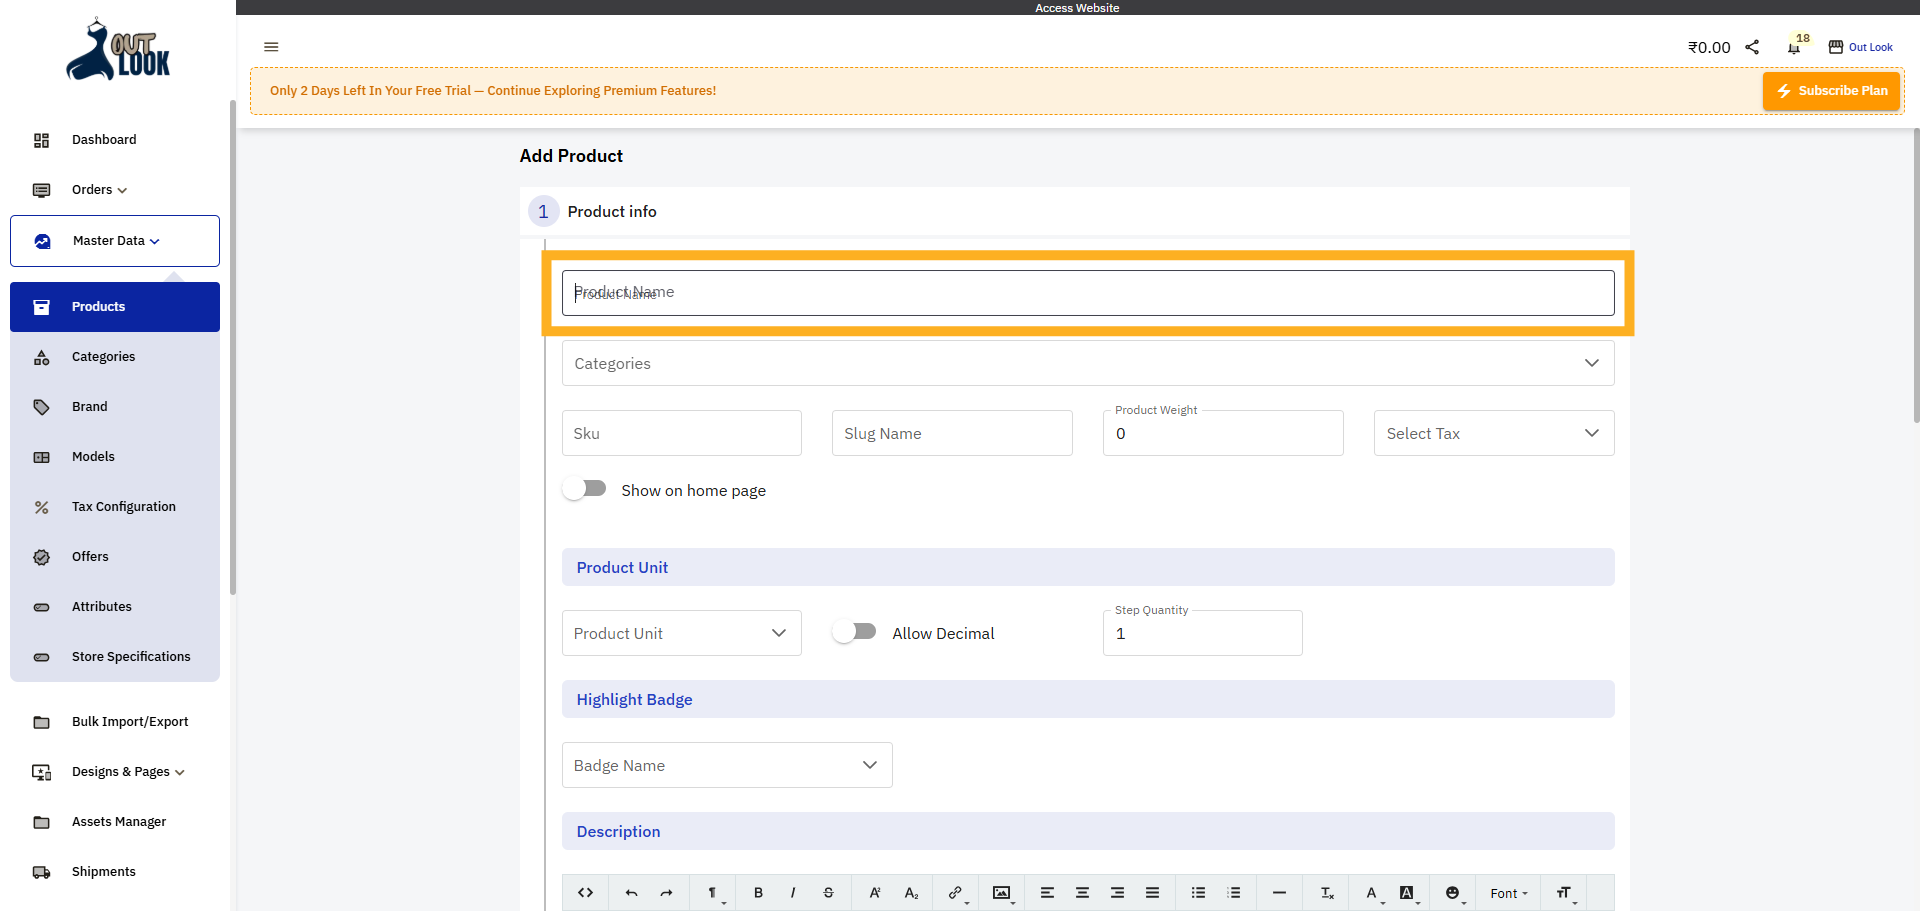
4. Enter Product Name Field
Click the Product Name field to enter the name of your new product.
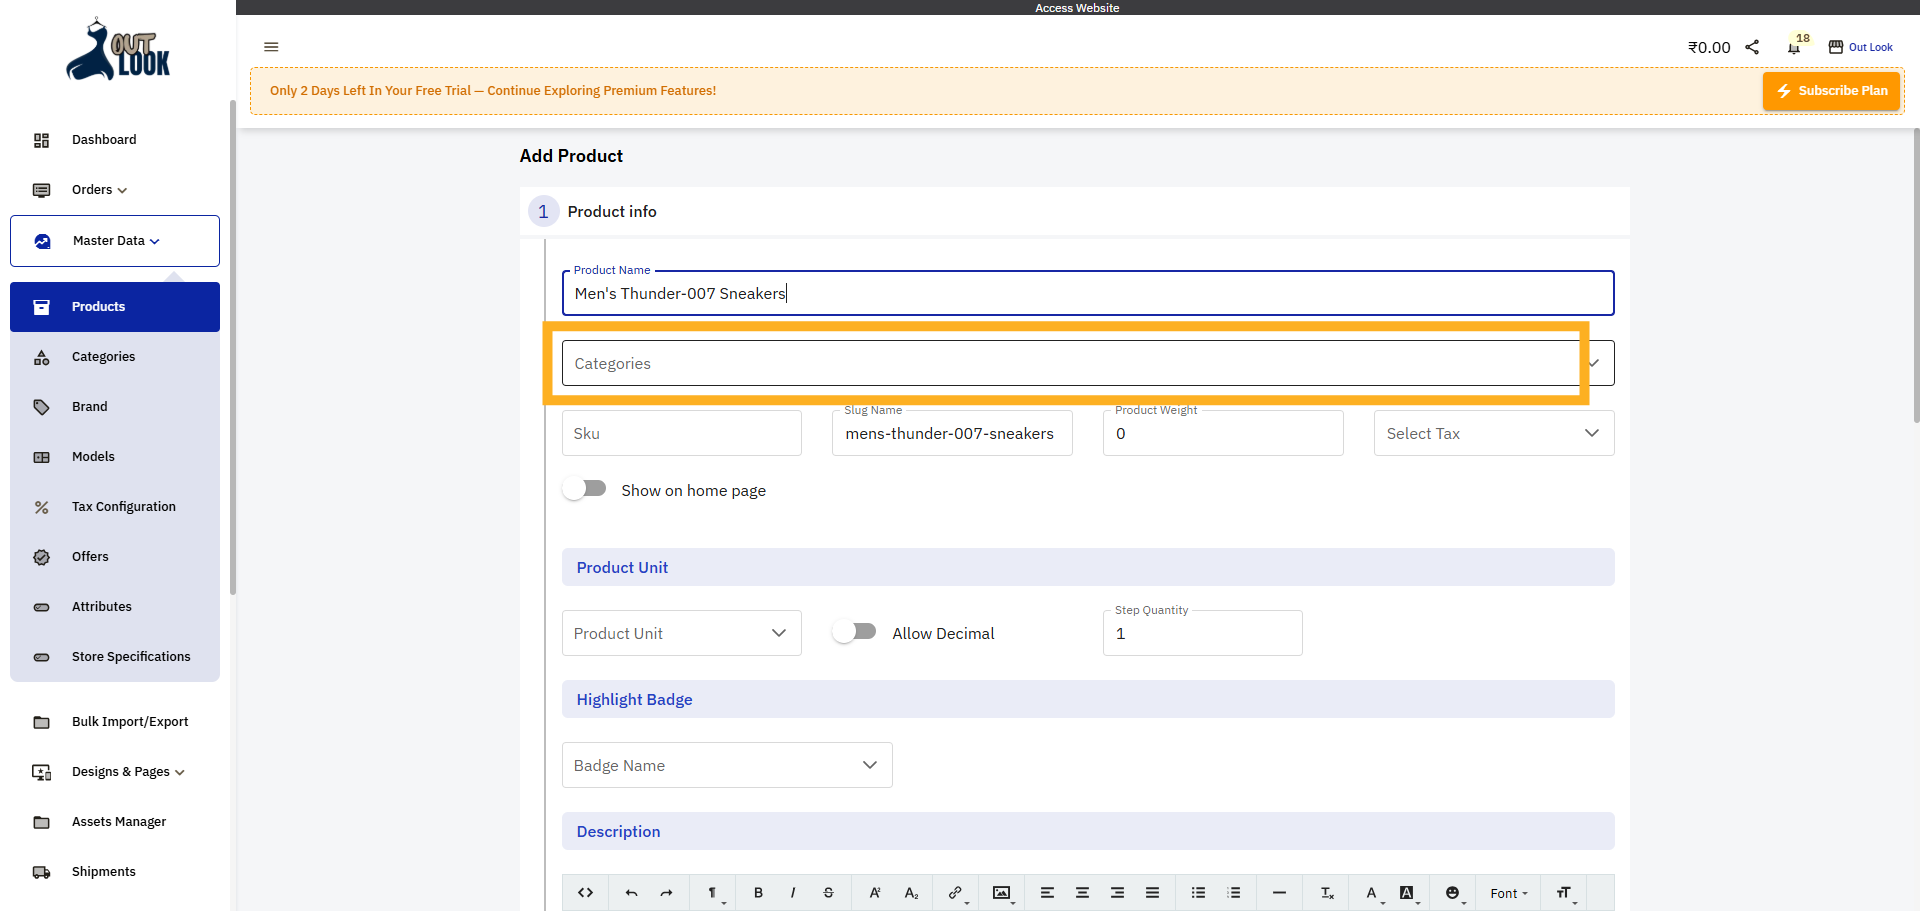
5. Open Categories Dropdown
Click the Categories dropdown to assign your product to a relevant category.
6. Choose Footwear Category
Select the Footwear category to classify your product appropriately.

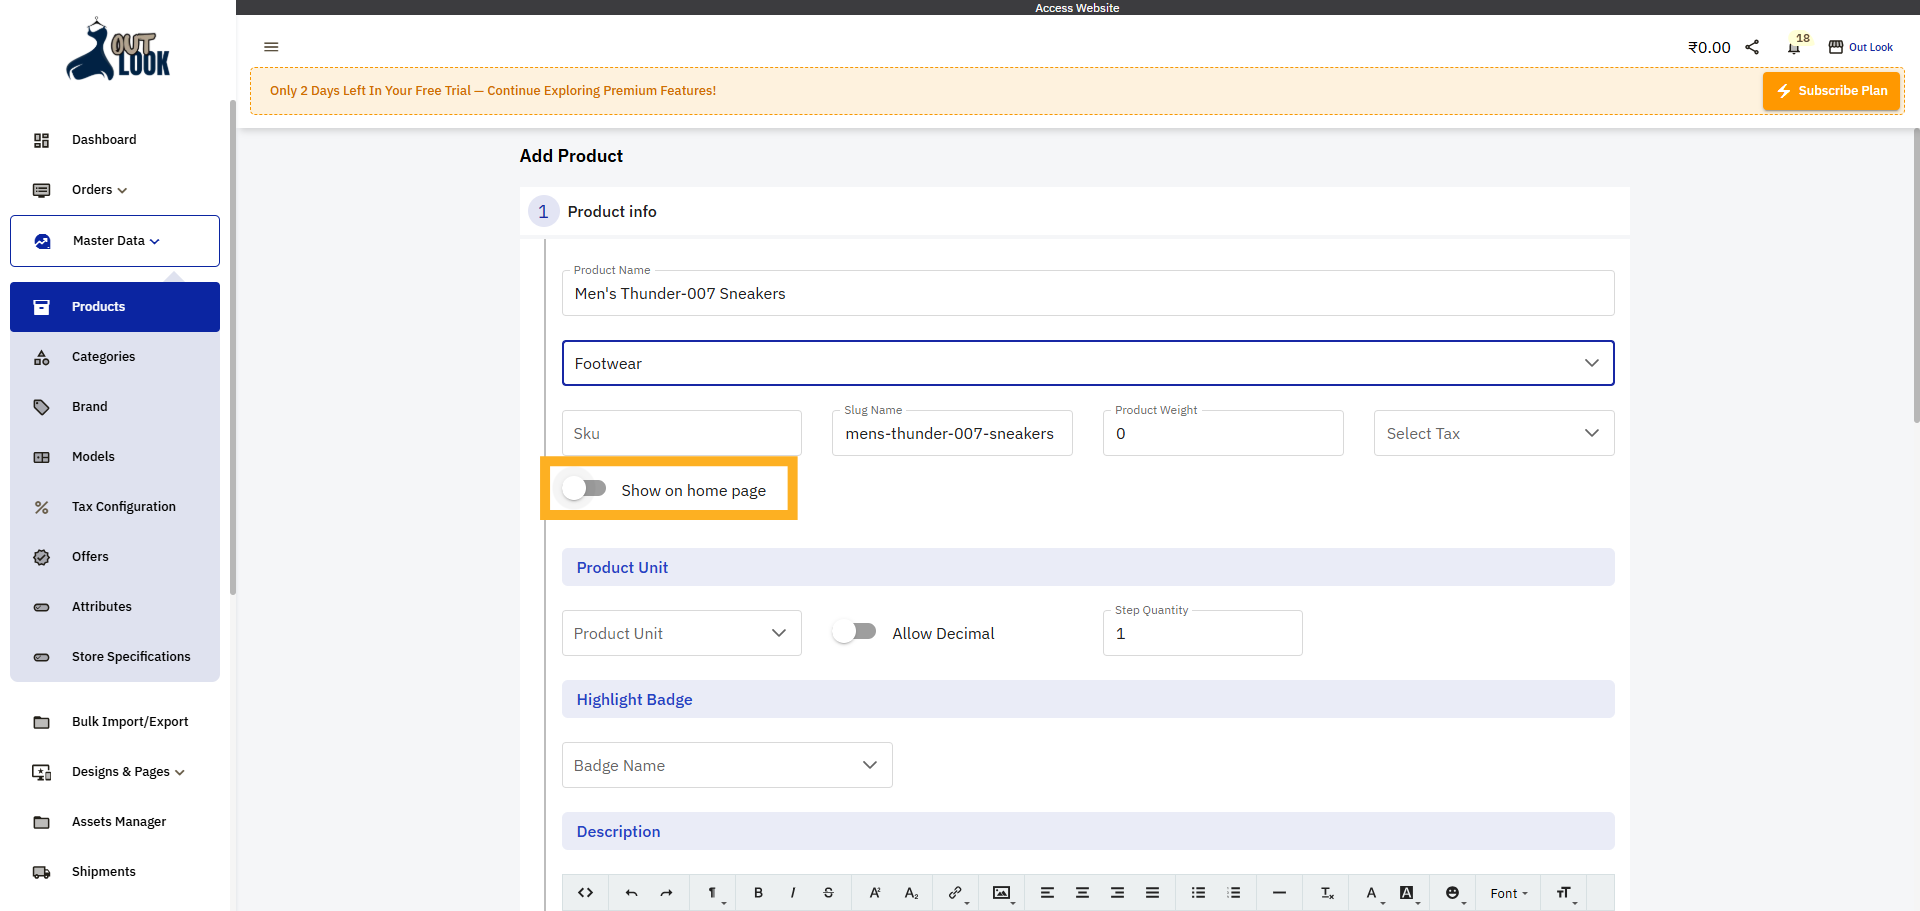
7. Enable Show on home page
Enable Show on home page to see this product in website home page
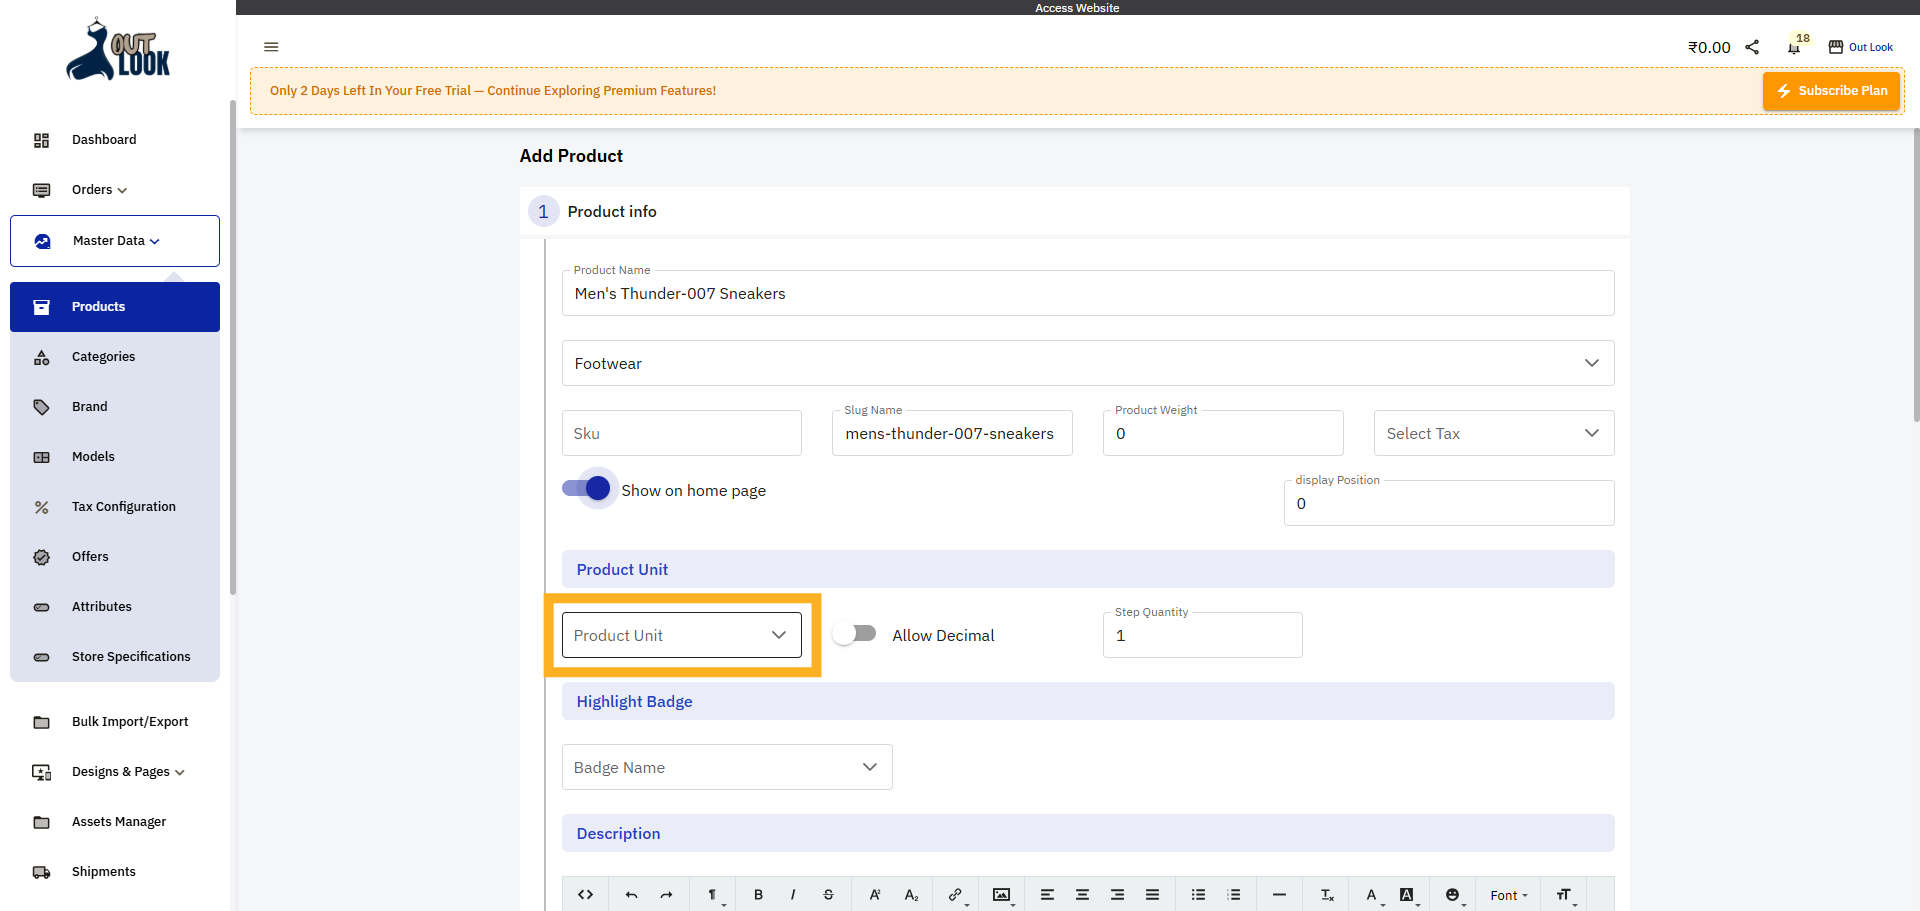
8. Open Unit Options
Click the Unit dropdown to choose the appropriate unit for your product.
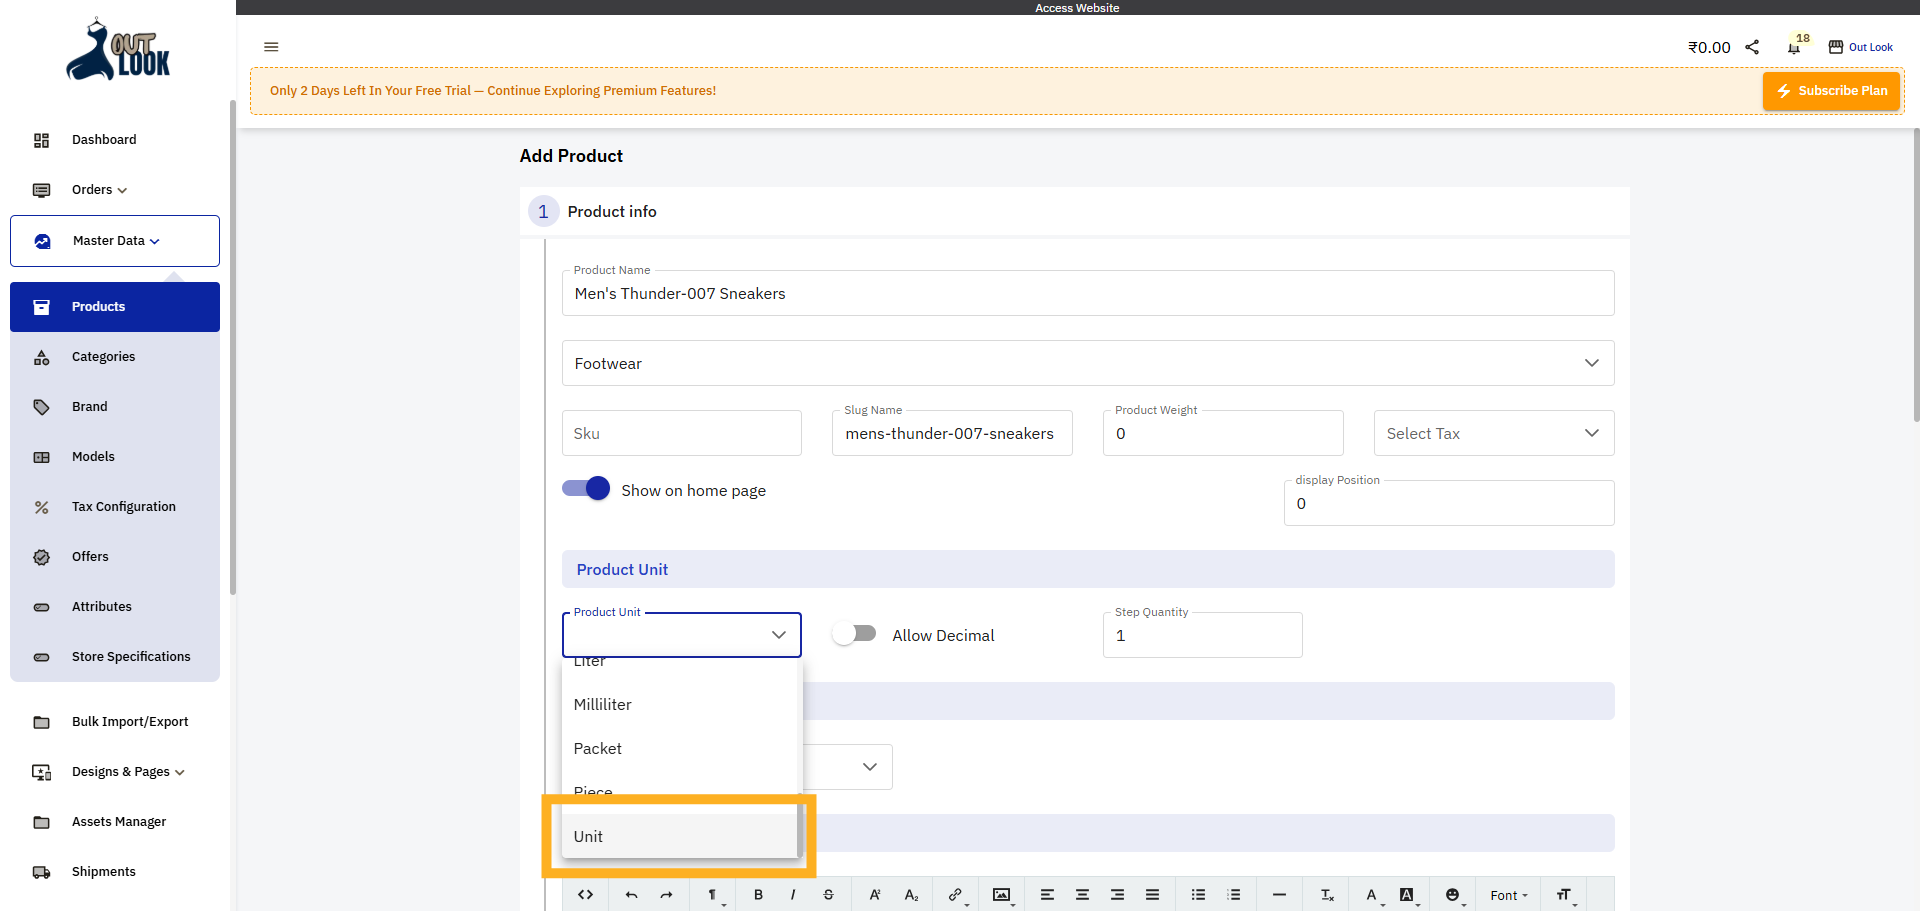
9. Select Unit
Select the unit type that best represents your product's measurement.
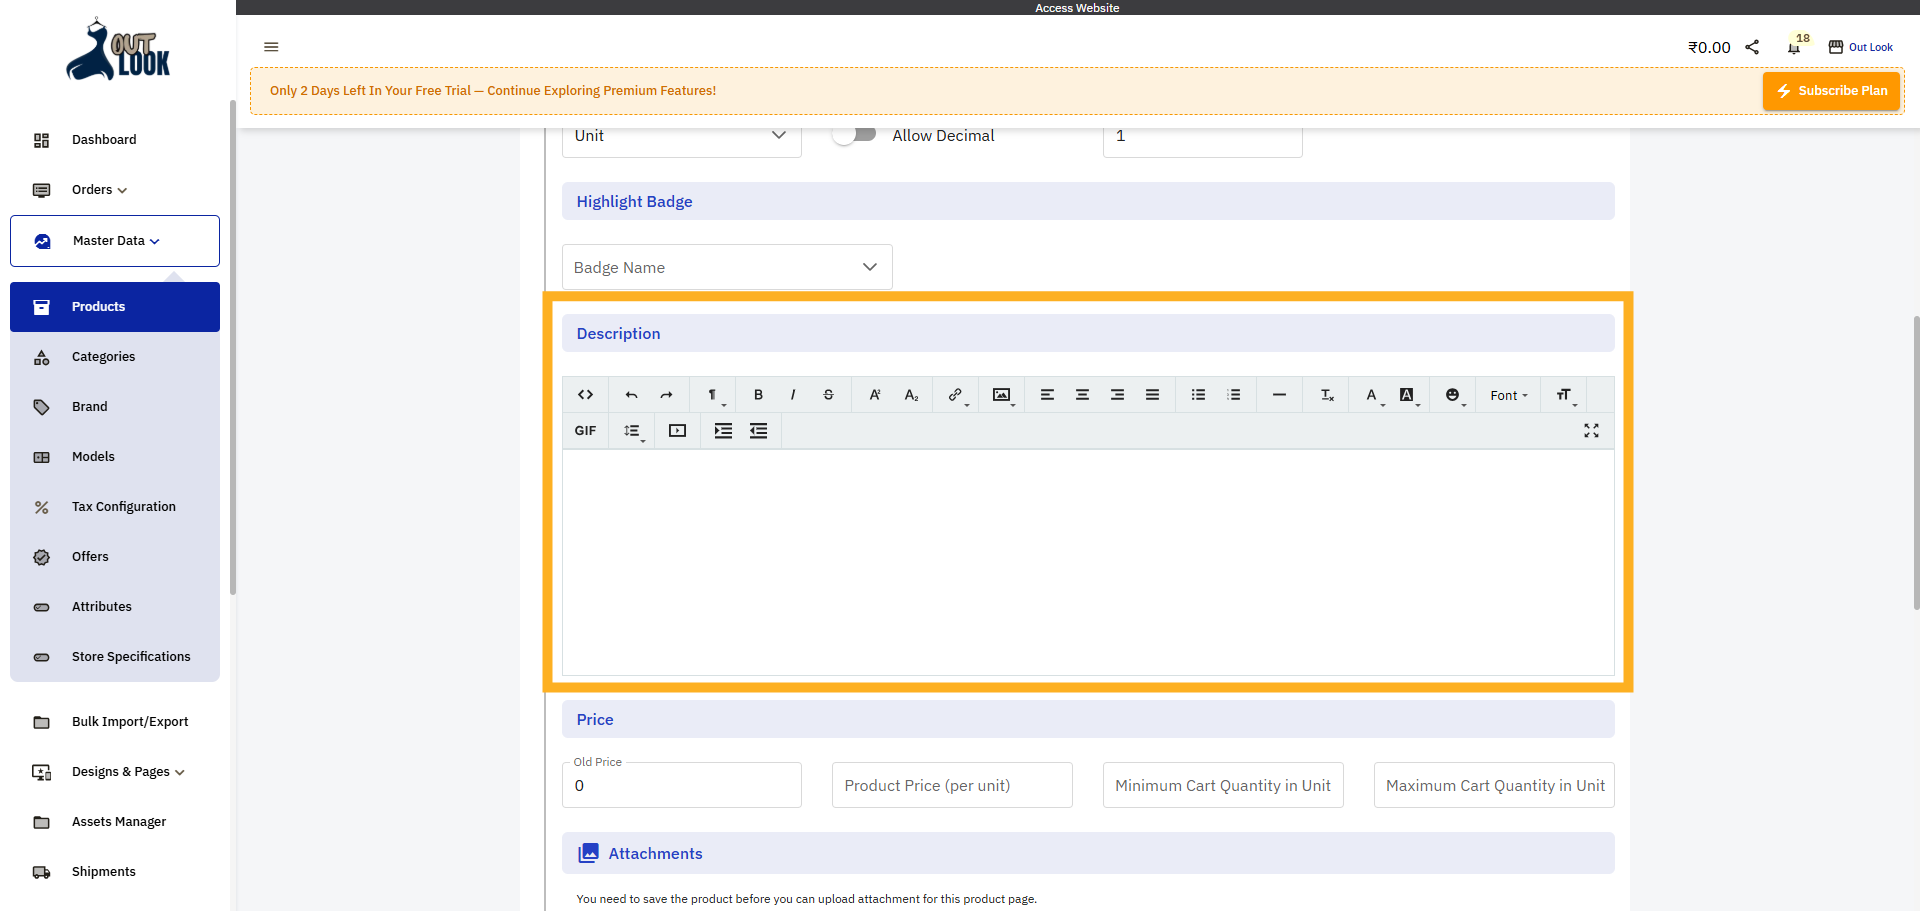
10. Enter Description
Click to focus on the description input field for editing.
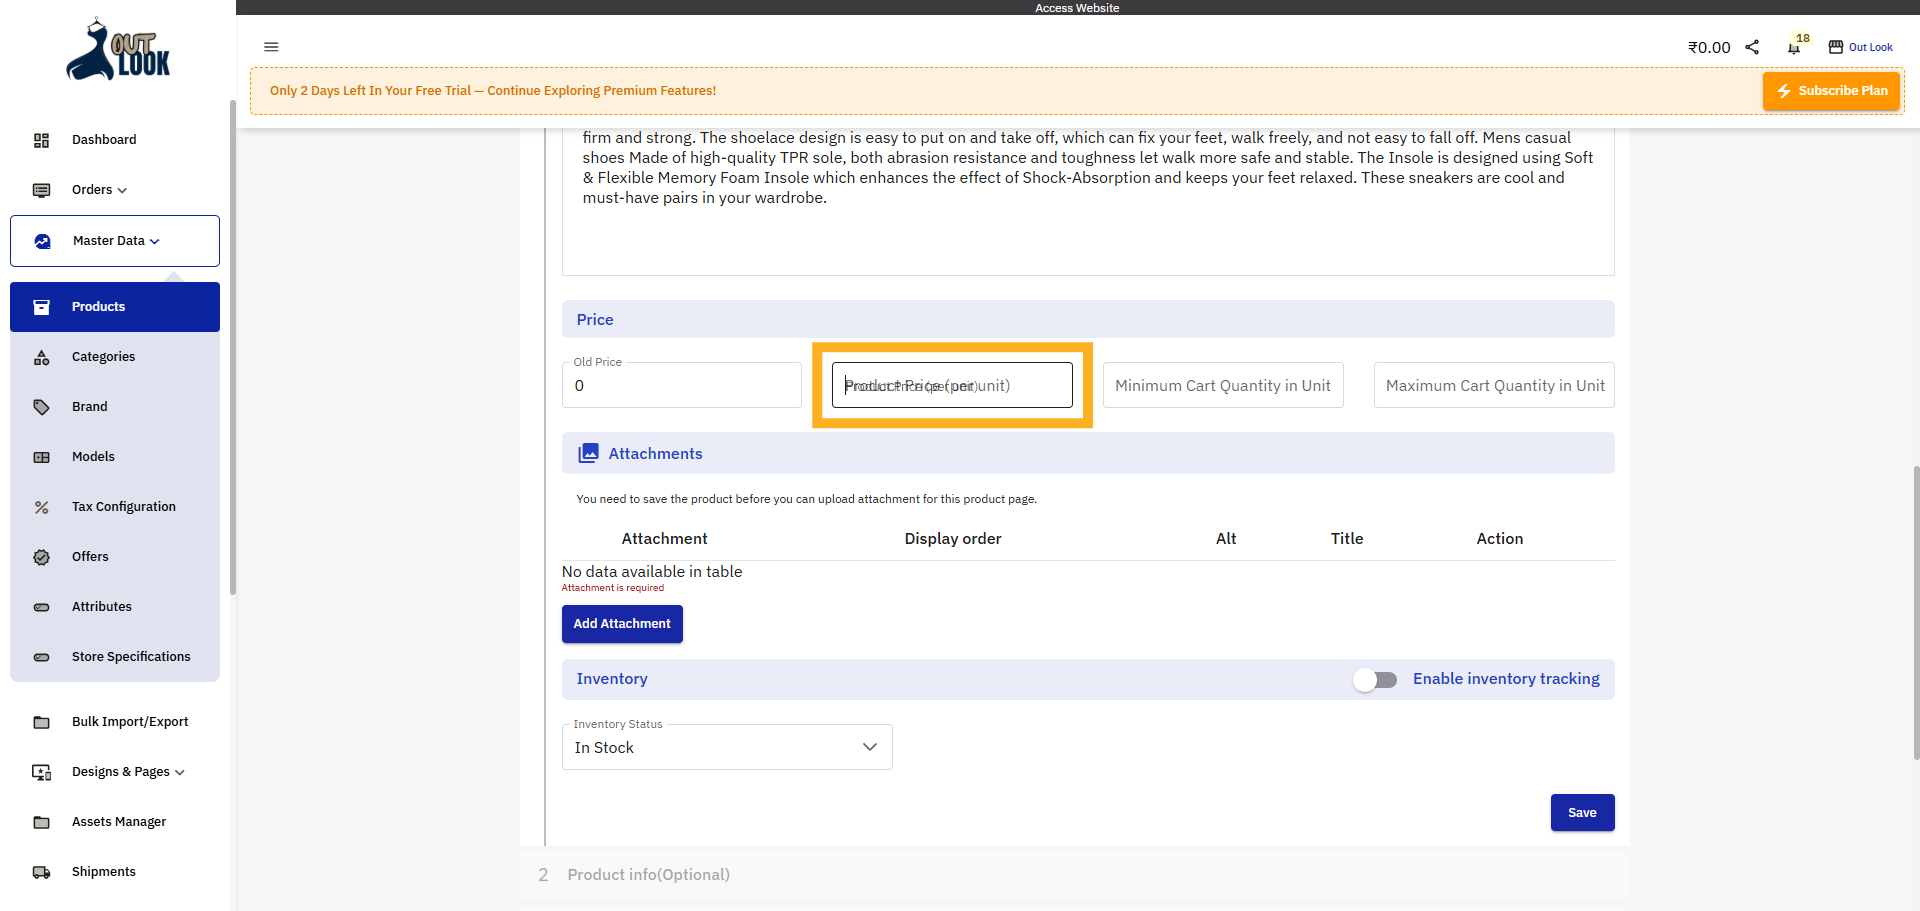
11. Enter Product Price
Click the Product Price (per unit) field to set the selling price for your product.
12. Add Product Attachments
Click Add Attachment to upload images or files related to your product.
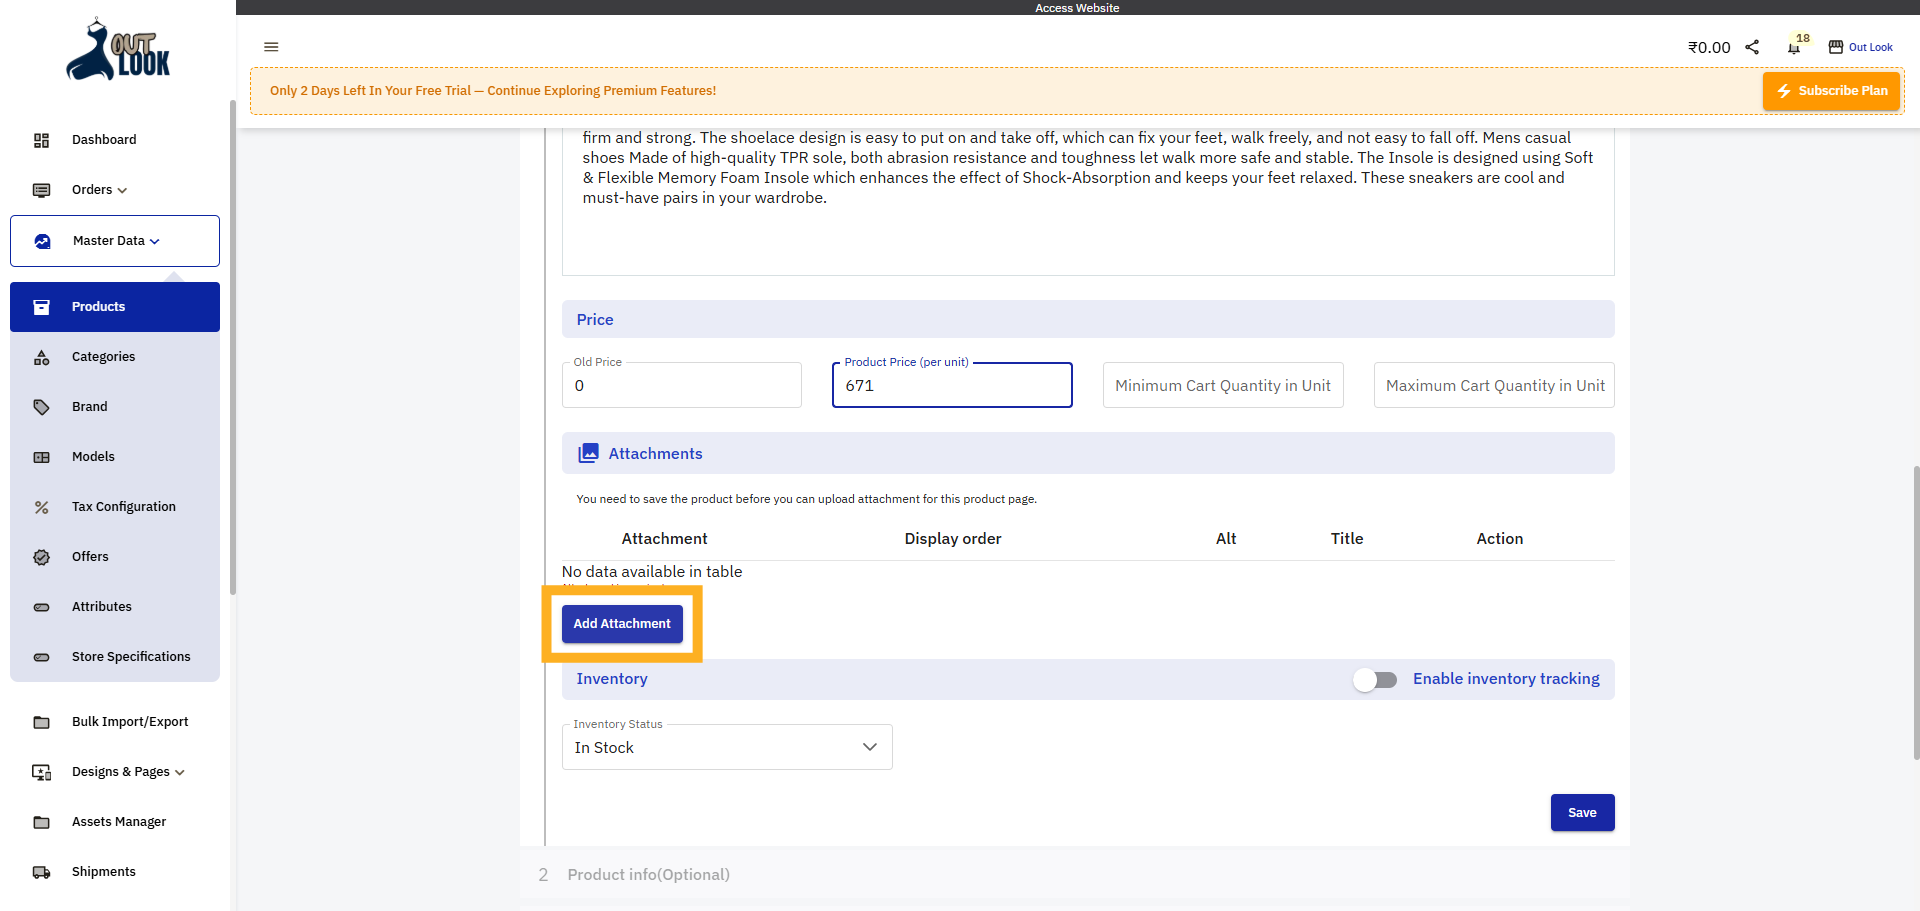
13. Open File Selection
Click to open the file selection dialog for uploading attachments.
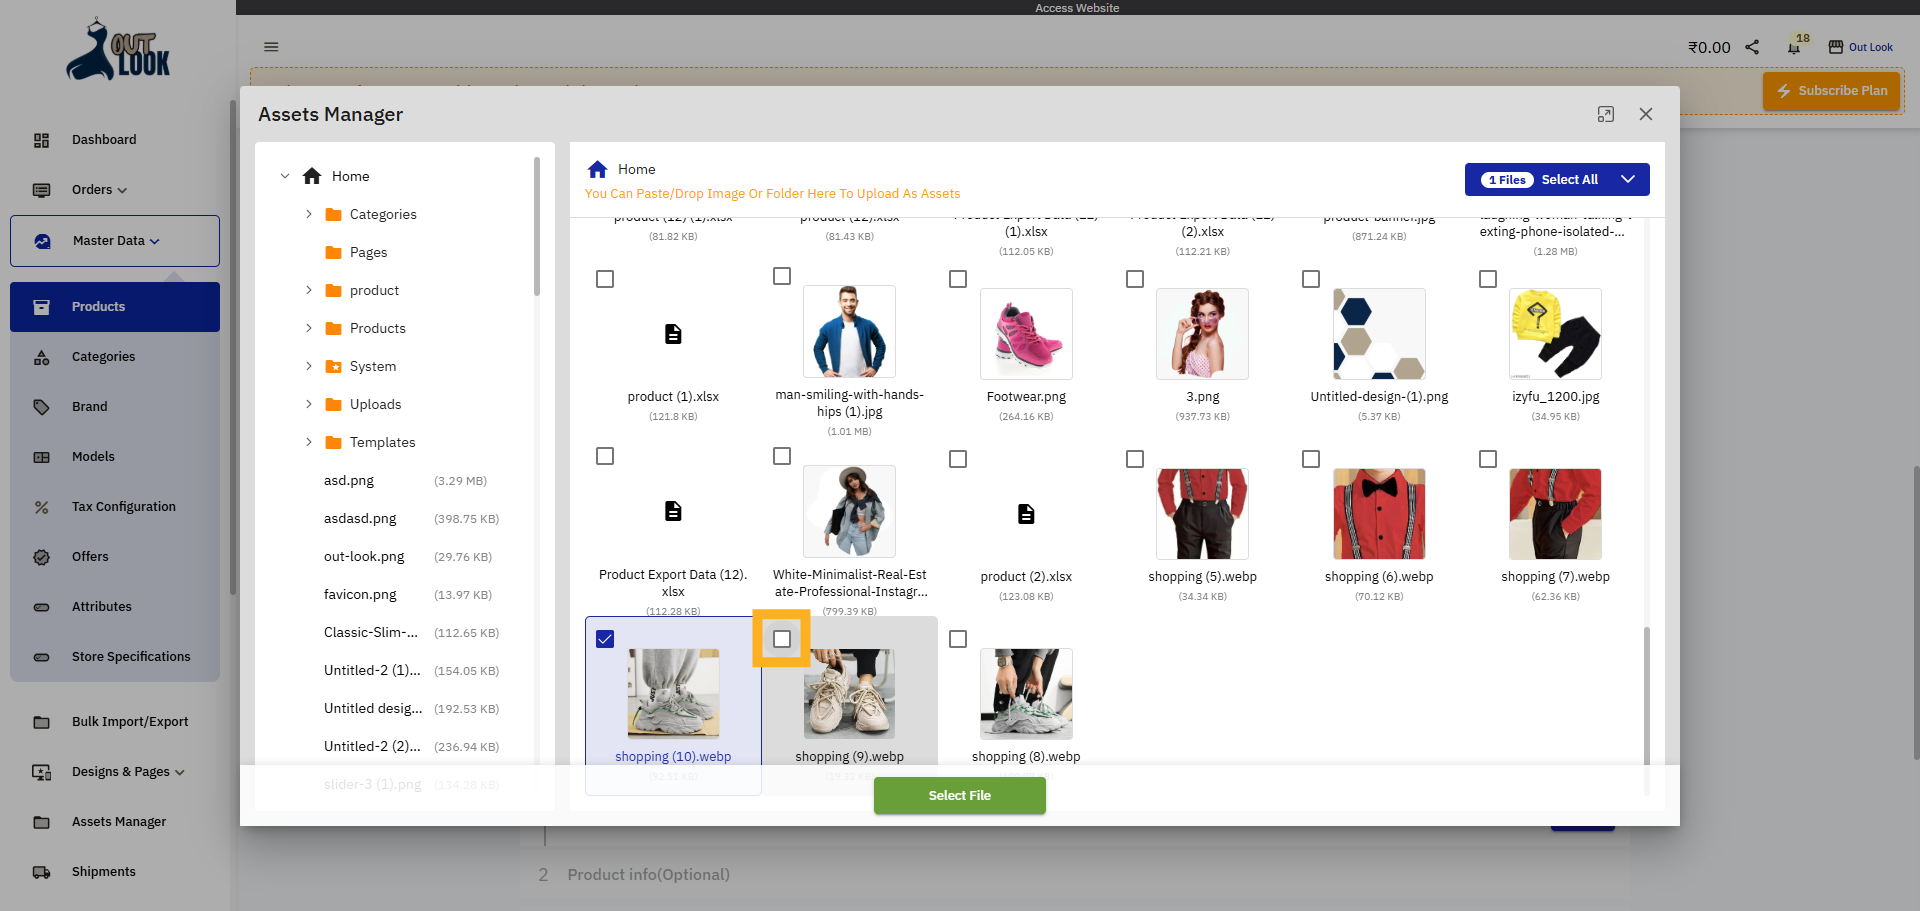
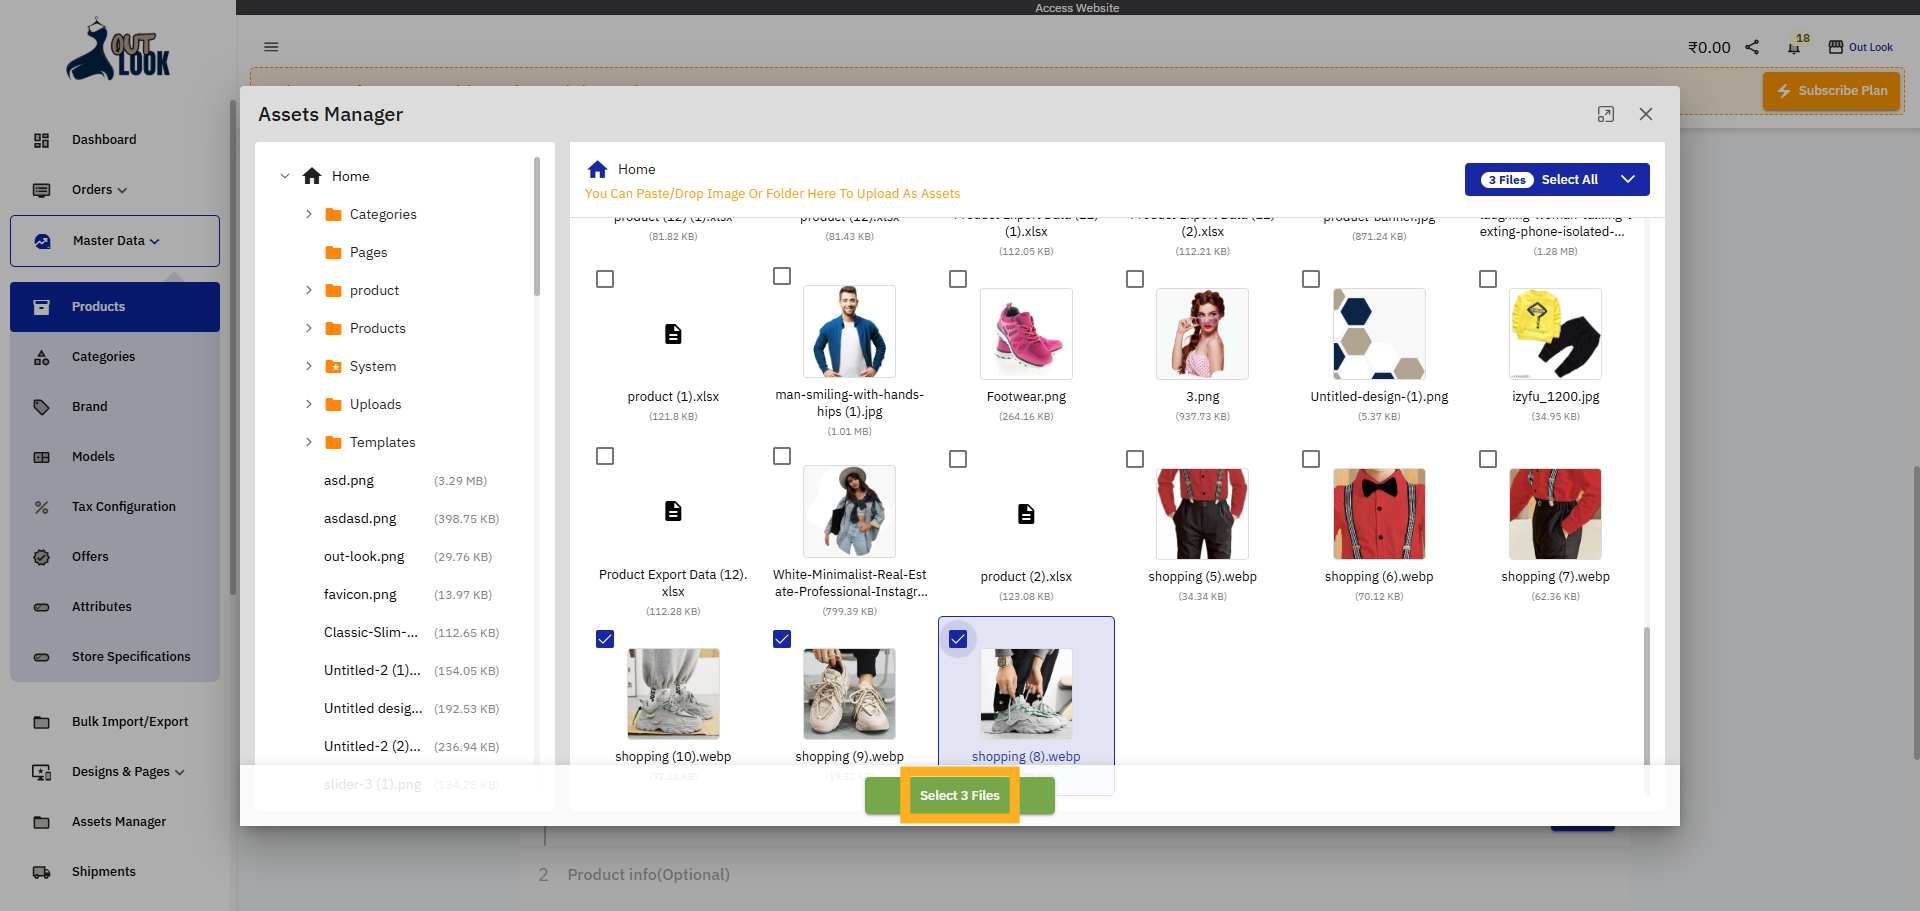
14. Select Files to Upload
Click Select 3 Files to choose multiple files for attachment to your product.
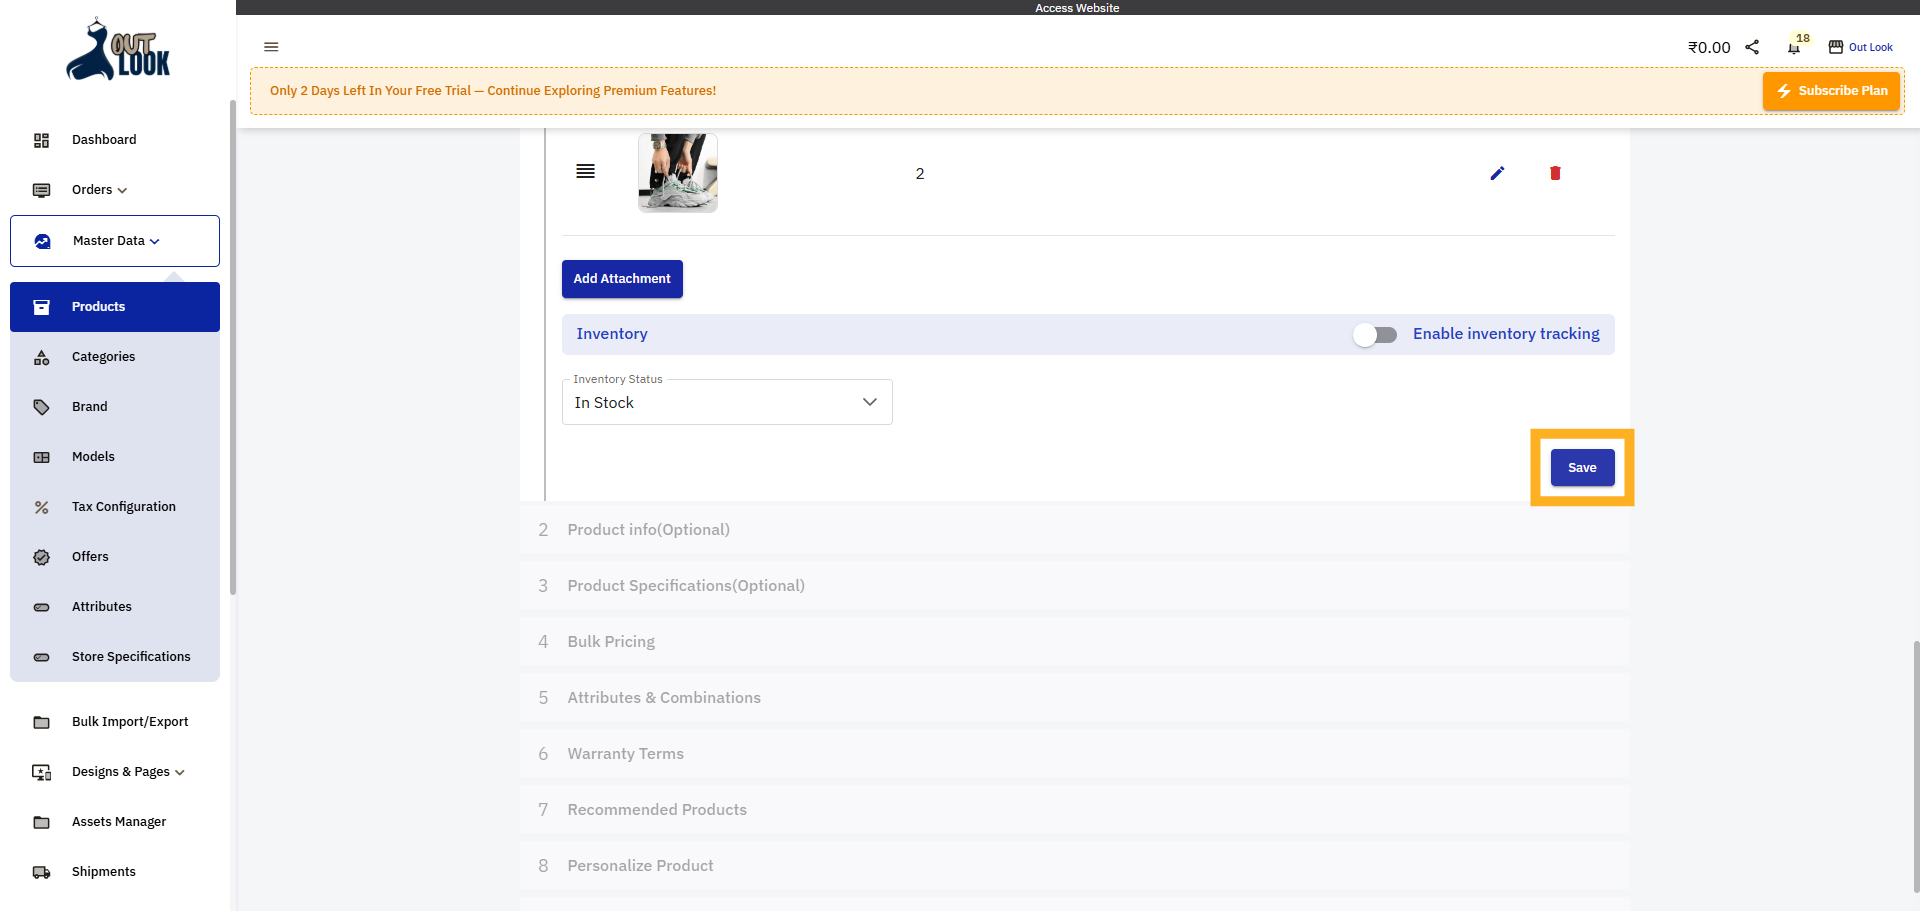
15. Click save to start product creation
Click Save product creation process started
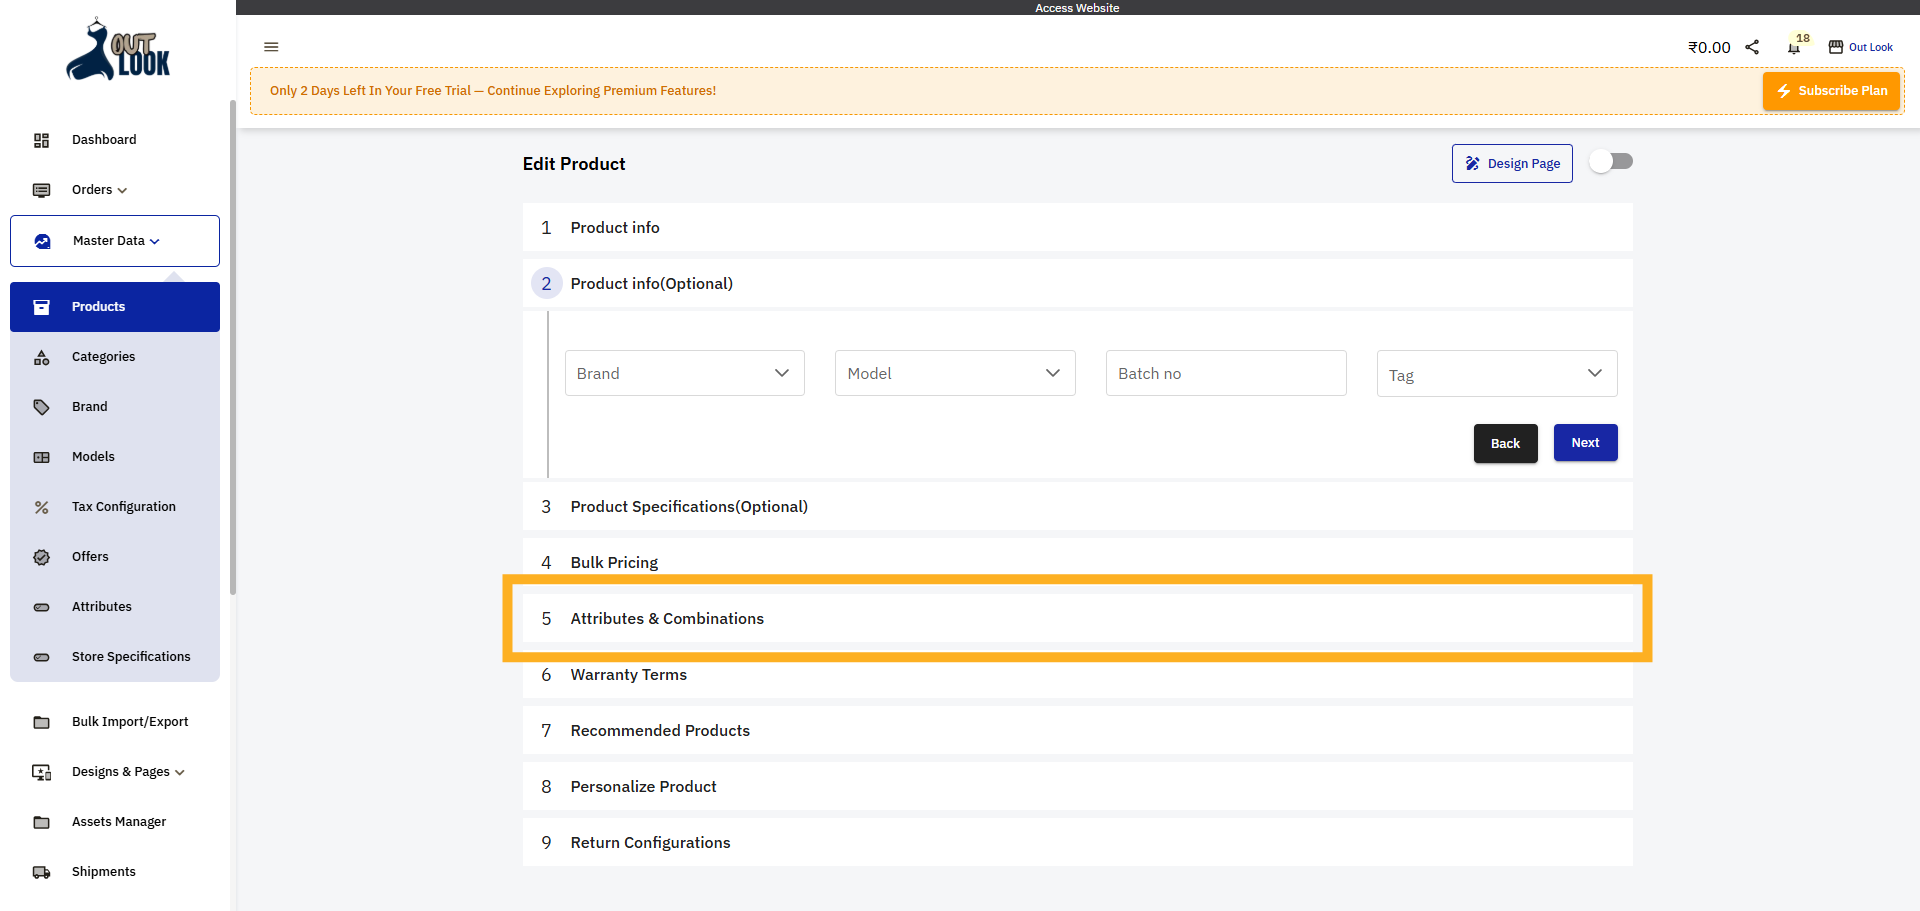
16. Open Attributes & Combinations
Click Attributes & Combinations to manage product variations and options.
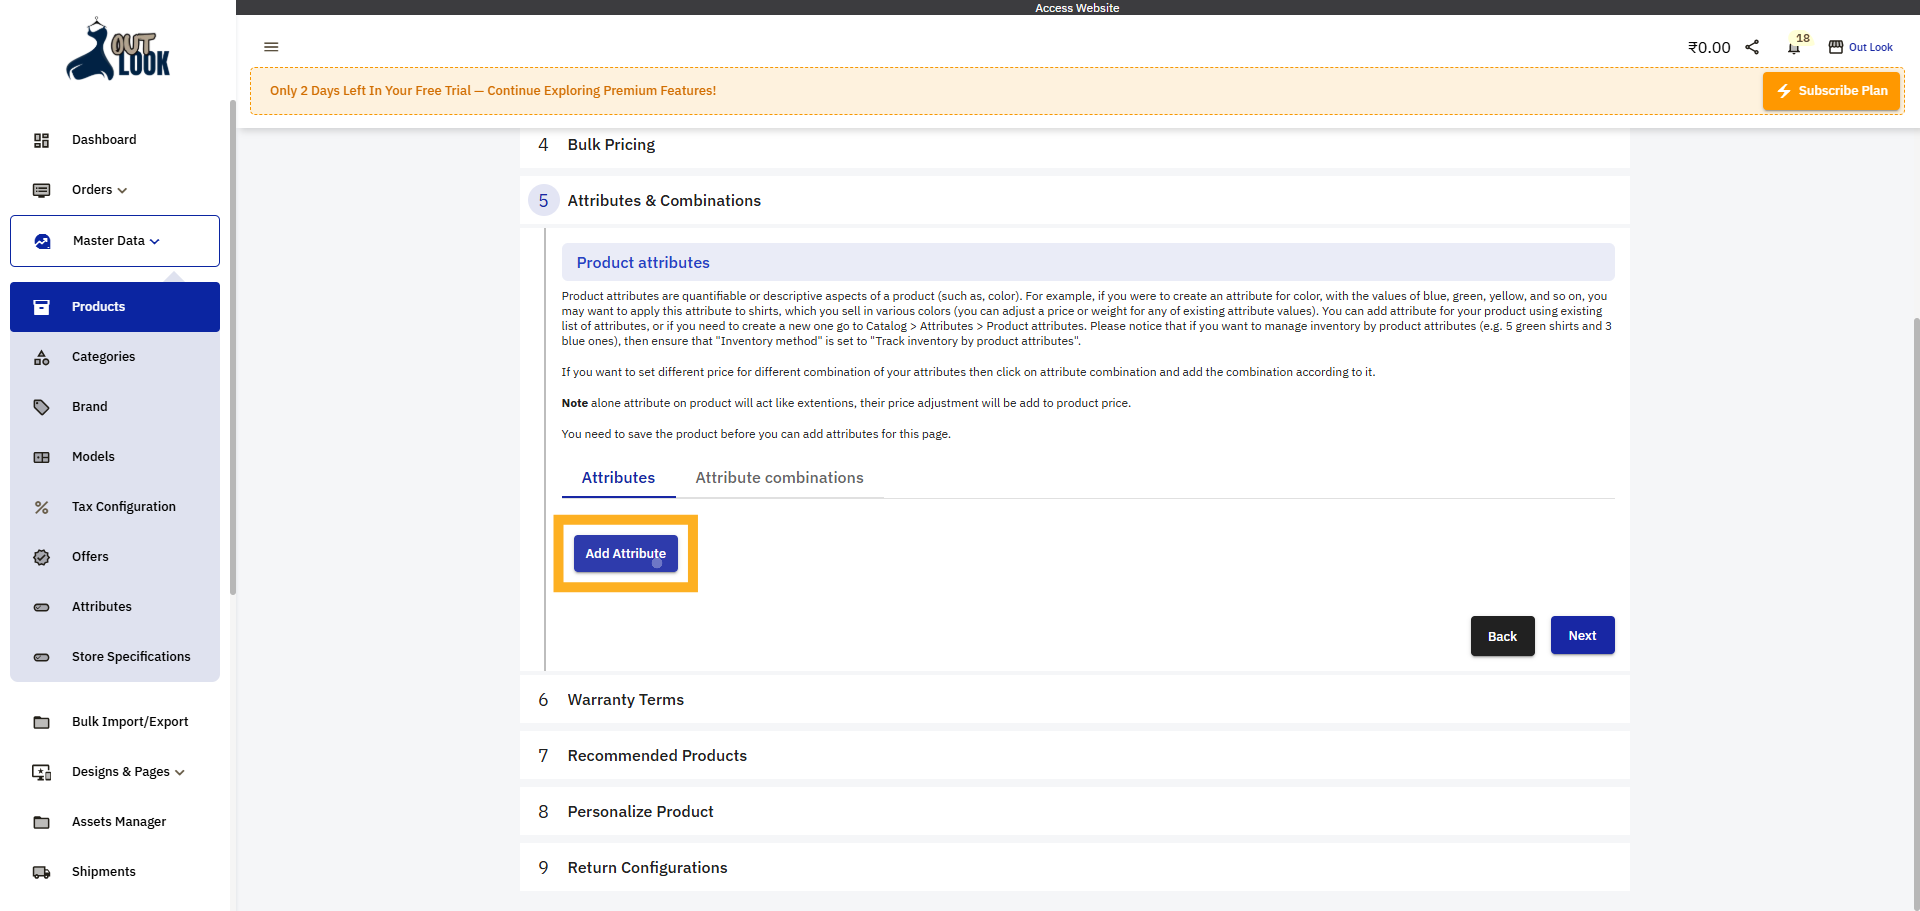
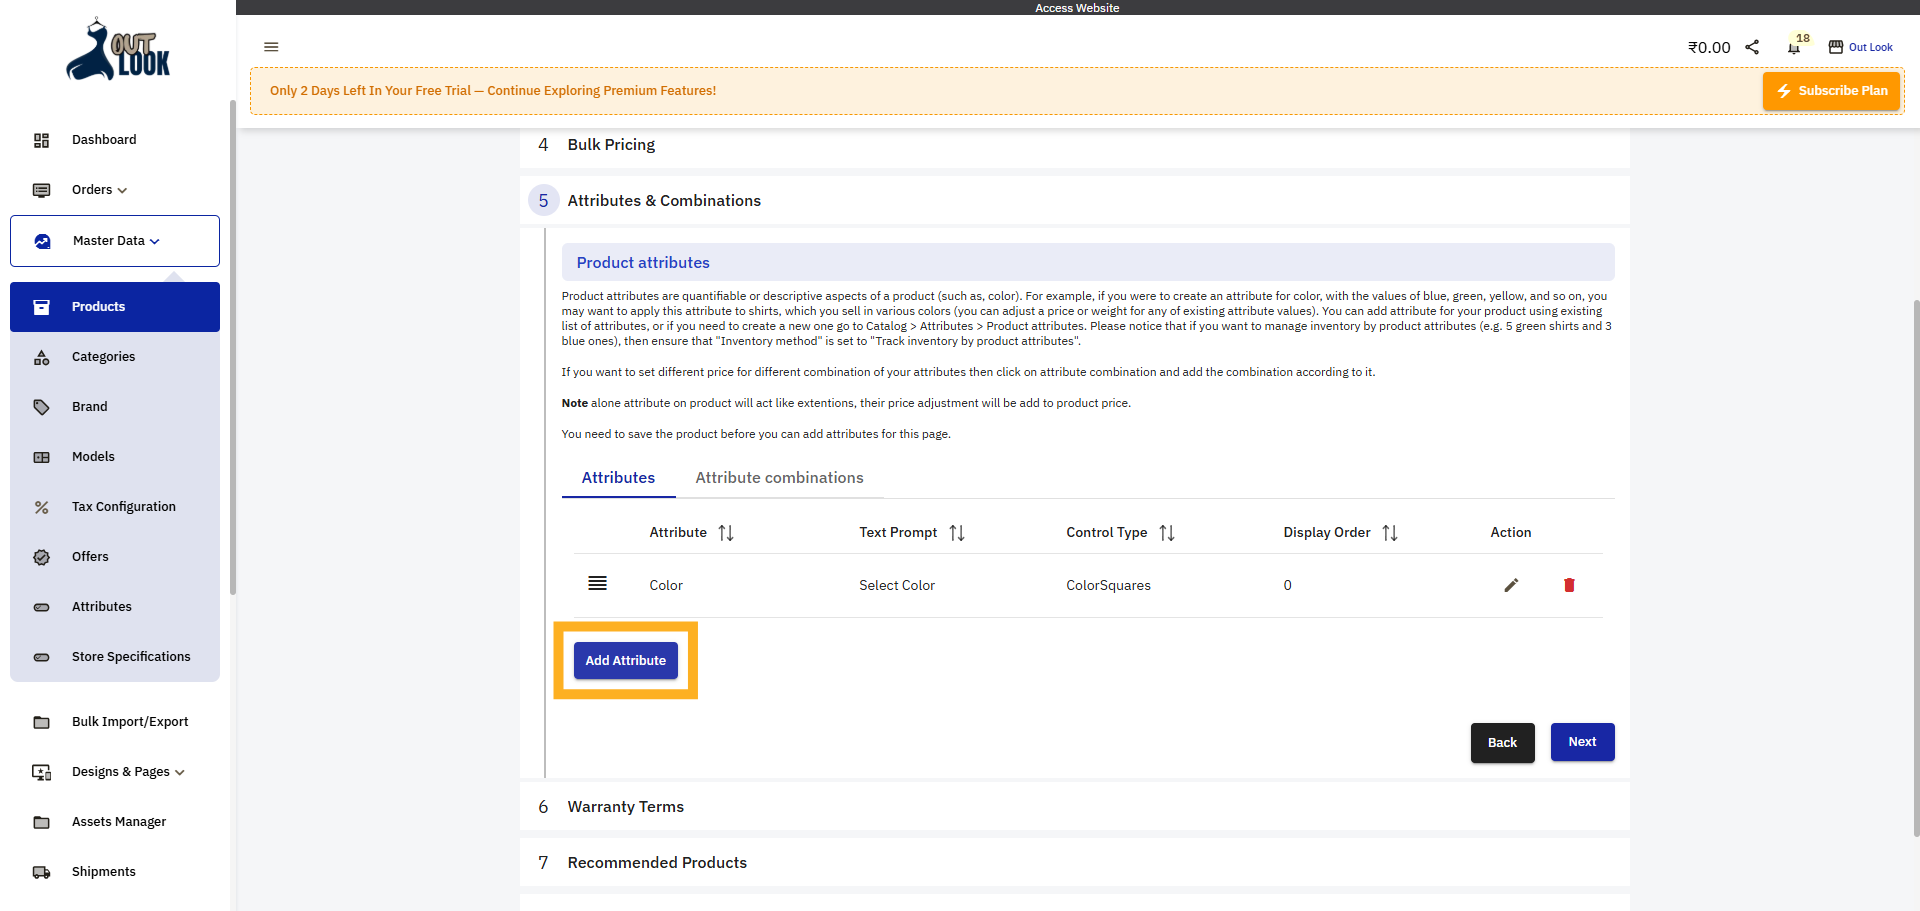
17. Add New Attribute
Click Add Attribute to create a new product attribute for customization.
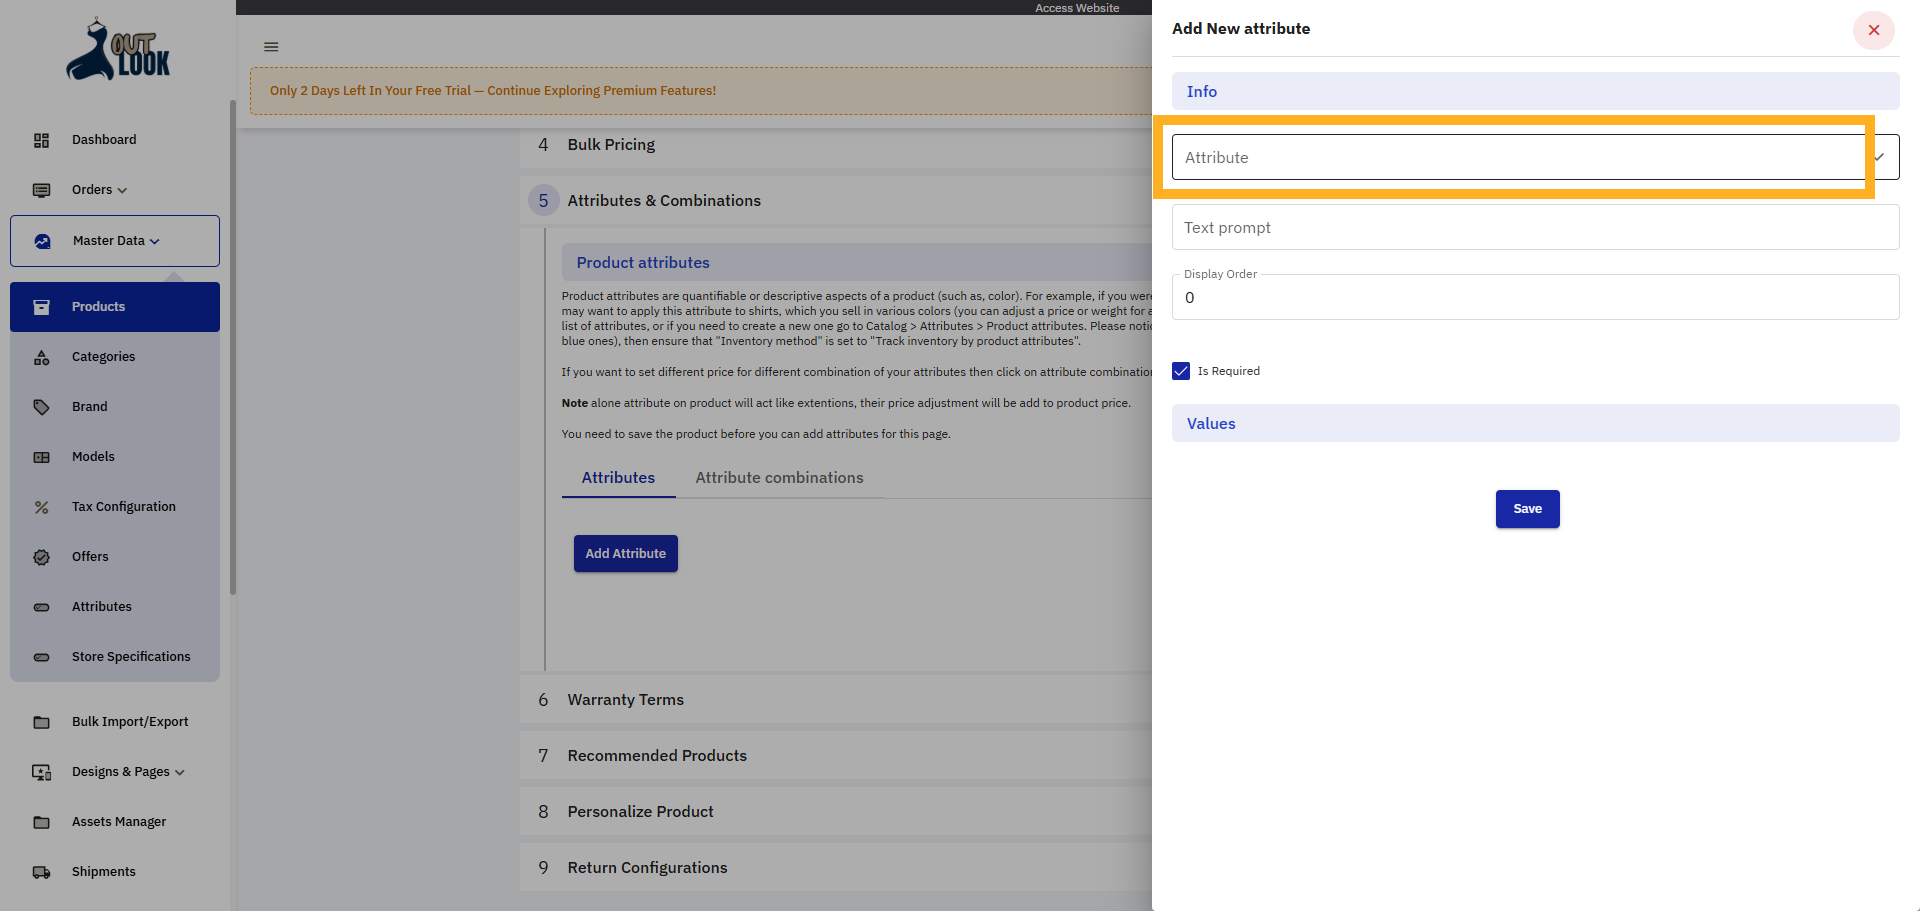
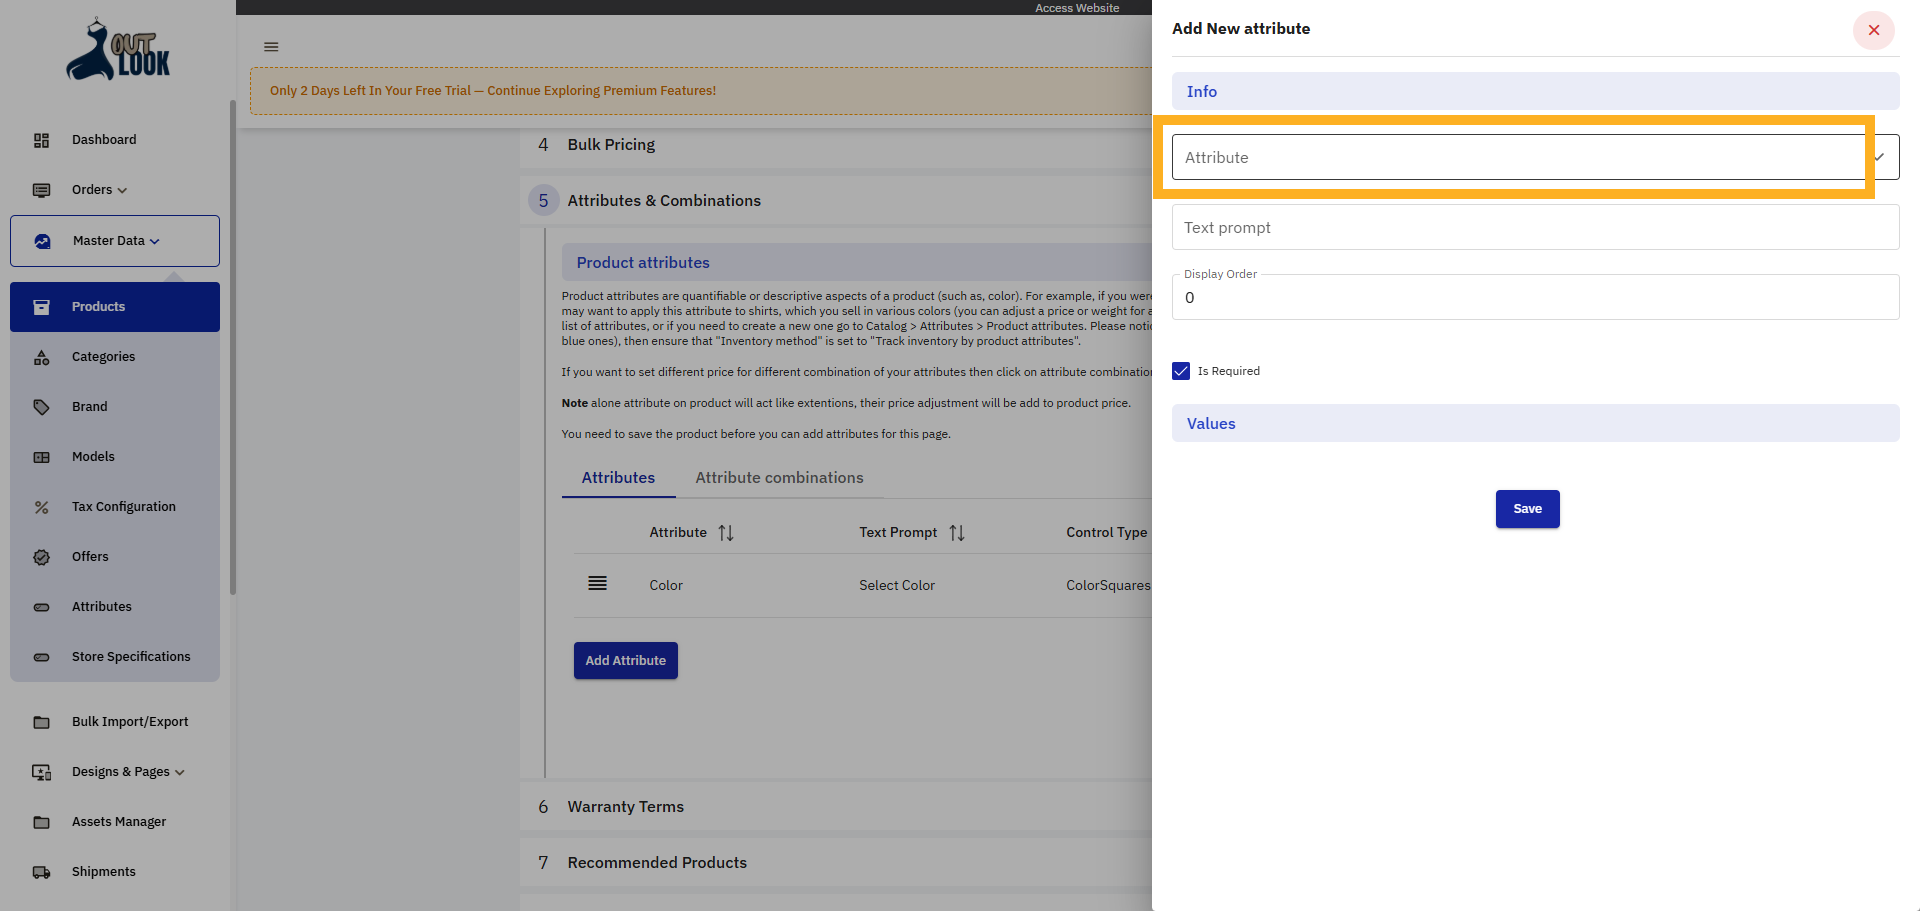
18. Open Attribute Dropdown
Click the Attribute dropdown to select the type of attribute to add.
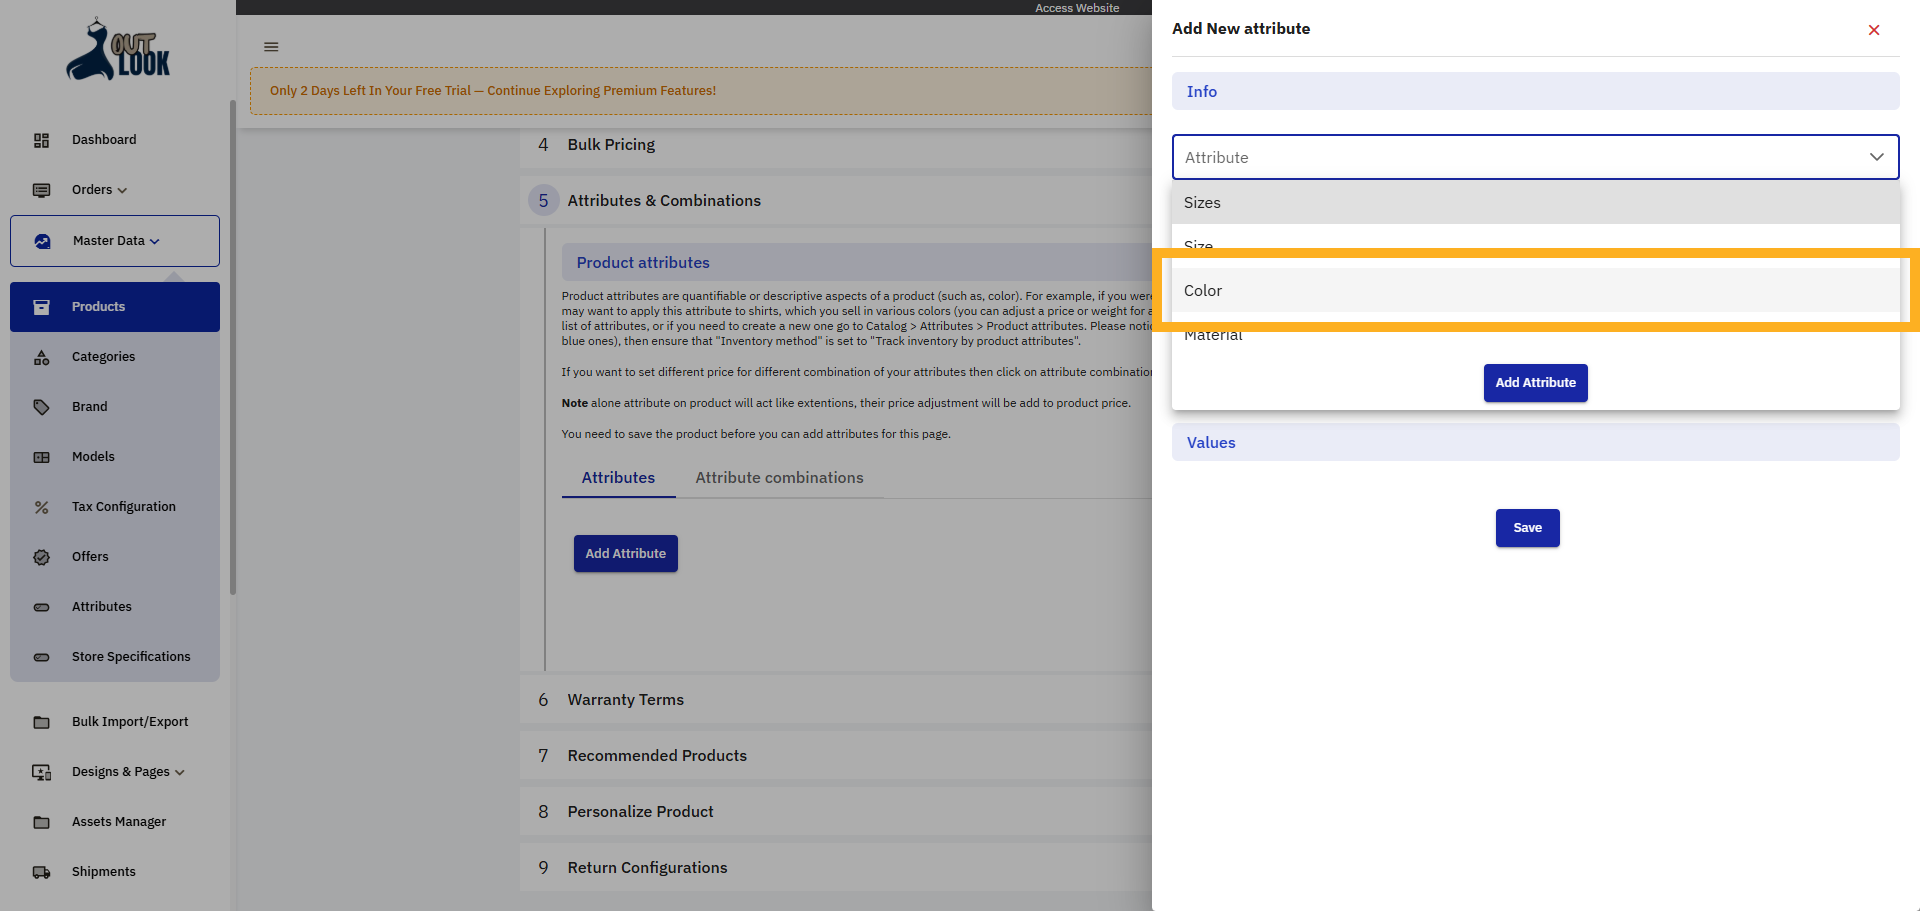
19. Choose Color Attribute
Select Color as the attribute to define color variations for your product.
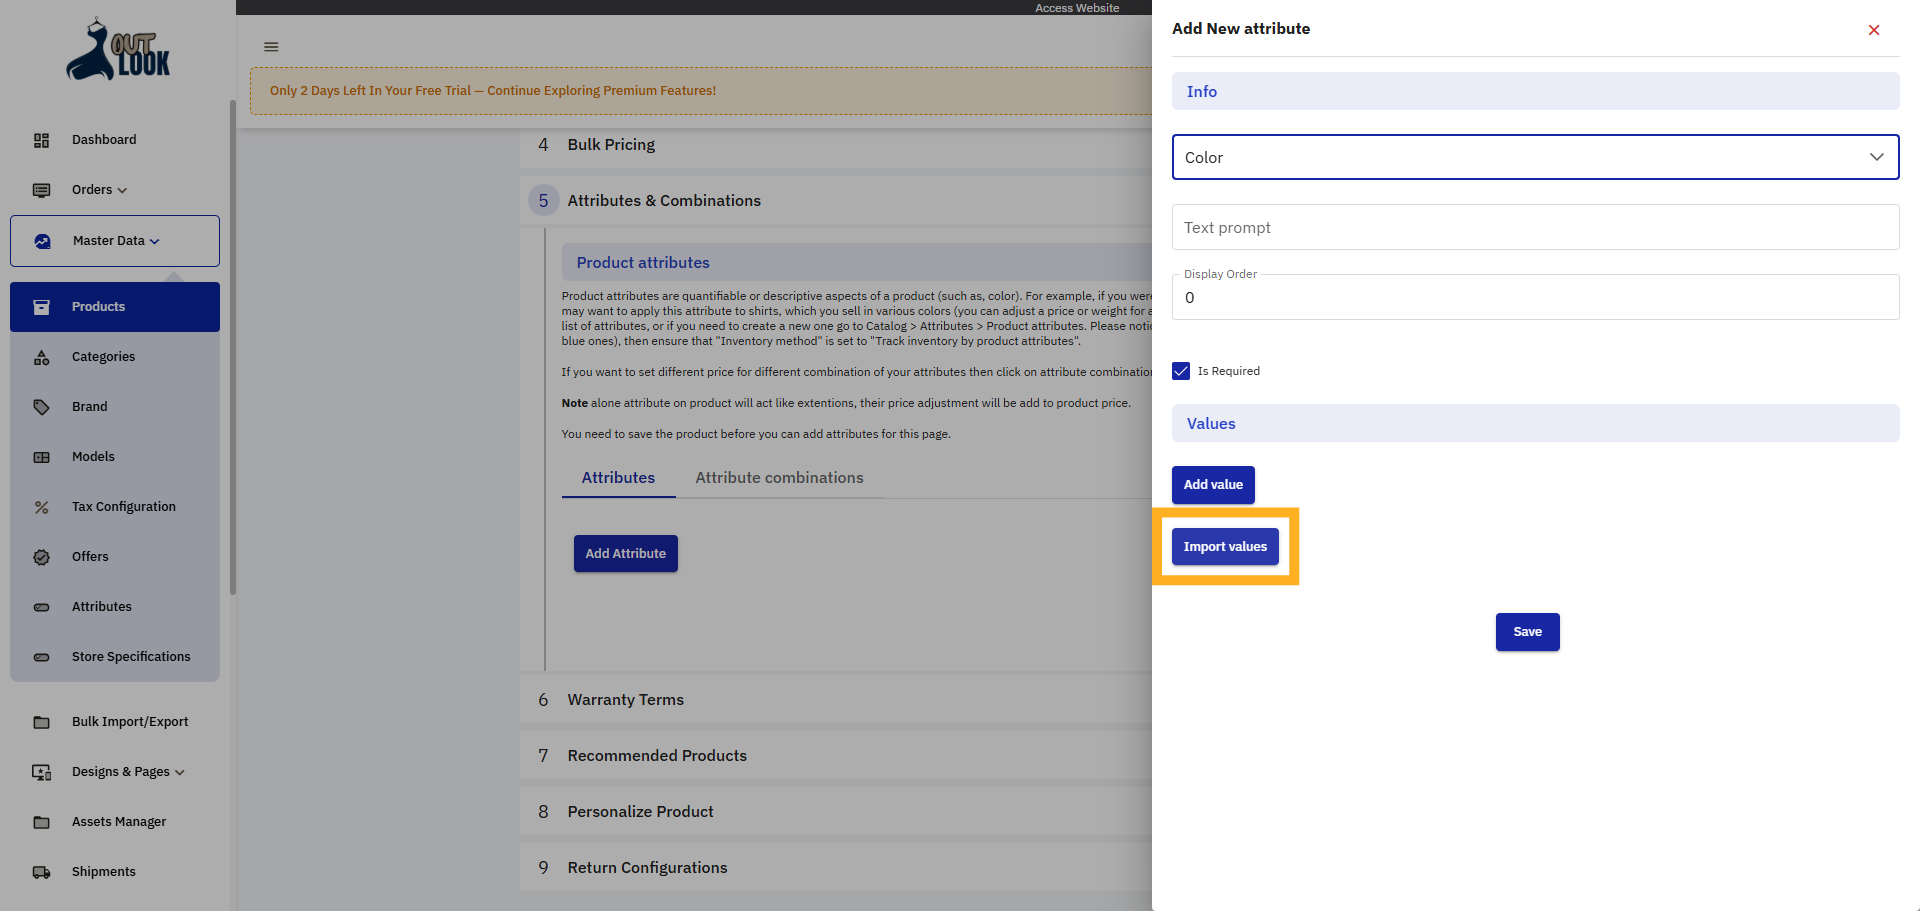
20. Import Attribute Values
Click Import values to add predefined options for the selected attribute.
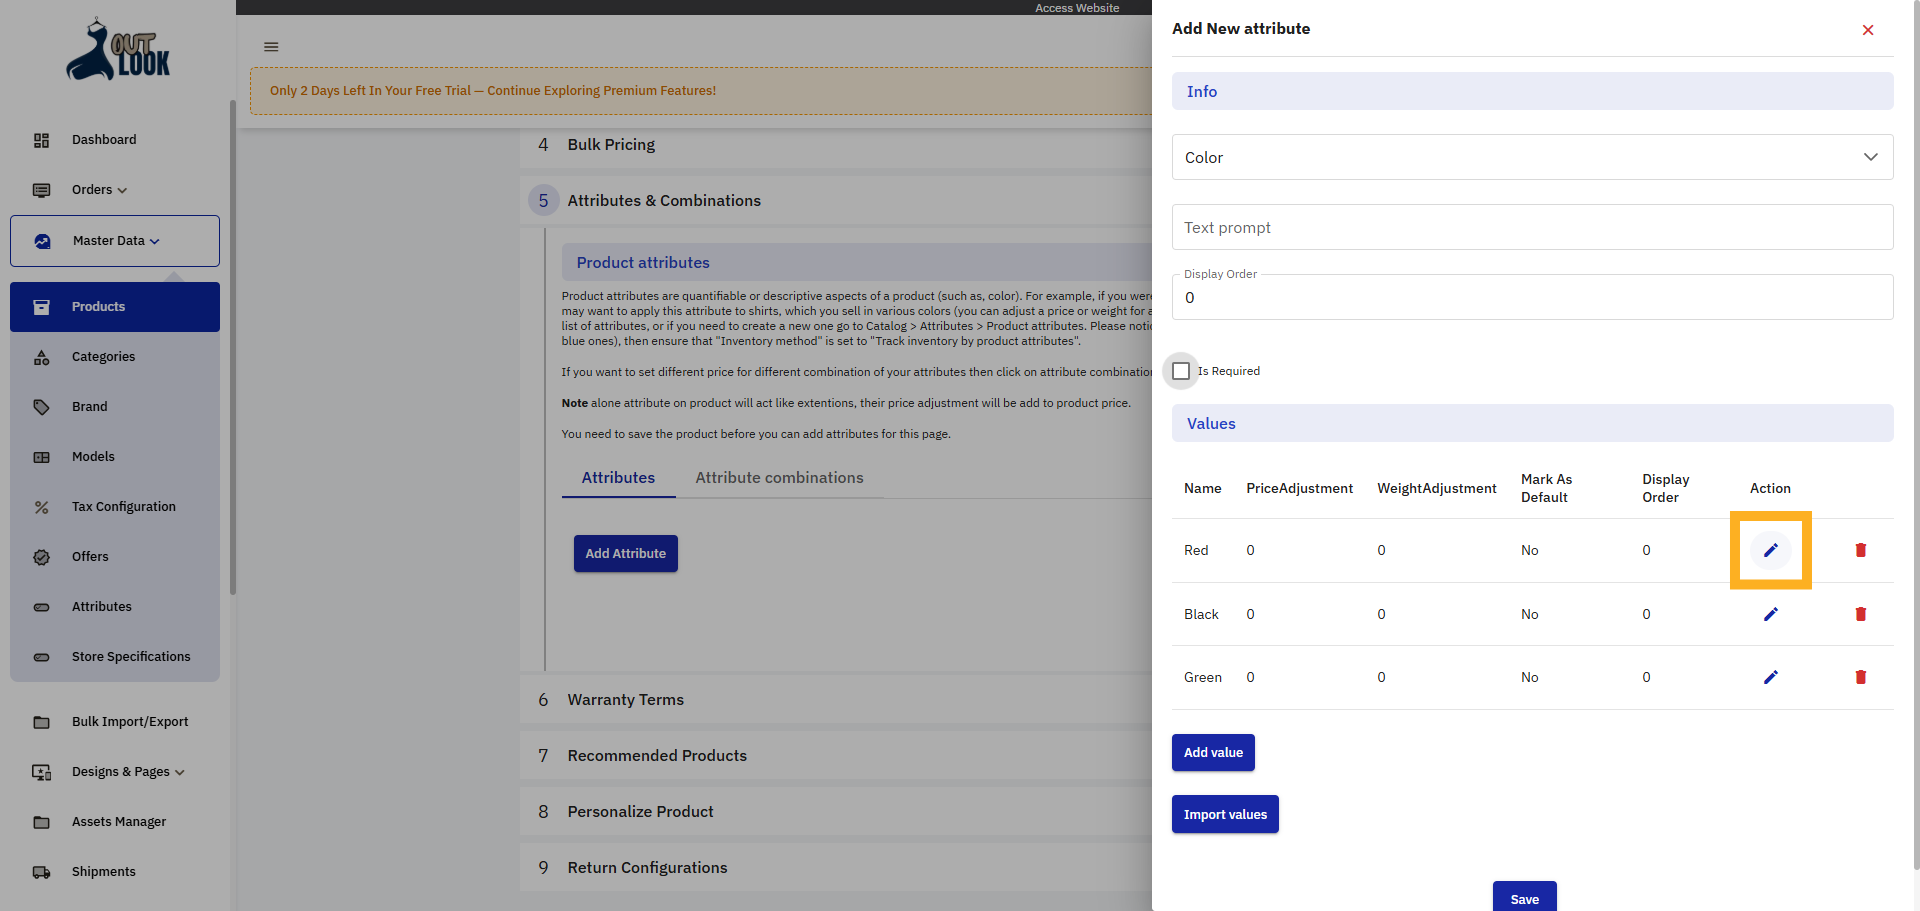
21. Edit Attribute Values
Click edit to modify the imported attribute values as needed.
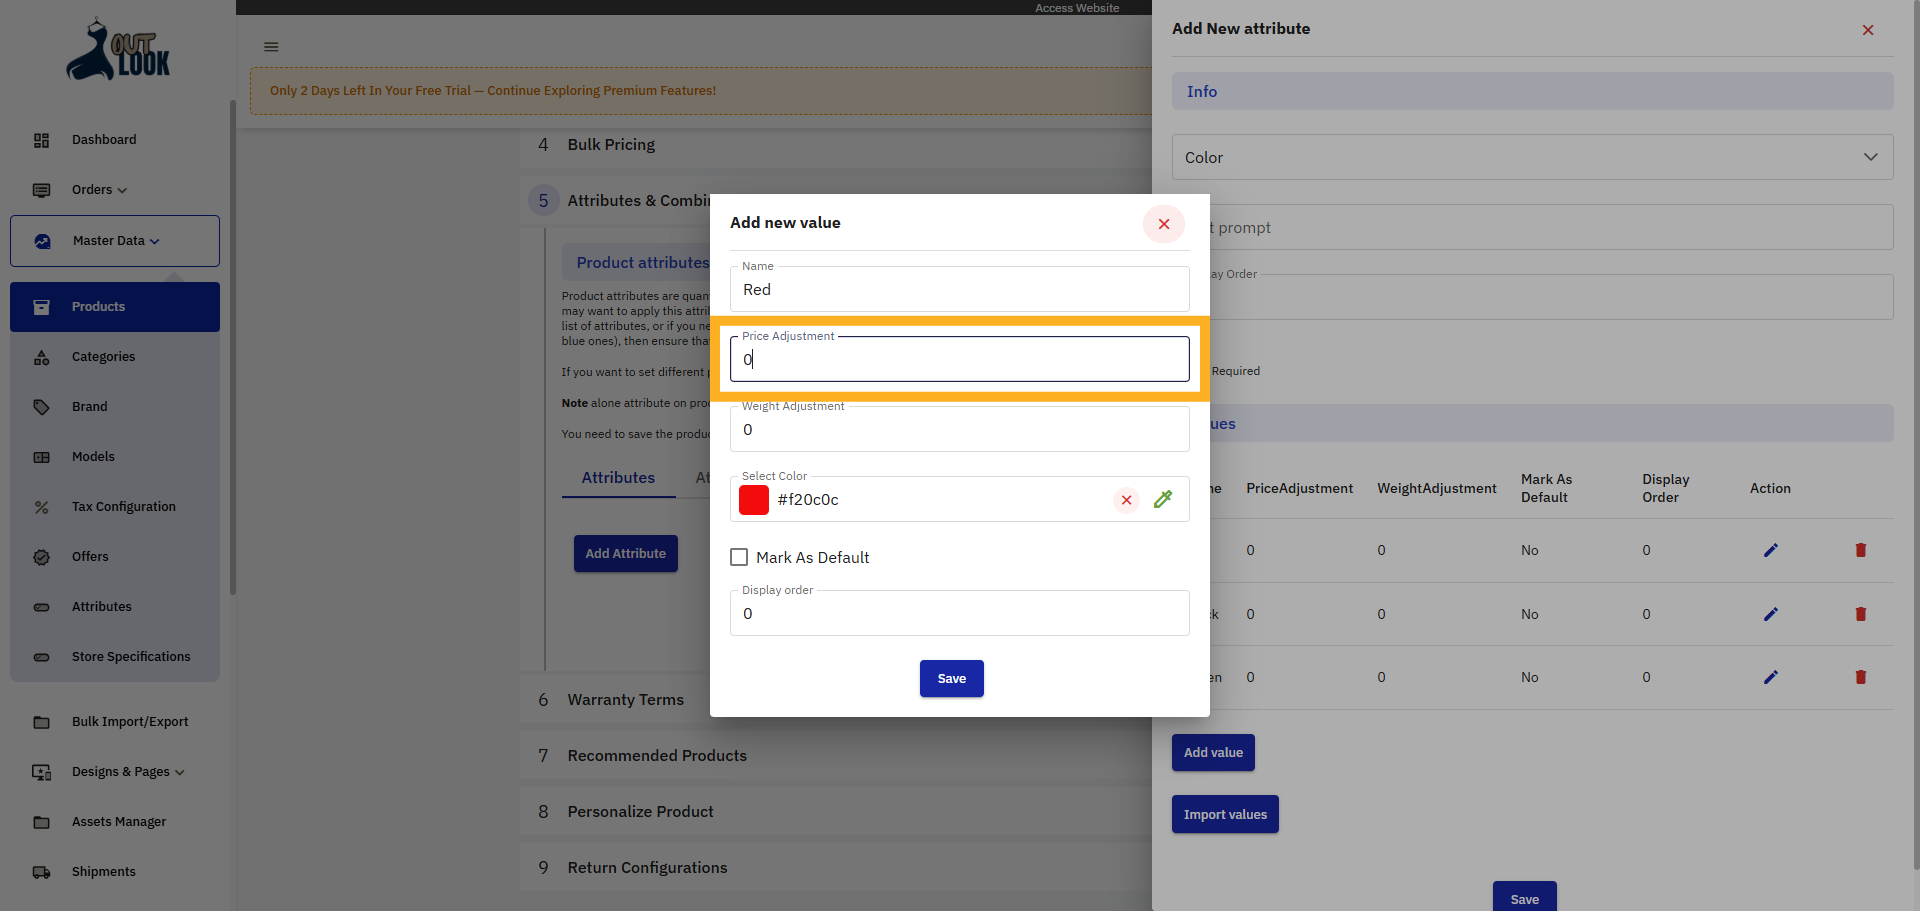
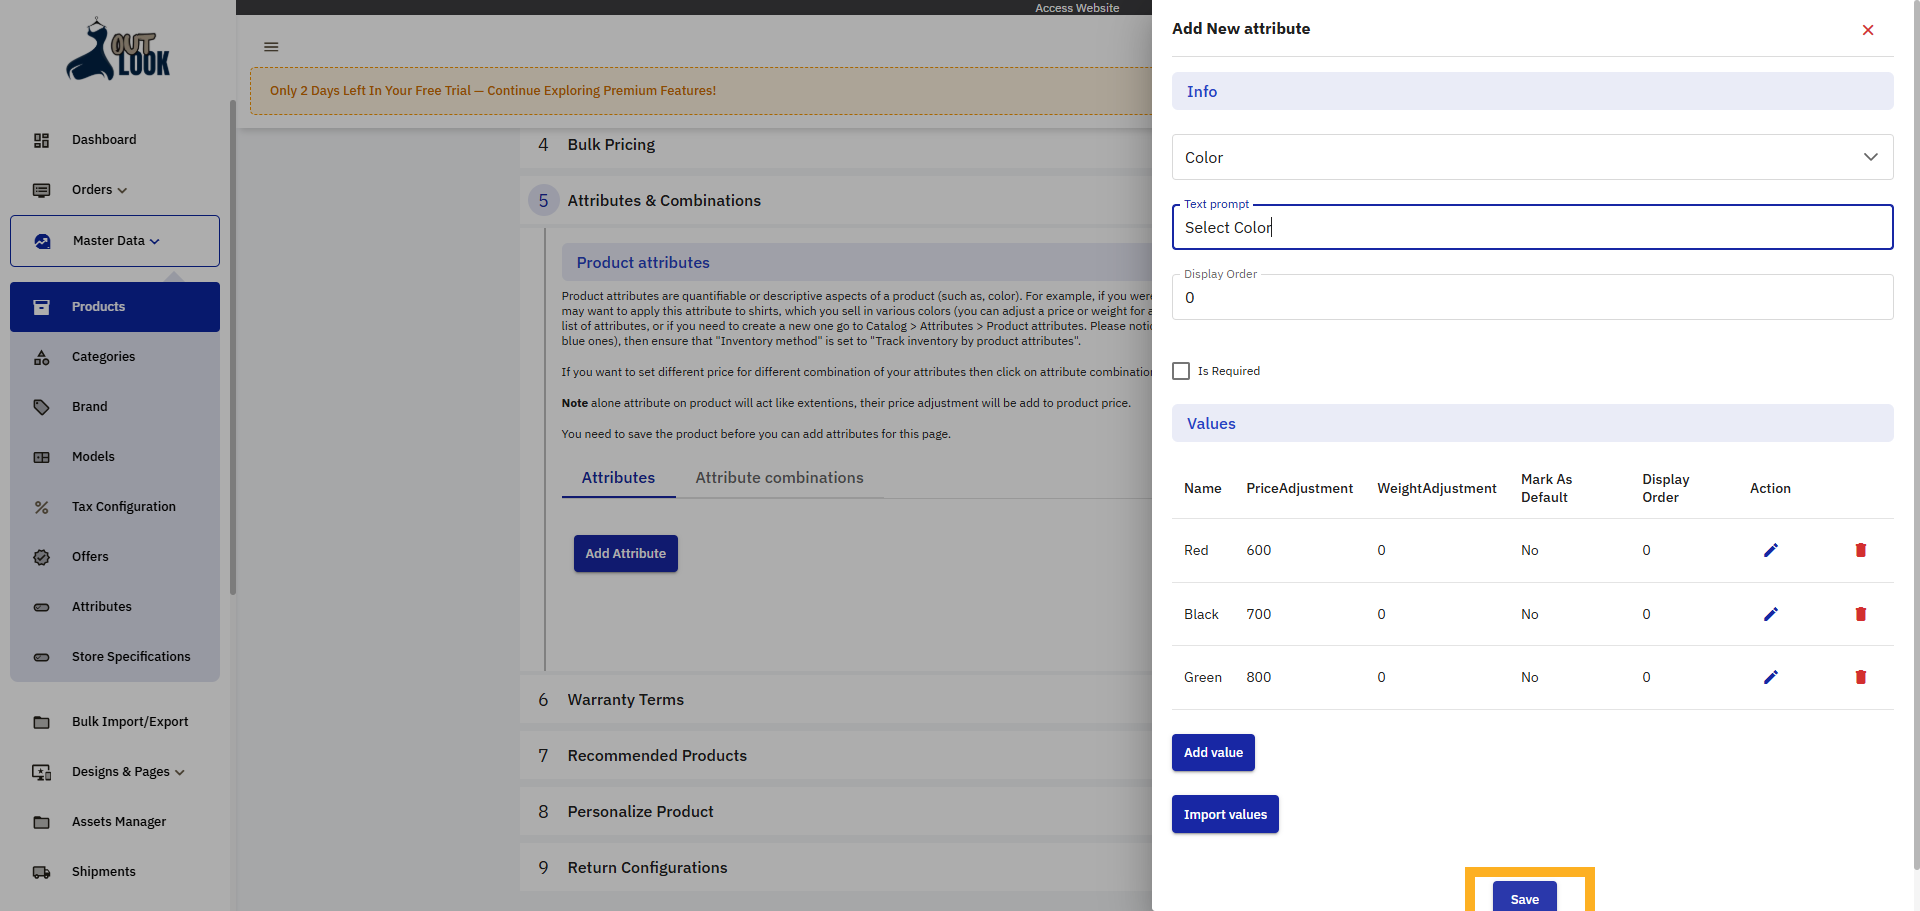
22. Enter Attribute Value Price
Fill in the price adjustment amount for this option.
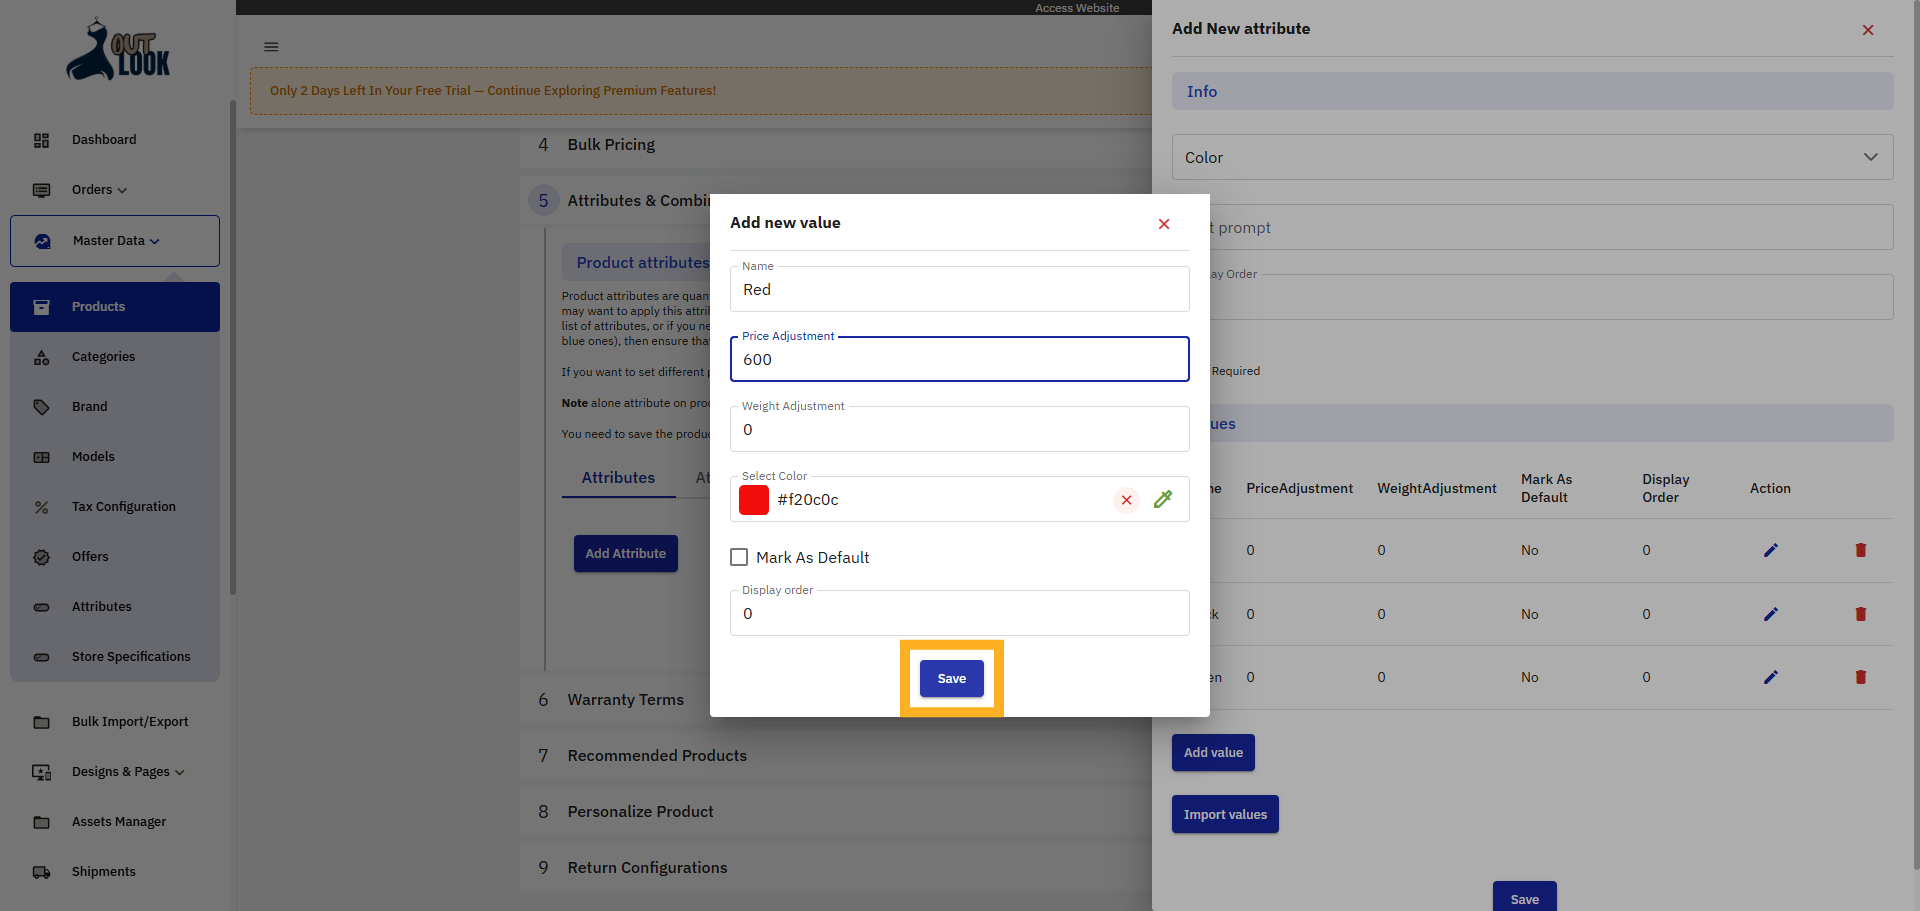
23. Save Attribute Changes
Click Save to apply changes made to the attribute values.
24. Save Attribute
Click Save to apply the text prompt to the attribute settings.
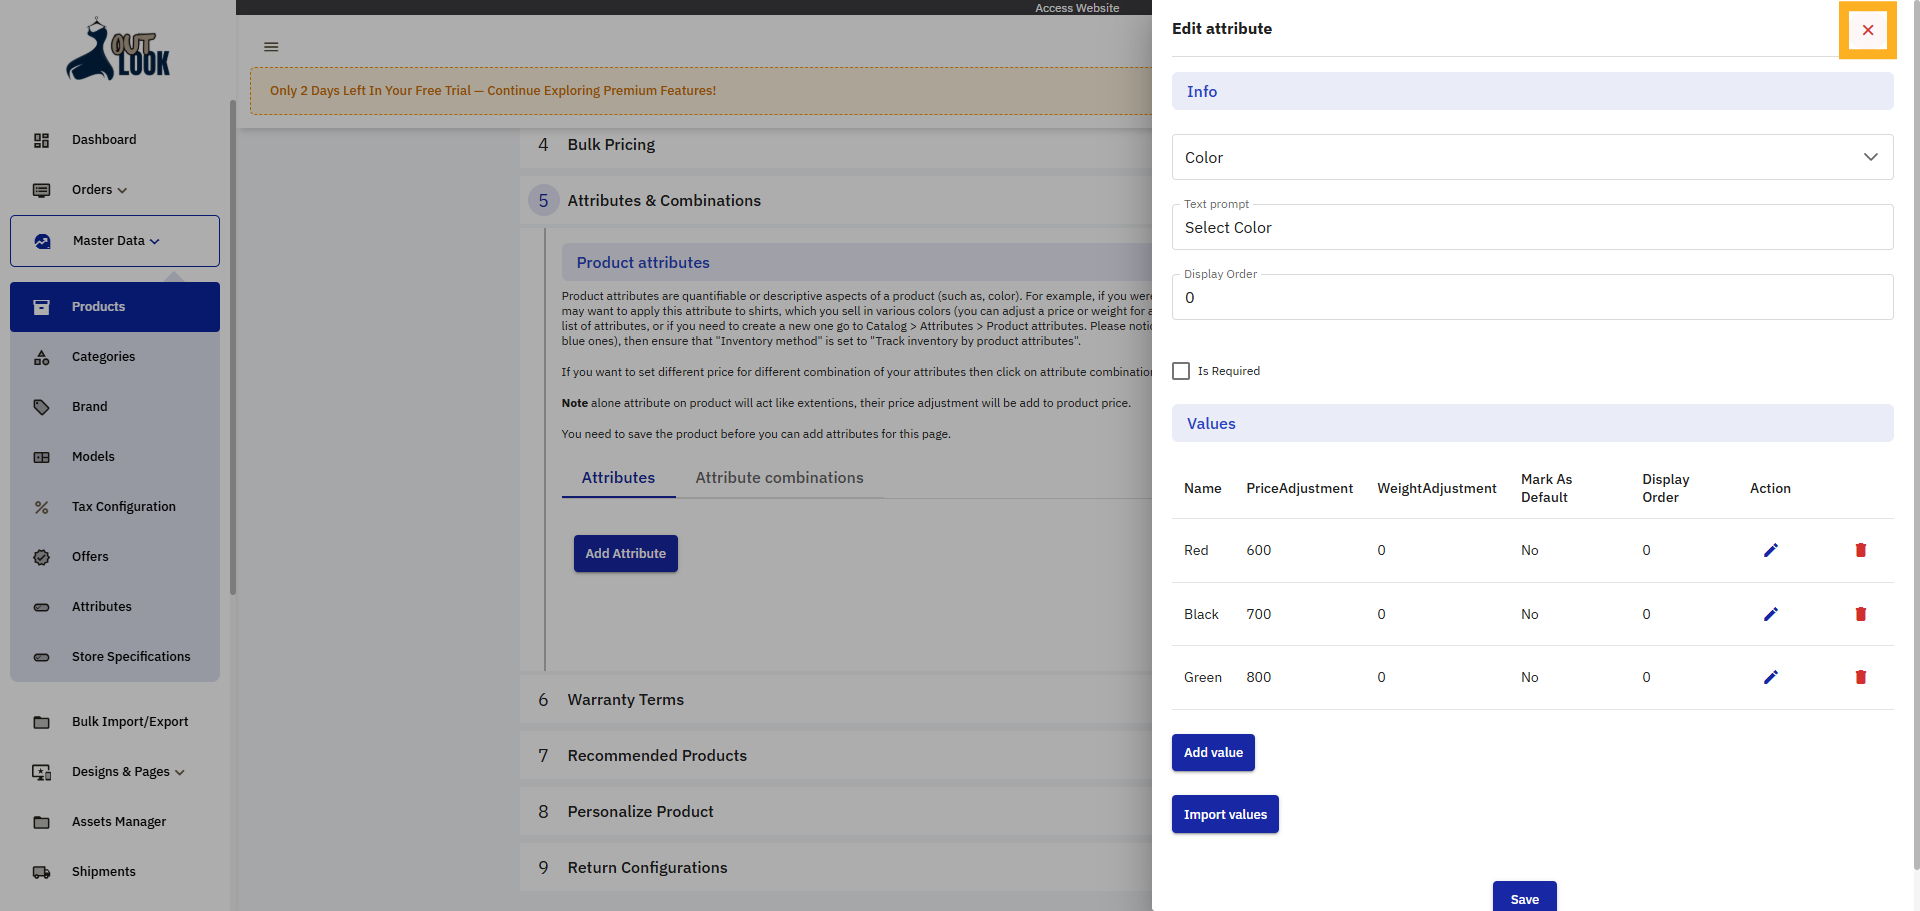
25. Close Attribute Editor
Click close to exit the attribute editing interface.
26. Add Another Attribute
Click Add Attribute to create a new attribute for your product.
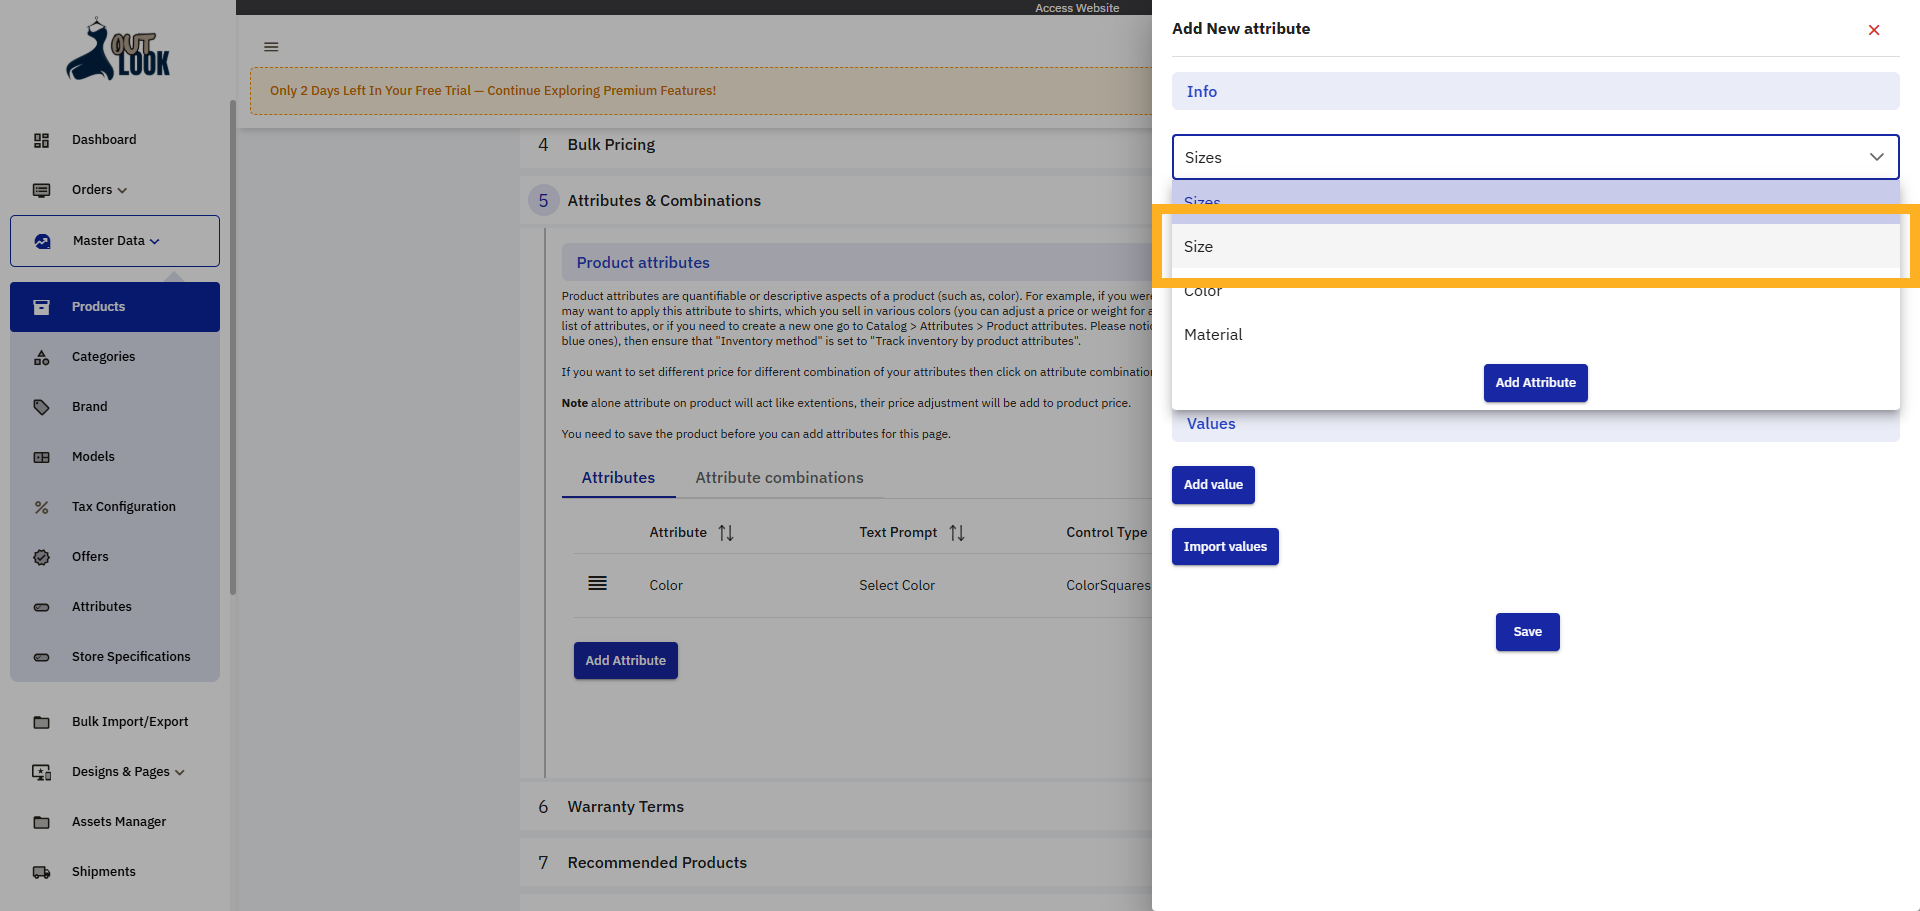
27. Open Attribute Dropdown
Click the Attribute dropdown to select the new attribute type.
28. Select Size Options
Click Size to view and manage individual size values.
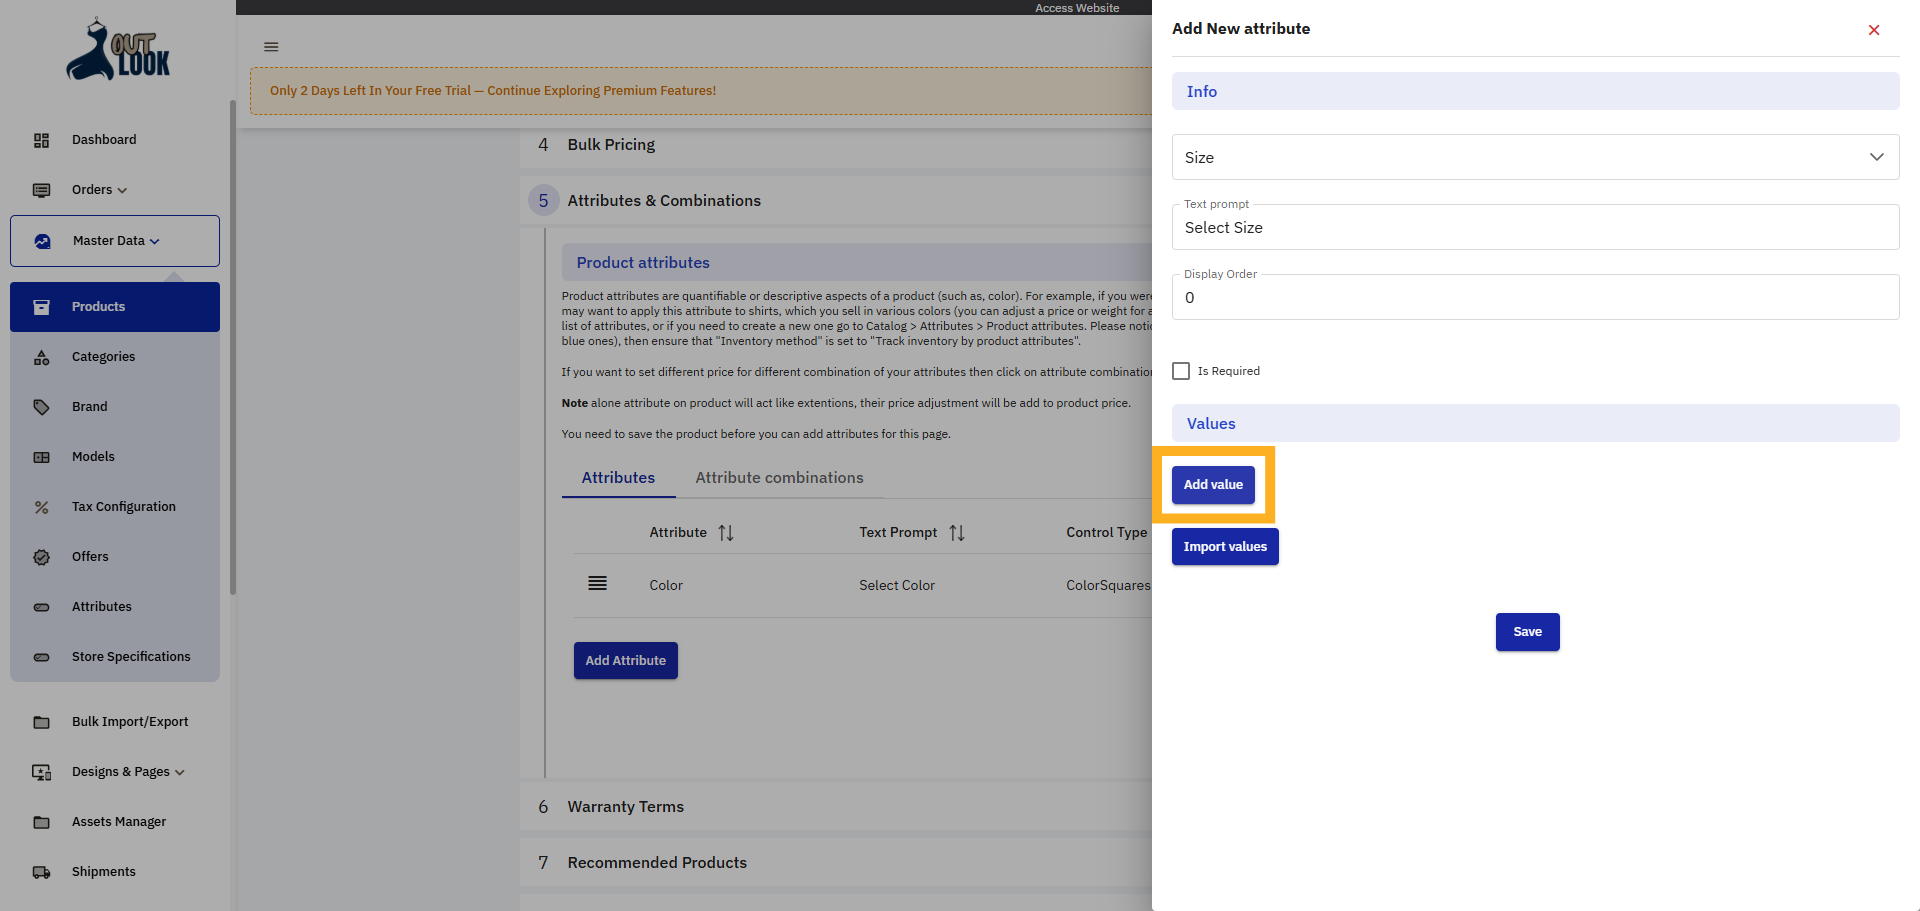
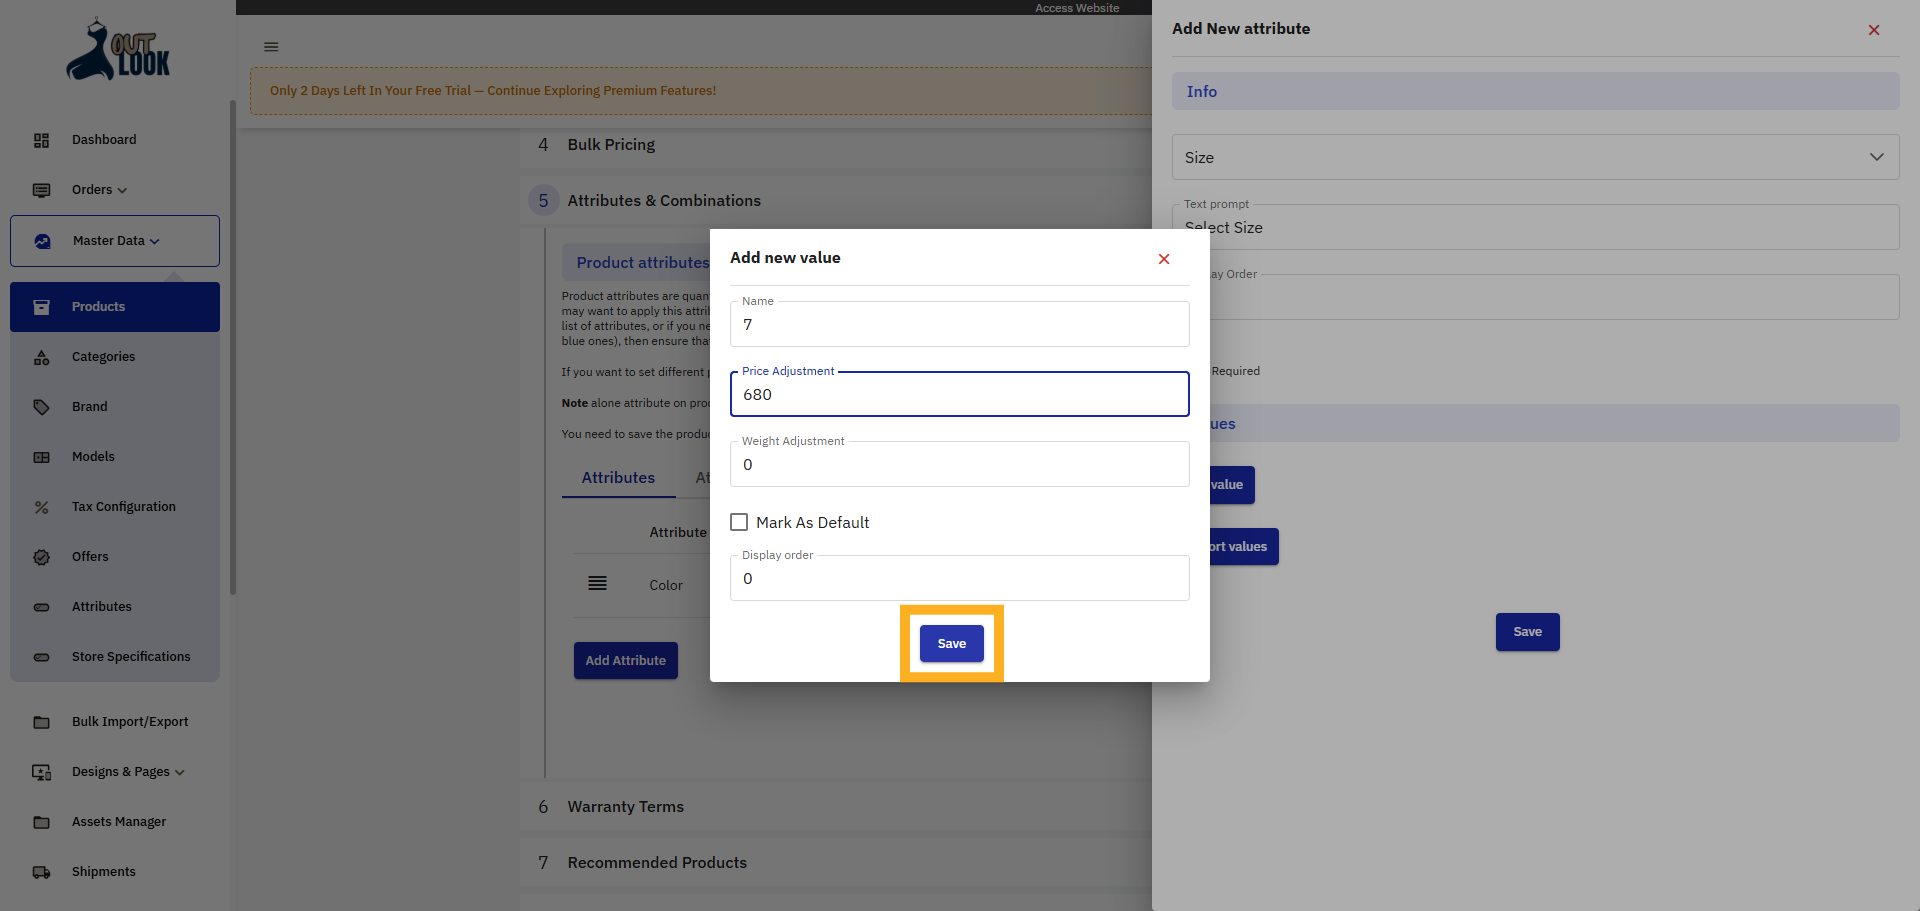
29. Add New Value
Click Add value to create a new option for the size attribute.
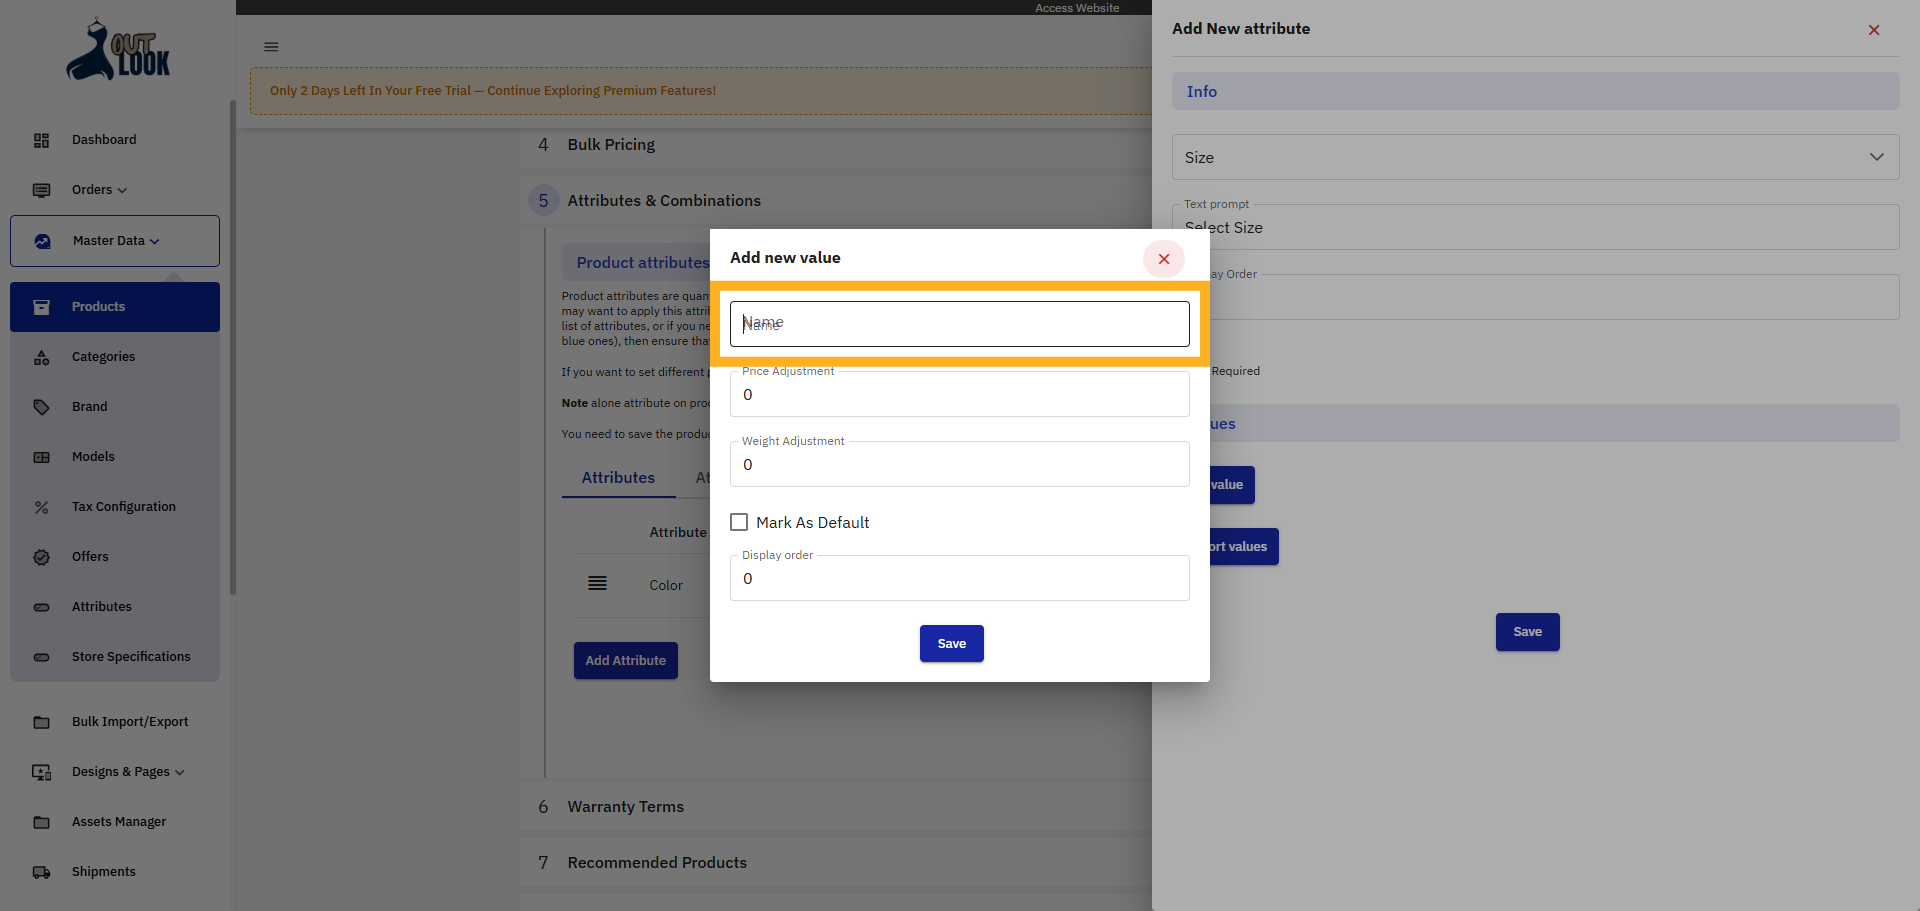
30. Access Name Field
Click Name to enter the identifier for the new size value.
31. Enter Price Adjustment
Fill in the price adjustment amount for this size option.
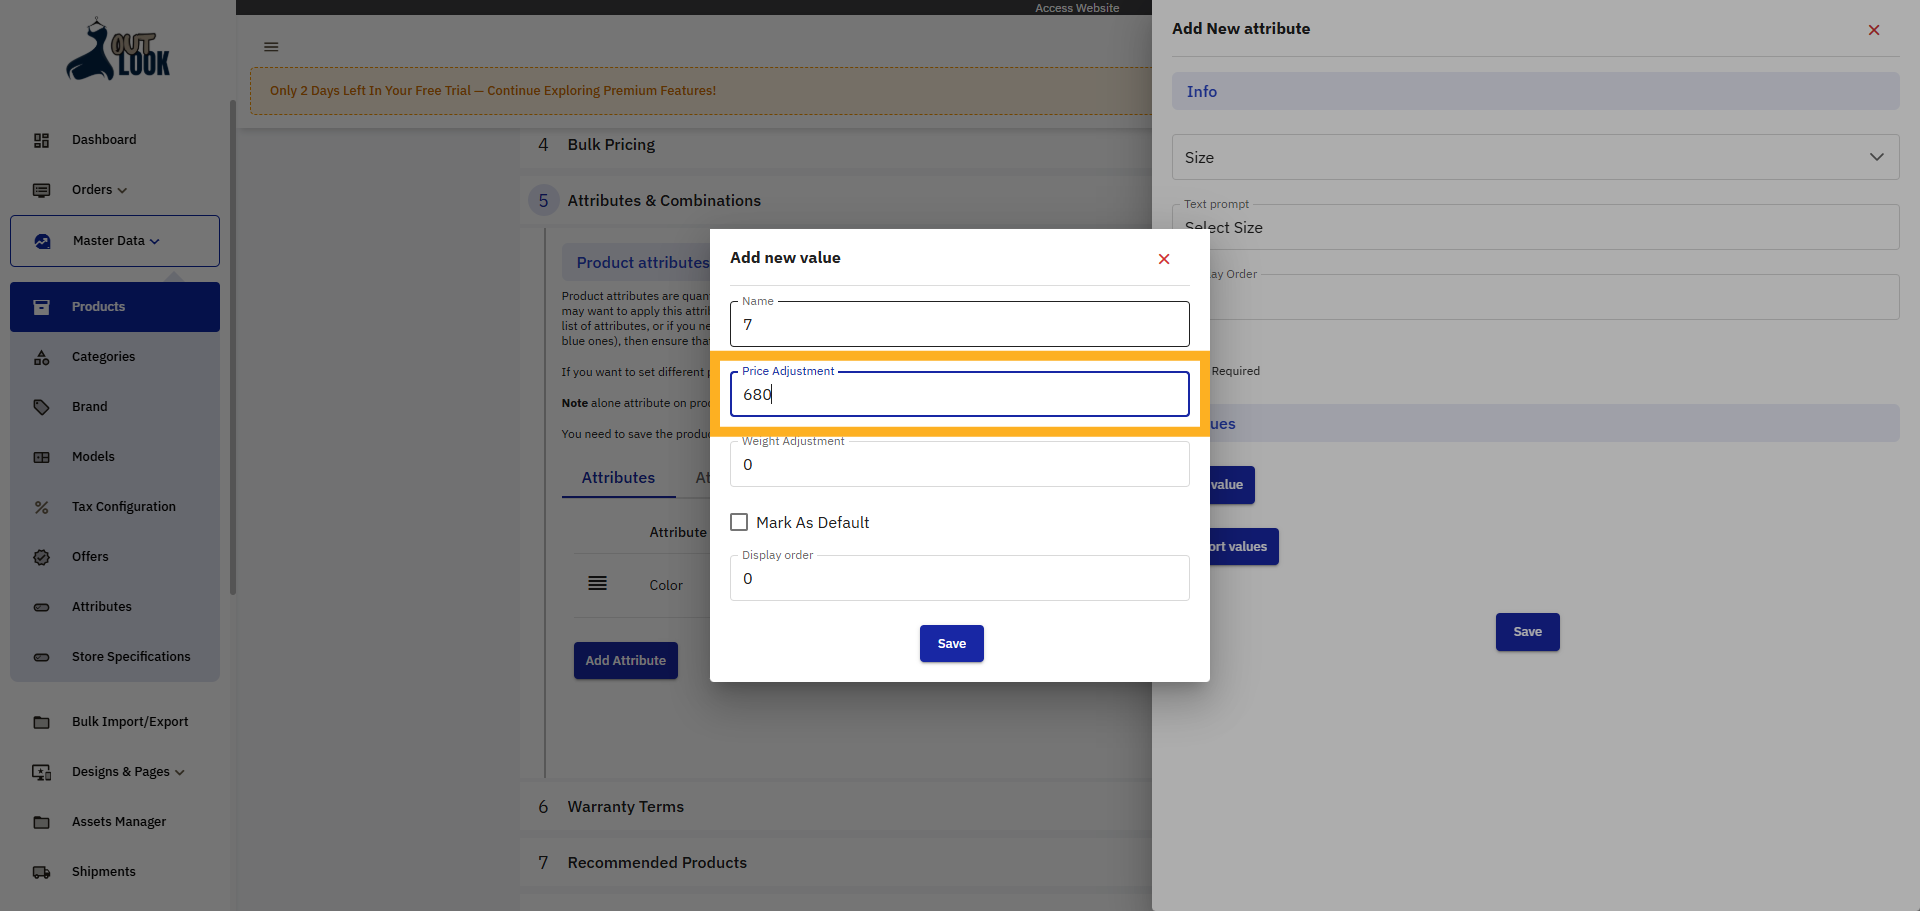
32. Save Size Value
Click Save to confirm and store the new size attribute value.
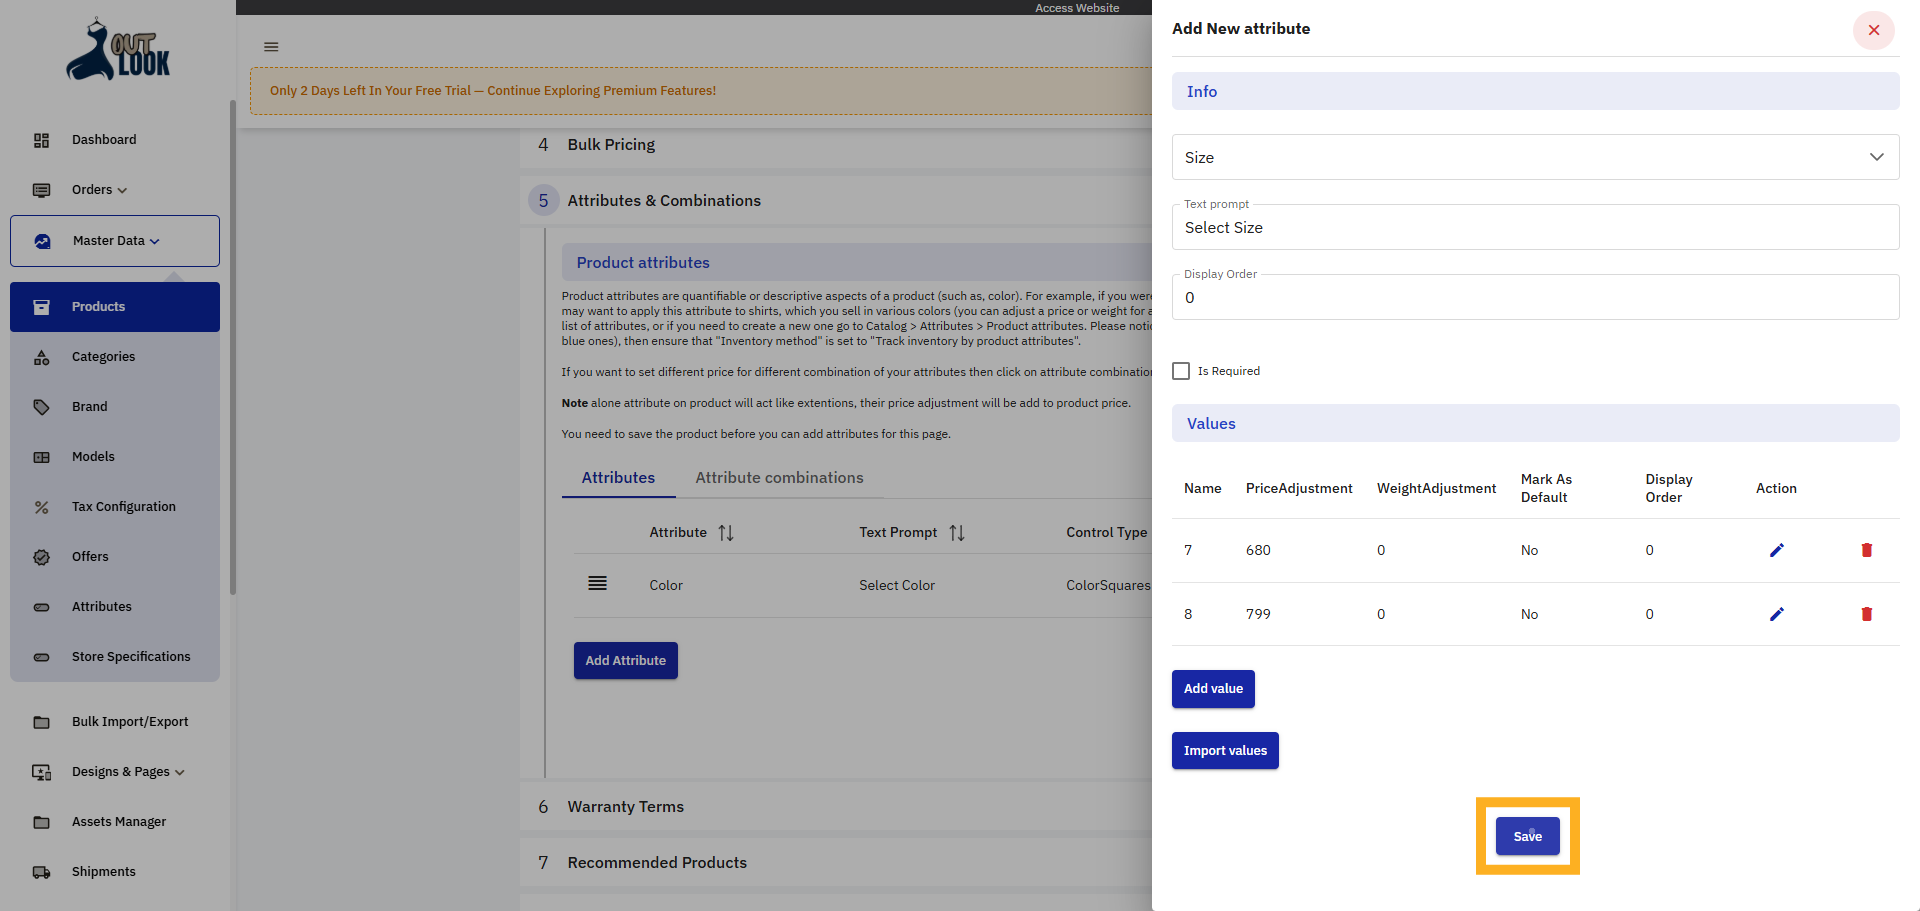
33. Save All Changes
Click Save to finalize all attribute and product modifications.
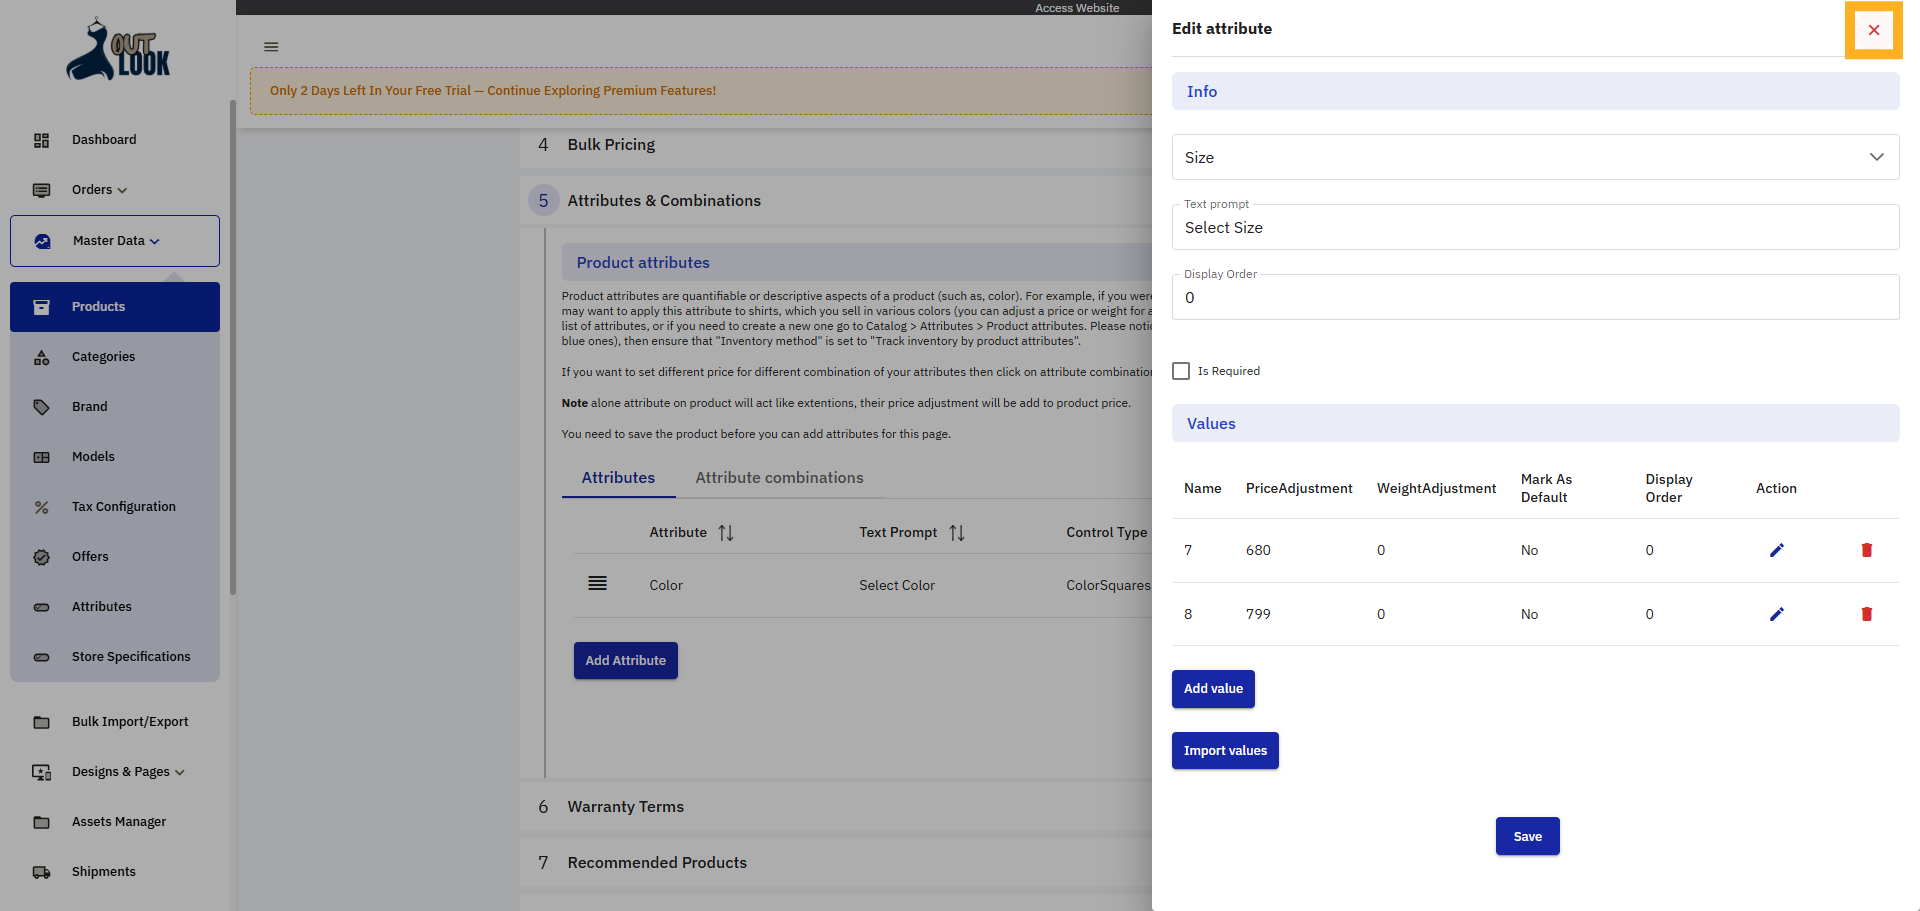
34. Close Attribute Section
Click close to exit the attribute and combinations interface.
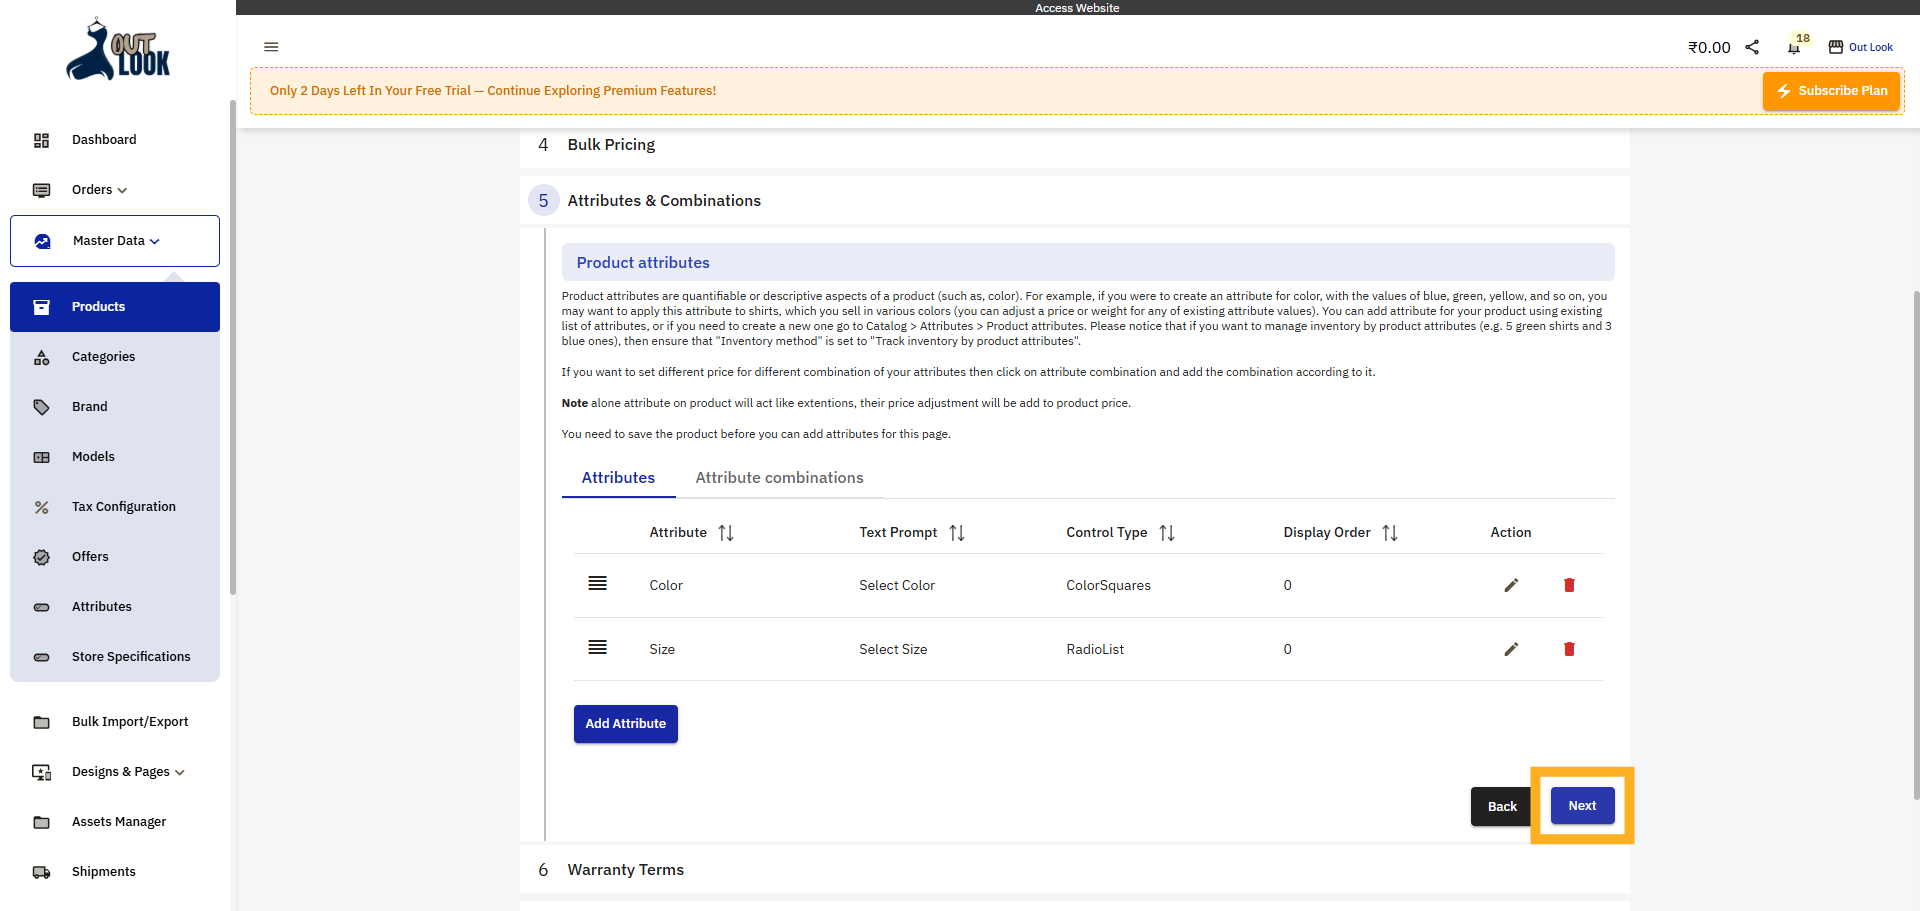
35. Proceed to Next Step
Click Next to continue to the following stage in product setup.
36. Return to Products List
Click Products to go back to the main product inventory page.

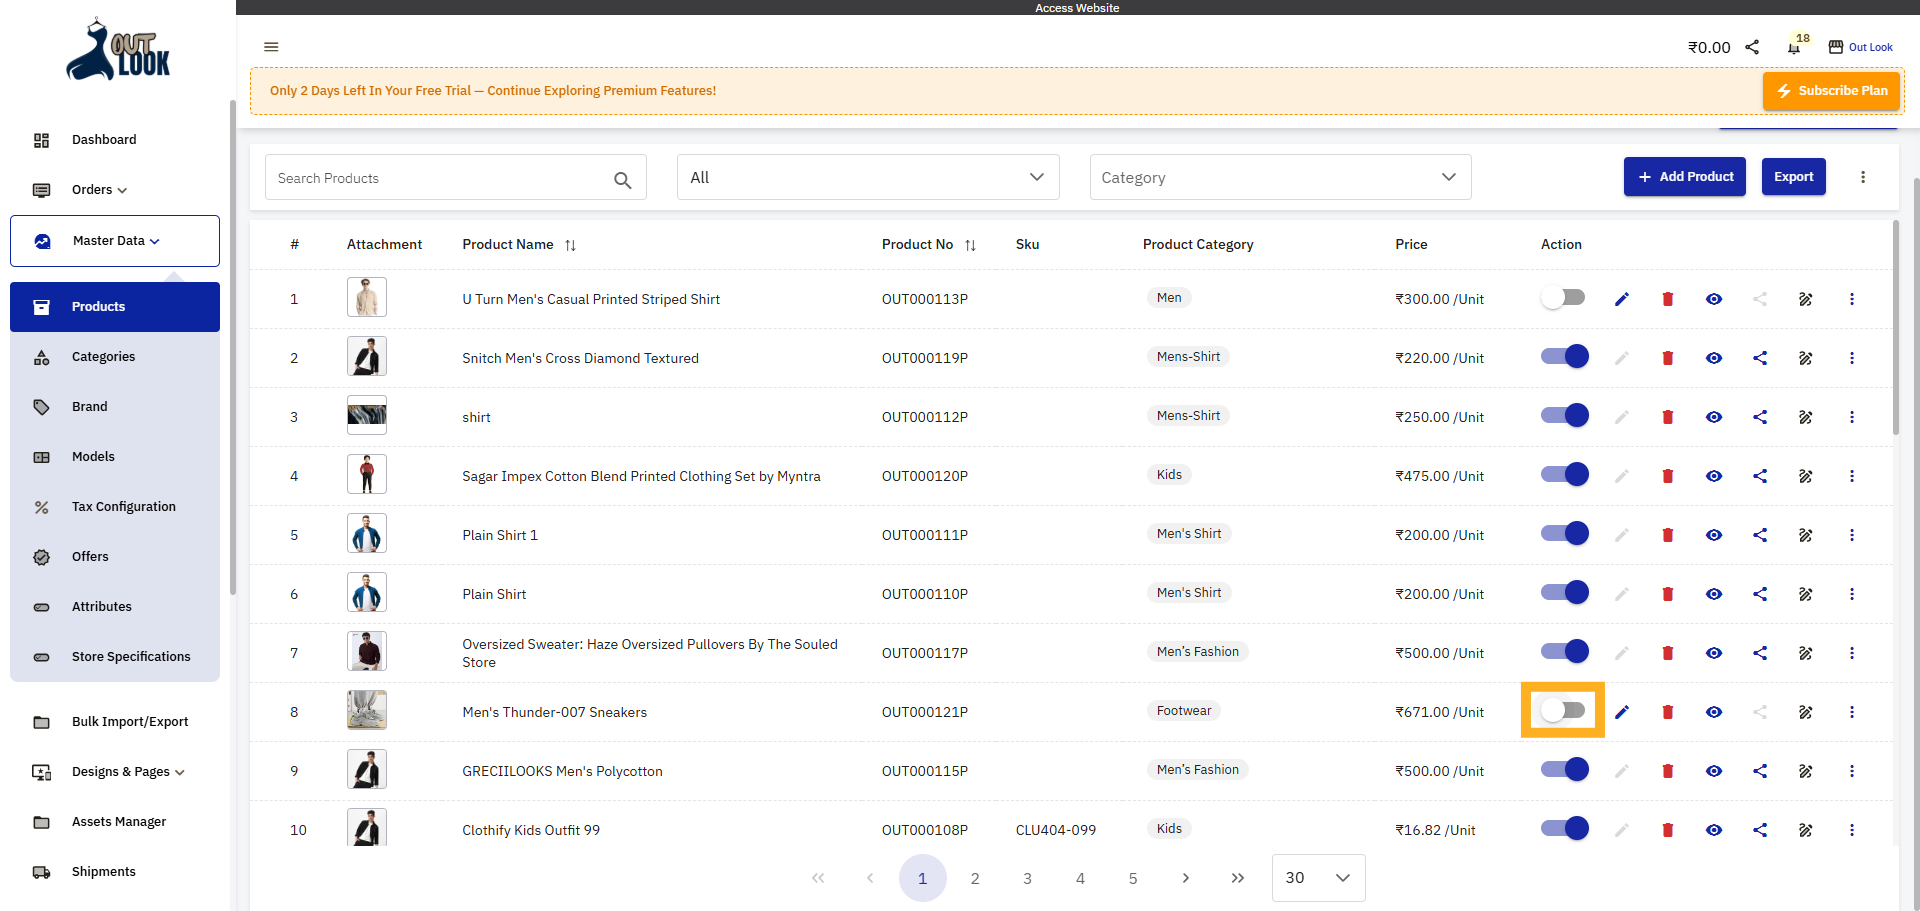
37. Publish Product
Publish product to see in website
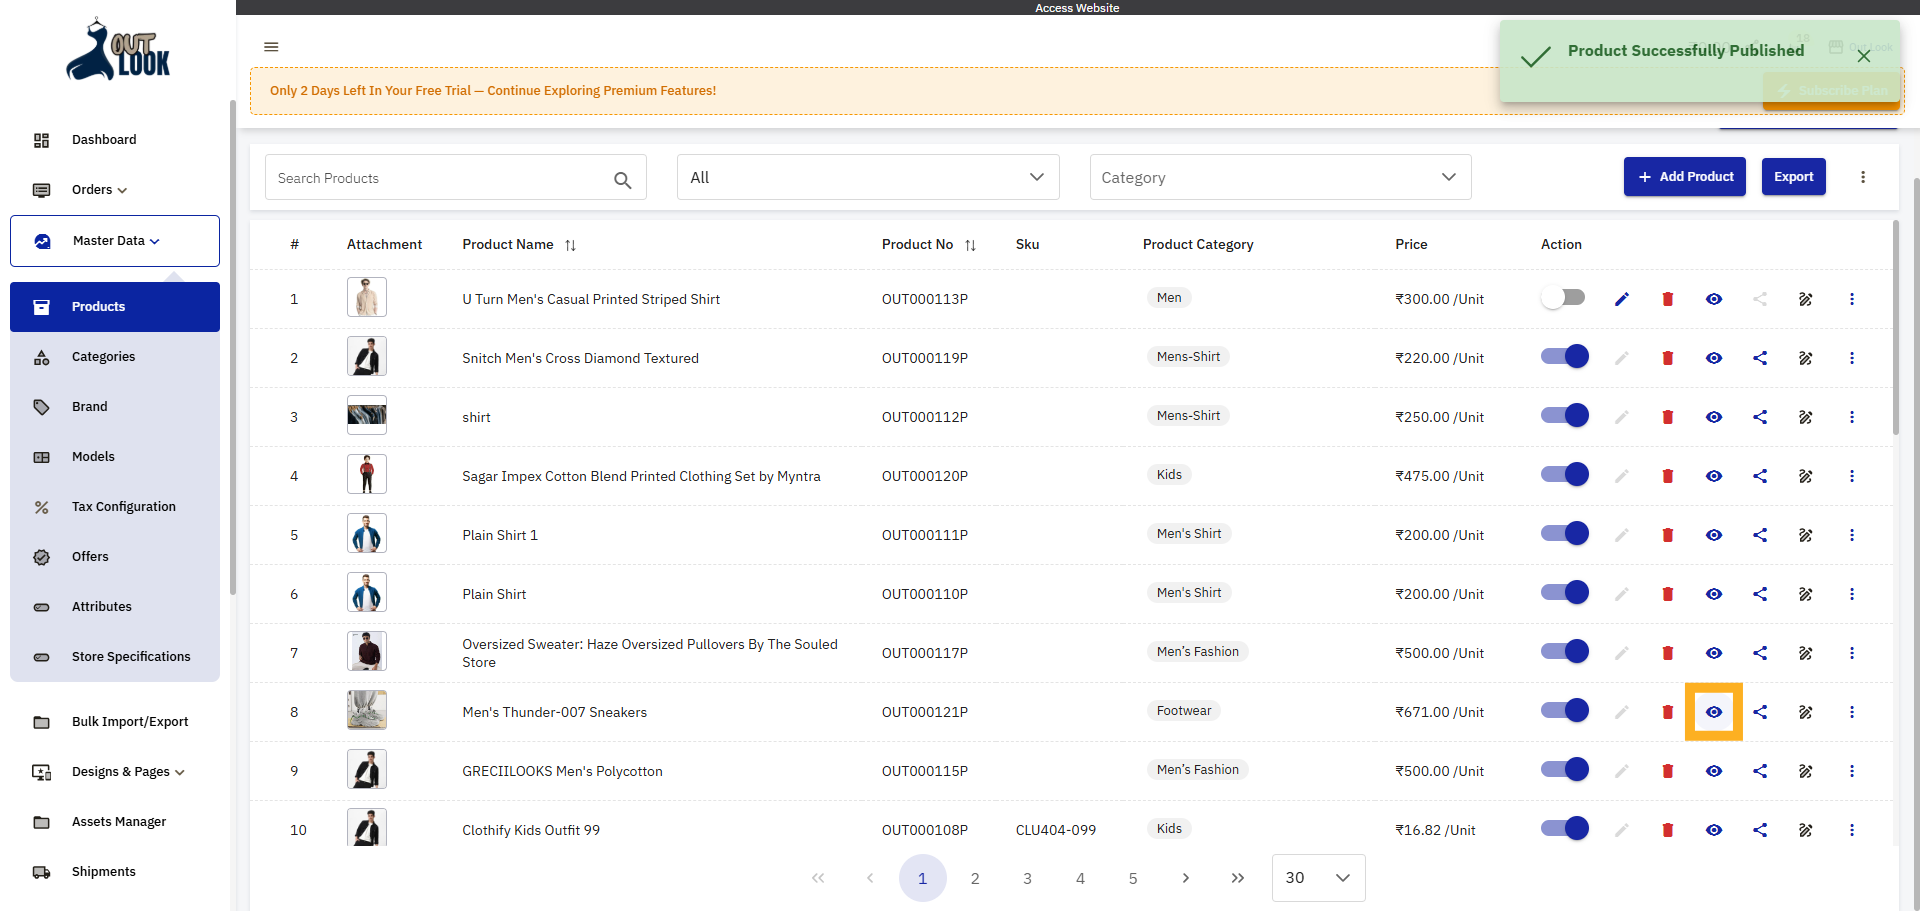
38. Product Visibility
Click the eye (visibility) icon to open the product’s live page in a new tab to see applied changes
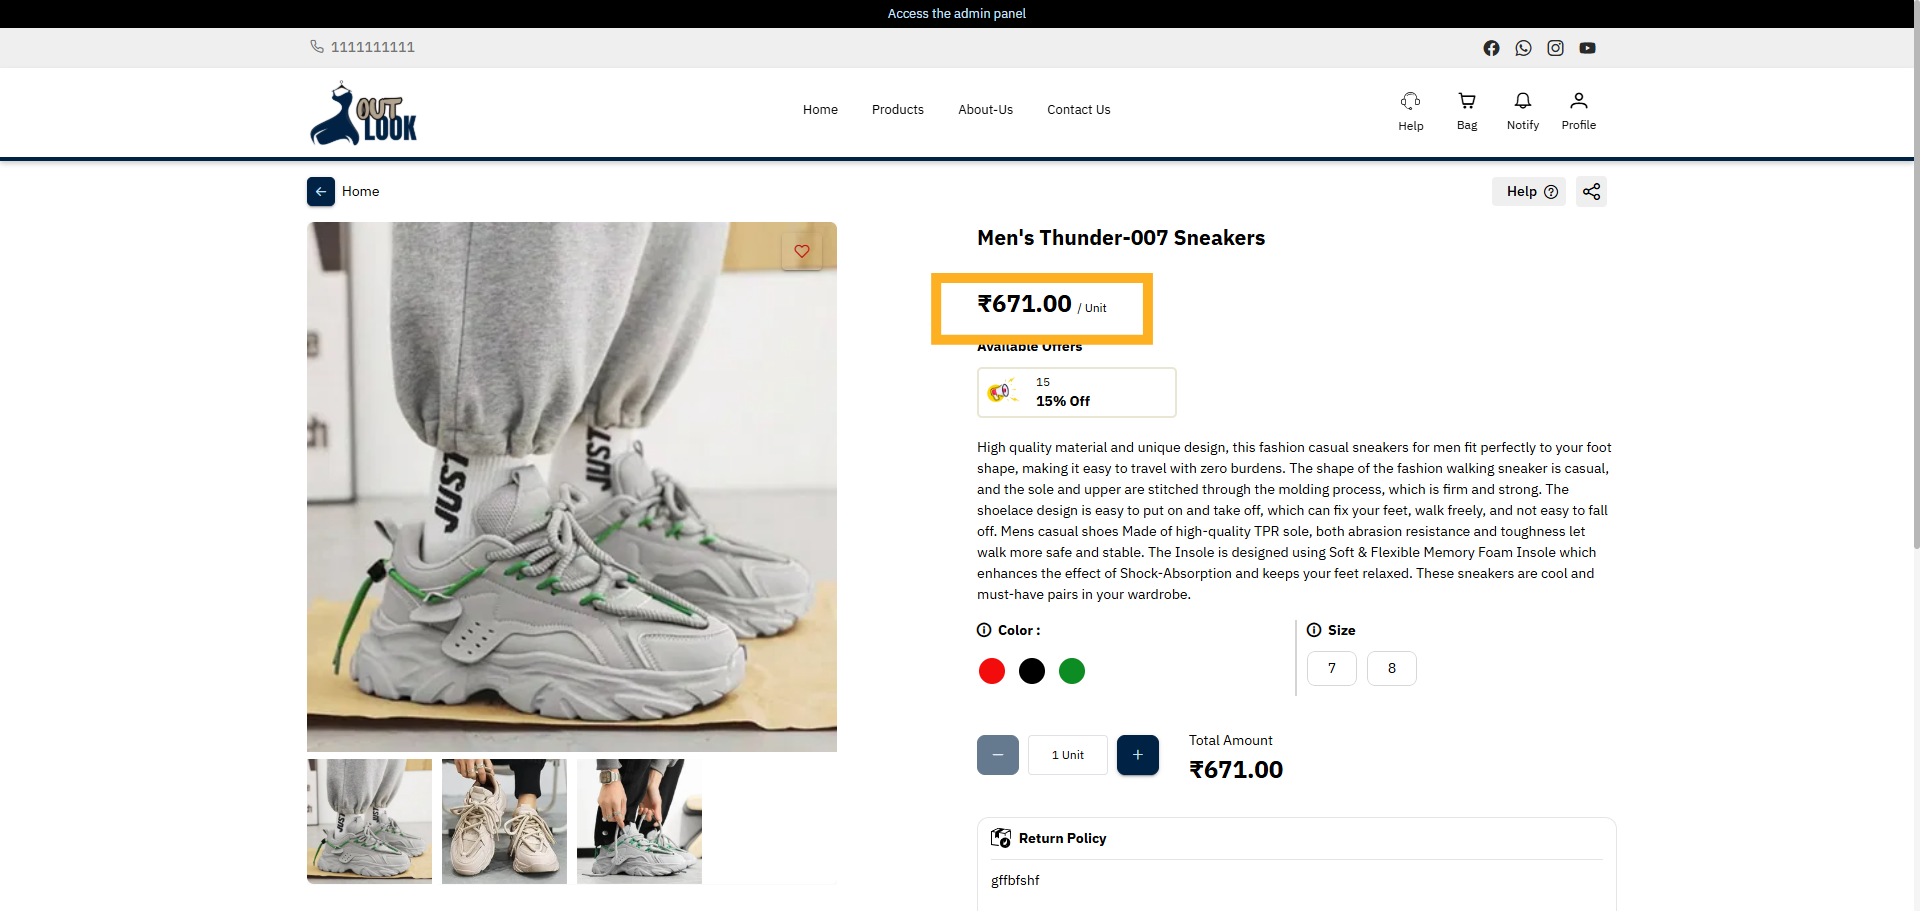
39. View Product Details
Click the product listing to view detailed information and offers.
40. Access Attribute
select attribute Value to see price changes are affected
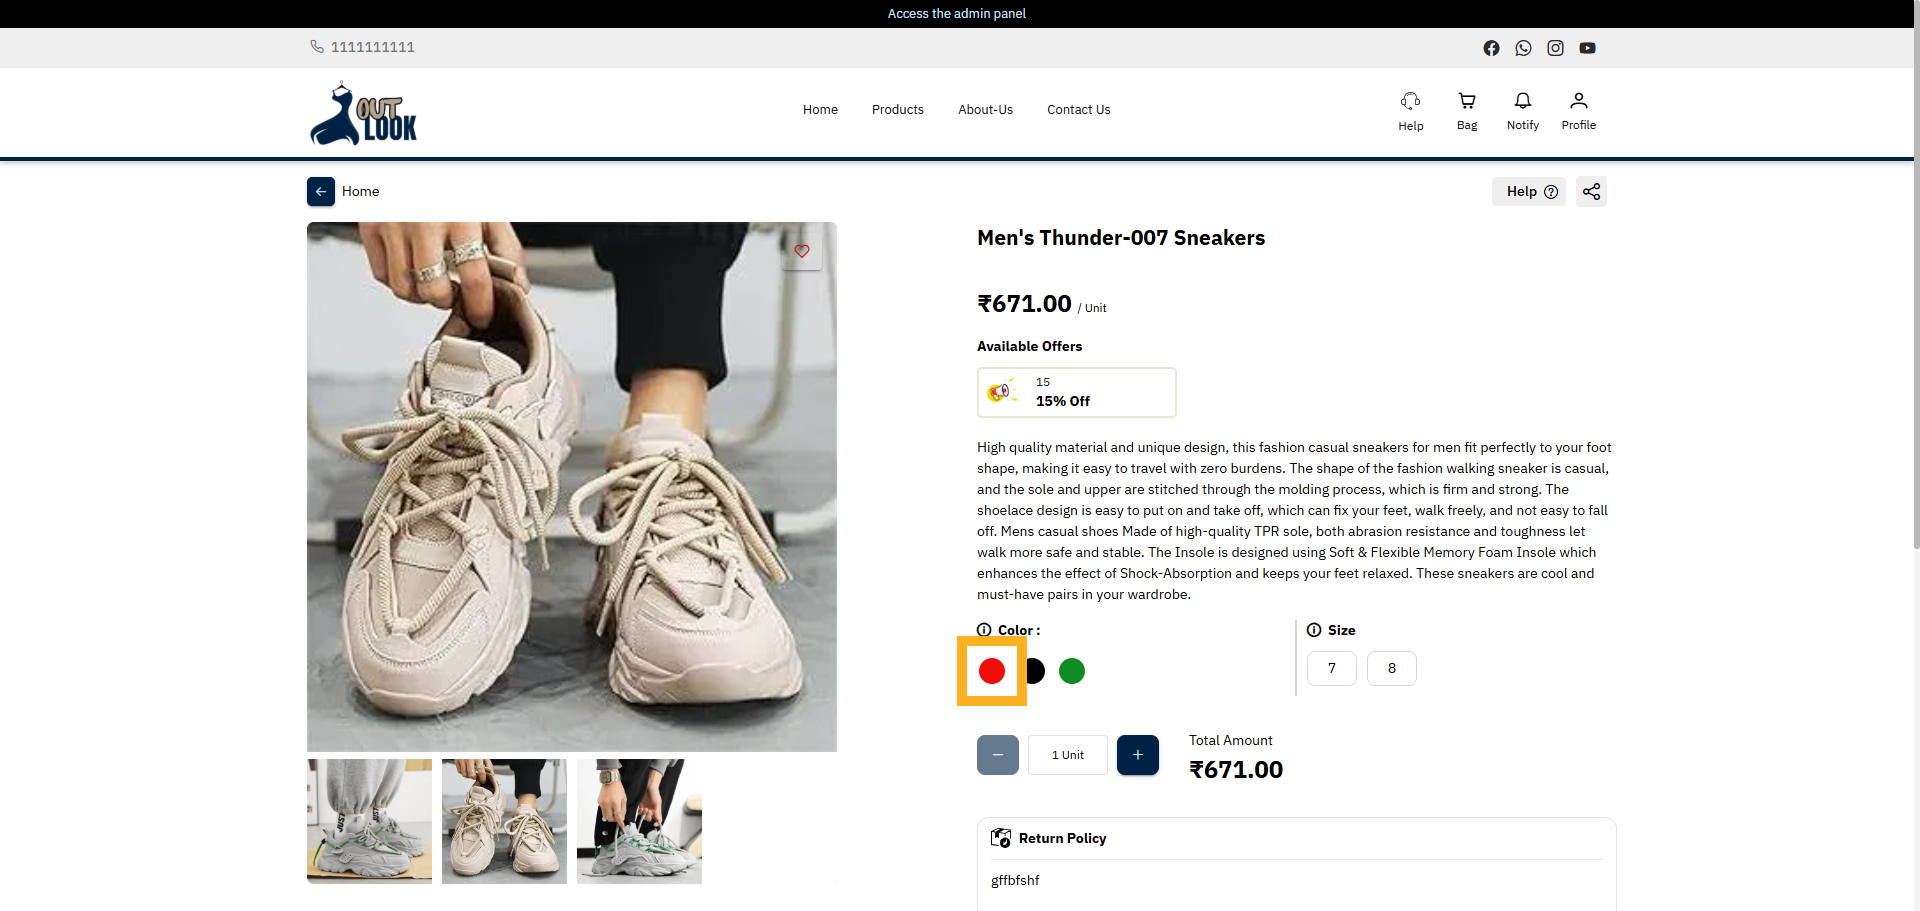
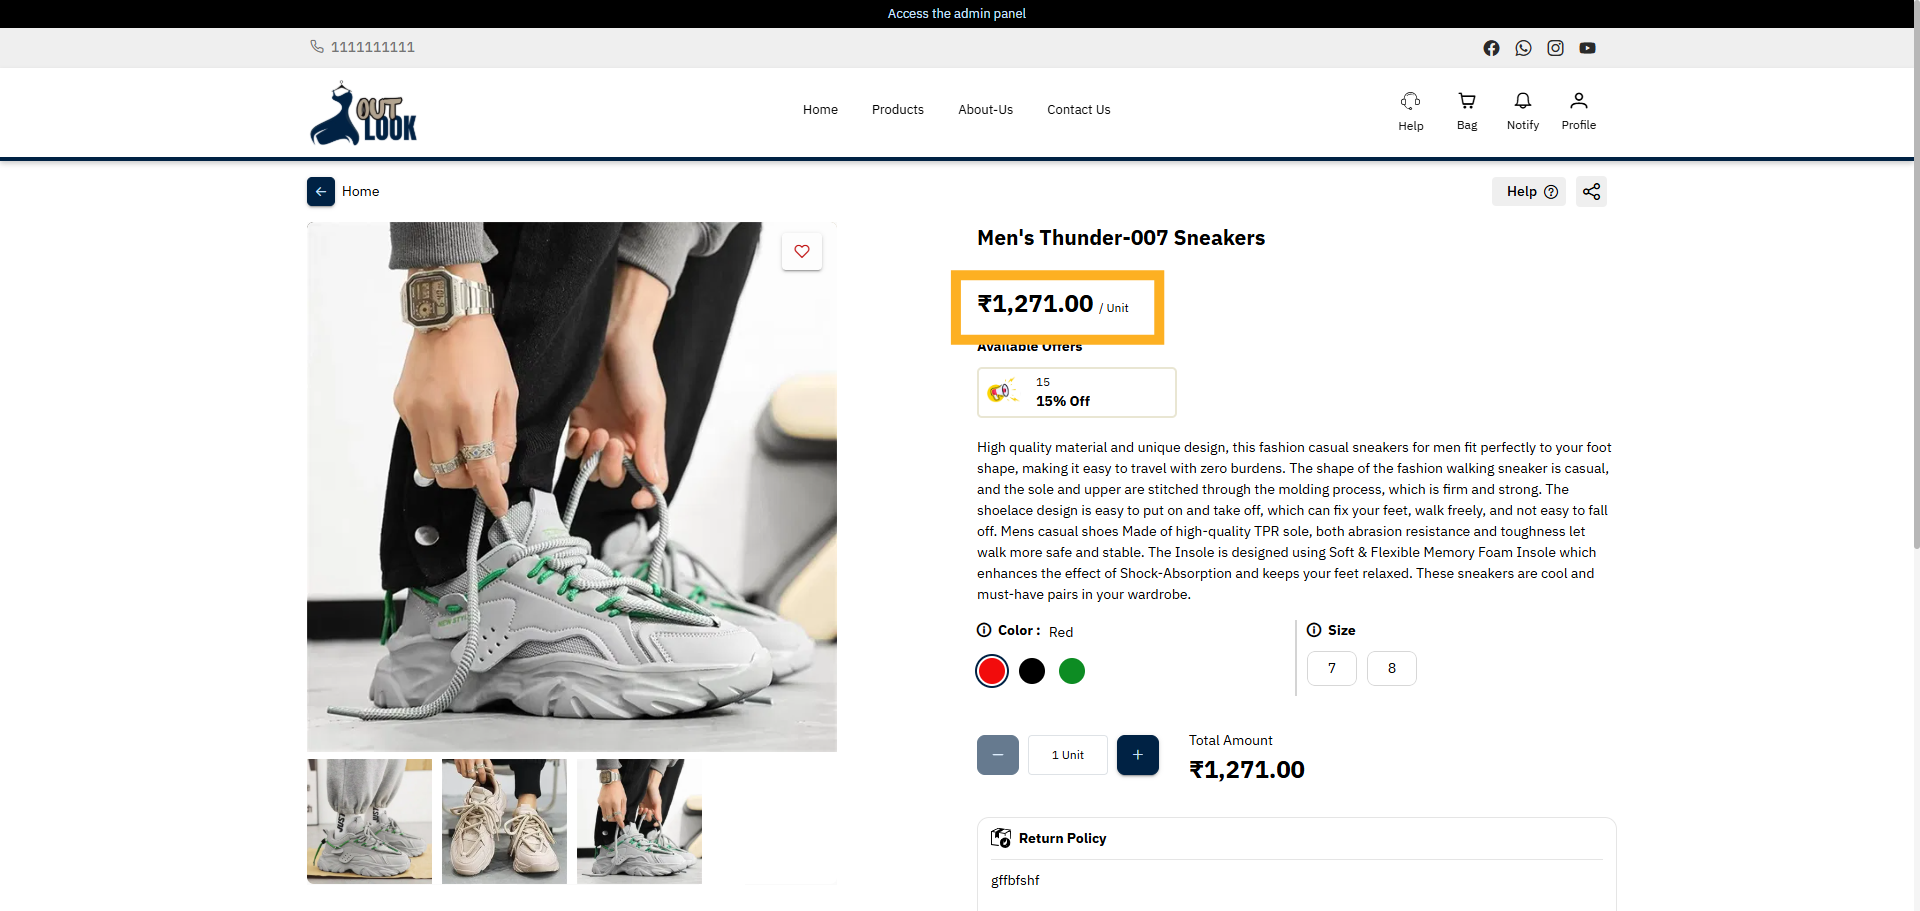
41. View Product Details With Affected Price
Displays the base price of a product along with additional costs applied based on selected attribute
values such as size, color, or features
You have successfully added and configured product AddOns in the Boniii platform. Review your product
details and attributes to ensure accuracy before publishing. For further customization, explore related
product management features.
Uploading...