Add And Use Store Attributes In Boniii
1. Introduction
You will learn to create attributes, assign values, and apply them to products for better inventory
management.
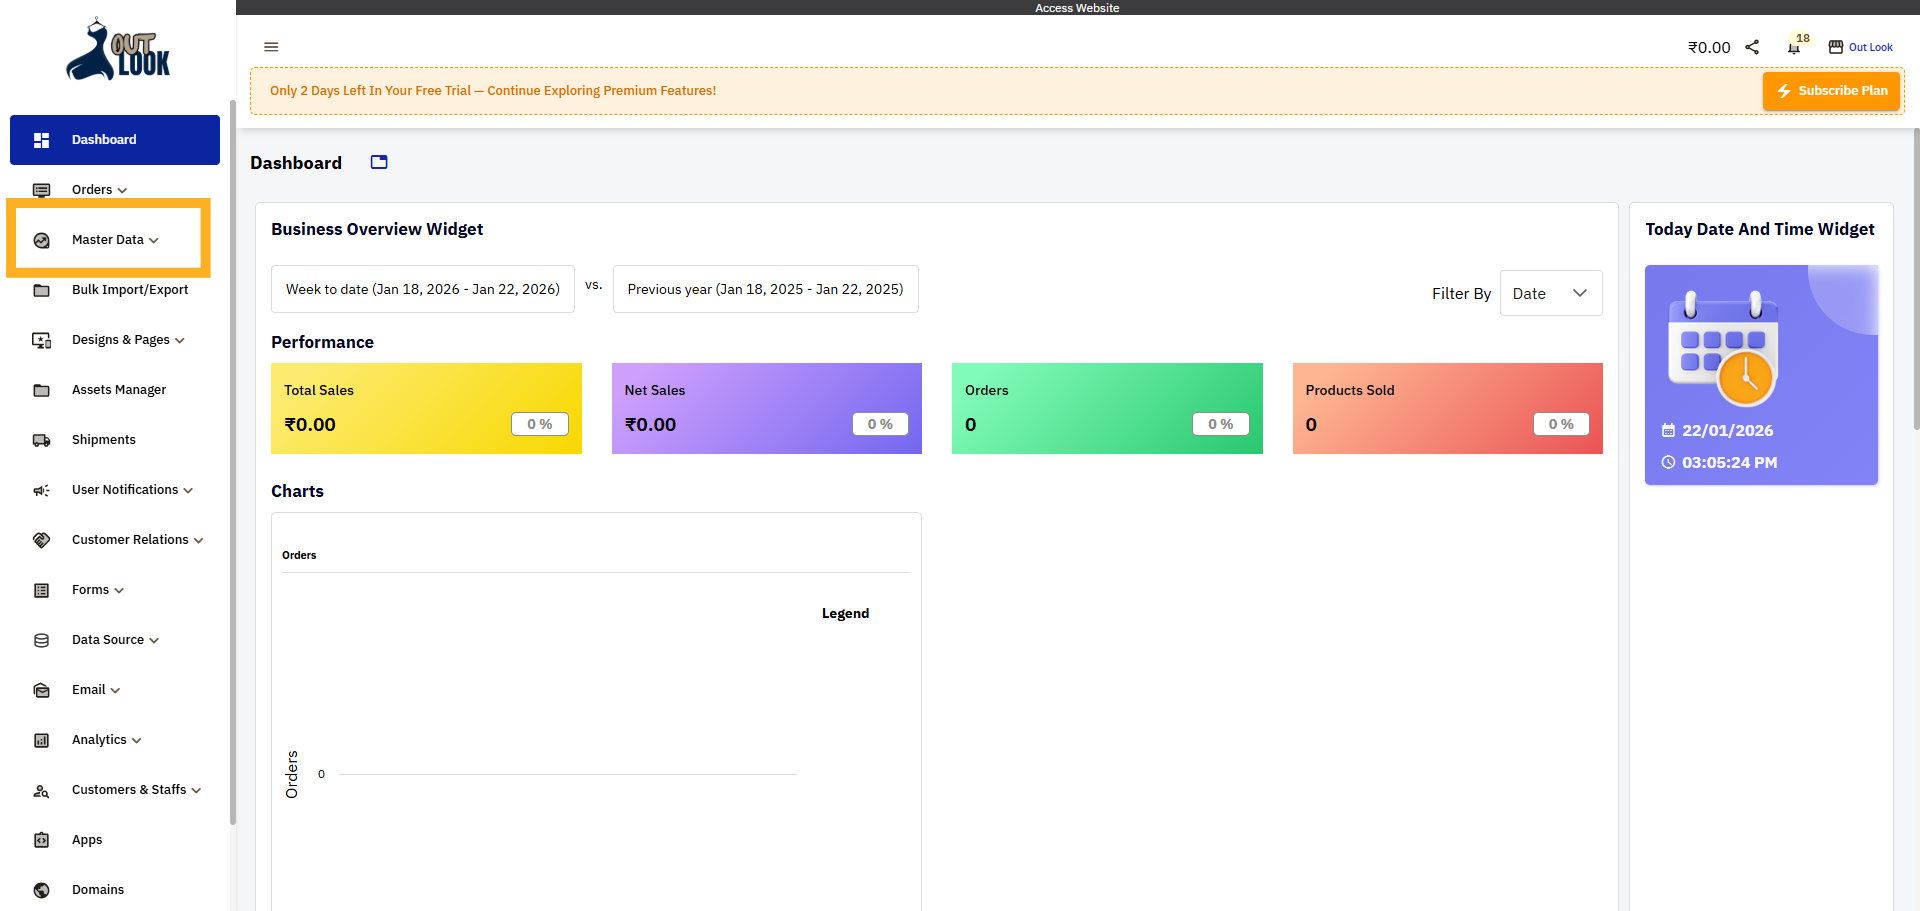
2. Click to master data
Click the Master Data to open the attributes menu on the Dashboard.
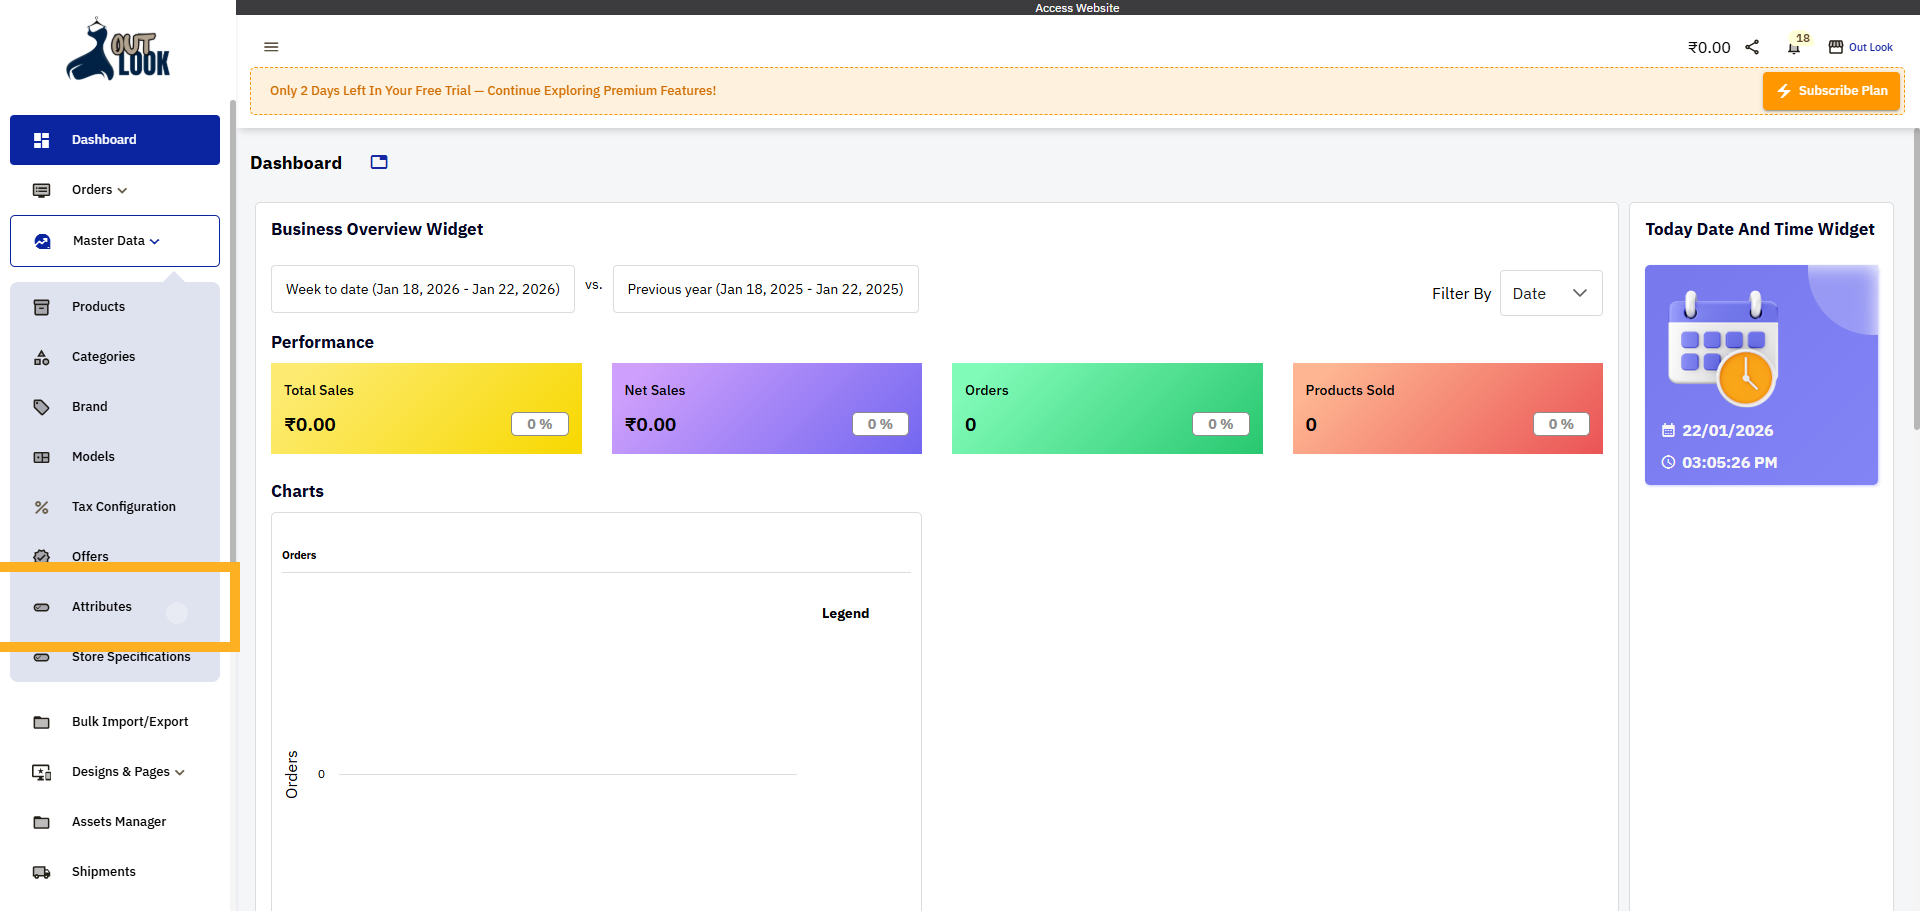
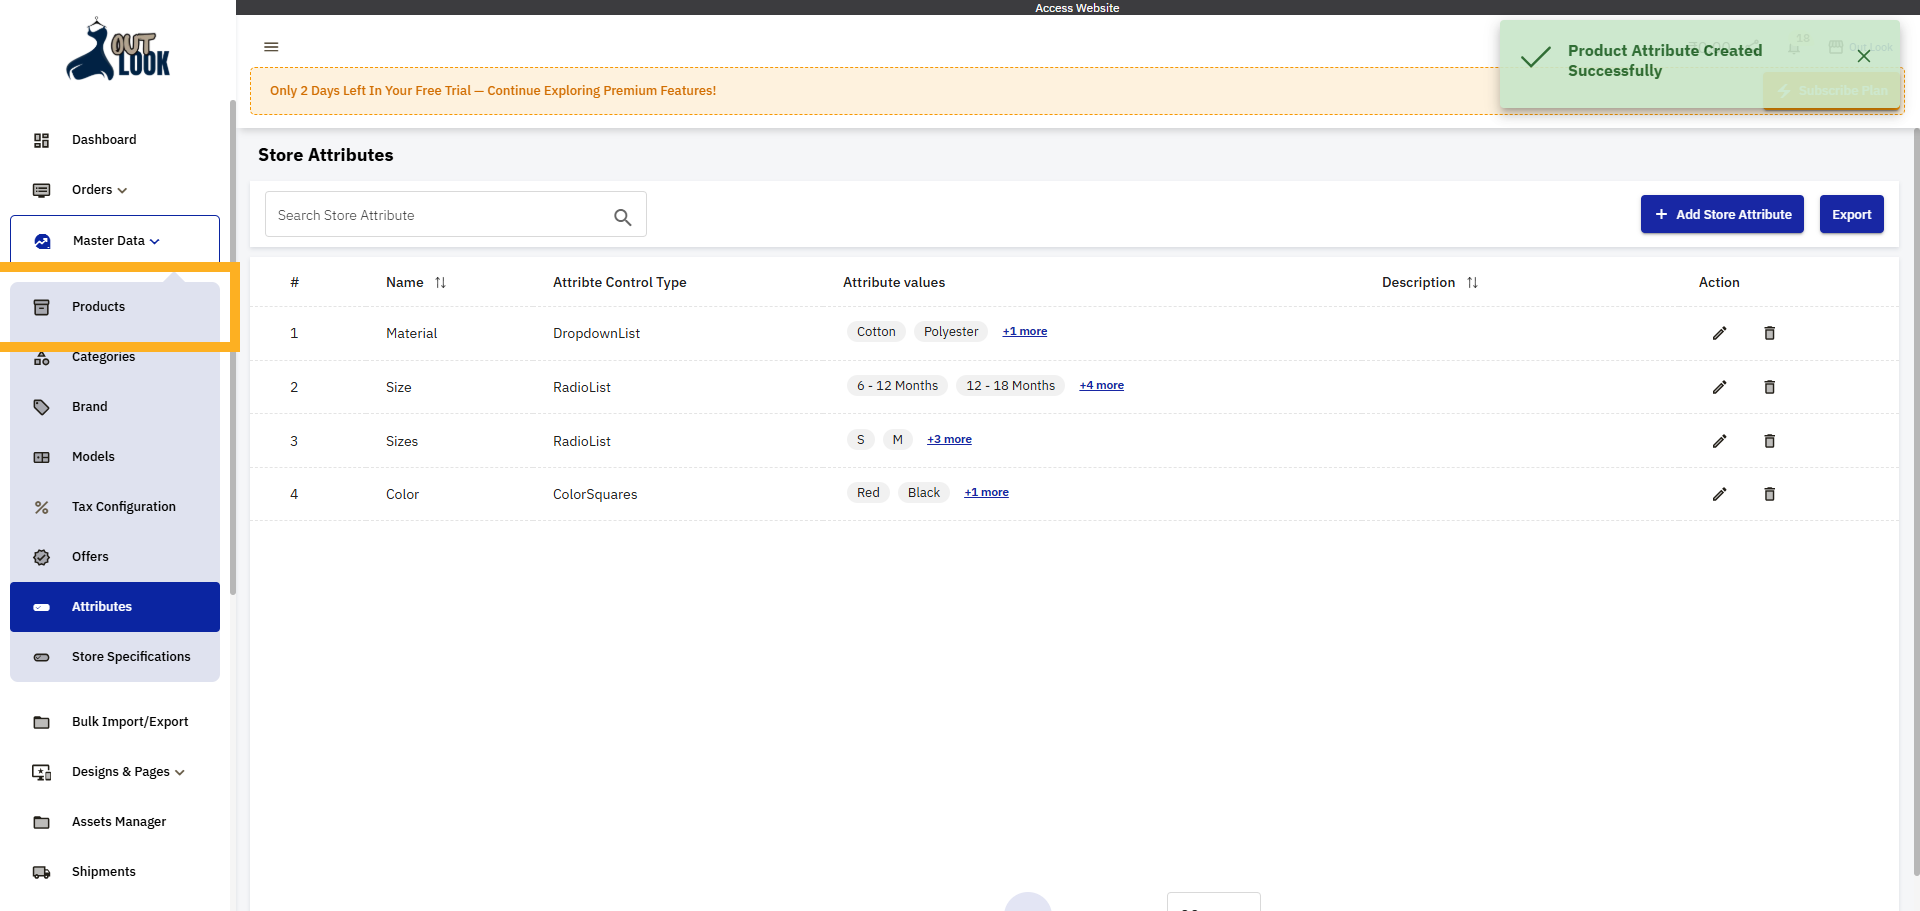
3. Click Attributes
Click the attributes option to access the Store Attributes settings.
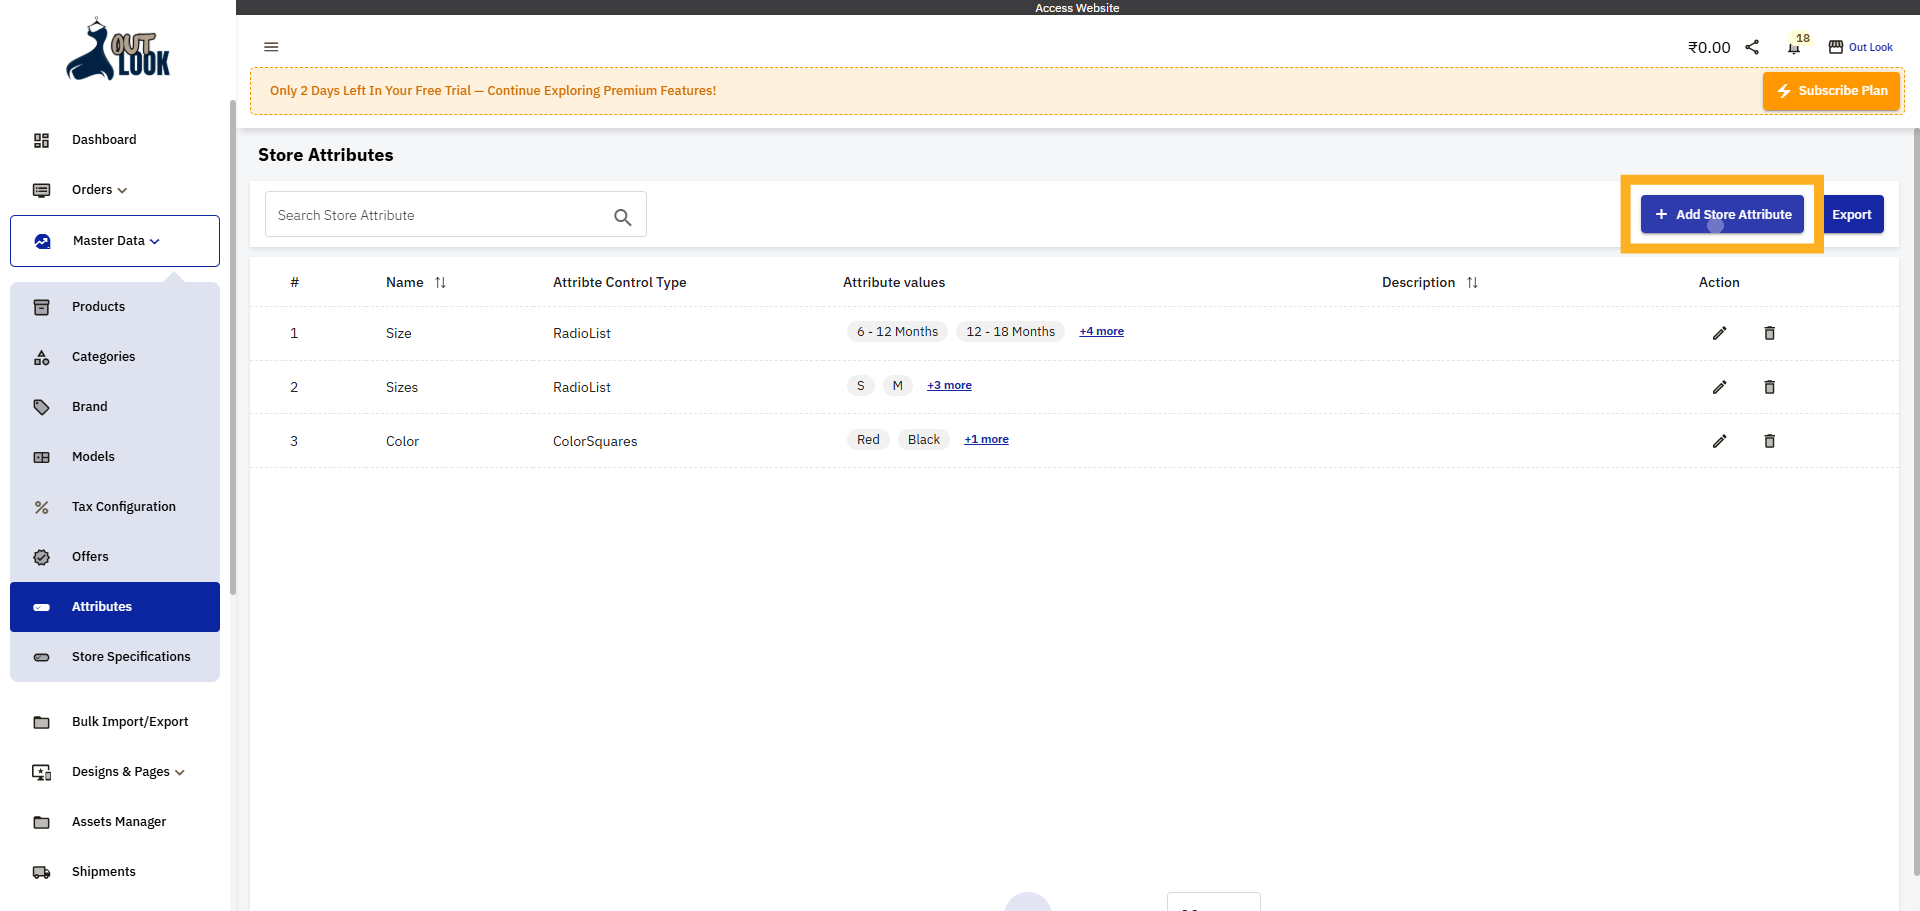
4. Add New Store Attribute
Click the Add Store Attribute button to begin creating a new attribute.
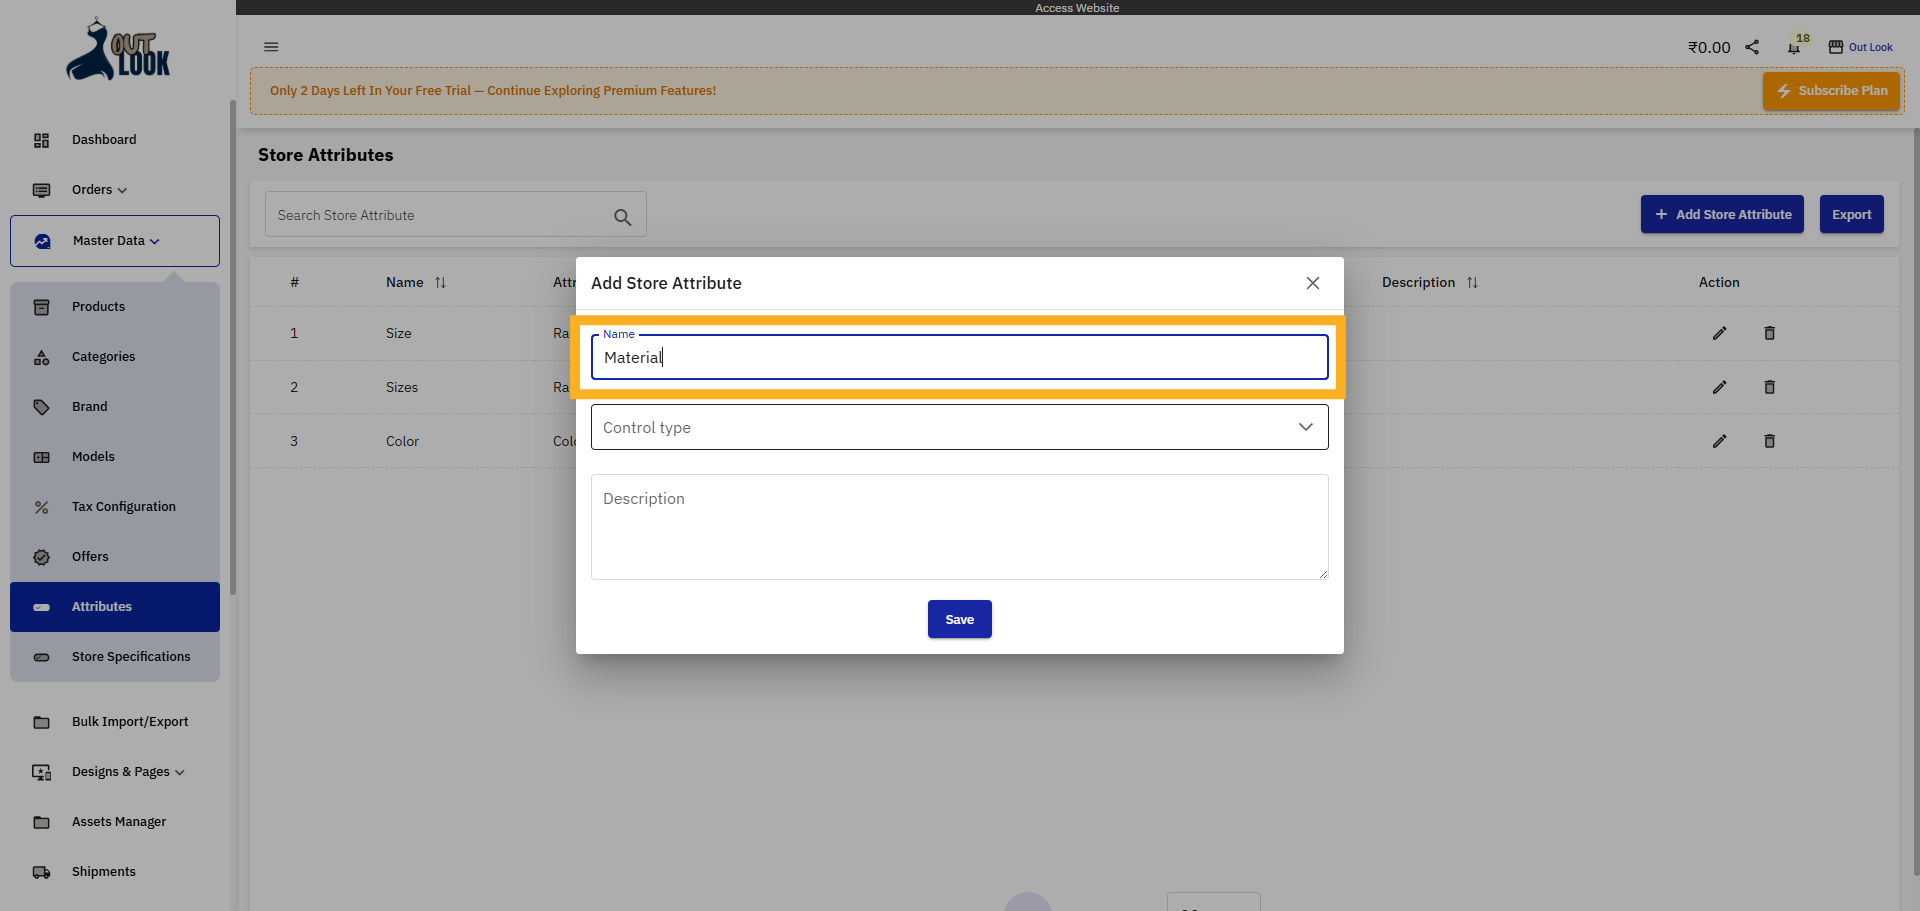
5. Enter Attribute Name
Enter the attribute name like Size, Color, Storage, or Material to create product variants and organize
available options for customers.
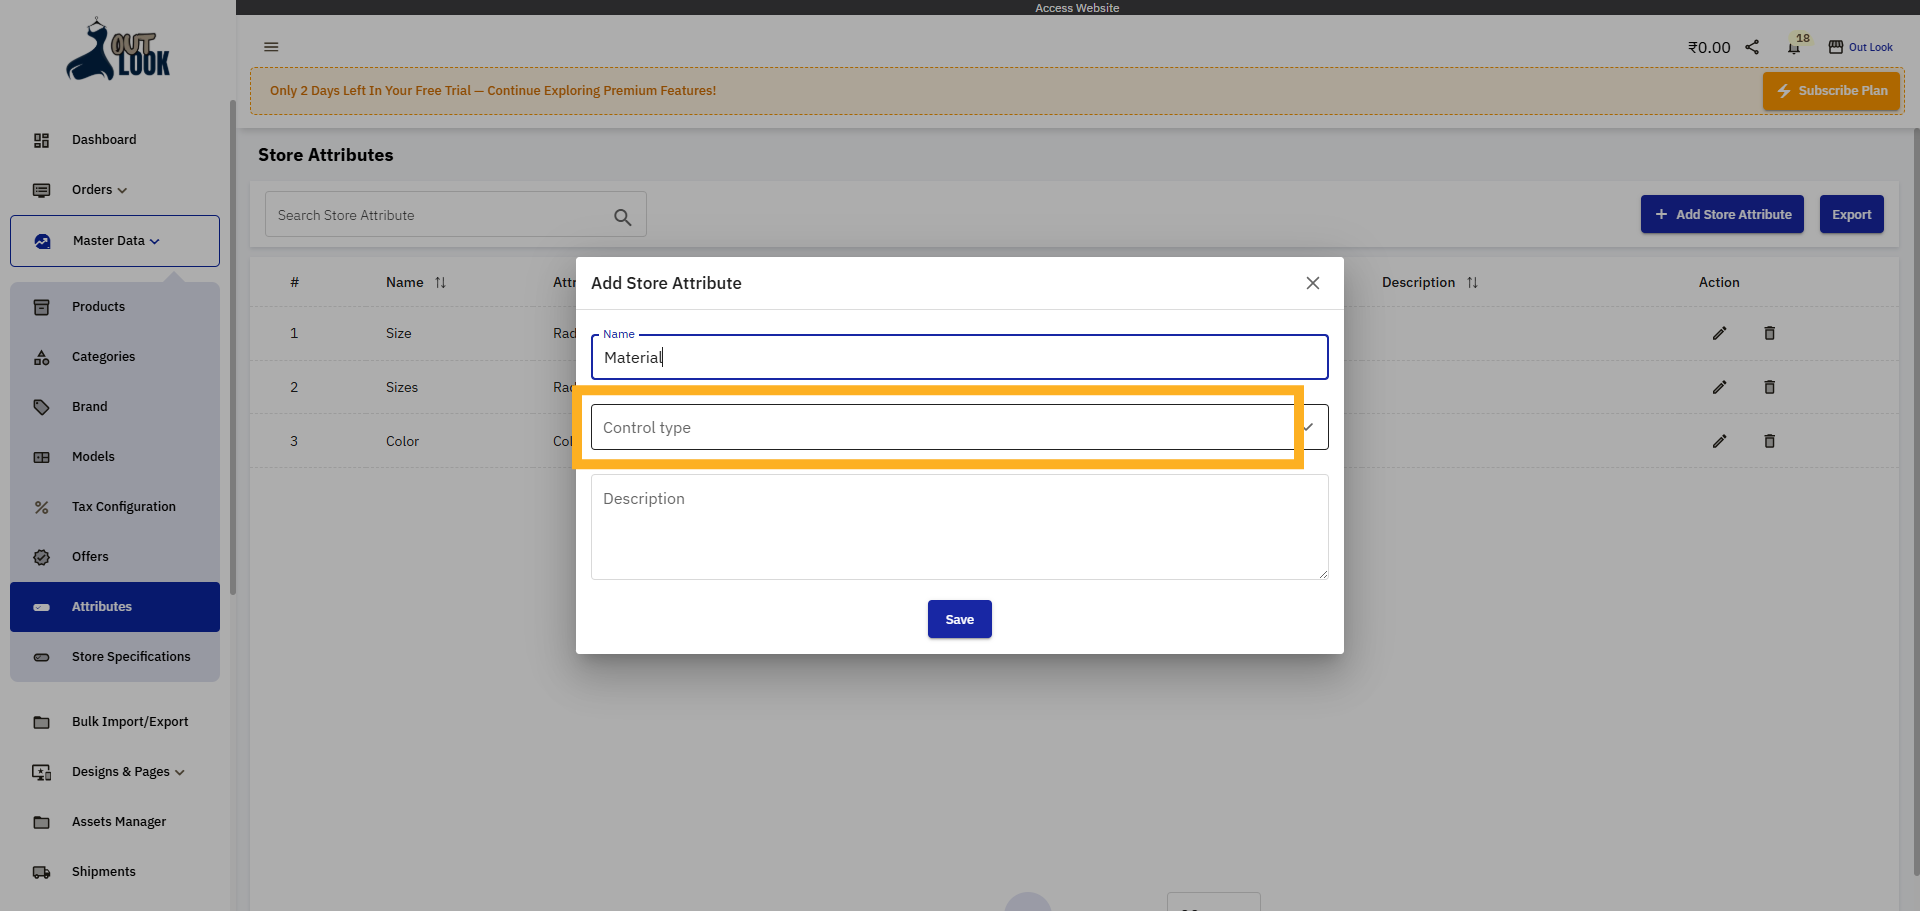
6. Open Control Type Menu
Click the Select a Control type dropdown to choose how the attribute will be controlled.
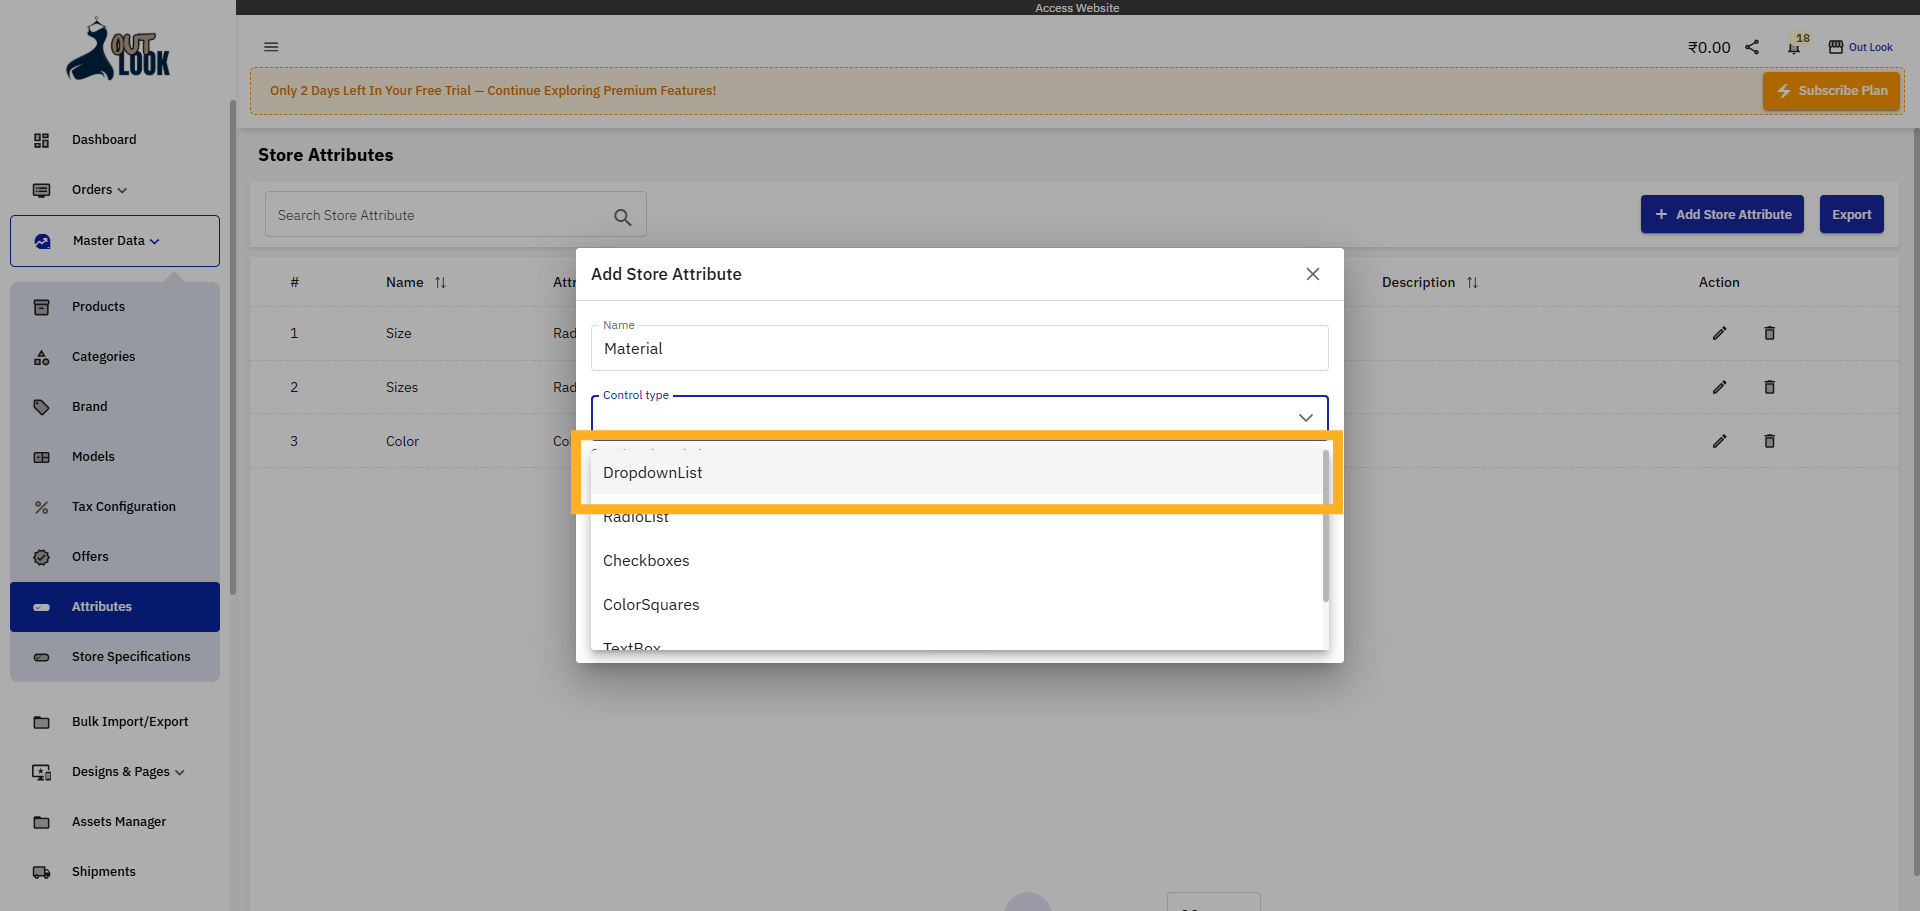
7. Choose Dropdown List Control
Click Dropdown List to set the attribute control type as a dropdown selection.
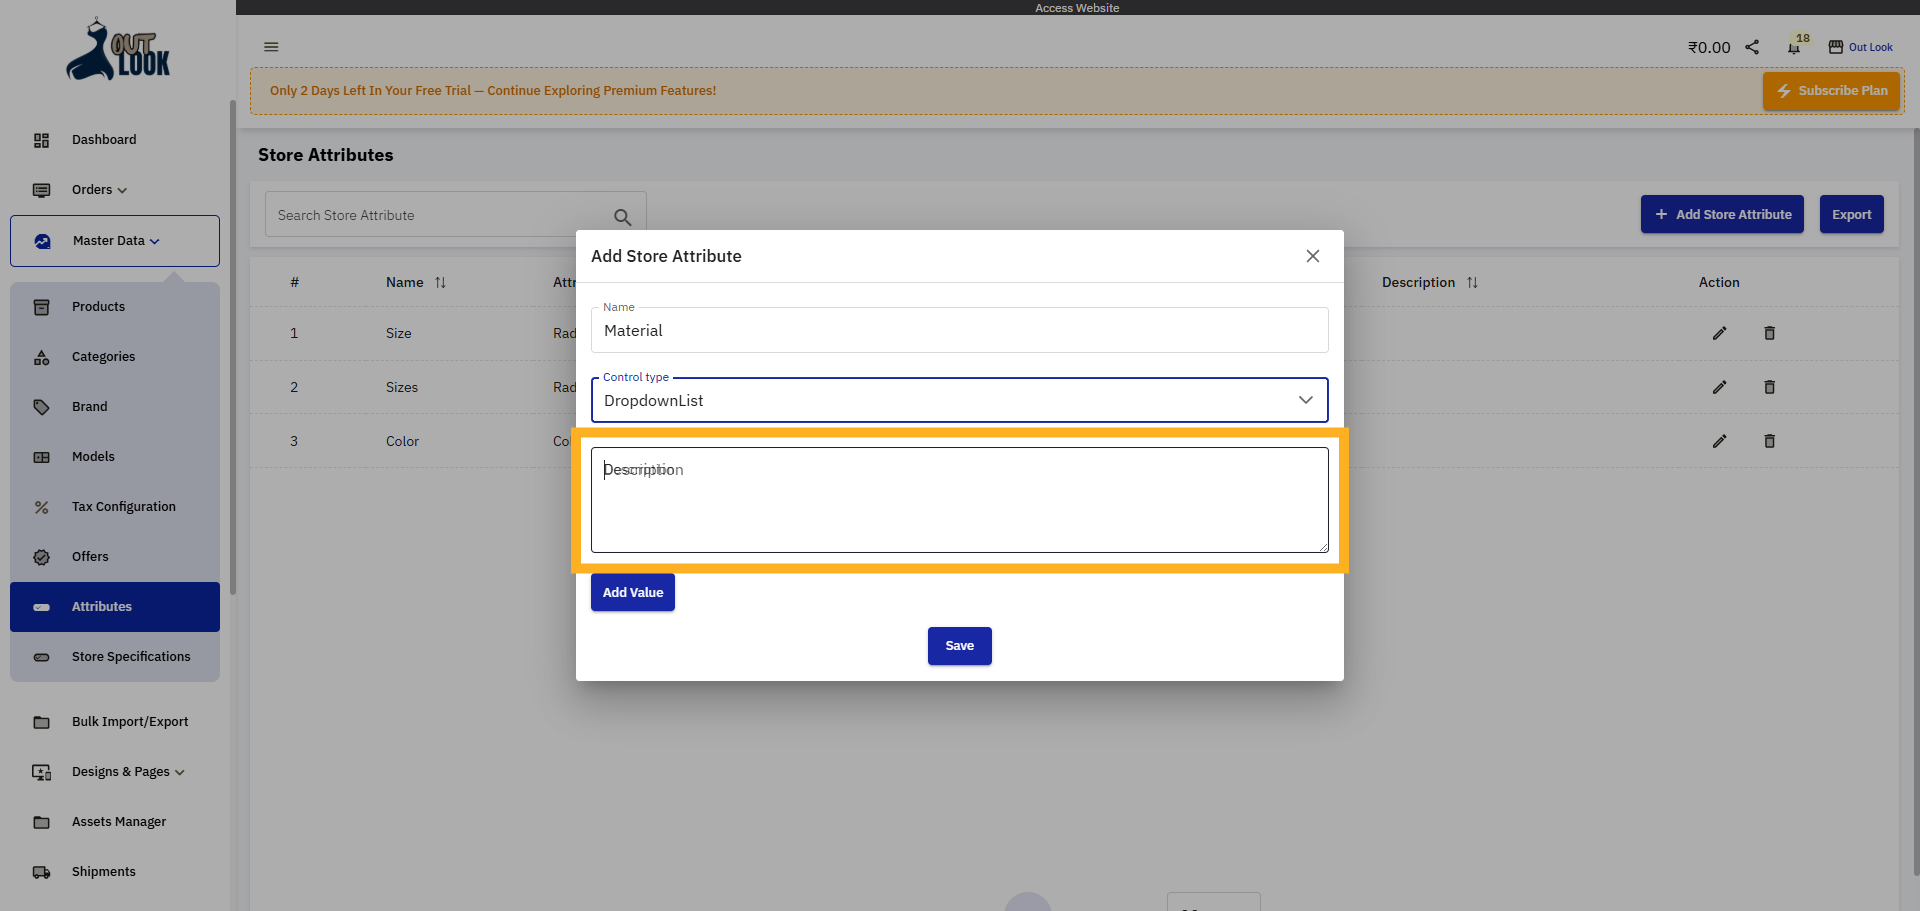
8. Enter Description Field
Click the Description field to add details about the attribute if needed.
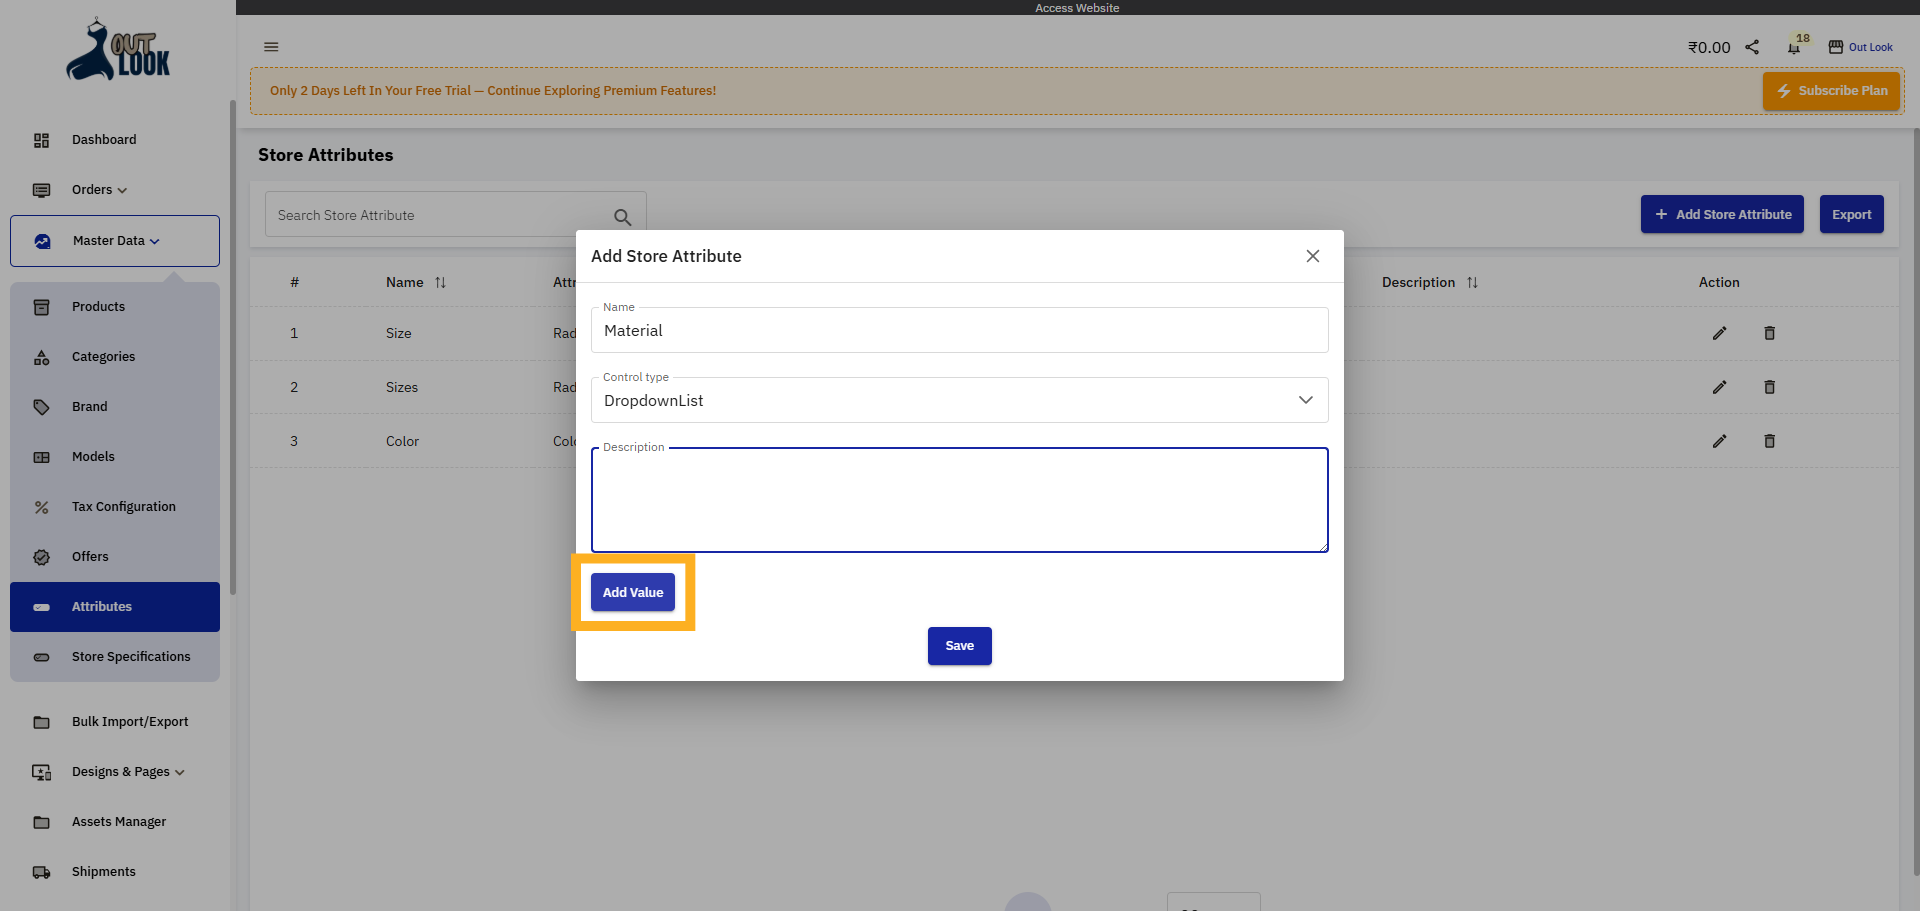
9. Add Attribute Value
Click Add Value to start adding possible values for the attribute.
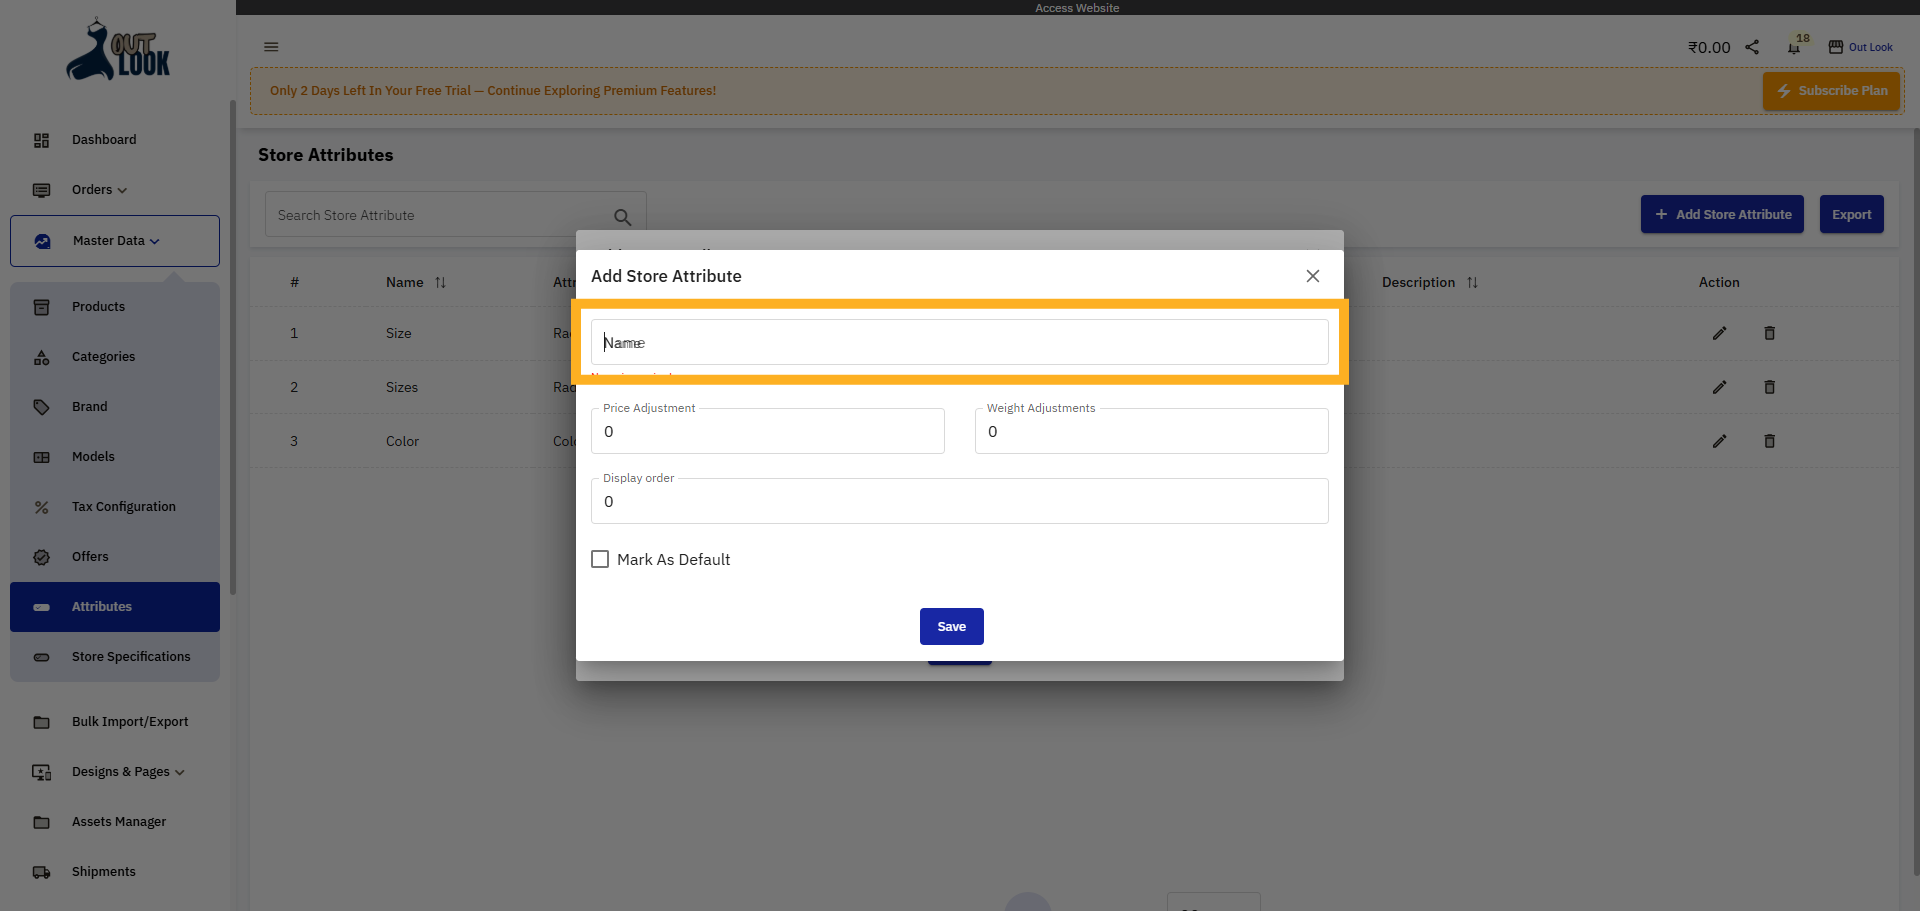
10. Enter First Attribute Value
Focus on the input area to enter a new attribute value.
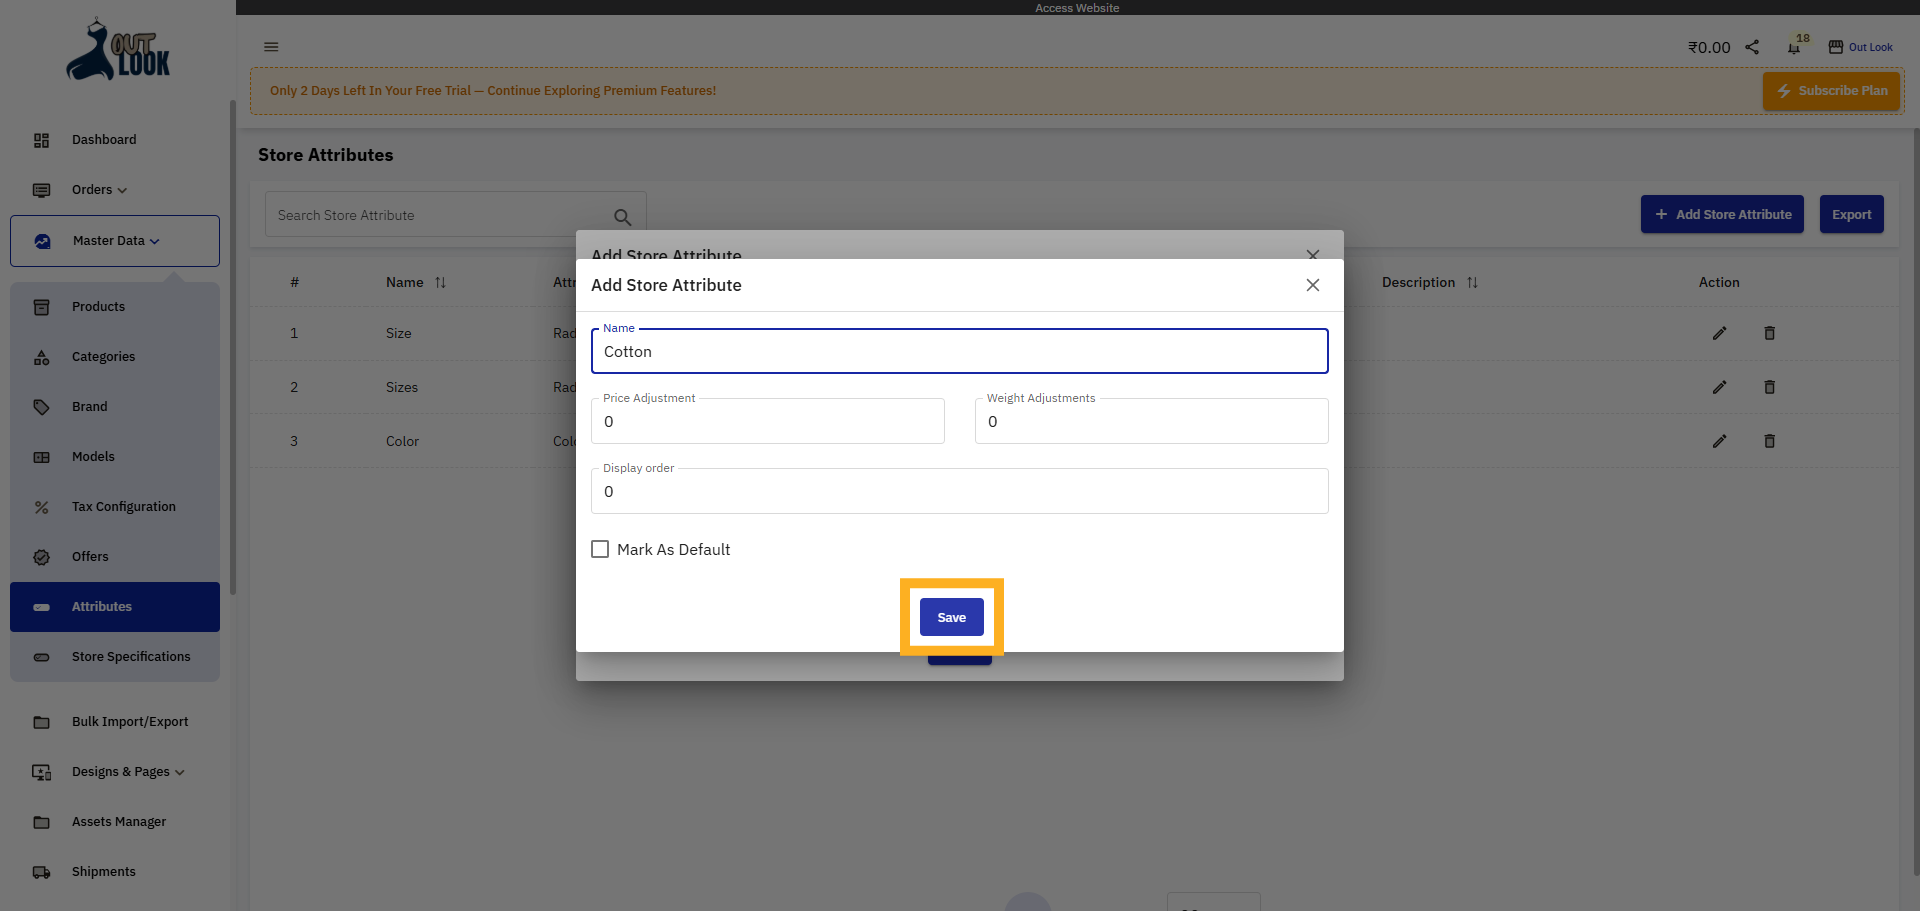
11. Save Attribute Value
Click Save to store the entered attribute value.
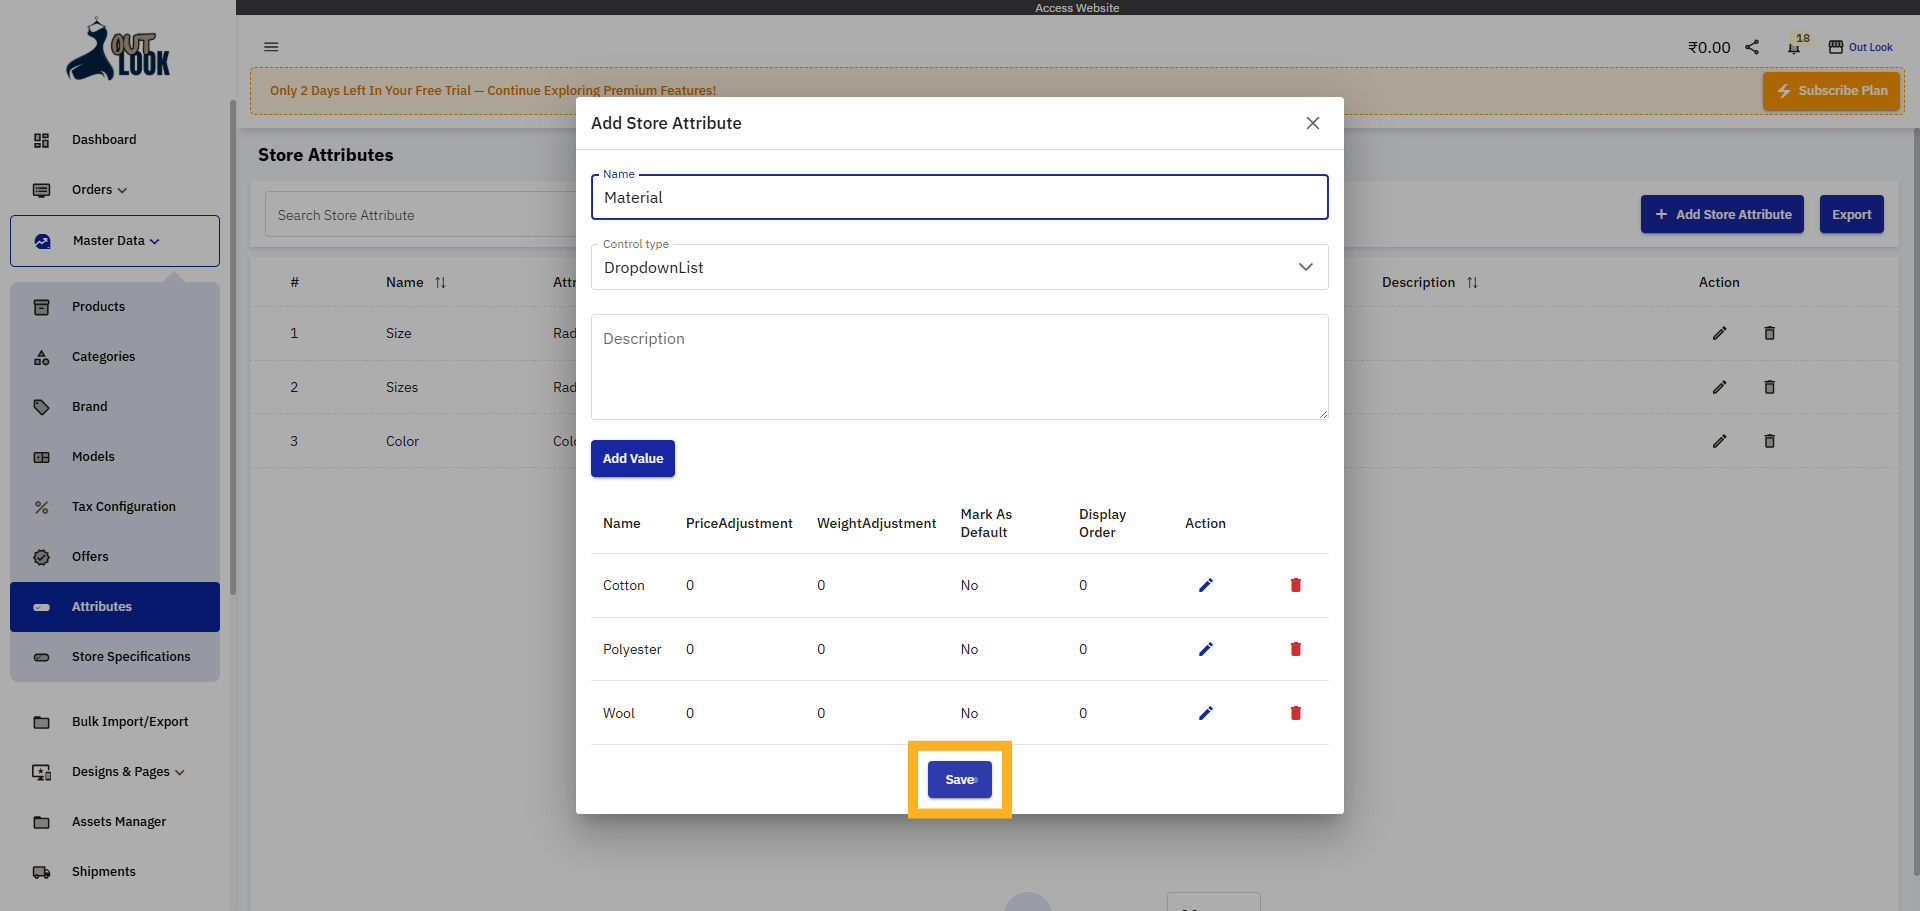
12. Save Attribute Settings
Click Save to finalize and save the new store attribute with all values.
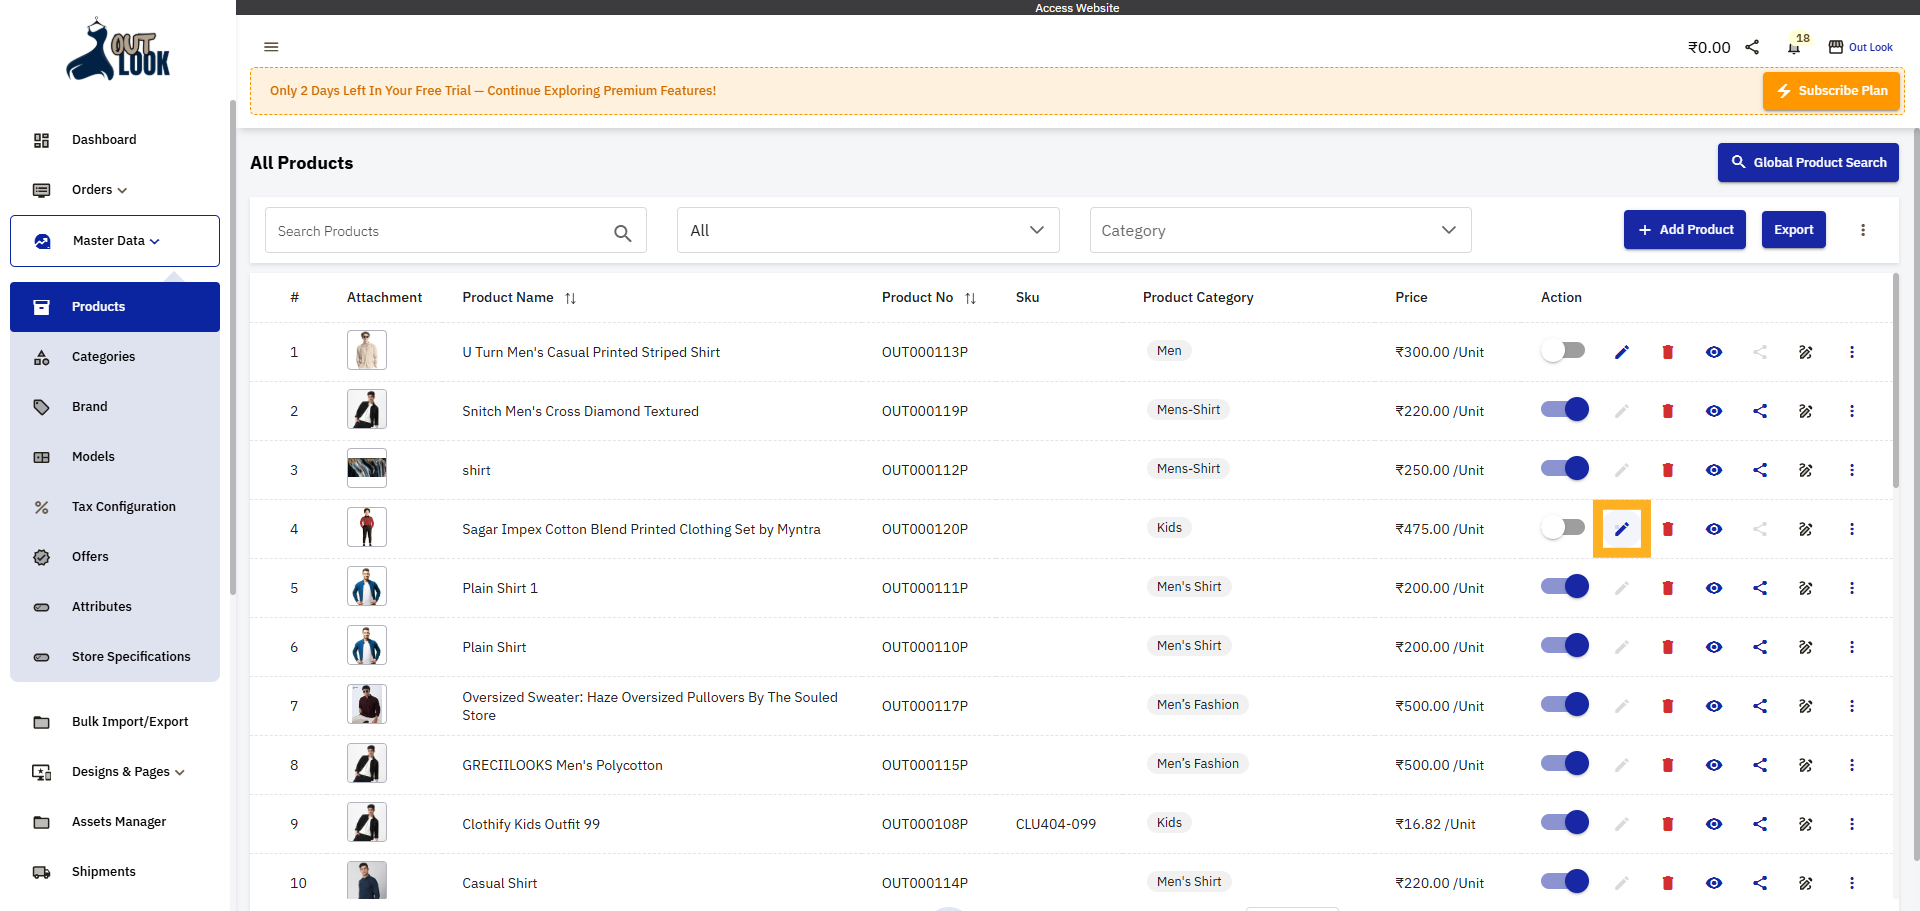
13. Open Products Section
Click the Products to navigate to the product management area.
14. Edit Product Details
Click edit to modify the details of a selected product.
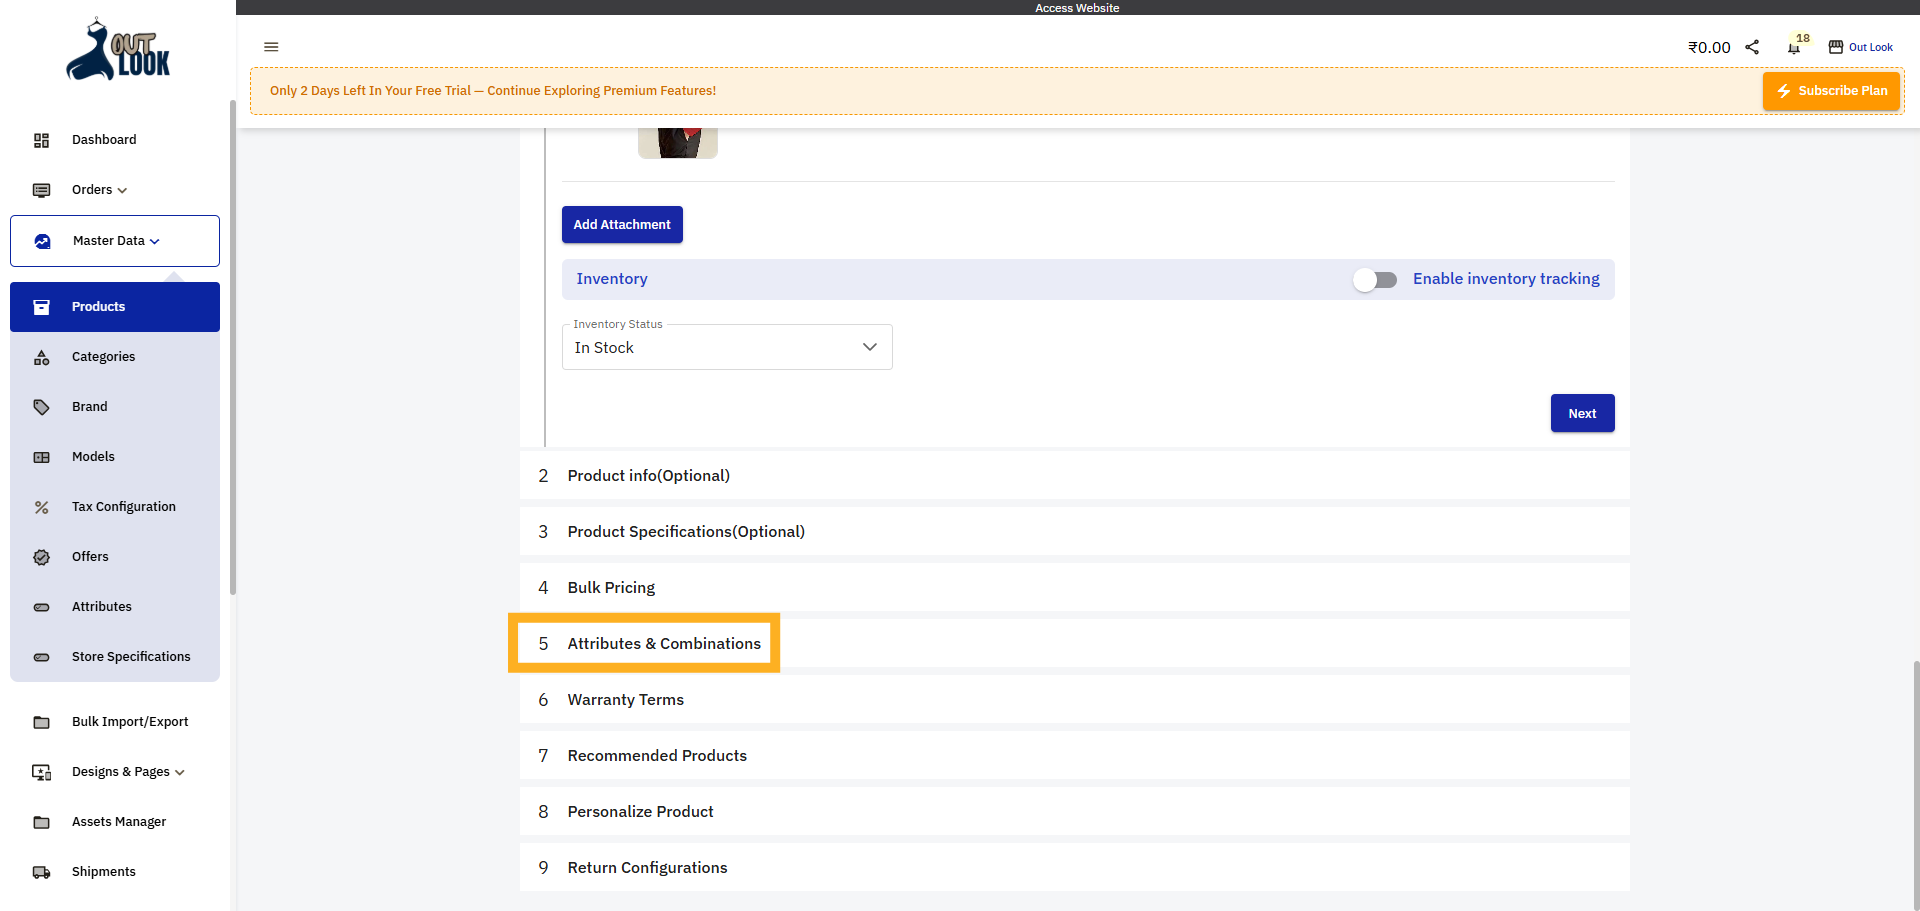
15. Access Attributes & Combinations
Click Attributes & Combinations to manage product-specific attribute settings.
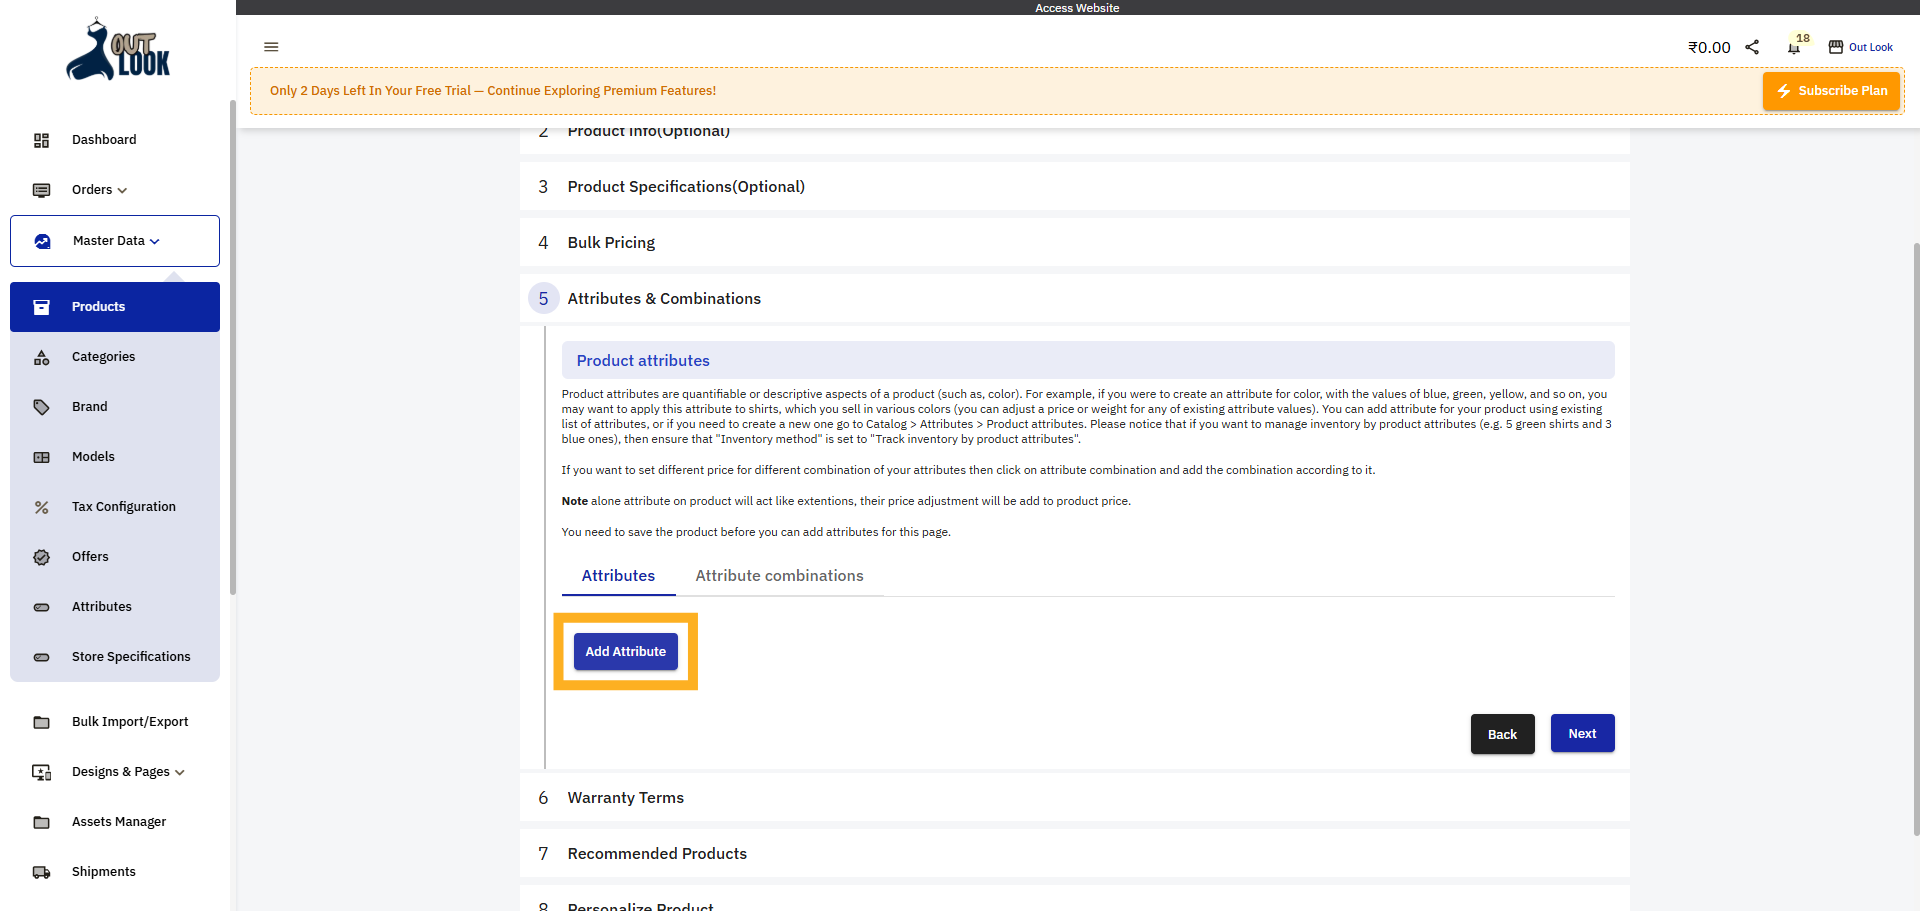
16. Add Product Attribute
Click Add Attribute to include a new attribute for the product.
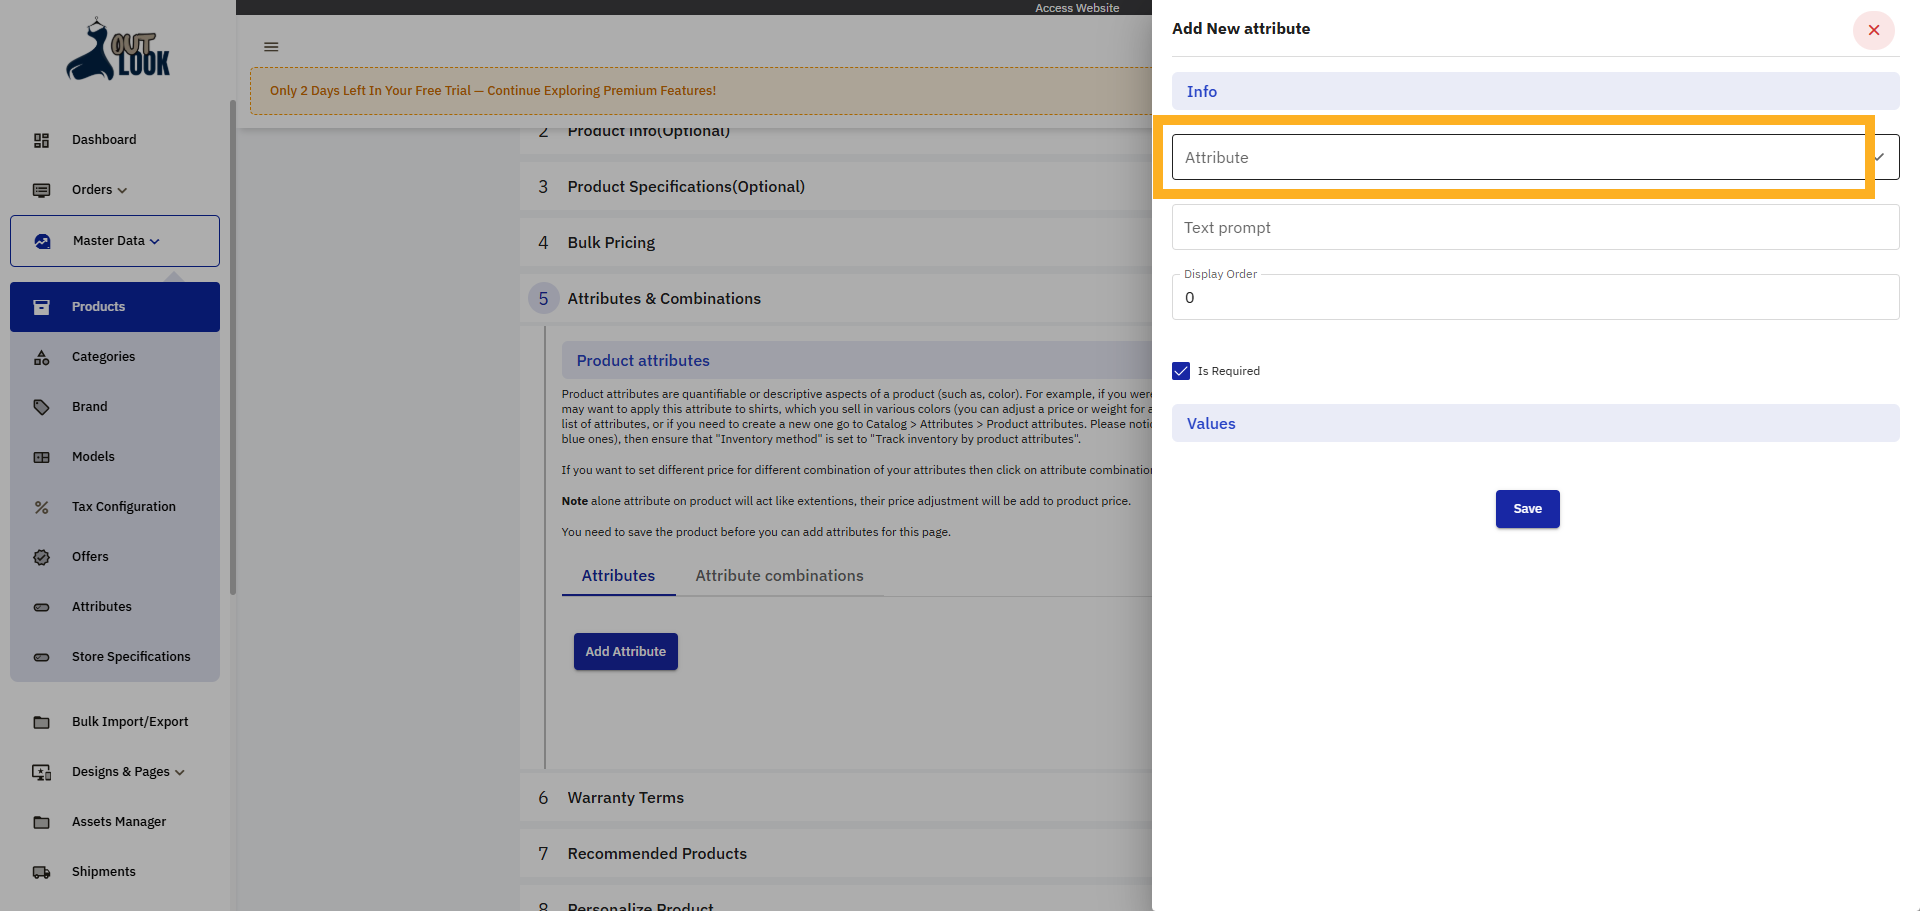
17. Select Attribute Field
Click the Attribute dropdown to choose which attribute to add.
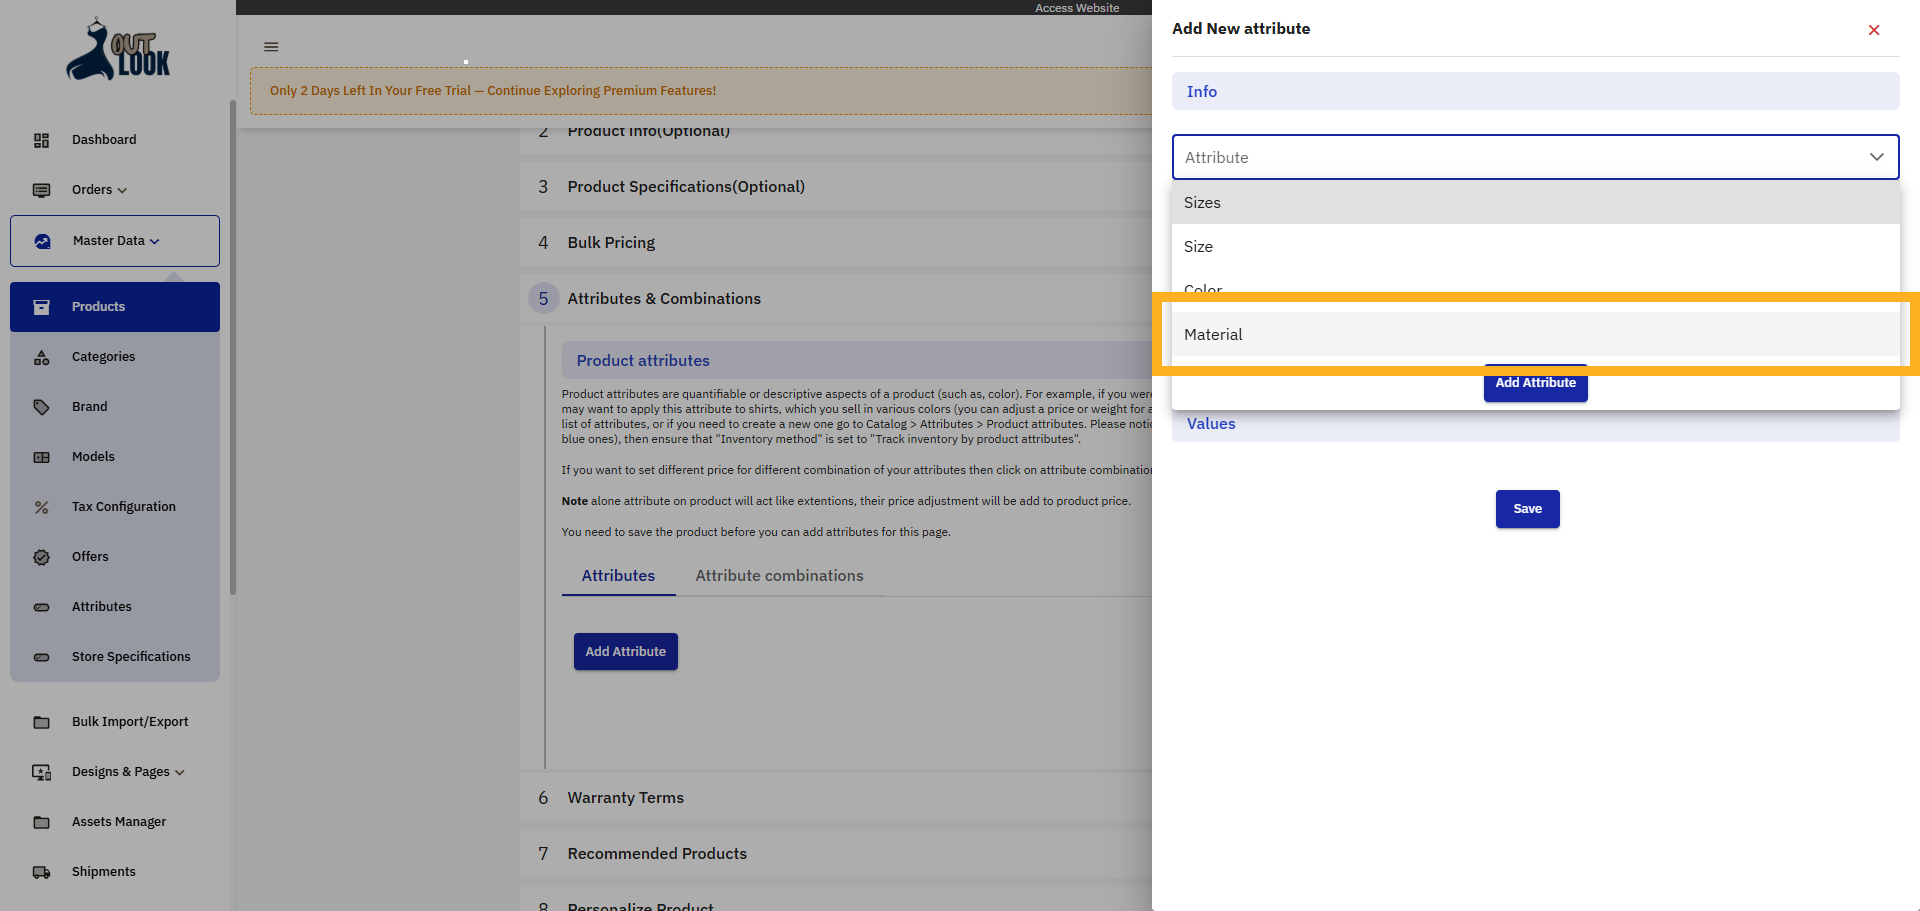
18. Choose Material Attribute
Click Material to assign the previously created attribute to the product.
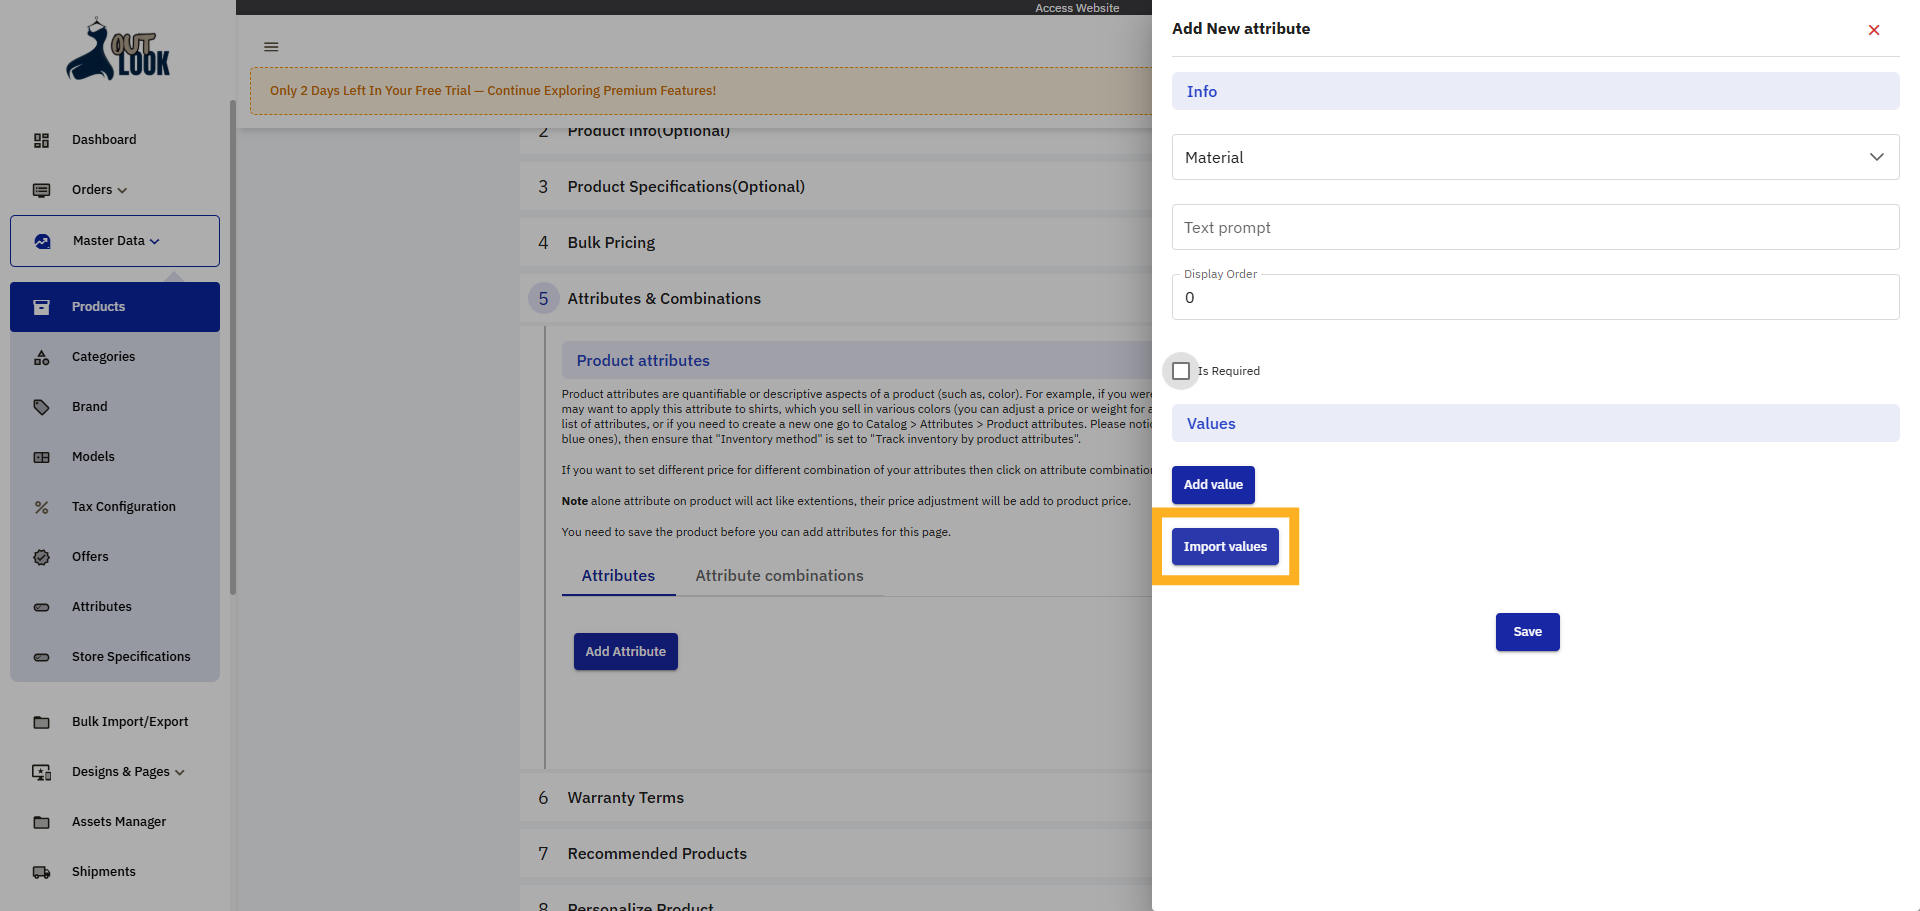
19. Import Attribute Values
Click Import values to bring in the attribute options created earlier.
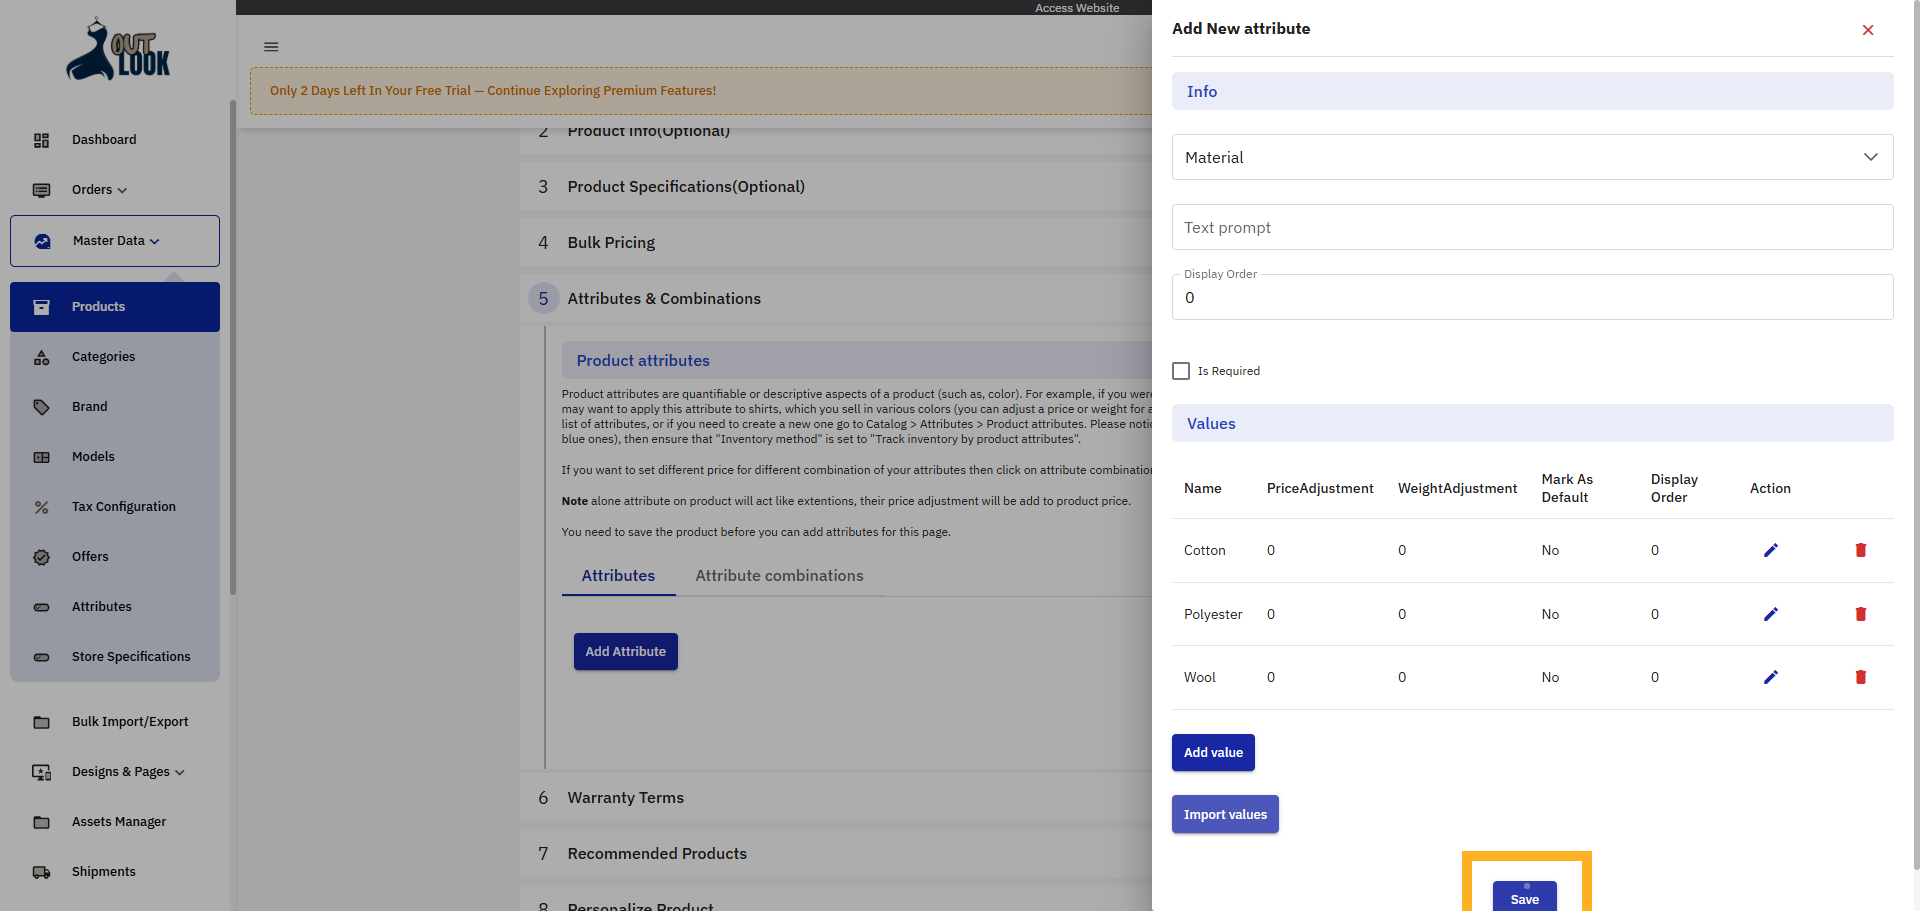
20. Save Product Attribute
Click Save to apply the attribute settings to the product.
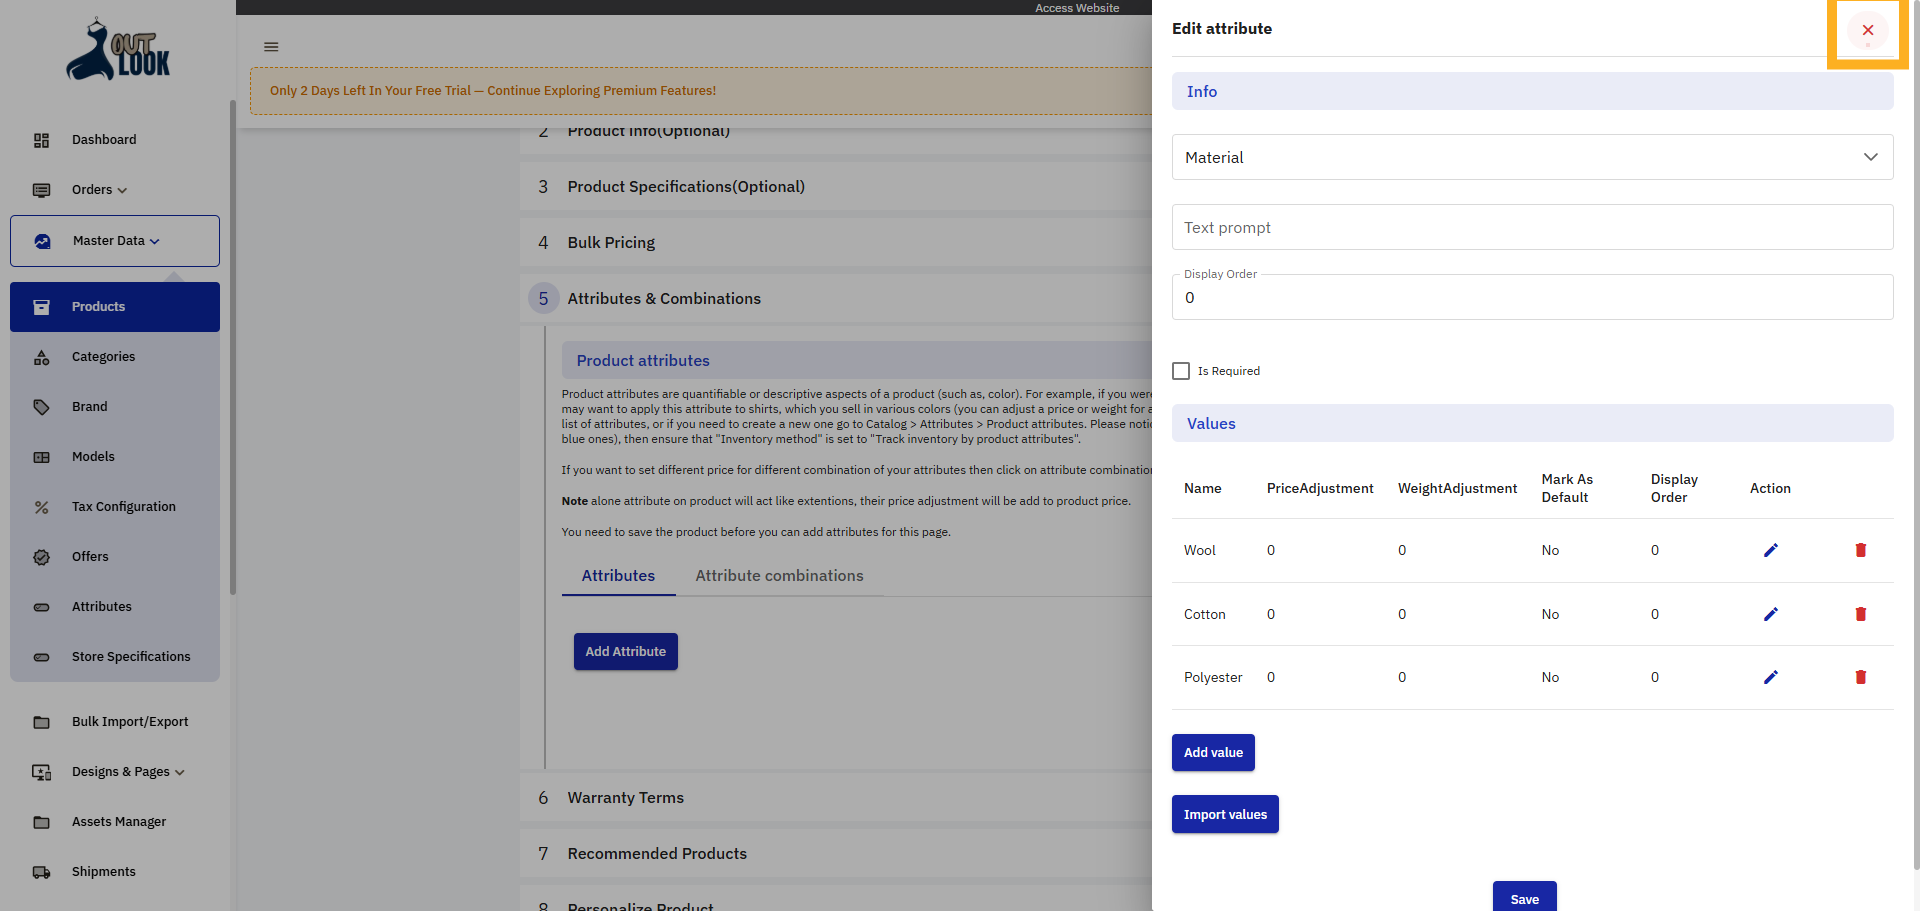
21. Close Attribute Editor
Click close to exit the attribute editing interface and return to the product list.
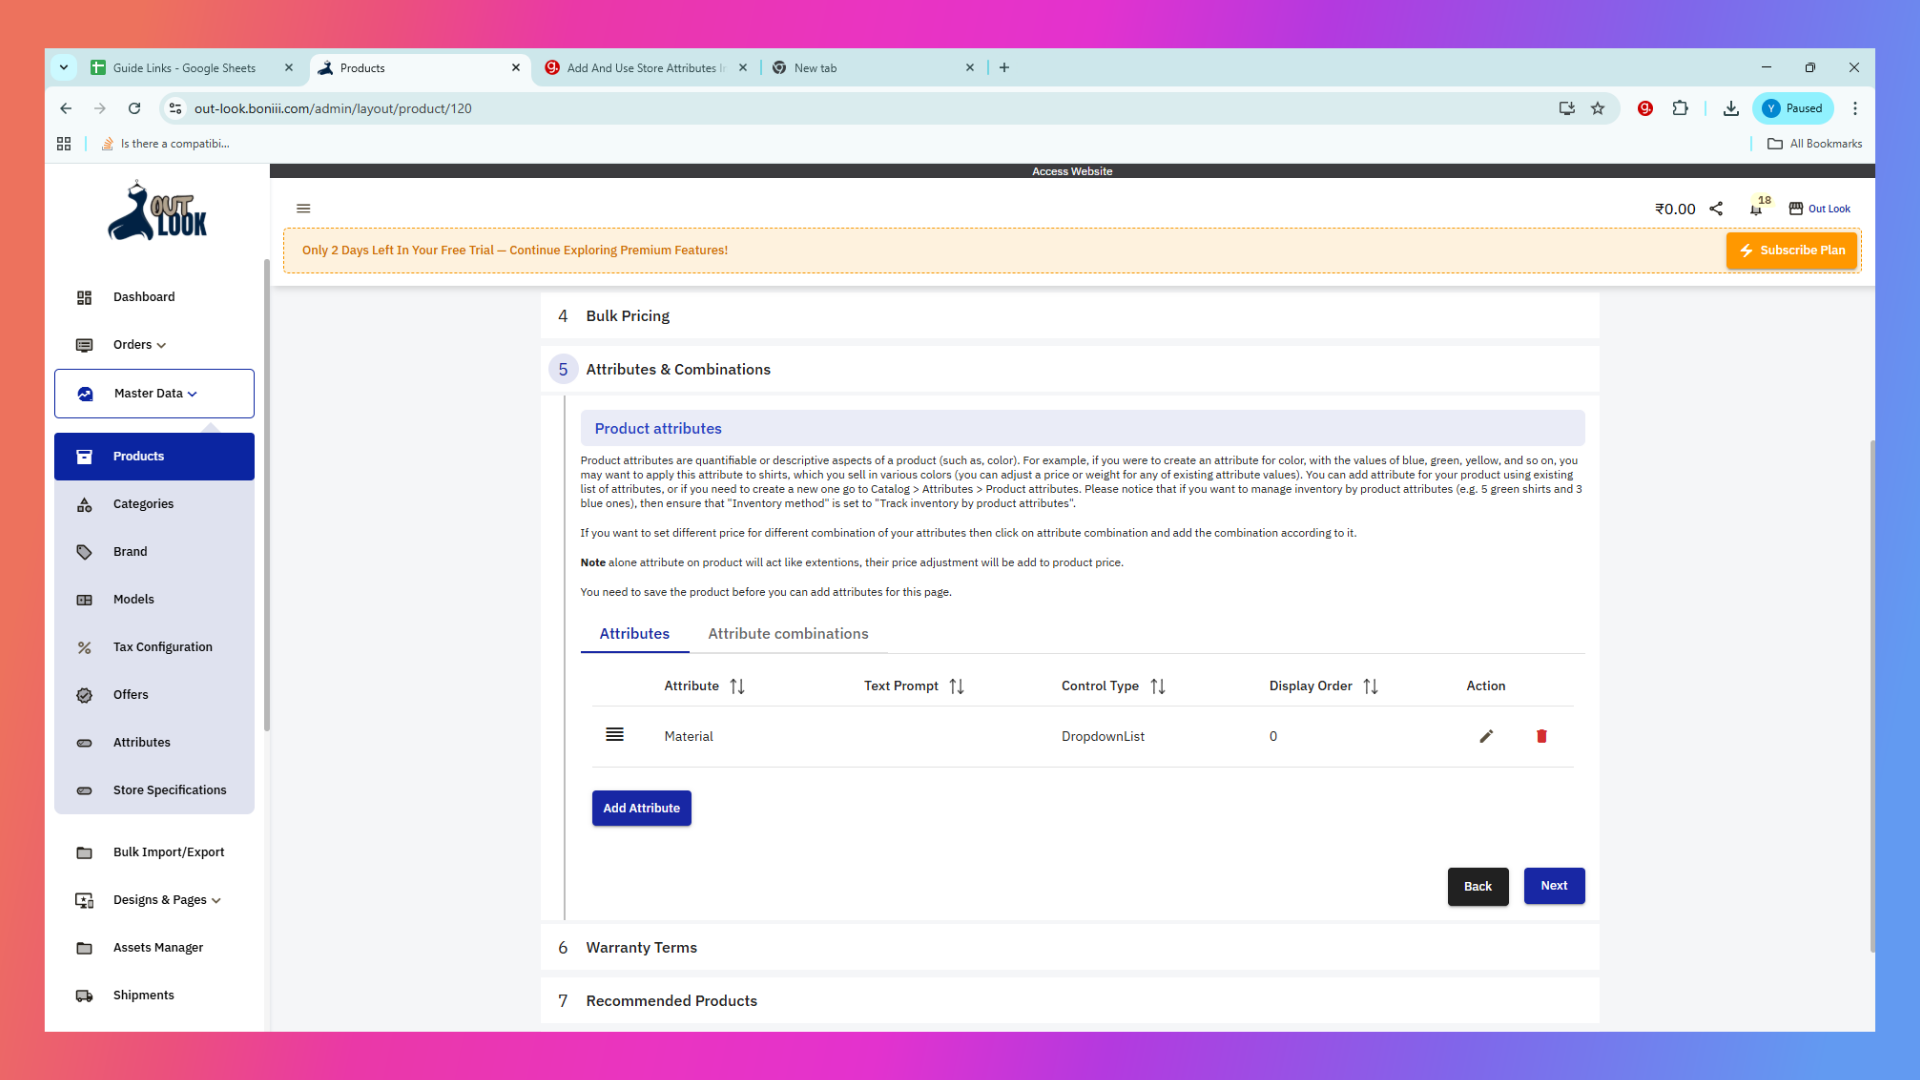
22. View Your Added Attributes
See all the attributes you have added to the product, such as Size, Color, or Material. You can review,
edit, or remove them as needed.
You have successfully added and configured store attributes in Boniii, including creating attribute
values and applying them to products. This setup enhances product detail management and inventory
organization. For further customization, explore additional attribute types and product combinations.
Uploading...