Add And Use Categories In Boniii Application
1. Introduction
You will learn to create a new category and assign it to products effectively.
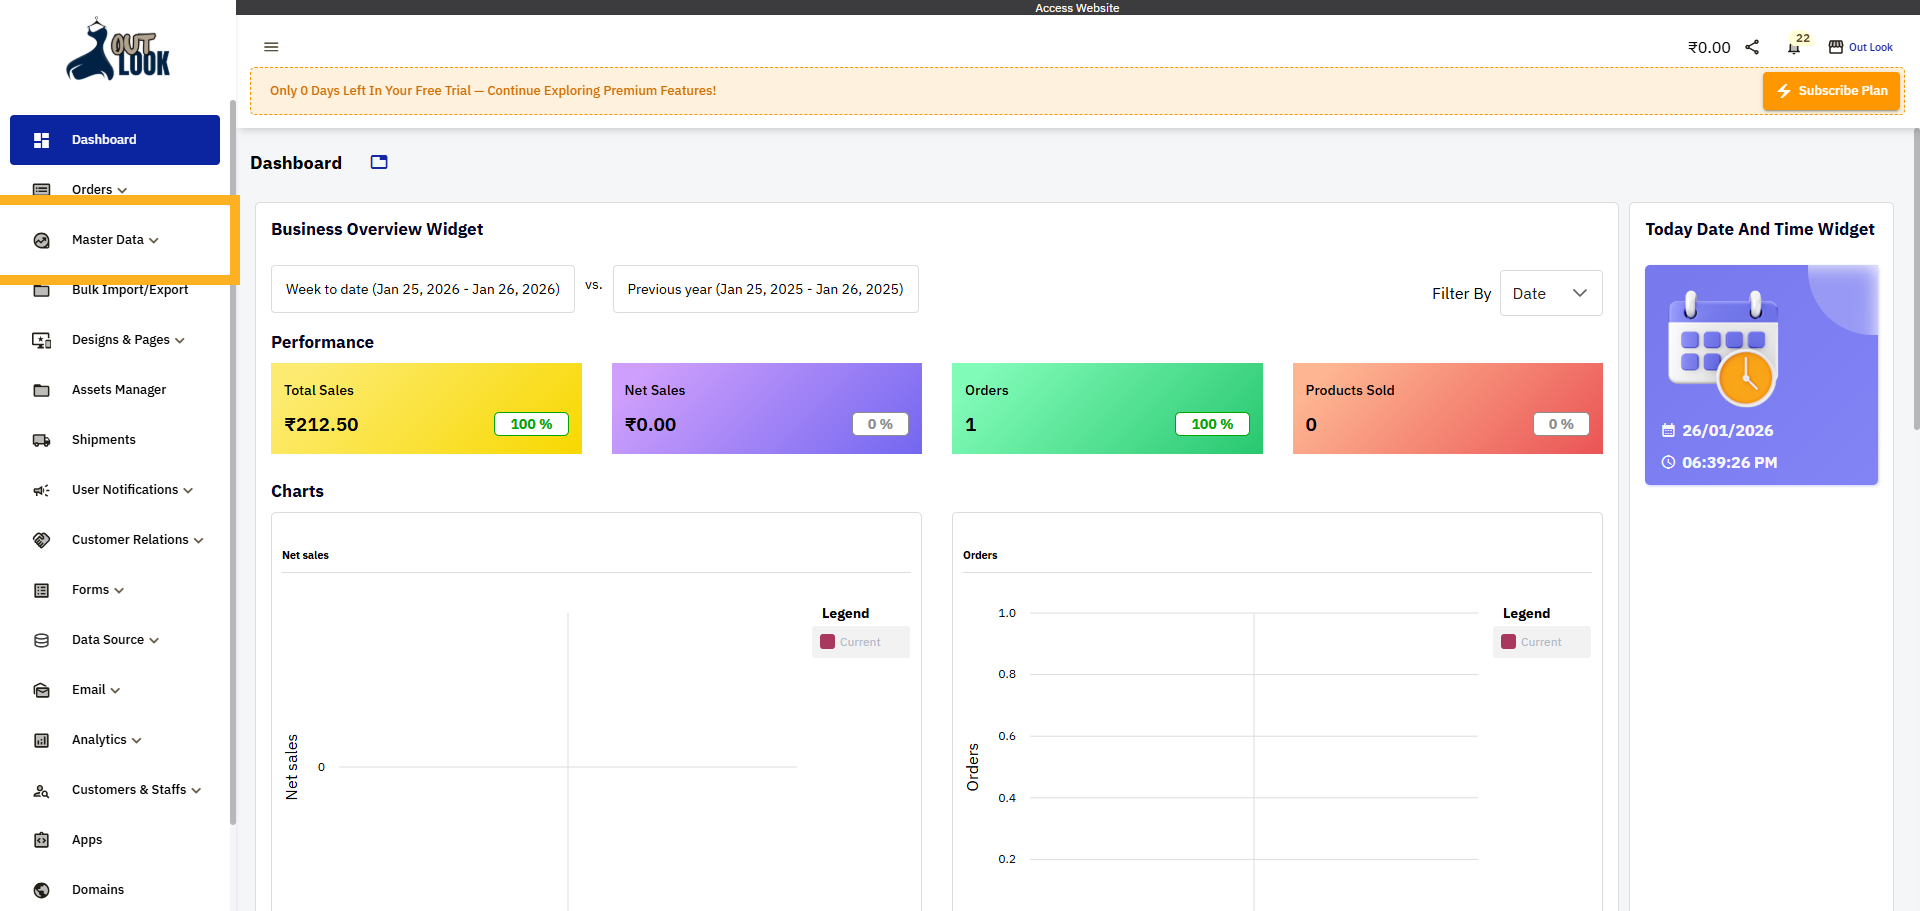
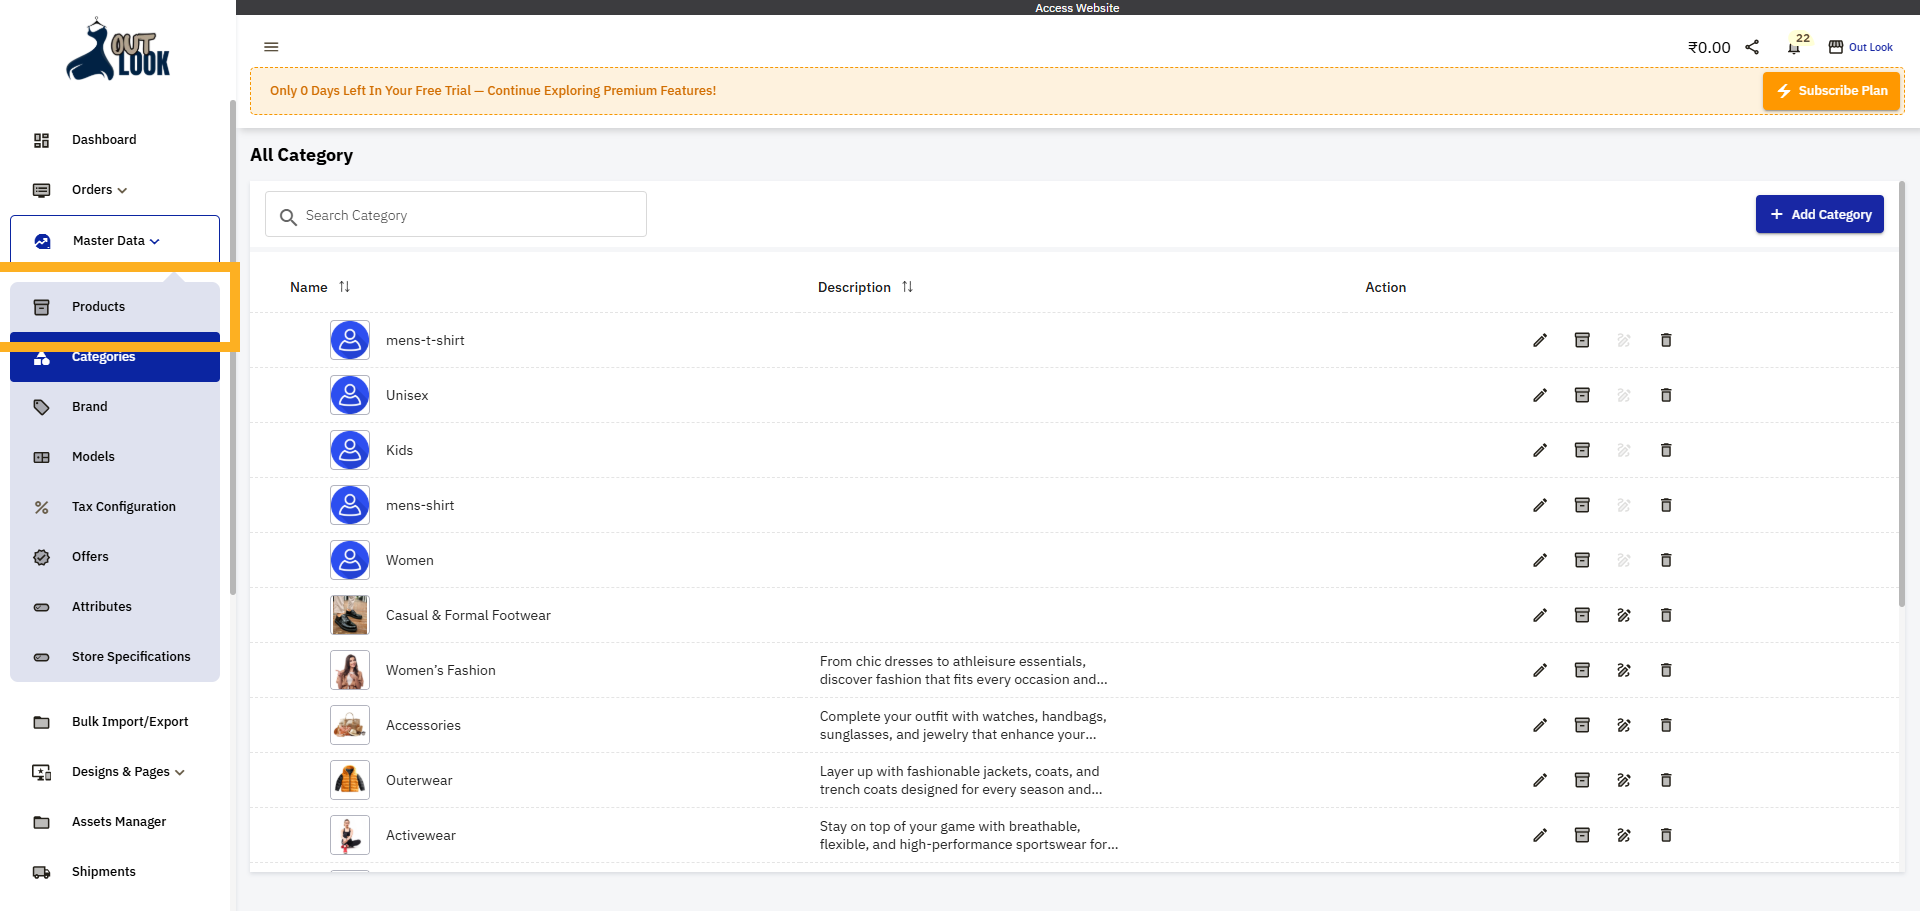
2. Open Master Data Menu
Click the Master Data to access category options.
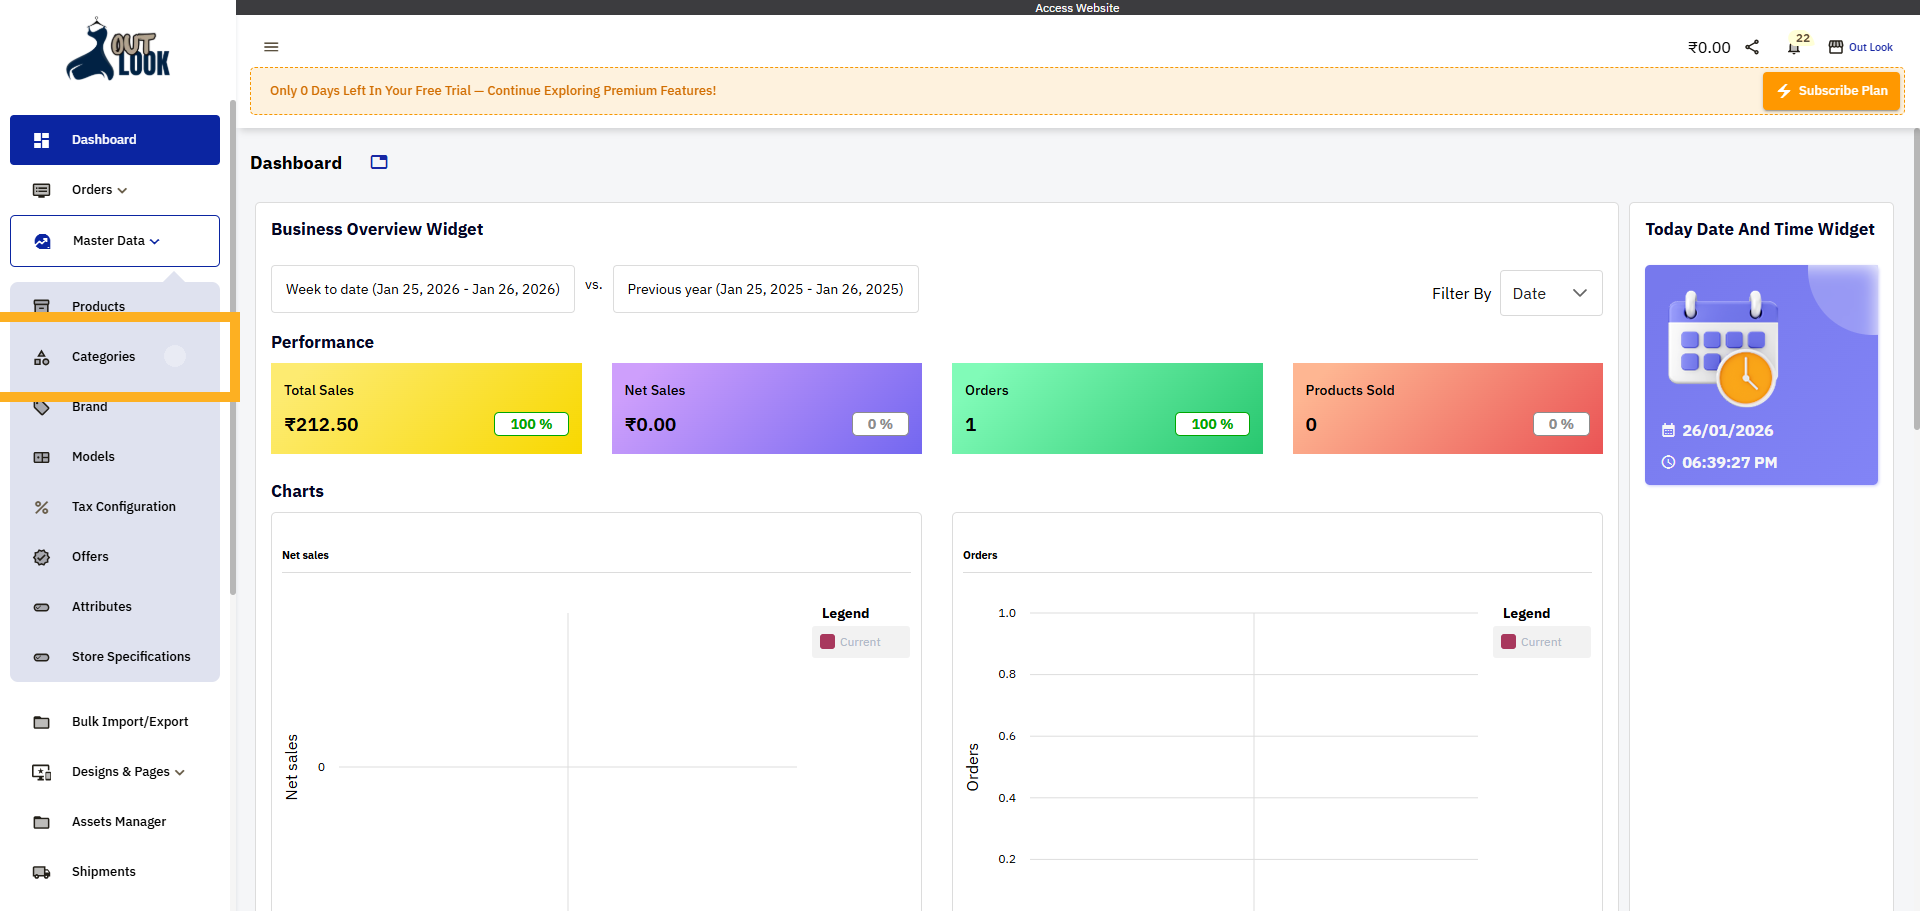
3. Select Categories Option
Click the Categories option to view and manage existing categories.
4. Initiate Add Category
Click the Add Category button to start creating a new category.

5. Access Category Name Field
Click the Category Name field to enter the name for your new category.
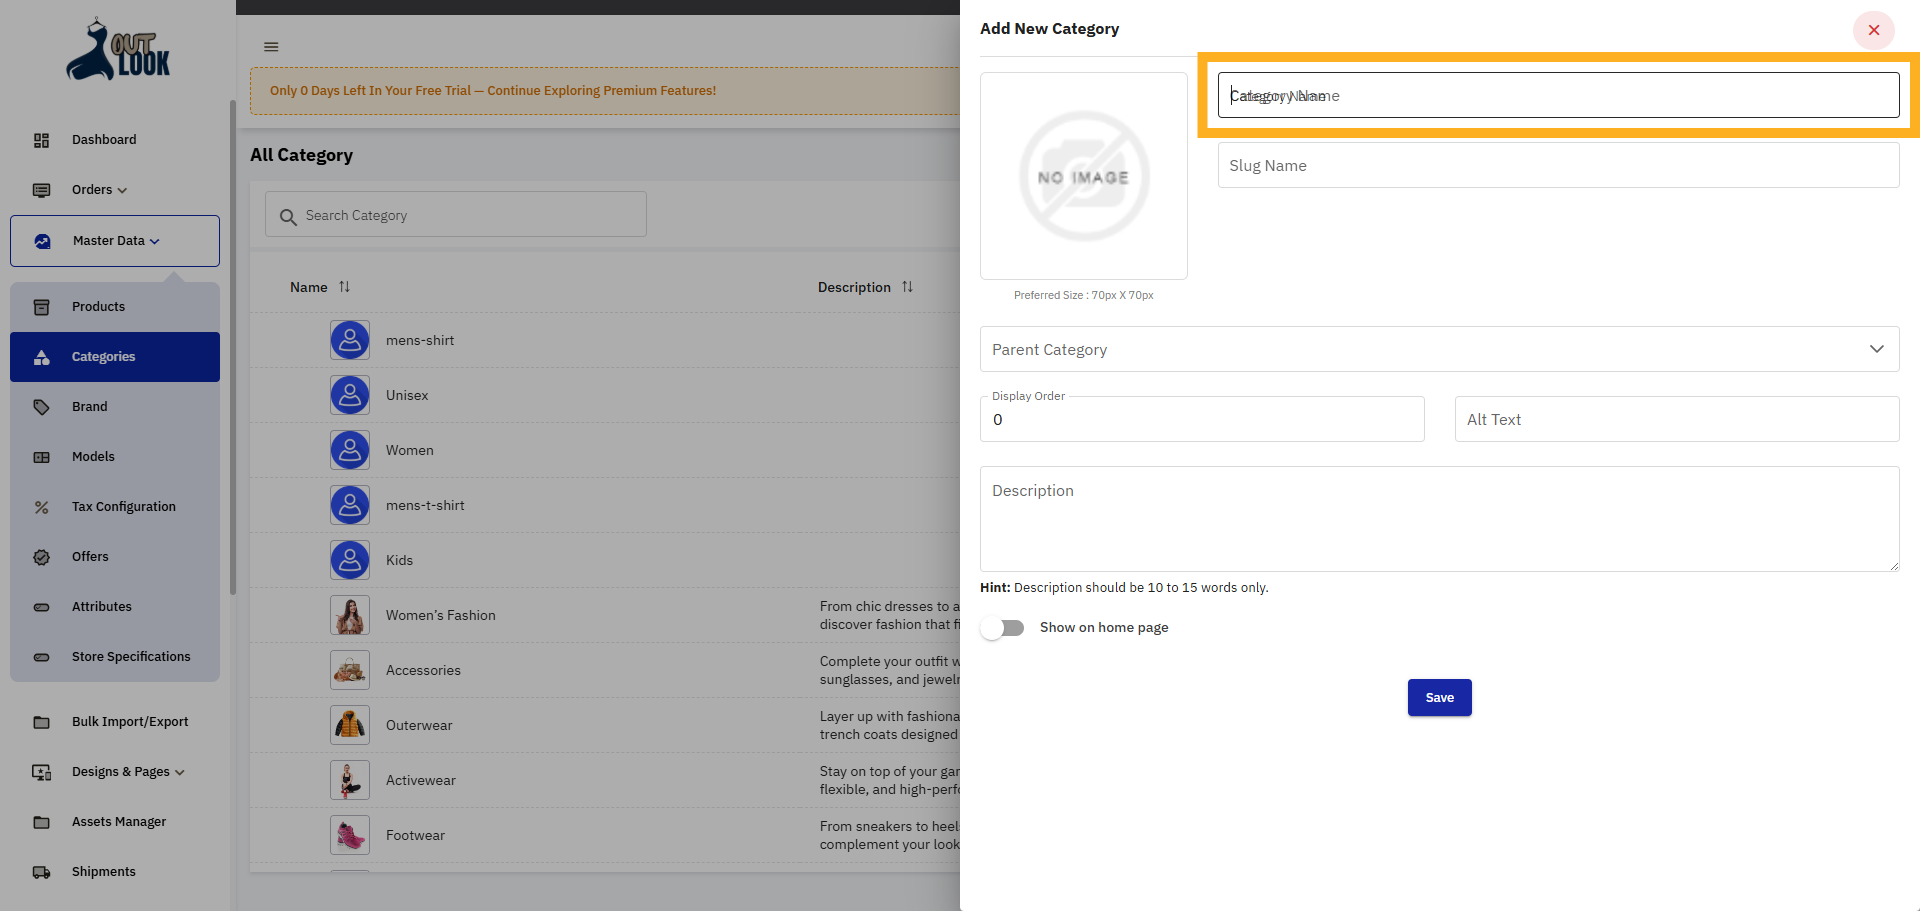
6. Attachment Category Image
Select or upload an image that represents the category. This image will be shown on category listings

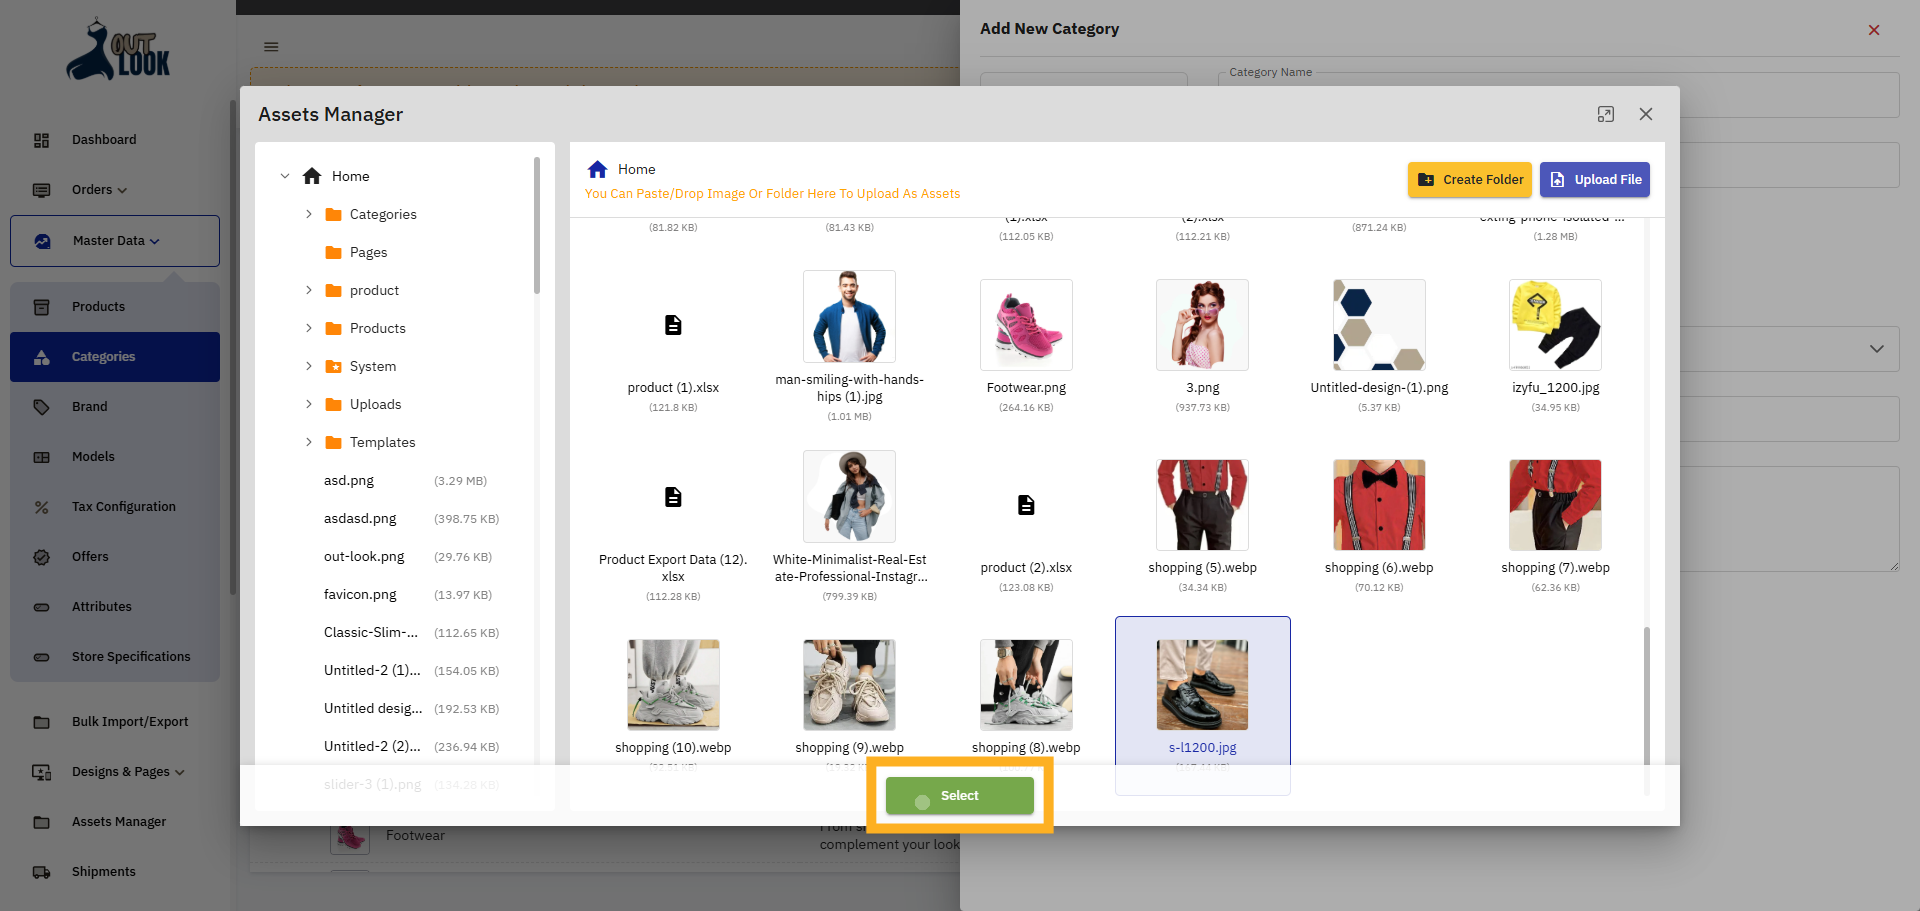
7. Confirm File Selection
Click the Select button to confirm your file choice for upload.
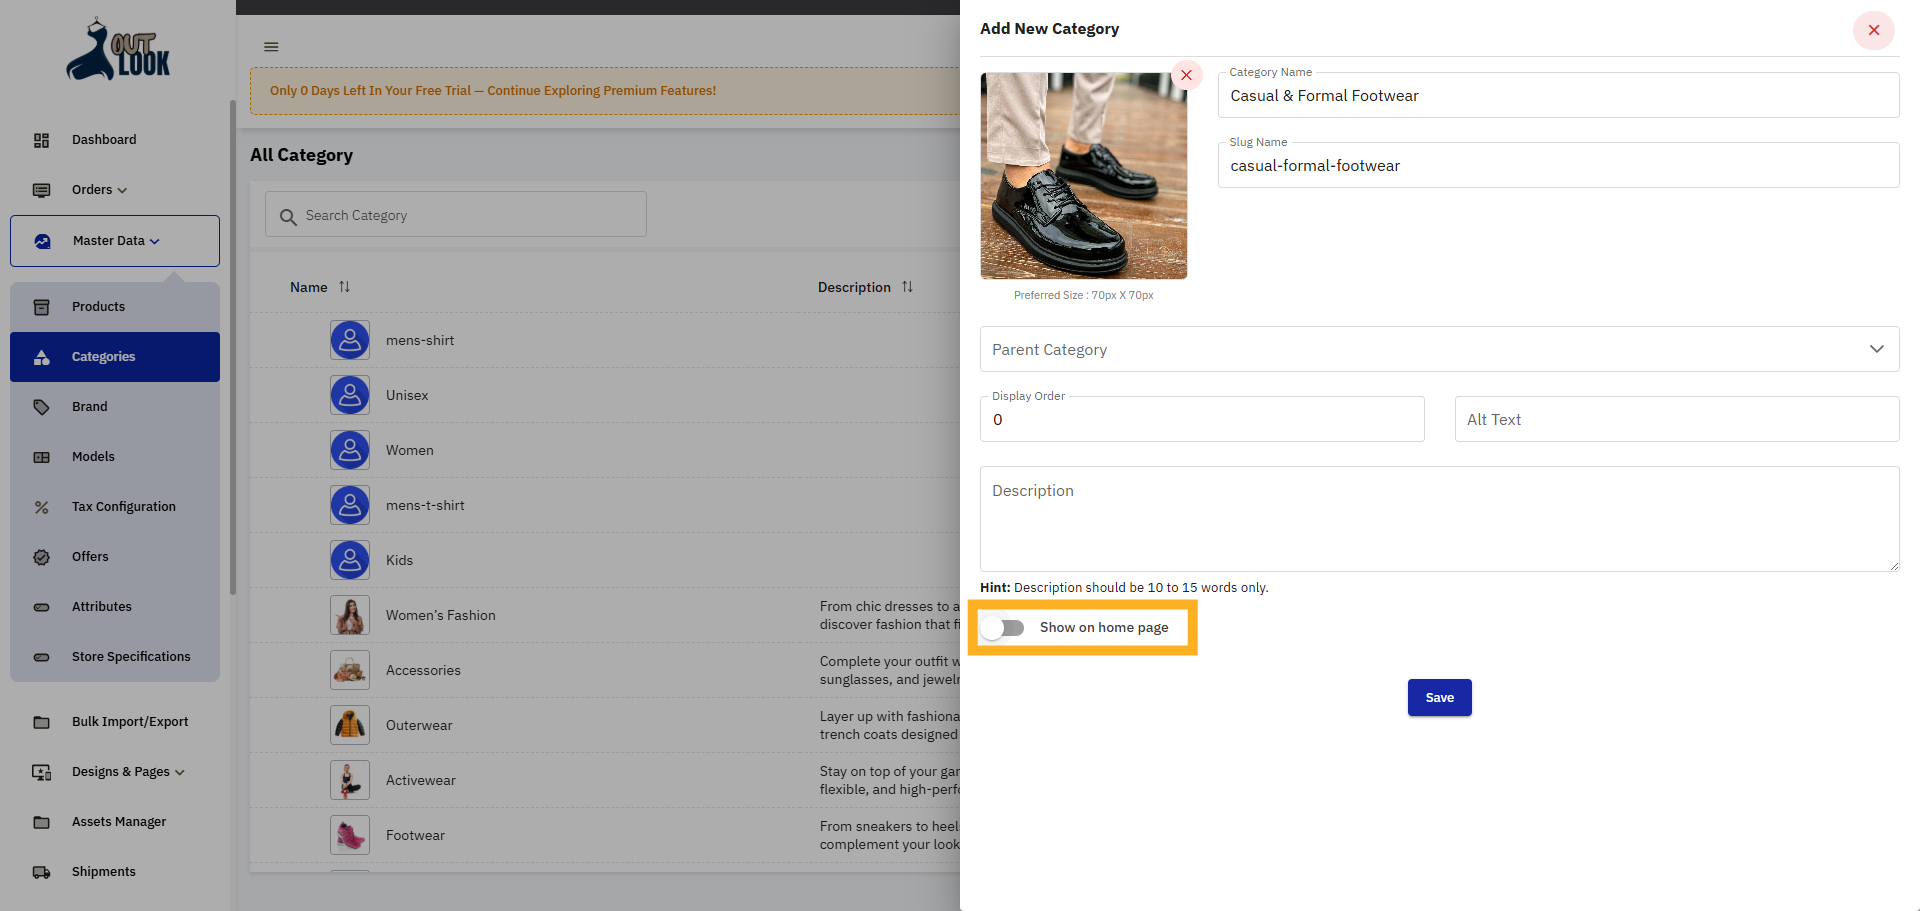
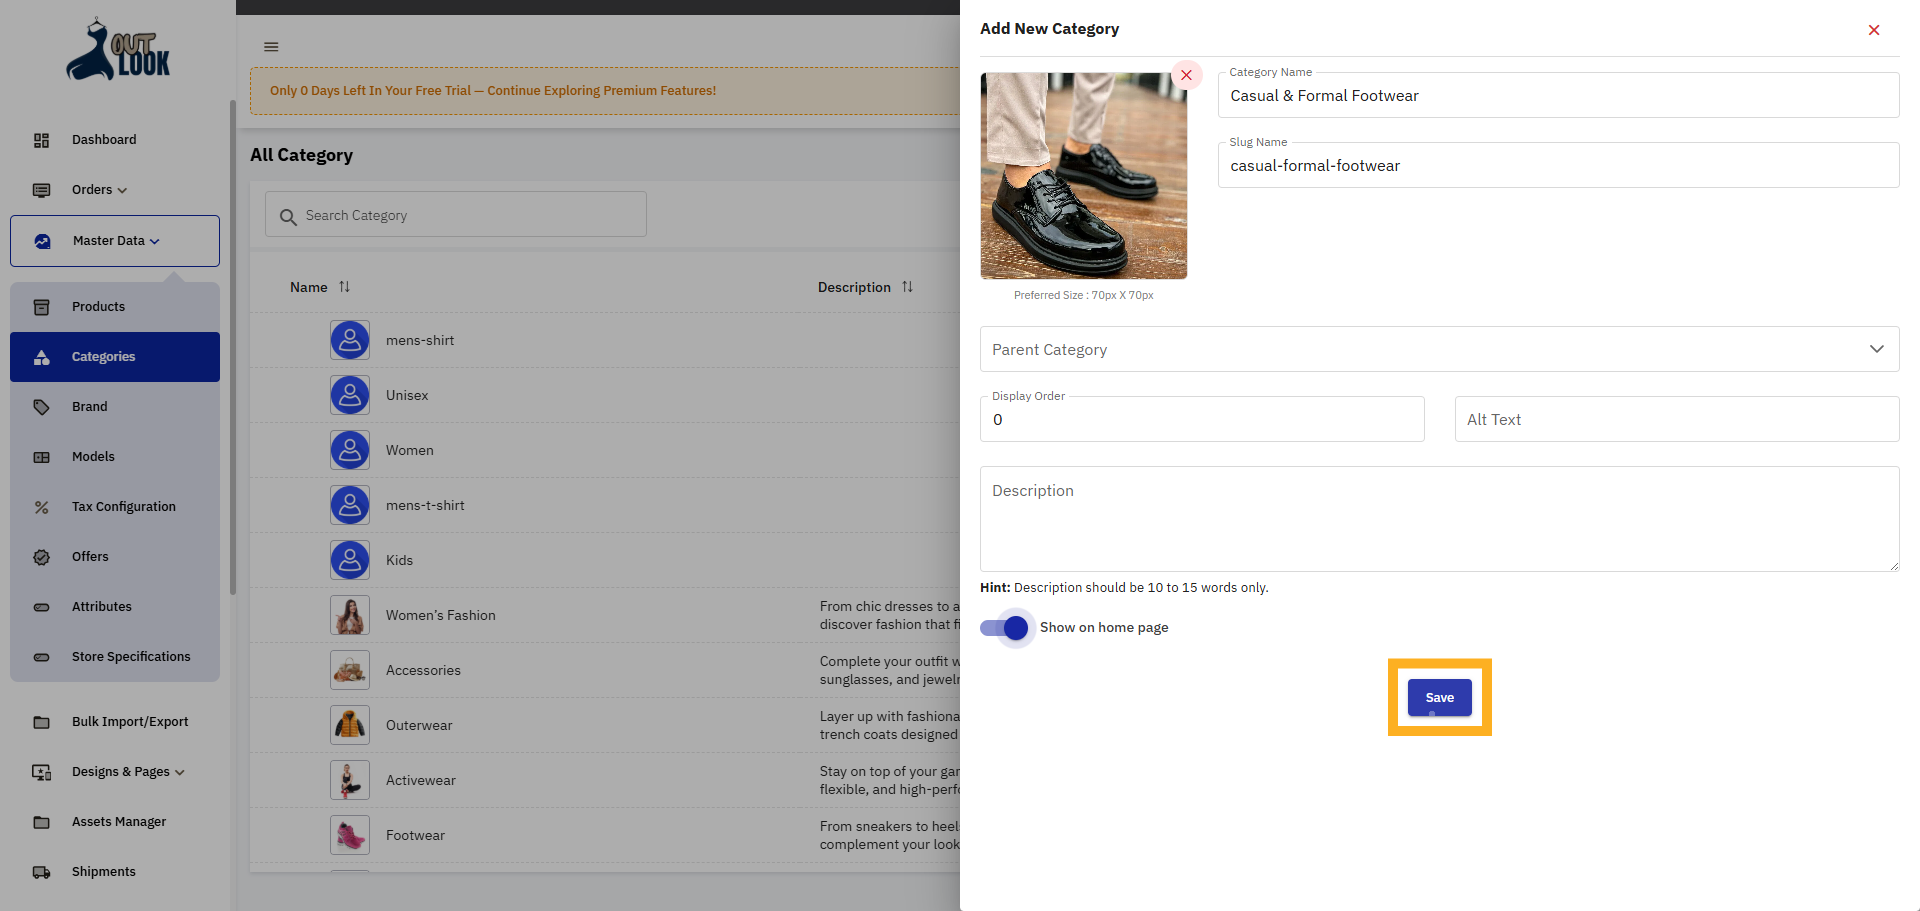
8. Enable Show On Home Page
Enable this option to display the category on your store’s home page for quick customer access.
9. Save New Category
Click the Save button to finalize and store the new category in the system.
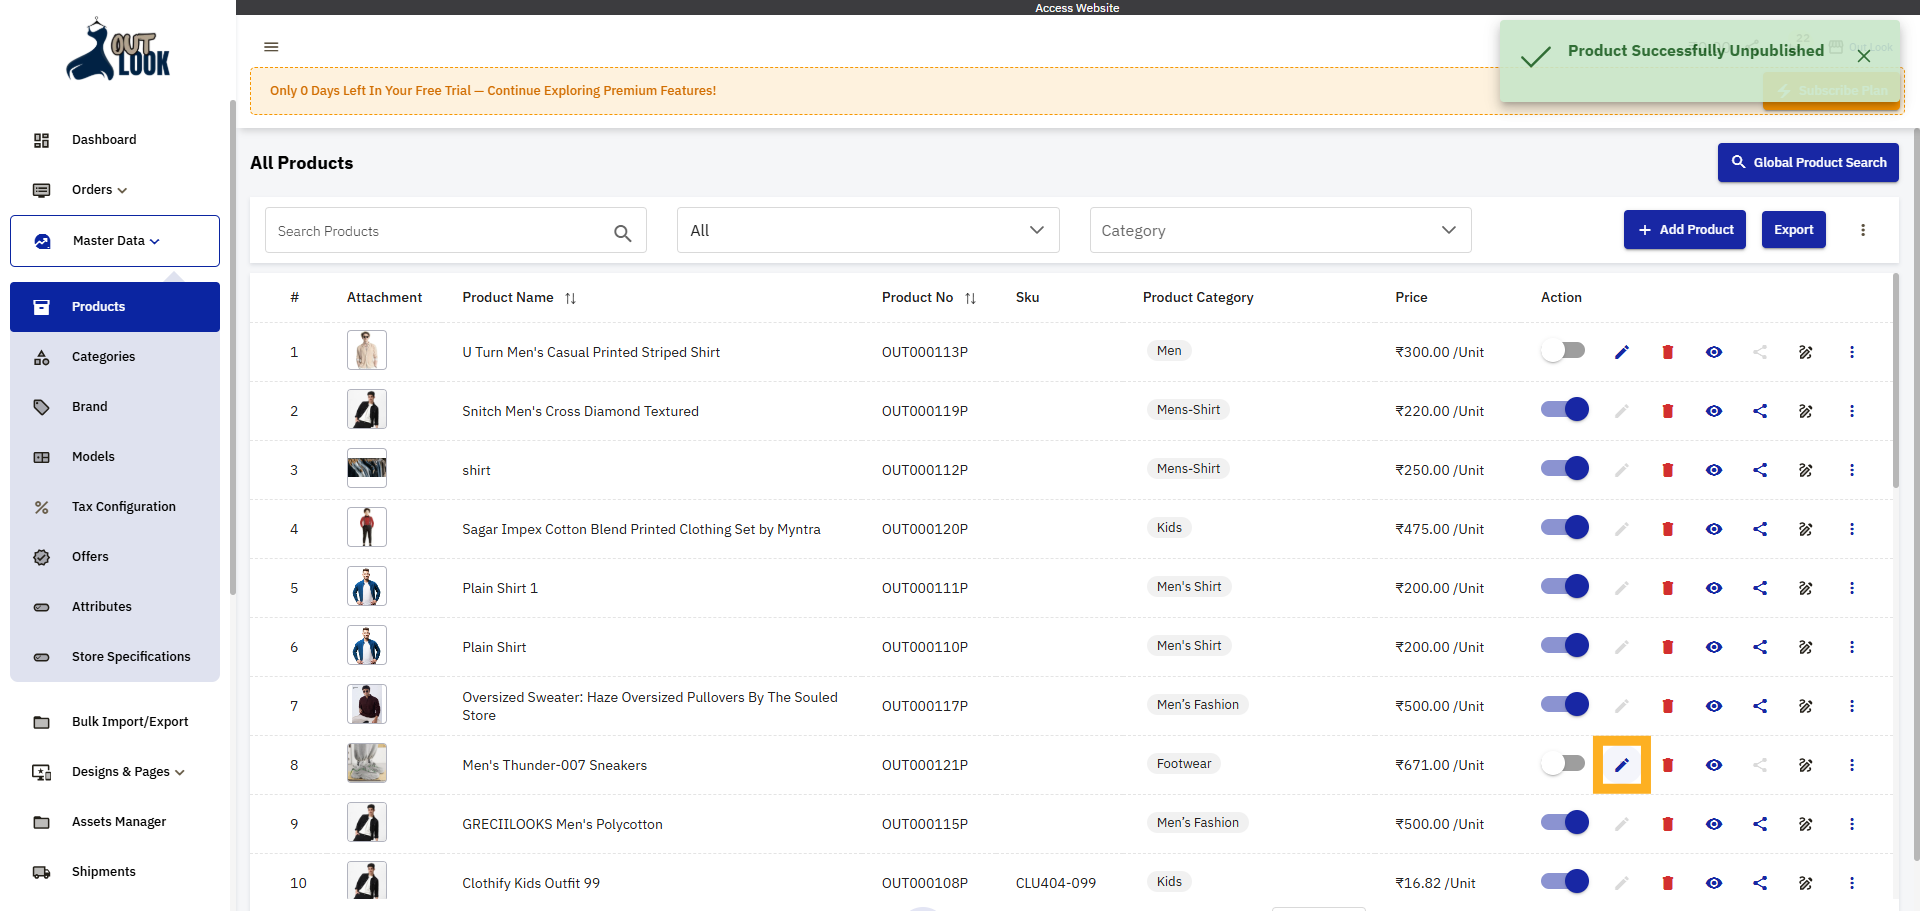
10. Navigate To Products Section
Click the Products option to manage product listings and assign categories.
11. Edit Selected Product
Click the Edit button to modify product details and category assignments.
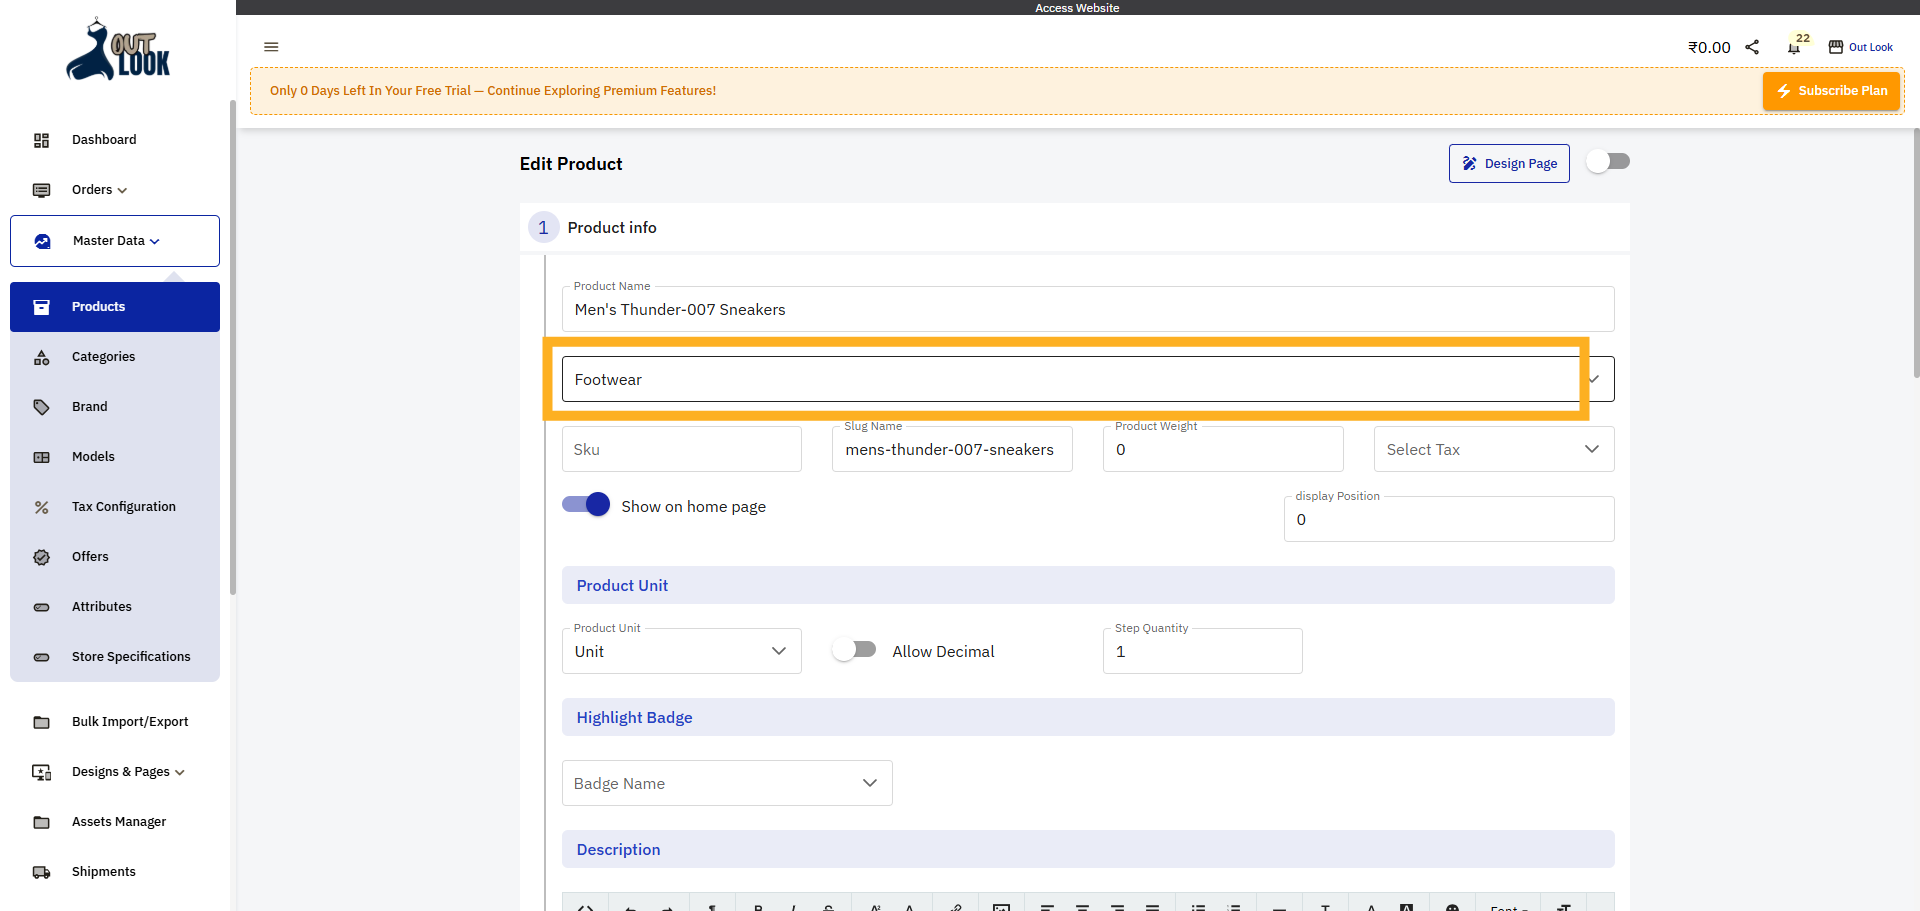
12. Select Category Dropdown
Click the category dropdown to view related, subcategories.
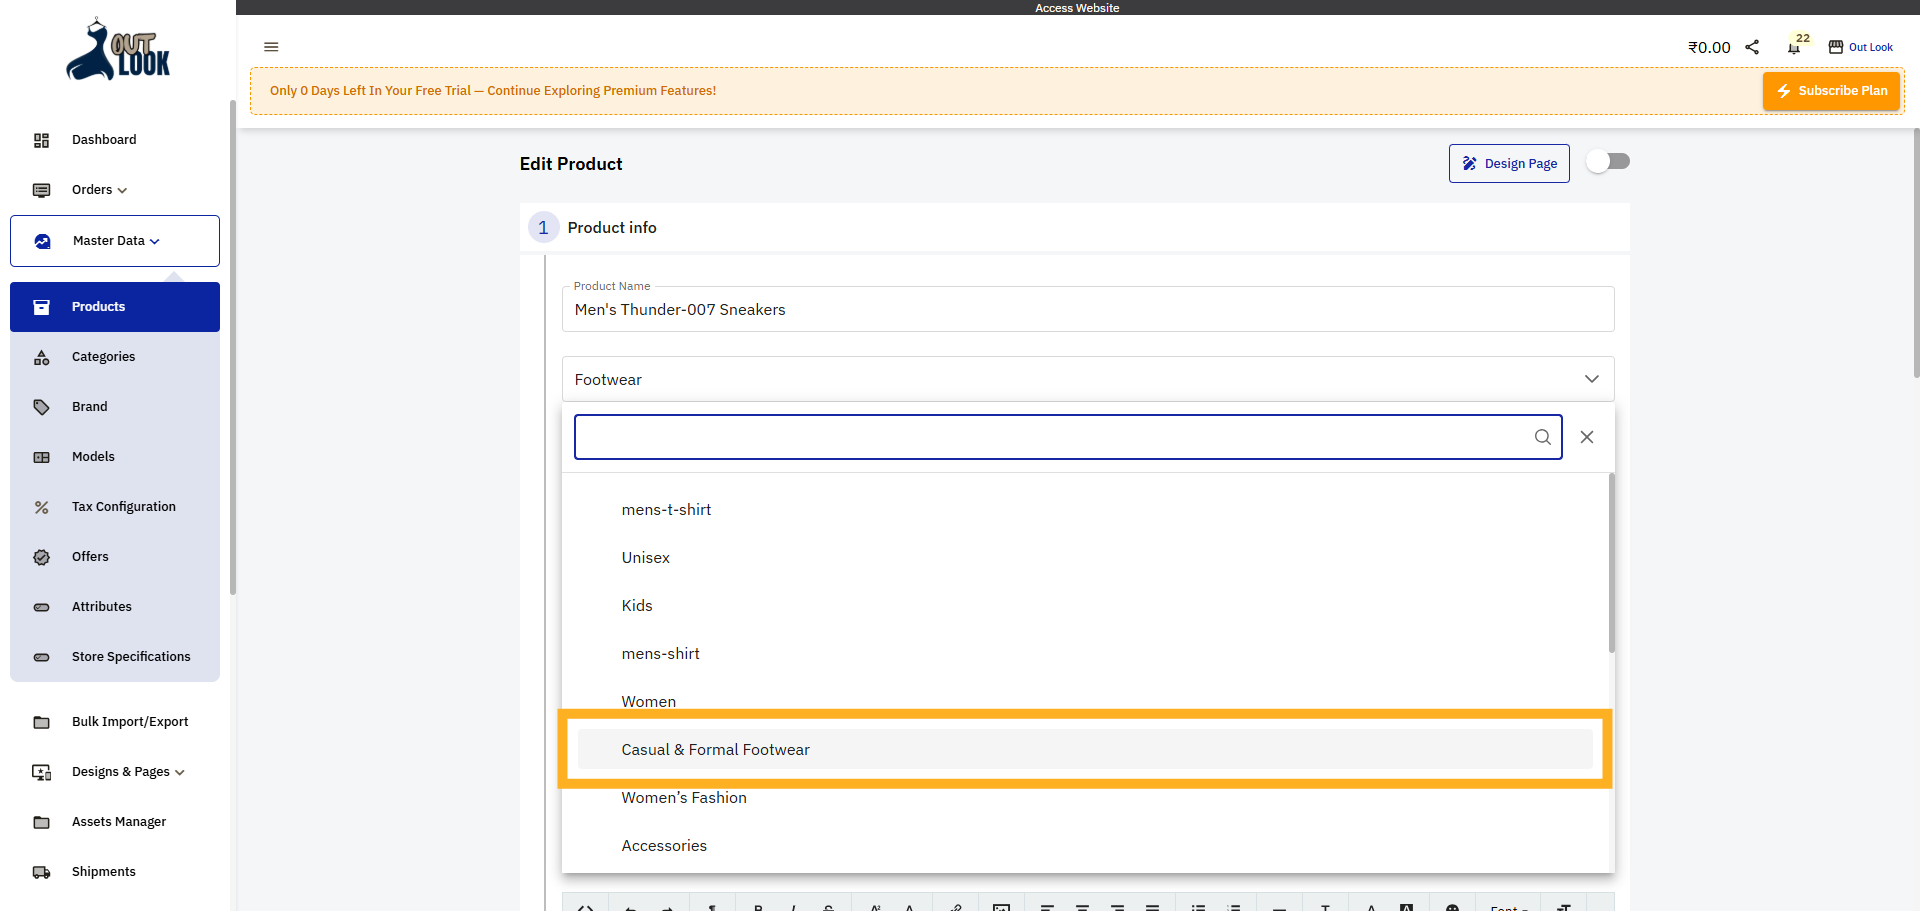
13. Choose Specific Category
Click the Casual & Formal Footwear category to assign it to the product.
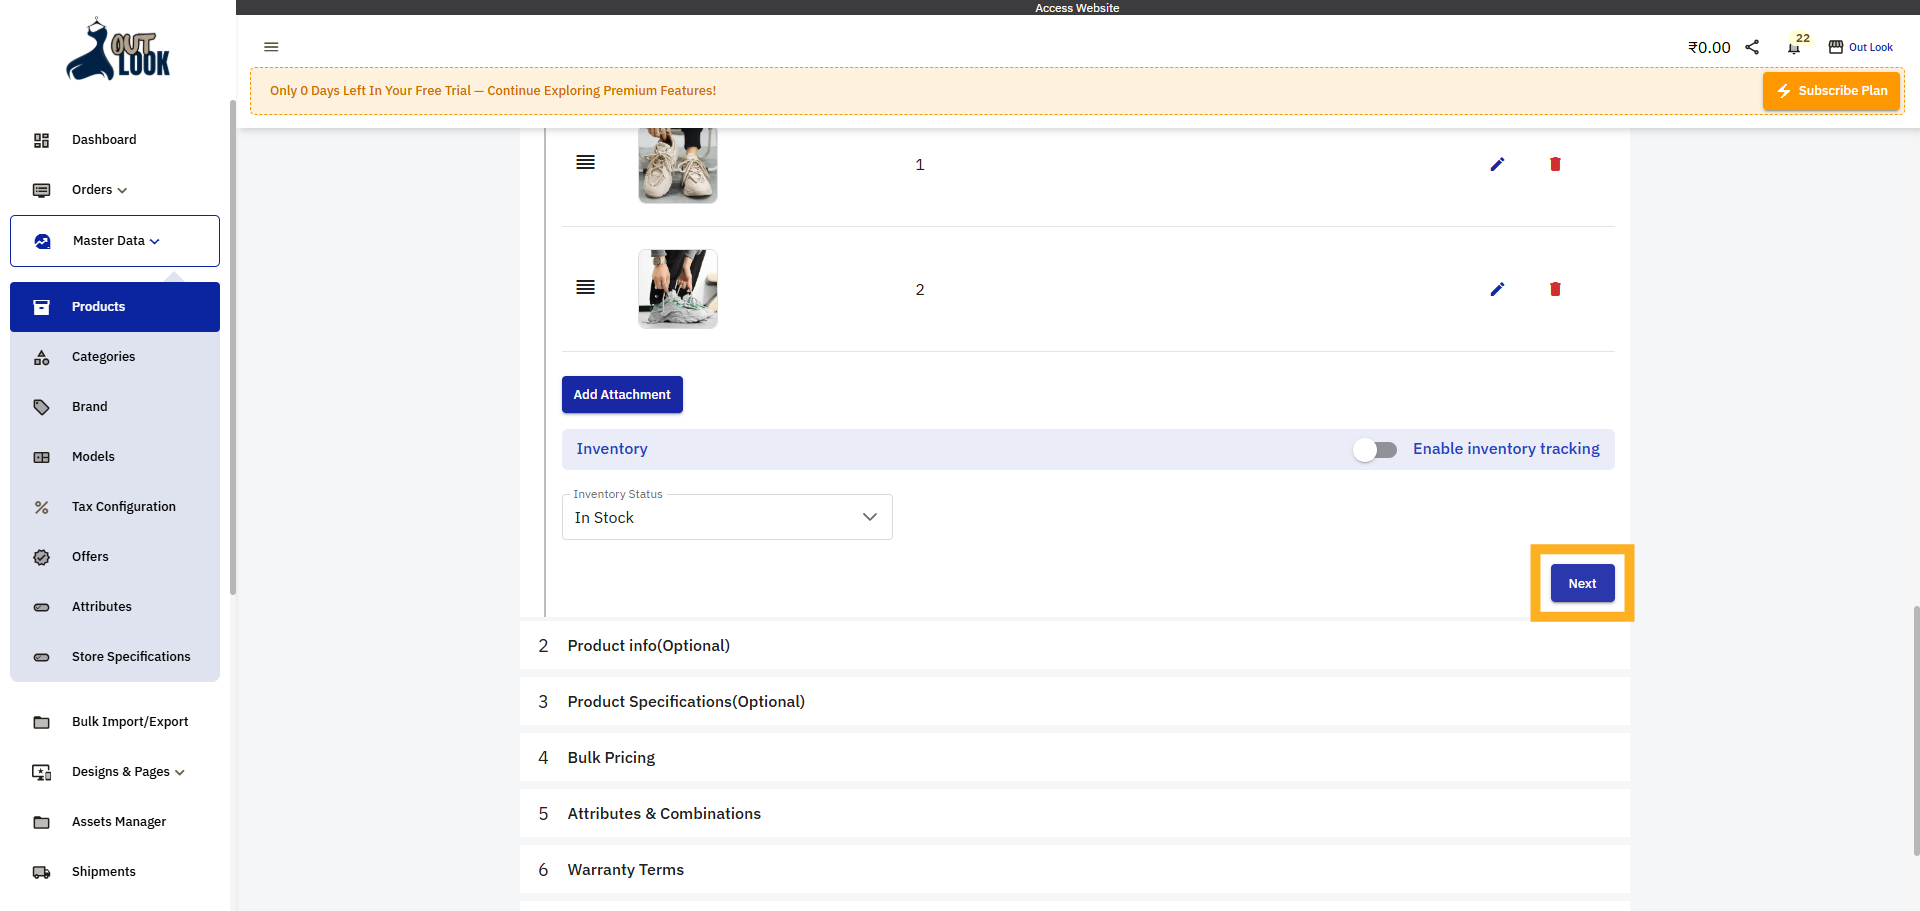
14. Proceed To Next Edit Step
Click the Next button to continue through the product editing process.
15. Click Access Website
Click Access Website to open and view your live website.

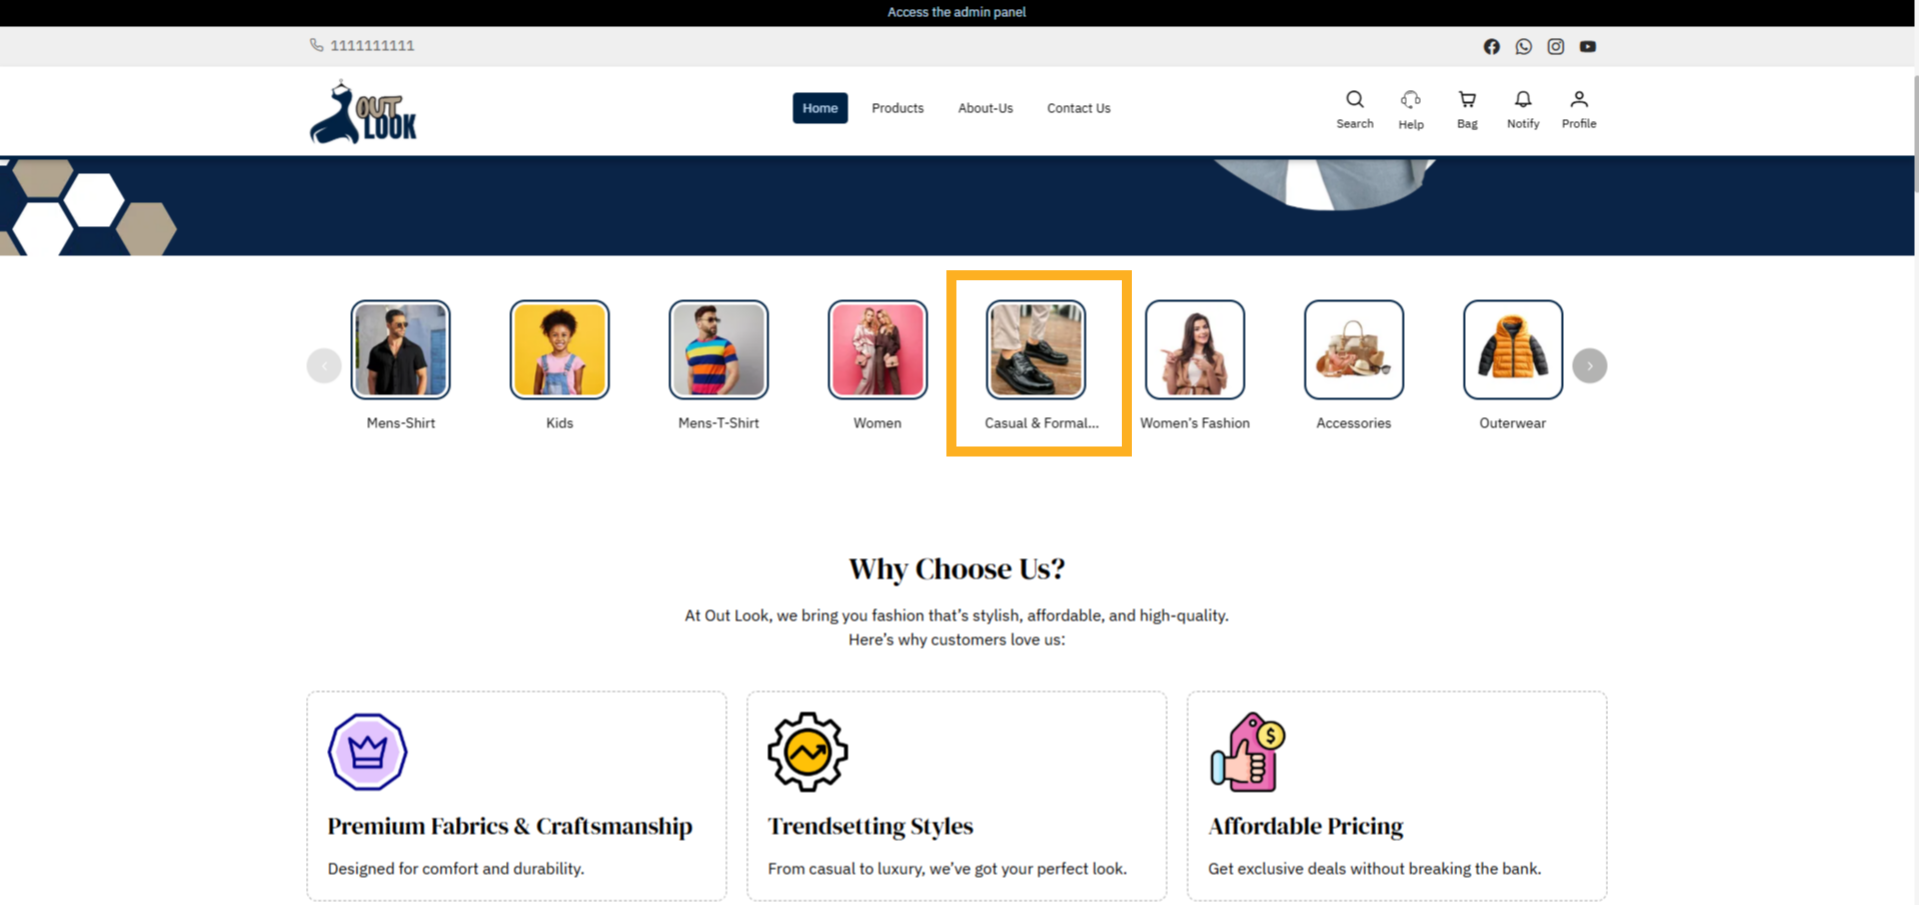
16. Website Home Page
The main landing page of your website where customers first arrive and explore featured categories,
products, and offers.
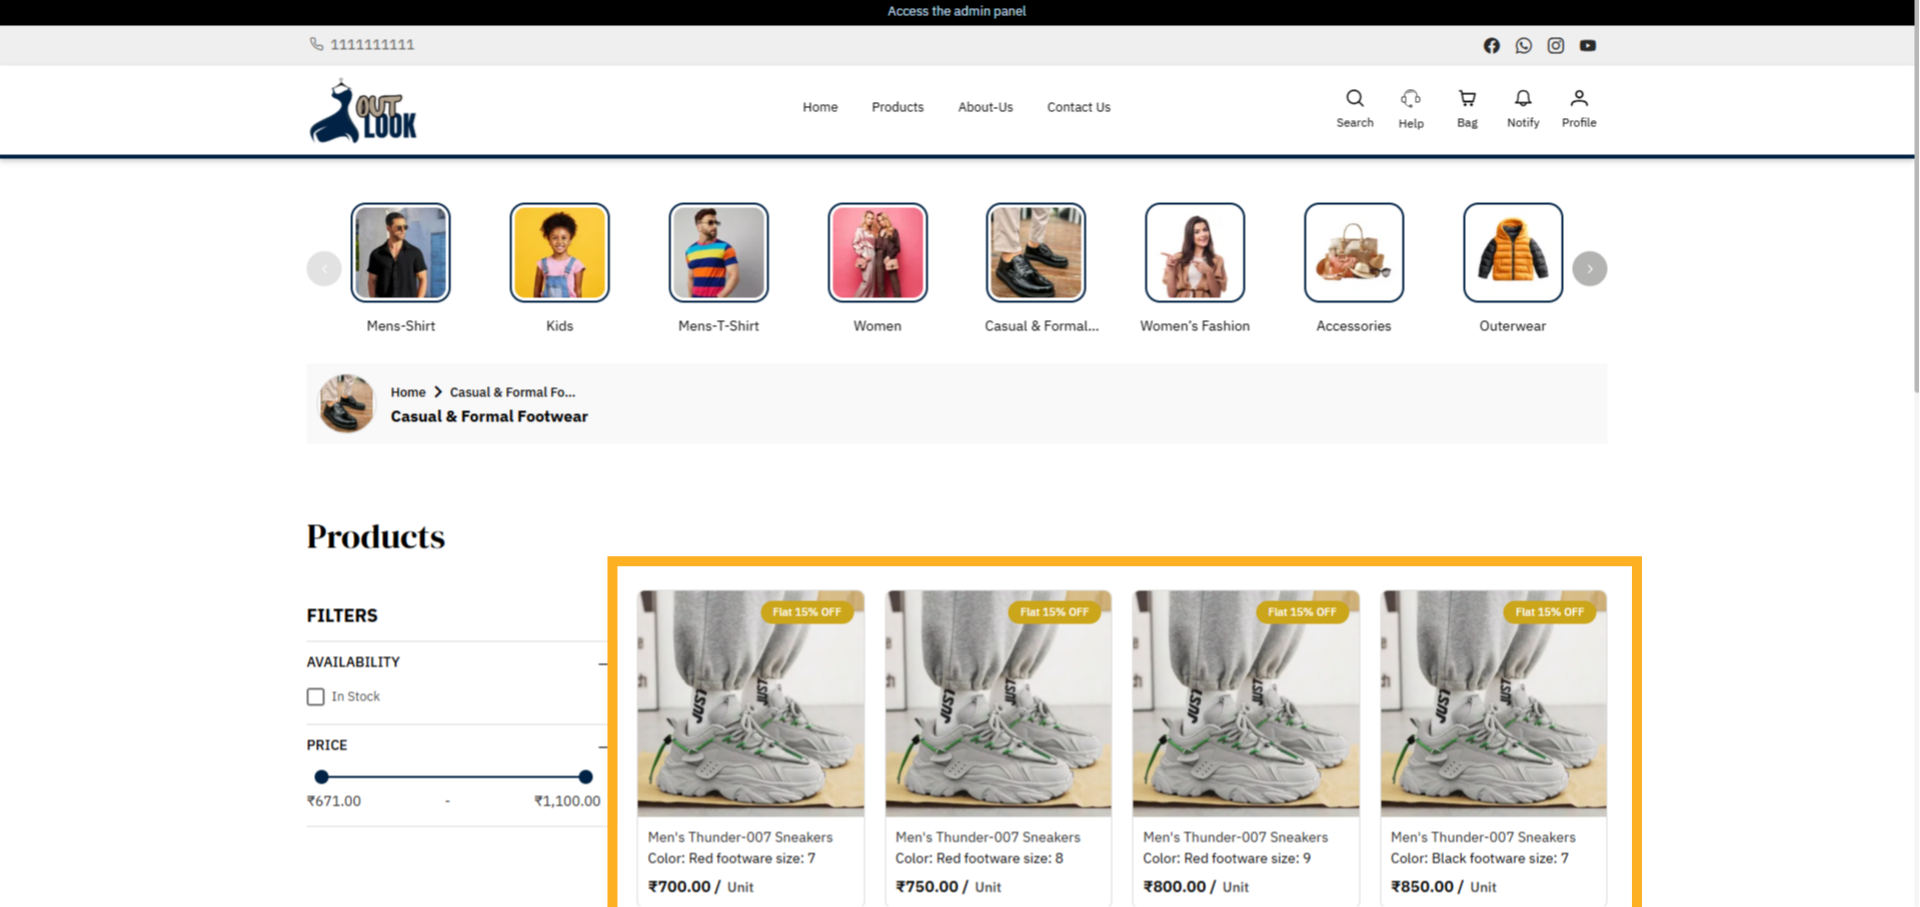
17. Casual & Formal Footwear Products
Browse all products listed under the Casual & Formal Footwear category available in your store.
You have successfully added a new category and assigned it to relevant products within the Boniii
application. This process helps organize your inventory for easier management and improved product
visibility.
Uploading...