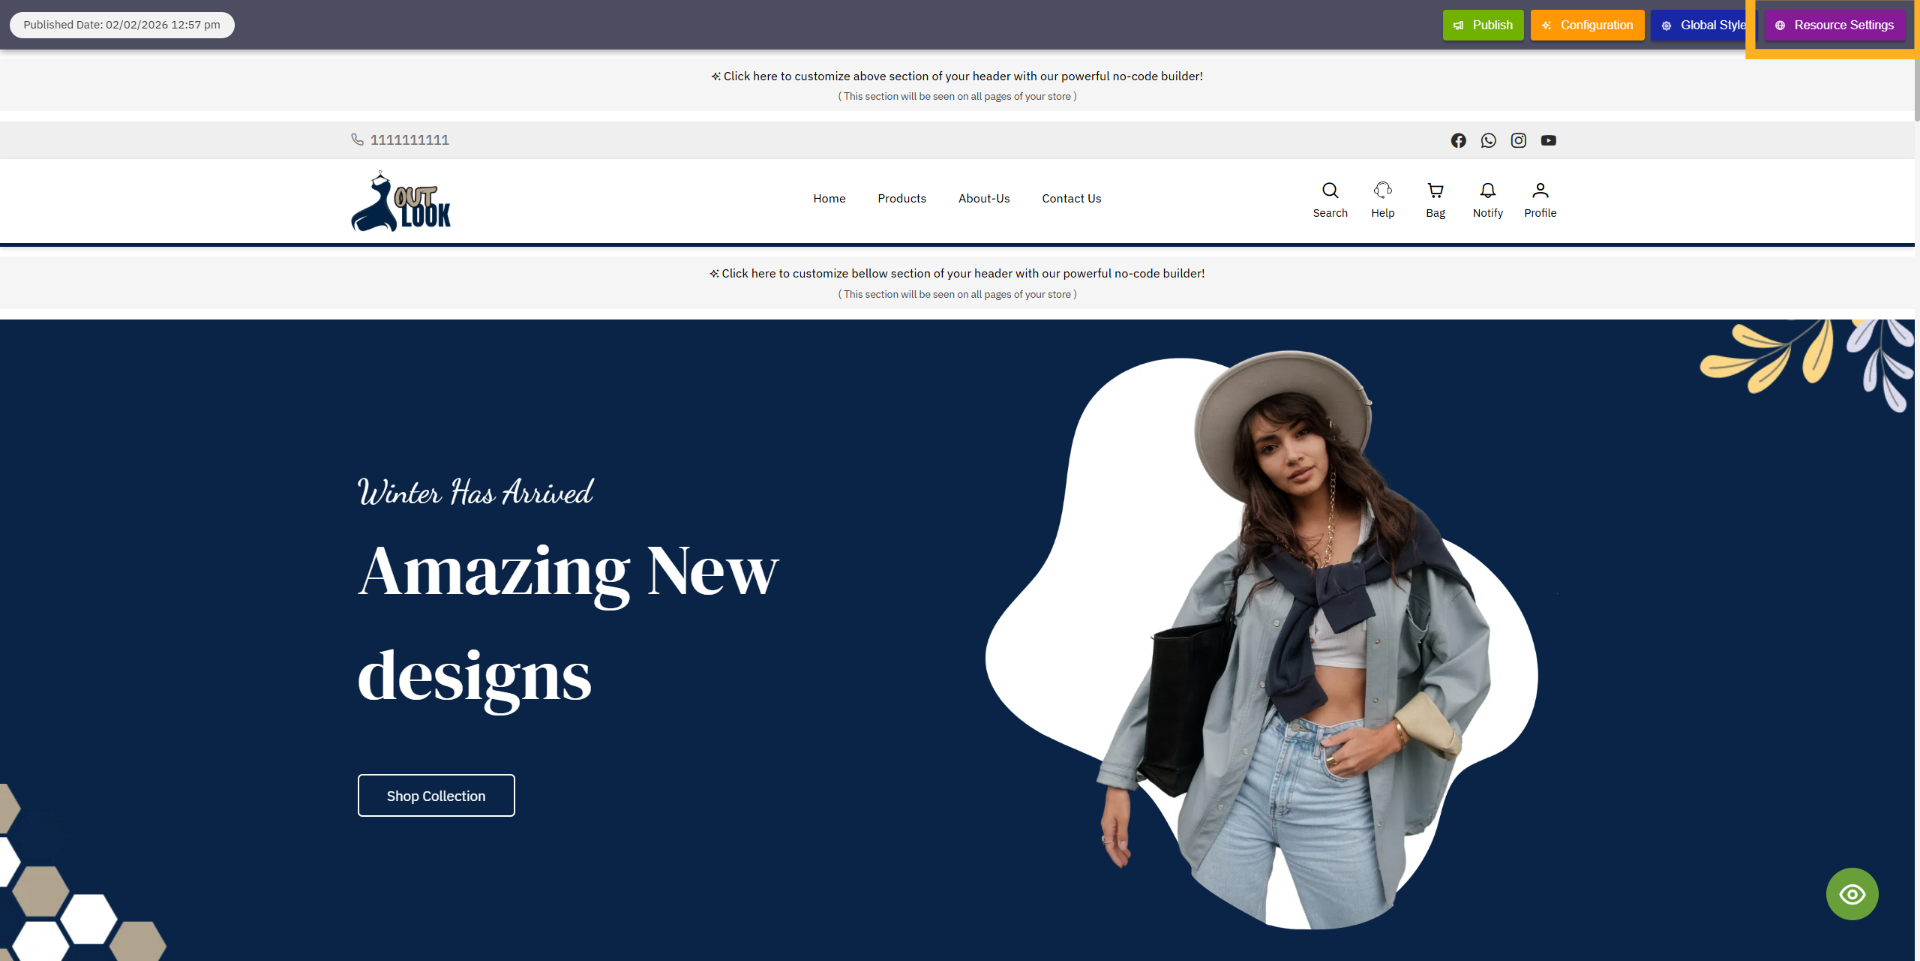
4 - How To Use Resource Settings
1. Open Resource Settings
Click the Resource Settings button to open the resource management modal. From there, you can manage
resources such as additional CSS, JavaScript files, and meta tags for SEO. This enables you to add
custom code and optimize your website.
2. Add New Resource
Click a Add Resource to start creating a new resource entry.

3. Open Resource Details
Click the caret icon to access the detailed settings for the new resource. From this interface, you can
easily configure and manage its options.

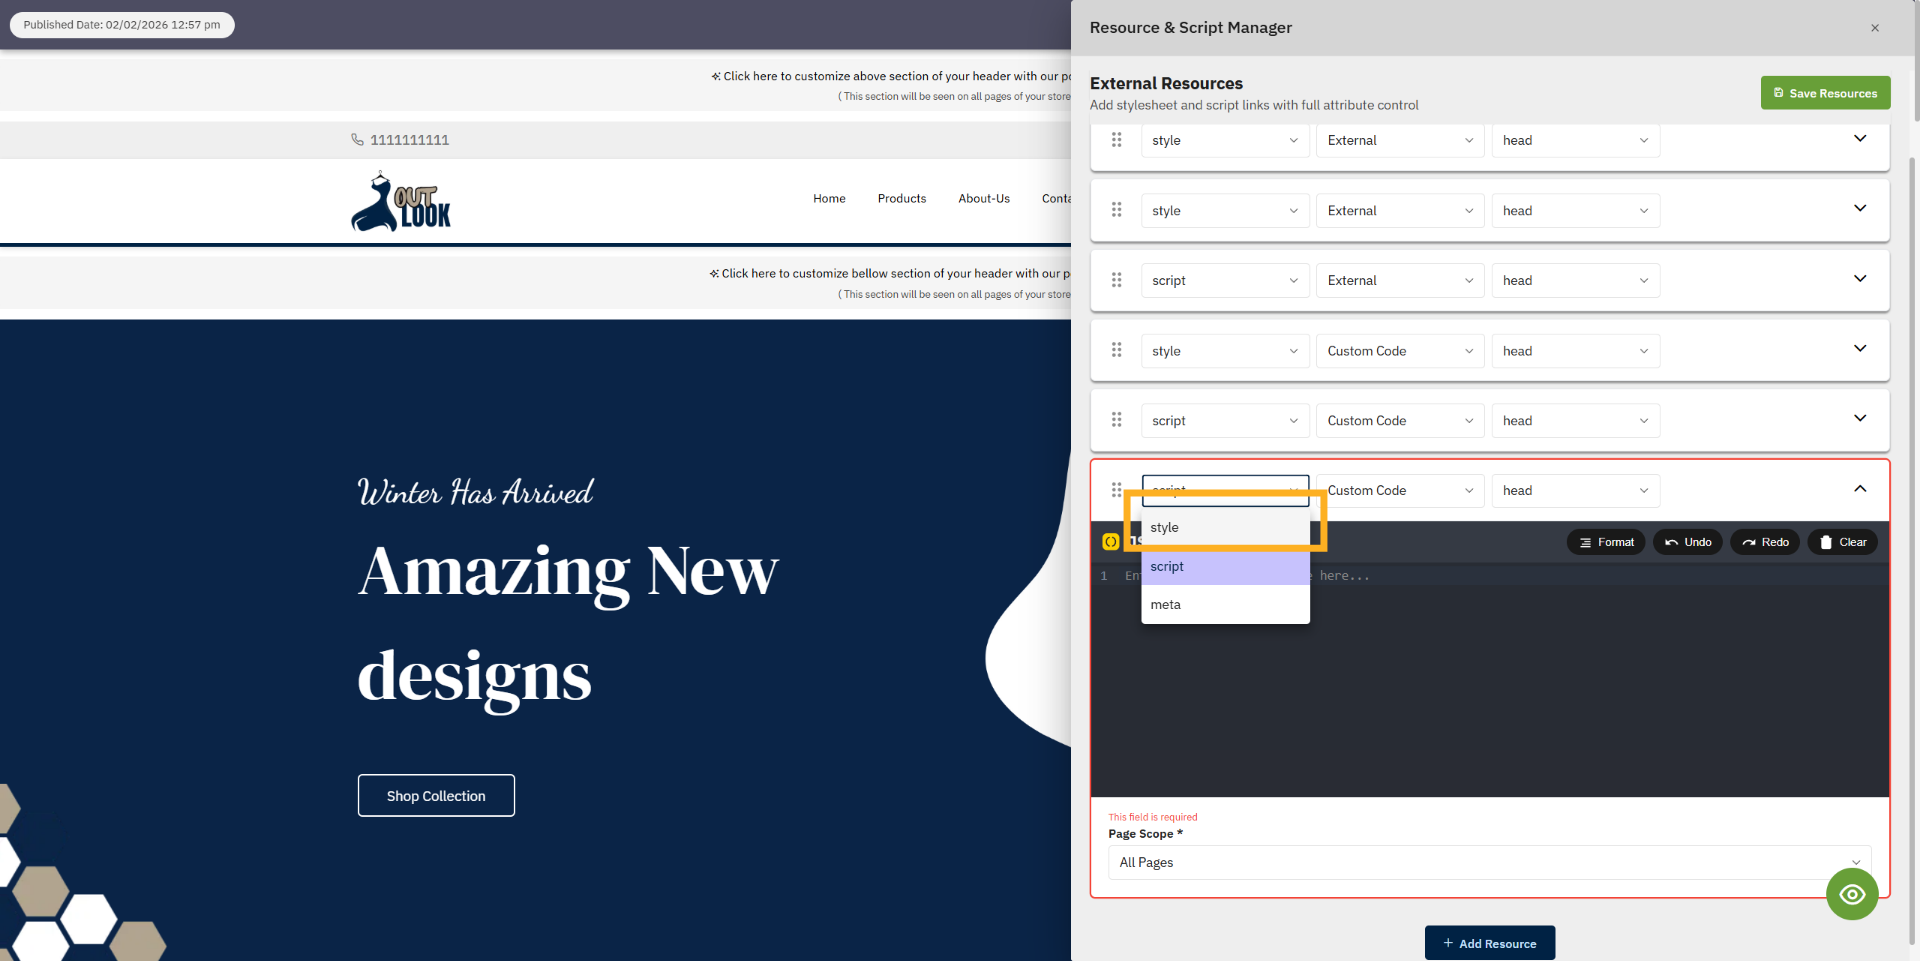
4. Select Resource Type
Select the Resource Type. You will find options such as Style, Script, and Meta. From these, you can
choose any type to add the necessary resource.
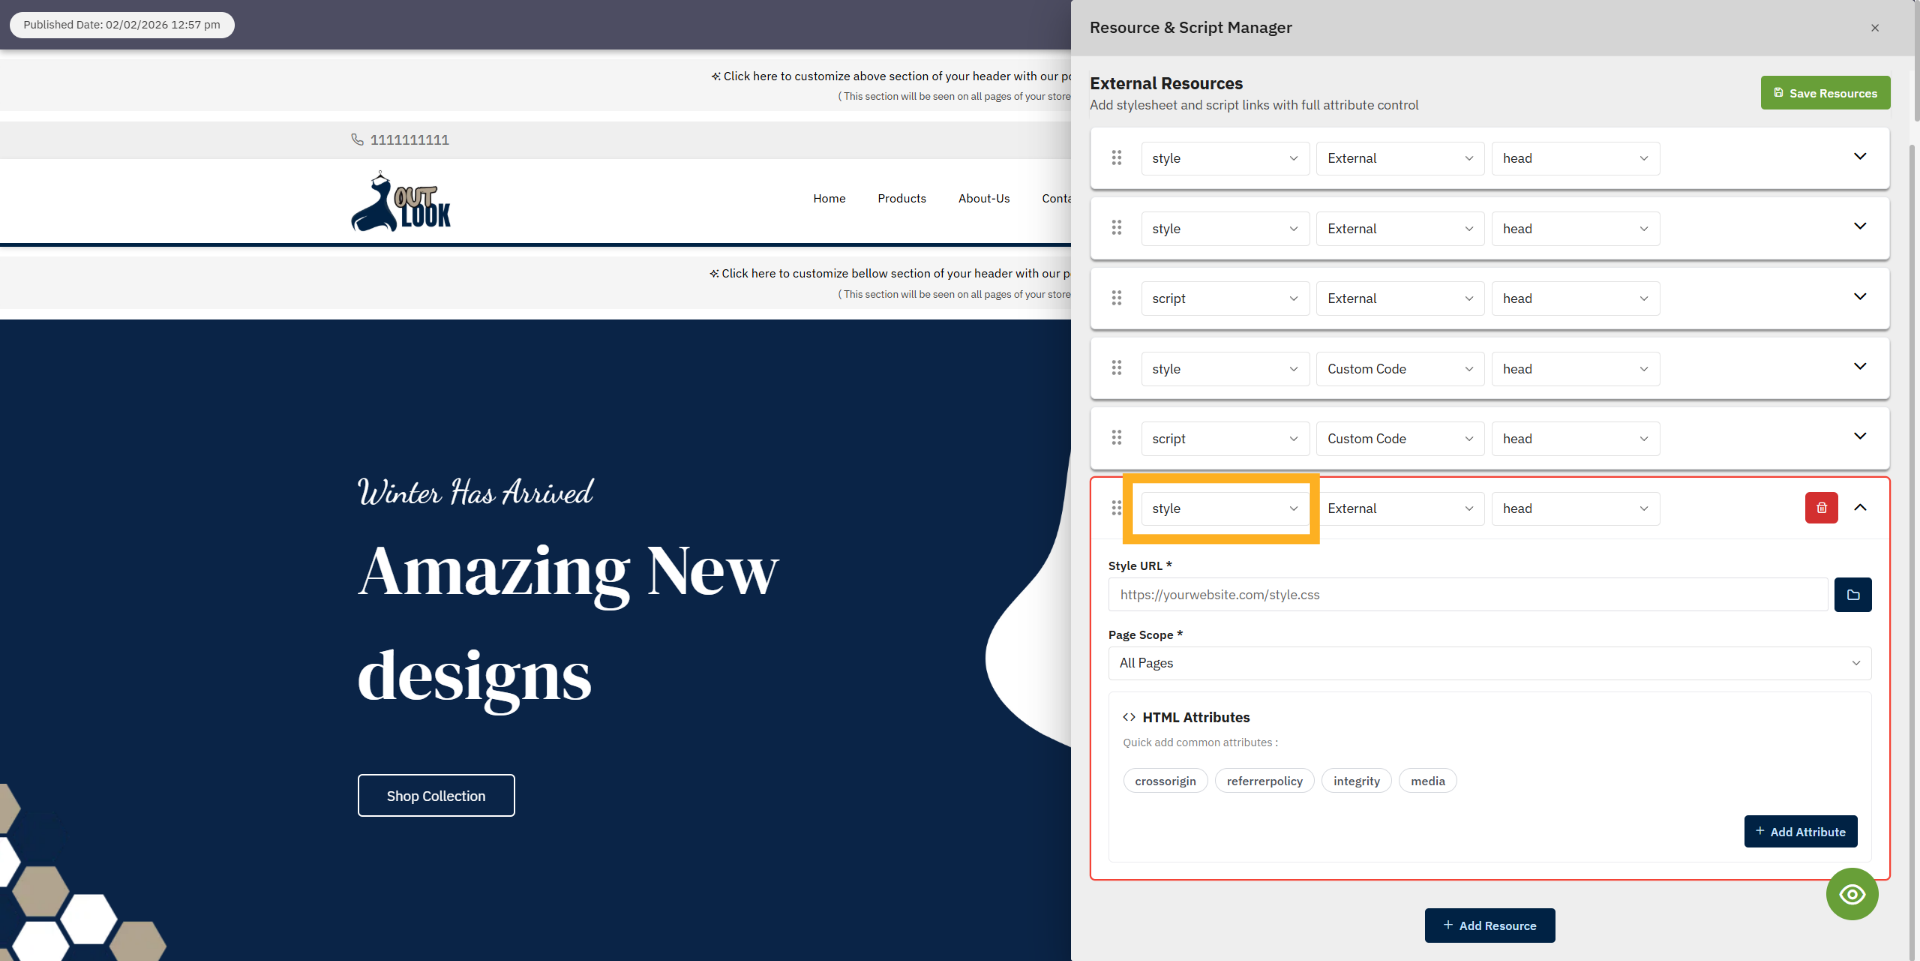
5. Script / Style / Meta Type
After selecting the Resource Type, you need to choose how to attach the resource. You can select Custom
Code to add your own code, or choose External to attach the resource using a link (URL).

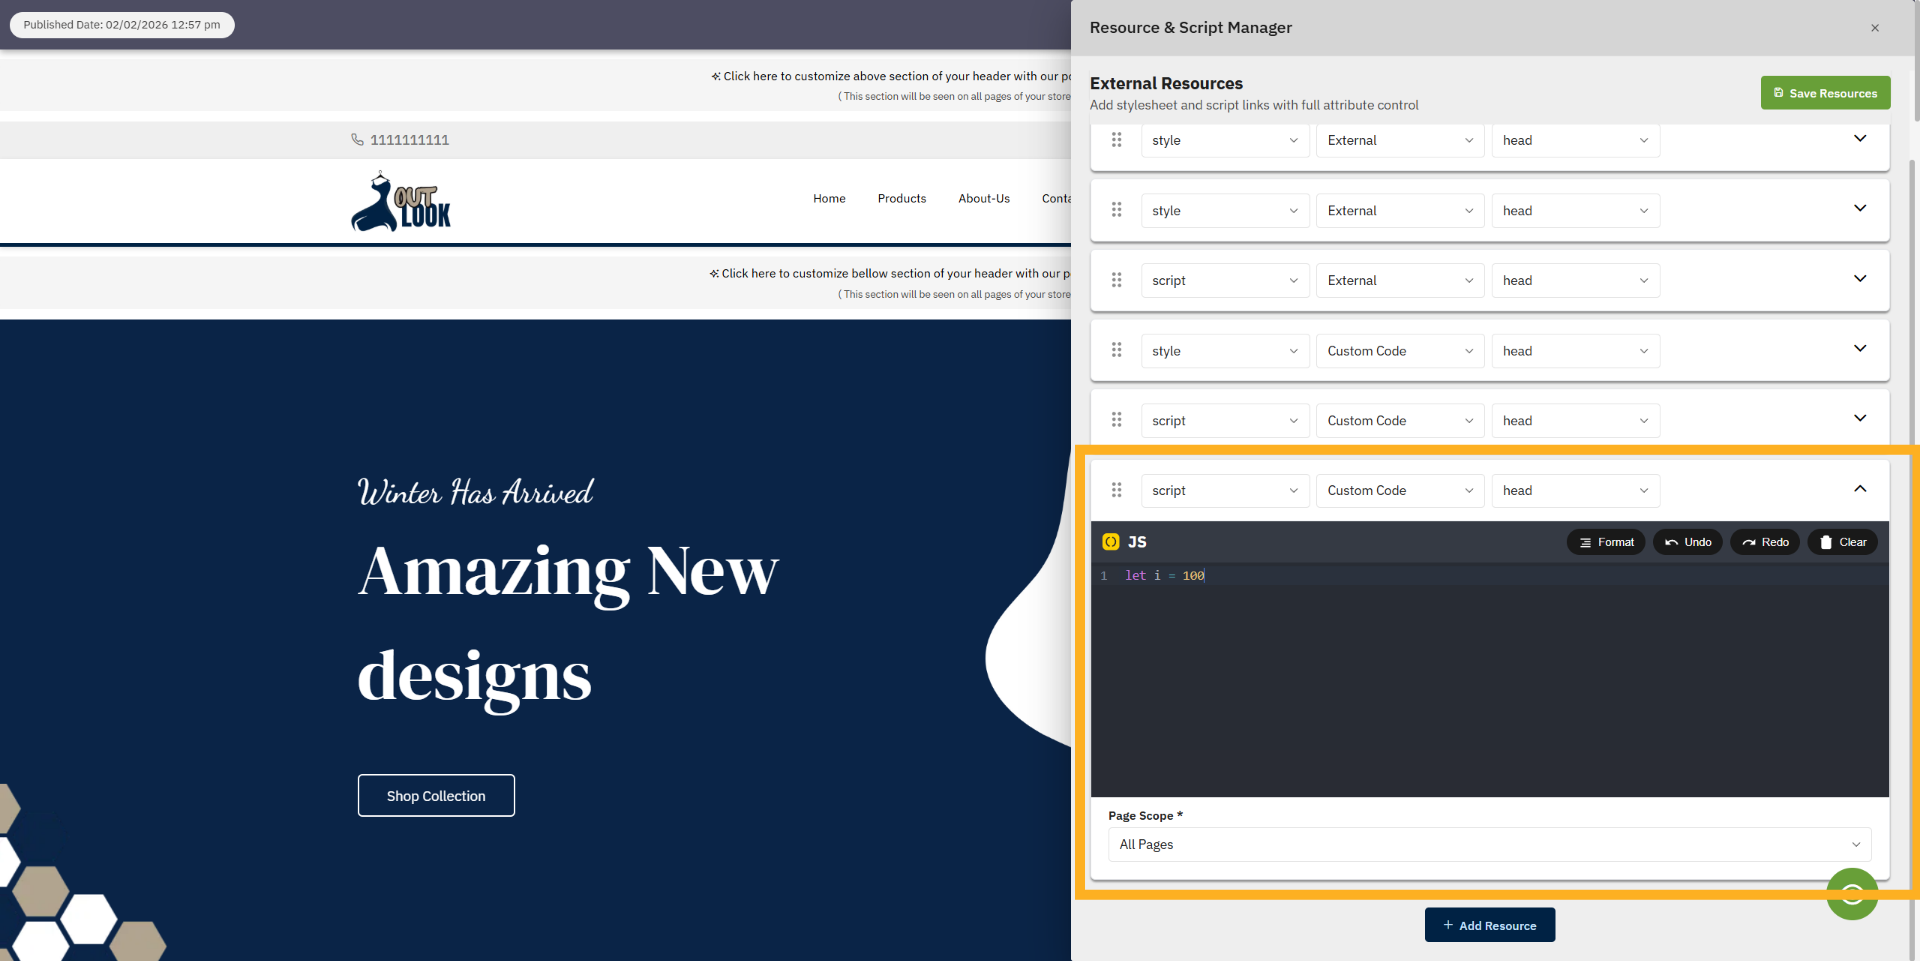
6. JavaScript Editor
If you select Custom Code, JavaScript editor will appear. In the JavaScript editor, you can write any
script according to your requirements to add custom functionality to your website.
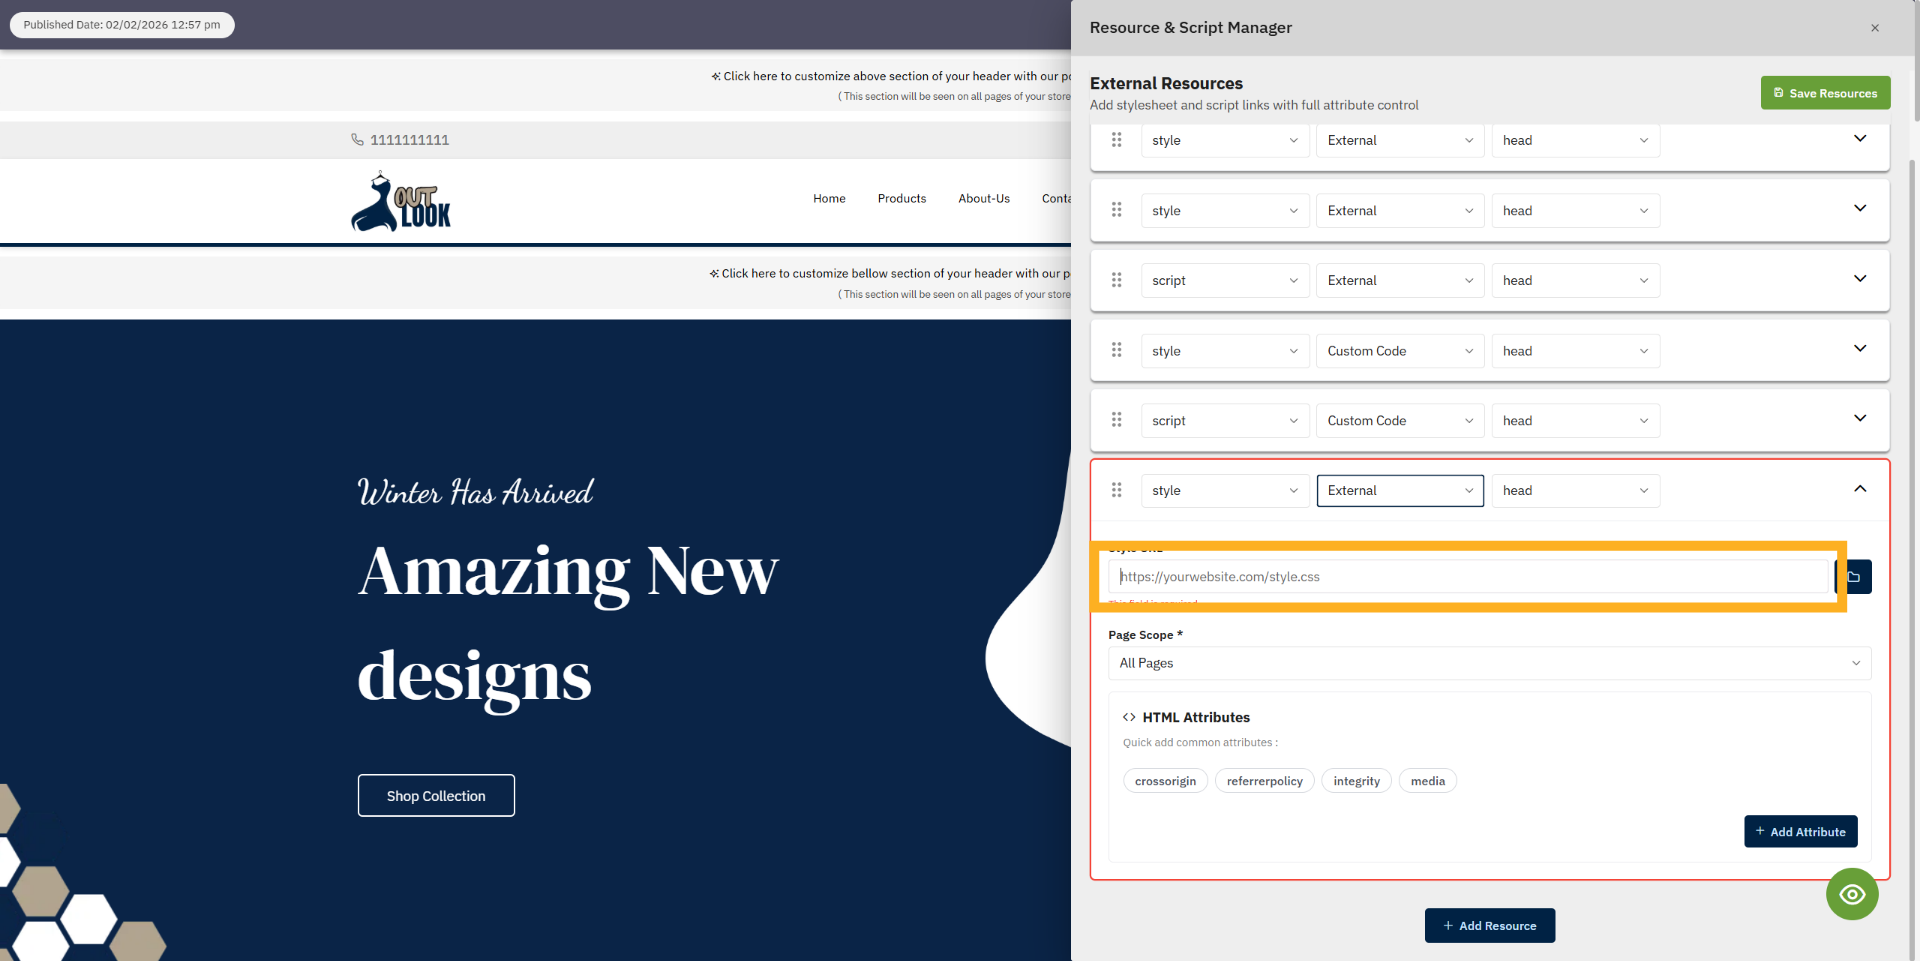
7. Choose External
If you select External, a URL text box will appear where you can add the resource link. On the right
side, there is also an Assets Manager button that allows you to attach a file from your assets folder.
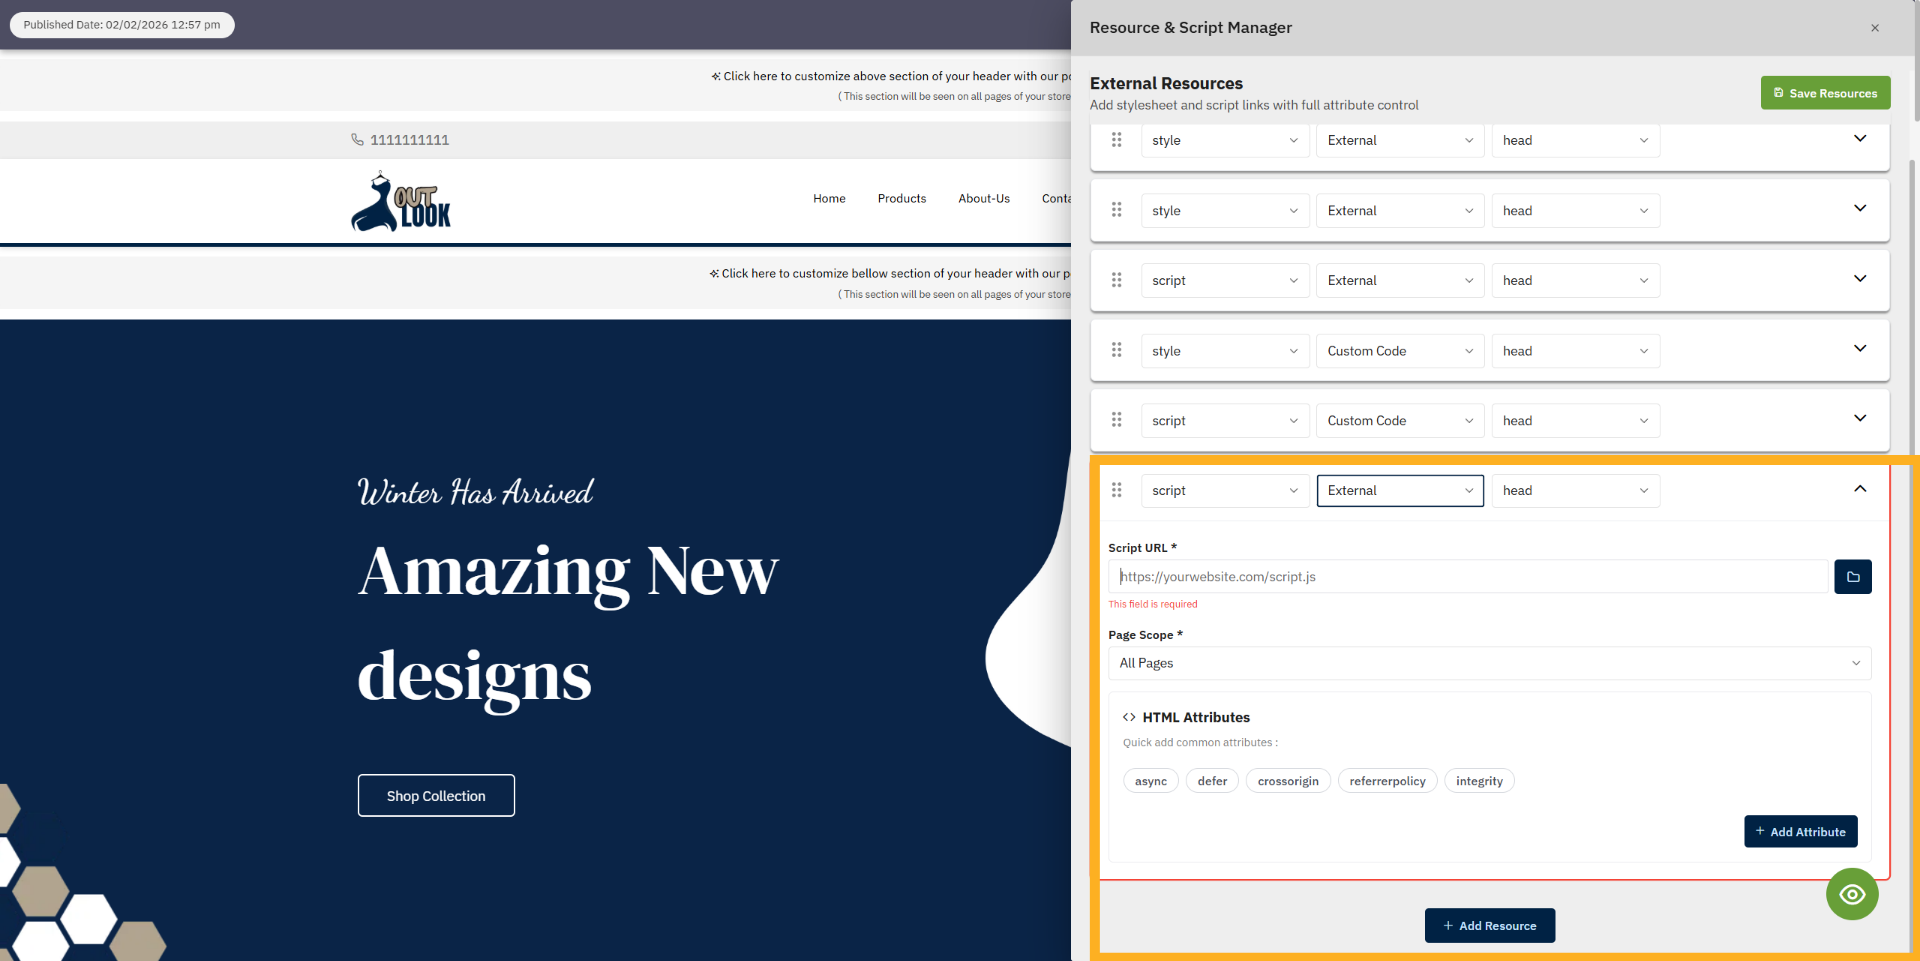
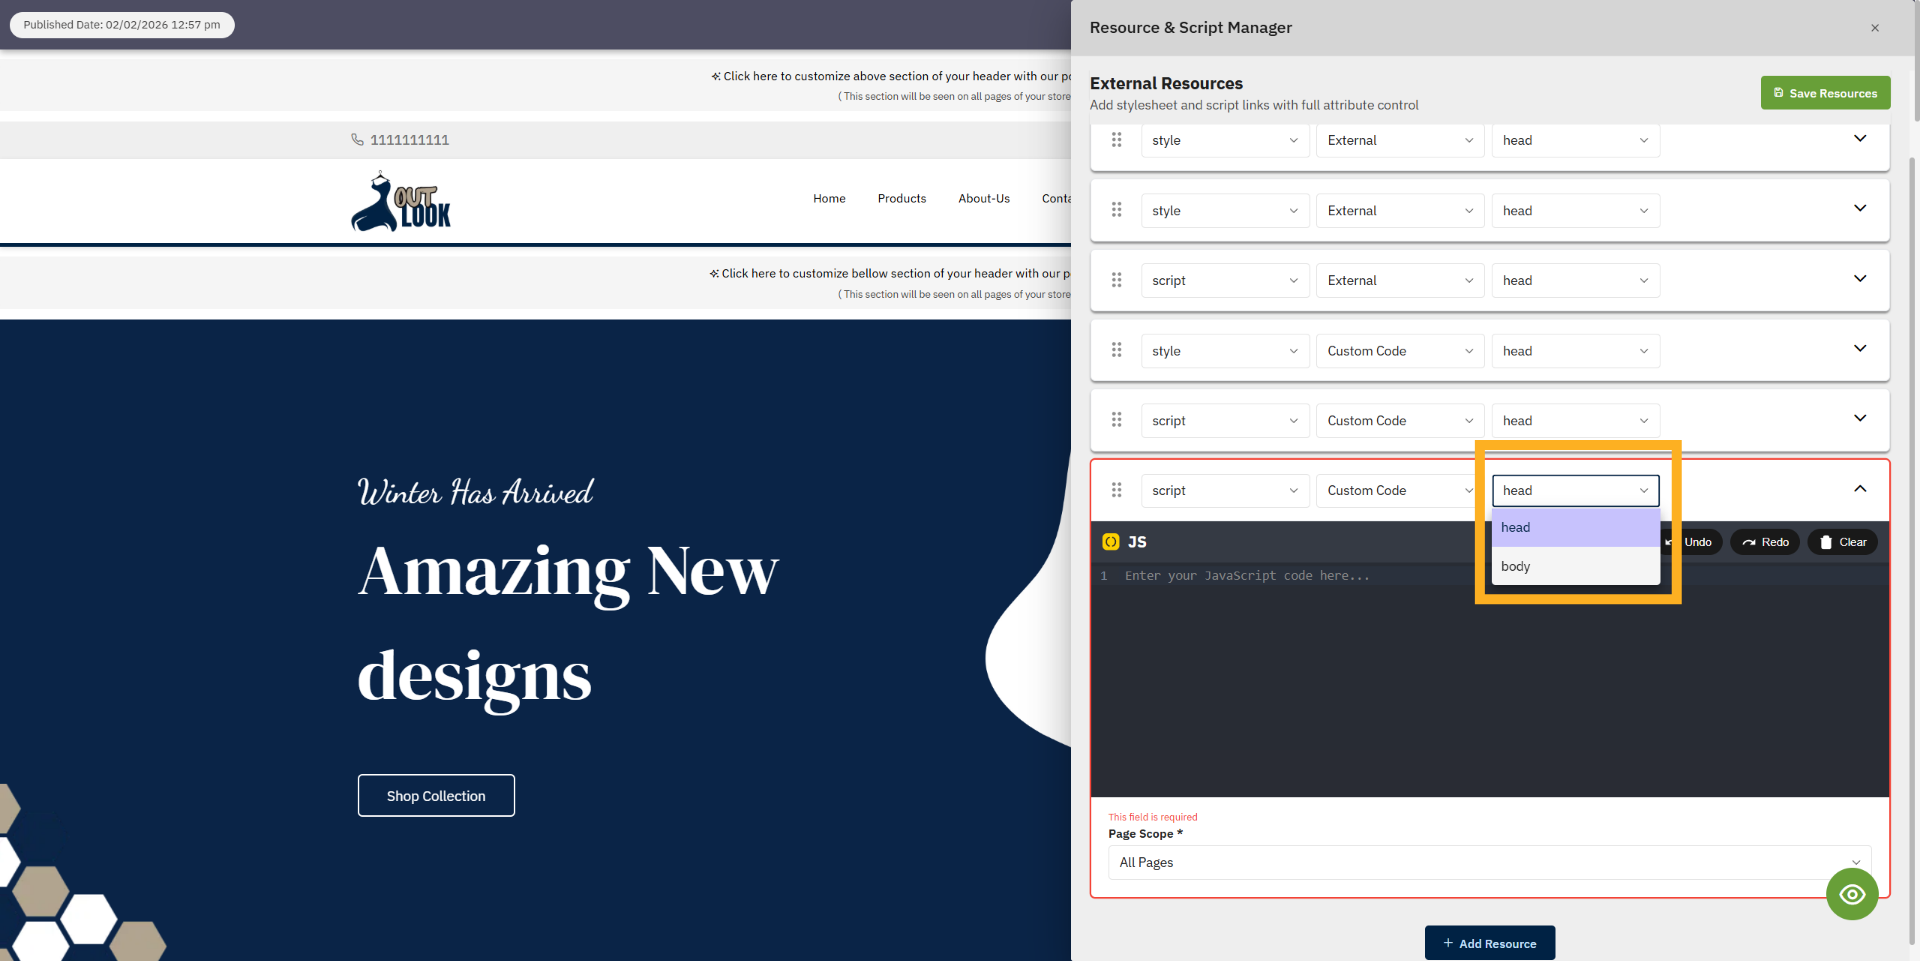
8. Select Resource Placement
Choose where the resource will be added — Head or Body section of the page.
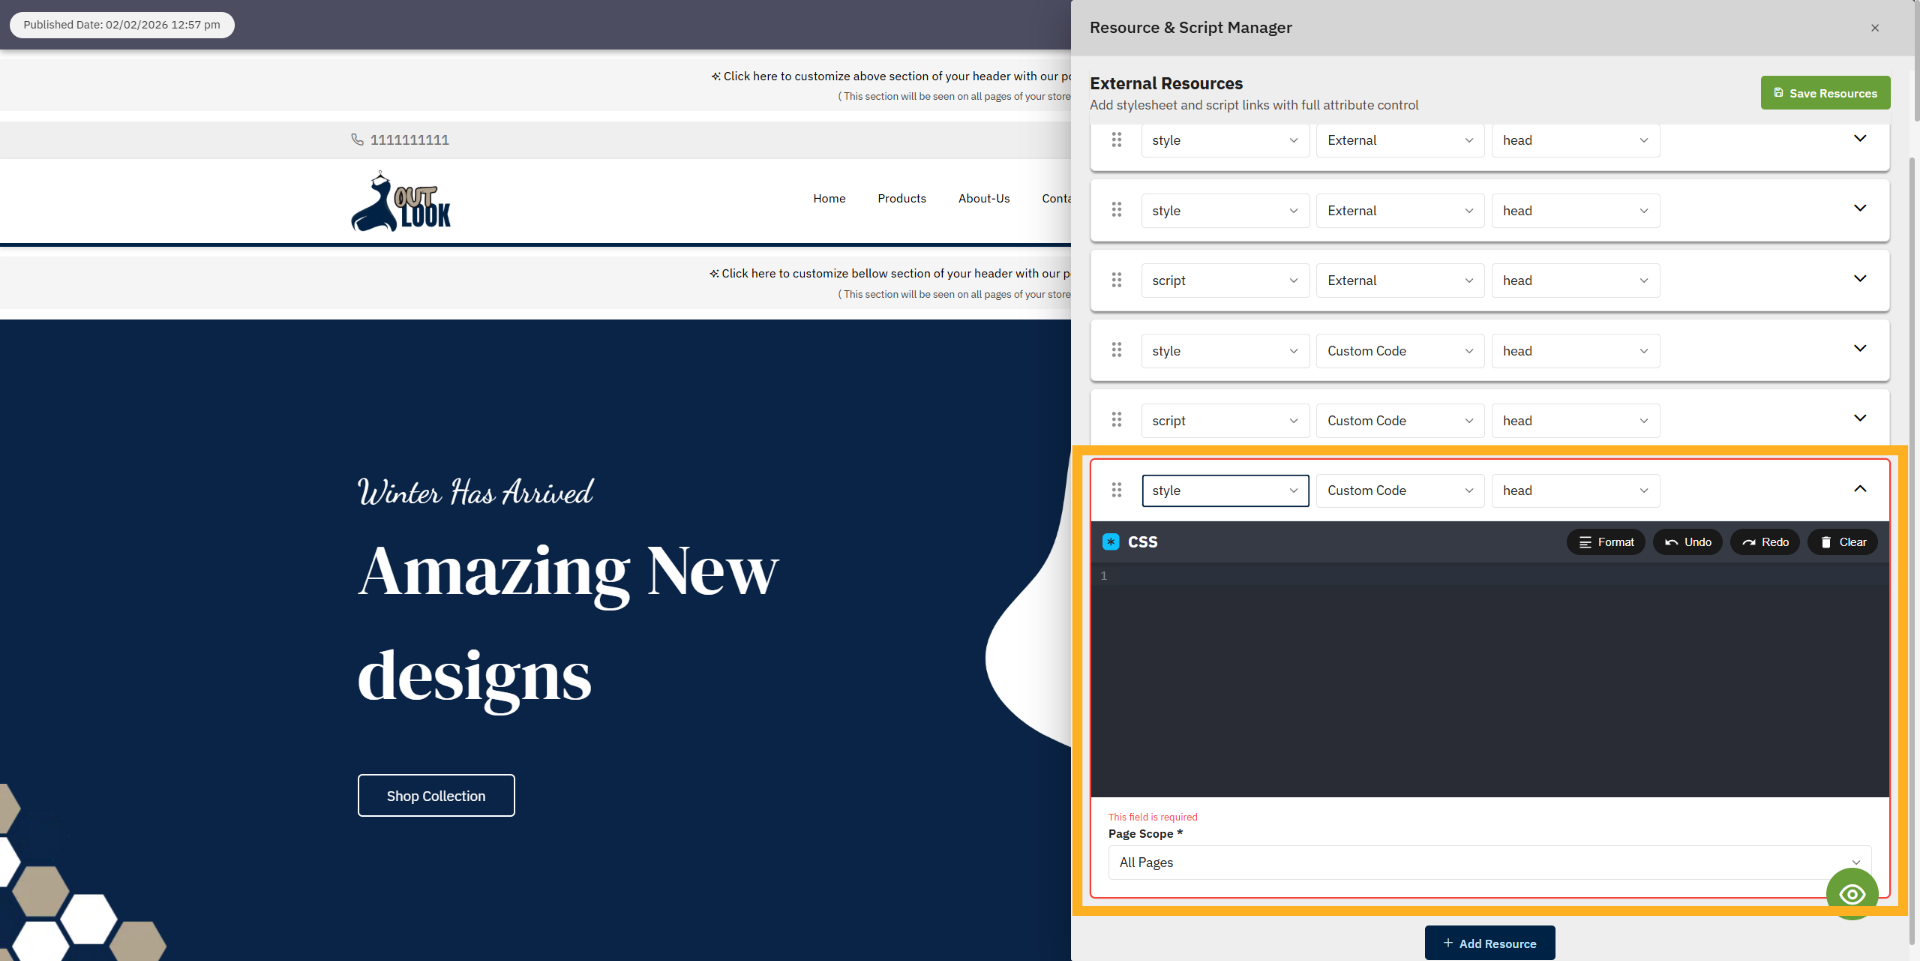
9. Select Style Resource type
Select the Style resource type to access the CSS editor, allowing you to add your custom CSS code.
10. Access Code
Select the Style resource type to open the CSS editor, where you can add your custom CSS code.
11. Open Custom Code Tab
Click the Custom Code tab to manage user-defined scripts and styles again.

12. Select External
Click the External tab to link or manage external style resources.
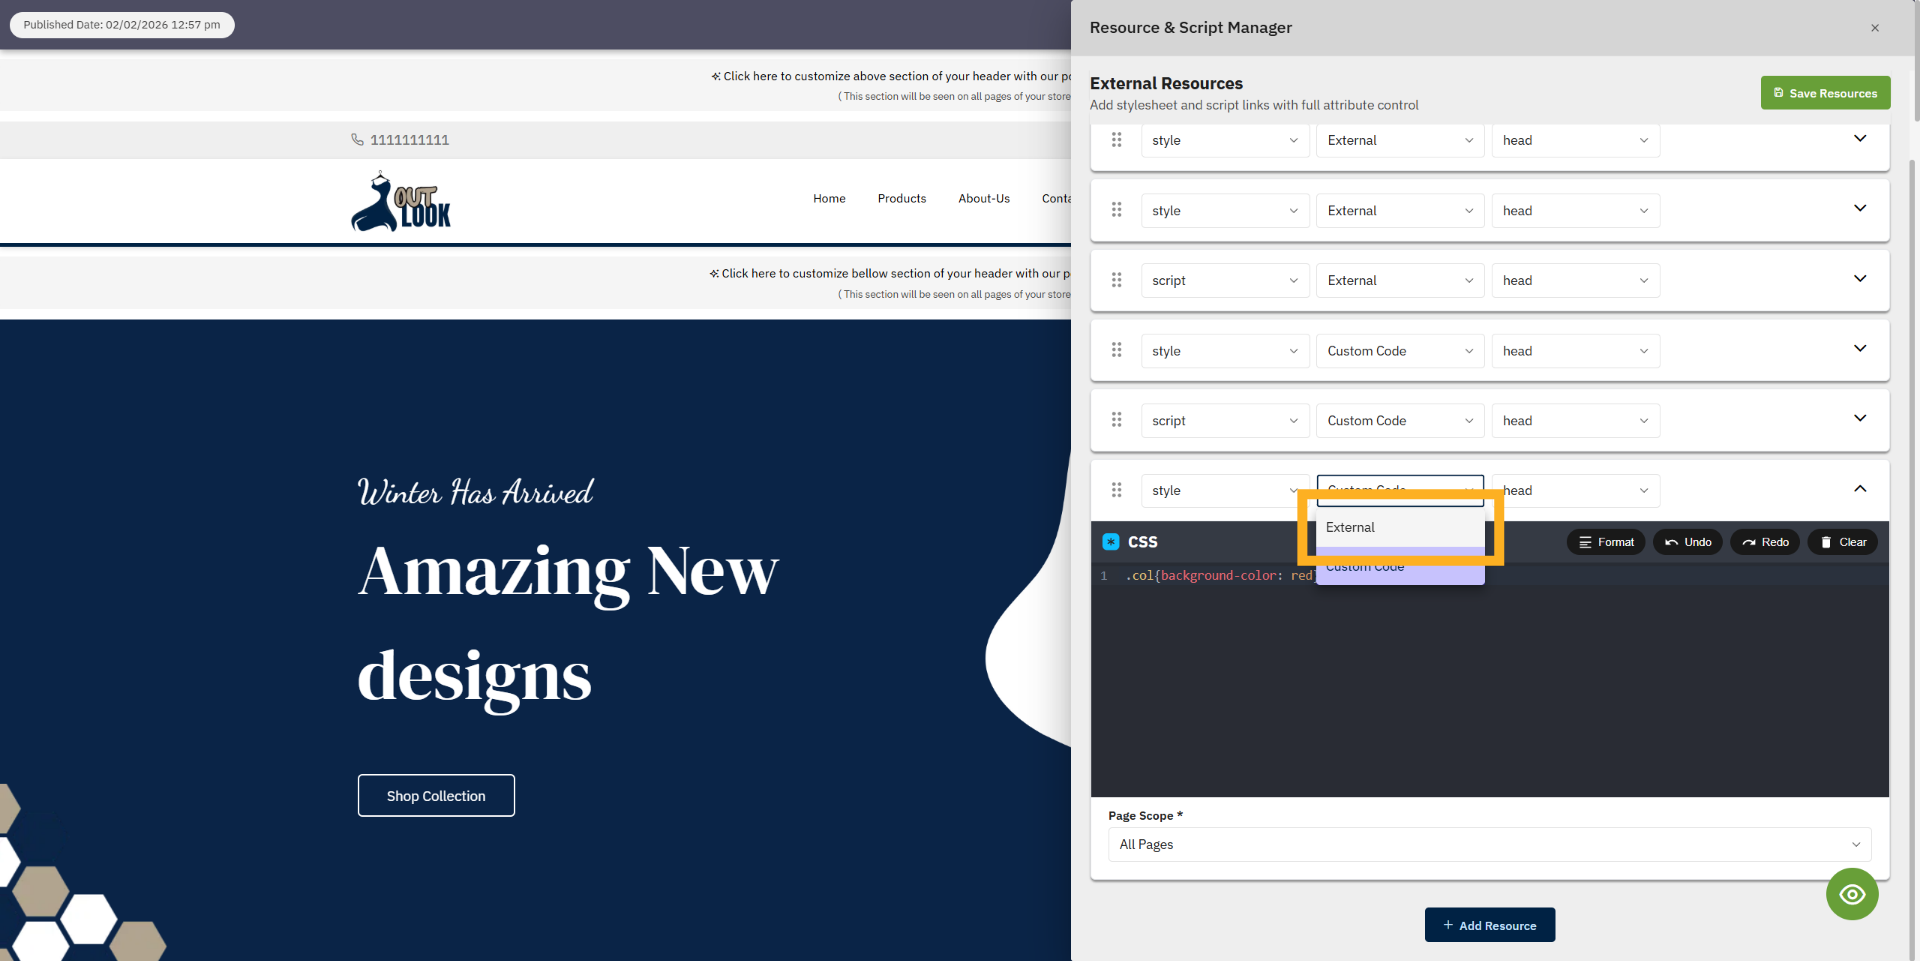
13. Choose External Style URL
Click the external style URL field to specify the location of your CSS file.
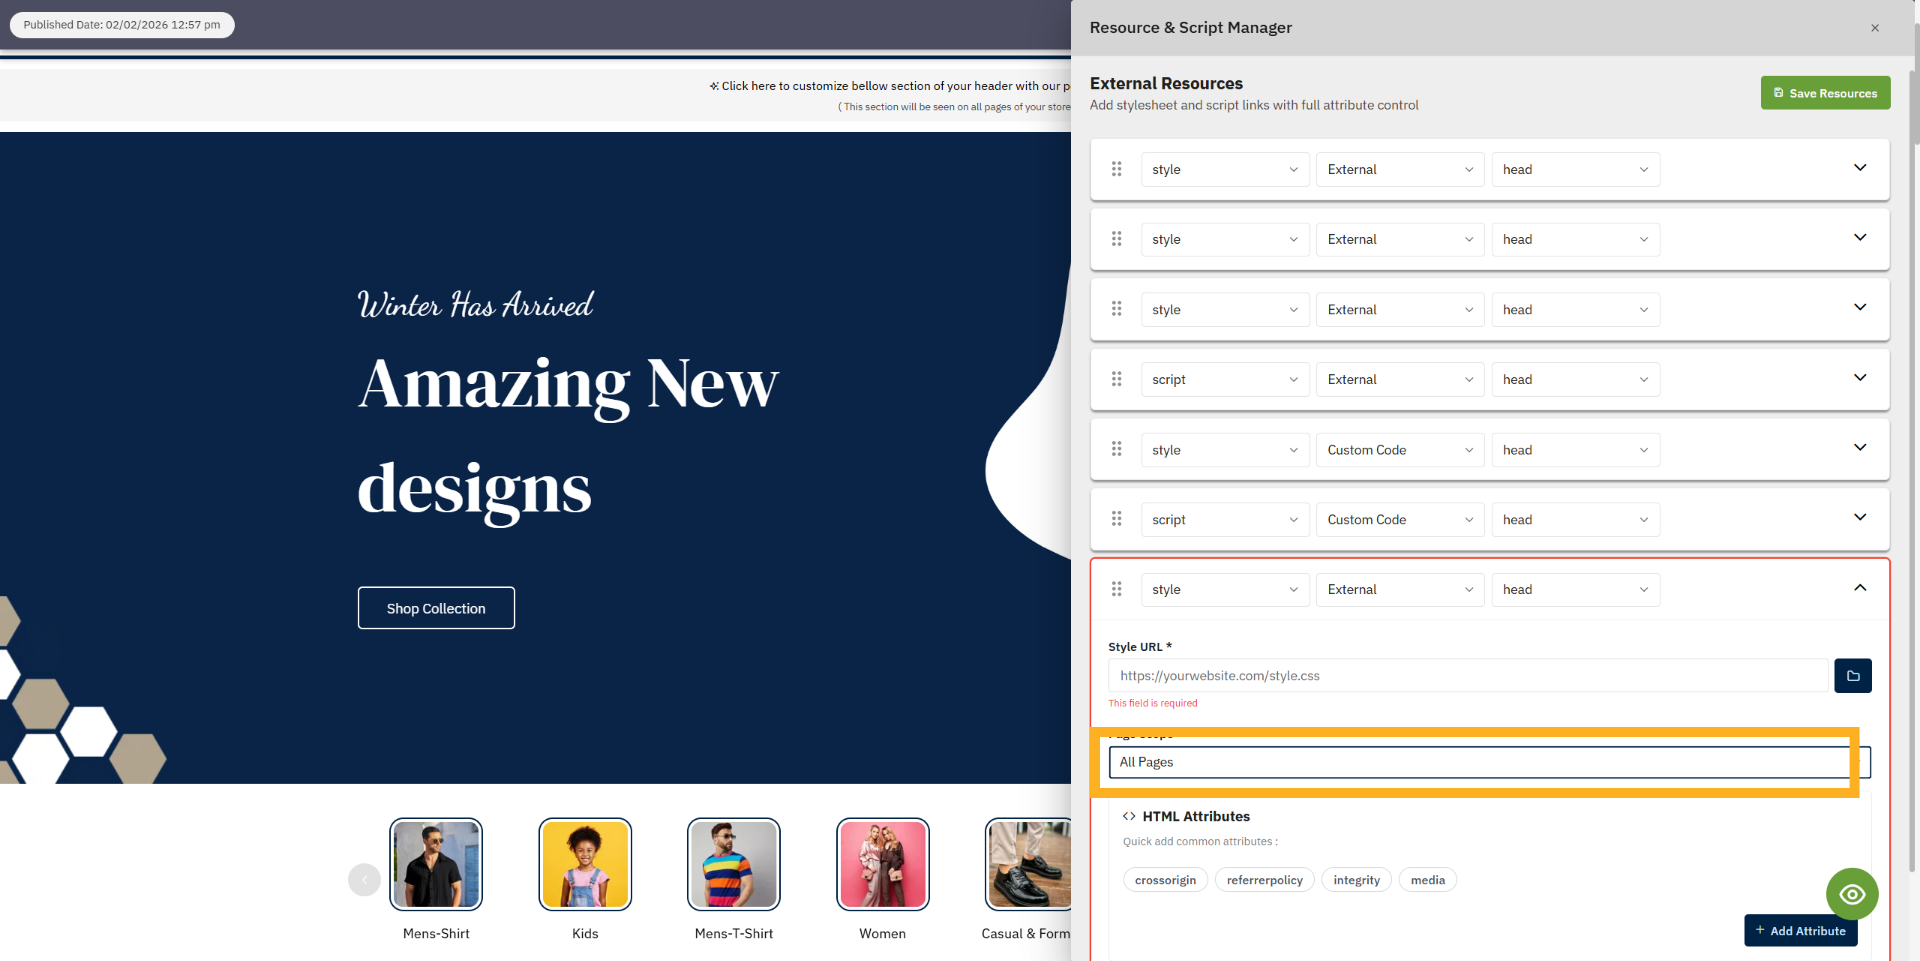
14. Select All Pages Option
Click the All Pages option to apply the resource settings globally.

15. Reconfirm All Pages Selection
Click All Pages again to ensure the global application is selected.
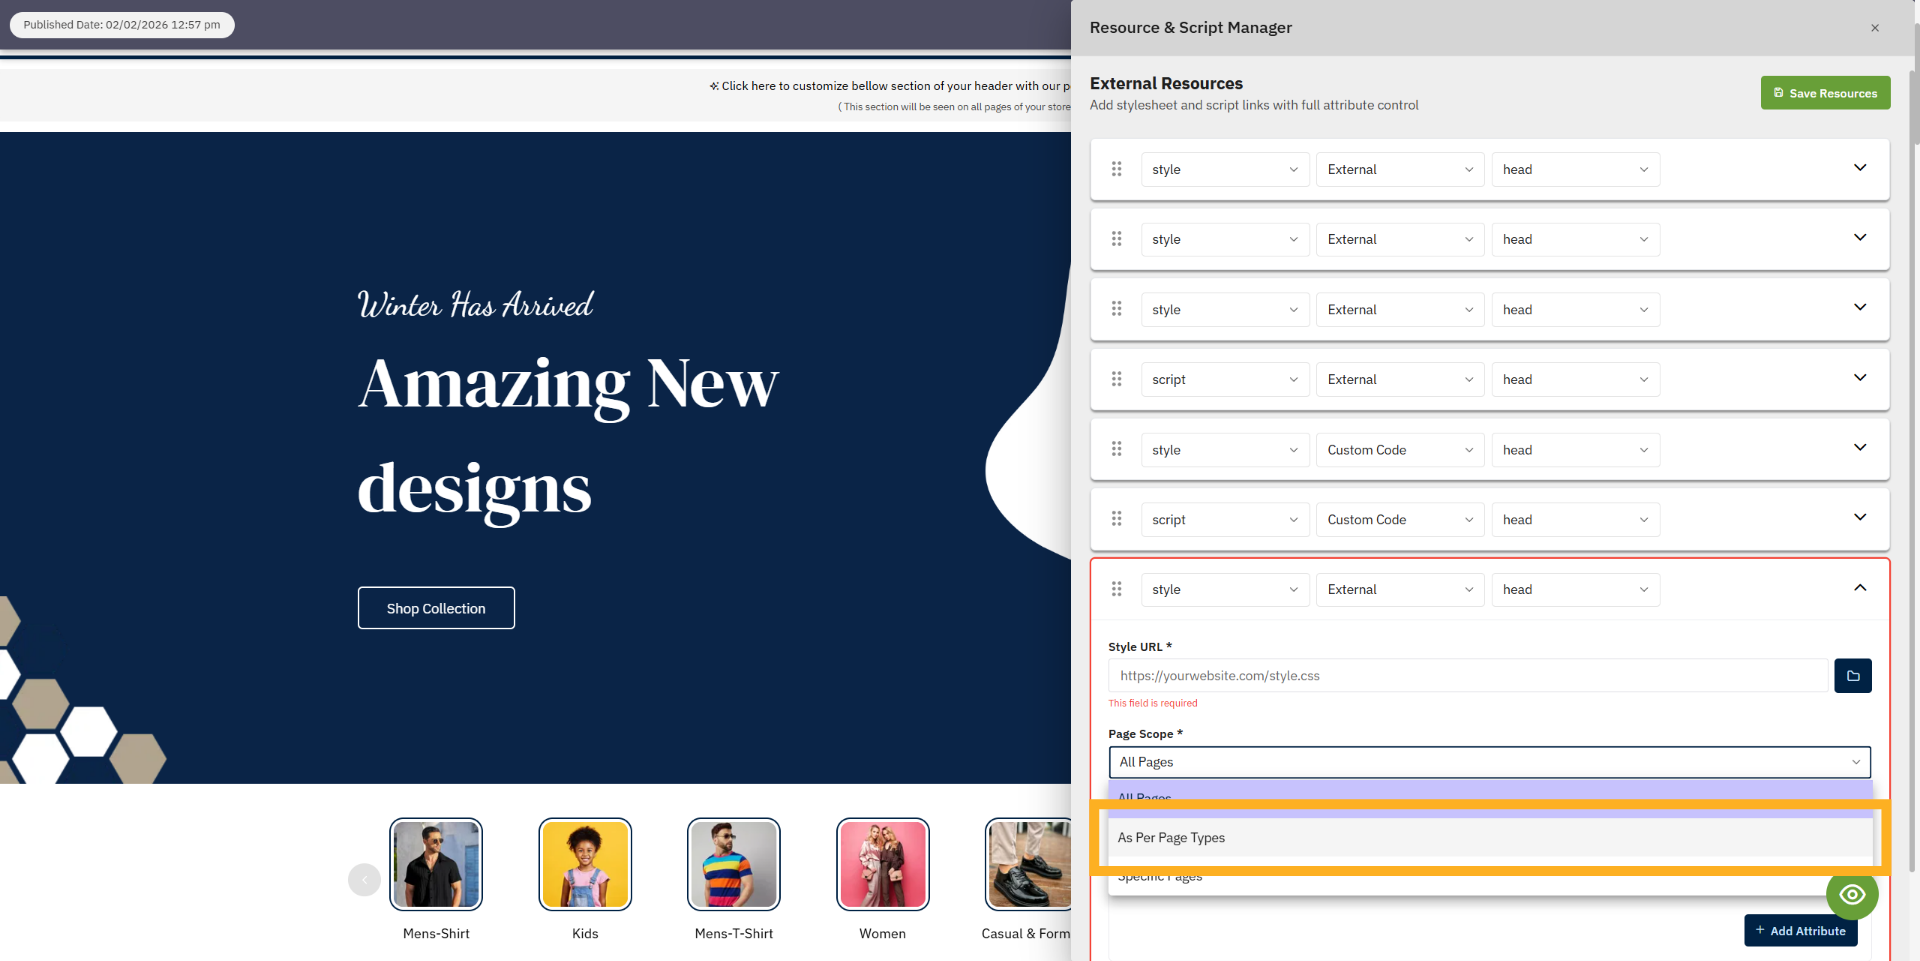
16. Choose Page Types Option
Click As Per Page Types to apply settings based on page categories.
17. Reconfirm Page Types Selection
Click As Per Page Types again to confirm the selection.

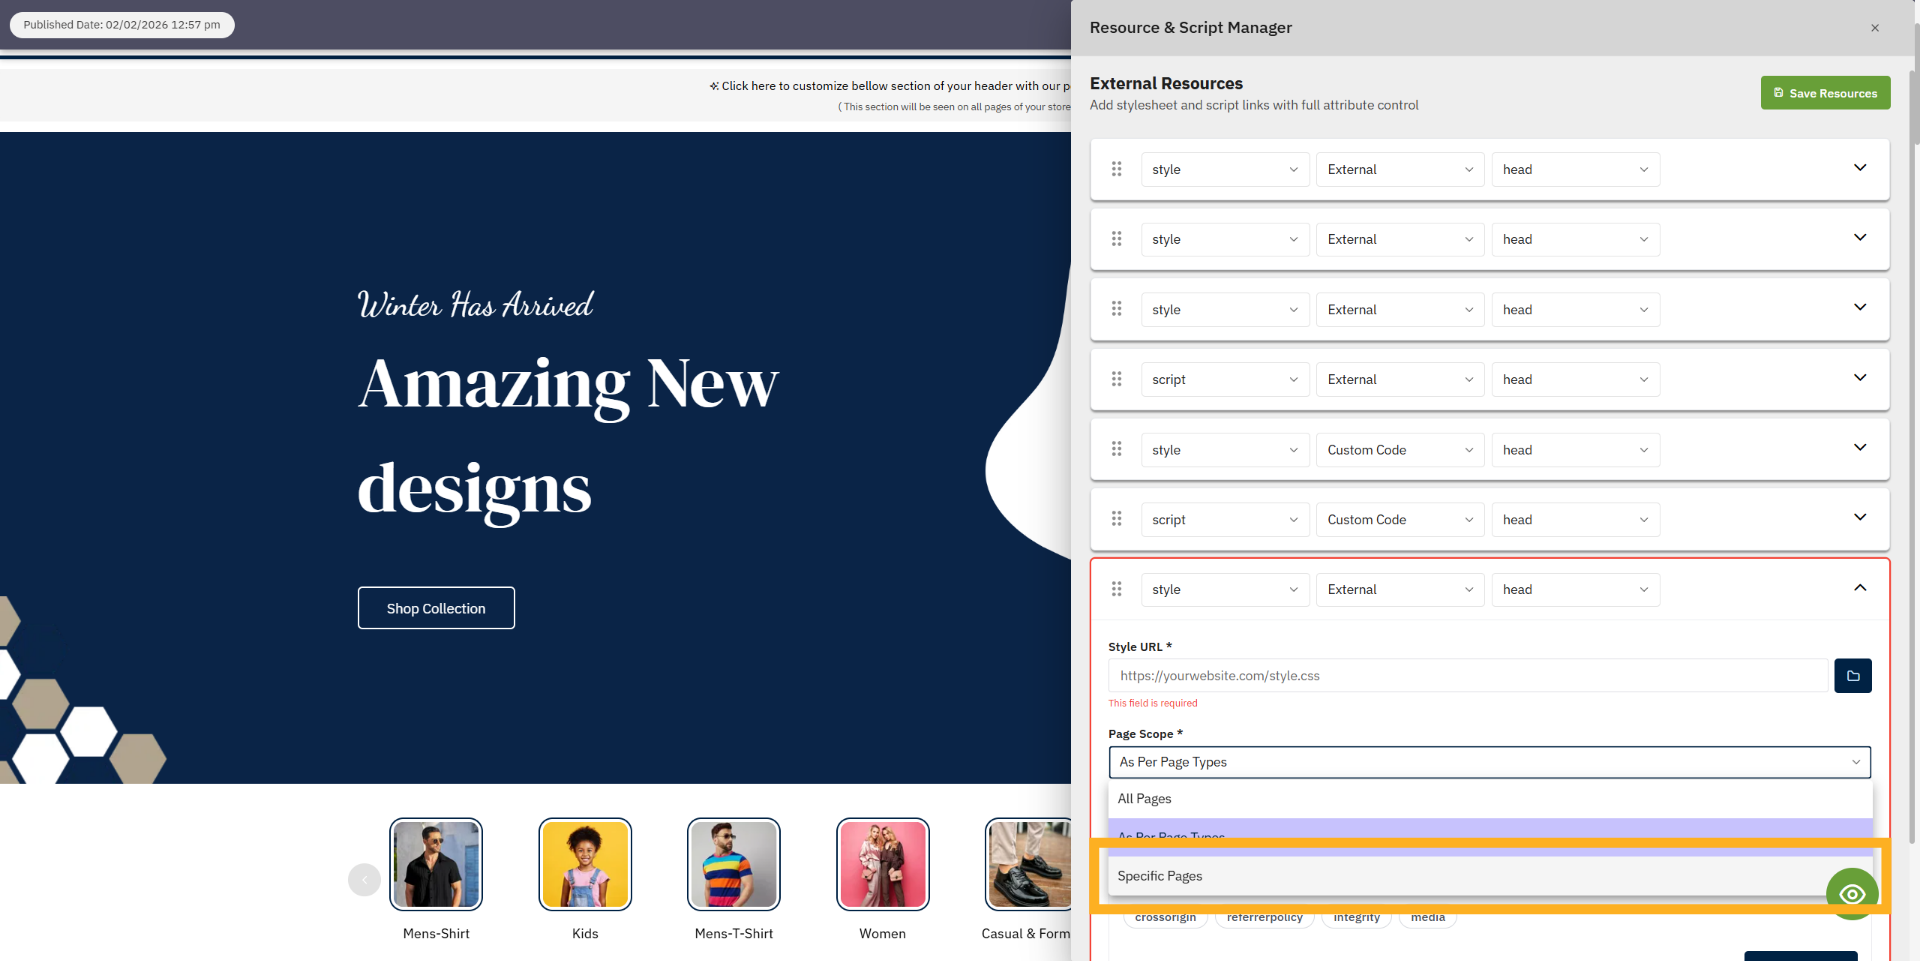
18. Select Specific Pages Option
Click Specific Pages to apply resource settings to selected pages only.
19. Open Page Selection
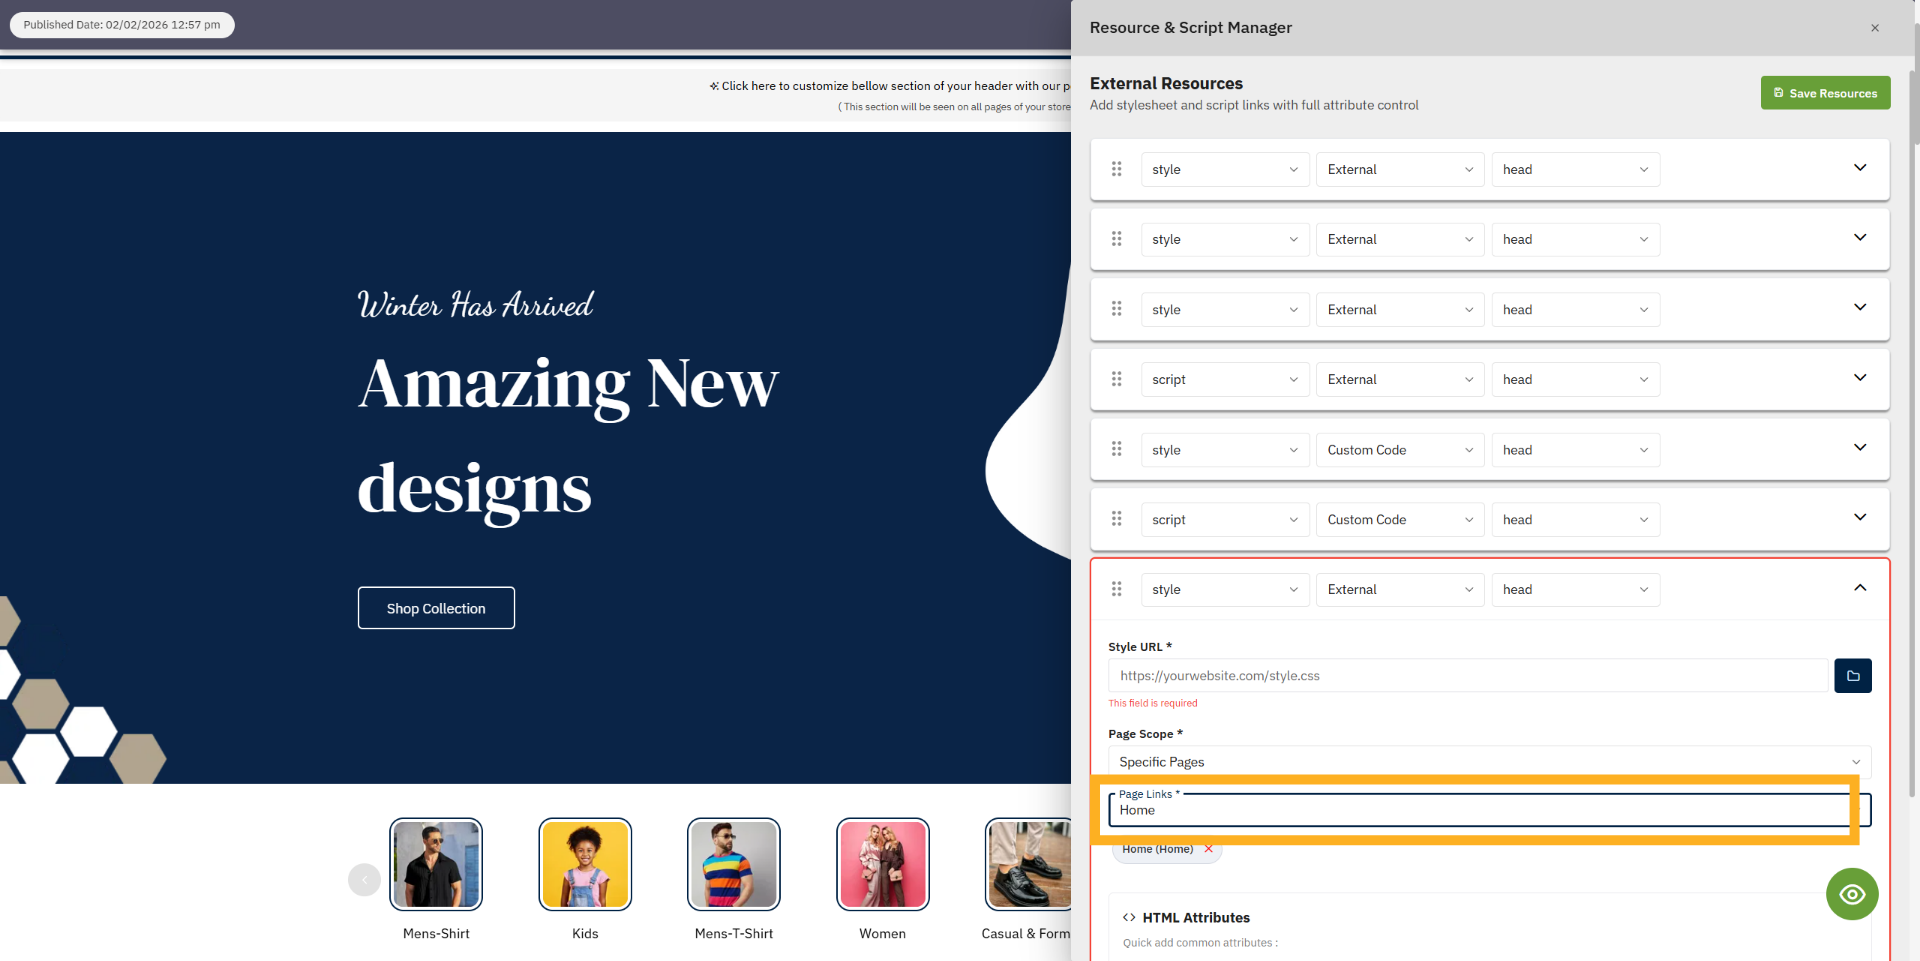
Click Select pages to choose which pages the resource applies to.

20. Enter Page Name
Enter the name of the page to filter and select it for resource application.
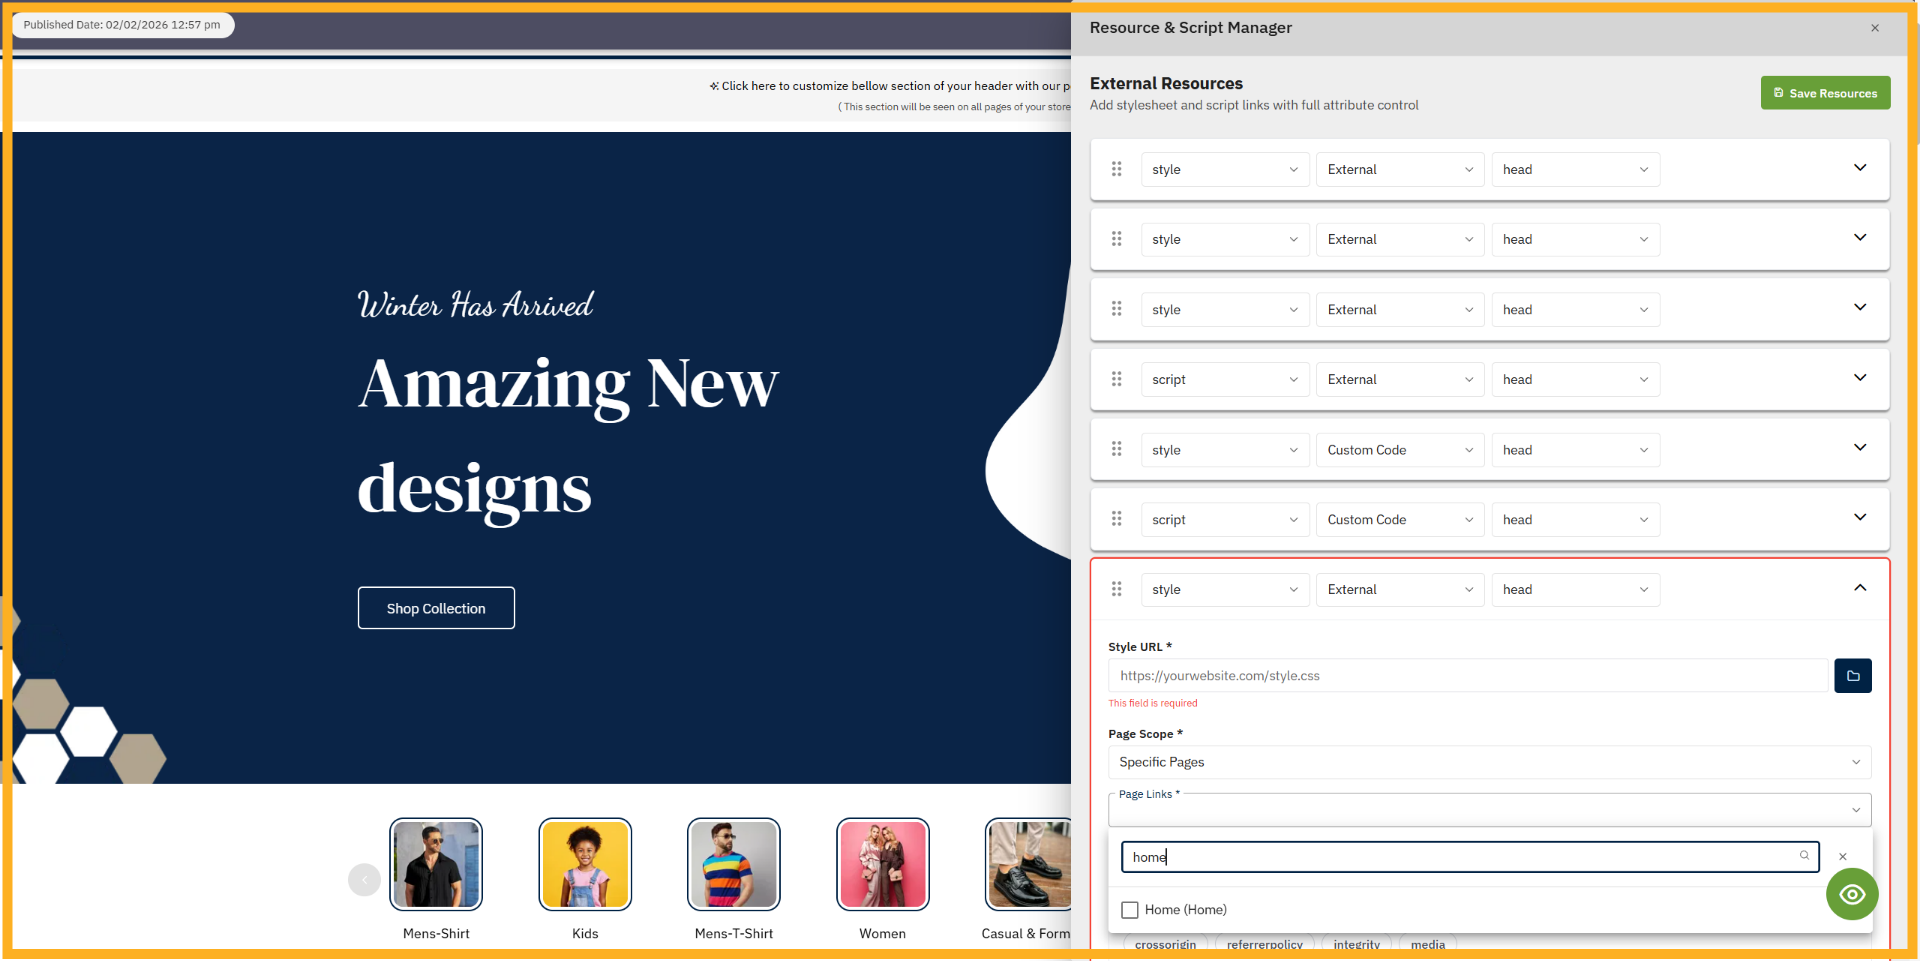
21. Select Home Page
For example, let’s search for the Home page as a specific page. After selecting a page, your resources
will be applied only to that specific page.
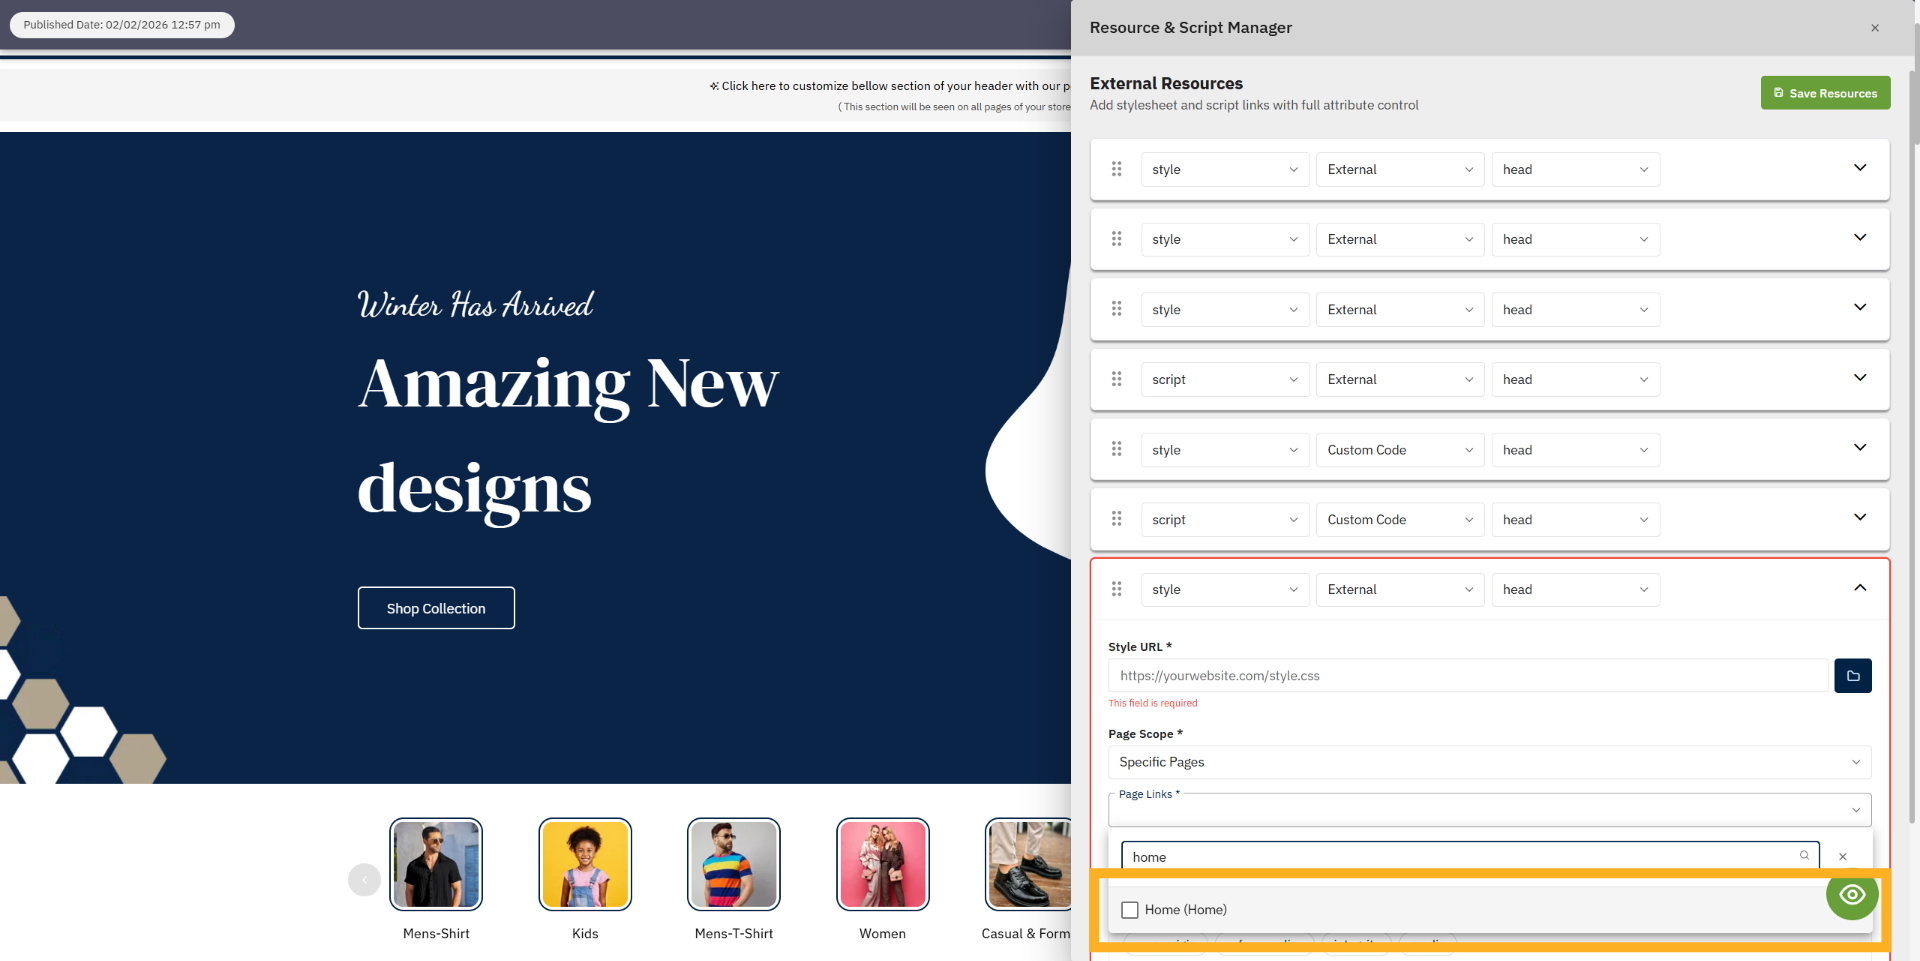
22. Reconfirm Home Page
Click Home again to ensure the homepage is selected.
23. Select Home Page
Click Home to apply settings specifically to the homepage.

24. Return to All Pages
Click All Pages to applied all page in resorce.

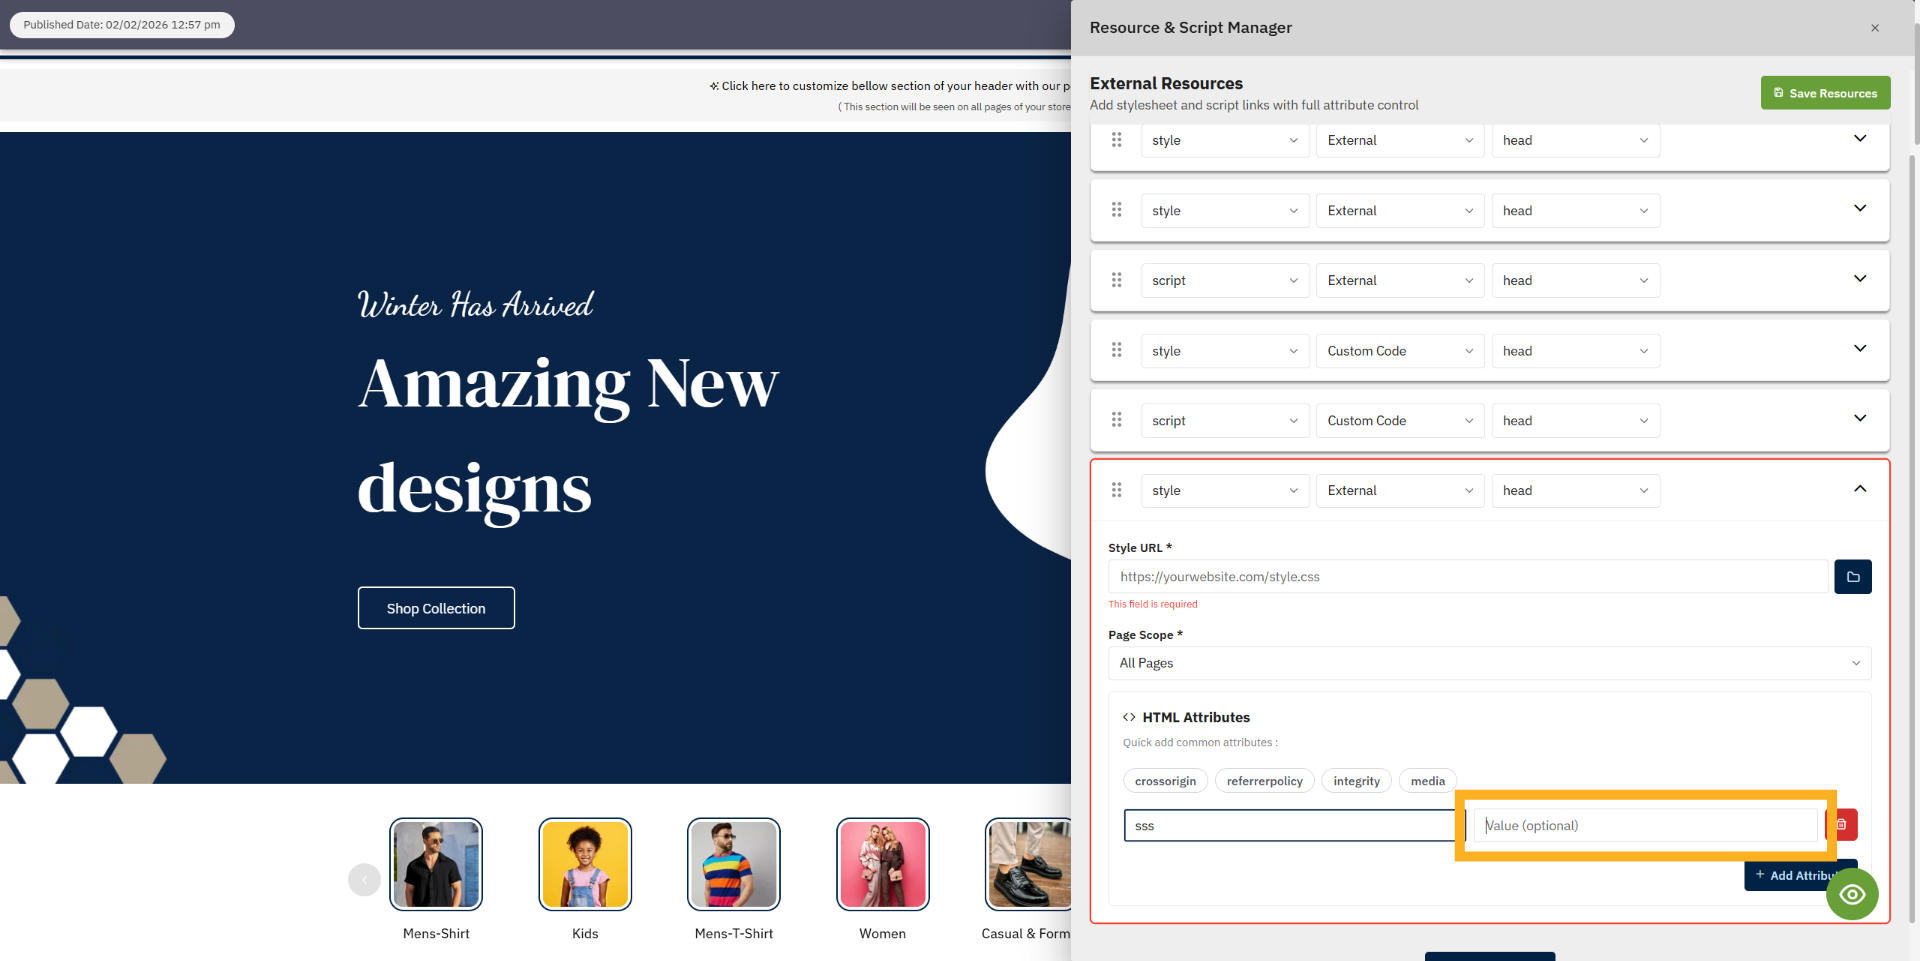
25. Add New Attribute
Click Add Attribute to create a new custom attribute for the resource.

26. Select Attribute Name Field
Click the Attribute name field to enter a name for the new attribute.
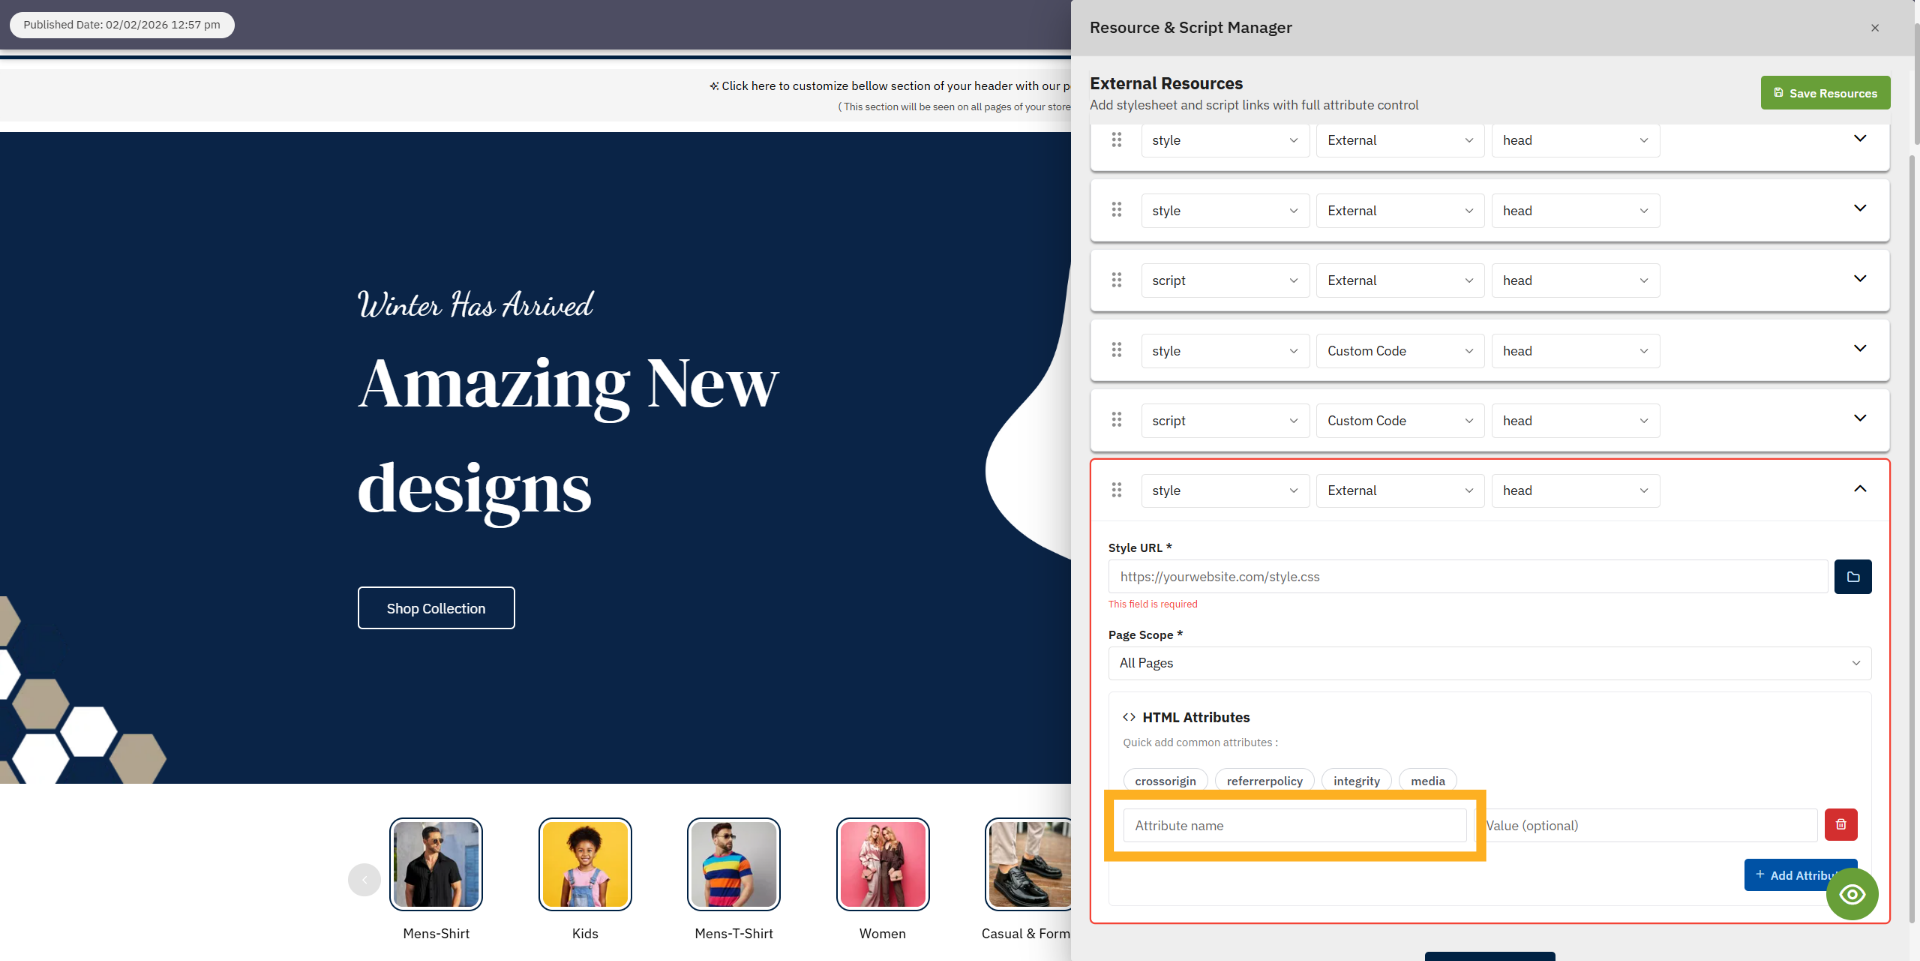
27. Select Attribute Value Field
Click the Value (optional) field to enter a value for the attribute.
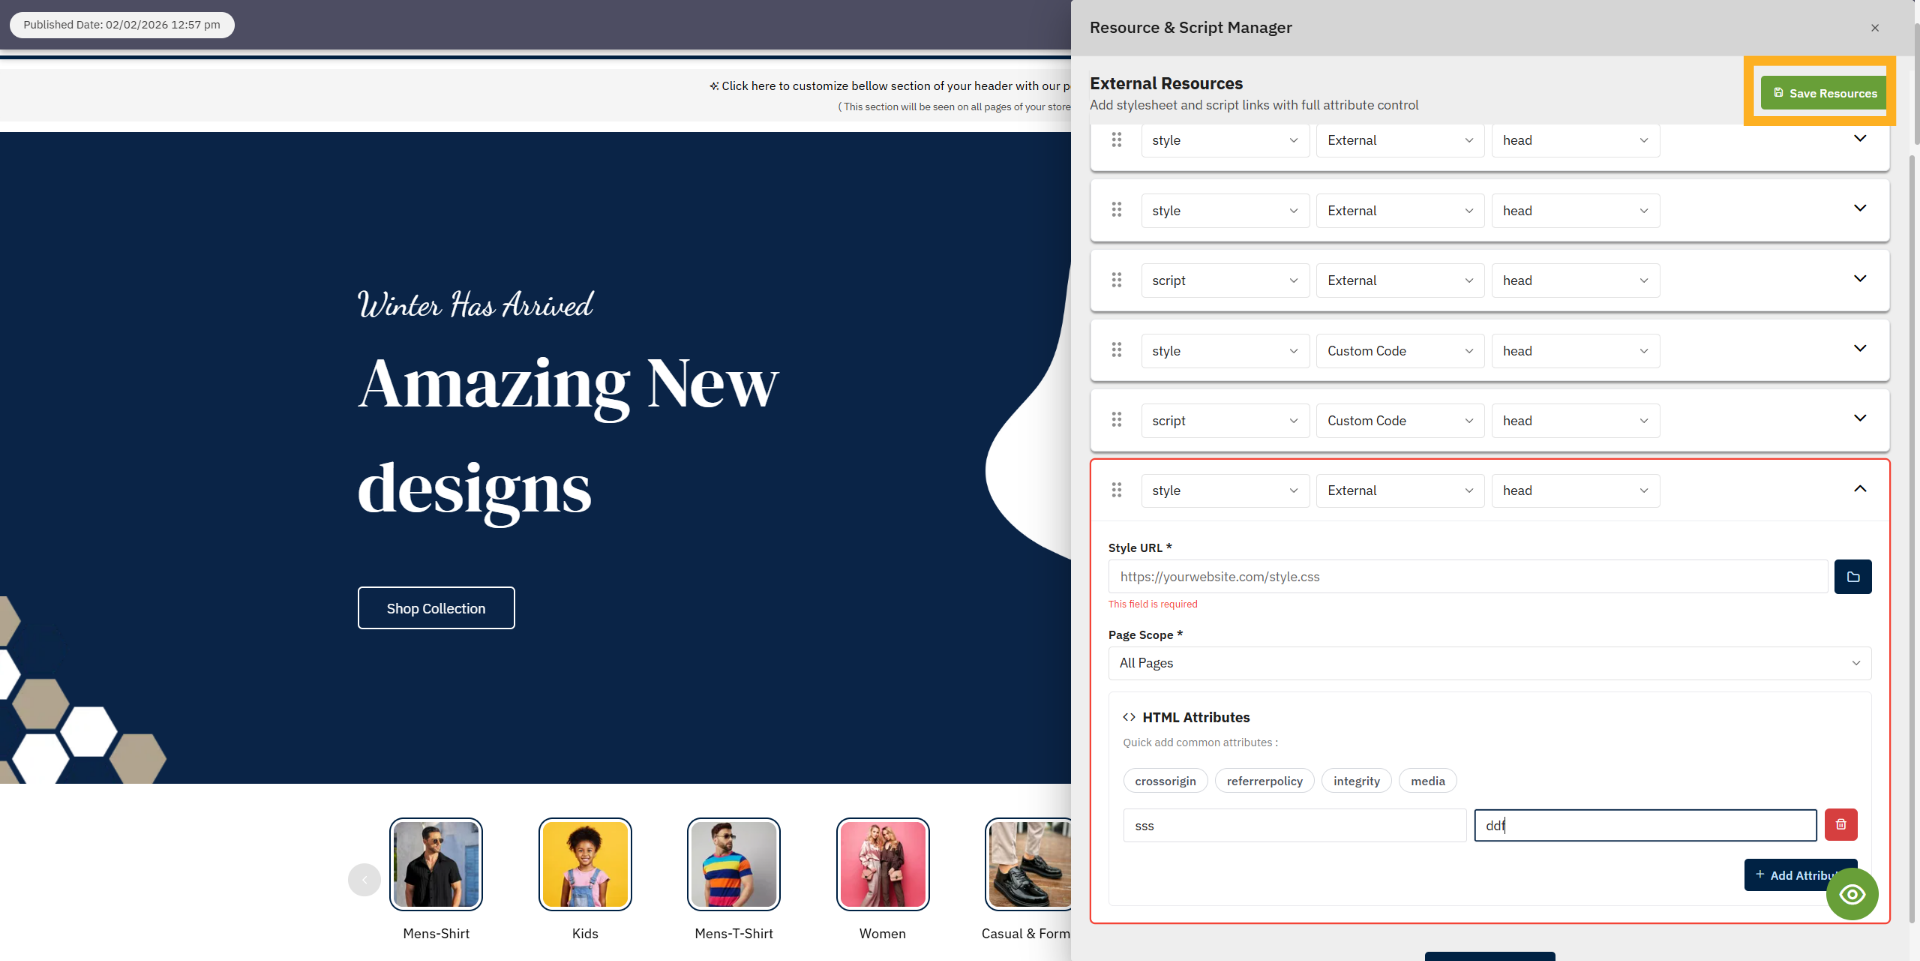
28. Save Resource
Click Save Resource to save your resource.
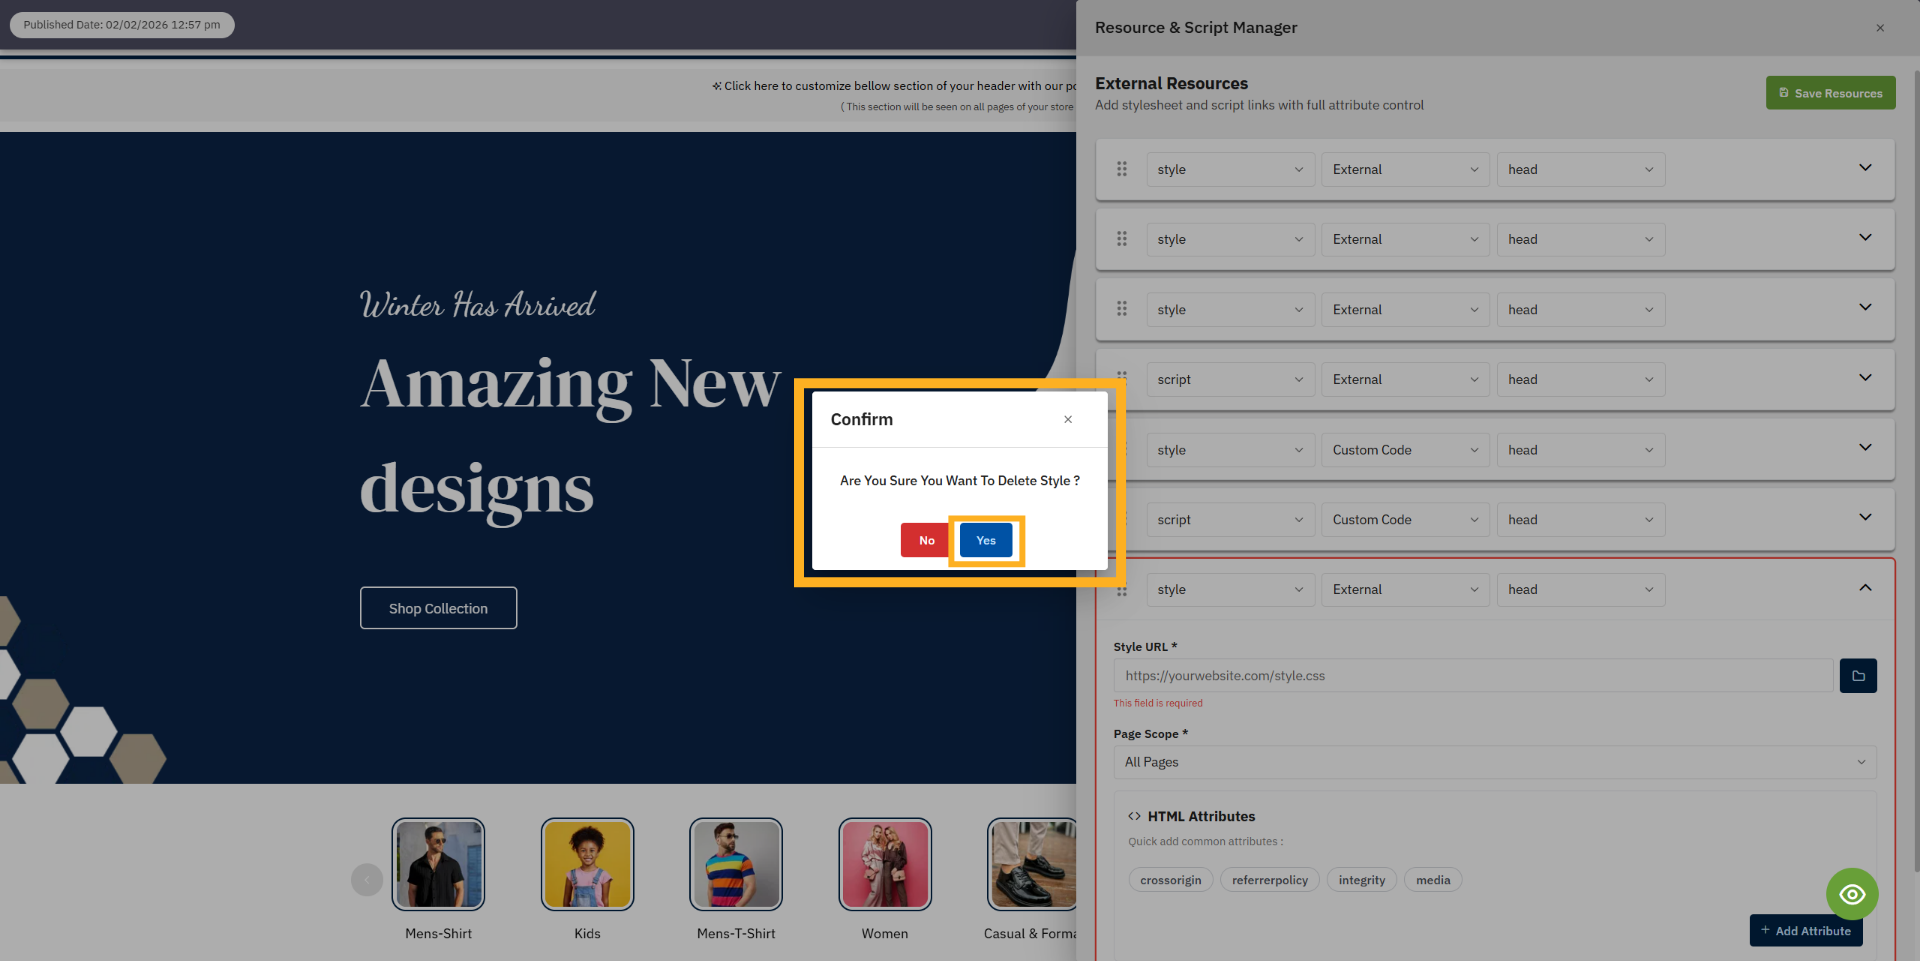
29. Confirm Changes
Click Yes to confirm and save all changes made to the resource settings.
You have successfully configured resource settings in Boni by adding and customizing scripts, styles,
and page-specific attributes. Verify your settings apply correctly and explore additional customization
options to optimize your resources further.
Uploading...