15 - How To Create DataSouces For CMS And Use In Your Page
1. Access Data Display Description
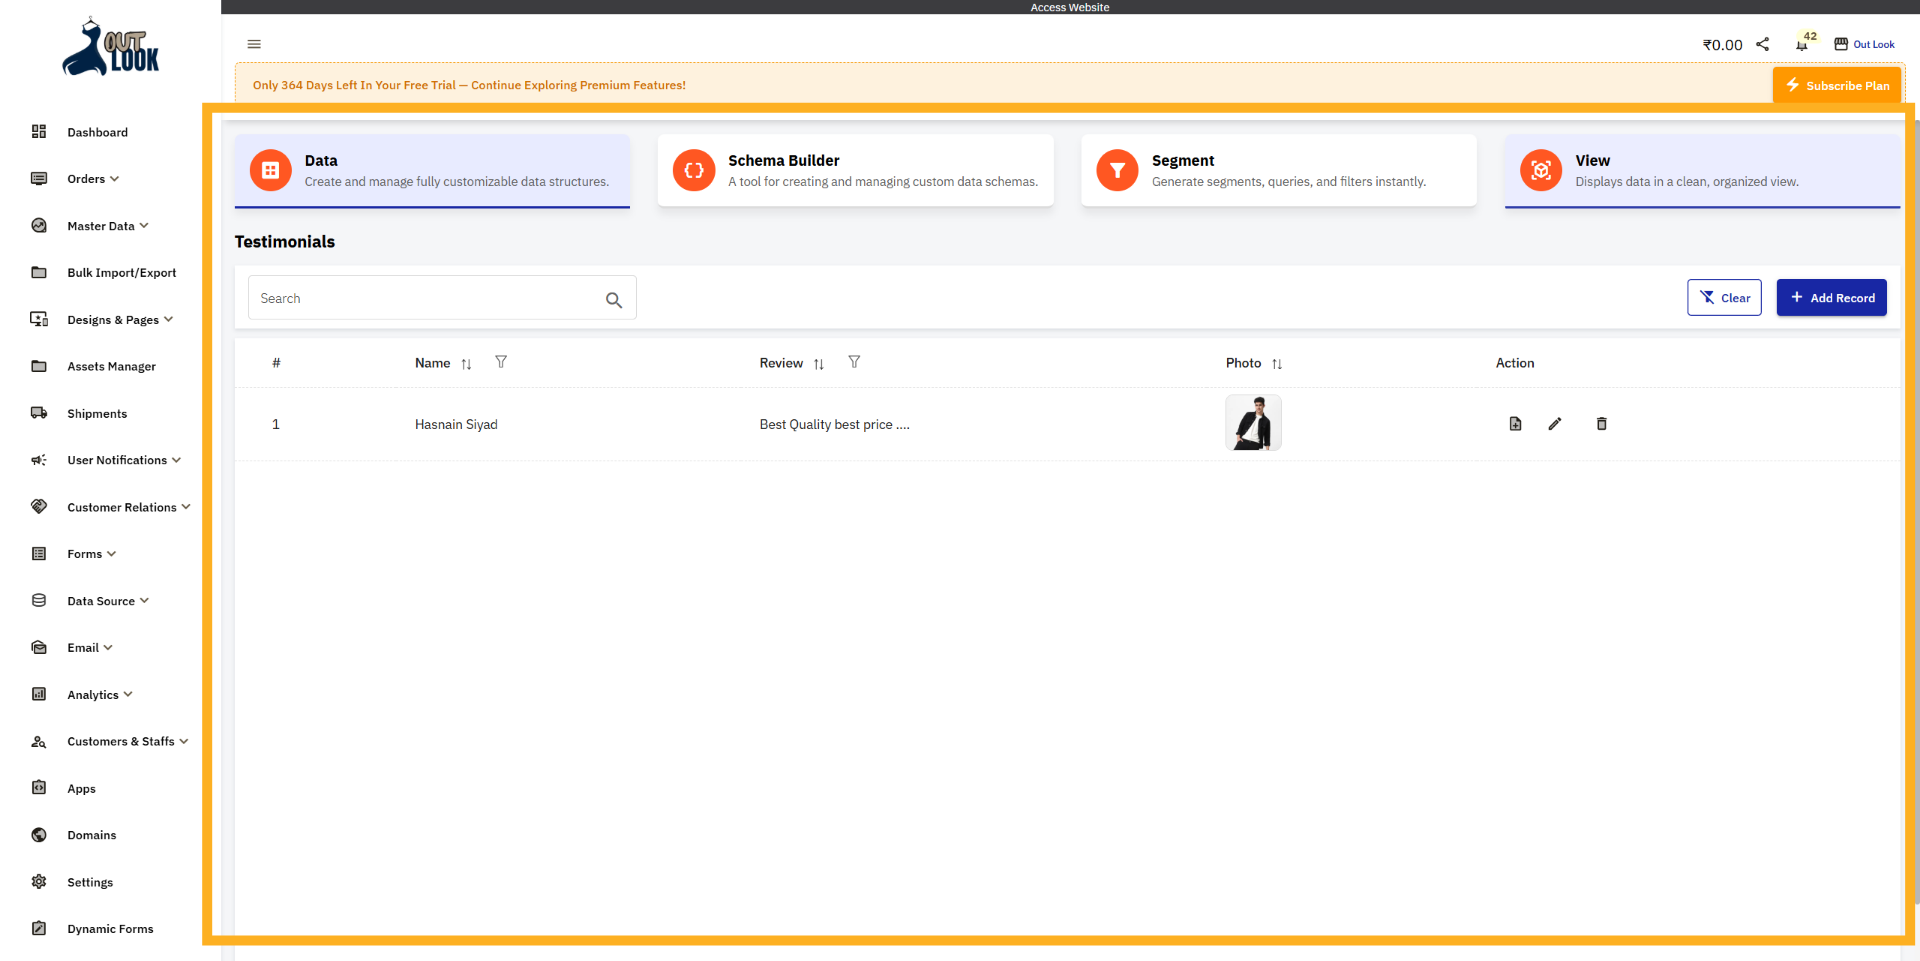
As you may remember, we created a data record in the Data Source earlier. That record is now visible in
the record list. In this list, you can also edit or delete the records.
Now we will see how to view the record list. For this, click on the View tab, where you can see the
displayed records.
2. Click to View Tab
If you want to design the Data Source list template, click on the View tab.
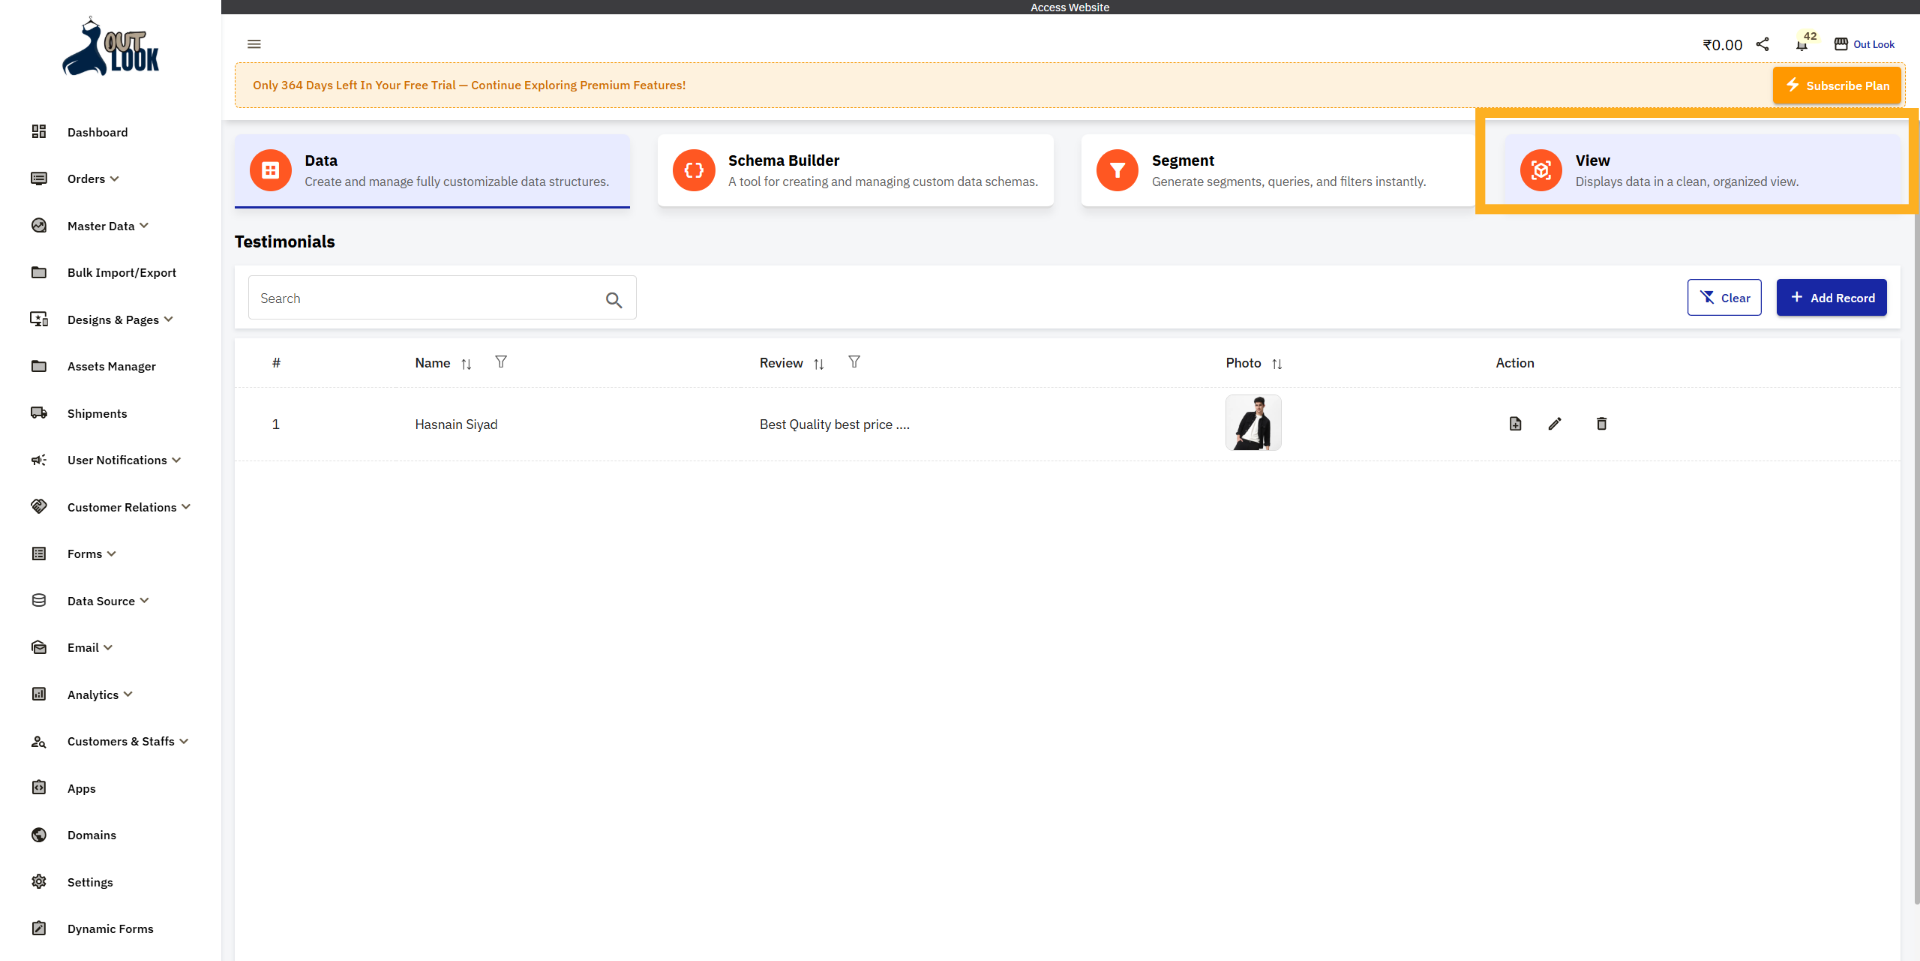
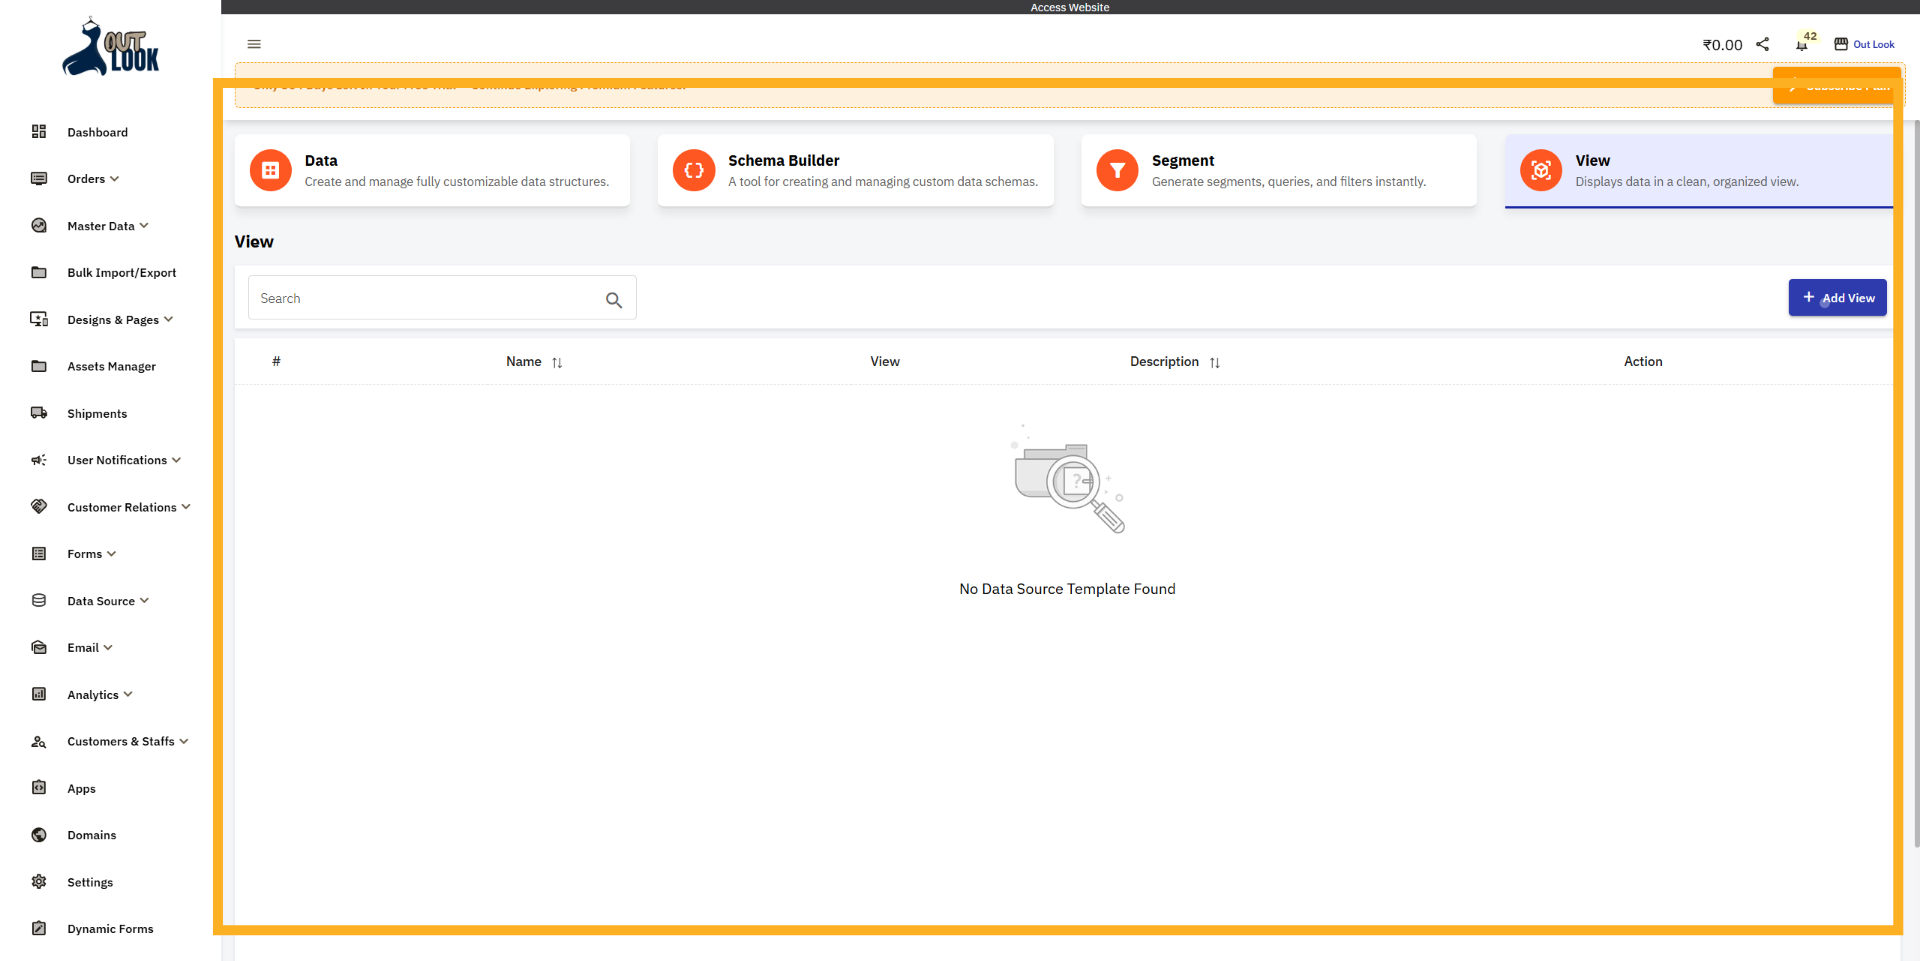
3. Data Source Template View
As you can see, we are now on the Data Source Template View page. Currently, no view has been created.
If you want to create a new template view, click on the Add View button.
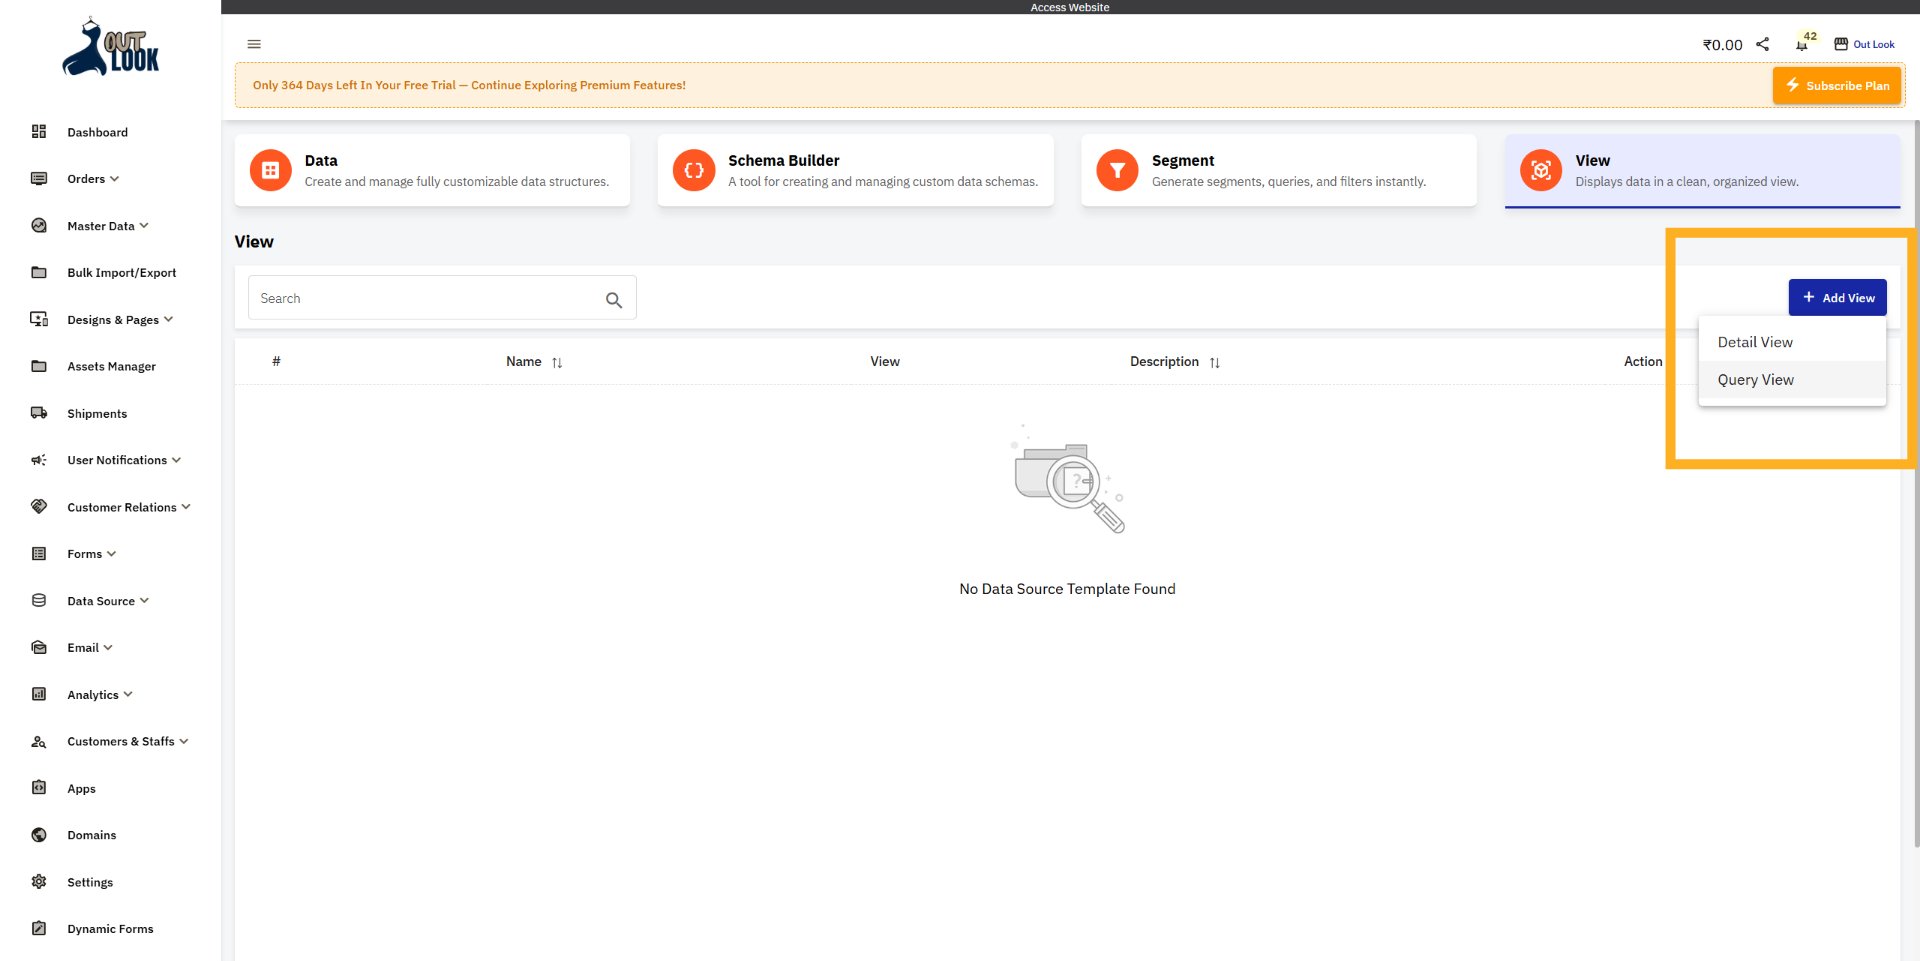
4. Add View
When you click the Add View button, you will see options such as Detail View and Query View.
Detail View: Used to create a single record template.
Query View: Used to create a data list template that displays multiple records.
5. Query View
Now we will create a Query View, so click on the Query View option.

6. Open View Options
When you click on Query View, you will see a list of queries. As you can see, these are the same queries
that were created earlier in the Segment section.
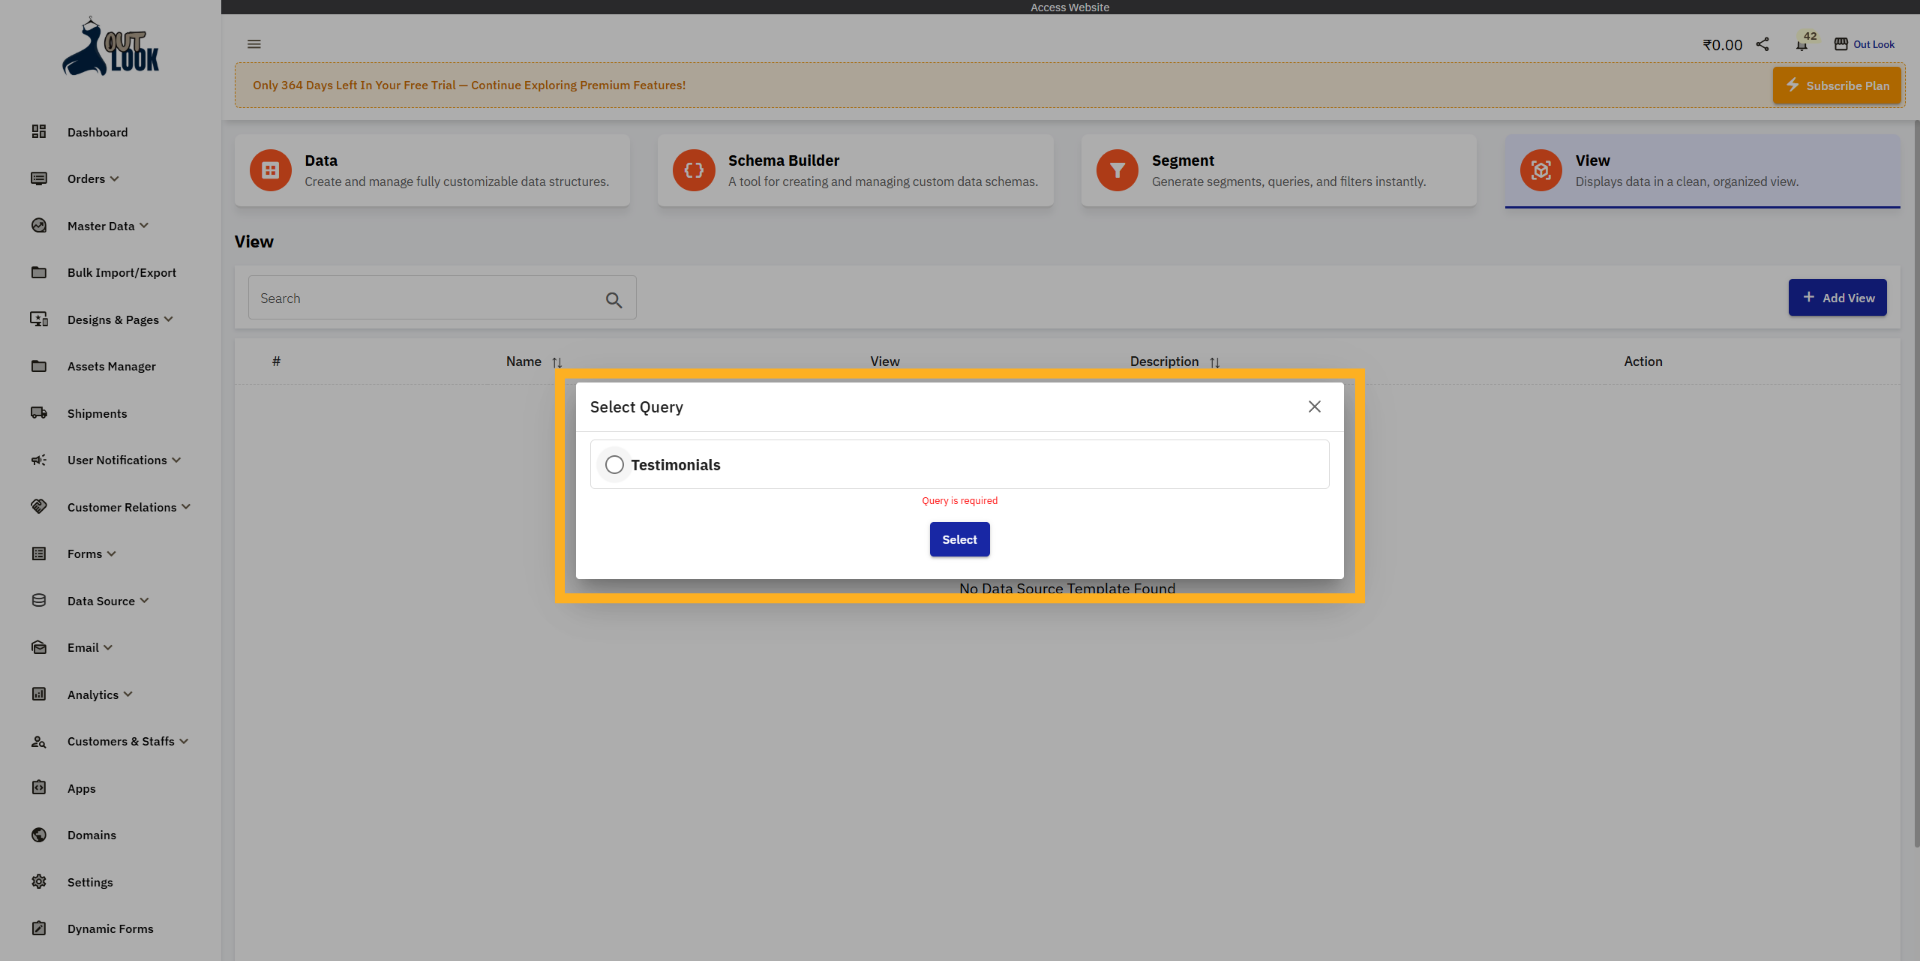
7. Select Query Option
Now we have selected the “Testimonials” query. Next, click the Select button. Once you click Select, you
will be redirected to the Data Source Template Design Builder editor, where you can start designing the
template.
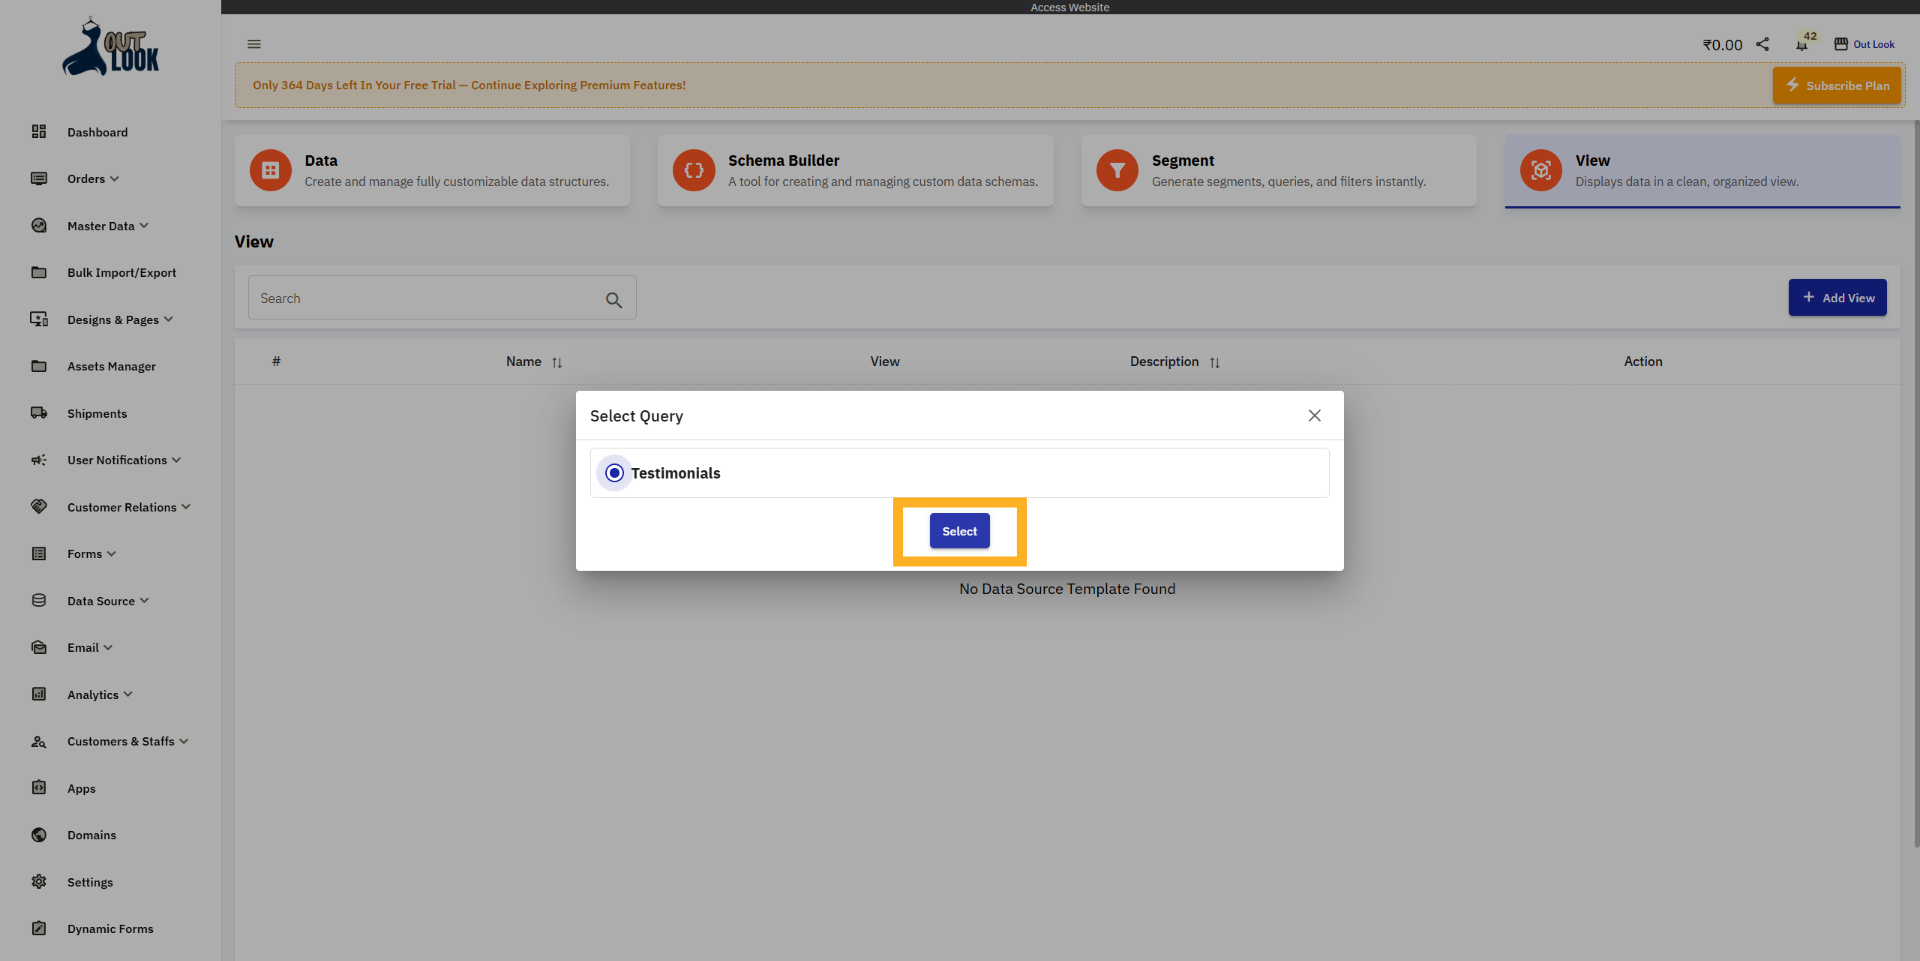
8. Data Source Template Editor
As you can see, we are now in the Data Source Template Design Builder Editor. Here you will find a
default template based on your data source type. You can customize and design this template according to
your needs.
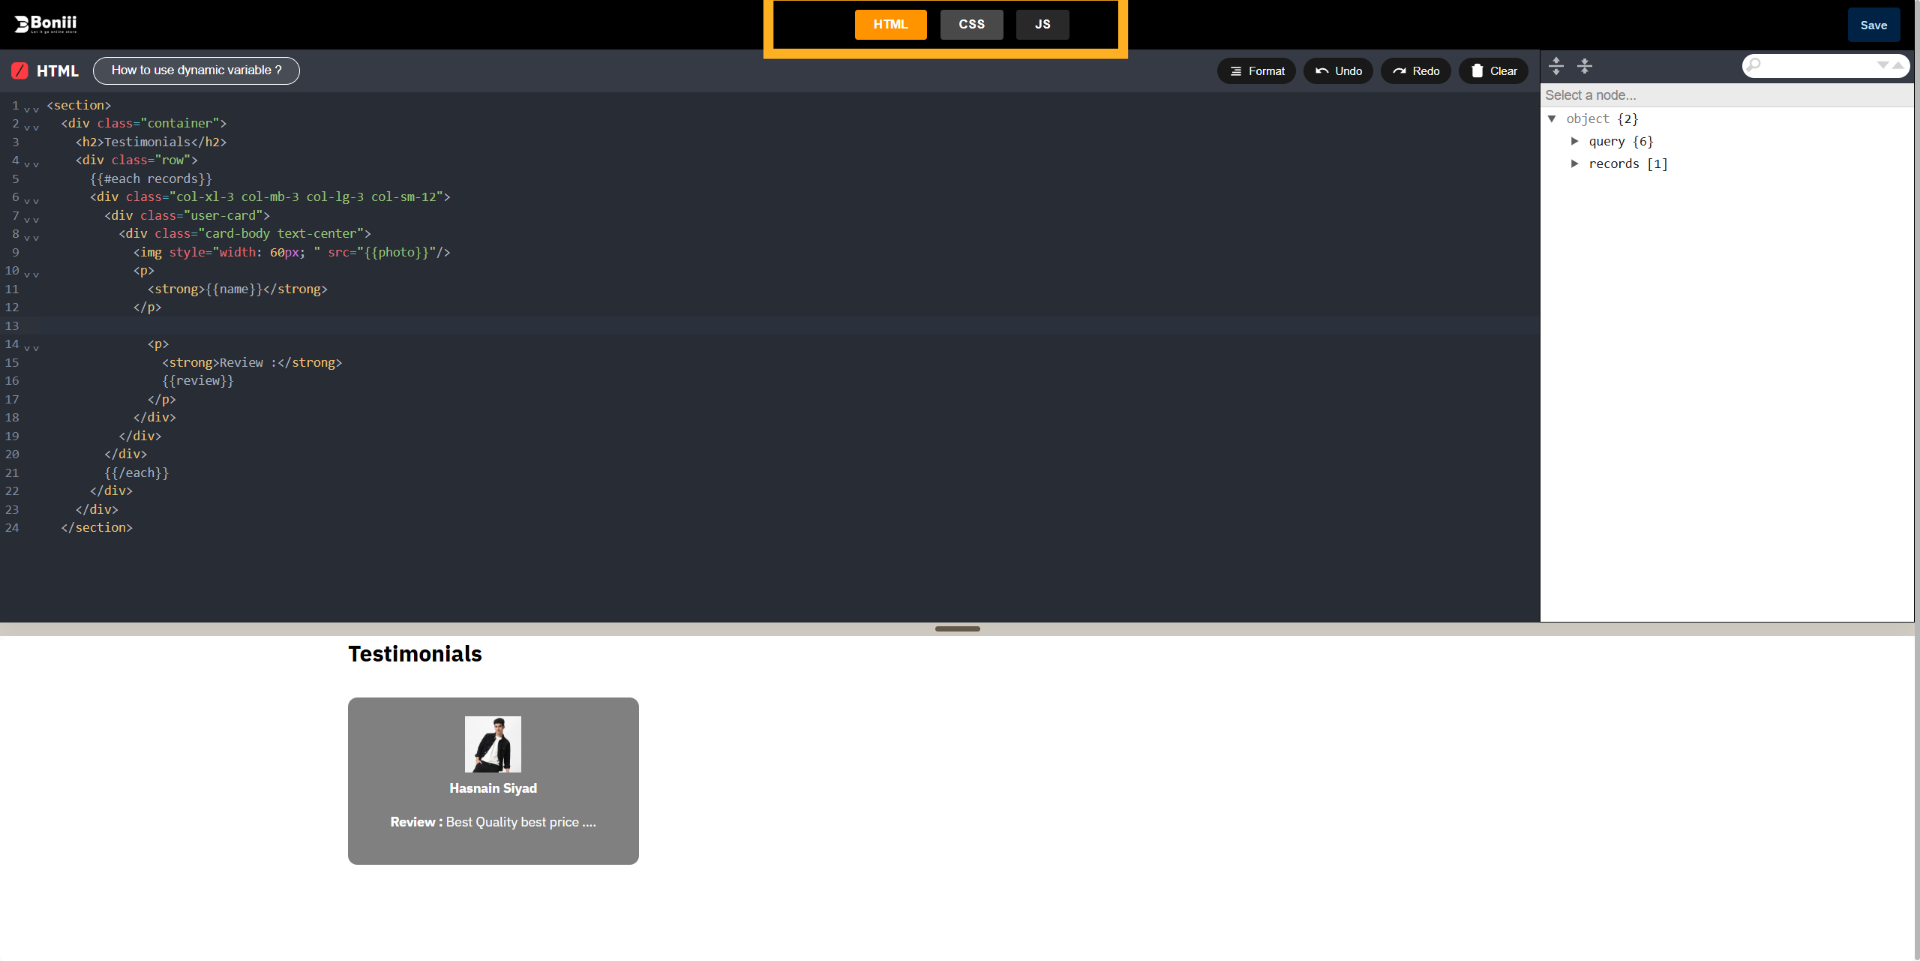
9. Edit code option
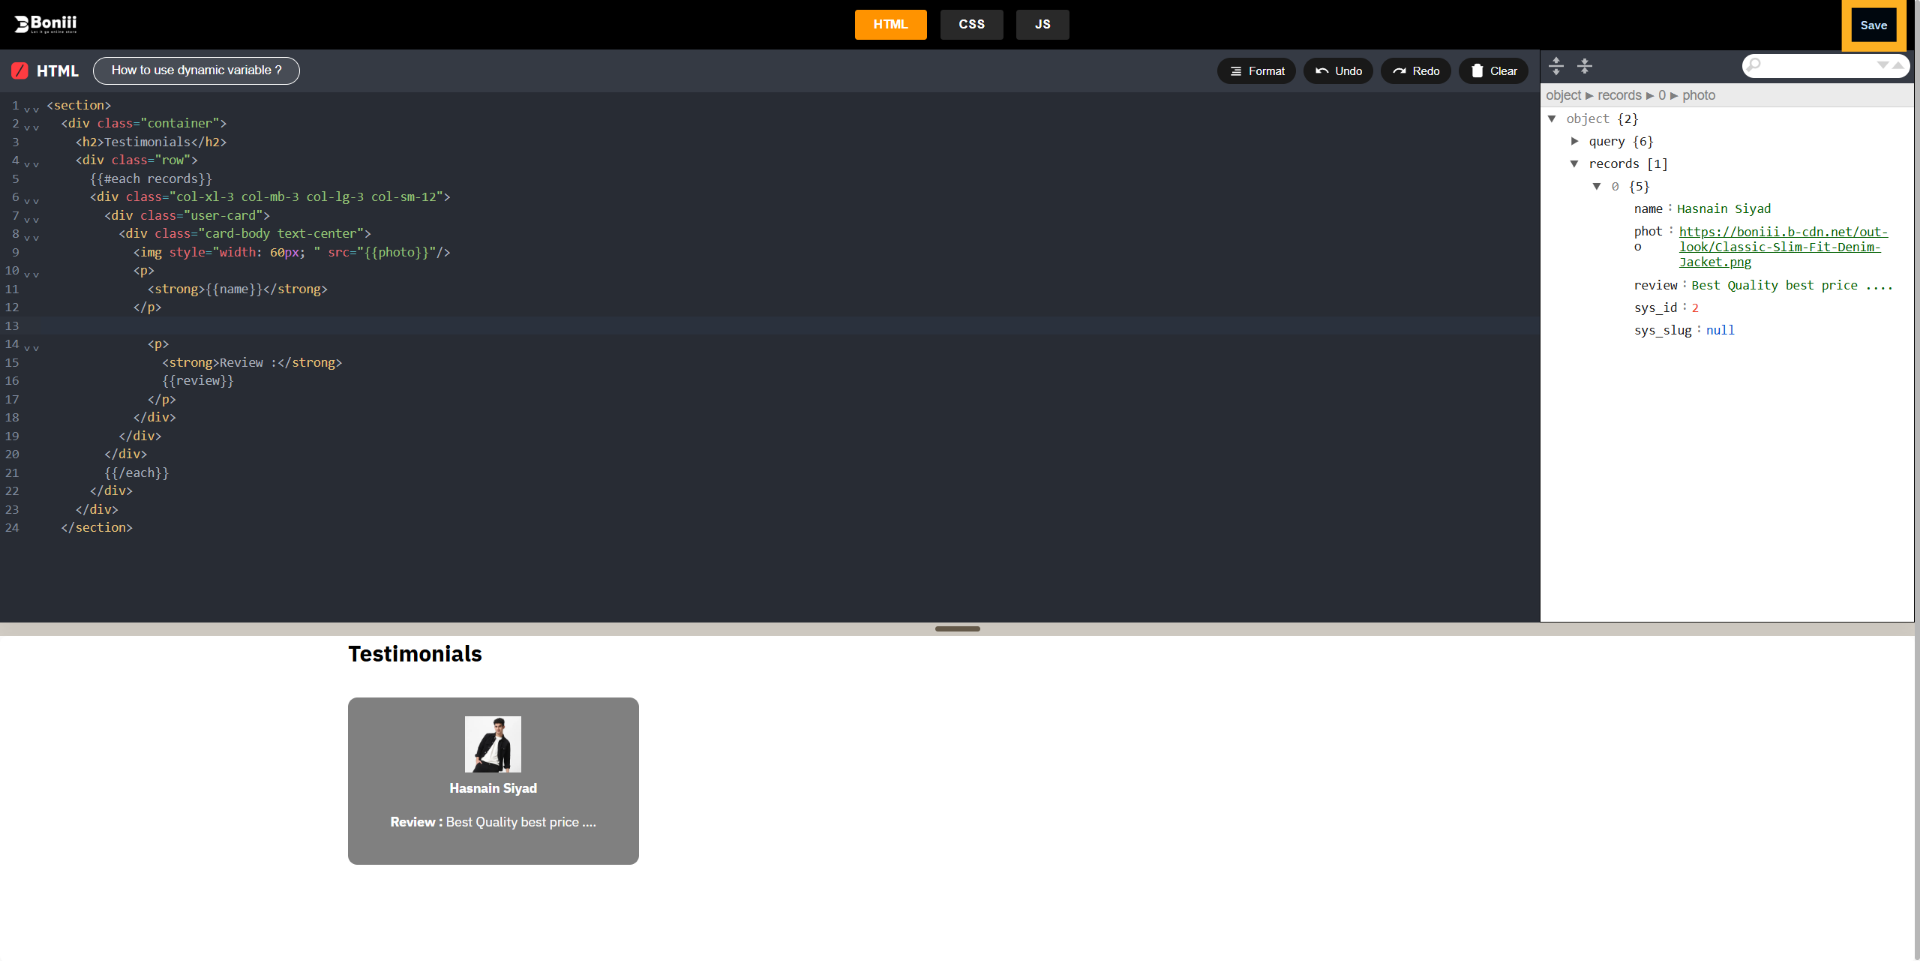
Data Source JSON Data refers to the structured data format (JSON) that contains the records from your
Data Source. This JSON data is used in the Template Builder to display dynamic content such as Name,
Review, Photo, and other fields inside your template.
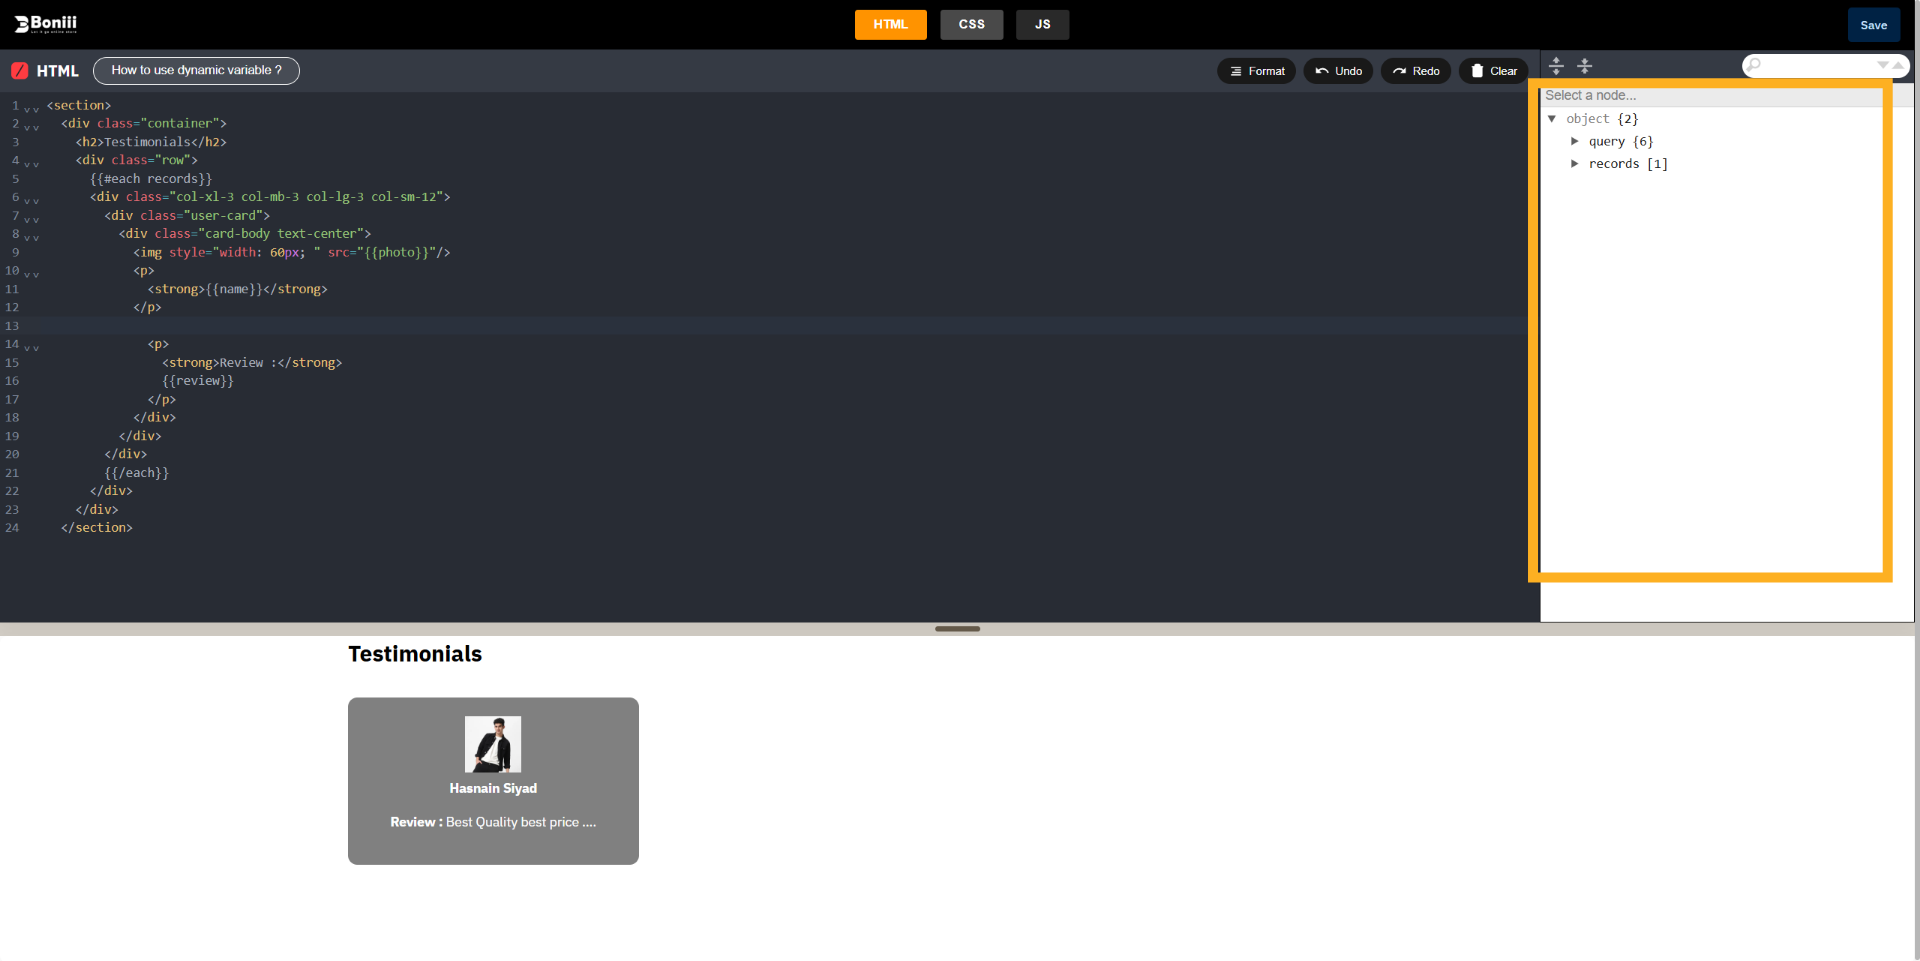
10. Edit code option
In this Template Builder Editor, you get options to add or edit code. There is an HTML editor to add or
edit HTML, a CSS editor to style the design, and a JS editor to add or edit JavaScript. Using these
options, you can design the template according to your needs—for example, we have slightly styled the
card design here.
11. Save Template Changes
When you click the Save button, the Create Template modal will open. From there, you need to enter the
template details and save the template.
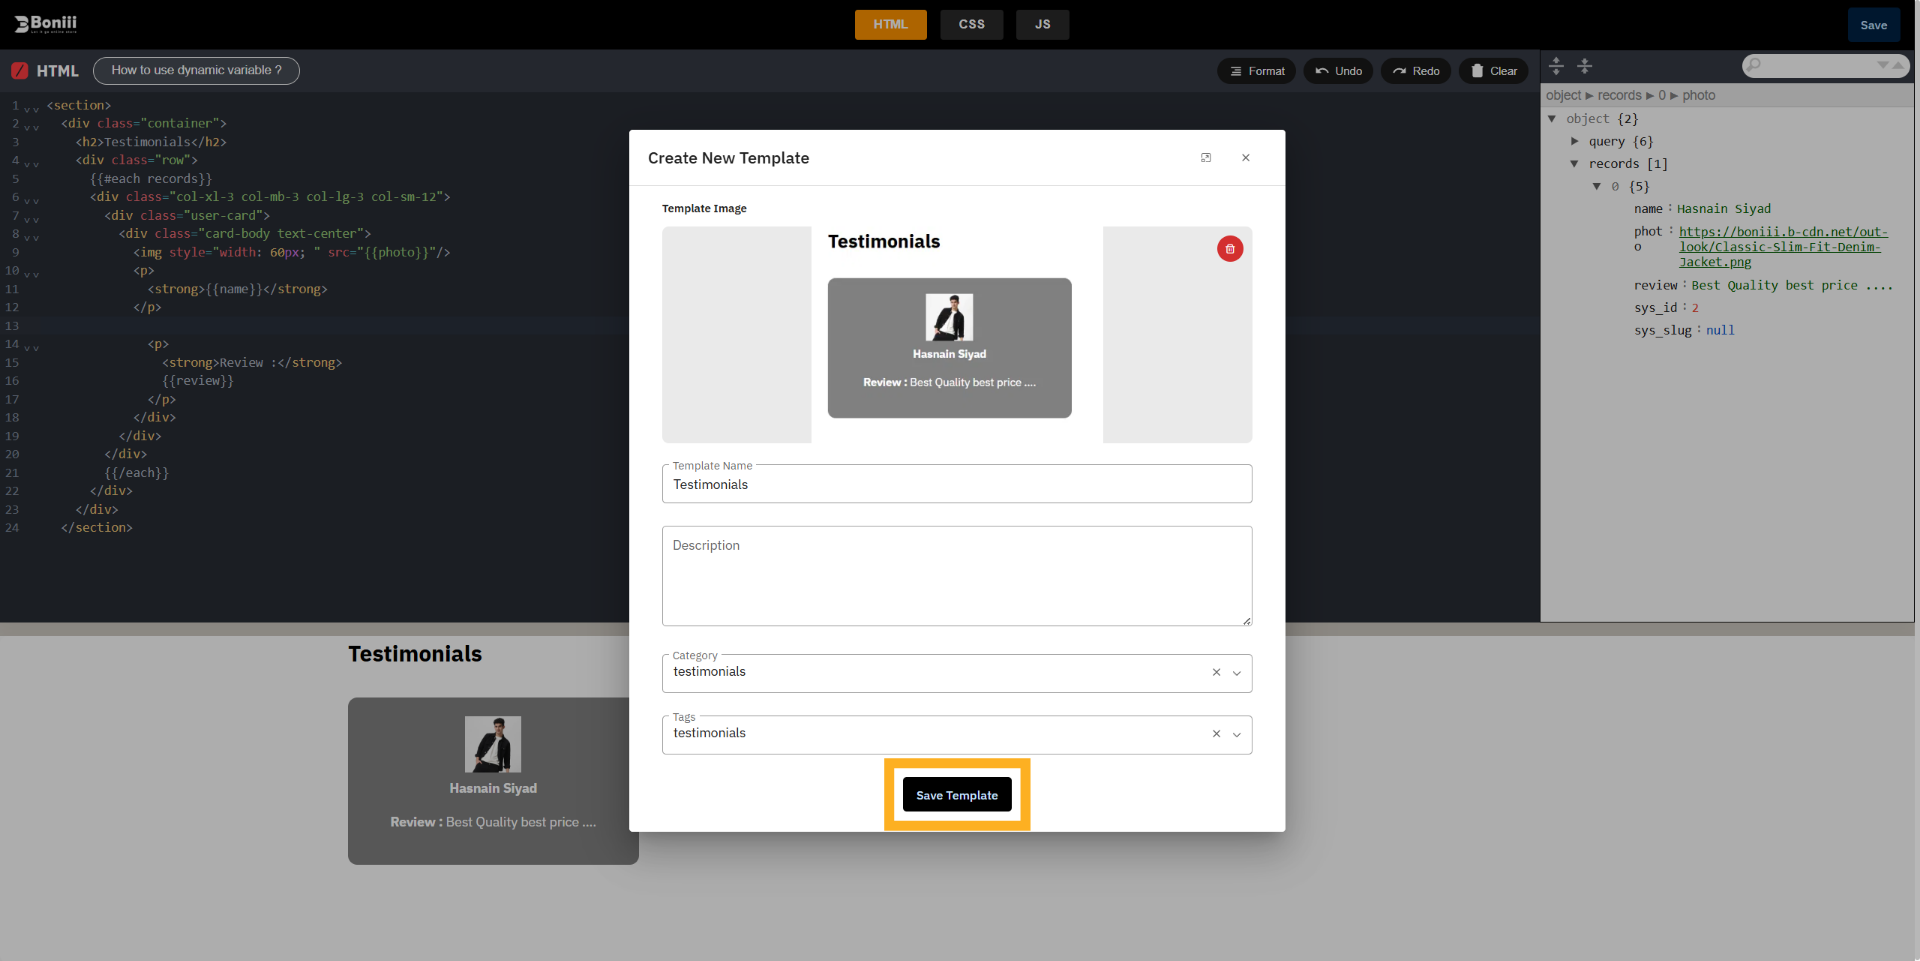
12. Create New Template
By filling out the Create New Template form, you can save your template in the Template Library. Here
you need to upload a screenshot of the template you created. Then enter the Template Name, and if
needed, add a Description. After that, select the appropriate Category and Tags for the template before
saving it.

13. Save Template
If you have filled out the Create New Template form, click the Save button to save your template.
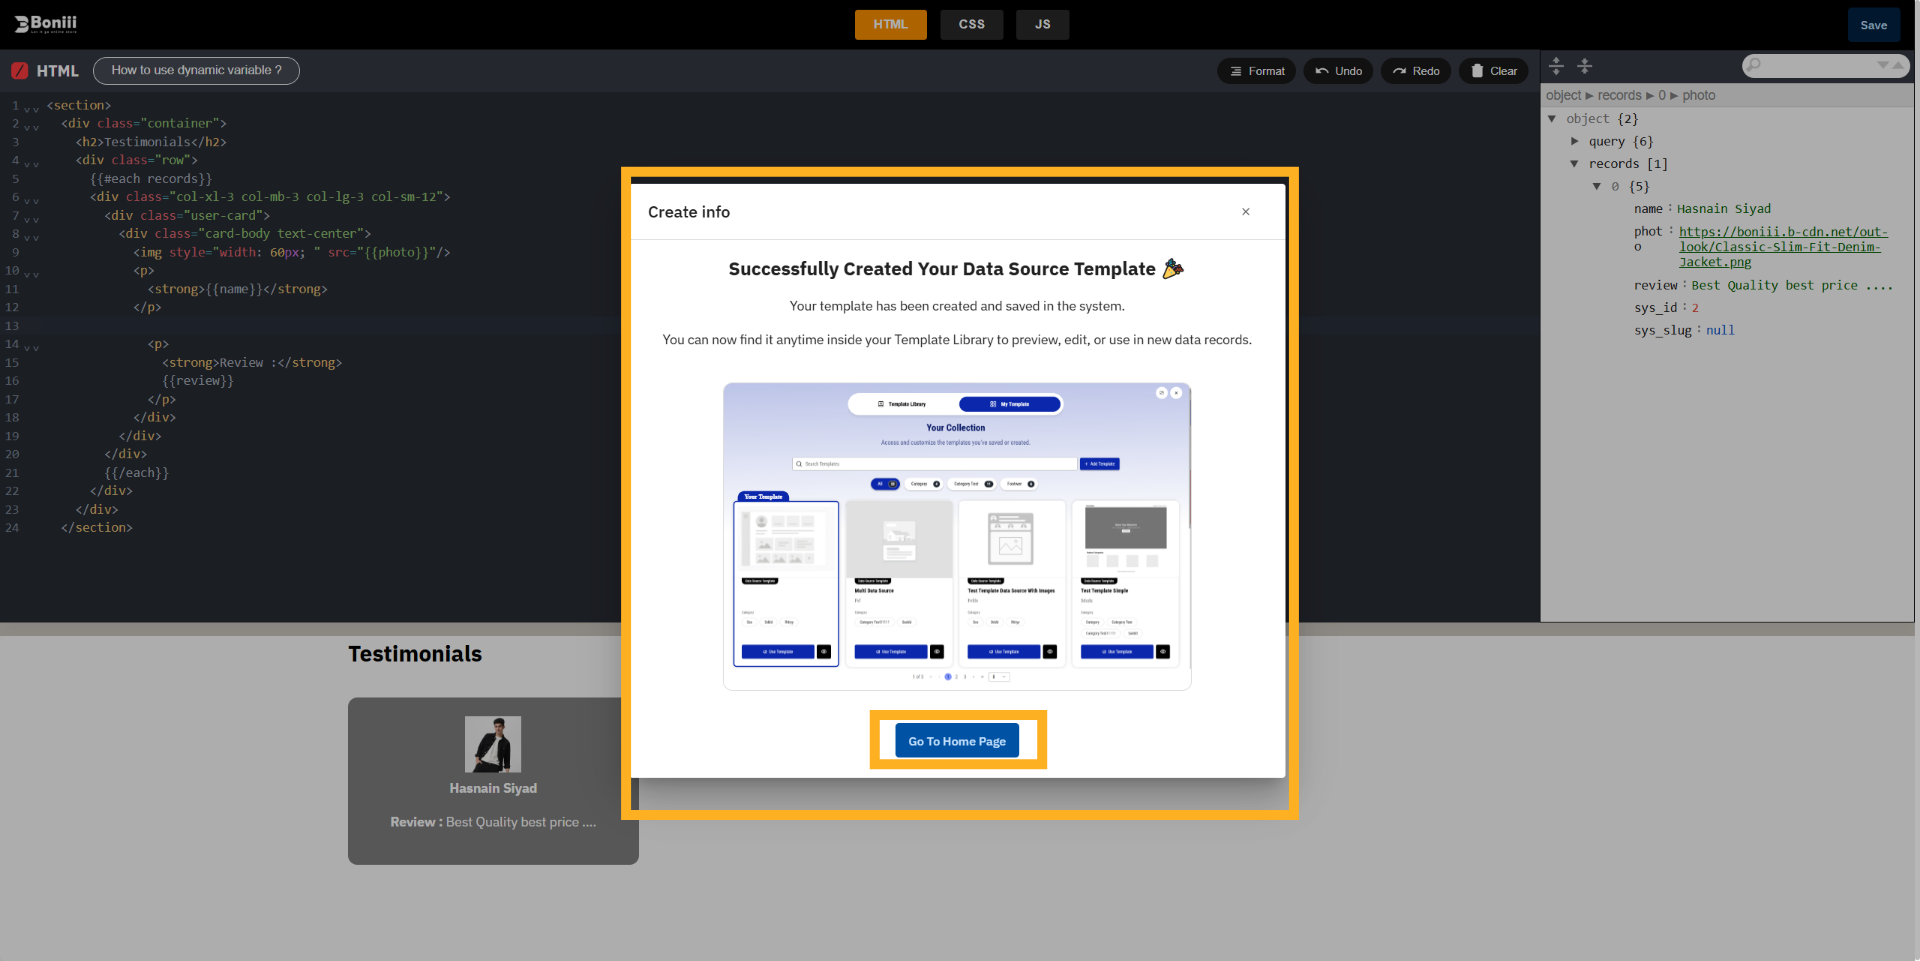
14. Crete template Info
After the template is saved in the Template Library, a Create Template Info modal will open. This
message confirms that your template has been saved successfully and is now available in your Template
Library. You can go to the library anytime to use the saved template. You can also click the Go to Home
Page button below, which will redirect you to the Homepage Builder Editor.
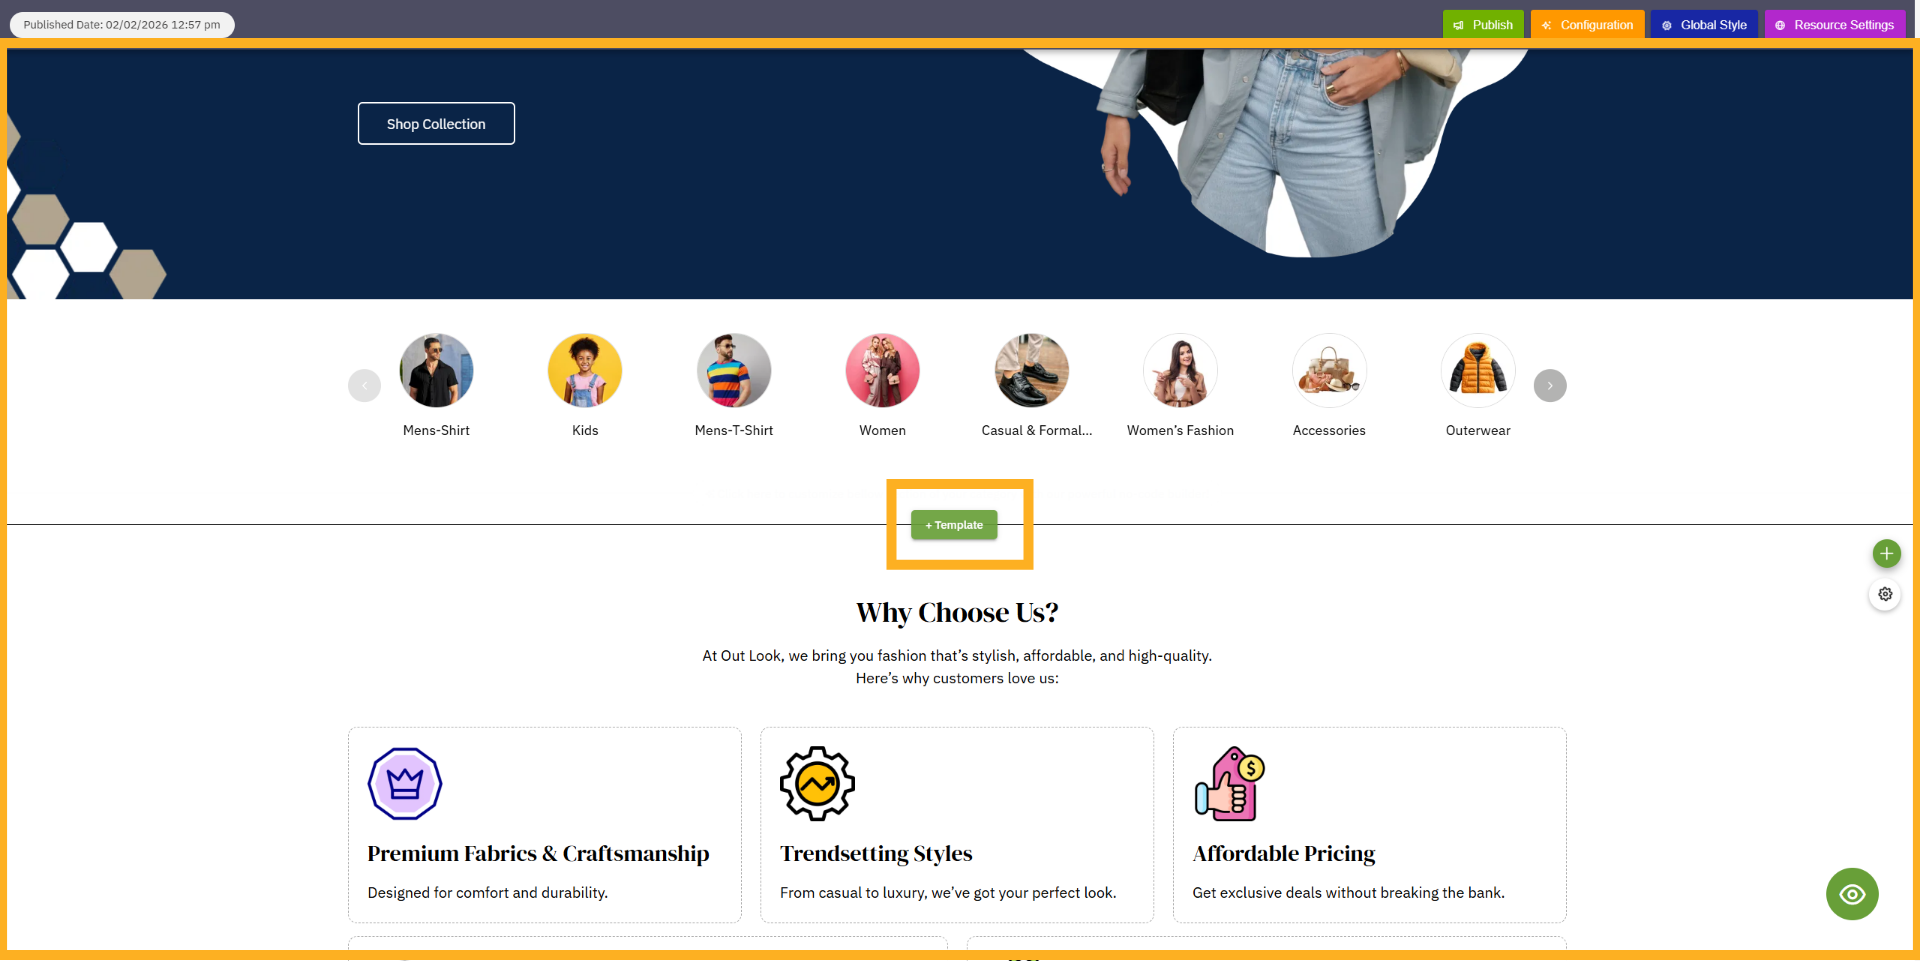
15. Add New Template
After clicking Go to Home Page, you will be redirected to the Home Page Builder. Now we will add the
template that we created from the Data Source. For this, click the Template button.
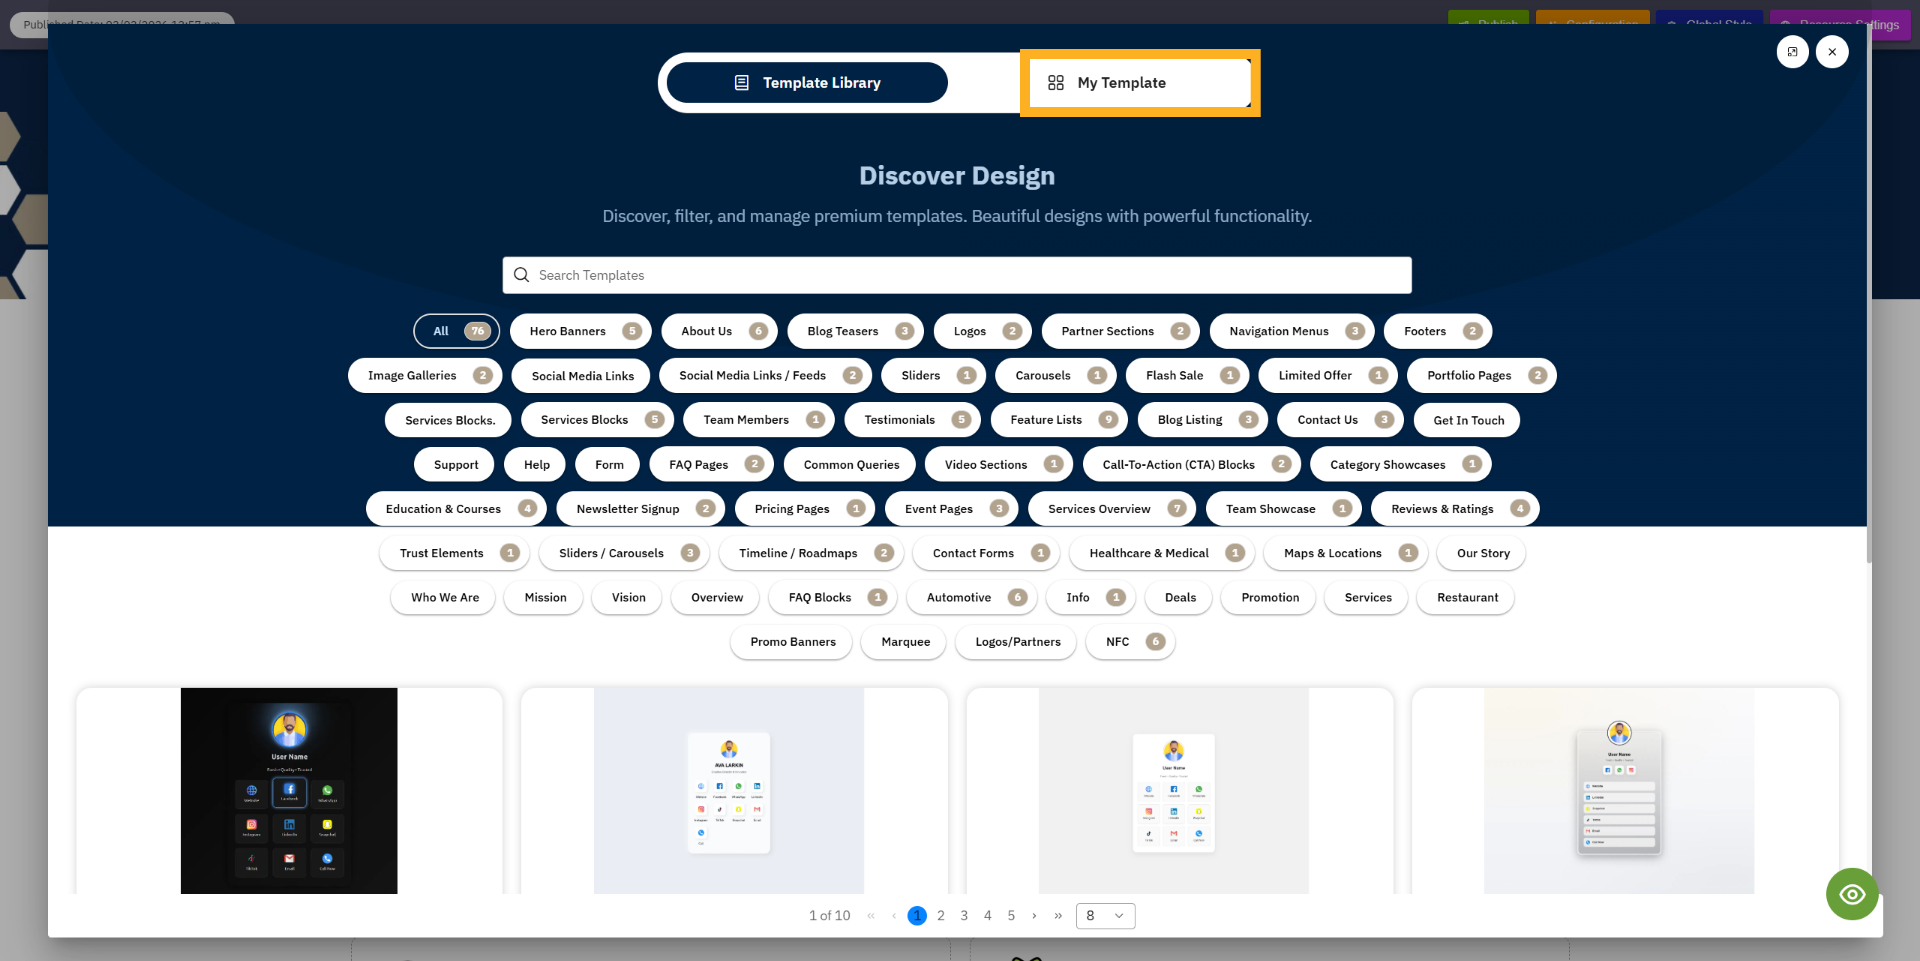
16. Select Templates Menu
Click "Select Templates" to open the list of available in template library.

17. Choose My Template
Click "My Template" to select your personal template collection.
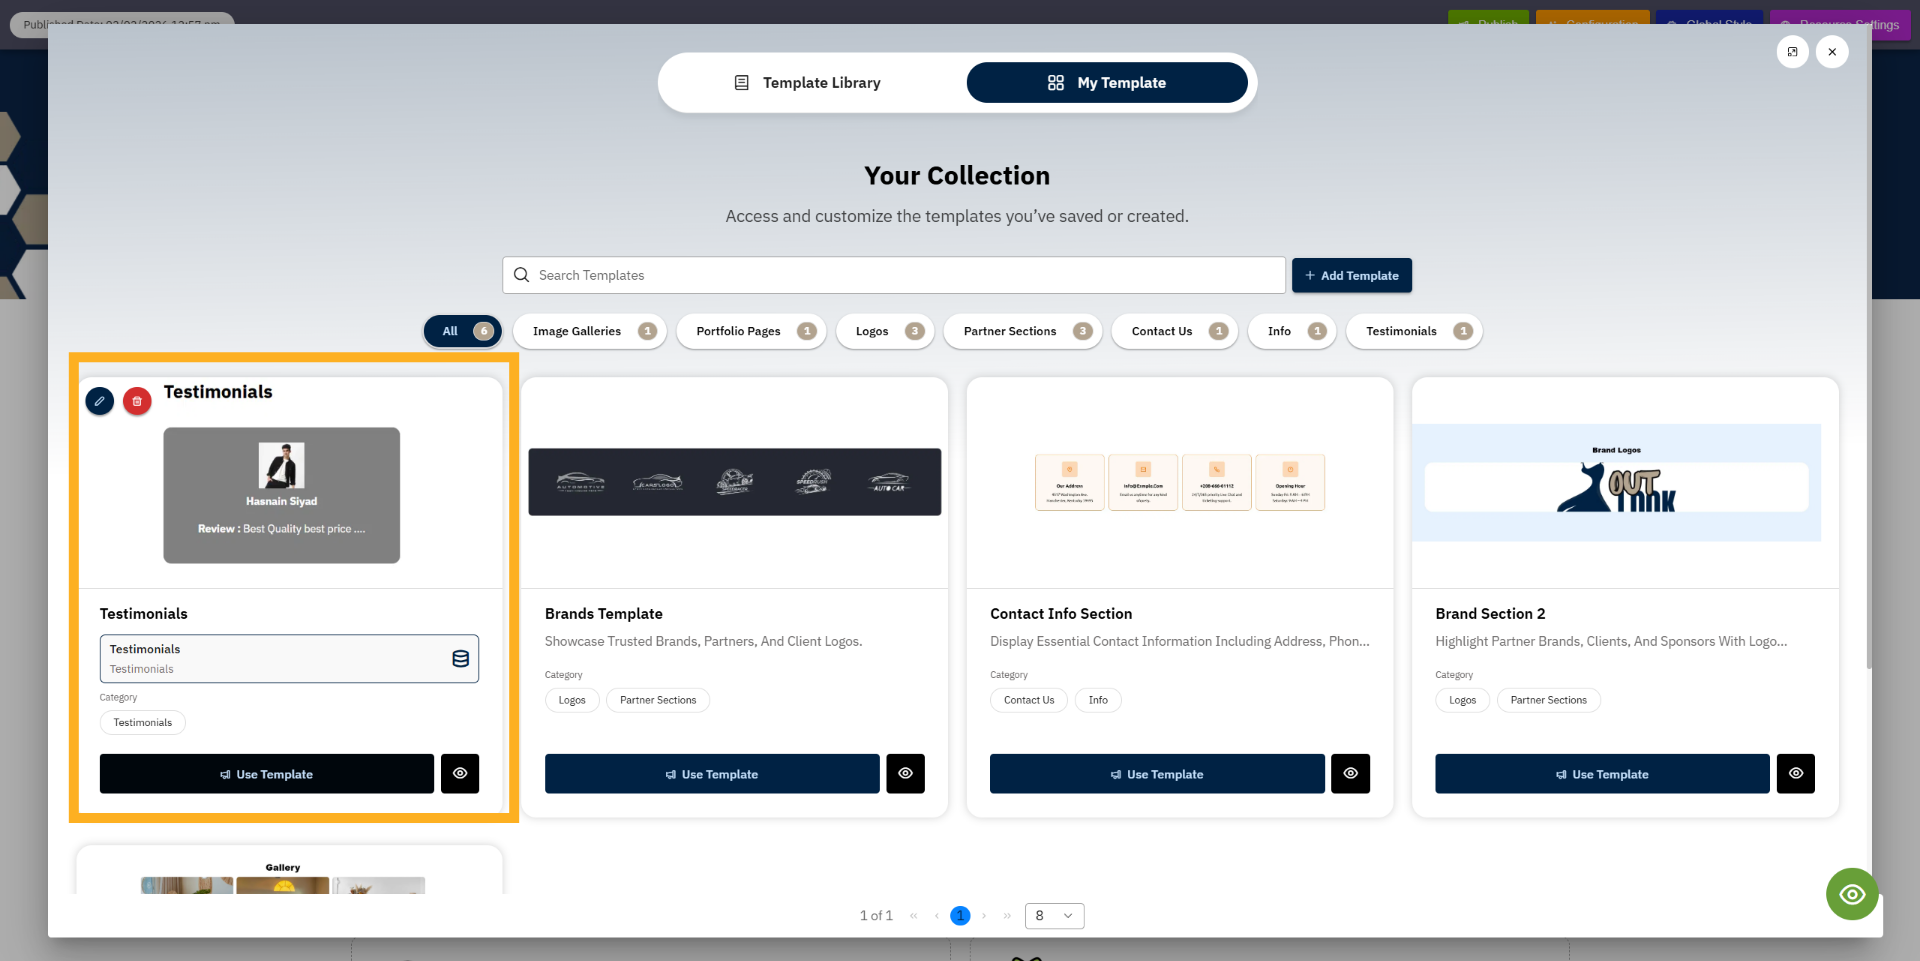
18. Use Selected Template
This is the template we created from the Data Source. To use it, simply click the Use Template button to
apply it.
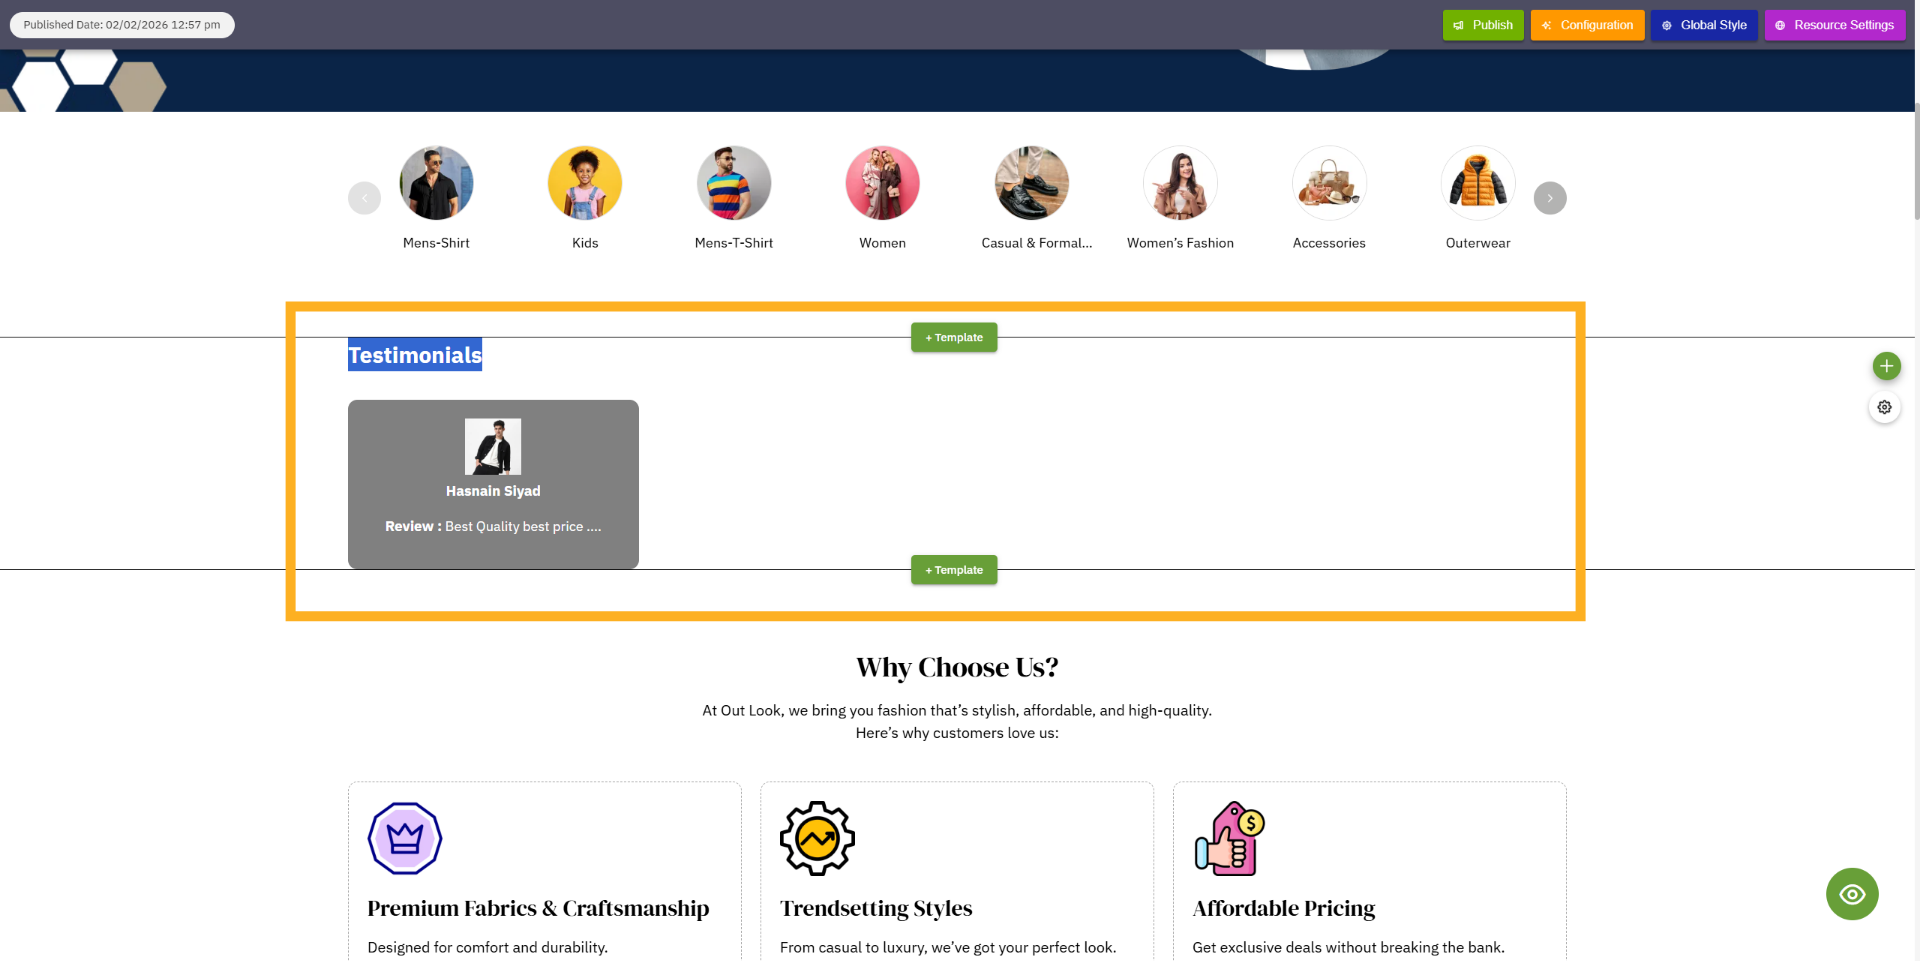
19. template used on the page.
As you can see, the Data Source template we designed has now been applied to the page. From now on,
whenever you add or update records in the Data Source, those changes will automatically reflect here
dynamically.
You have successfully designed and customized a CMS DataSource template in Boni to display testimonials
in an organized and visually appealing format. Next, explore additional template customization options
or apply this template to other data sources for consistent presentation.
Uploading...