13 - How To Use CMS Forms In Page
1. Click Add Template Button
Click the "Add Template" button to start adding a new template to your page.

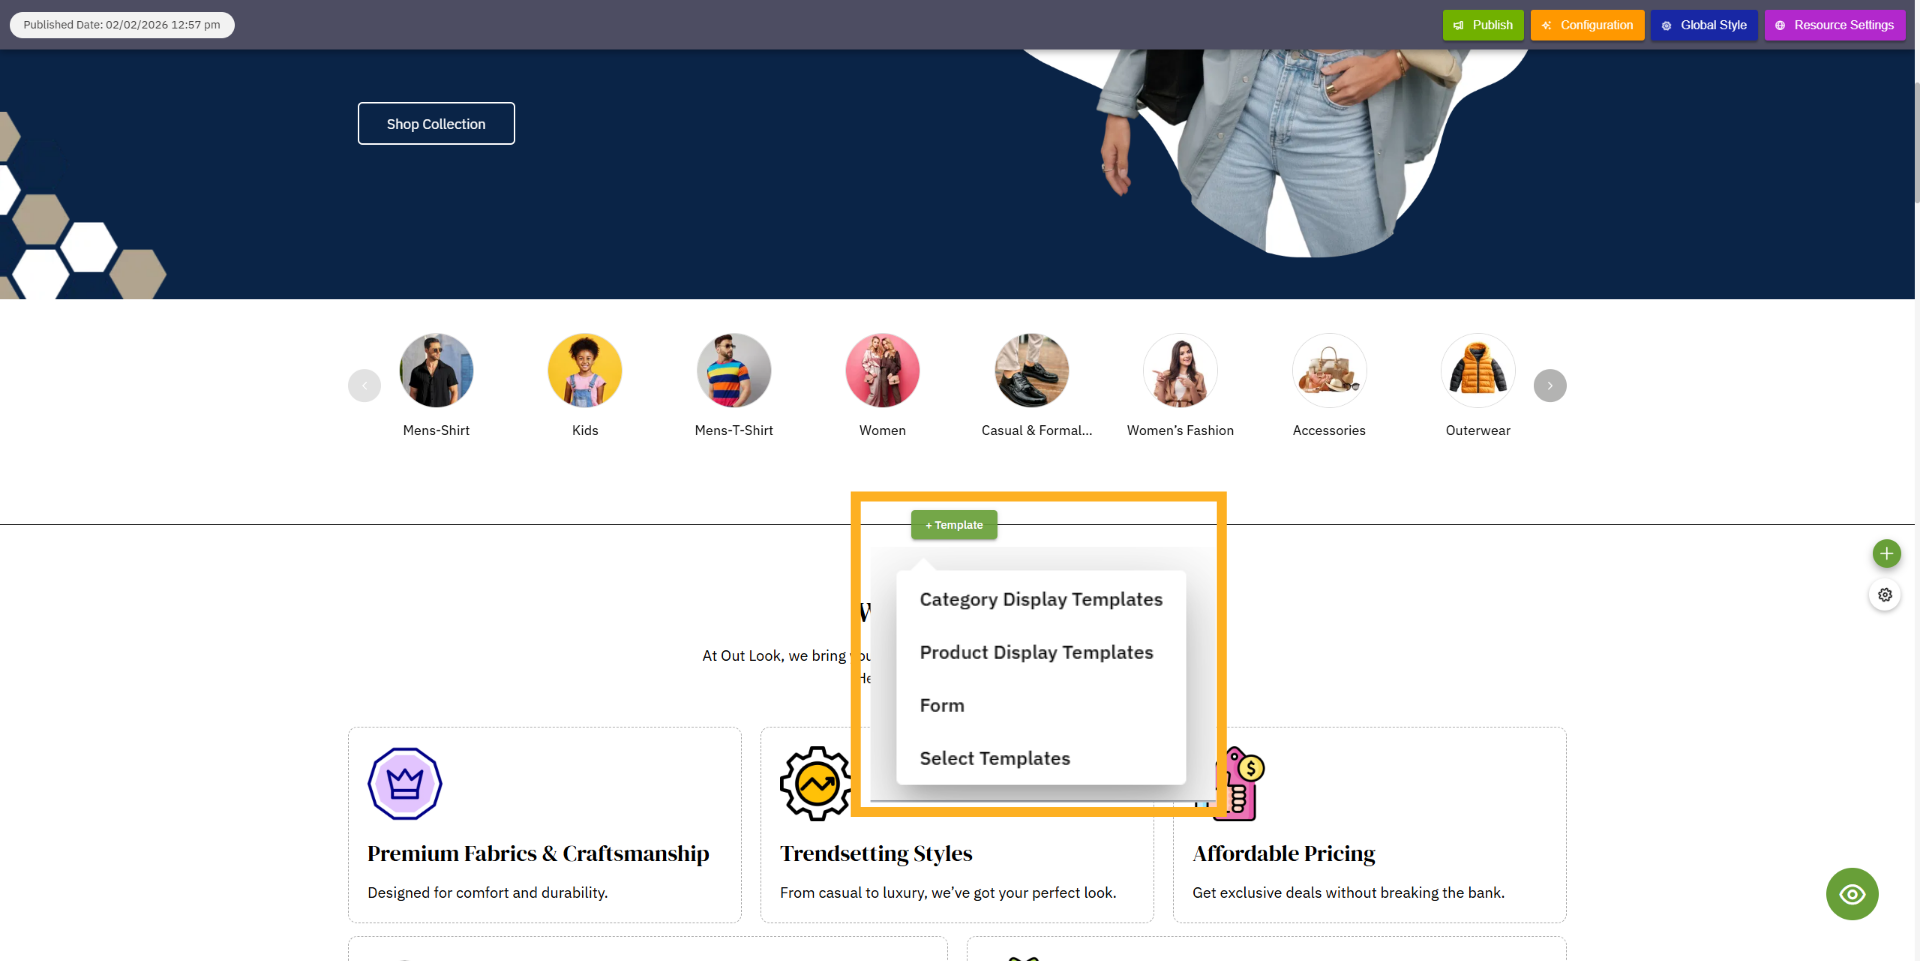
2. Template Option
After clicking the Template button, you will see the Template options. From there, click on Select Template.
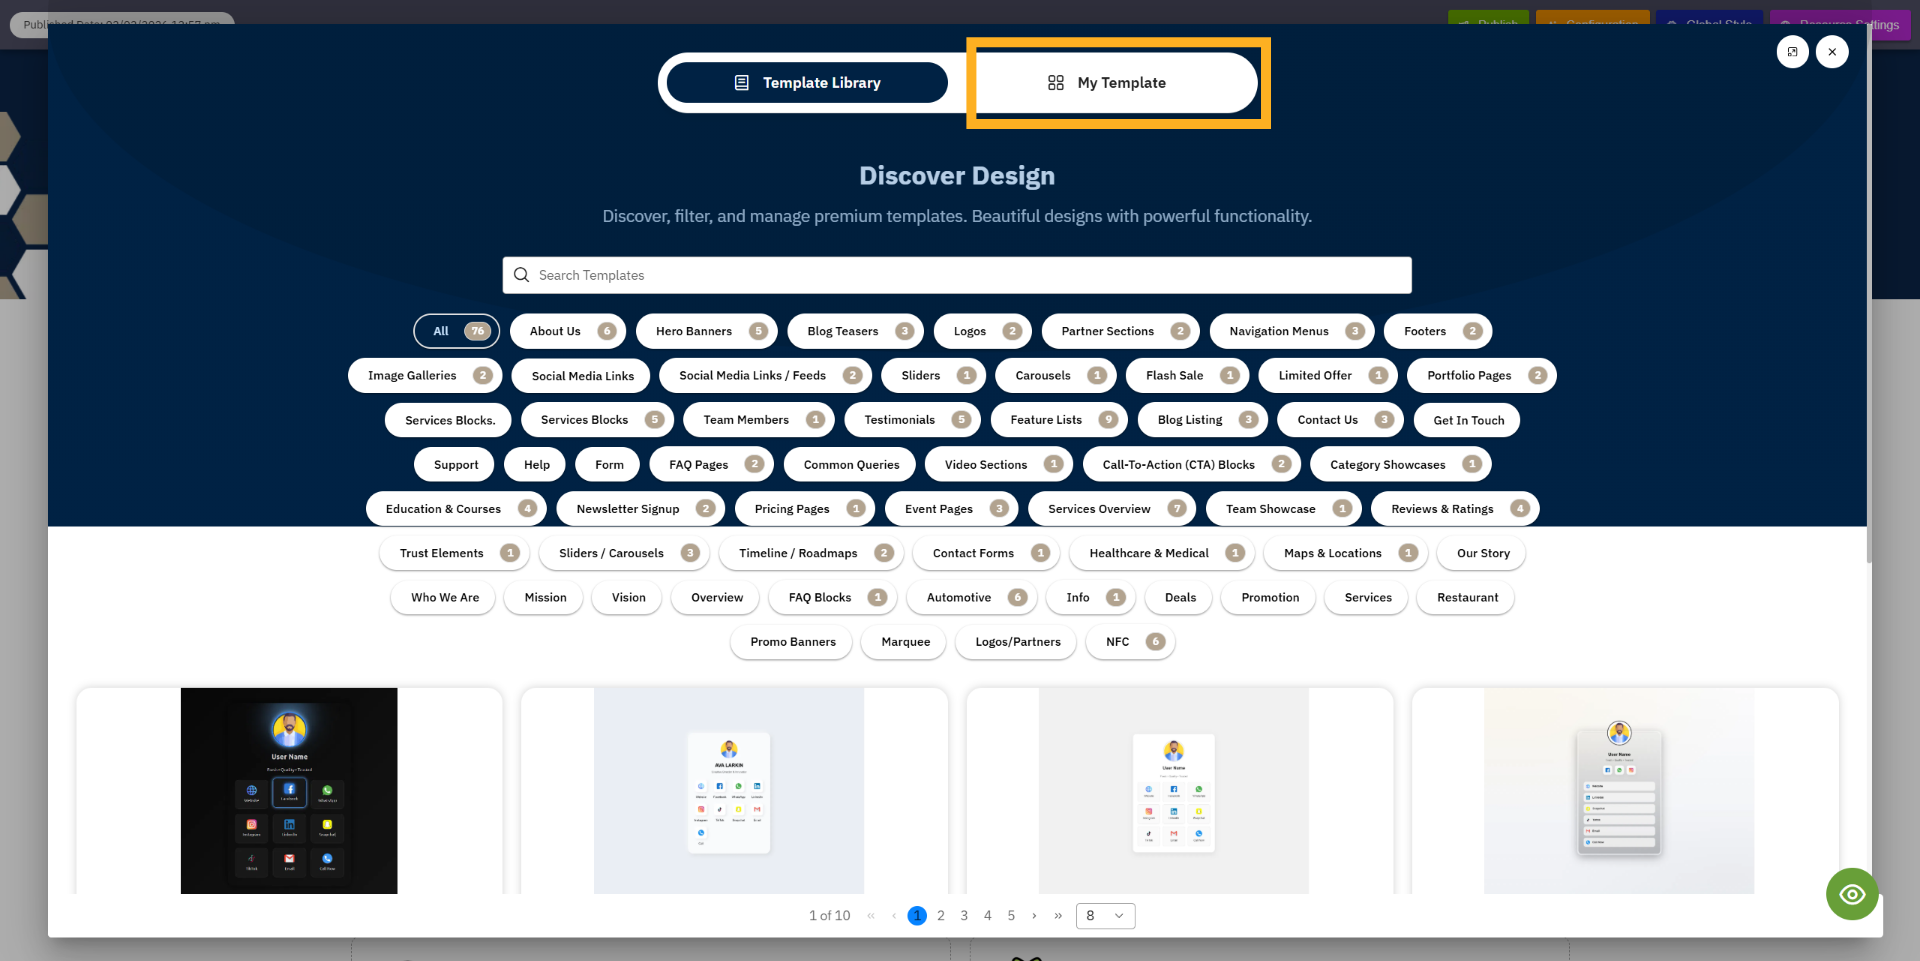
3. My Template
After clicking Select Template, the Template Library will open. From there, click on My Templates.
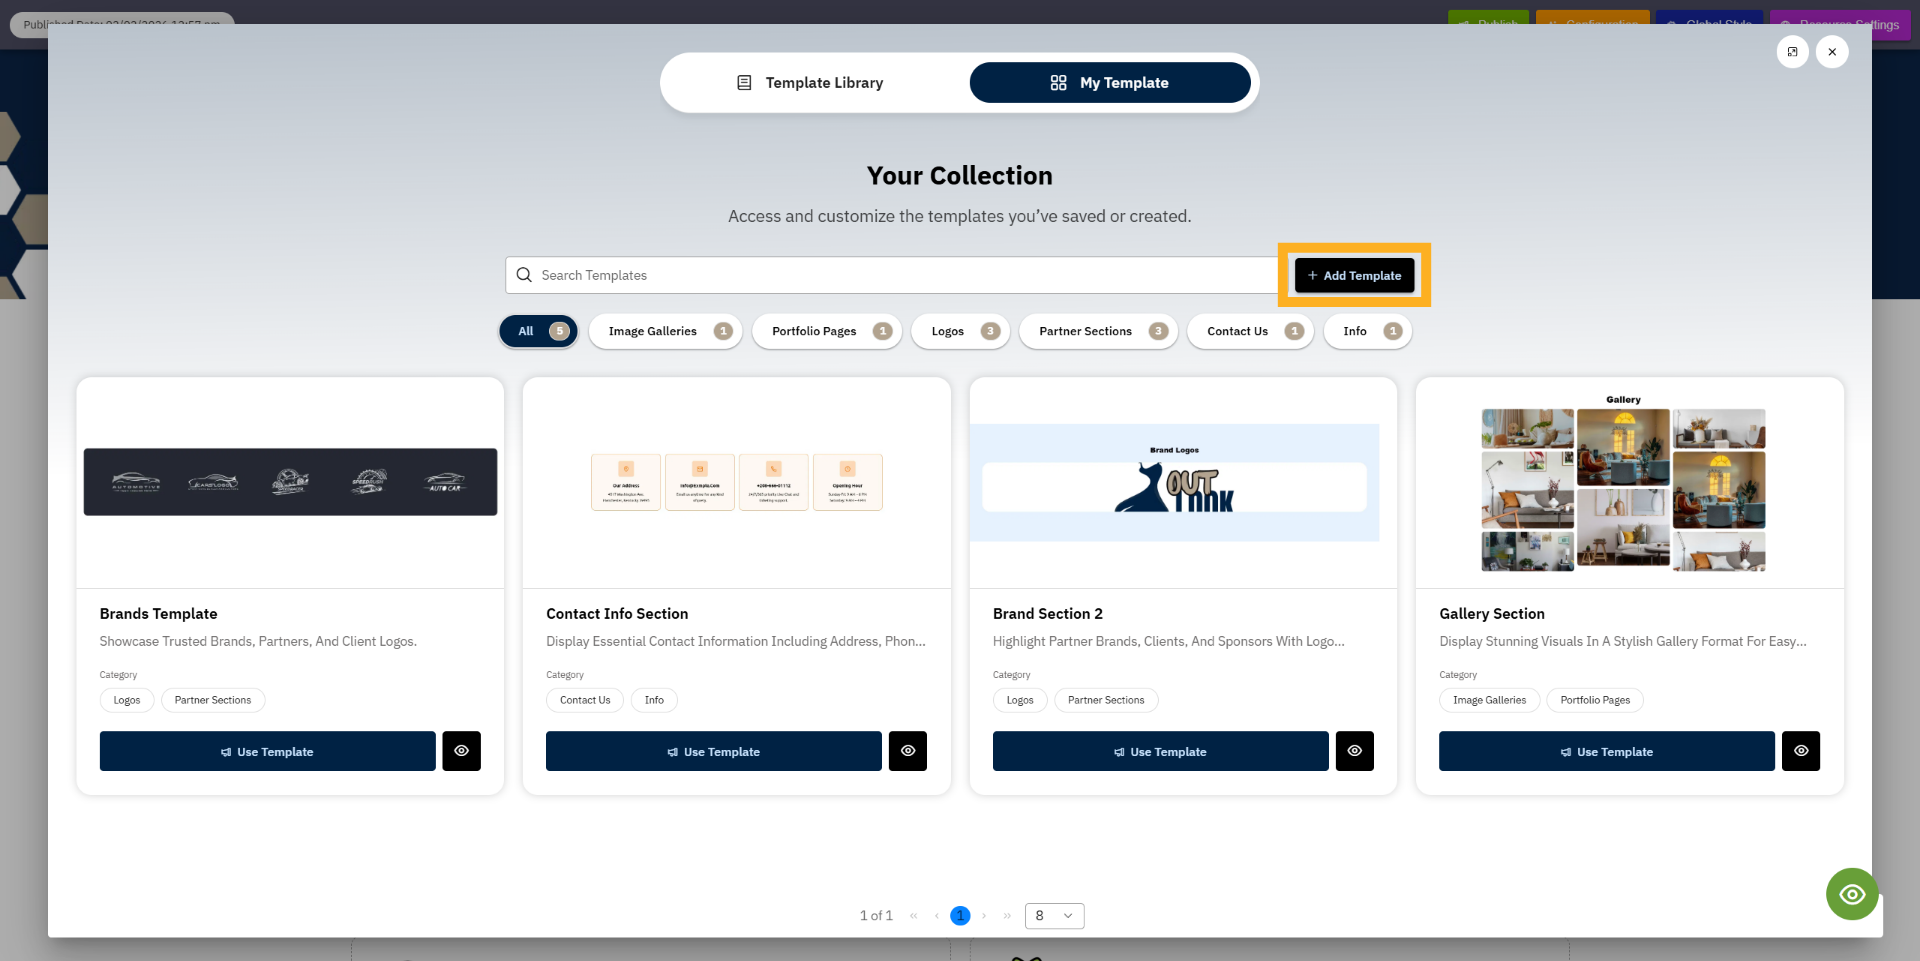
4. Add New Template
Now you are in My Templates. Here, you can click Add Template to create a new template. Once you click Add
Template, the Template Editor will open where you can start designing your template.
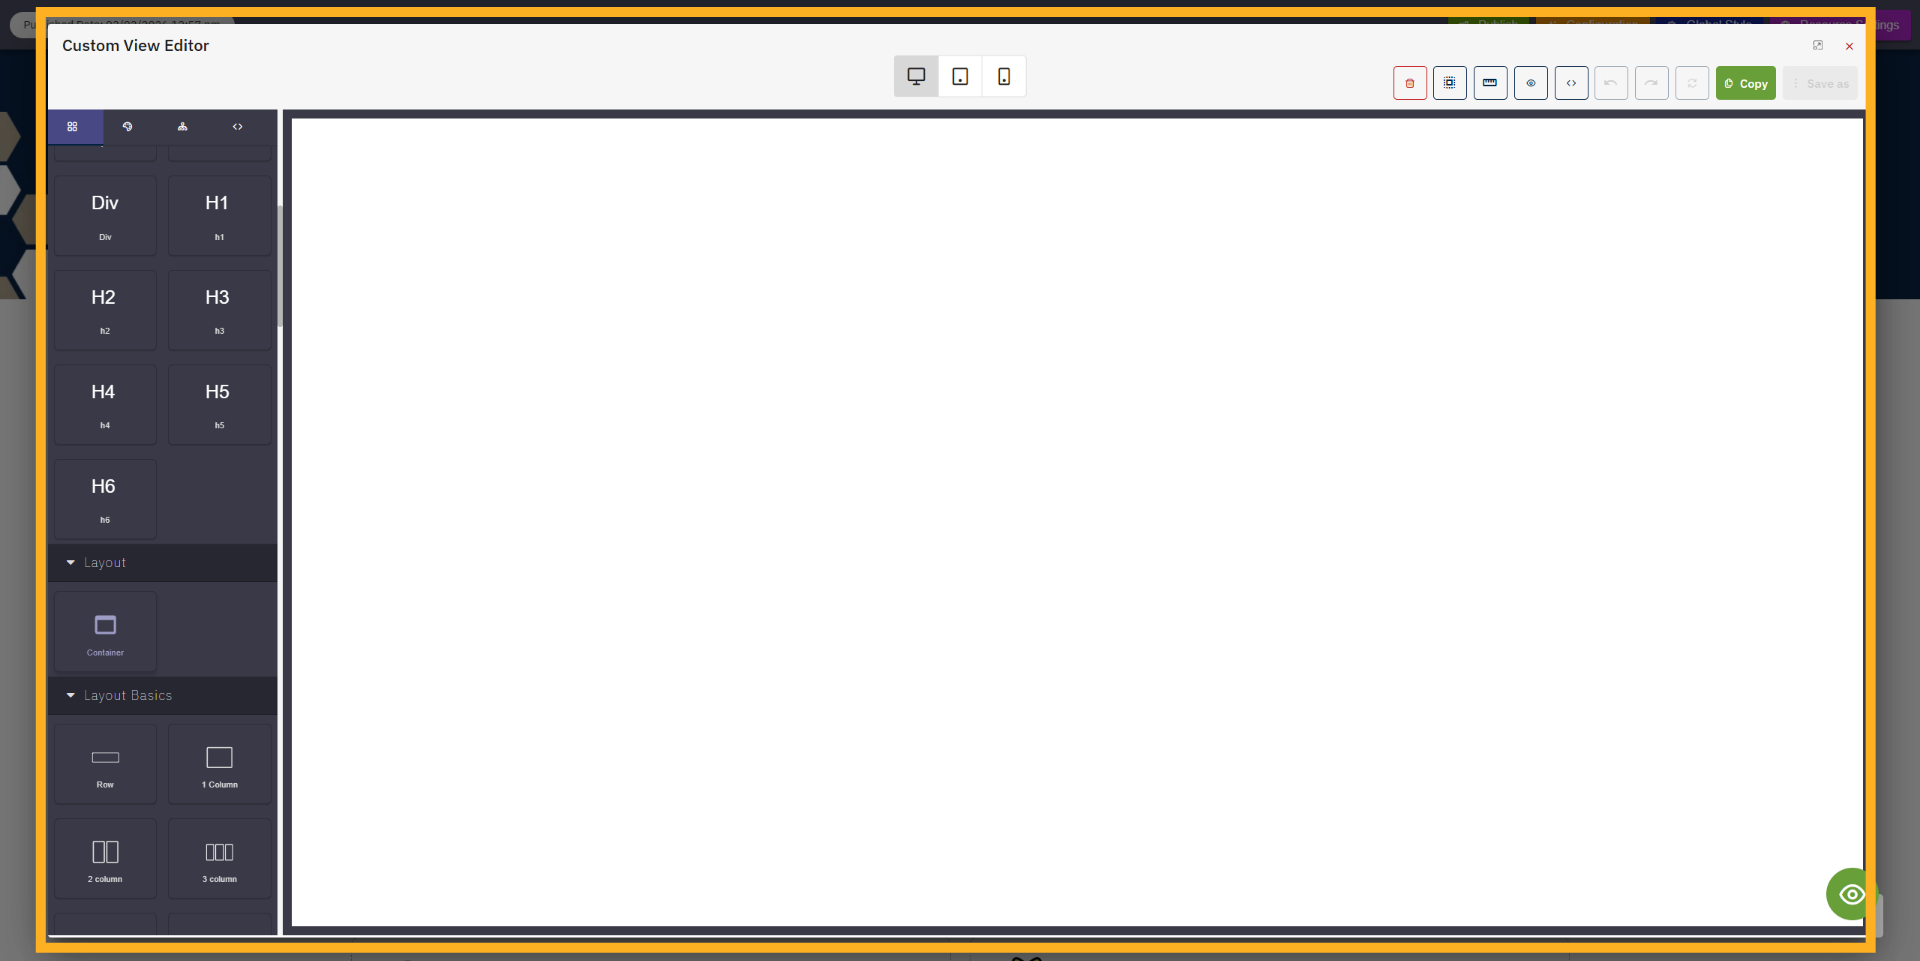
5. Template Builder Editor
When you click Add Template, the editor opens, and you can start designing your template. For example, you can
add one container with a one-row, two-column layout to begin the design.
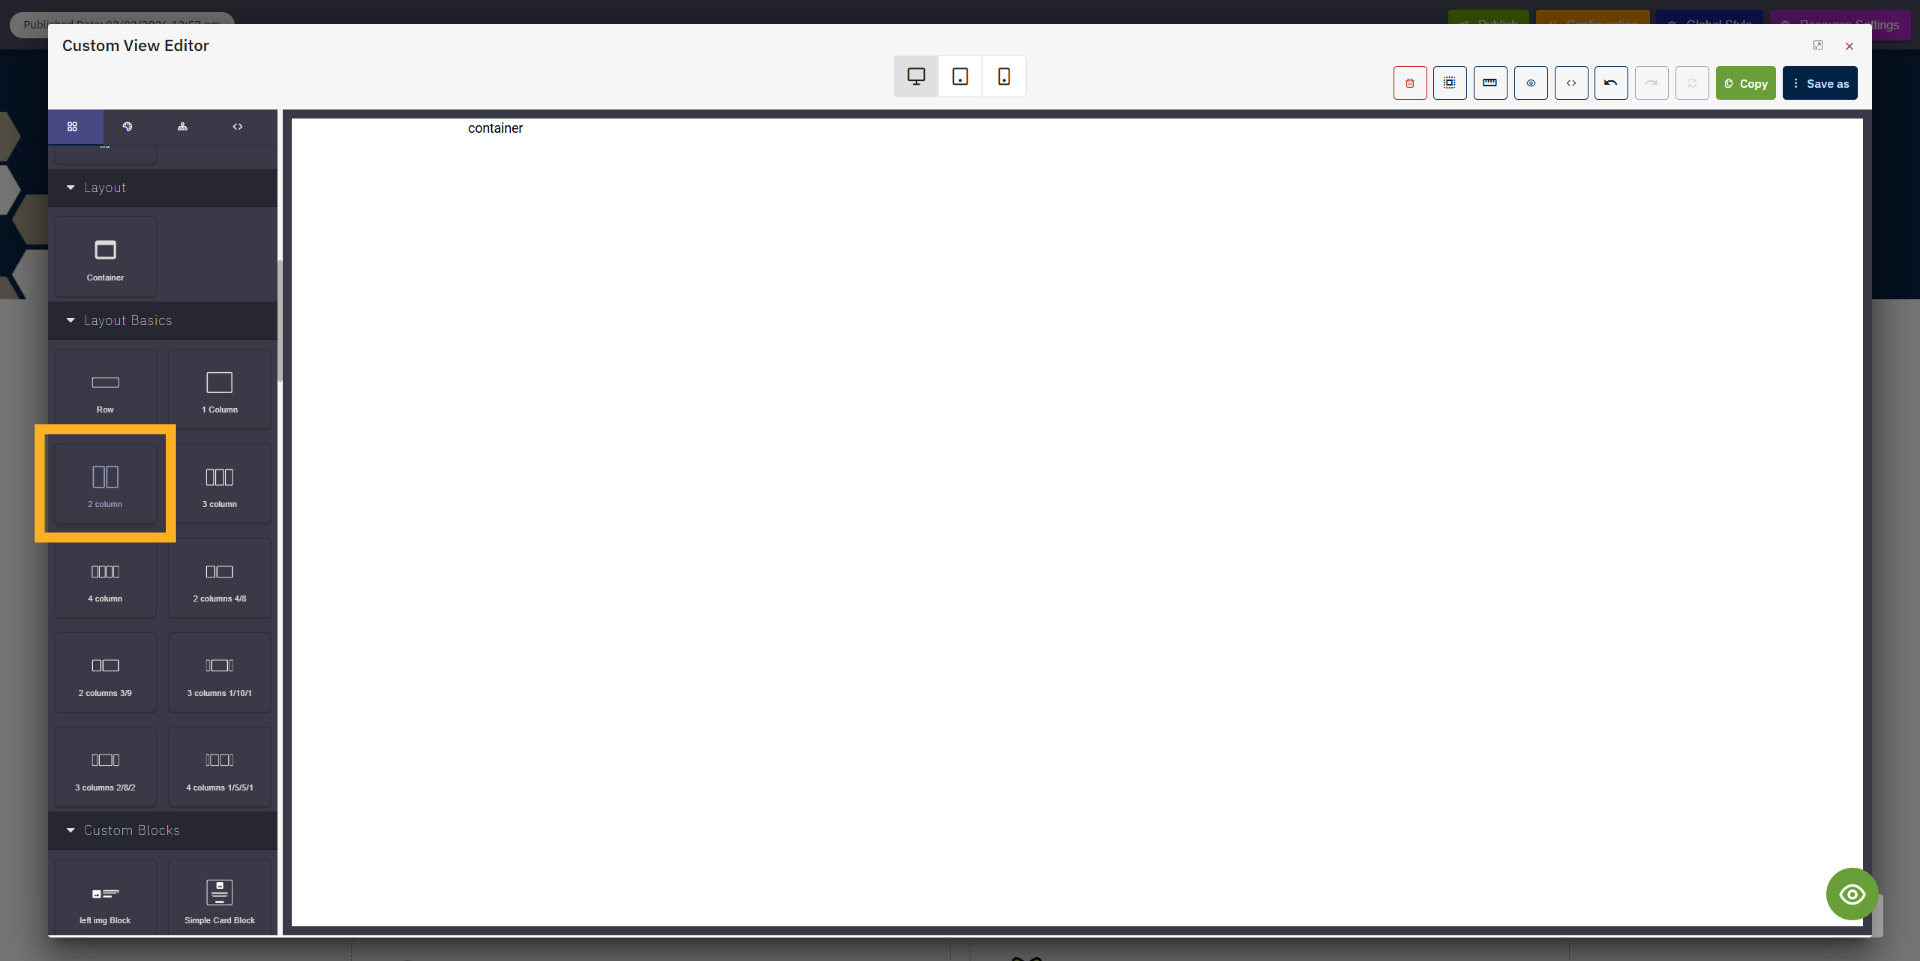
6. Drag a container
First, drag a container into the editor to start building your template layout.

7. Choose Two Column Layout
After dragging the container, drag a two-column row inside the container to create the layout.
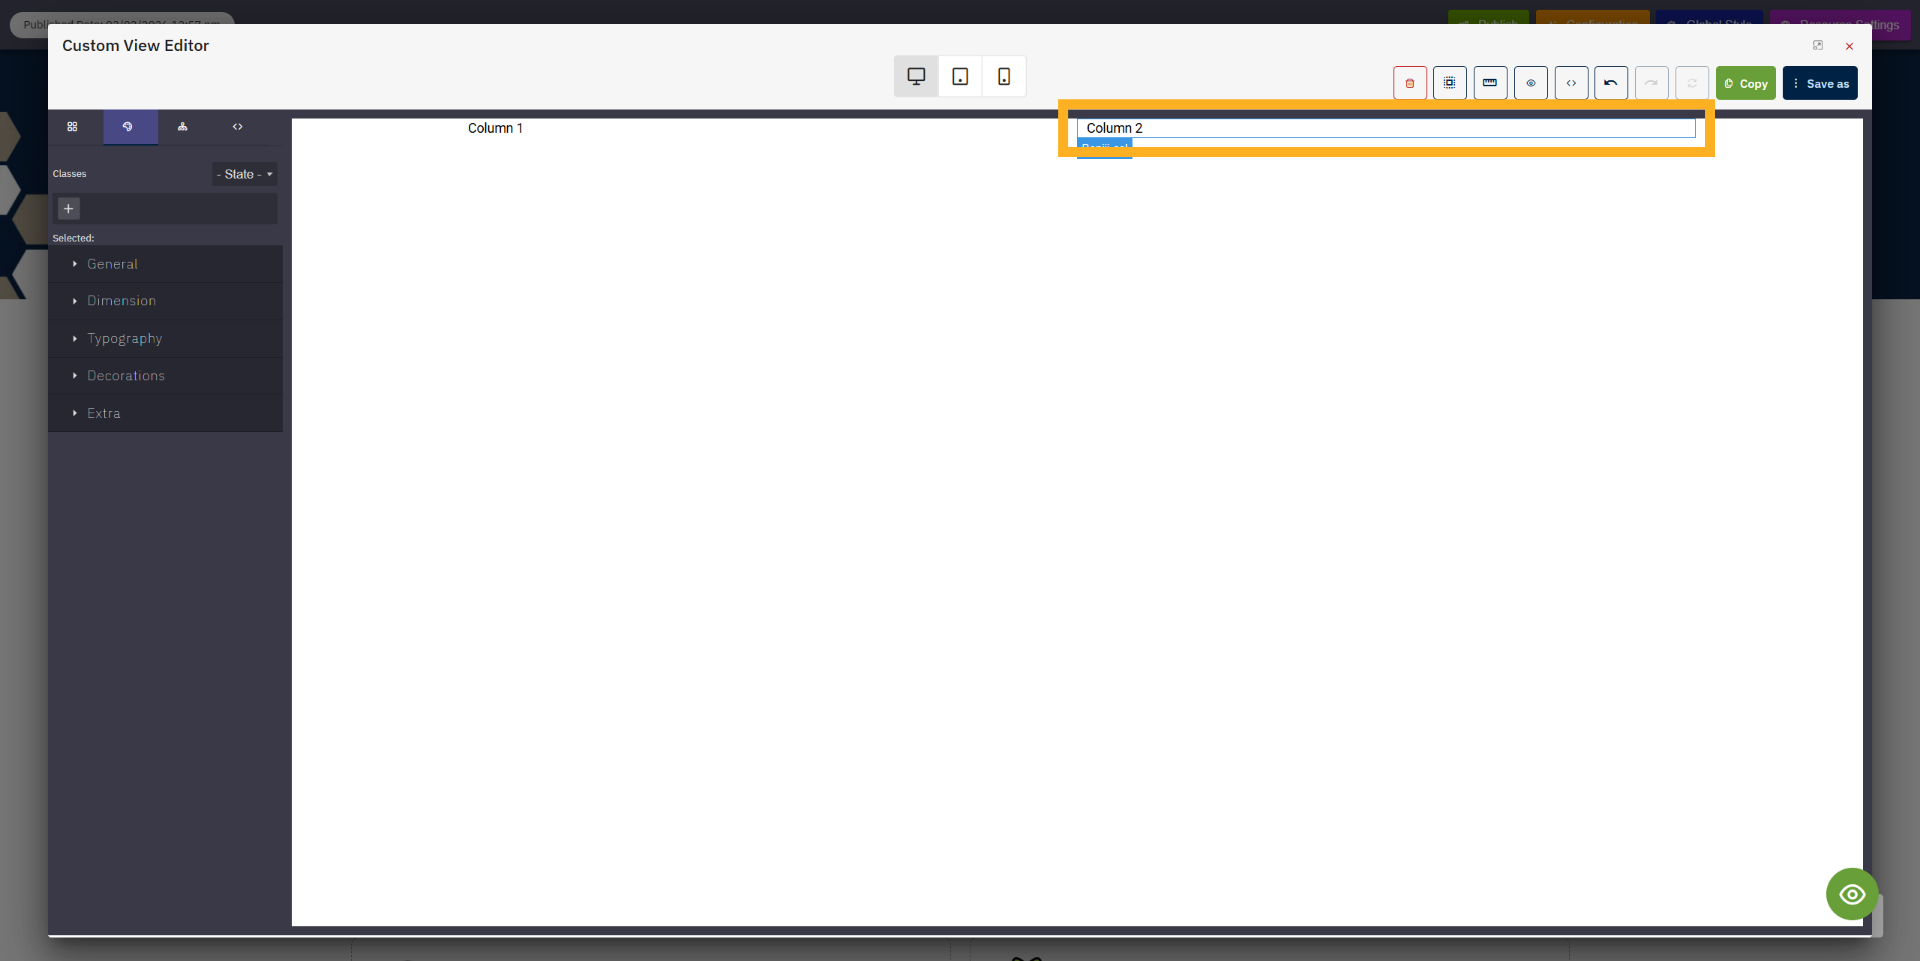
8. Select Second Column
Then select the second column element where you want to place the form.
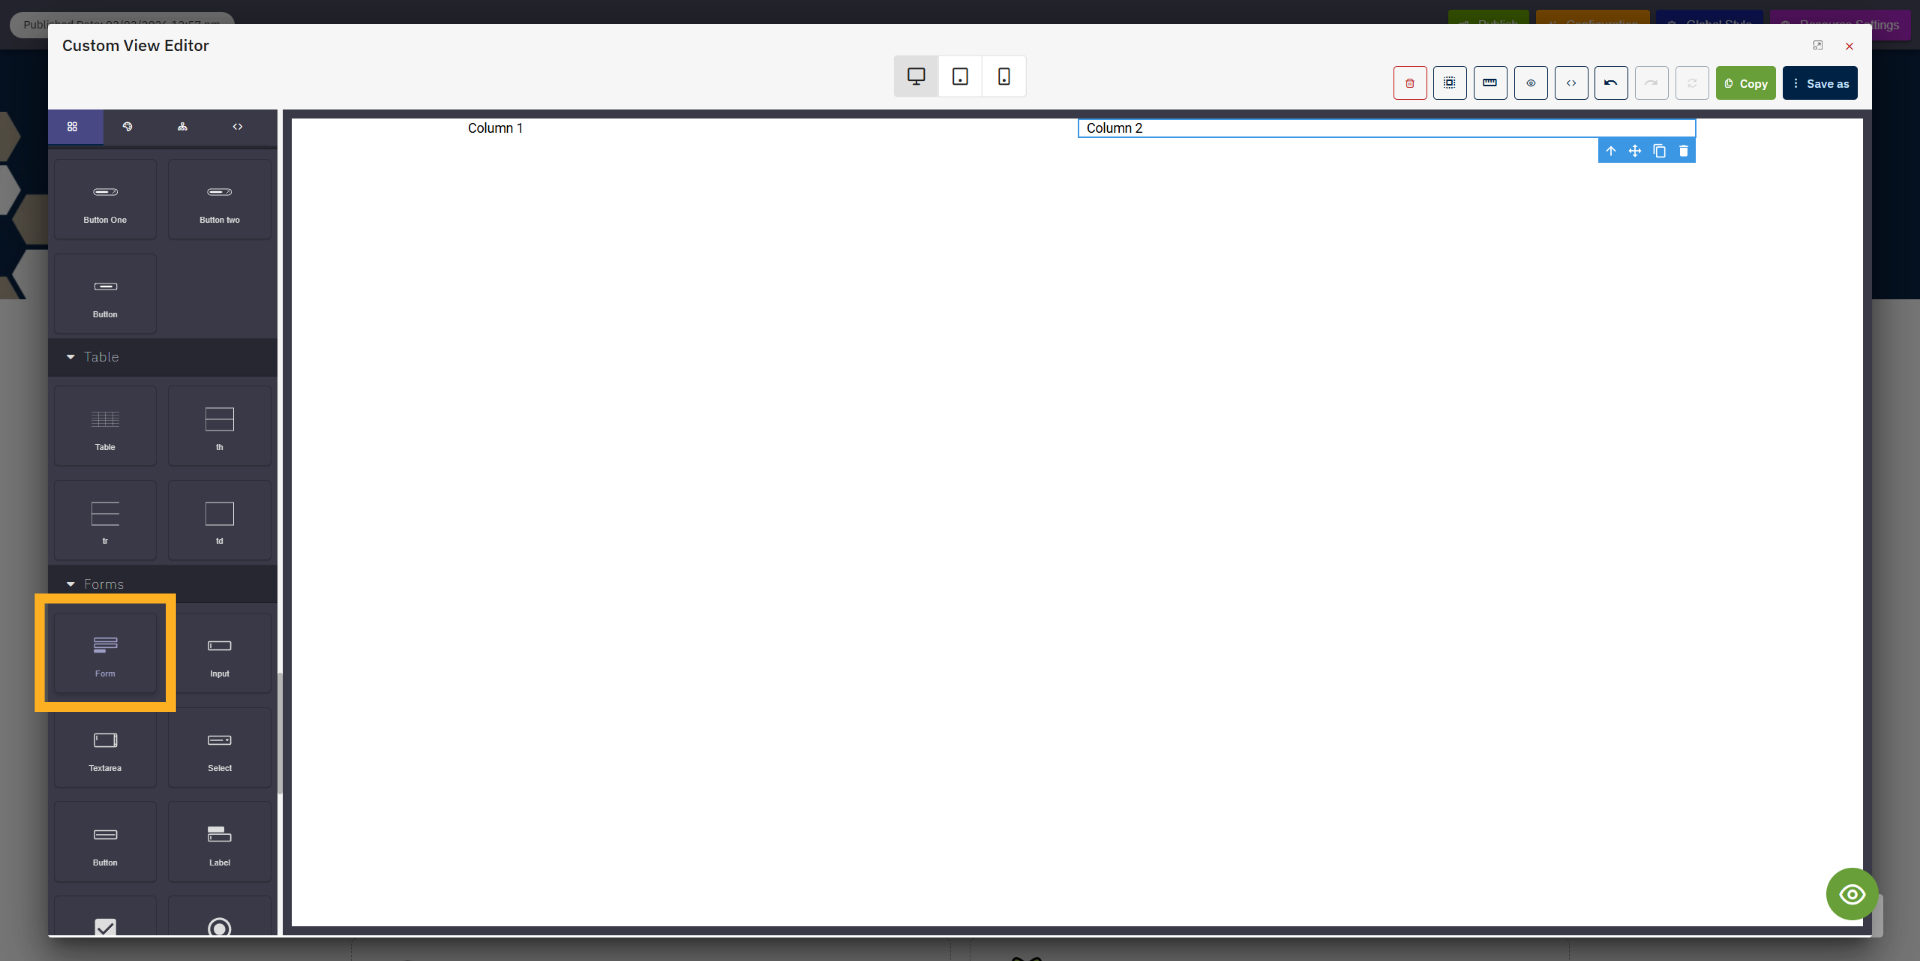
9. Drag a Form
Now drag the Form element, and after that you will see the list of available forms to choose from.
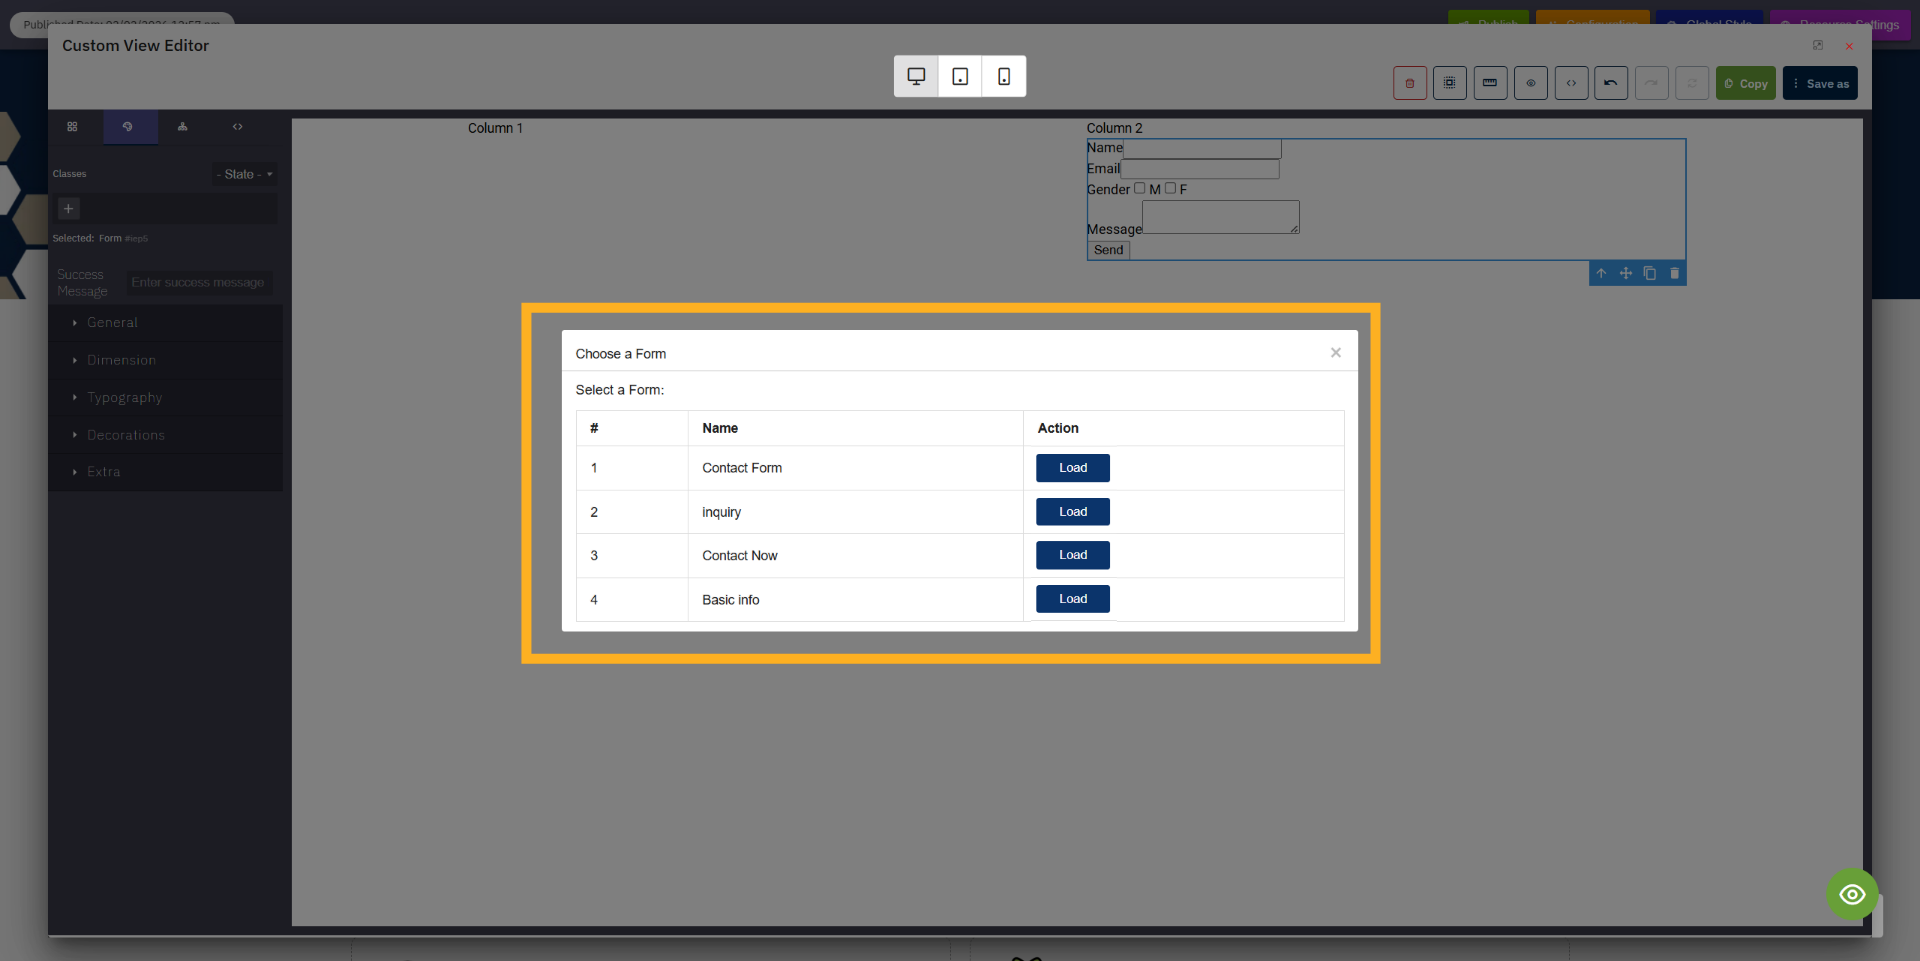
10. Form list
A Forms List modal will appear in front of you. From this list, you can load any form you need. For example, if
you want to use the “Basic Info” form, click the Load button to add it.
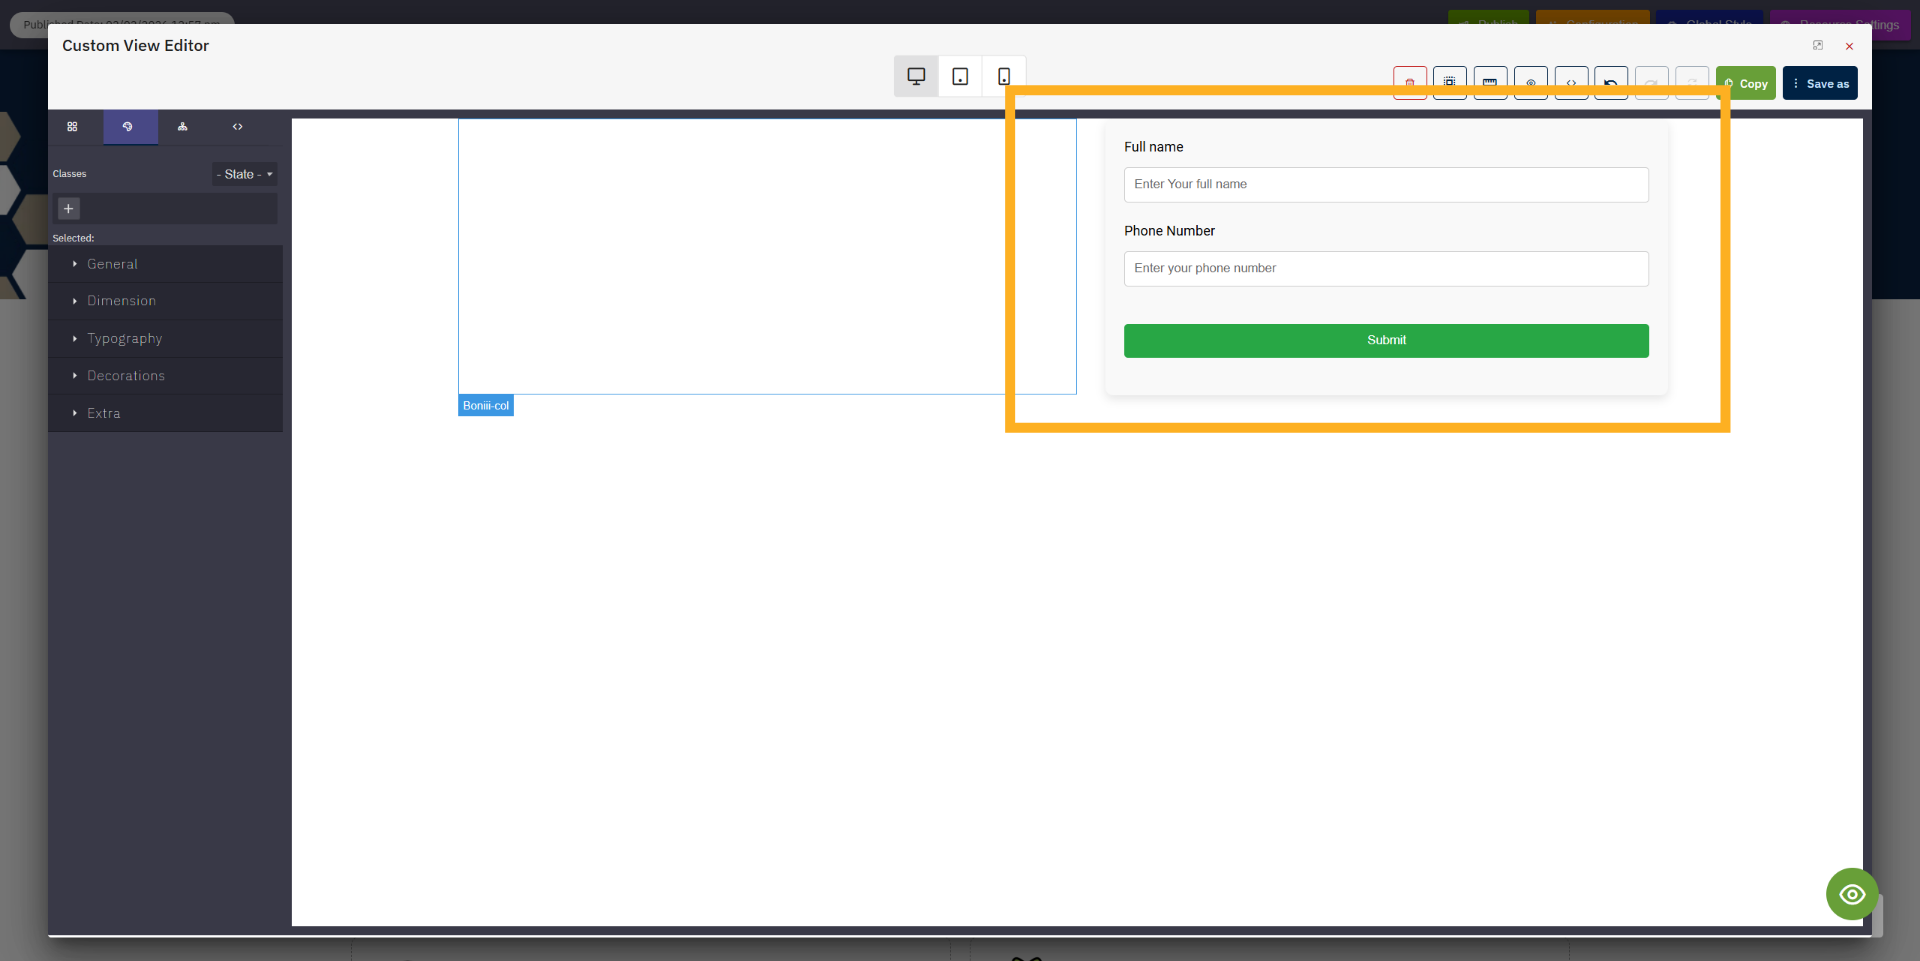
11. Placed Form
As you can see, the “Basic Info” form you loaded has been placed properly in the column. Now we will add an
image in the left column.
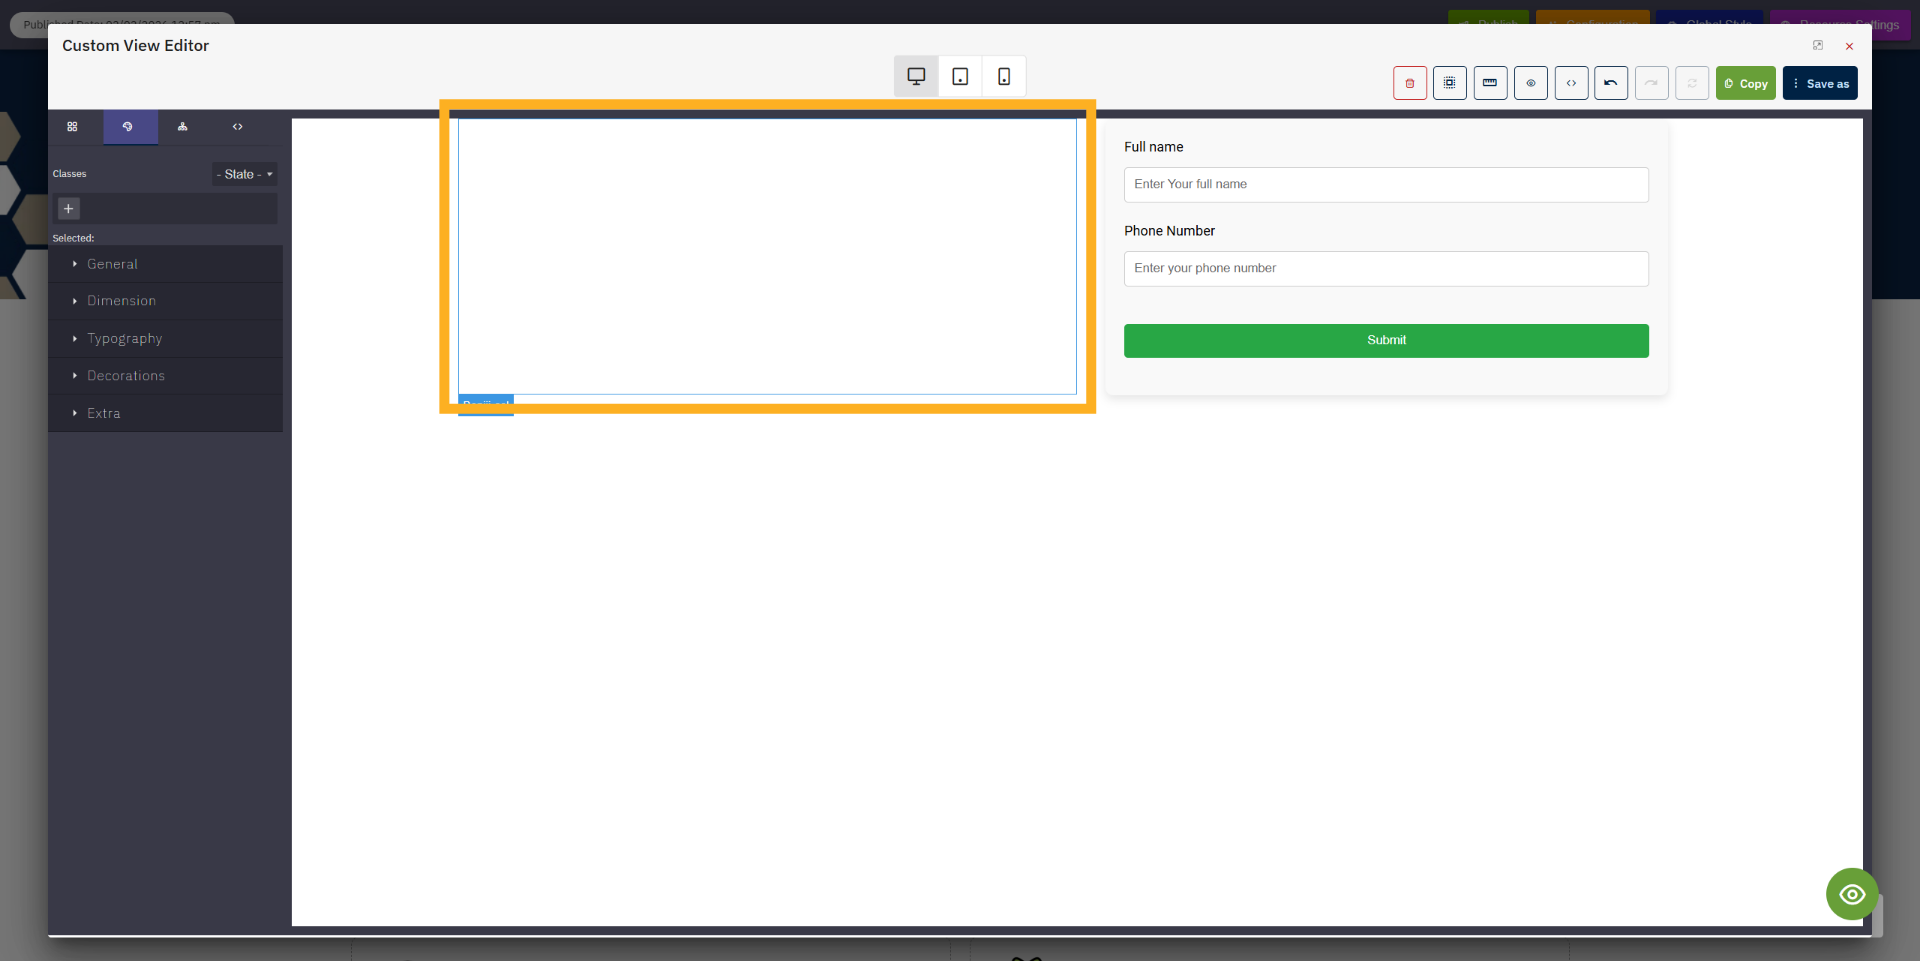
12. select column element
Select the left column element.
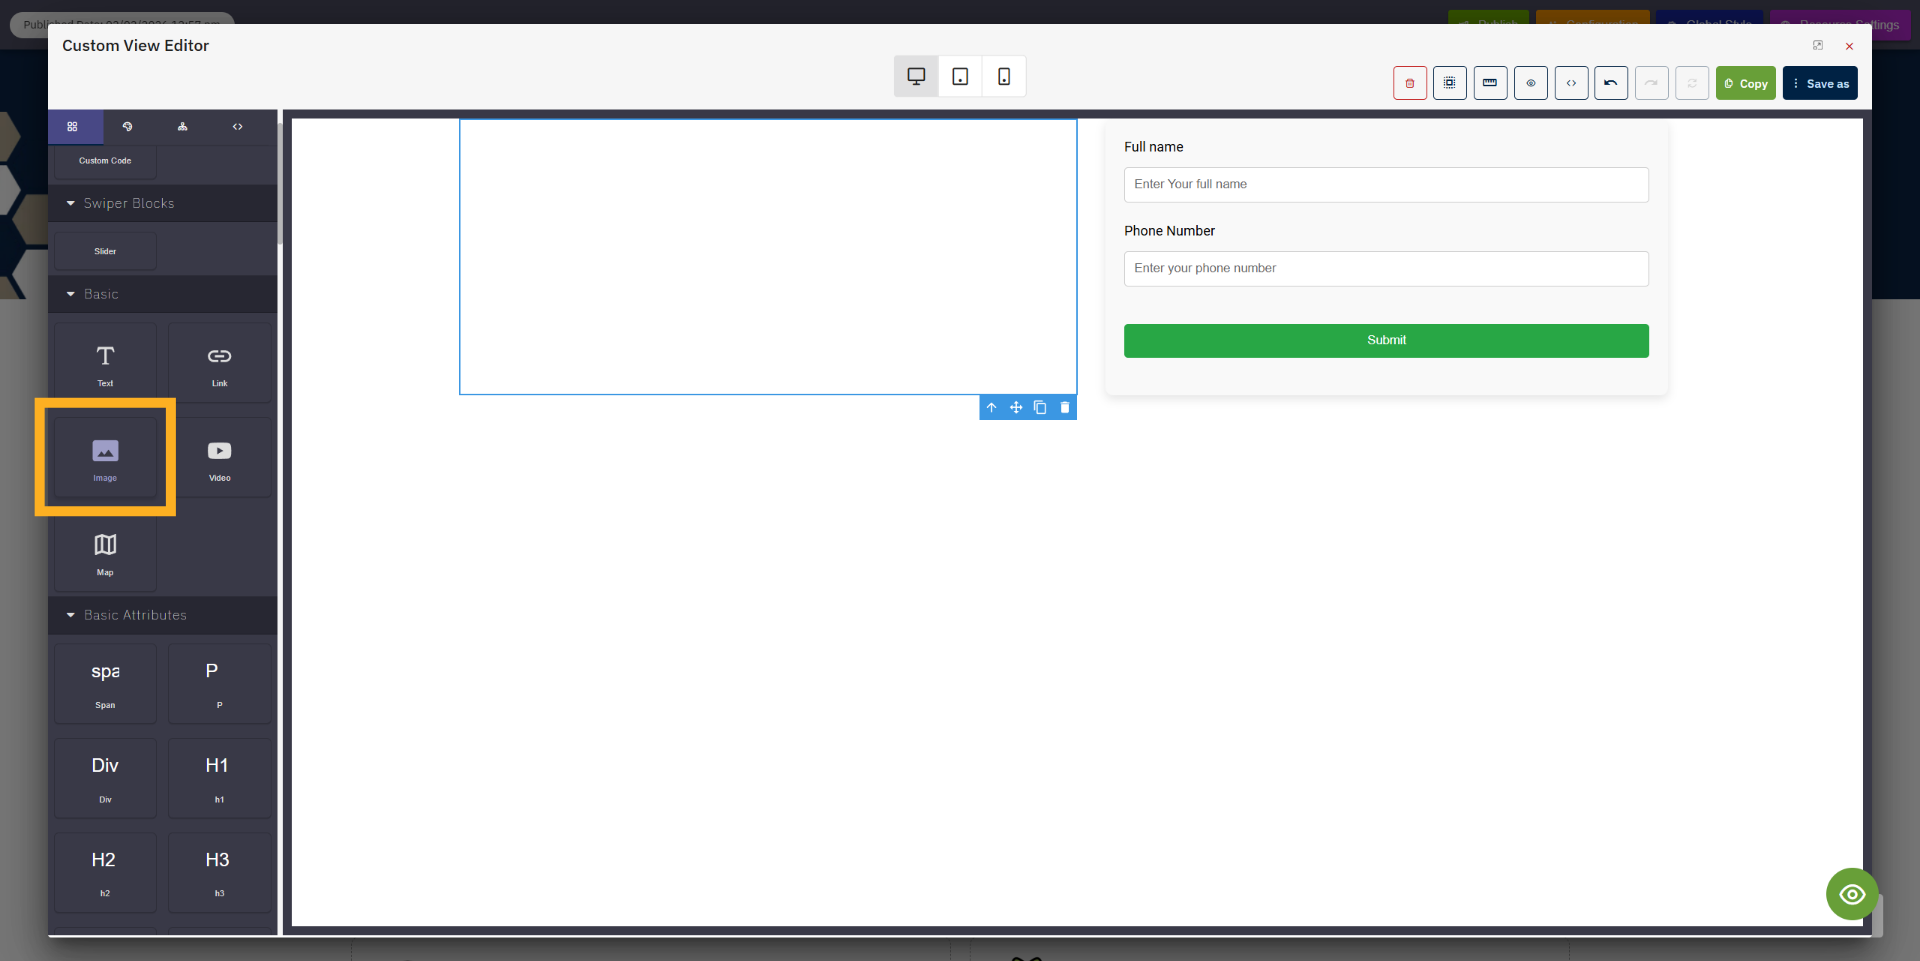
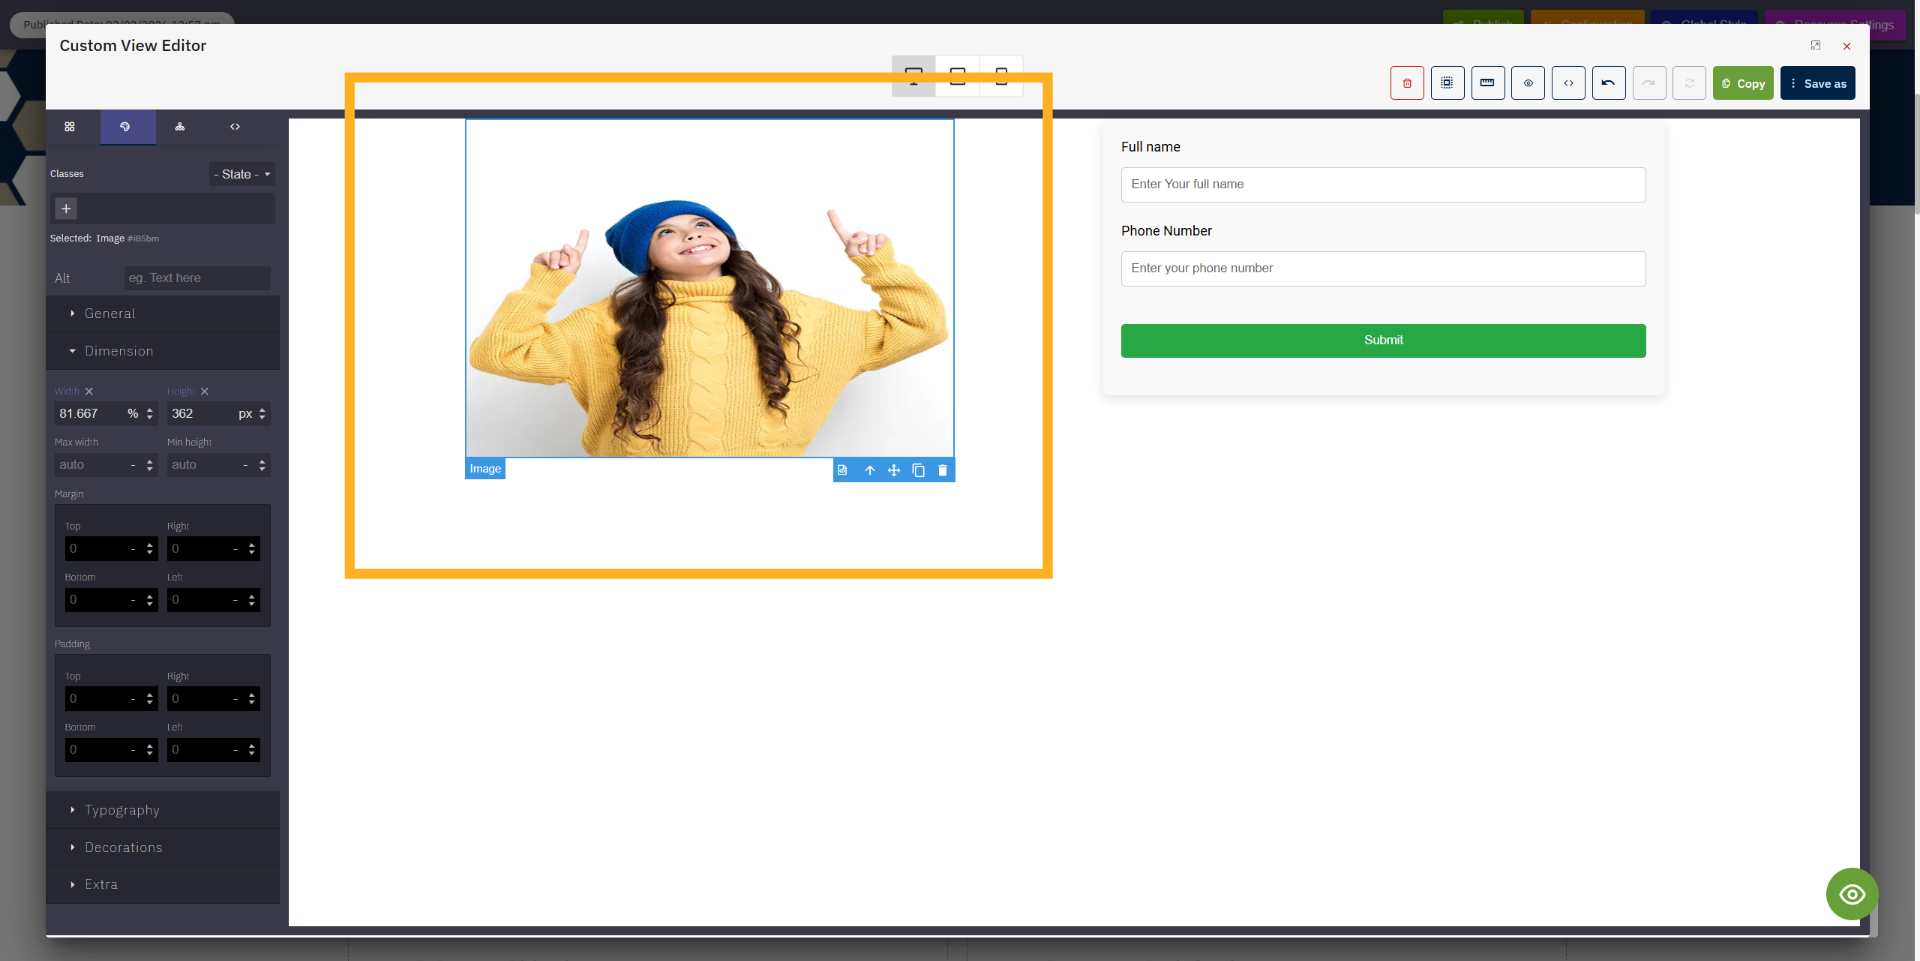
13. Add Image Element
Now drag the Image element and place it inside the column. Once it is placed, the Assets Manager will open,
where you can select the image you want to use.
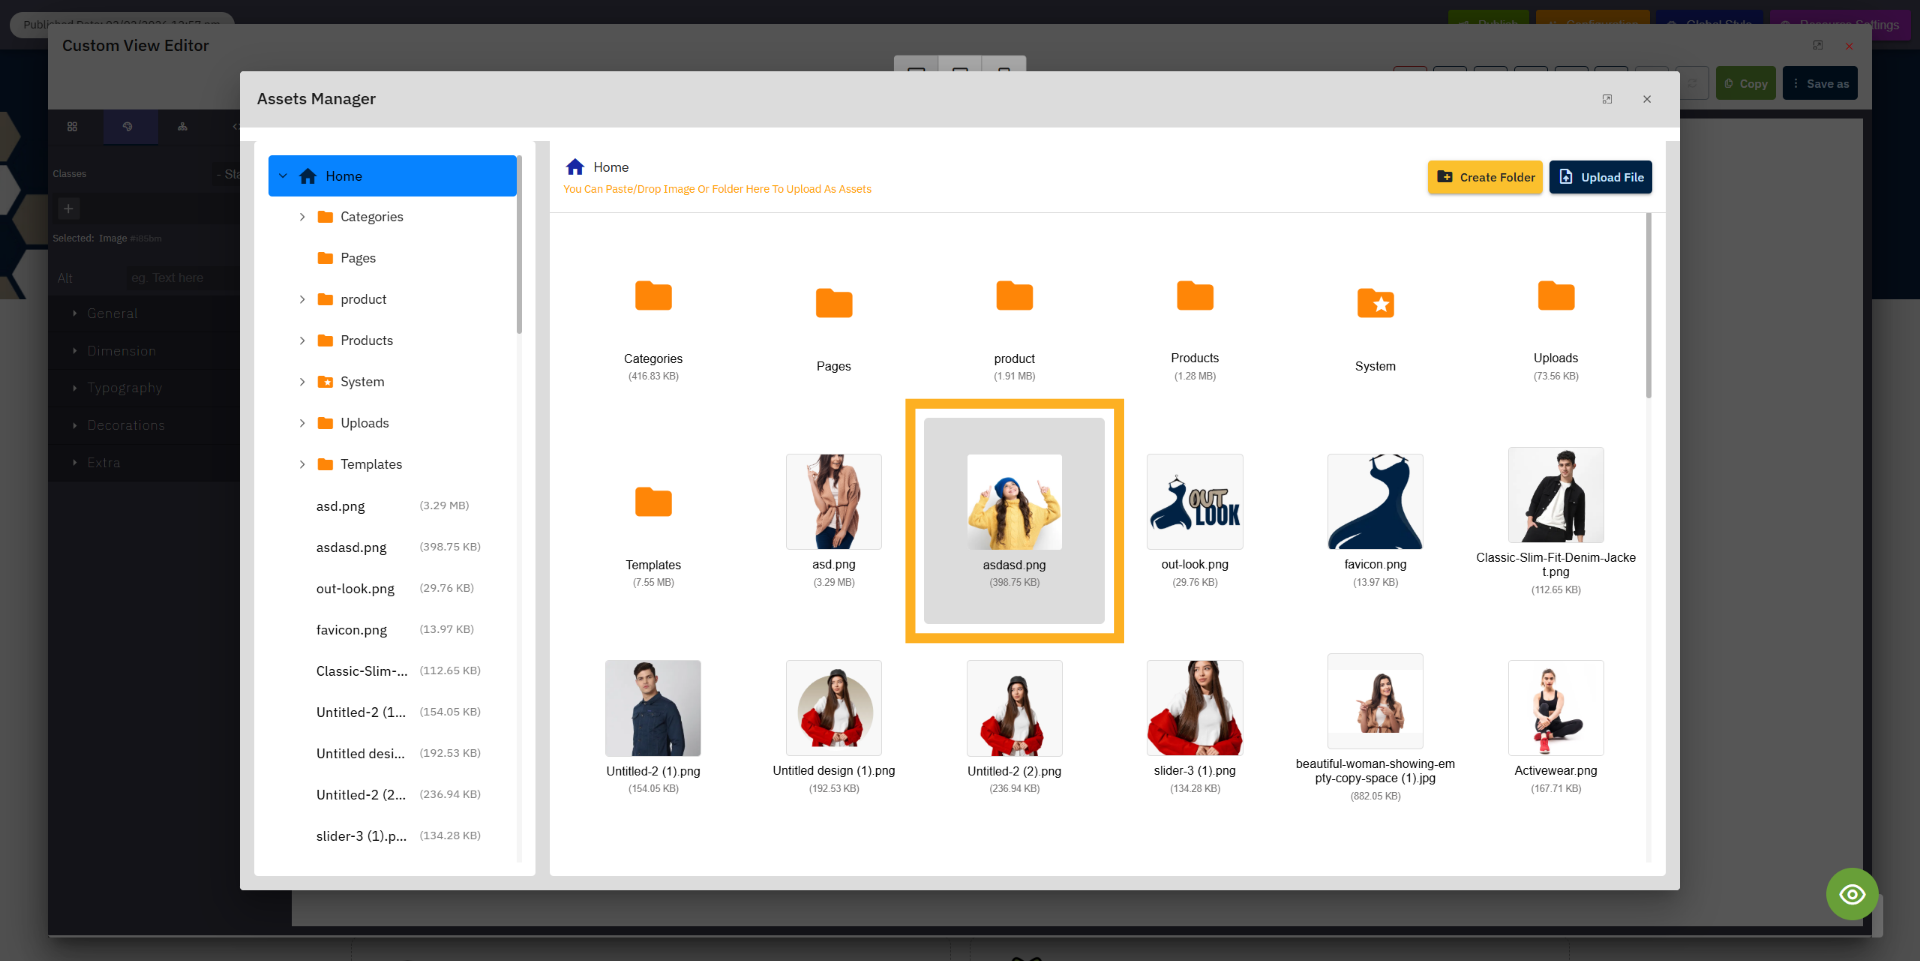
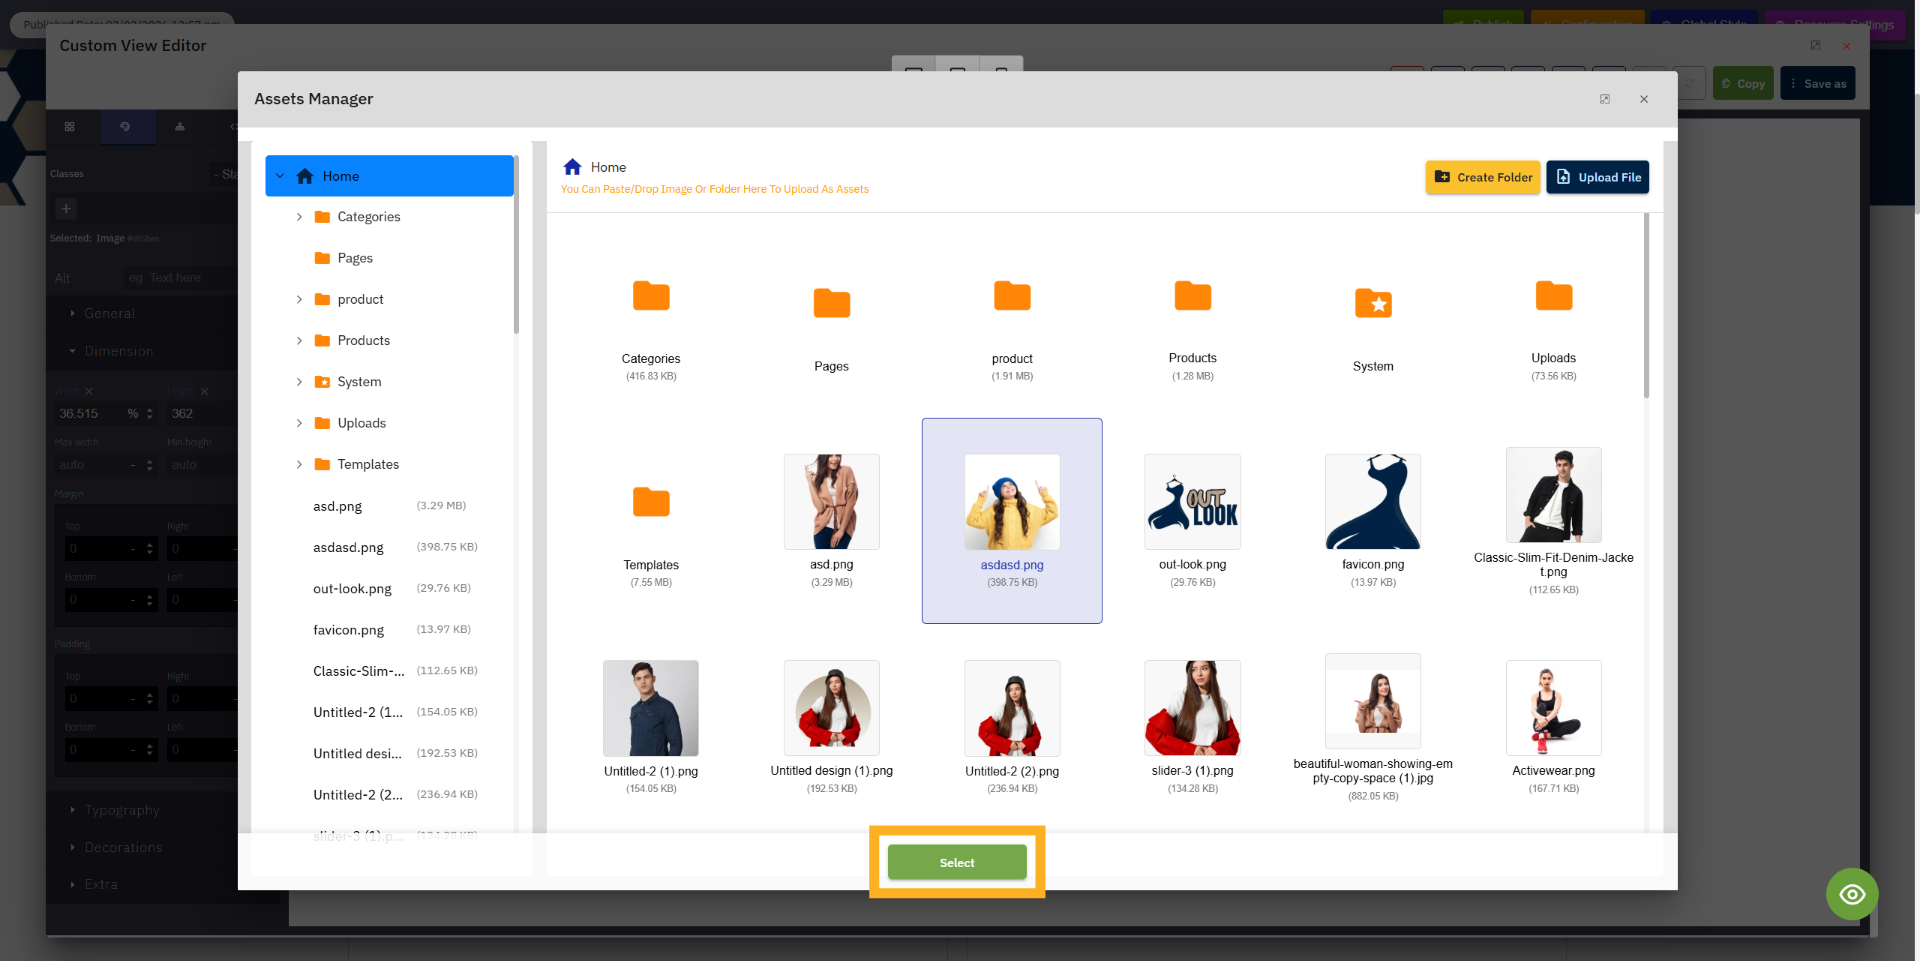
14. Select First Image
Select an image file from your library to add to the image element.
15. Confirm Image Selection
Click "Select" to confirm the chosen image file.
16. Image
As you can see, the image has been successfully set in the column.
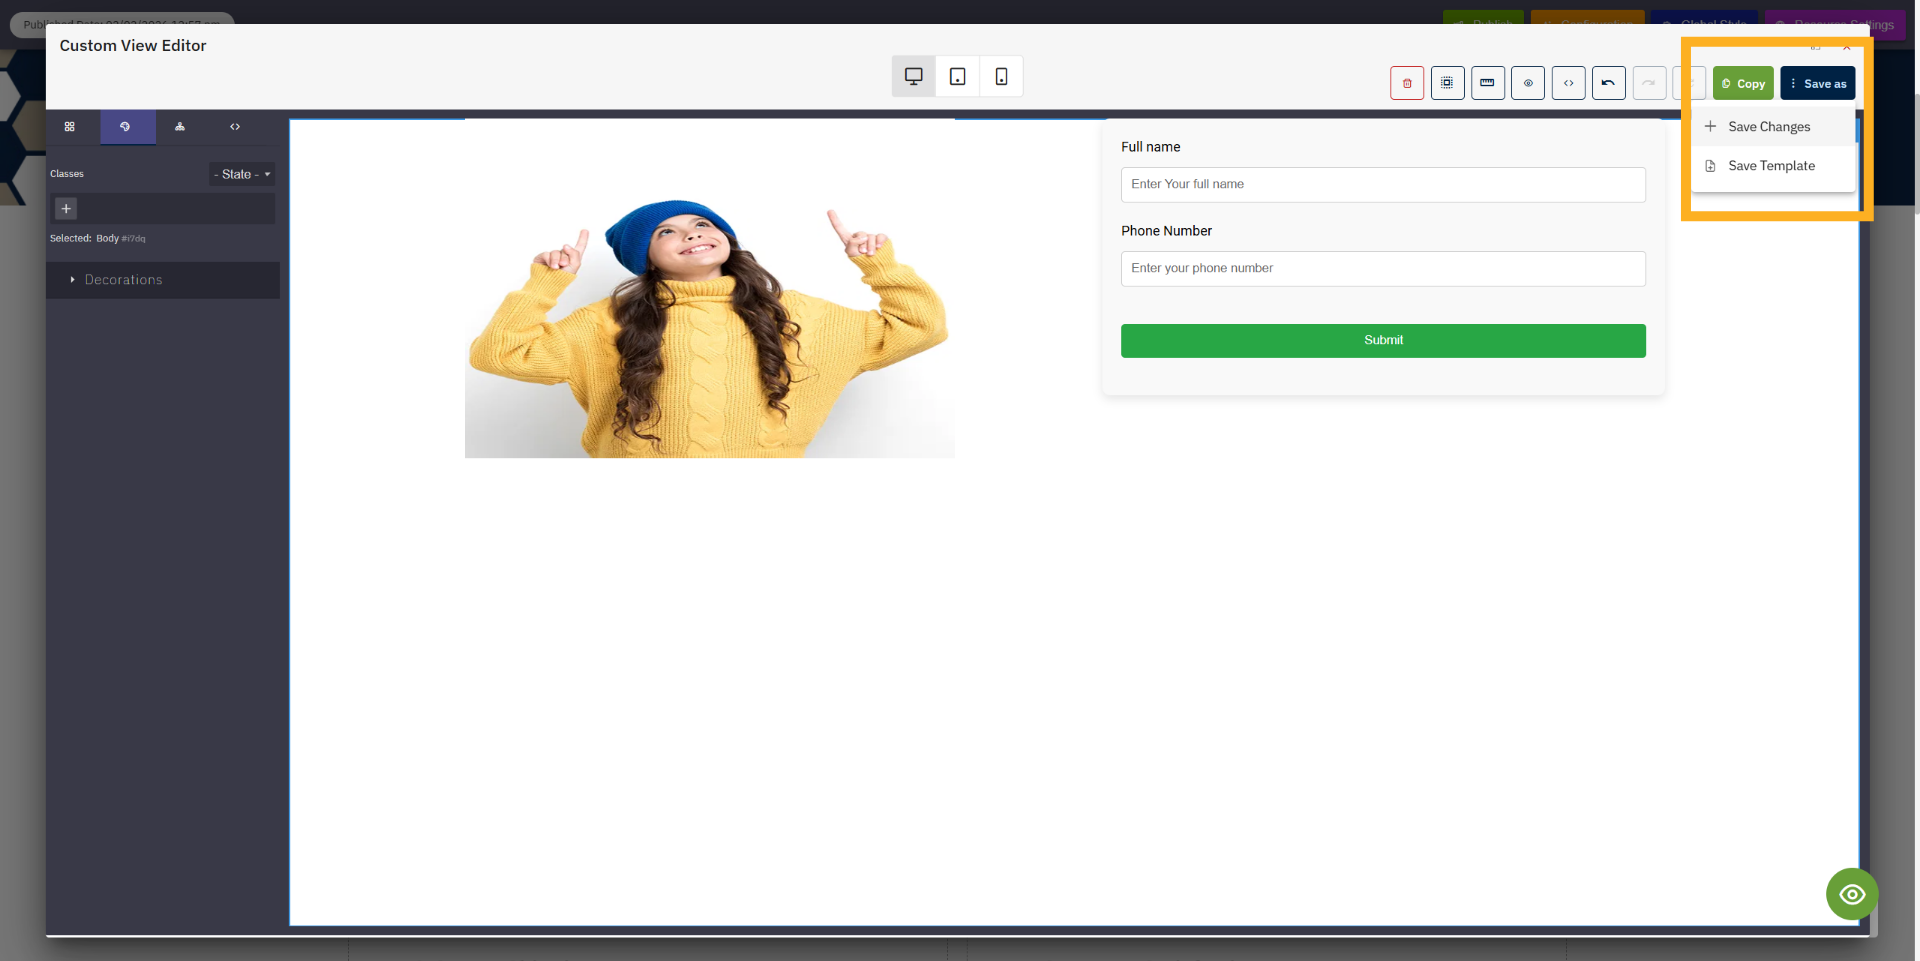
17. Save As
After editing or updating the template, you need to save the changes. Click the “Save As” button on the top
right side to save the updated template.

18. Save Form Changes
When you click Save As, you will see two options: Save Changes and Save Template.
Save Changes: This will save the template only in the current page where you opened it for editing.
Save Template: This will update the template itself, and the changes will also apply to all places where this
template is used.
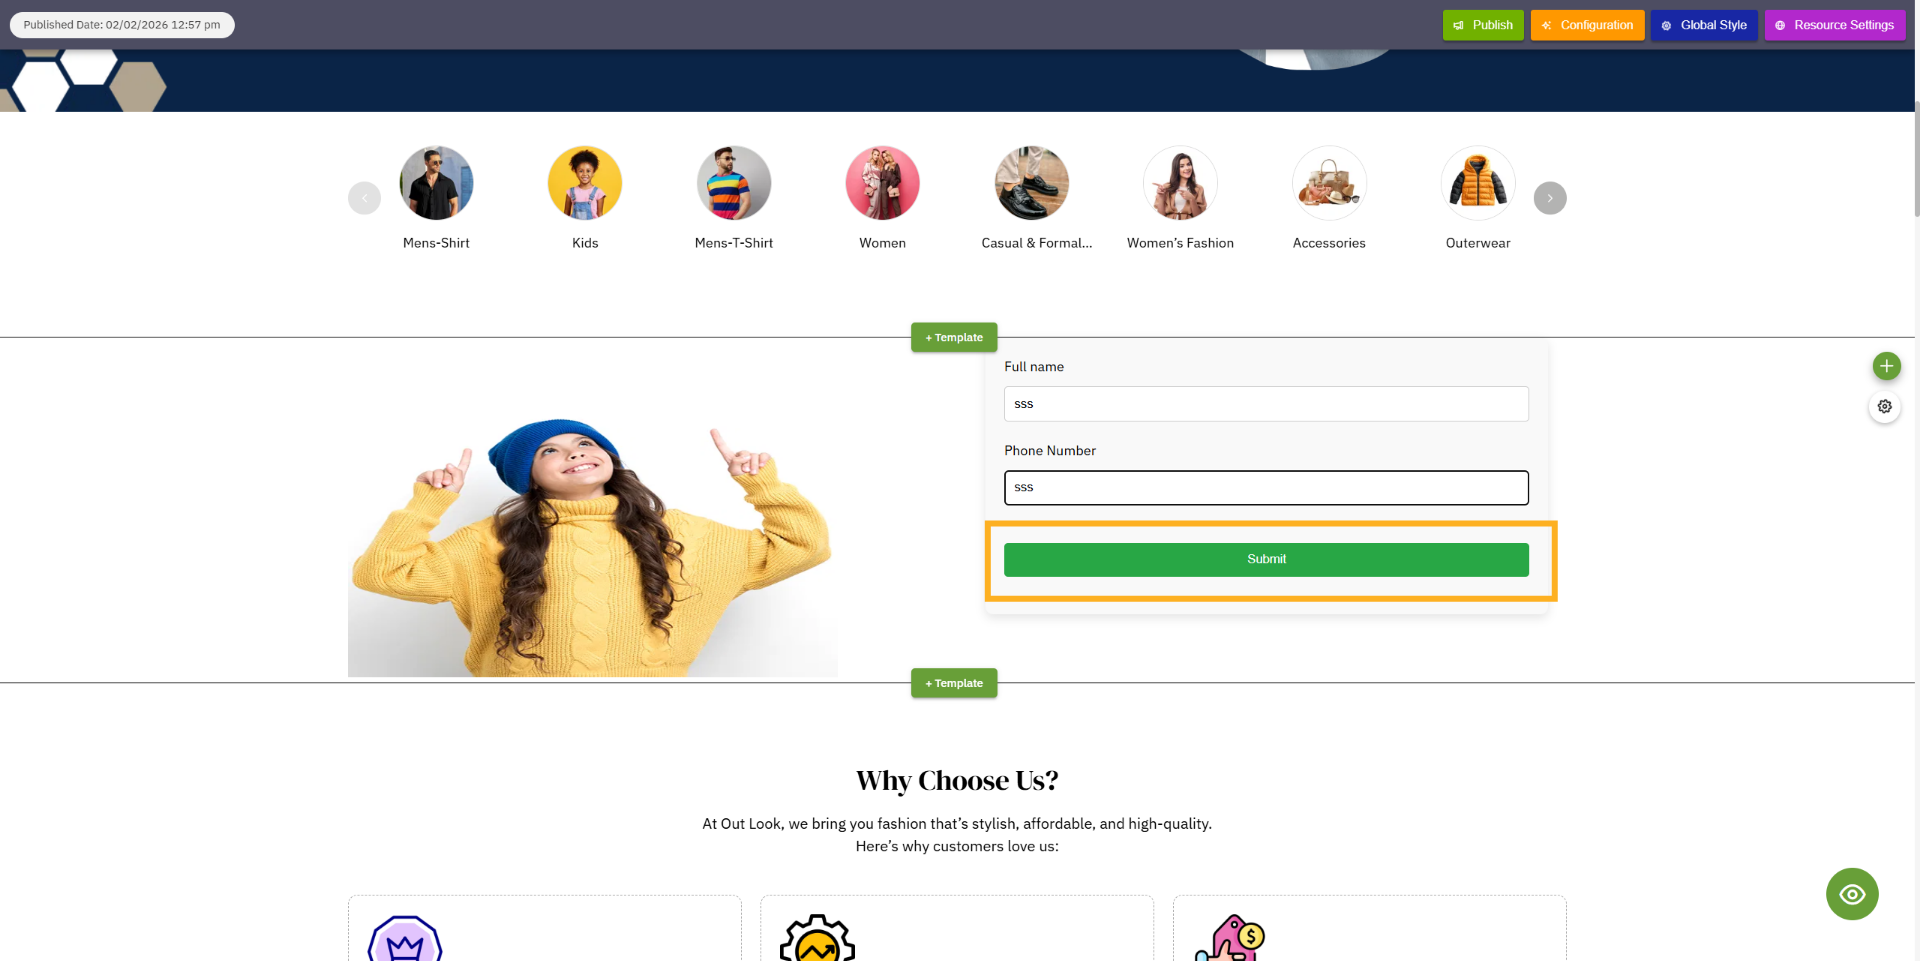
19. Select Full Name Field
Your form template is now successfully set on the website page and is displayed correctly.

20. Submit Form
Now fill in the fields in the form, such as Name and Phone Number, and click the Submit button. The data you
submit will be stored, and you can view the submitted data in the Admin Panel under the Forms page for that
specific form.
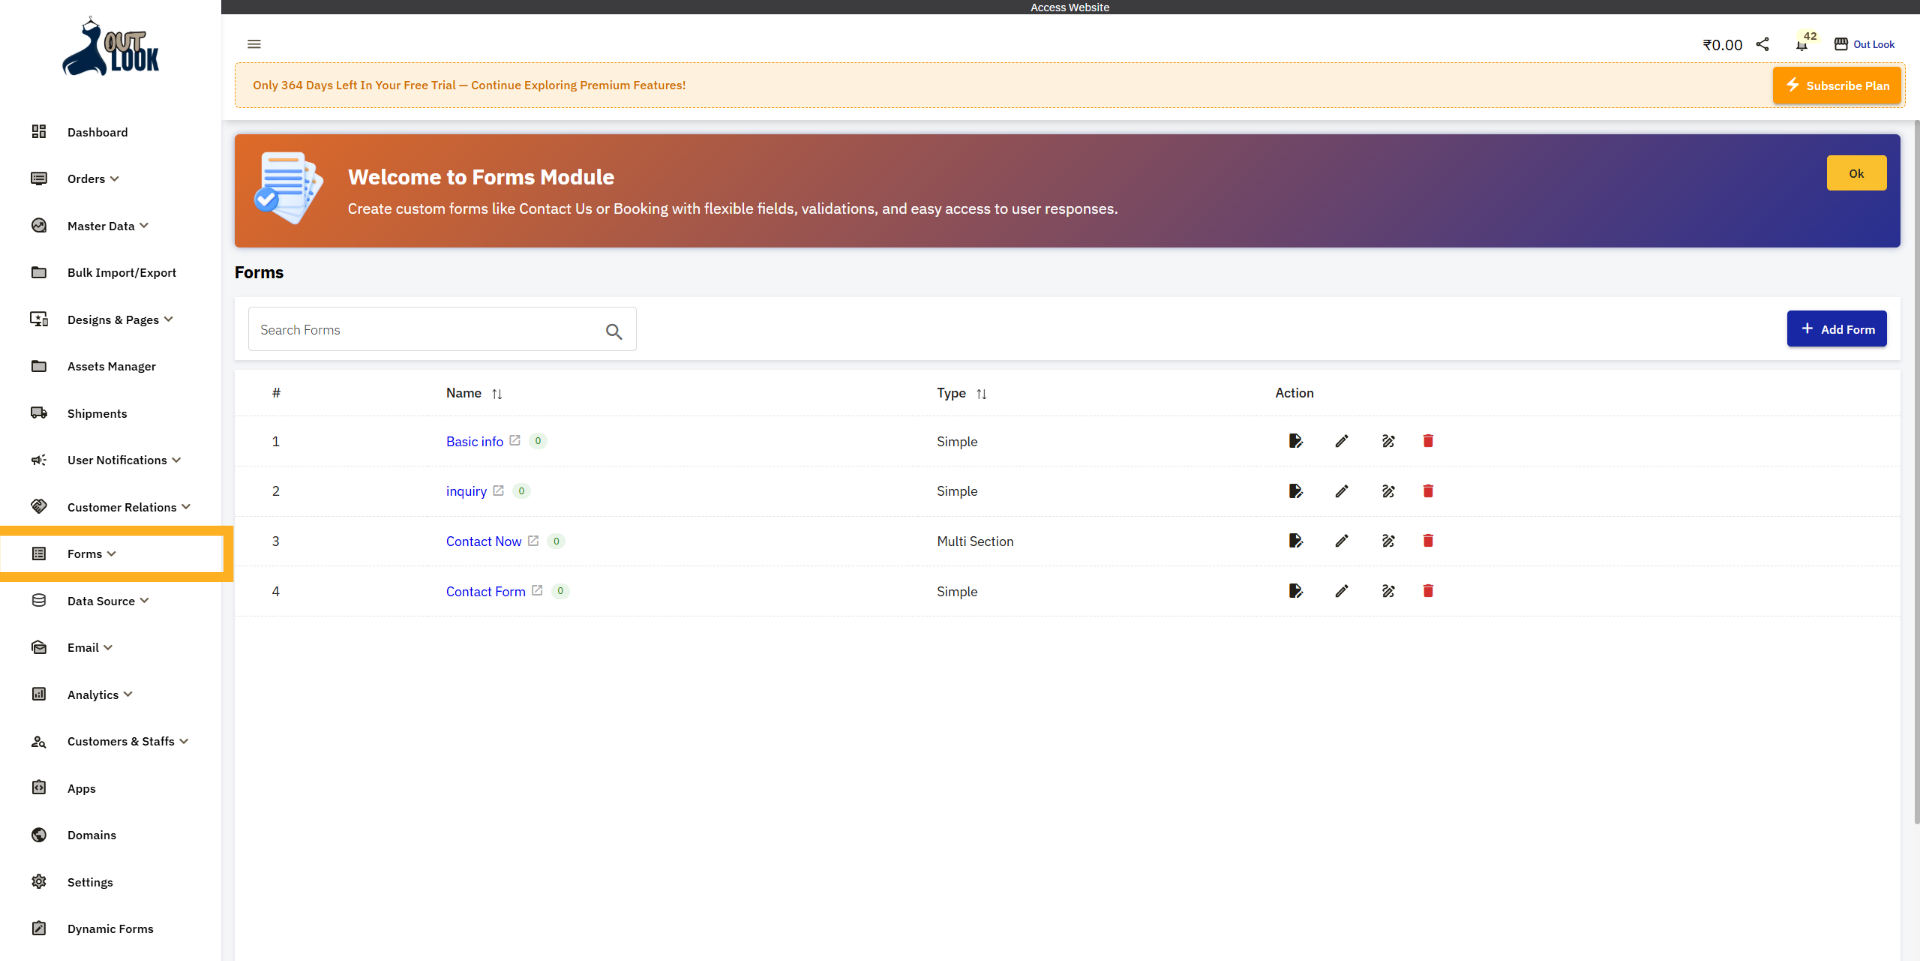
21. Open Forms
When you click on Forms, a dropdown will open below, where you will see the Forms List menu.
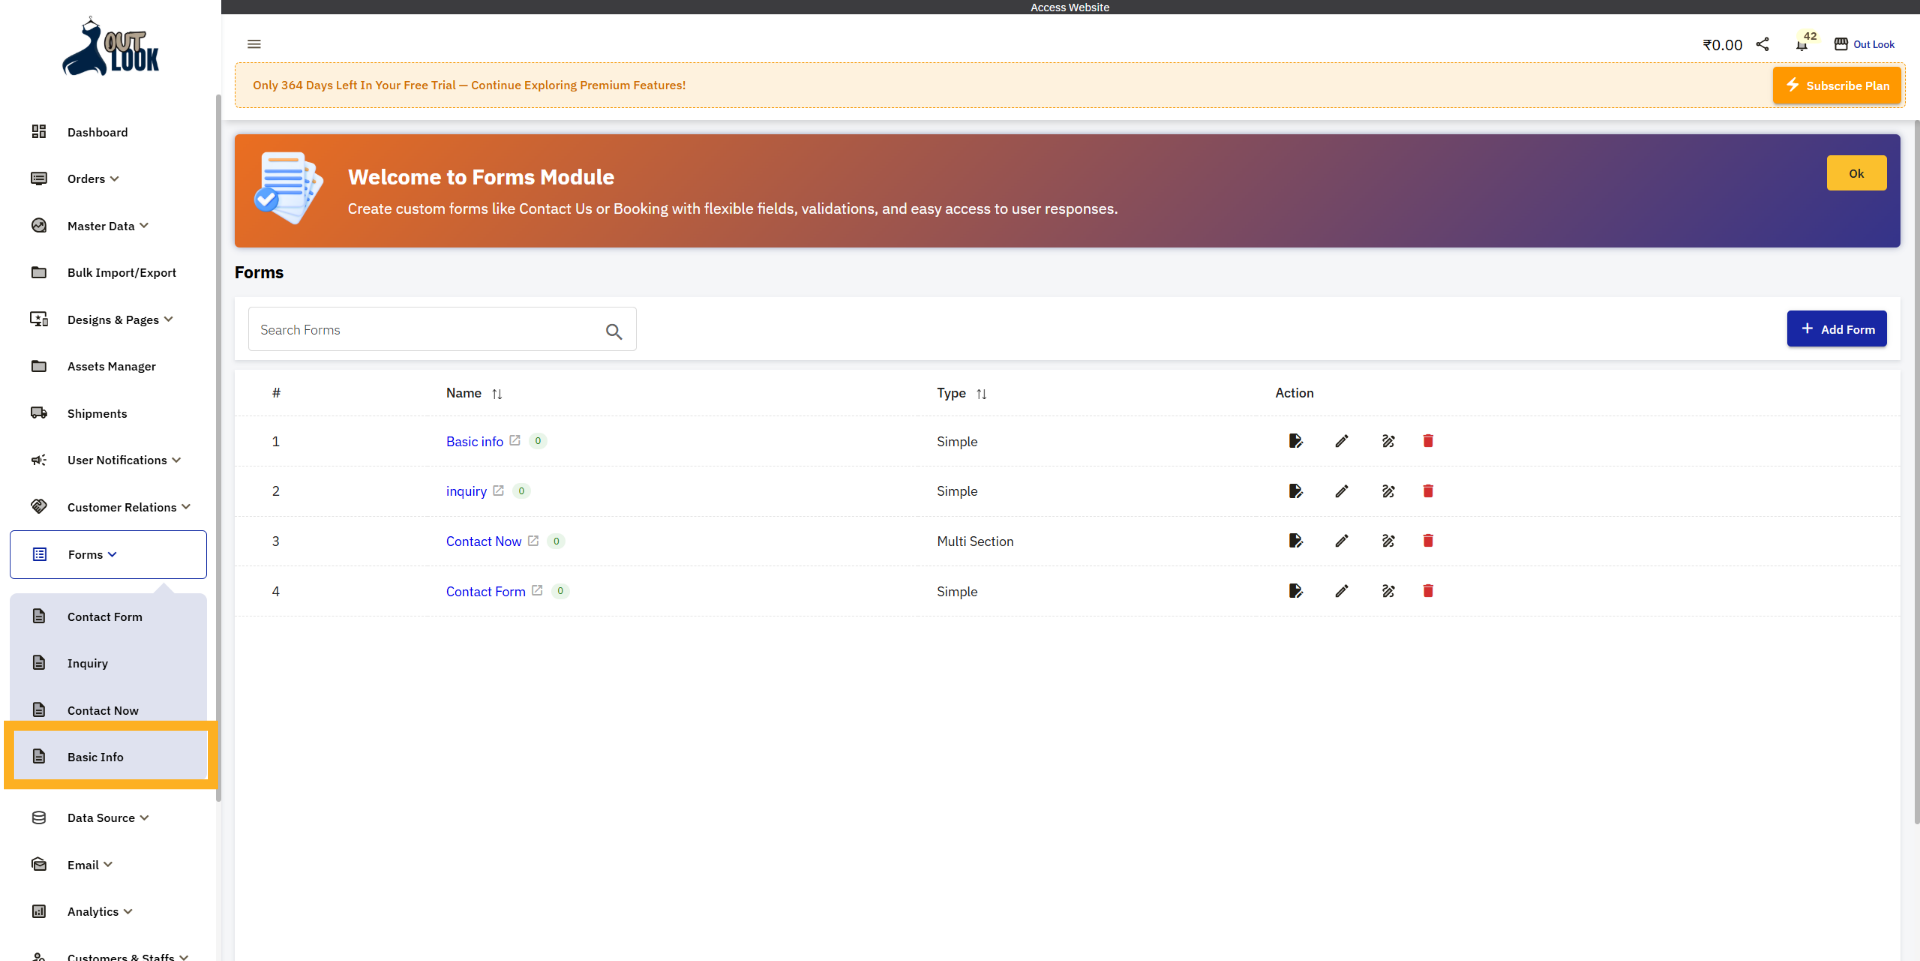
22. Access Basic Info
Click on “Basic Info” to view the submitted data for that form.
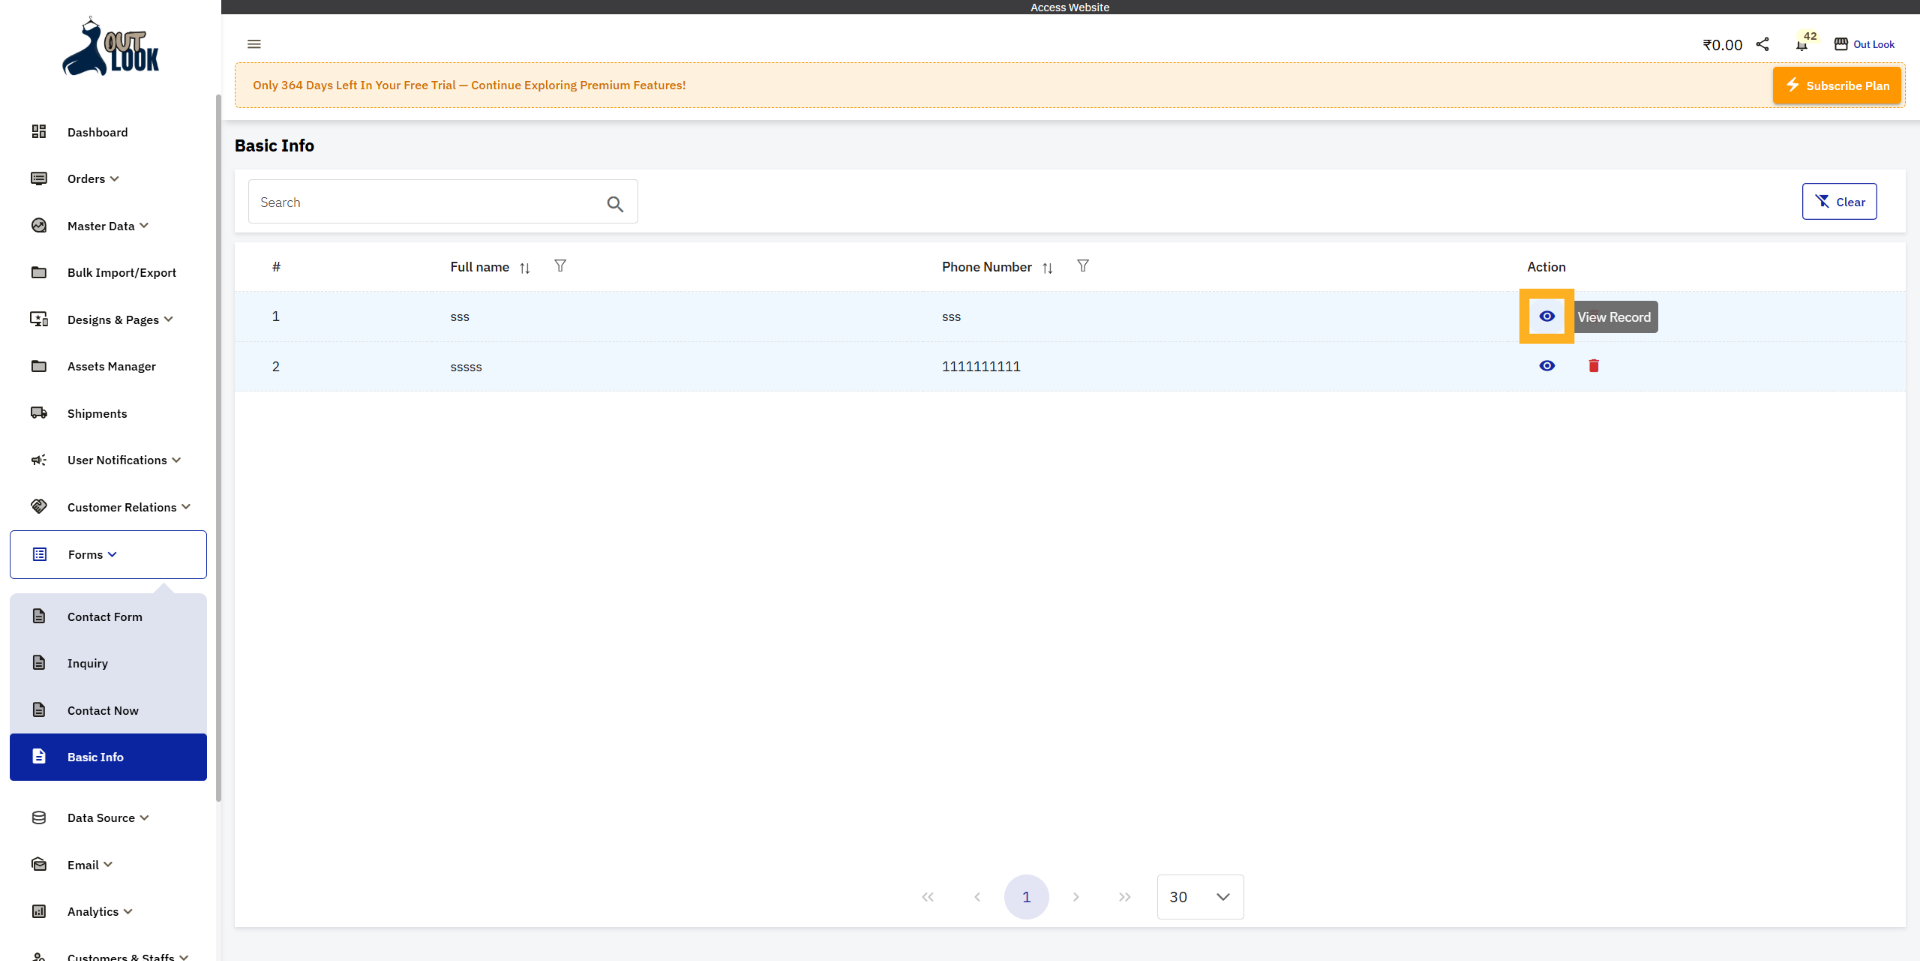
23. Forms data page
On the Basic Info Forms page, you can see the list of submitted form data. For each entry in the list, the
Action column provides View Data and Delete .

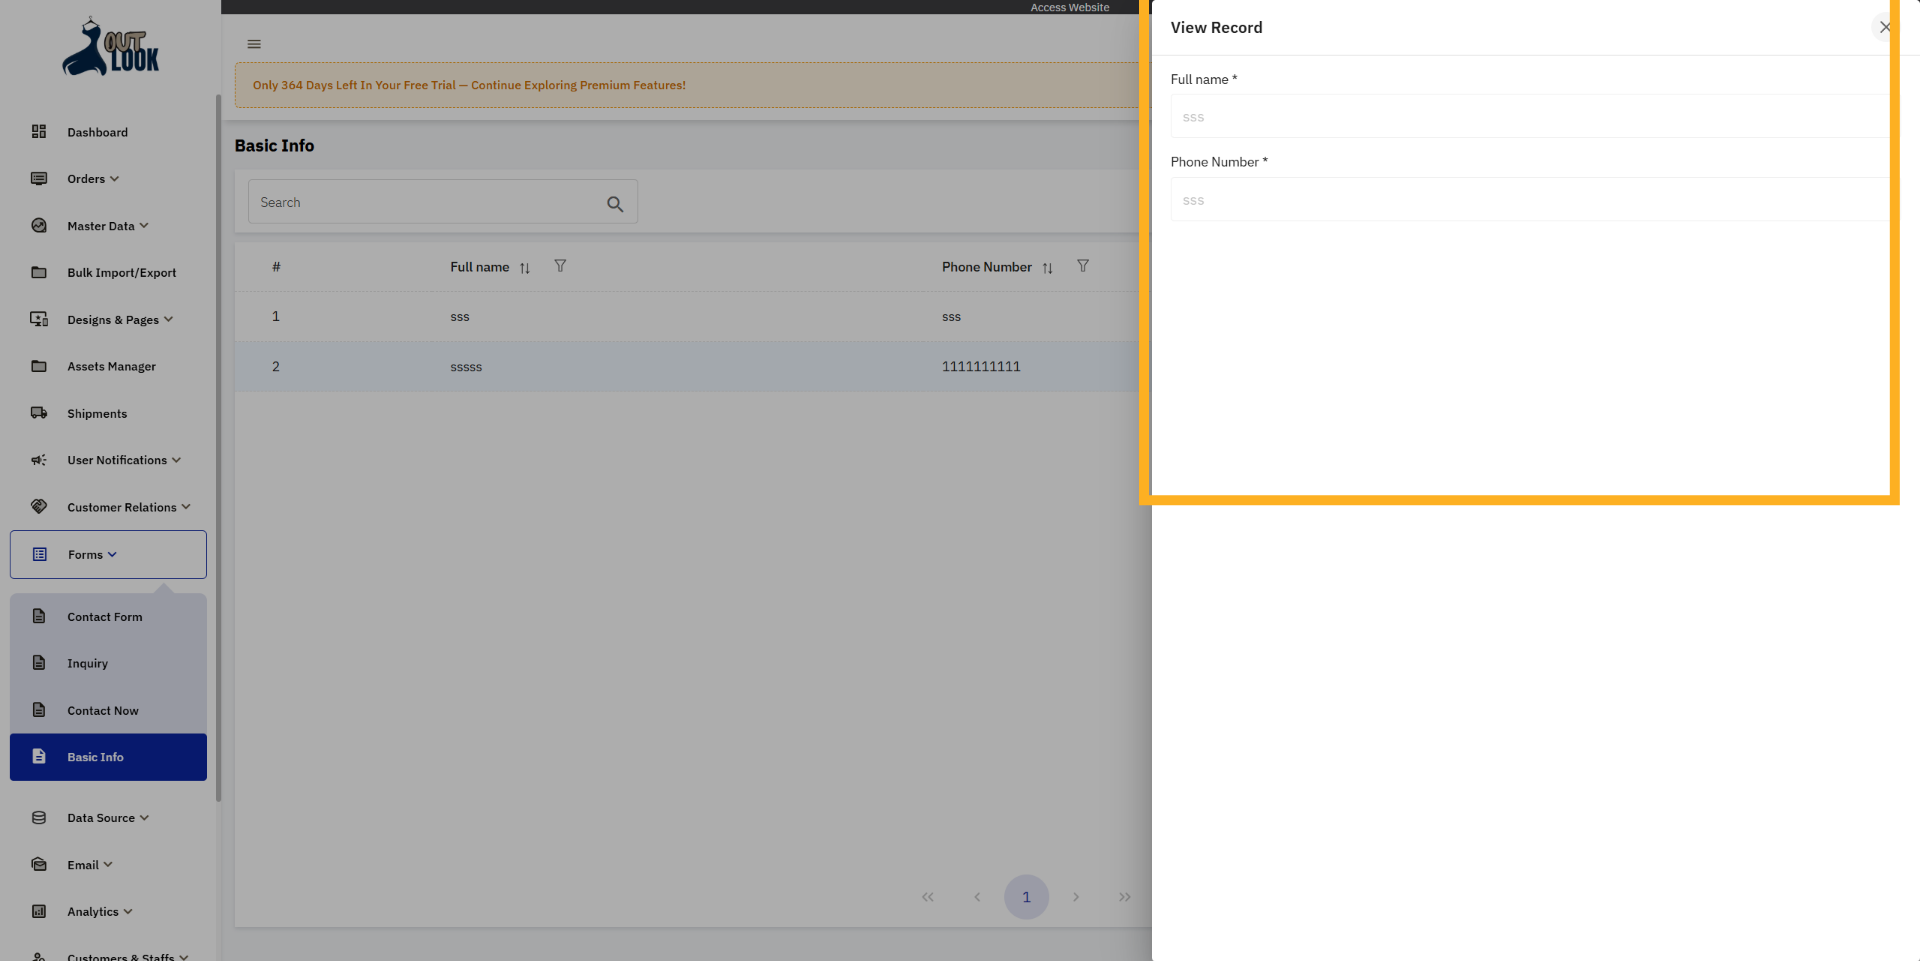
24. View Forms Record
Clicking the View Record button will open the View Record window, where you can see the full details of the
submitted form entry.
25. Access View Record
As you can see, the View Record modal displays the submitted data from the form.
You have successfully configured CMS forms by adding templates, customizing layouts, and managing form
submissions. Next, explore advanced form settings or integrate forms with other page elements for enhanced
functionality.
Uploading...