11 - How To Use Template Library
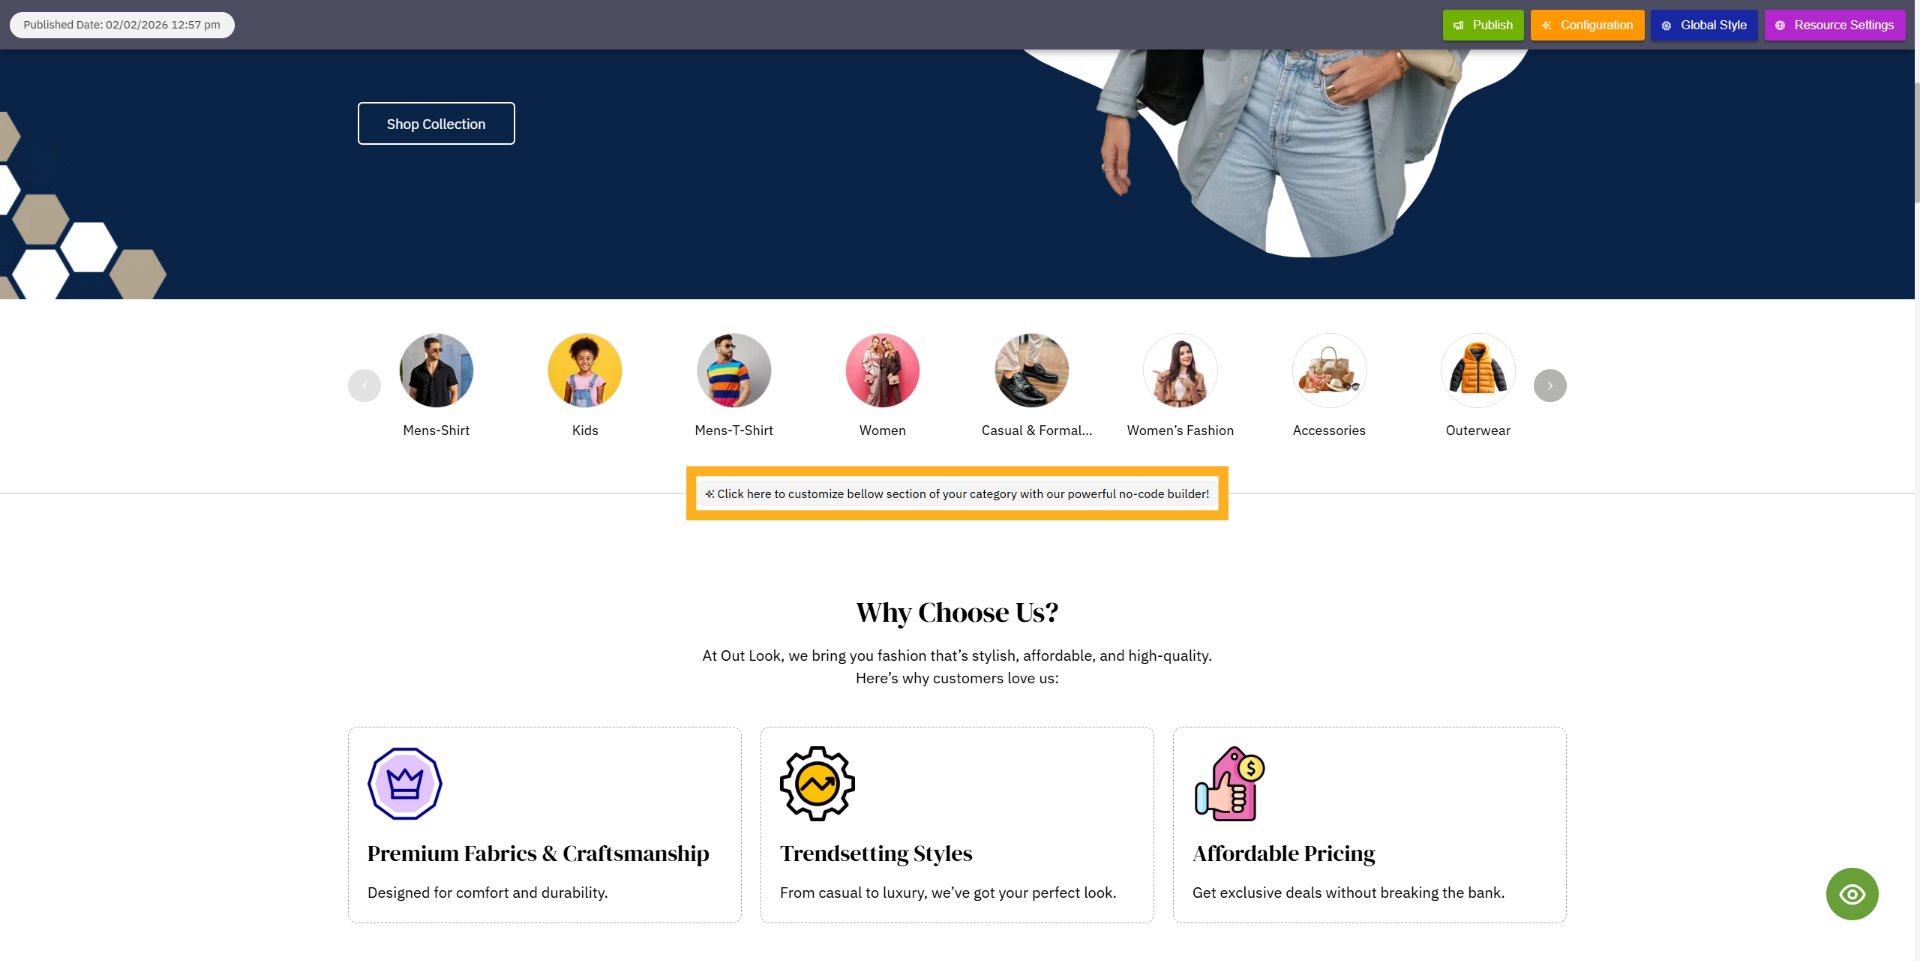
1. Click Customize Section Prompt
When you click on the Placement Area, the Template Library opens, where all your saved template designs
are available. From here, you can quickly select and apply any existing template to your section. If you
want to create a new design, you can click on Create New Template to open the editor and build your own
custom template. This allows you to manage, reuse, and update your templates easily whenever needed.
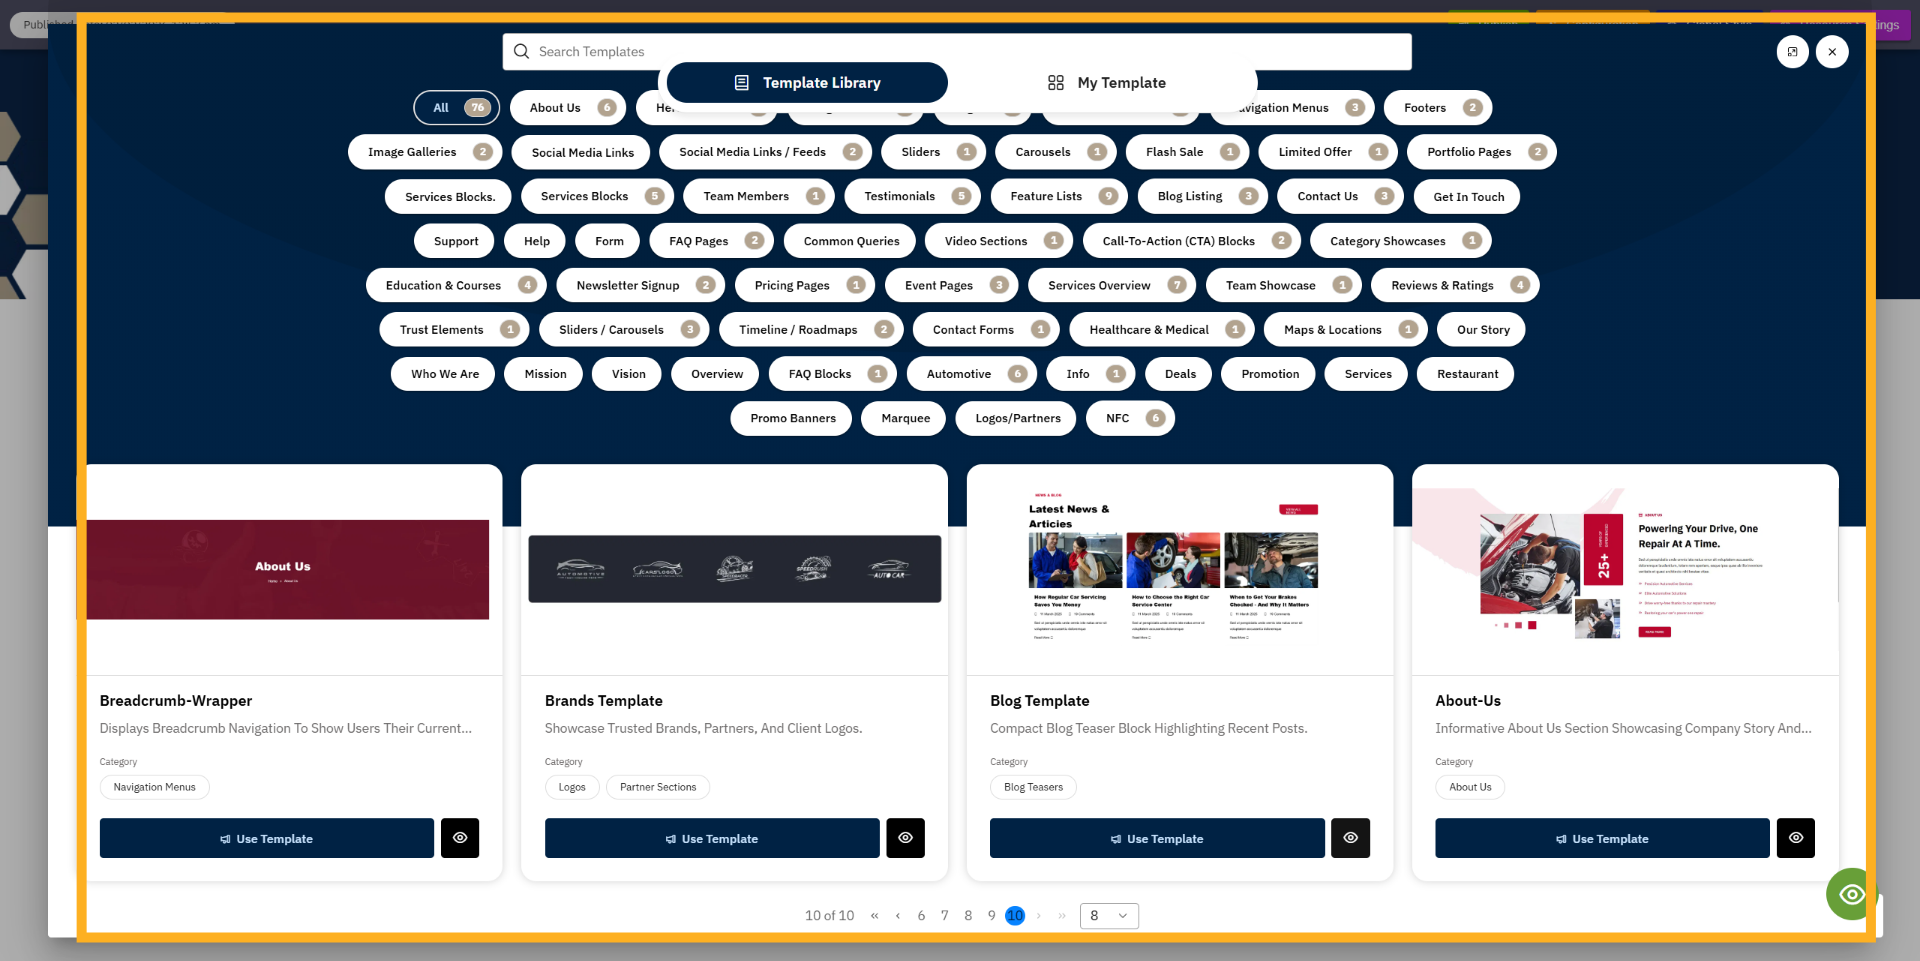
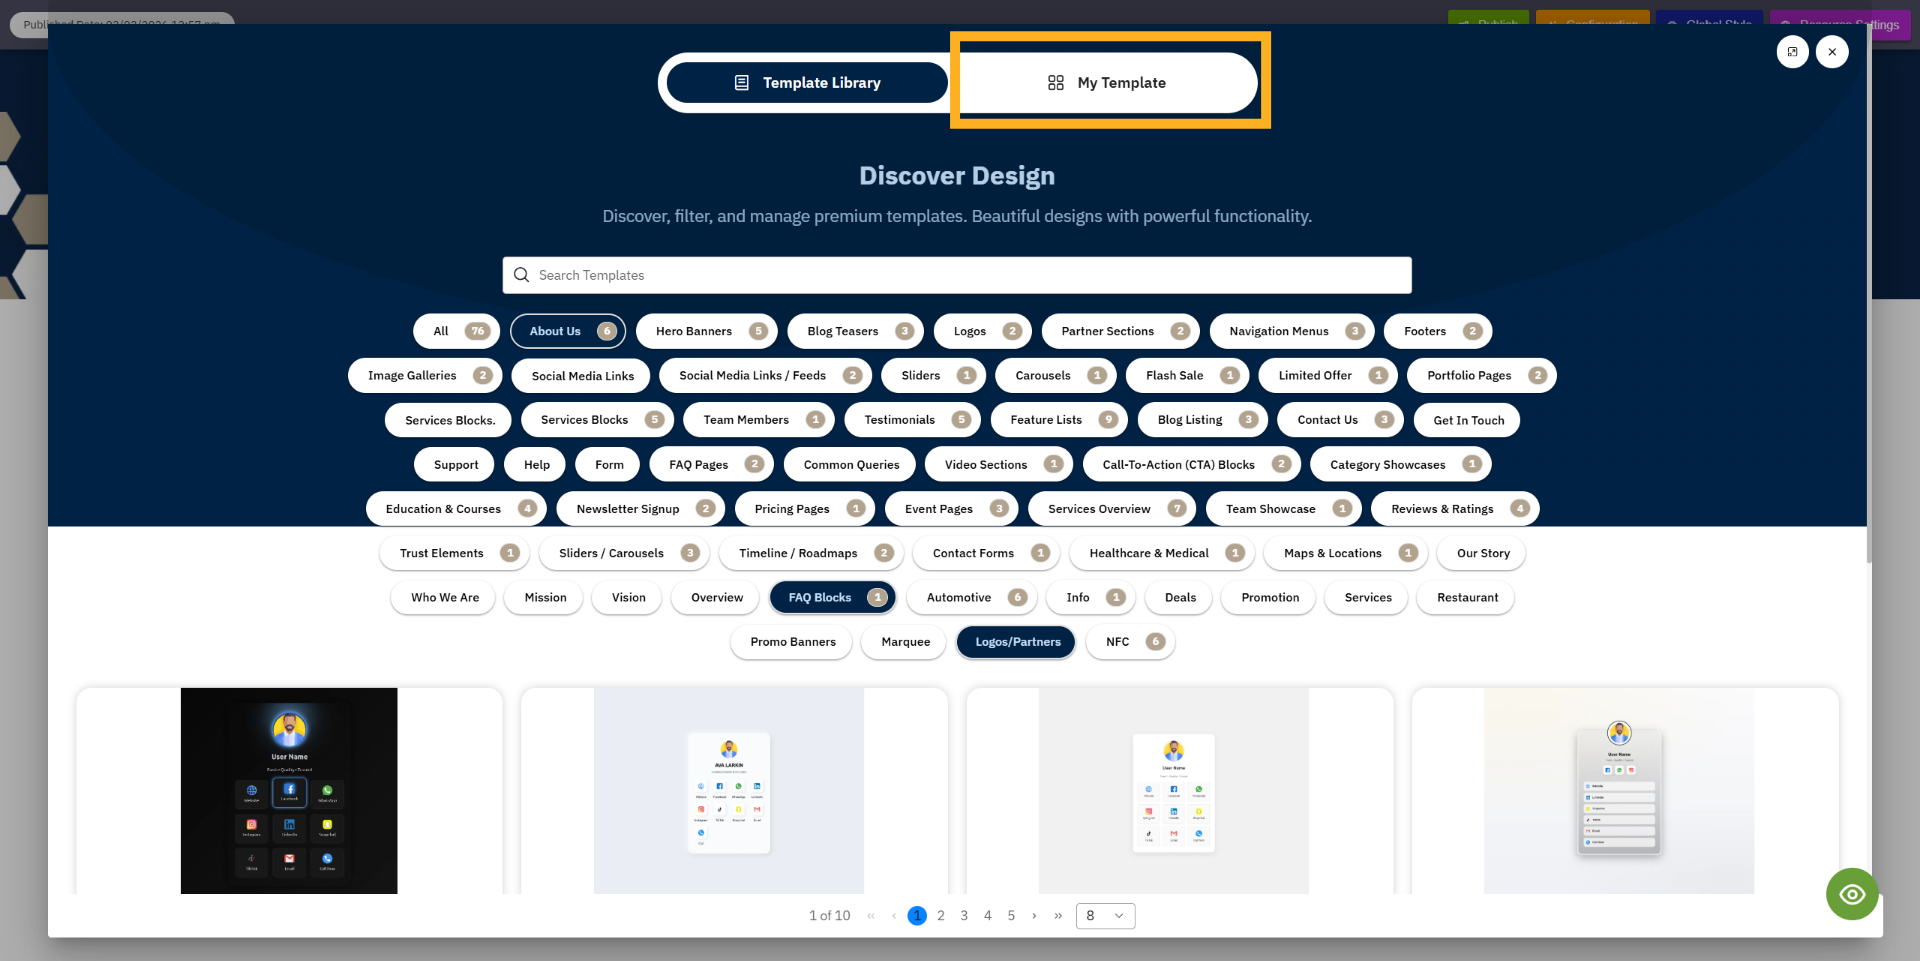
2. Template Library
This is the Template Library, where you will find different types of design templates organized by
category. In the My Library section, you can see all the templates that you have used on your site or
created yourself.
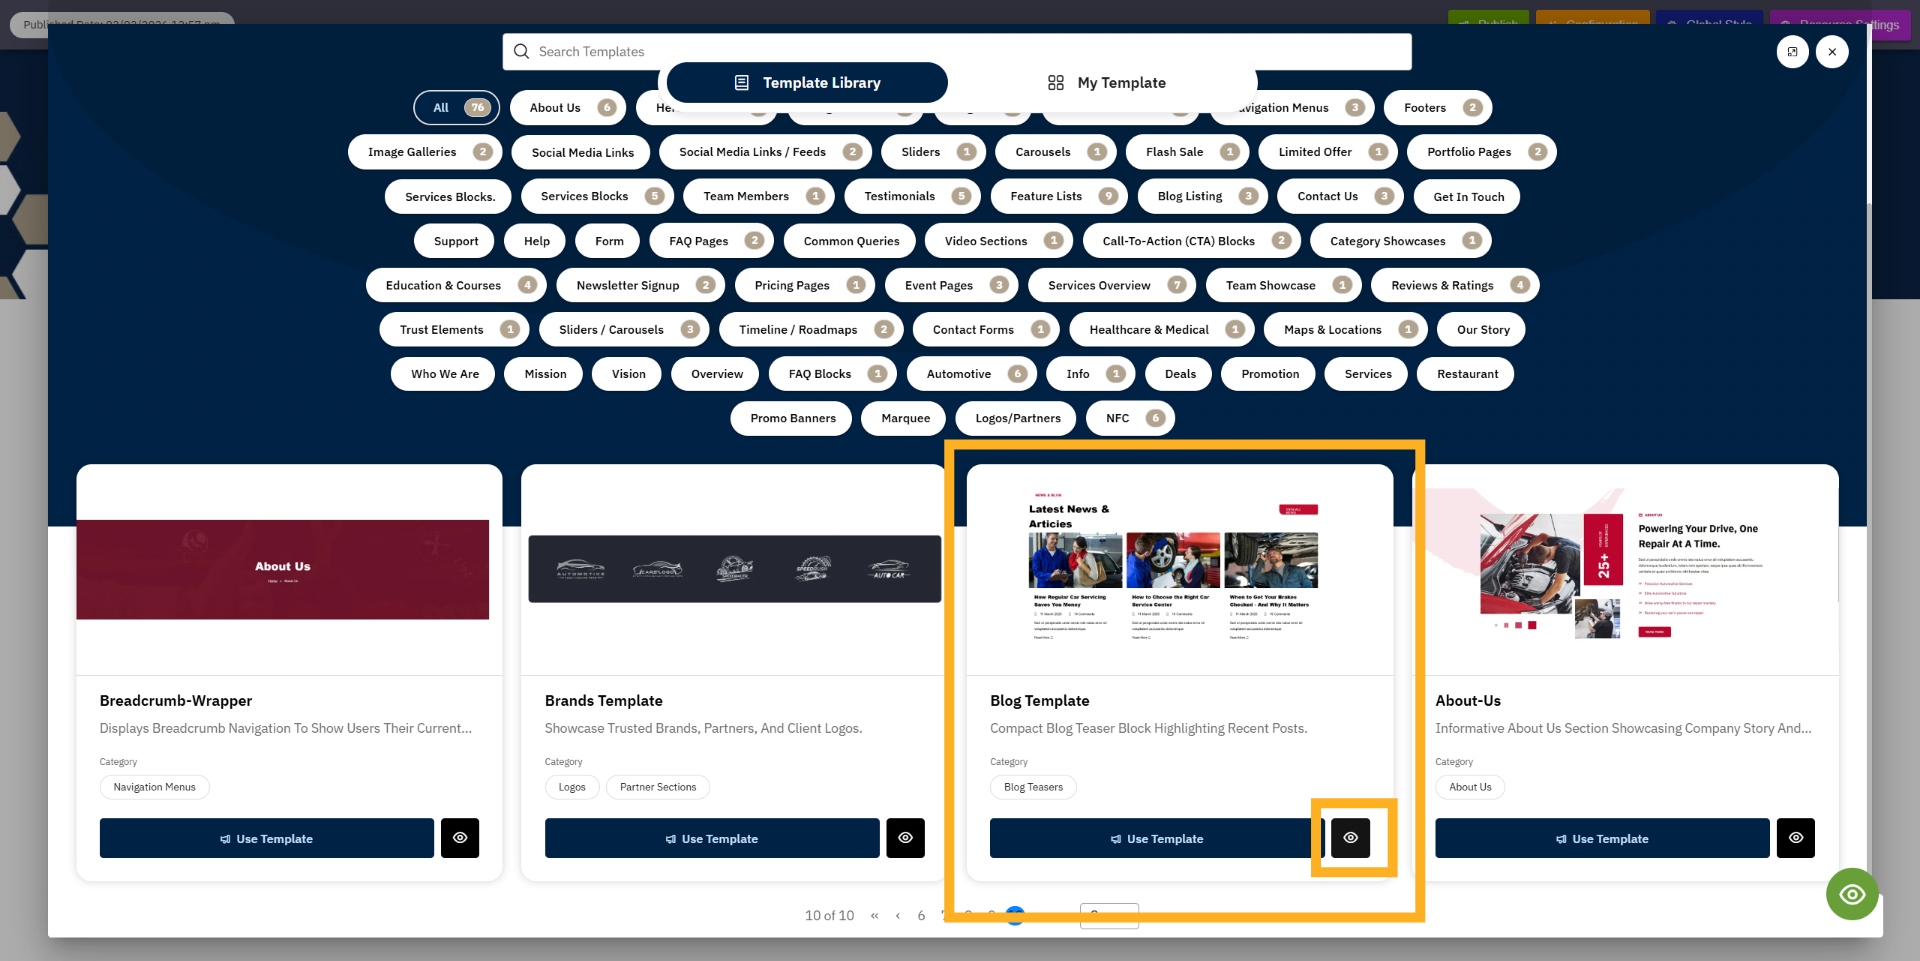
3. View template design
This is a design template that you can use directly on your website. If you want to preview it, you can
click the View button to see how the template looks.
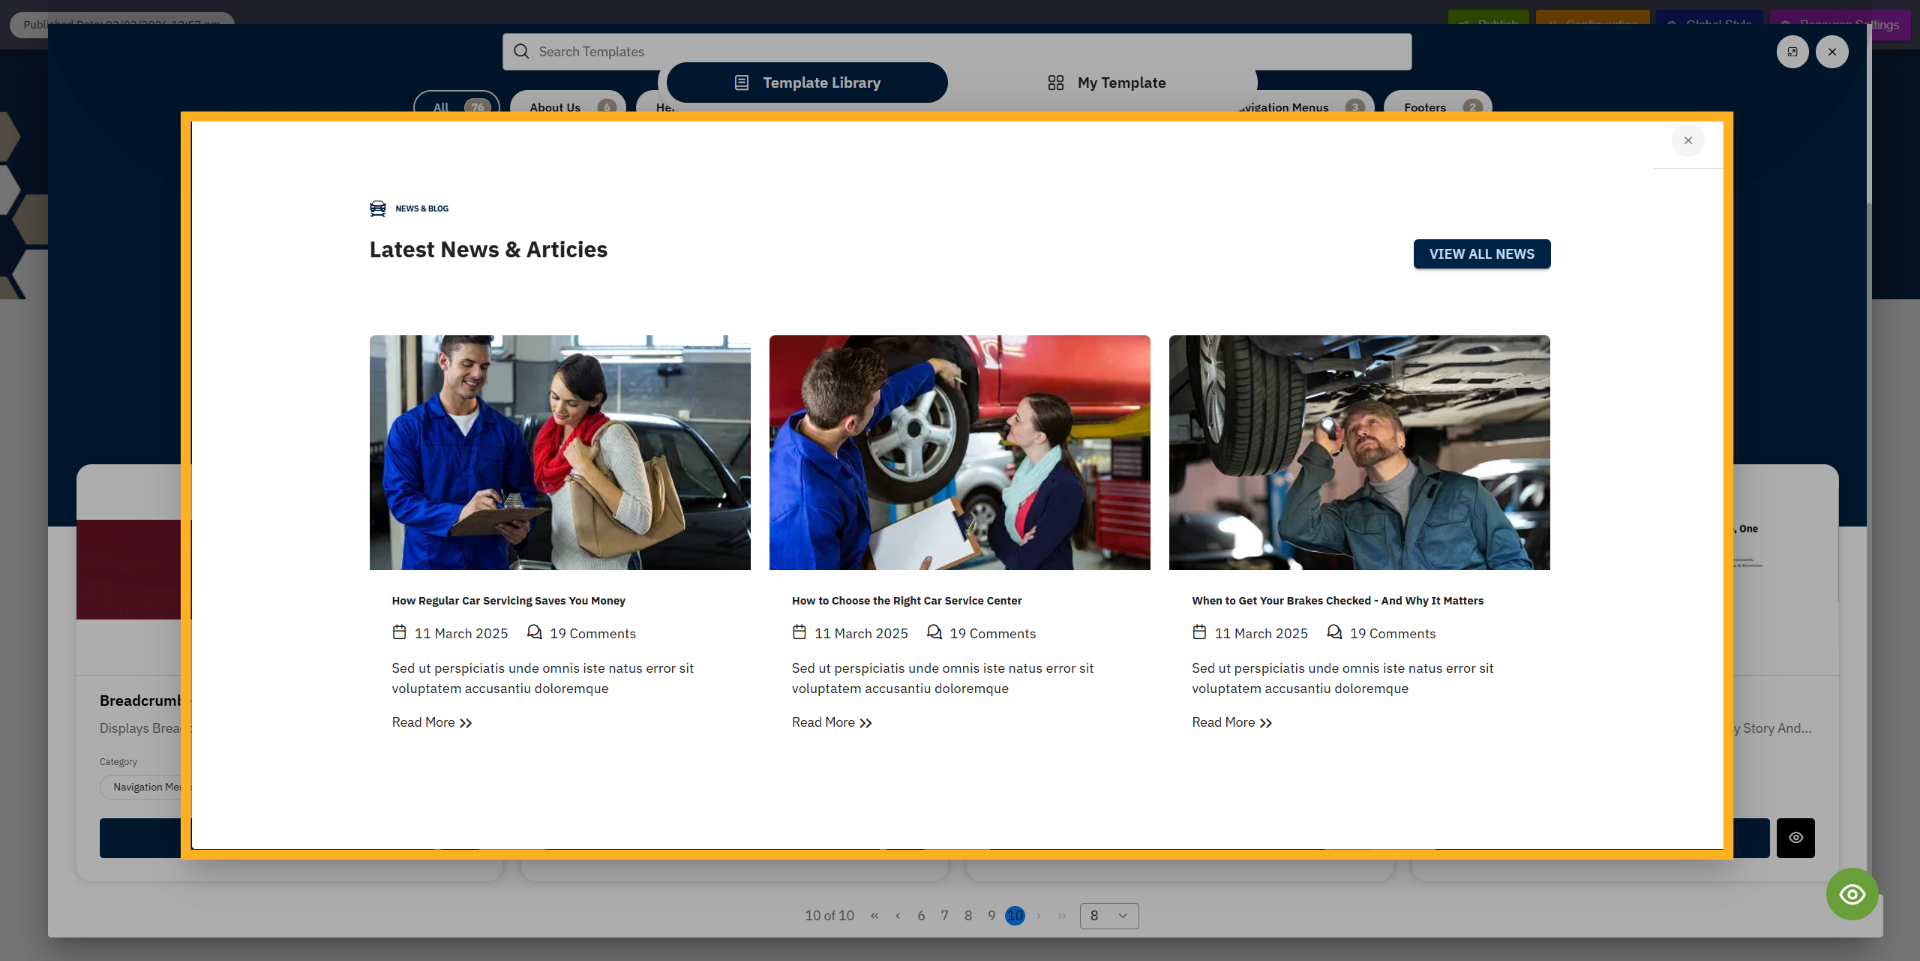
4. View Design Template
This way, you can preview any design template before using it on your website.
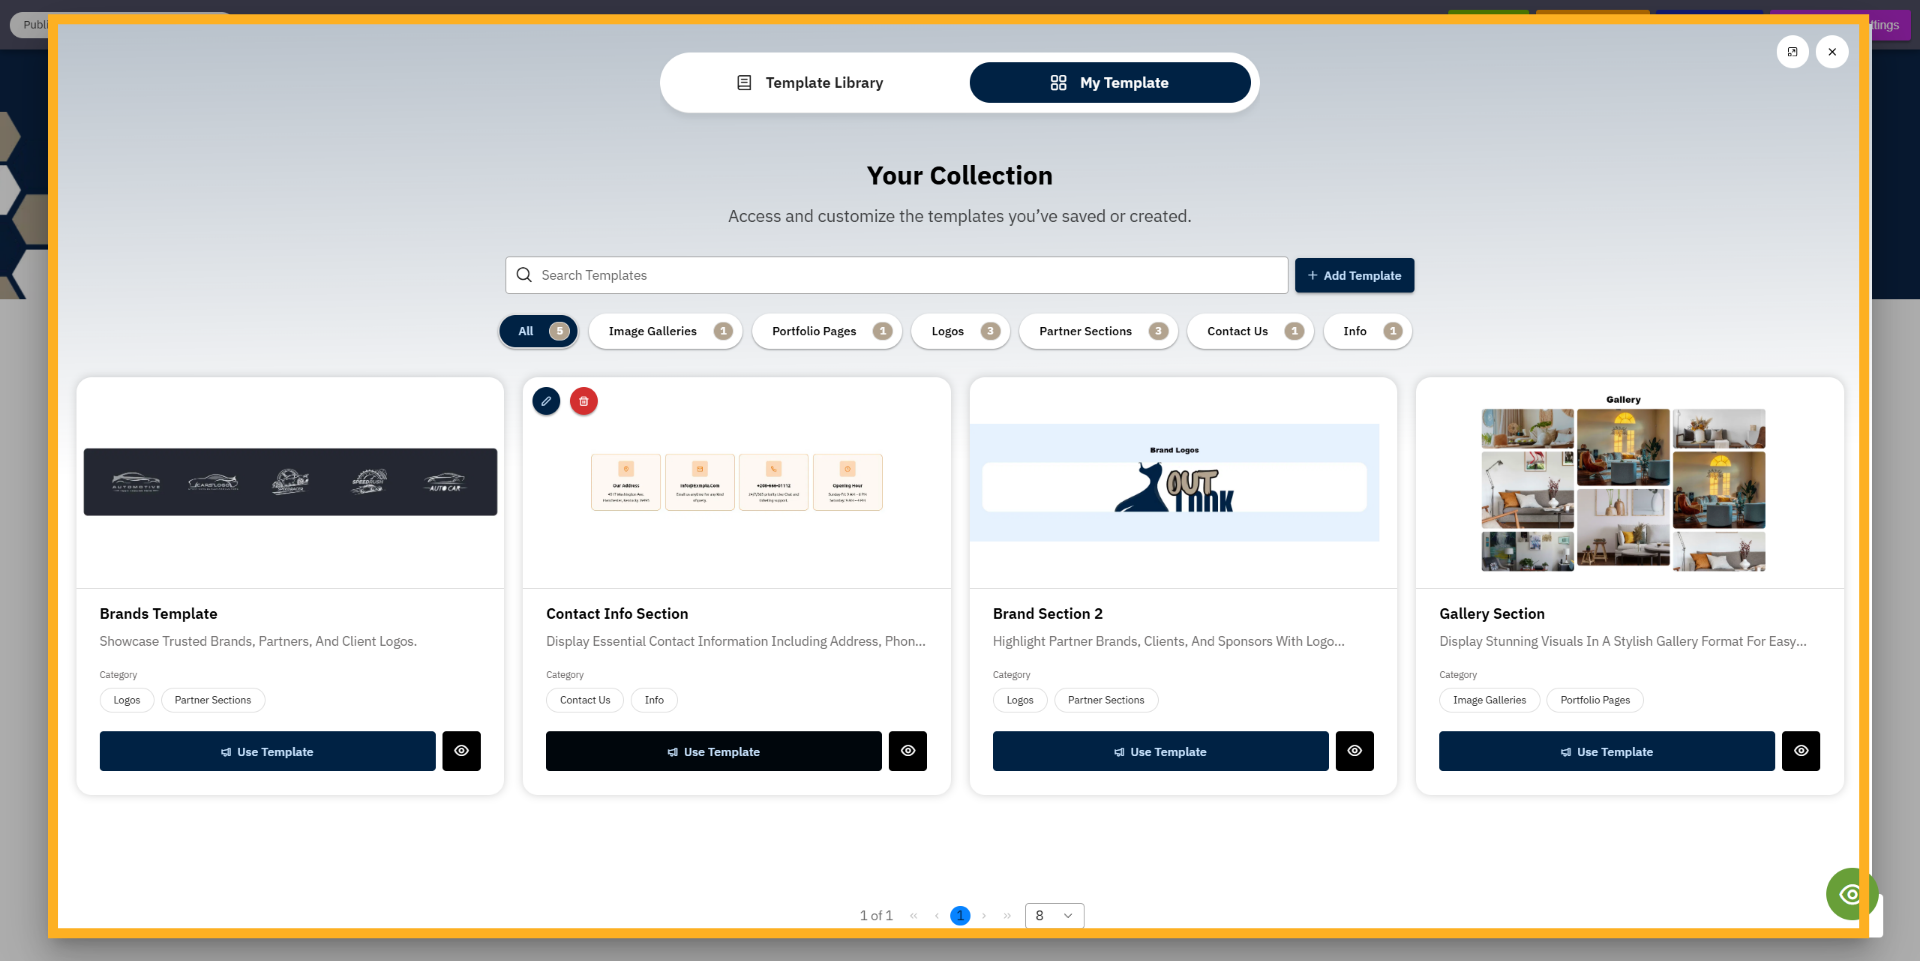
5. Open My Template
Click on My Templates to manage your templates, including the ones you have created or used on your
site.
6. My Template
Here you will find all your templates organized by category, and you can also search for any template
easily using the search option.
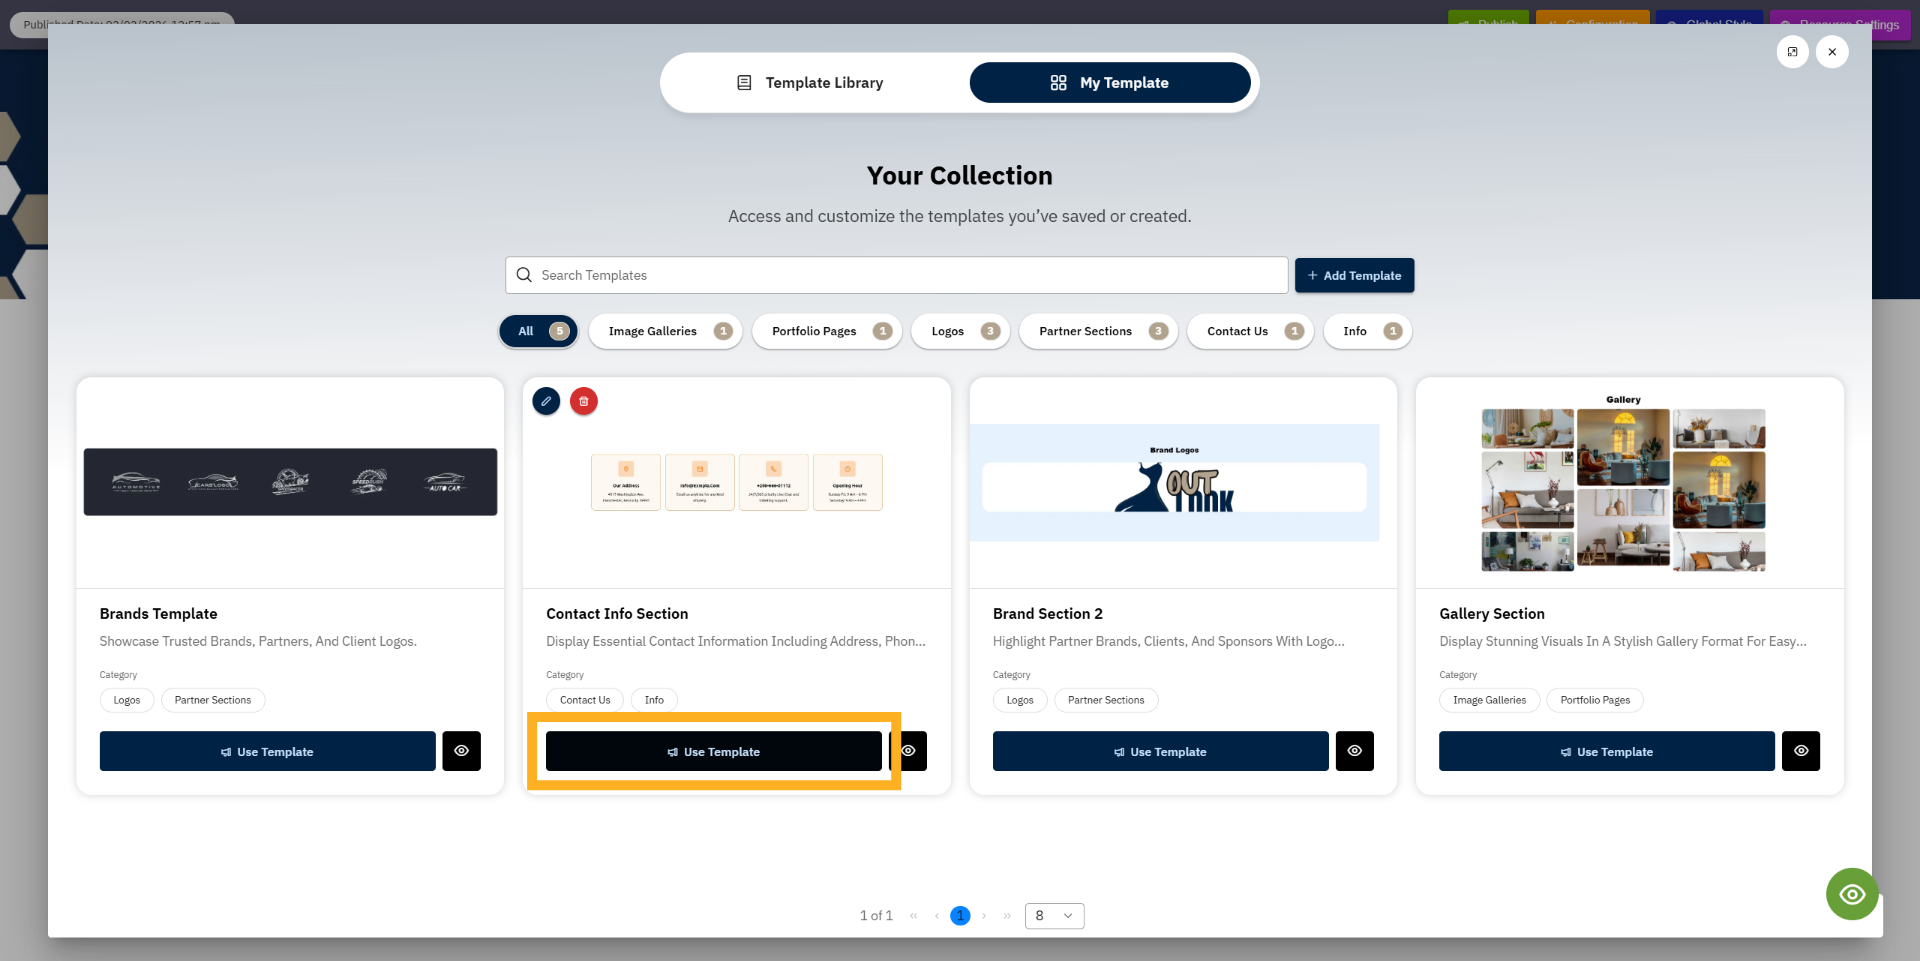
7. Use Template
To use a template from the Library, click the Use Template button. Once selected, the template will be
applied to your website page. After applying it, you can also edit or remove the template anytime as
needed.
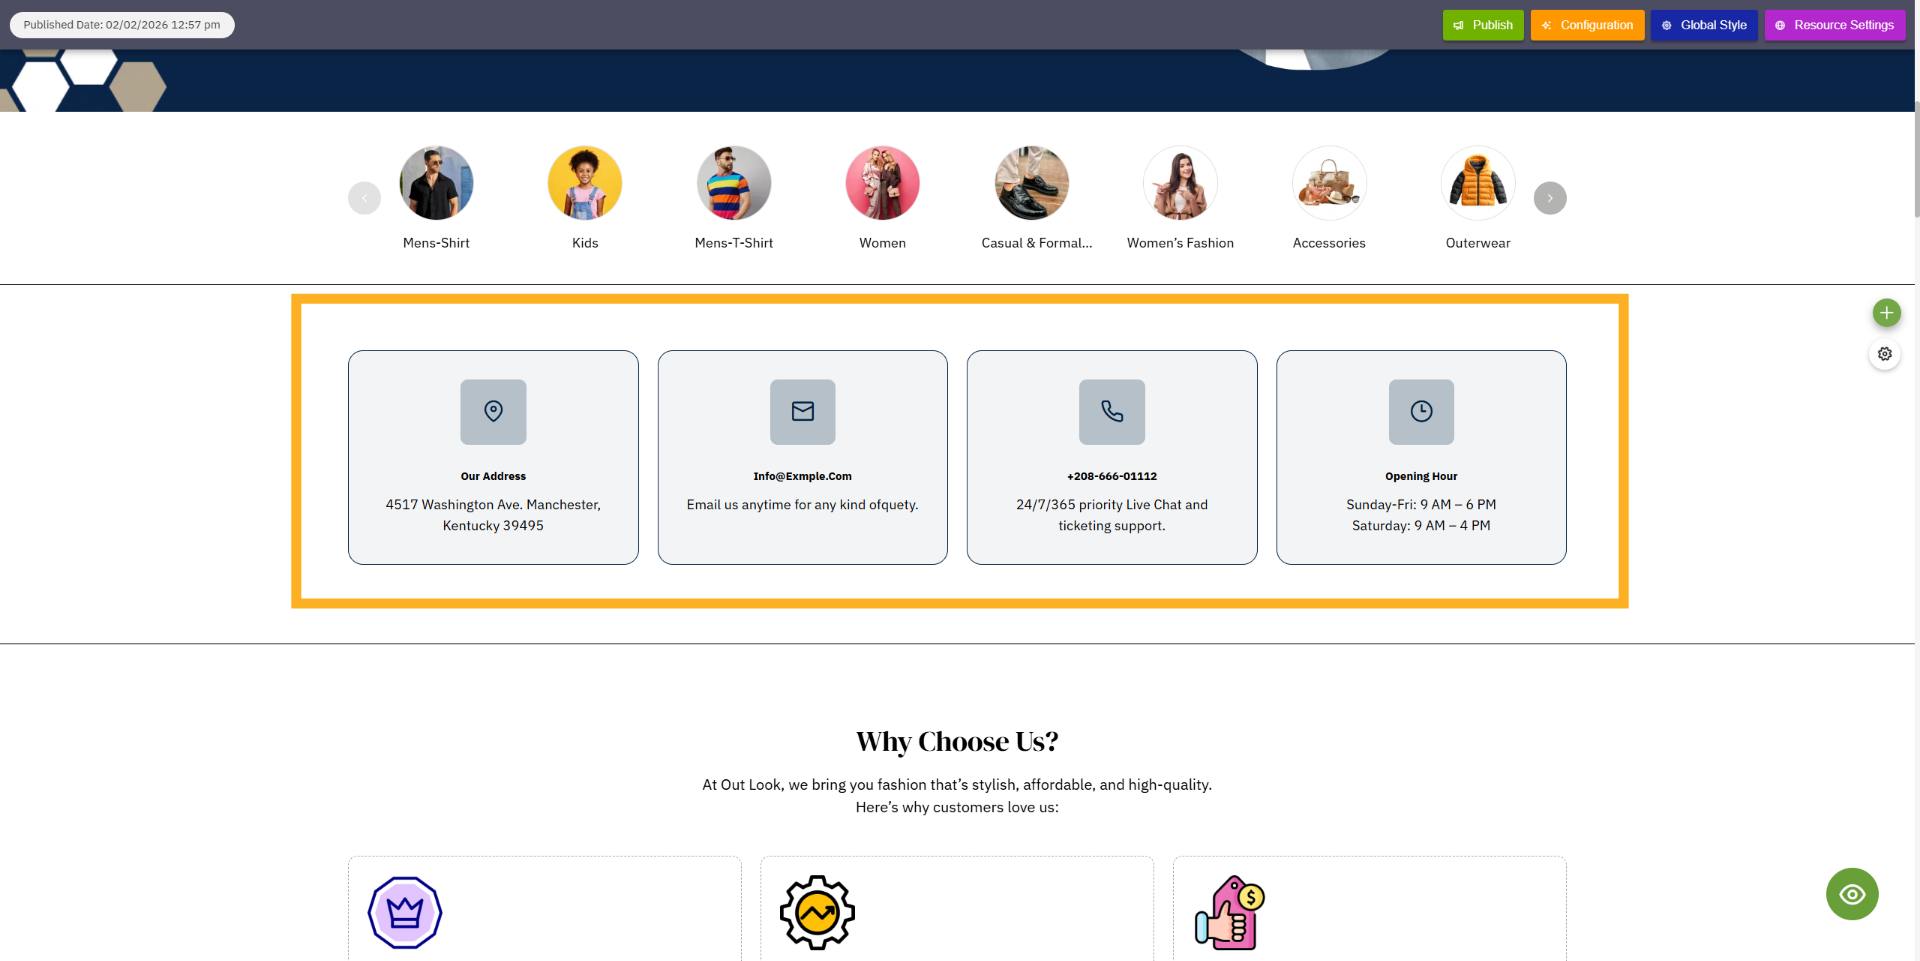
8. Click Template setting
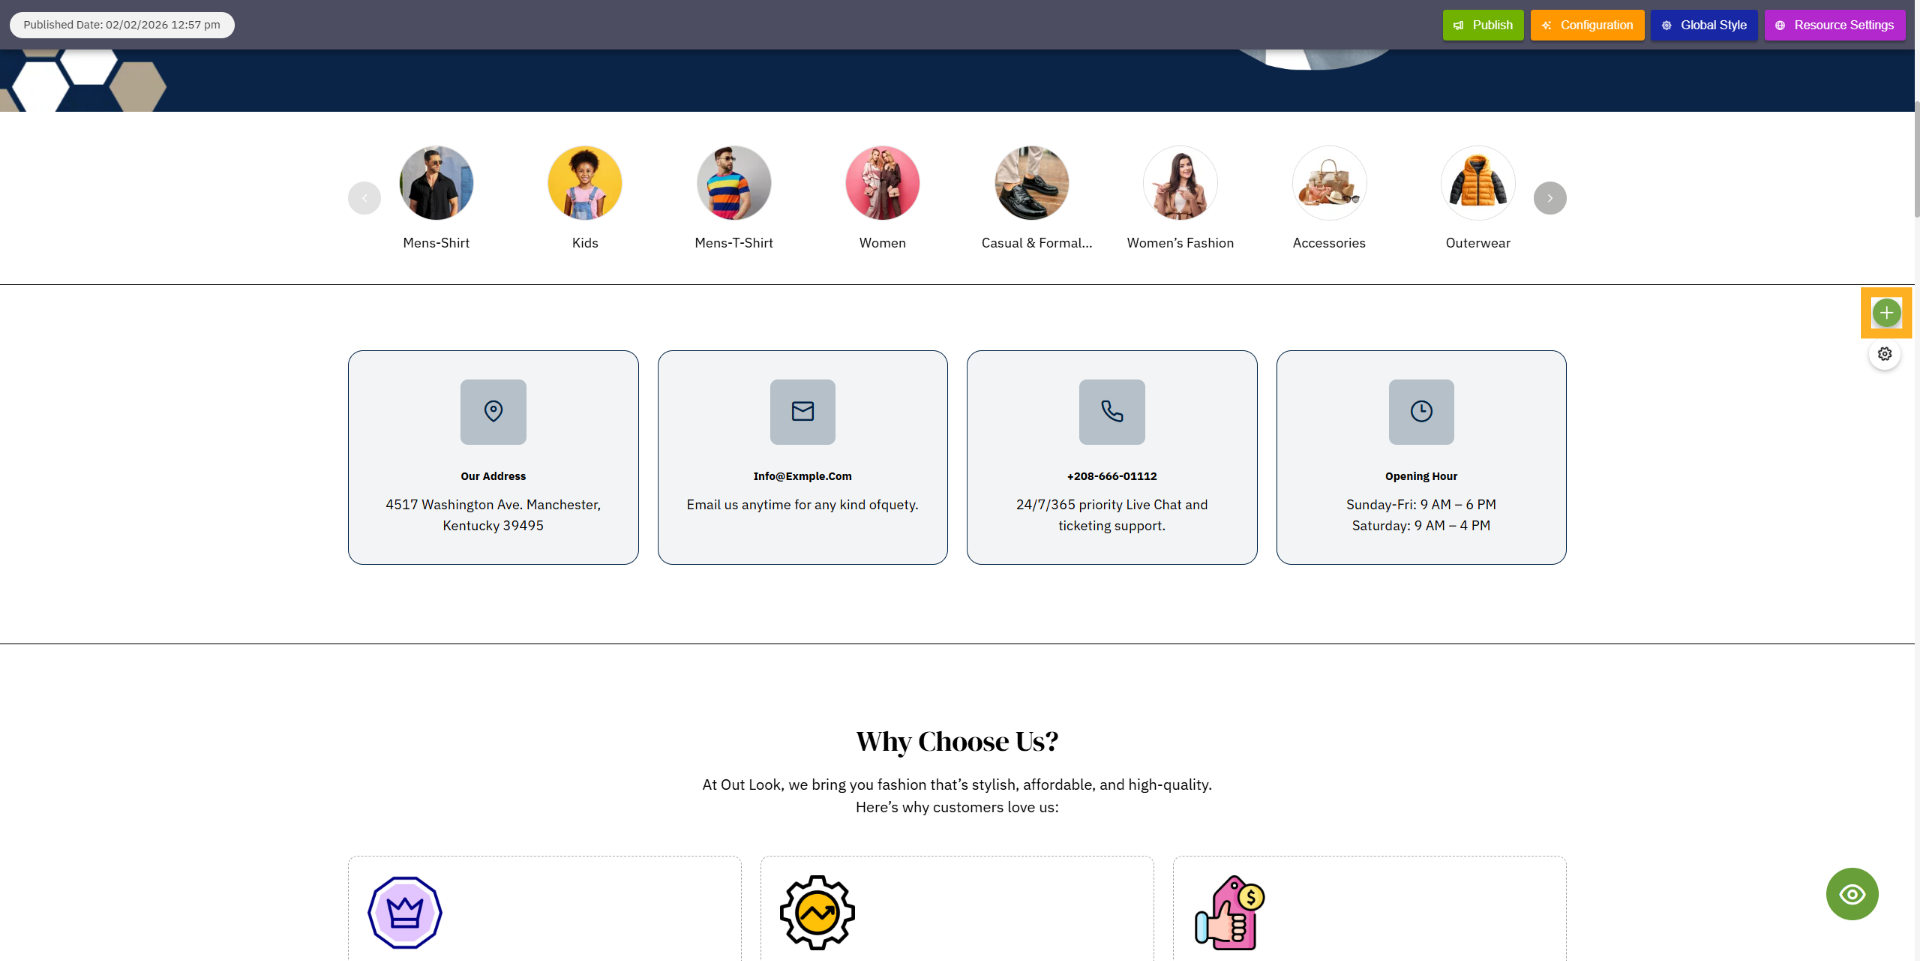
Now you can see that the template selected from the library has been successfully applied to the page.
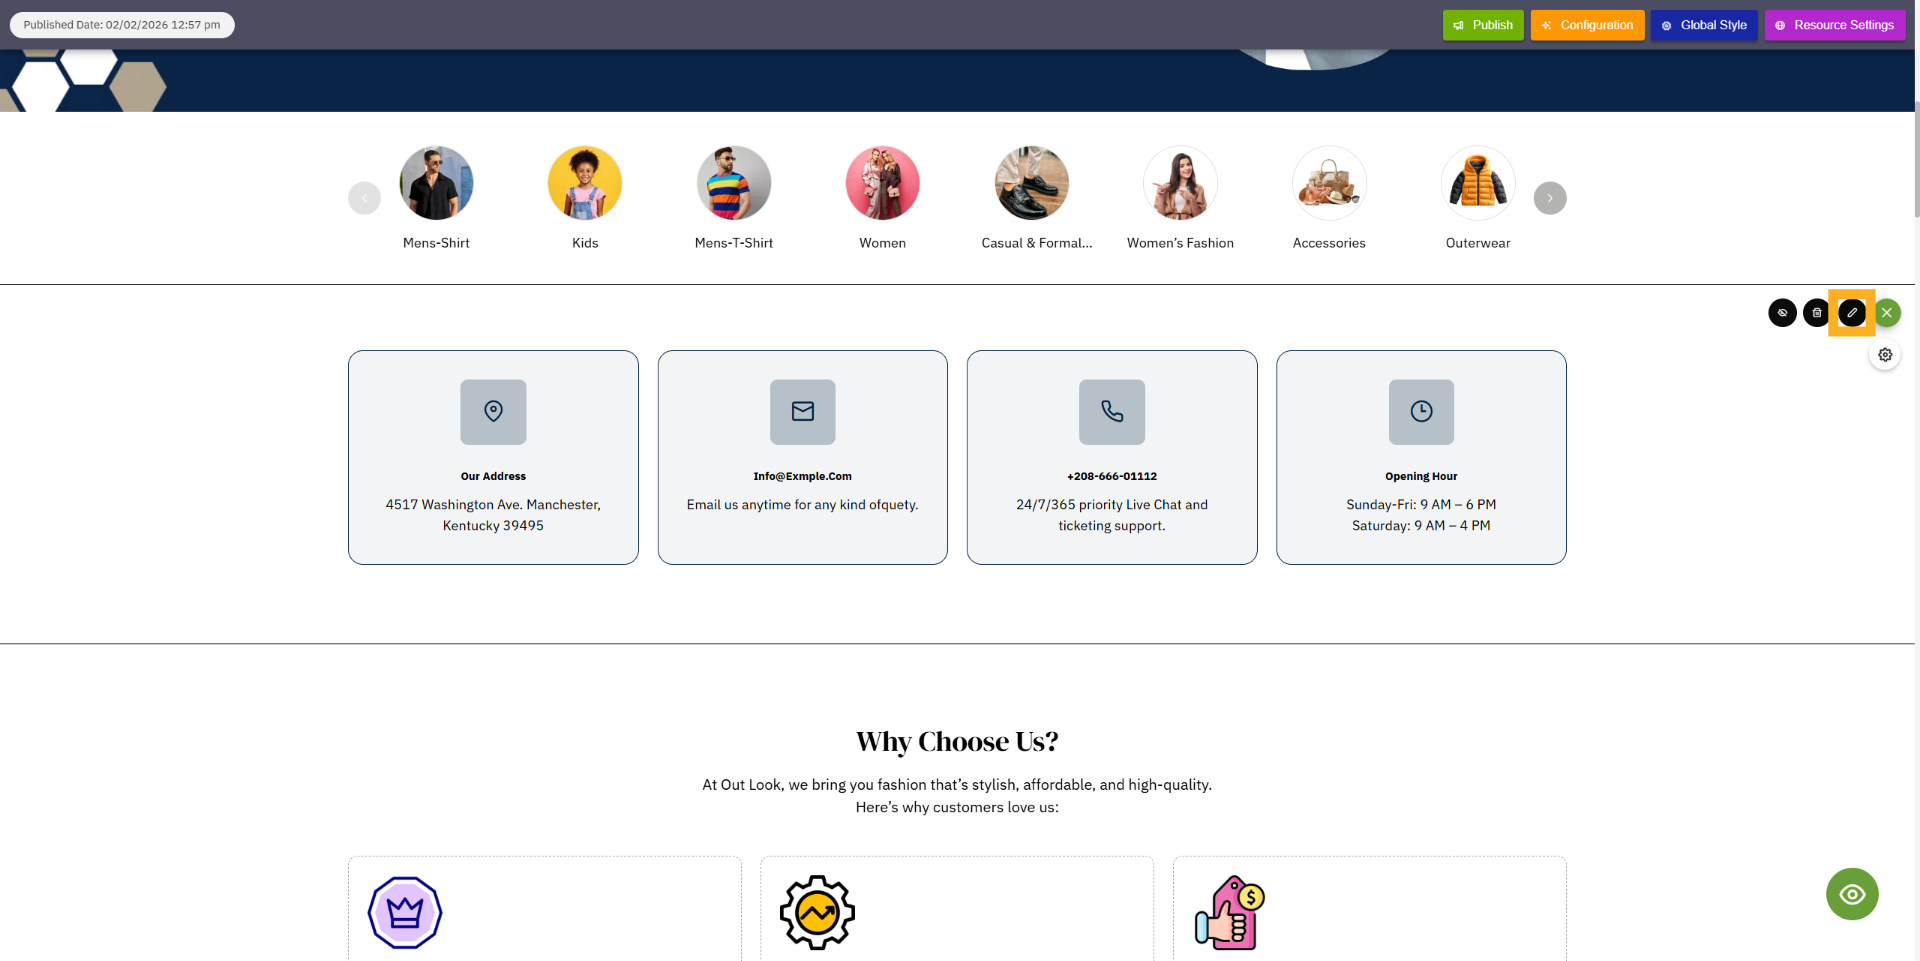
9. Click Template Action
After clicking the Template Action button, you will see different options such as Edit, Delete, and Hide
Template. You can choose and use any action according to your needs.
10. click to edit template button
Click Edit to modify your template’s design, content, and settings as needed.
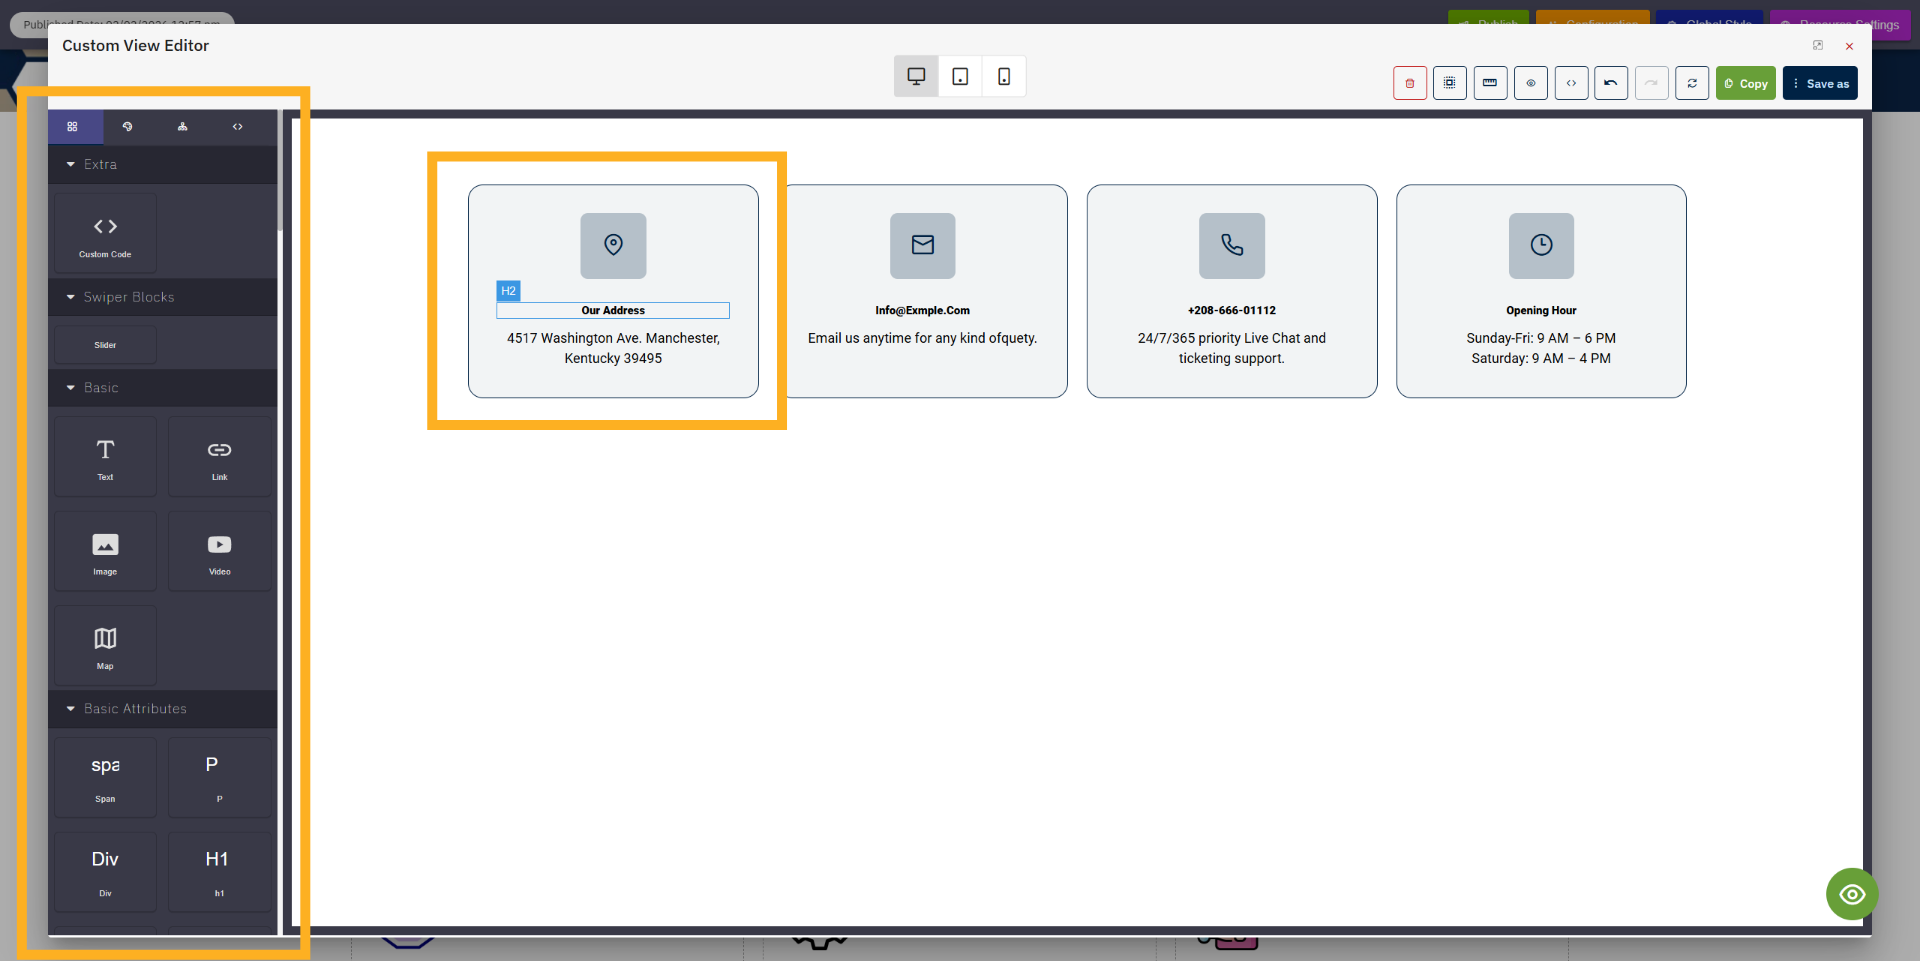
11. Template Editor
When you click Edit, the Template Editor opens. From there, you can add or update text content, styles,
colors, images, and other design elements of the template.
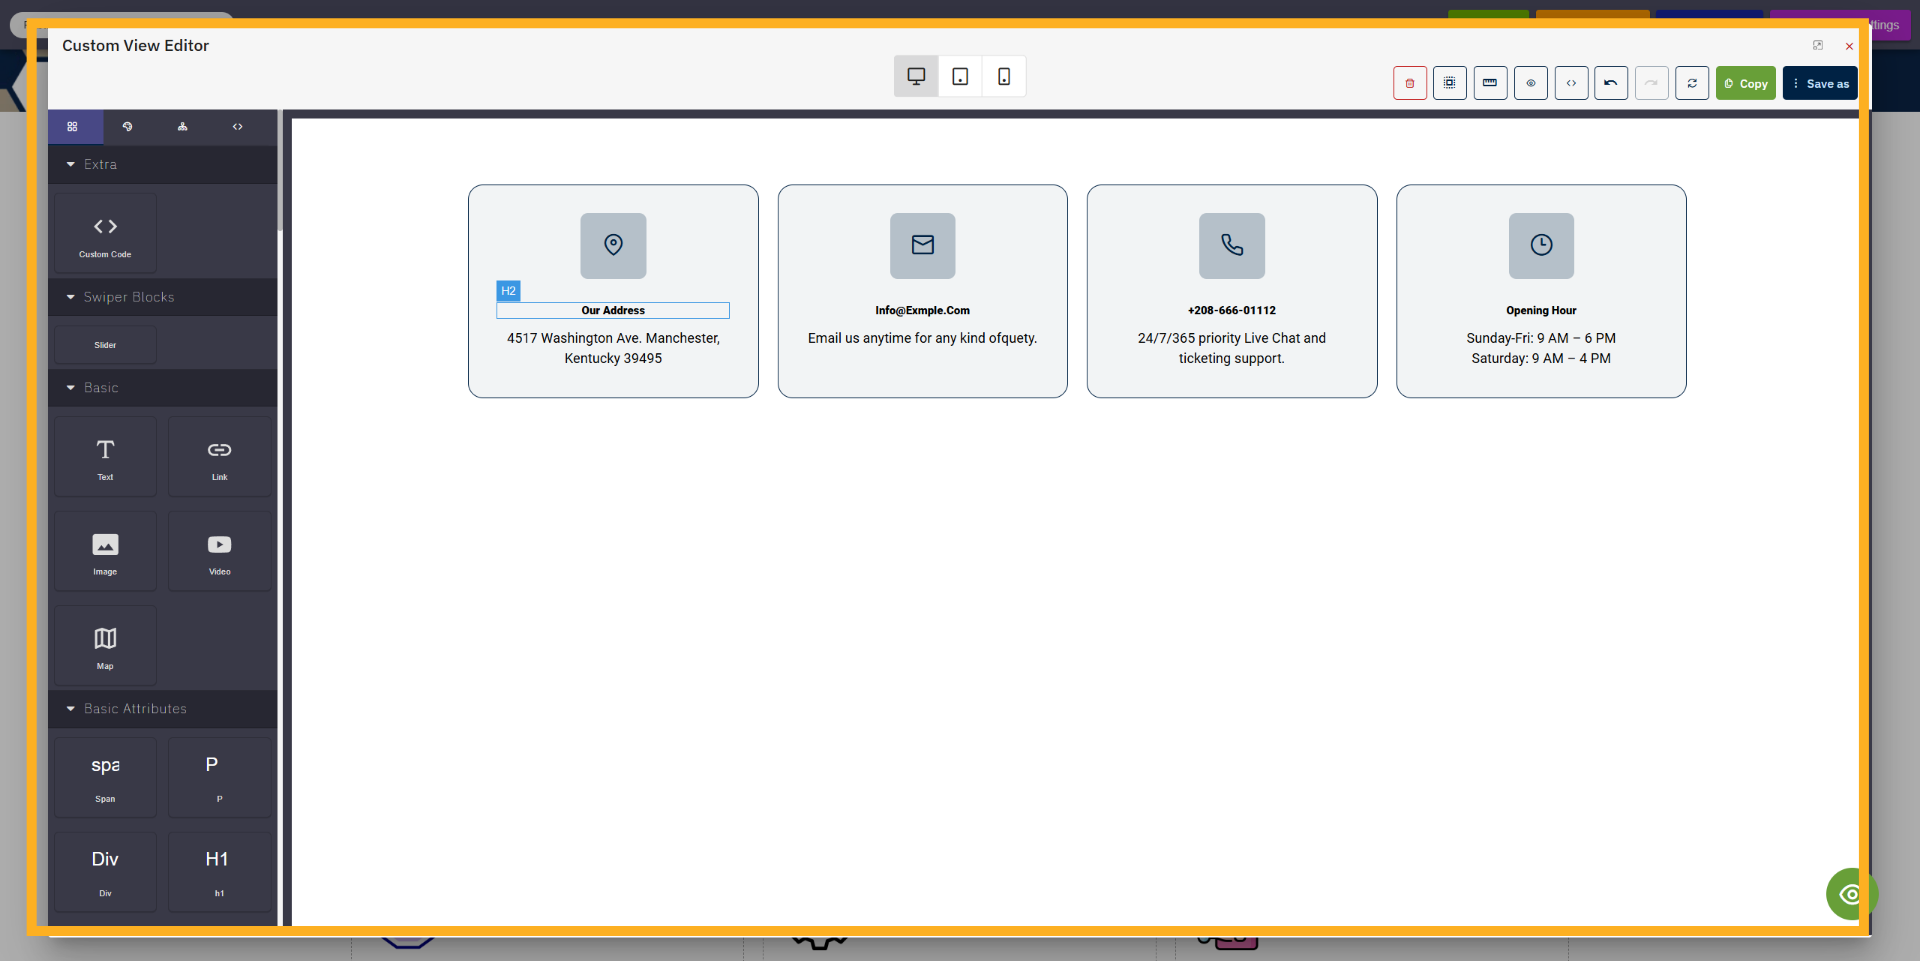
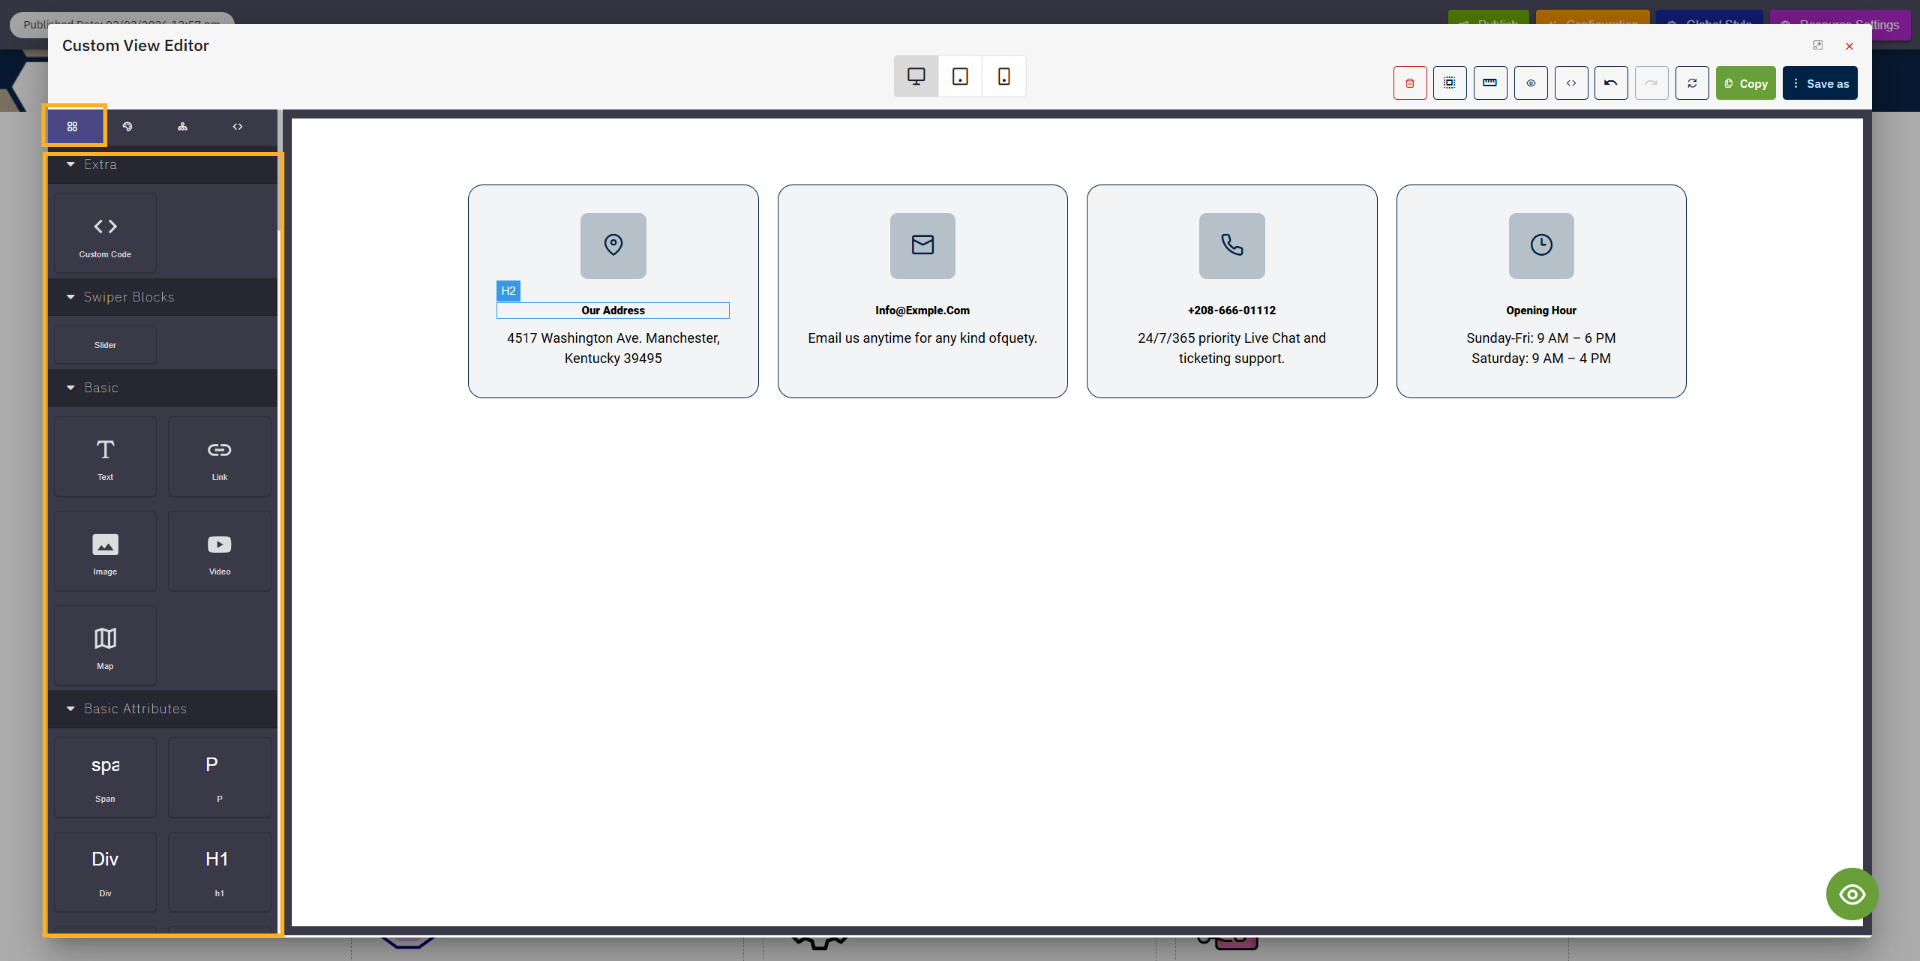
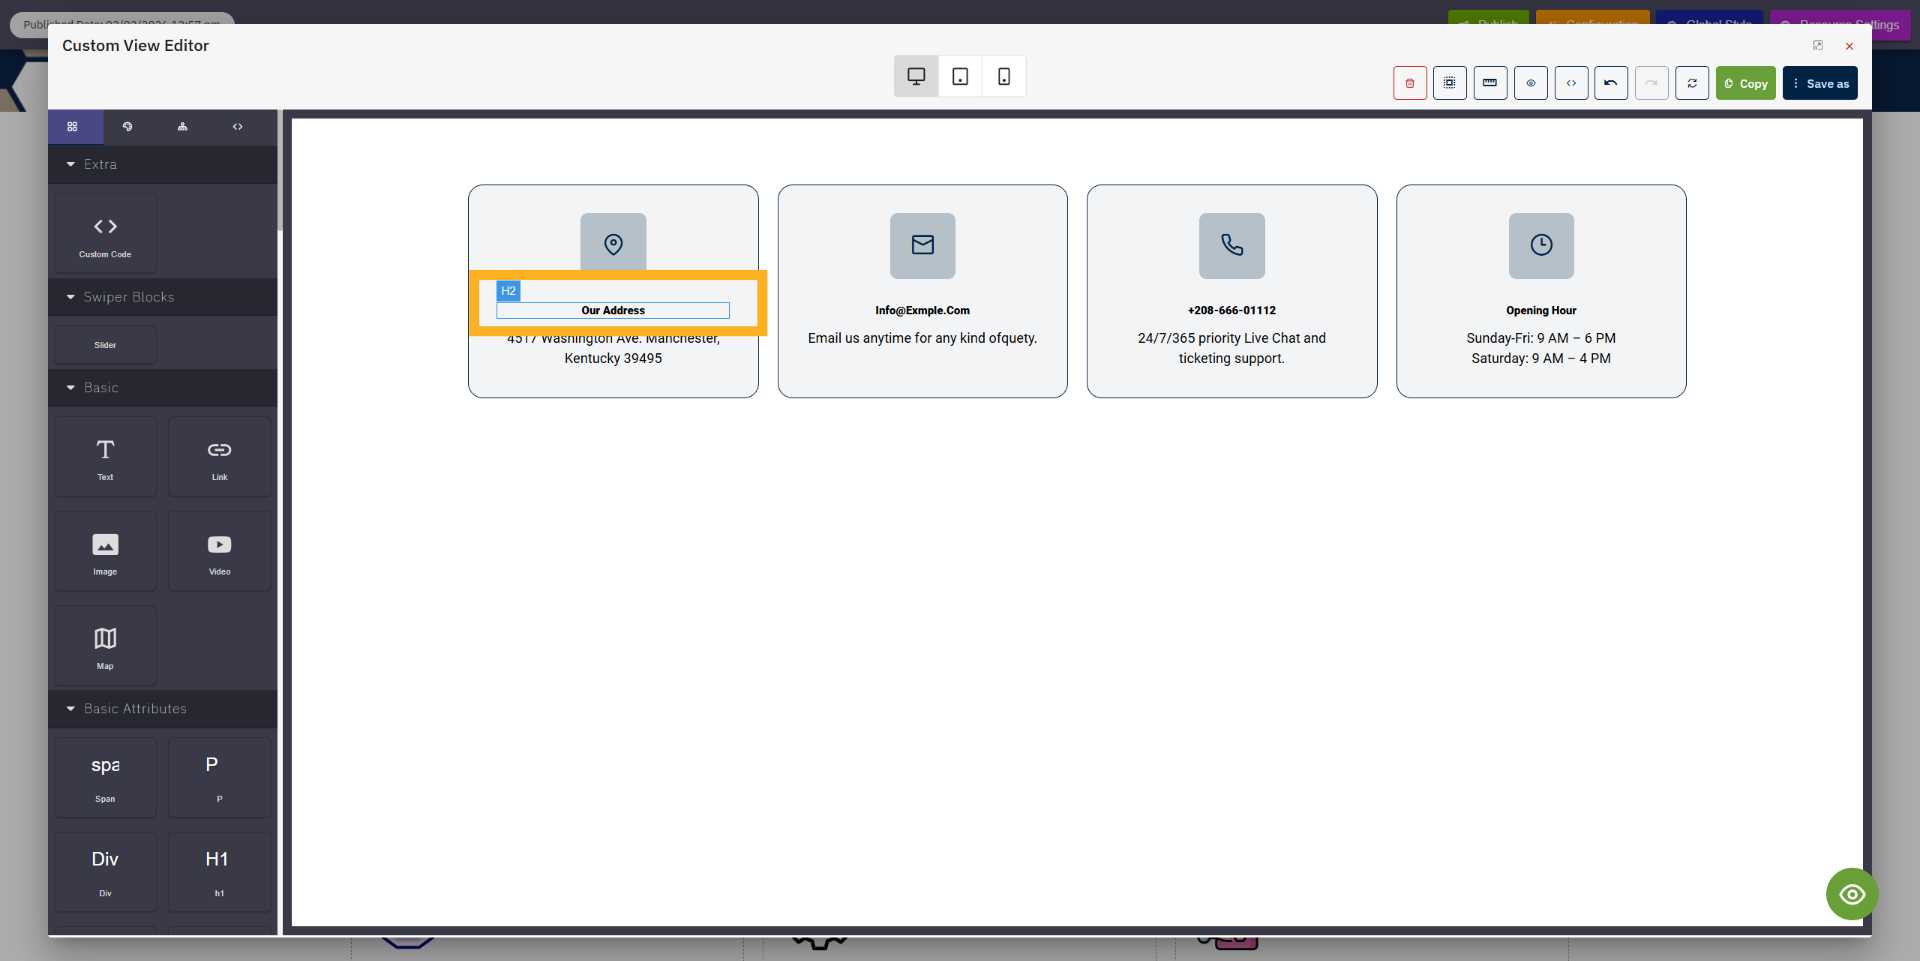
12. Block manager
All prebuilt blocks and utility html elements are here to ready for drag and drop to create template
quickly.
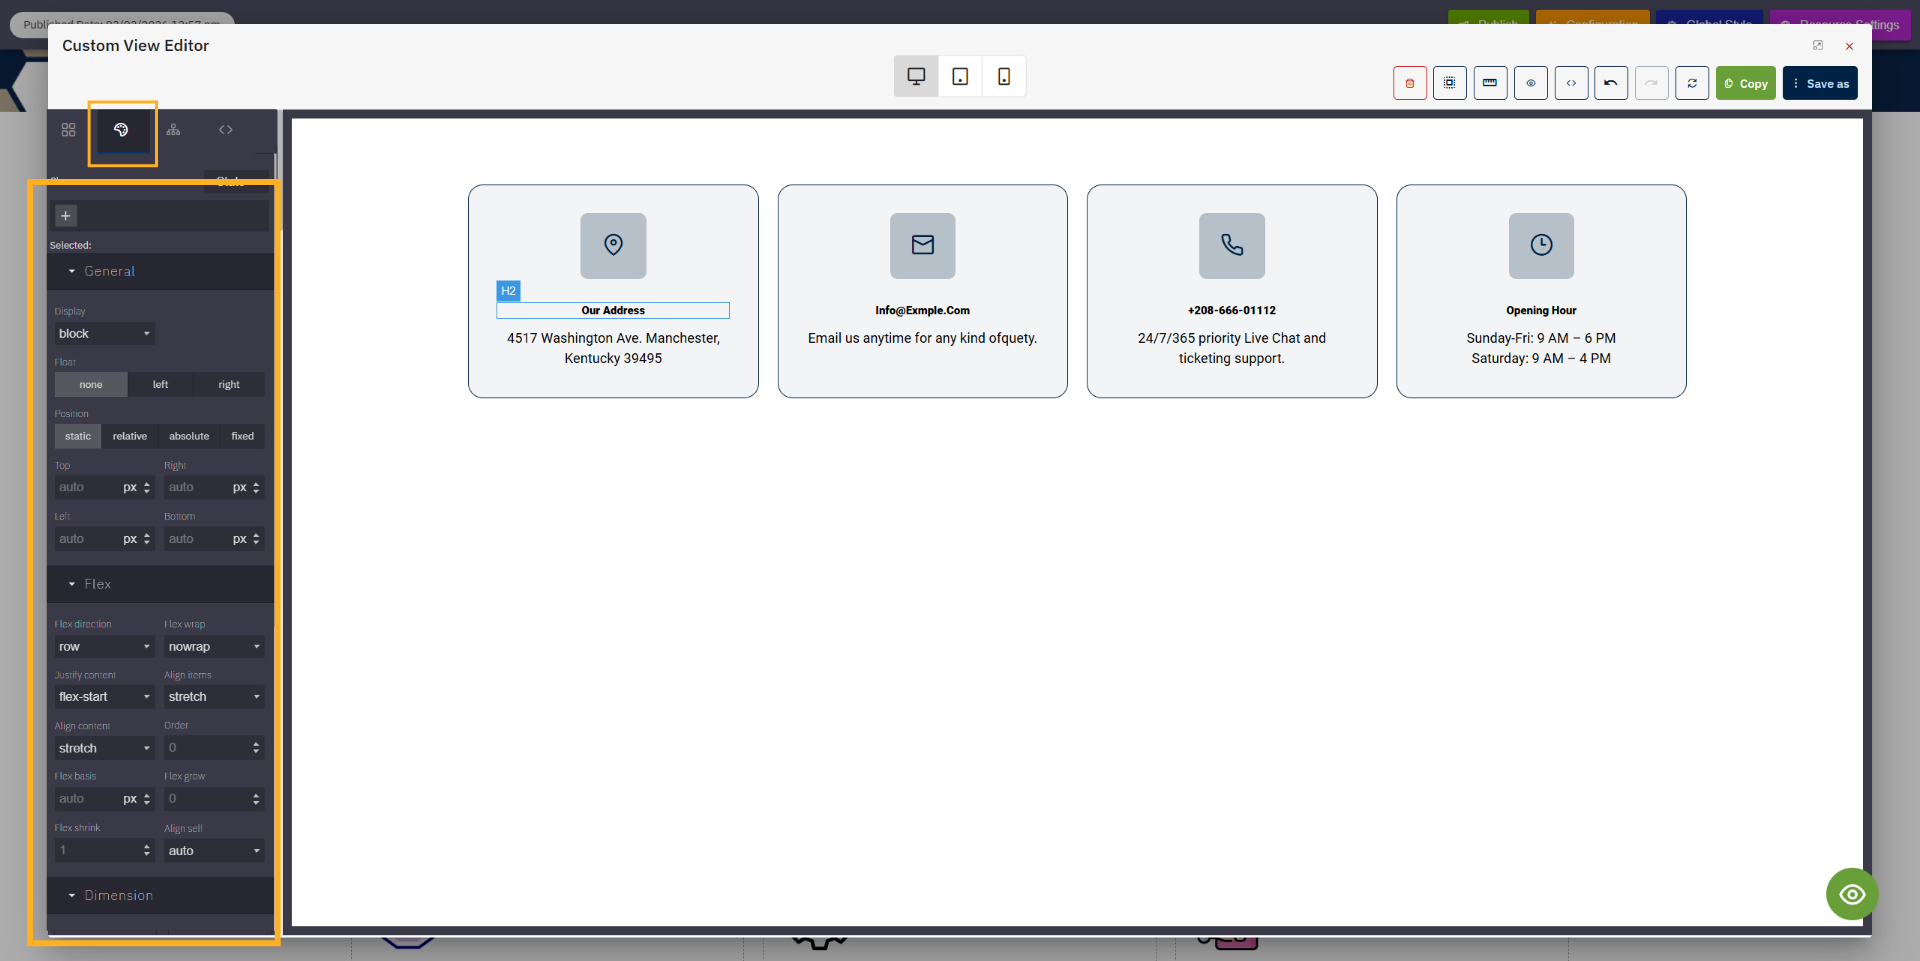
13. Style manager
All stylings can be change to you selected element by here, all lables aare user friendly so non tech
guy can modify styles a bit.
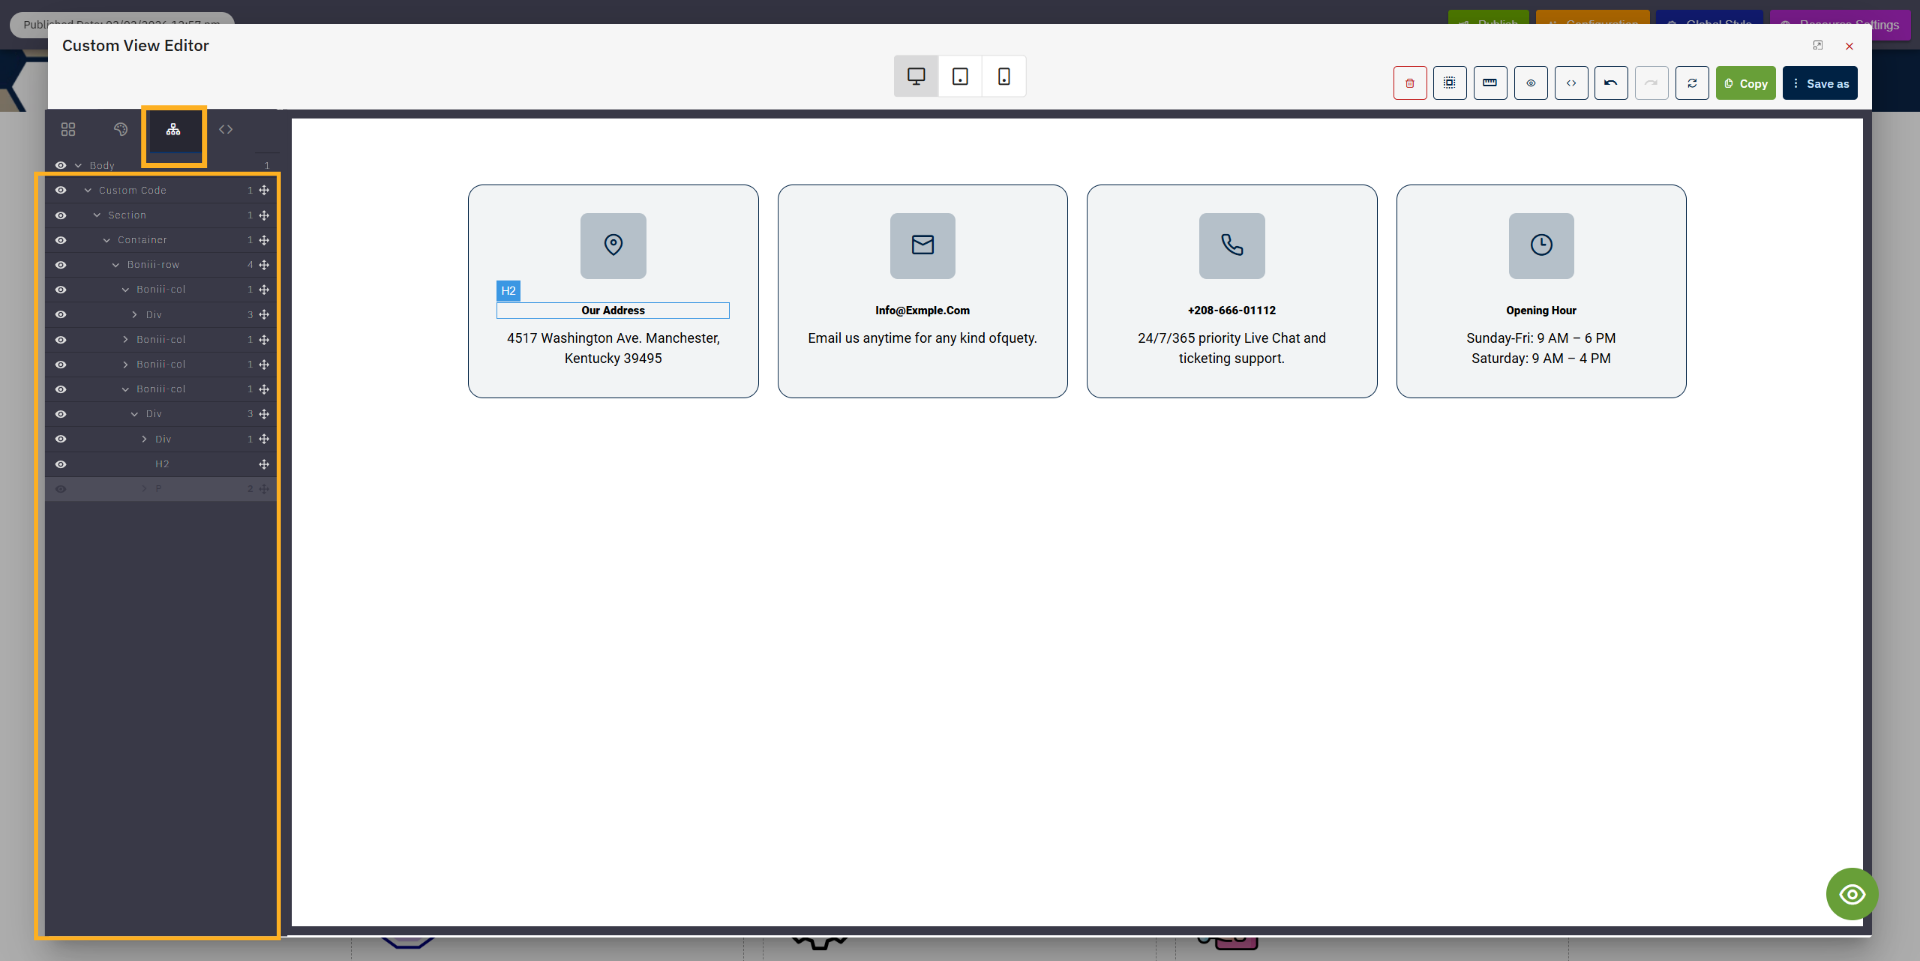
14. Tree manager
This is developer feature who can manuplitate position of element hide and show and visit their element
tree here without accessing code.
15. Code manager
This is developer feature who want change advance stuff so code should be accessible for selected
are.polish as per script

16. Edit content
To change any content, select the element and double-click it to enter edit mode. Then you can add or
update the text as needed. In the same way, you can also change or replace images in the template.
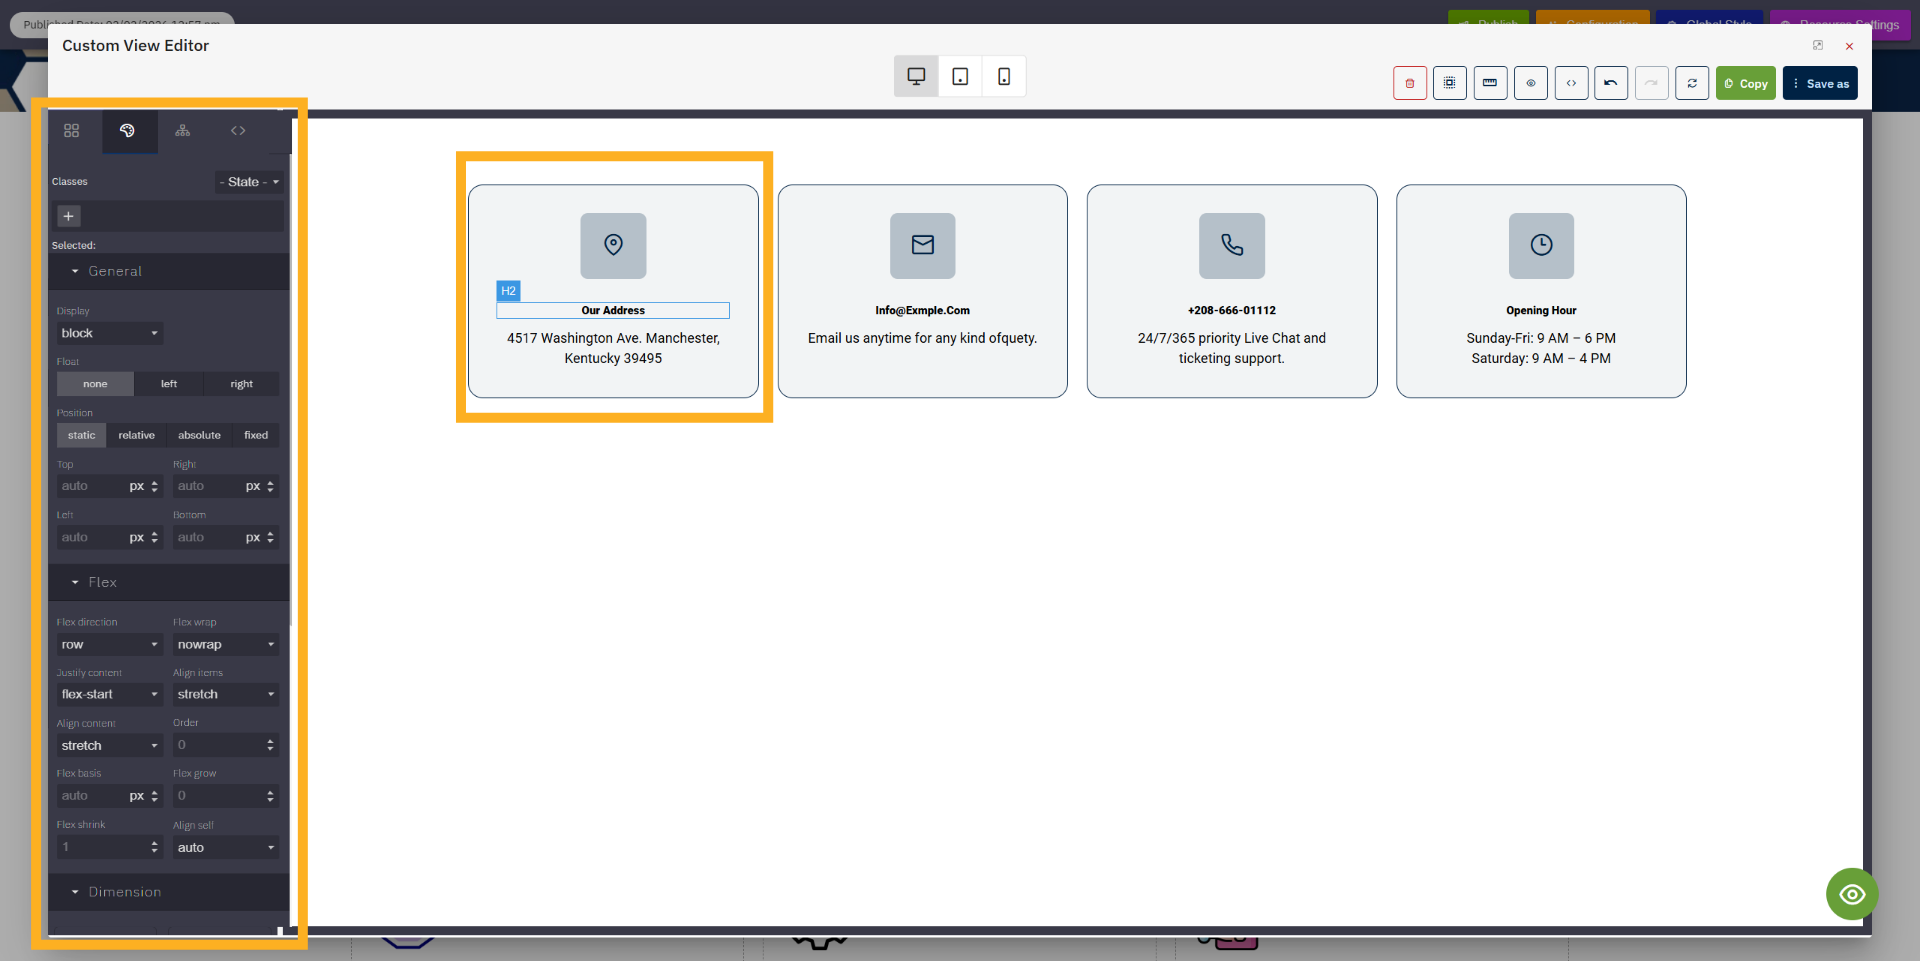
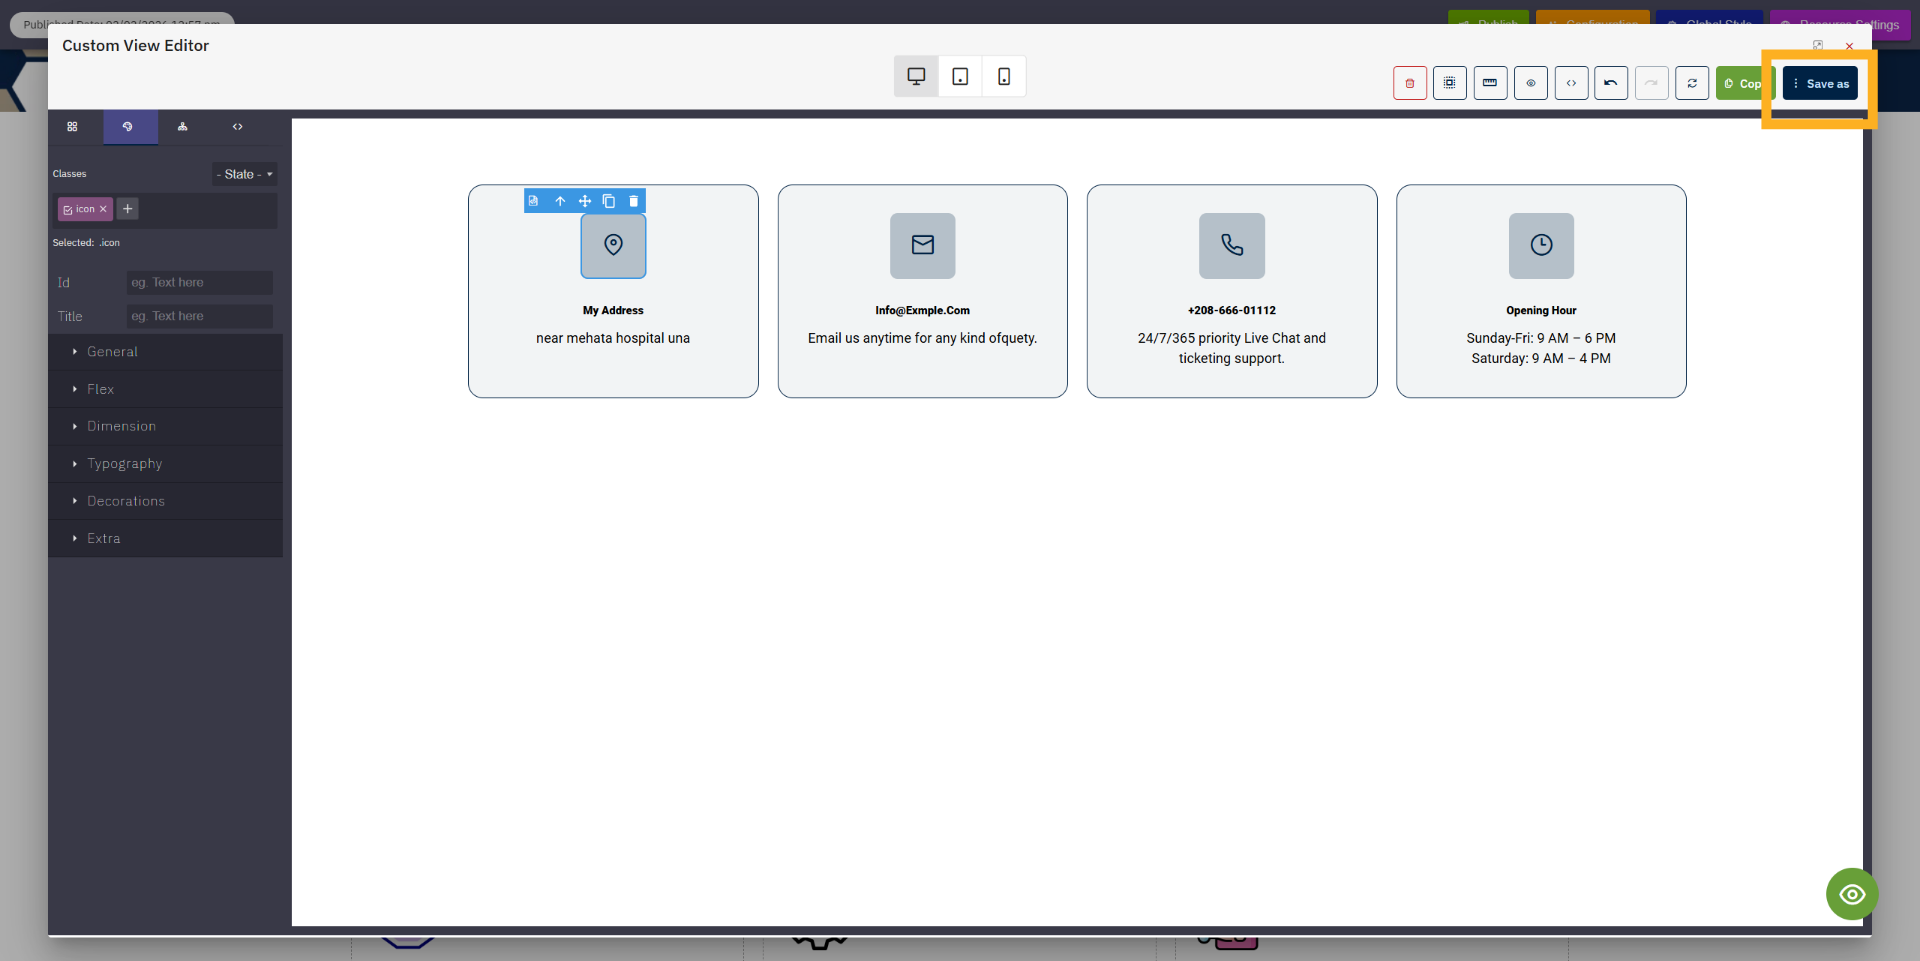
17. Change element style
You can click on any element and go to the Style Manager to apply styling. From there, you can customize
properties like color, font size, margin, padding, hover effects, animations, and more.
18. Add Block
You can select an element or the body area, then go to the Block Manager to drag and add blocks
according to your needs.
19. click to save as
After editing or updating the template, you need to save the changes. Click the “Save As” button on the
top right side to save the updated template.
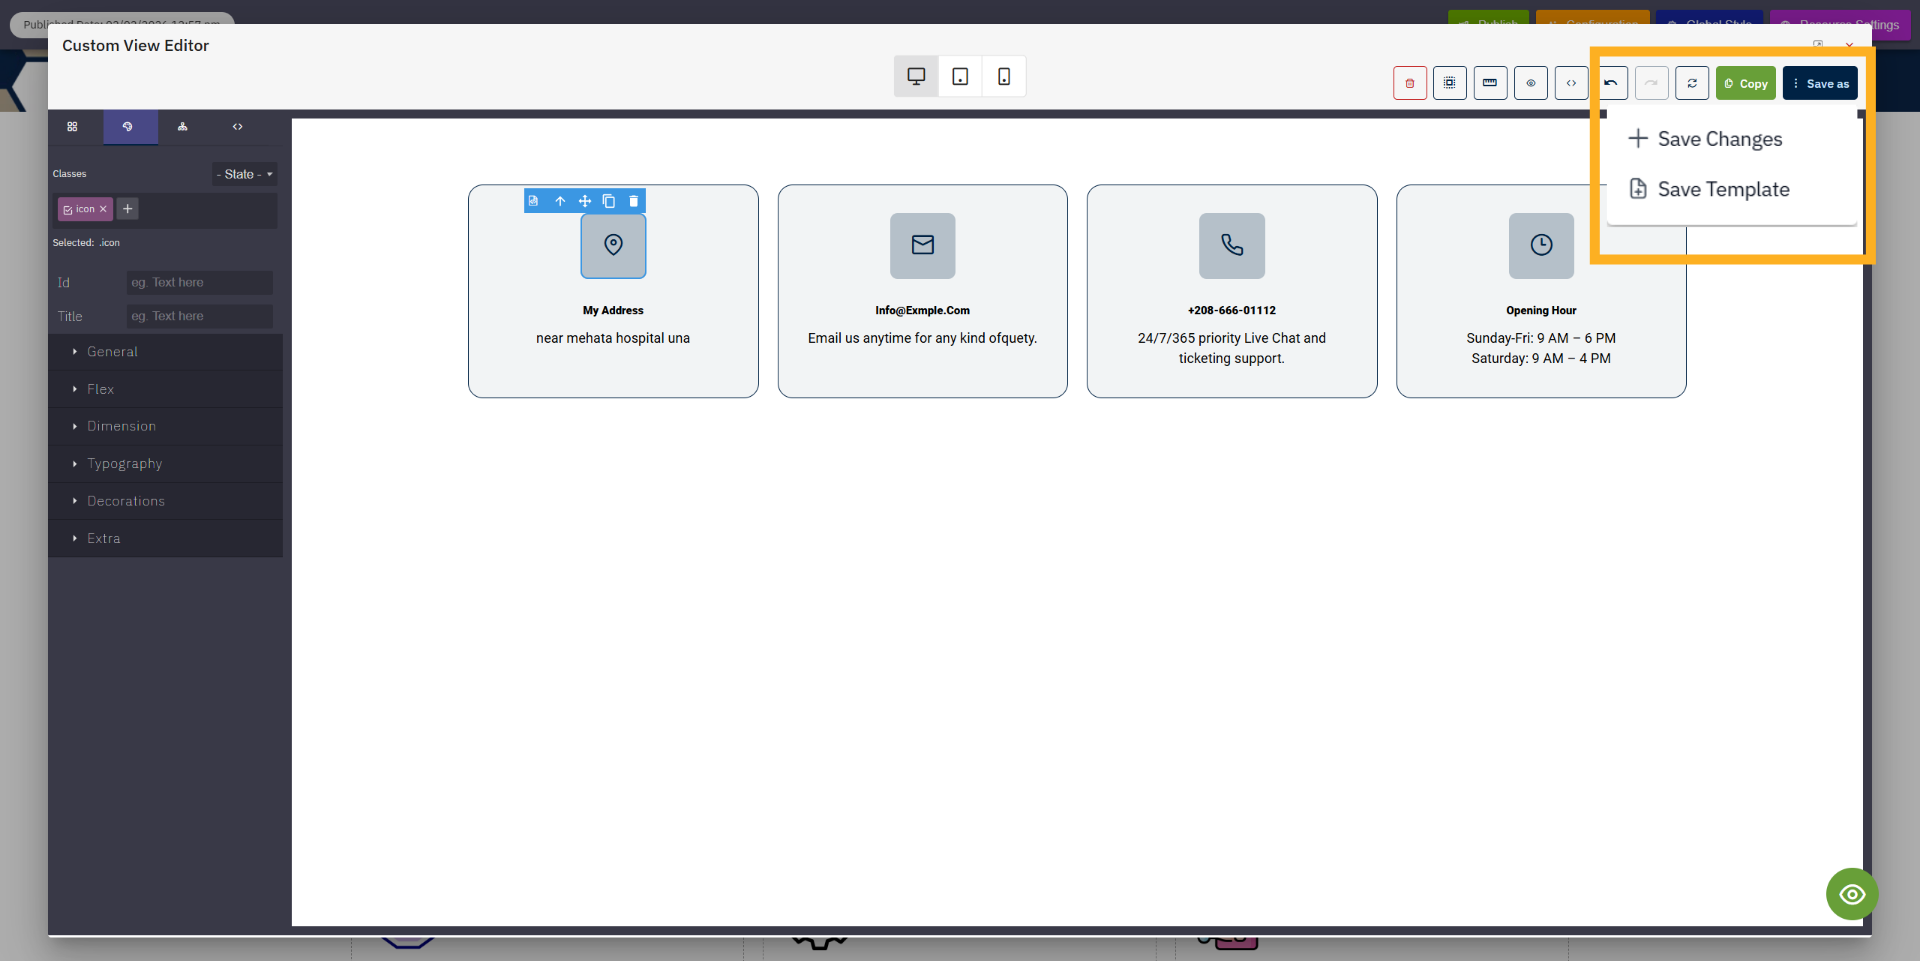
20. Save Option
When you click Save As, you will see two options: Save Changes and Save Template.
Save Changes: This will save the template only in the current page where you opened it for editing.
Save Template: This will update the template itself, and the changes will also apply to all places where
this template is used.
21. View Template
After you save the template, the editor will close automatically, and the changes you made in the
template will appear on the website page.
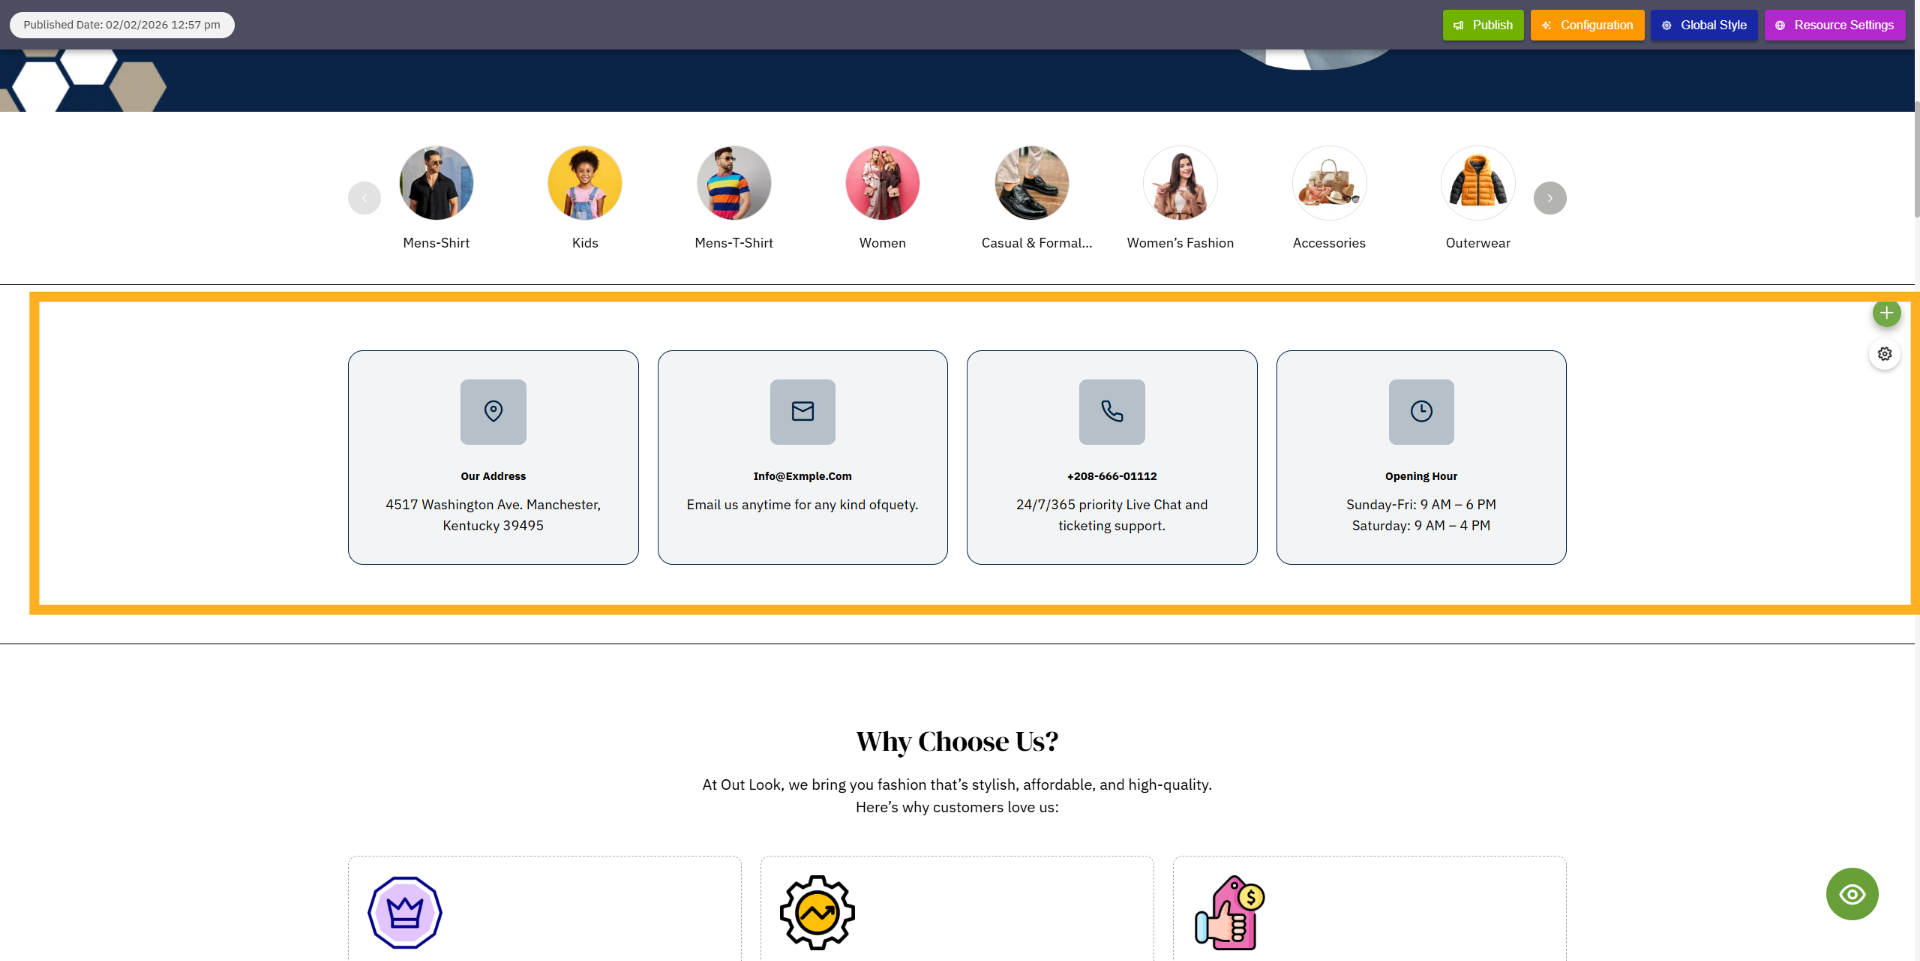
You have successfully customized and applied templates using the Template Library in Boni. You also
learned how to edit template designs, save changes, and update templates as needed.
Uploading...