1 - Boniii Website Editor Basic Information
1. Access Admin Panel
Click the Access the admin panel to begin managing your website settings.
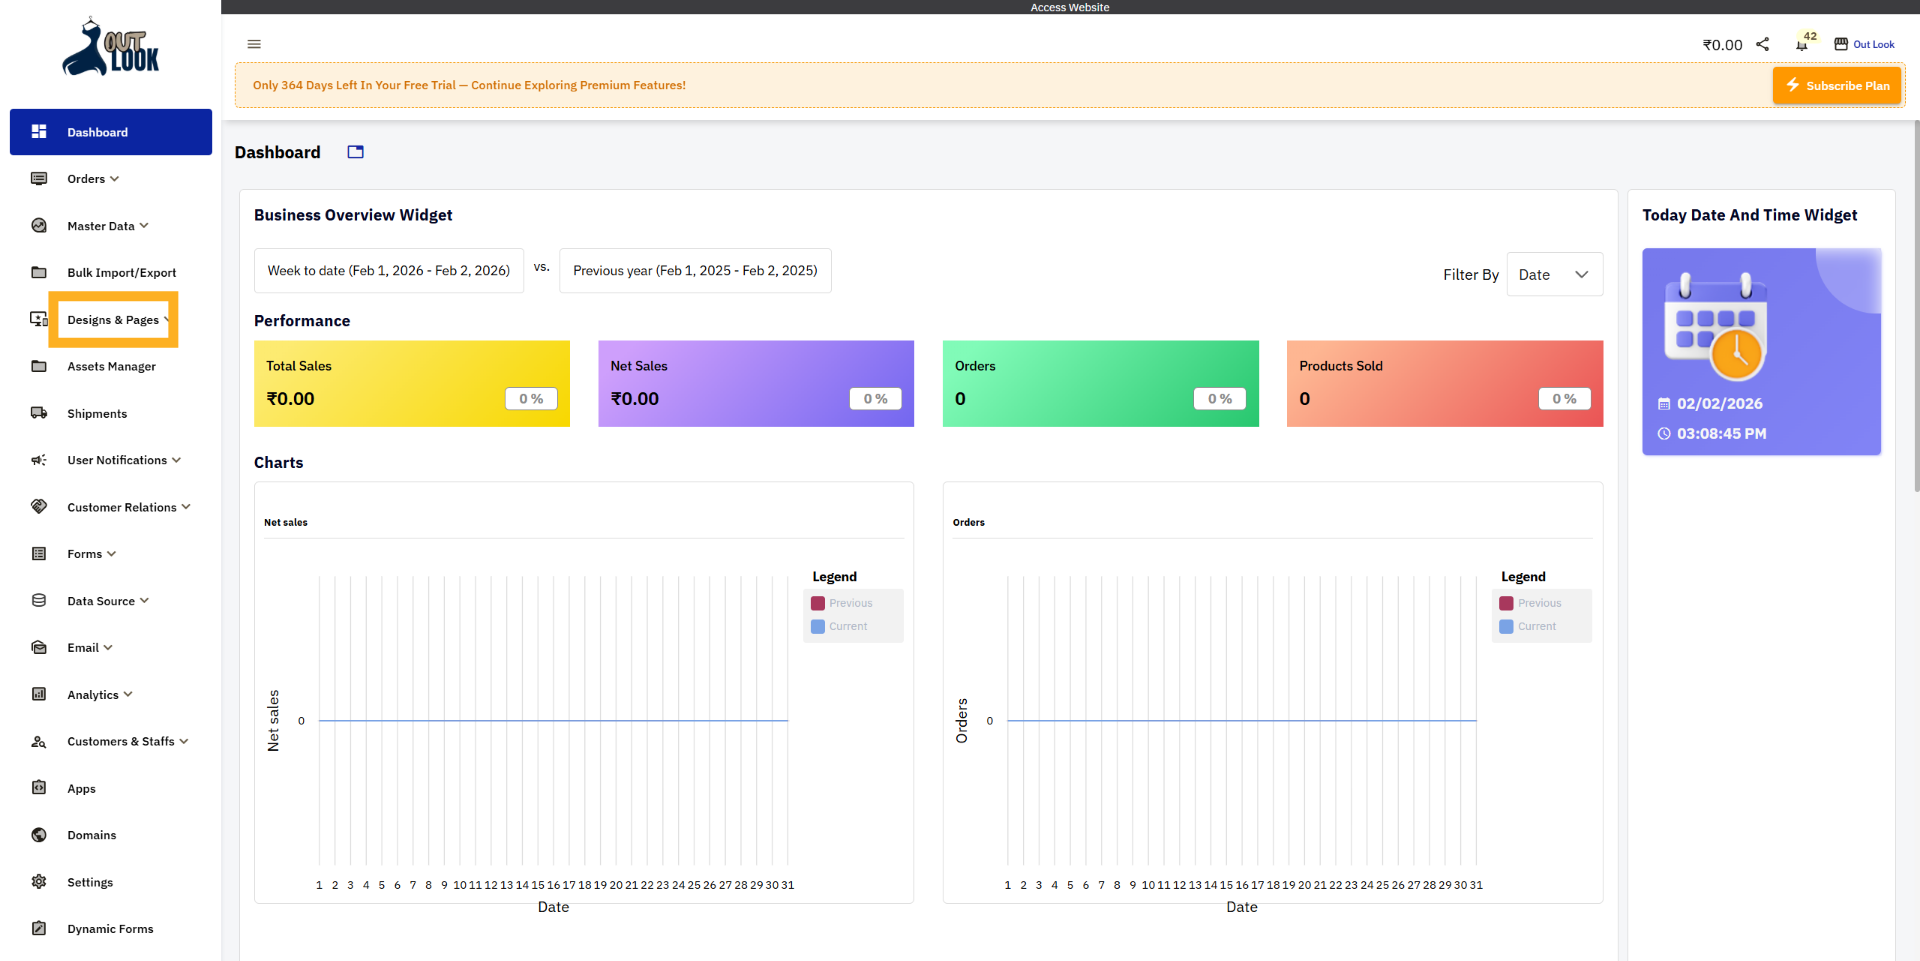
2. Open Designs & Pages Section
Click Designs & Pages to access the area where you can manage your website's layout and content.
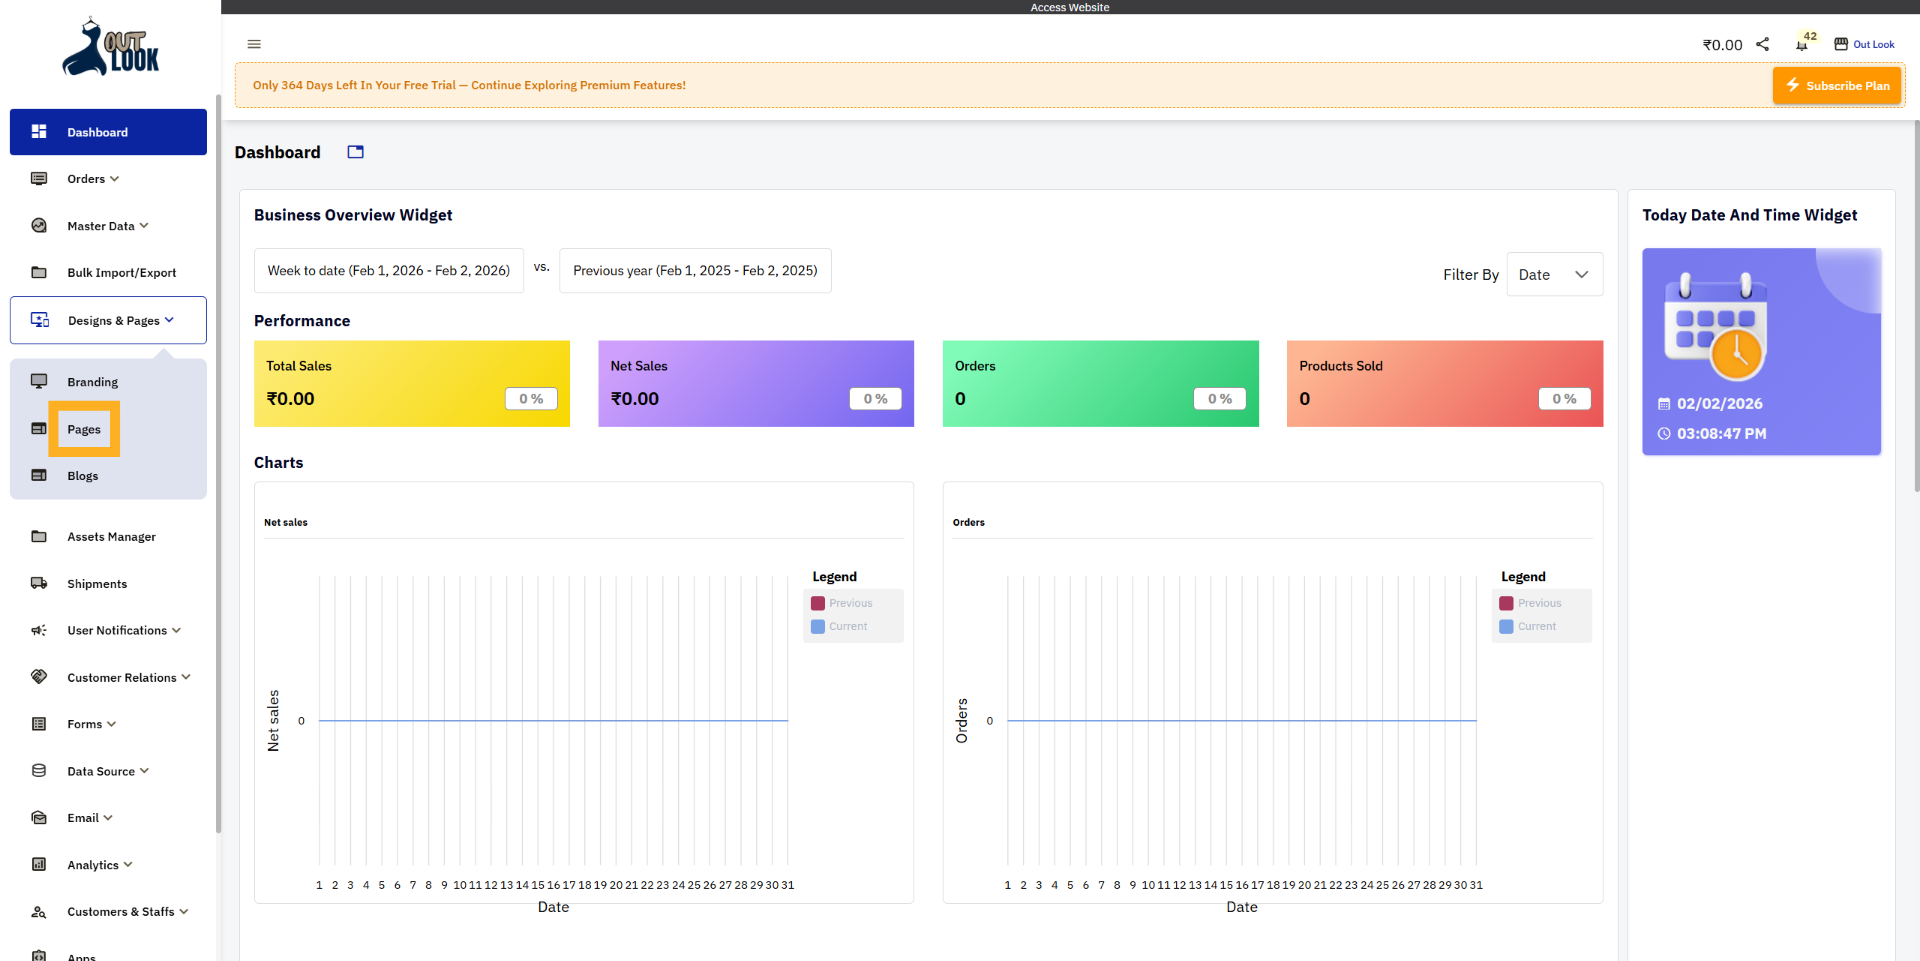
3. Navigate to Pages
Click Pages to view and edit the different pages available on your website.
4. Select Products Page
Click Products to open the product-related pages for editing and customization.
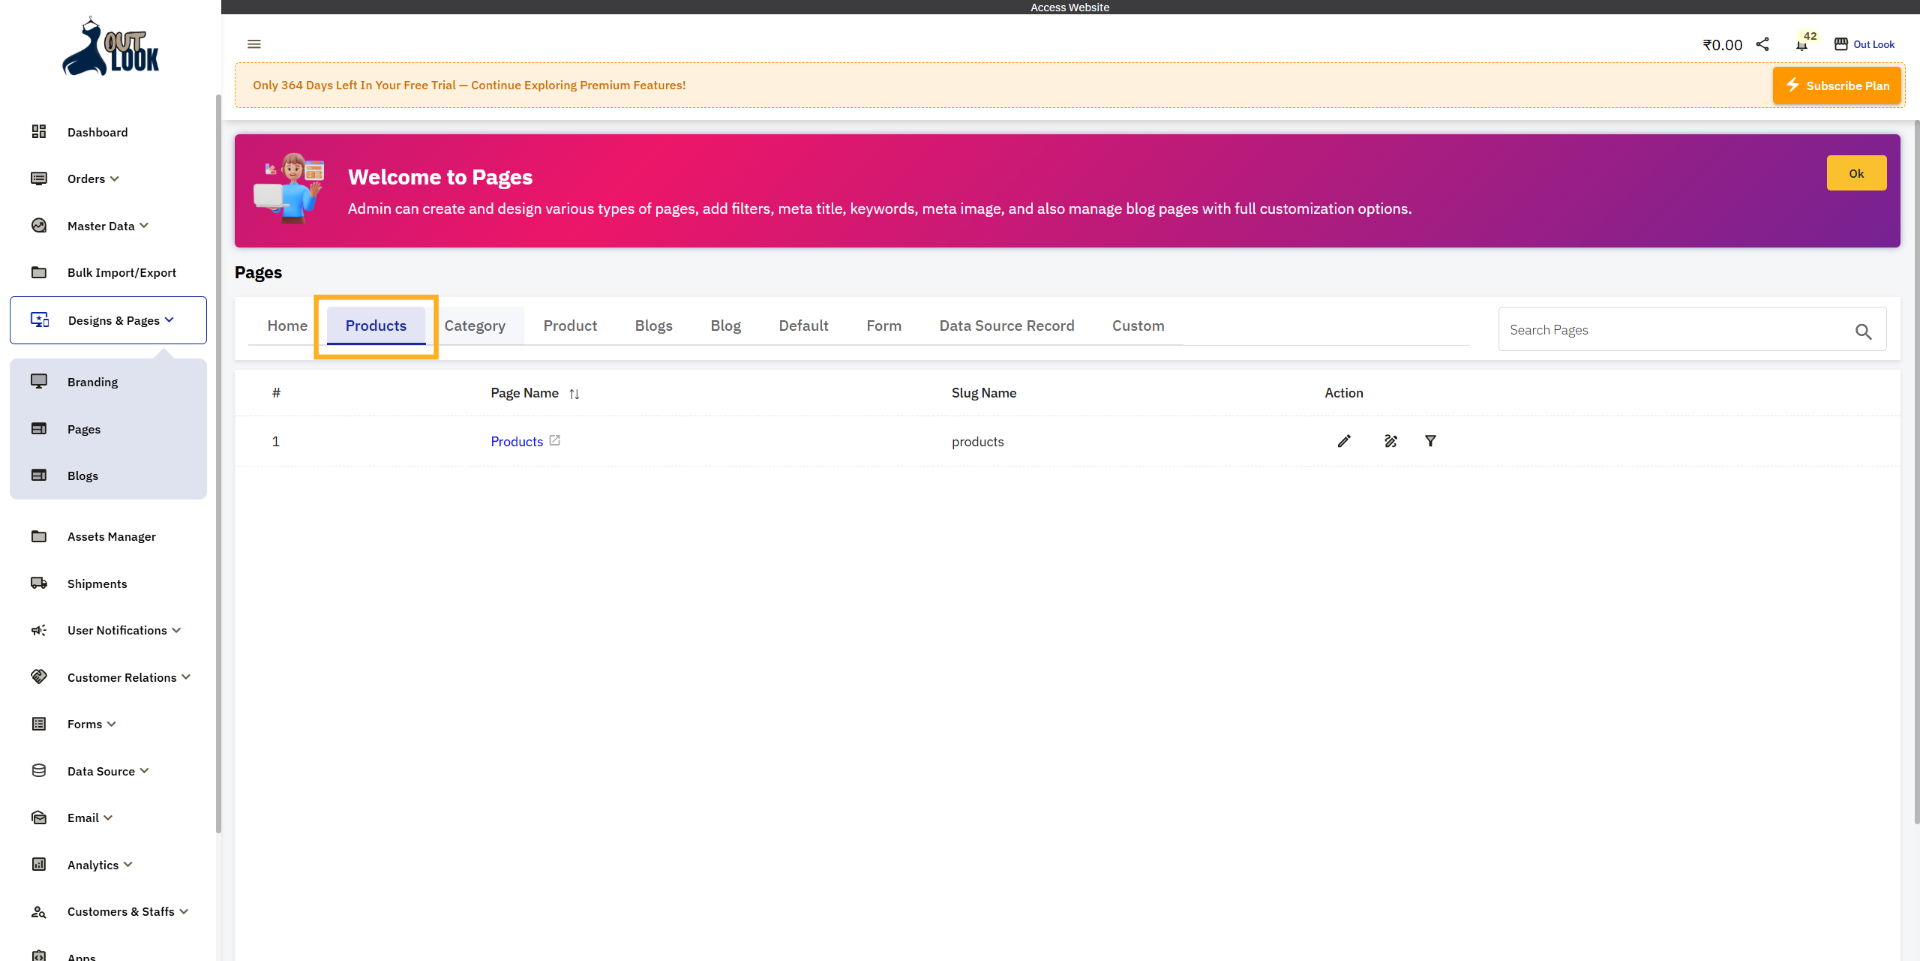
5. Select Category Page
Click Category to open the Category -related pages for editing and customization.

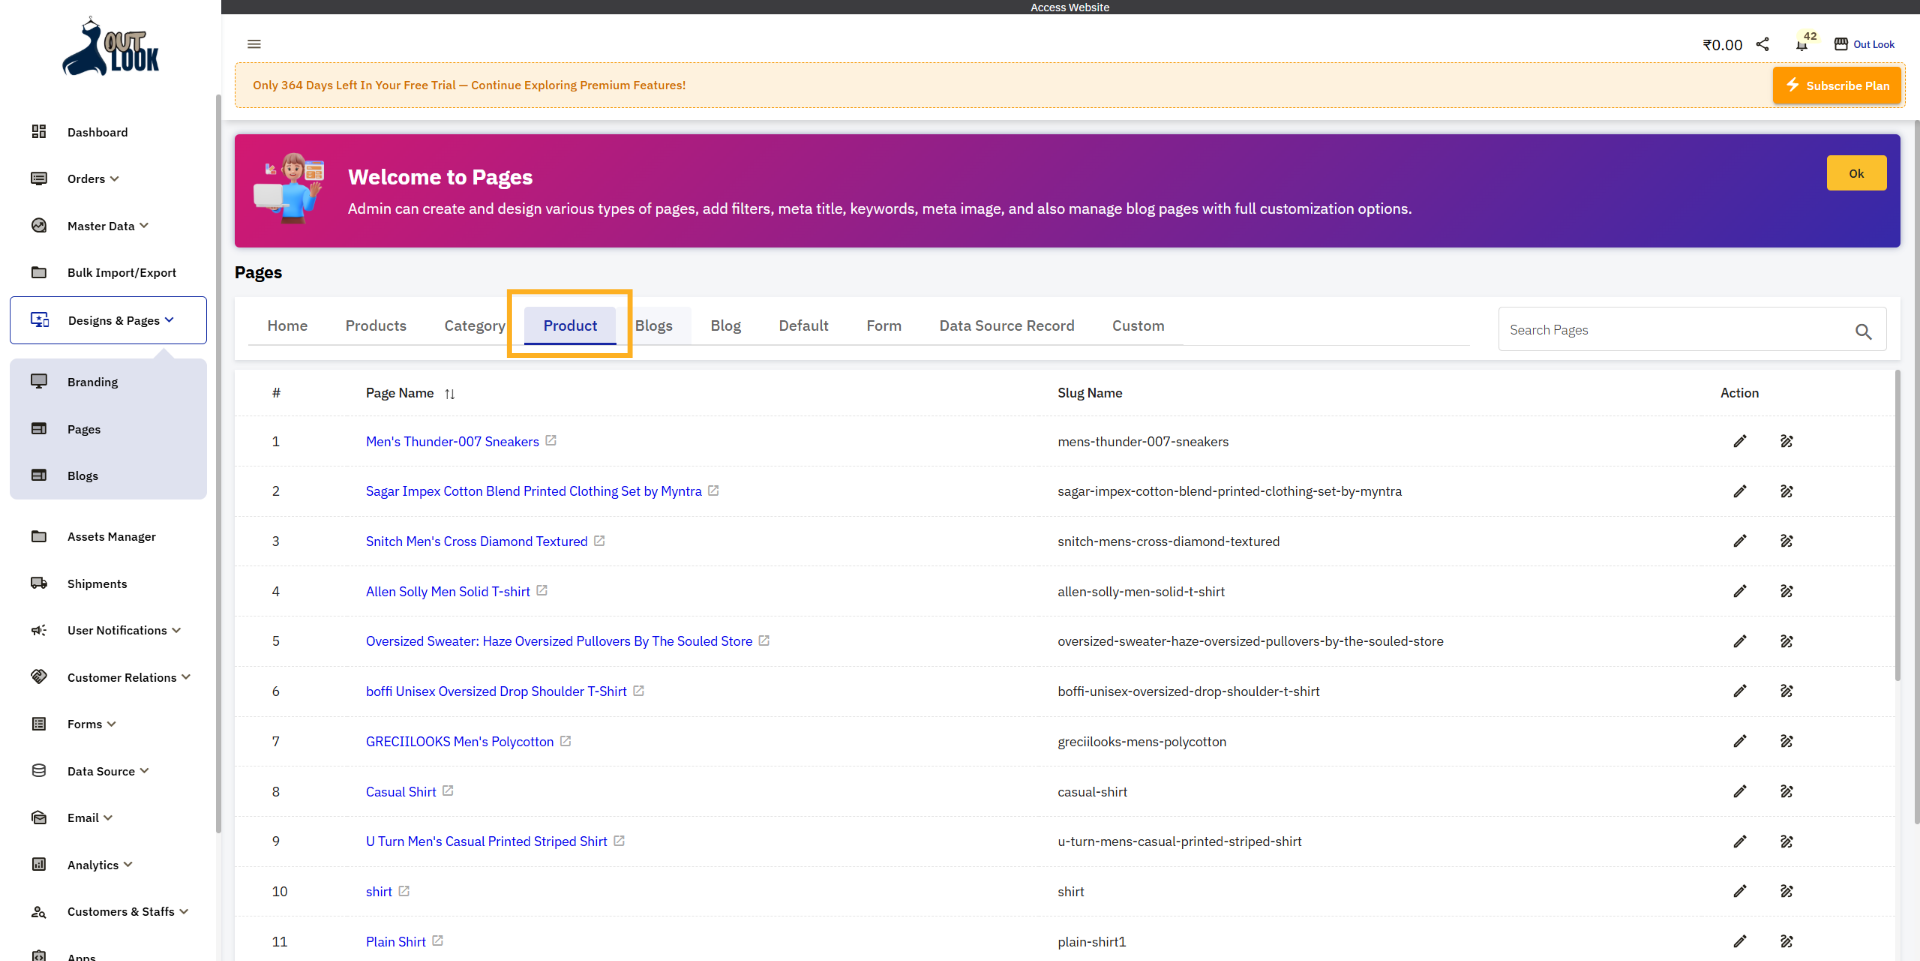
6. Open Product Page
Click Product to open edit individual product the product-related pages for editing and customization.
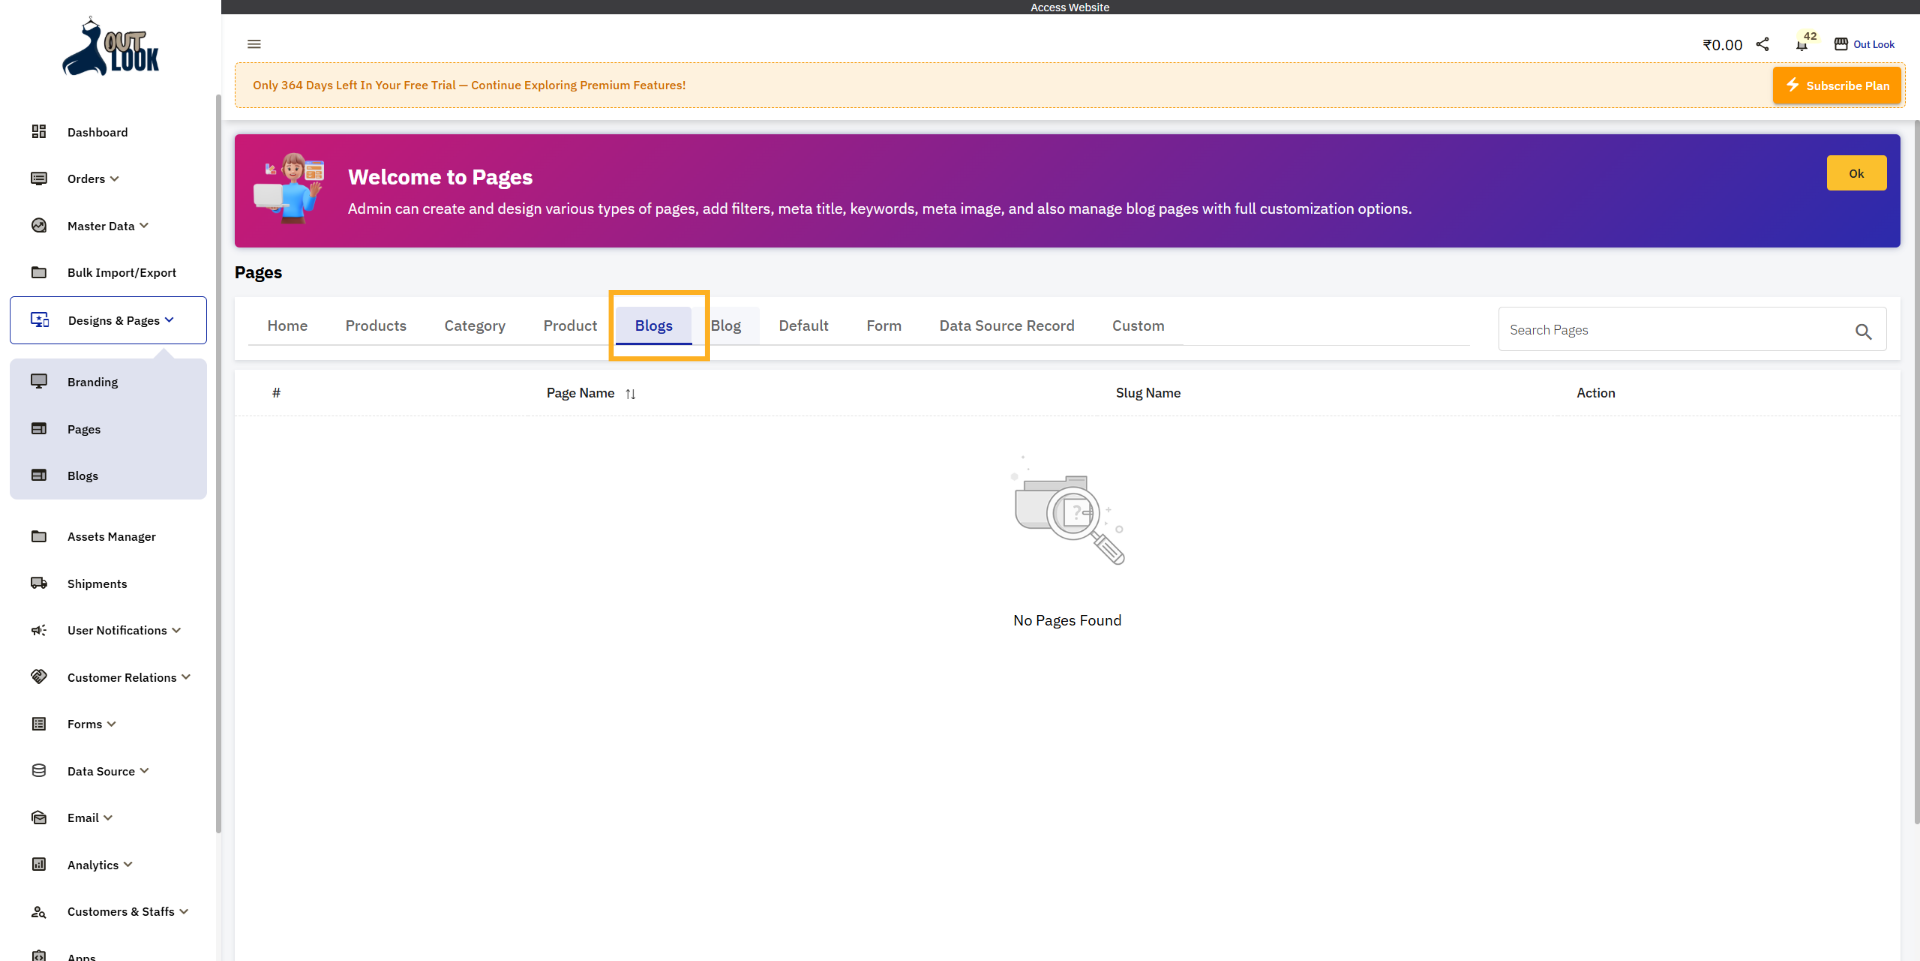
7. Blogs Section
Click Blogs to open edit the Blogs -related pages for editing and customization.
8. Select Blog Page
Click Blog to open edit individual the Blog -related page for editing and customization.

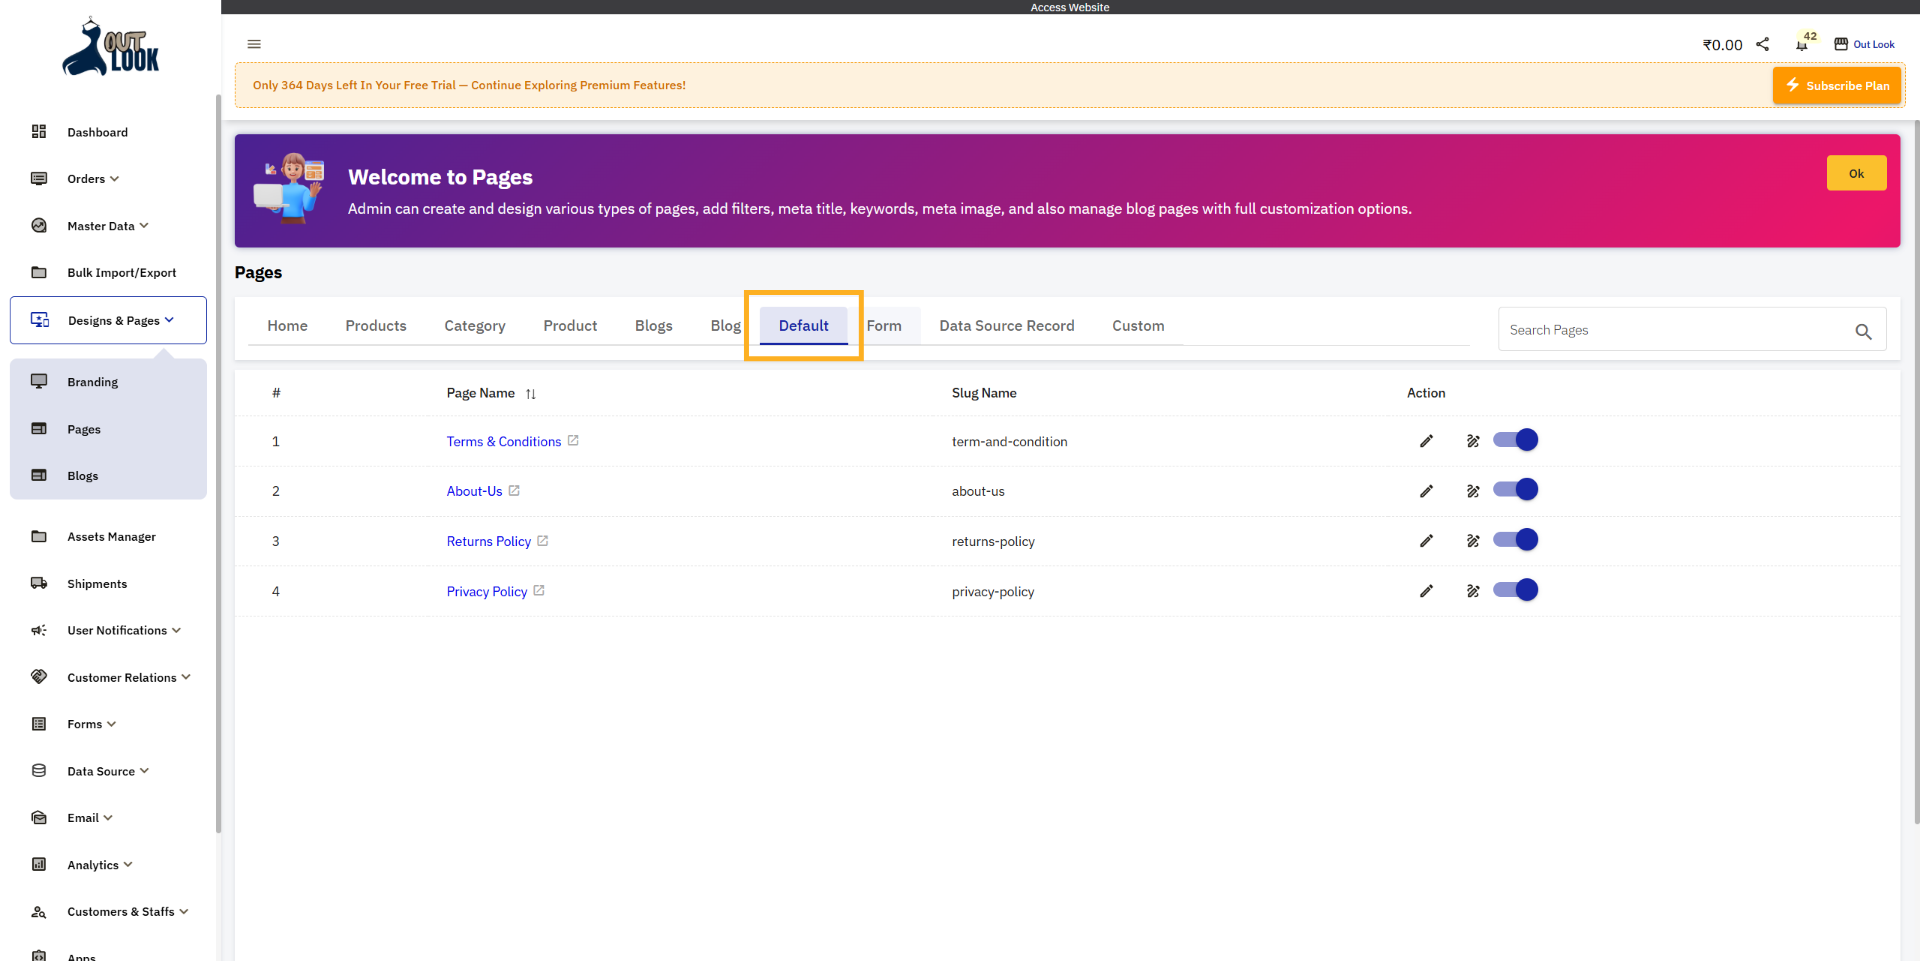
9. Open Default Page
Click Default to open edit the Default -related pages for editing and customization.
10. Access Form Page
Click Form to open edit the Form -related pages for editing and customization.

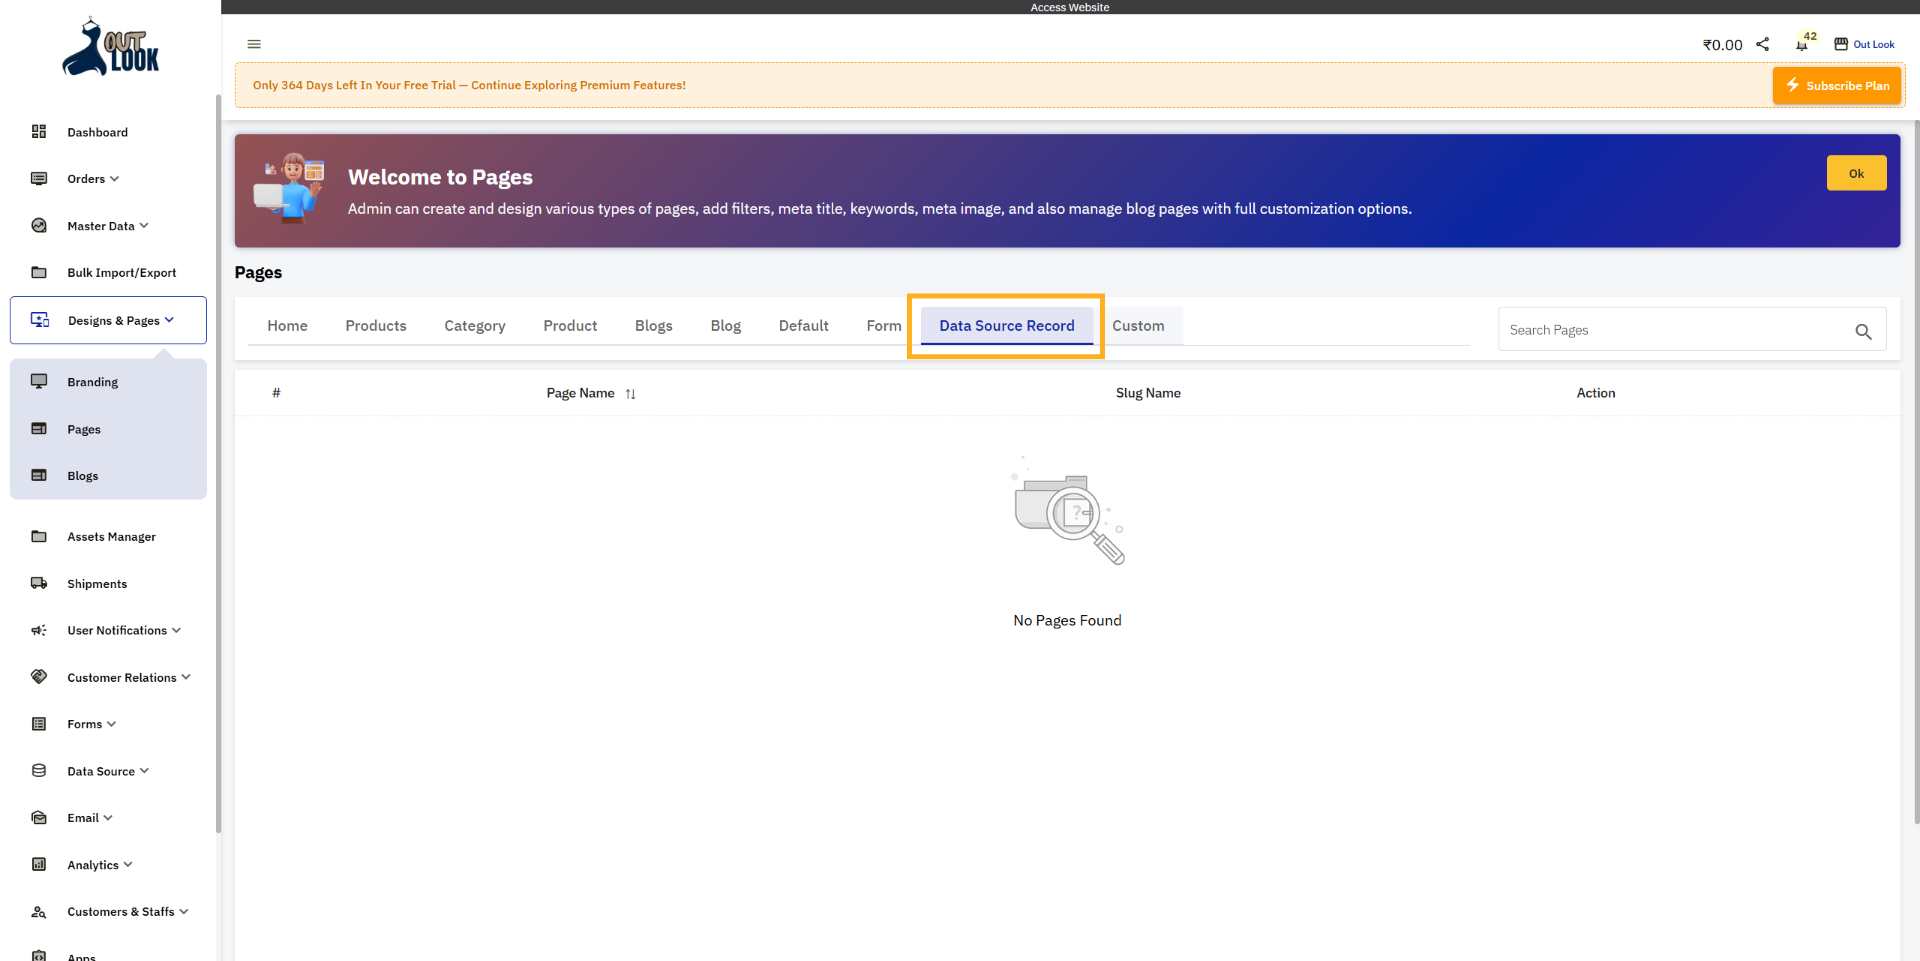
11. Open Data Source Record
Click Data Source to open edit the Data Source-related pages for editing and customization.
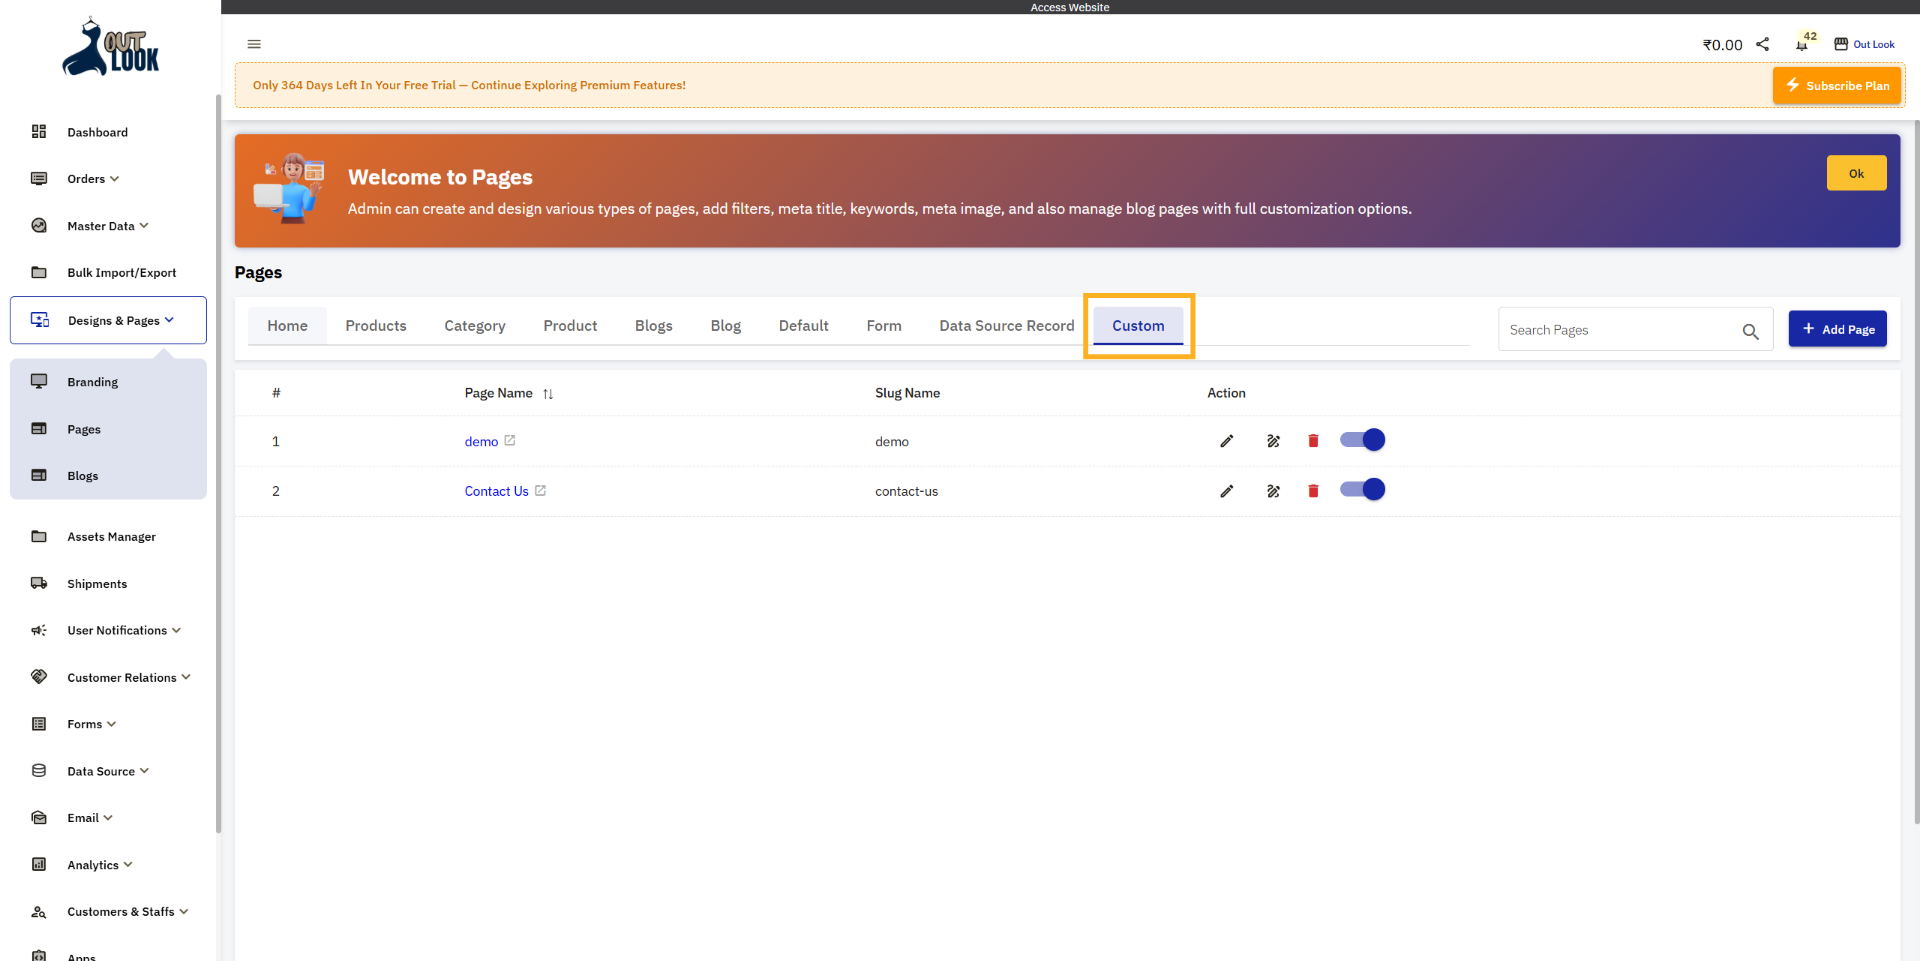
12. Select Custom Page
Click Custom to open edit the Custom -related pages for editing and customization.
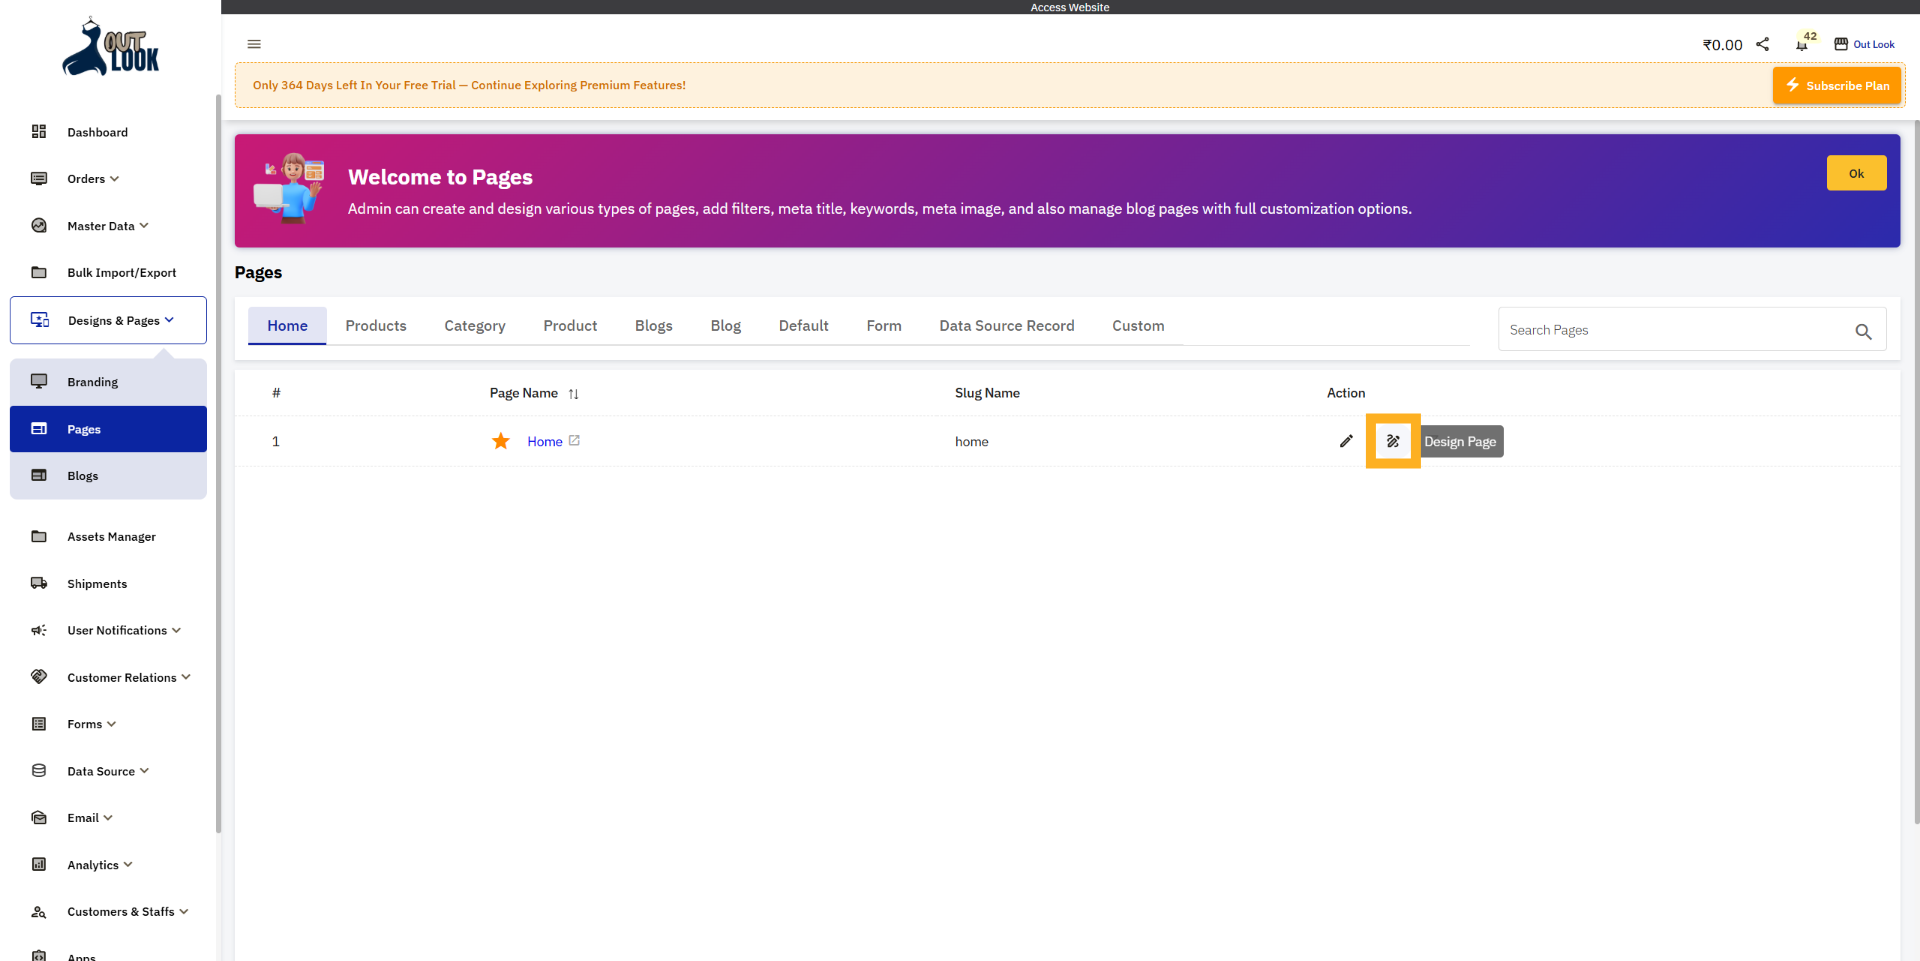
13. Open Home Page
Click Home to open edit the Home page for editing and customization.

14. Click Design Page
Click Edit to access the design page for further customization.
15. Open Configuration Settings
Click Configuration to access the general default settings for your website's product card, top product
card, category , top category, product details design and theme colors settings

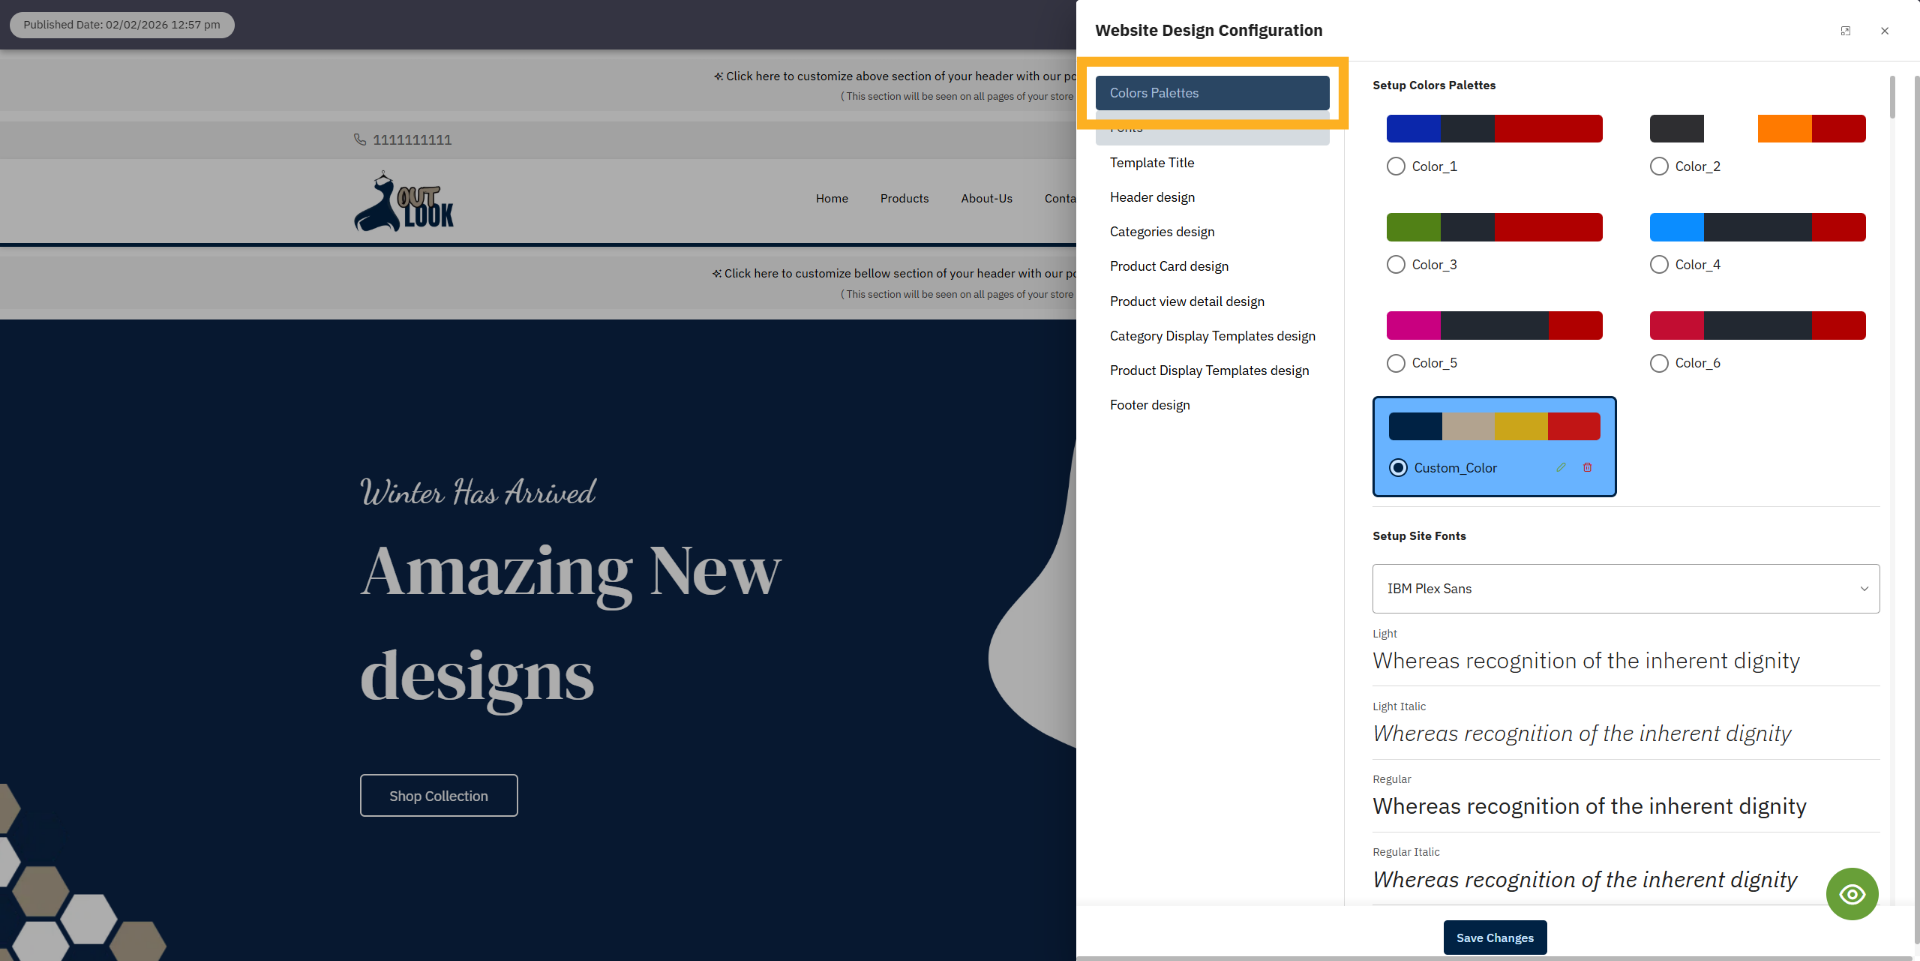
16. Access Colors Palettes
Click Colors Palettes to customize the color schemes used throughout your website.
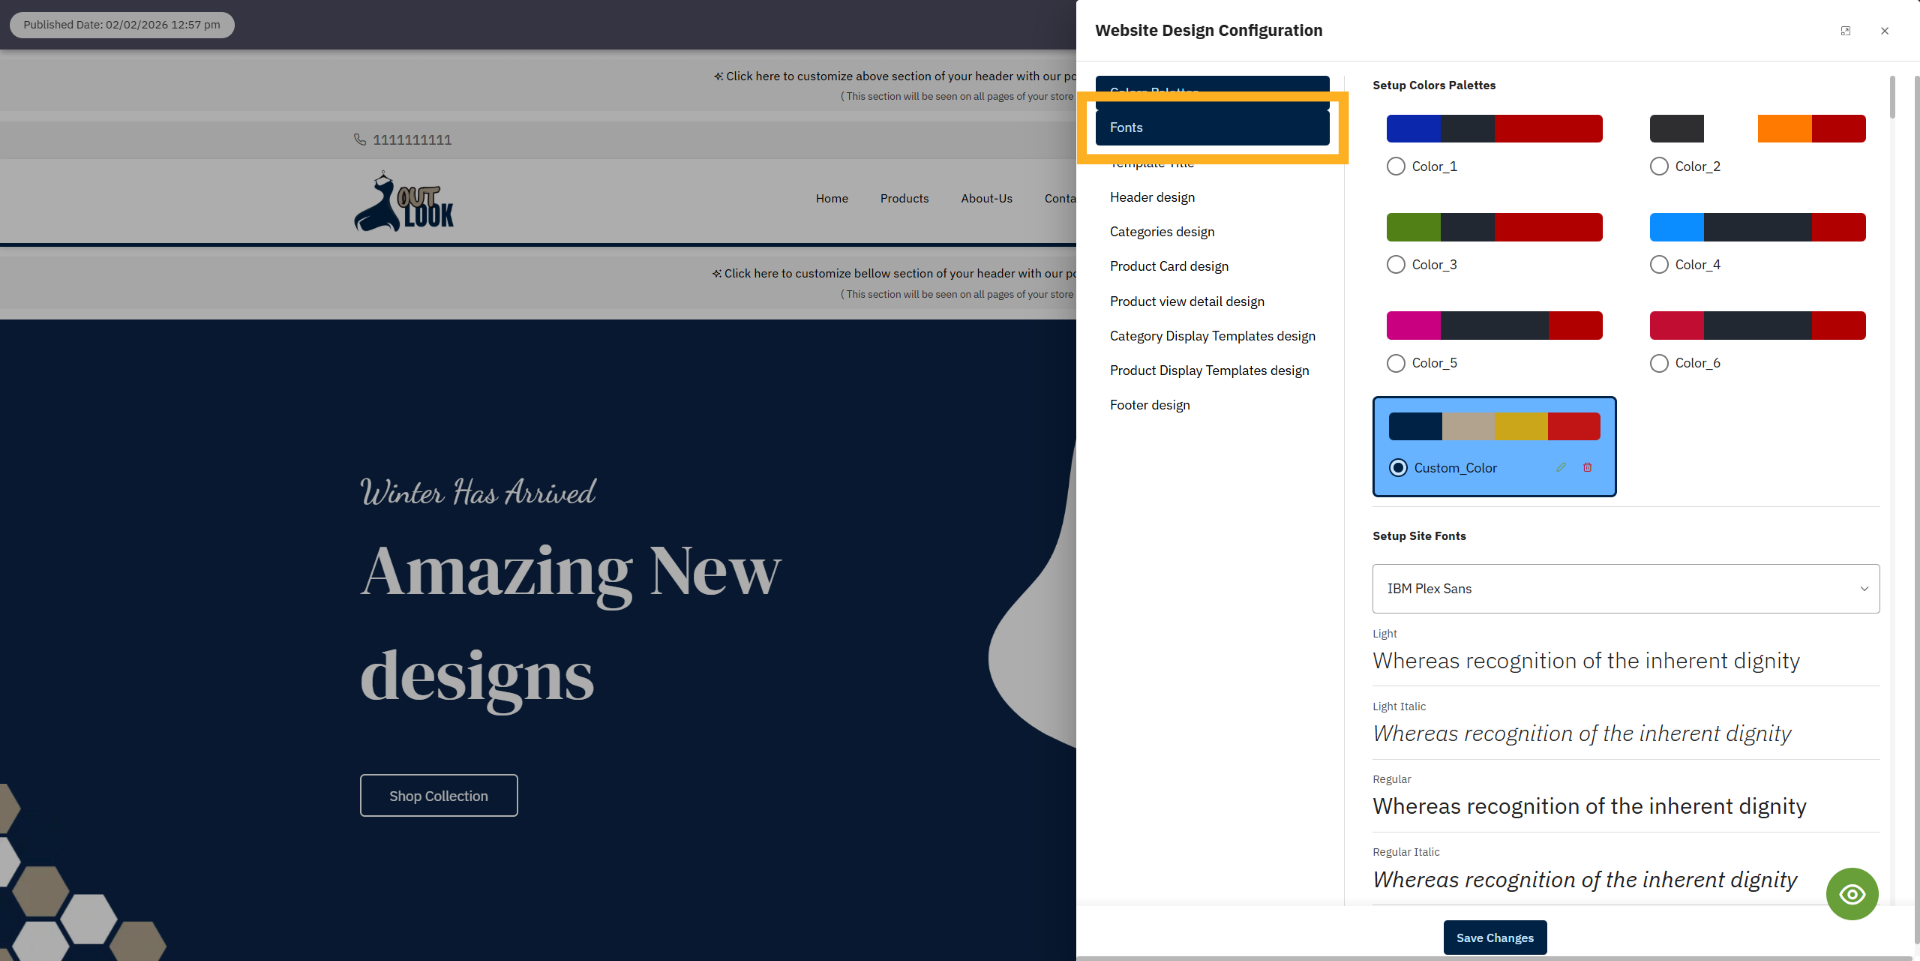
17. Open Fonts Settings
Click Fonts to manage and select the typography styles for your site.
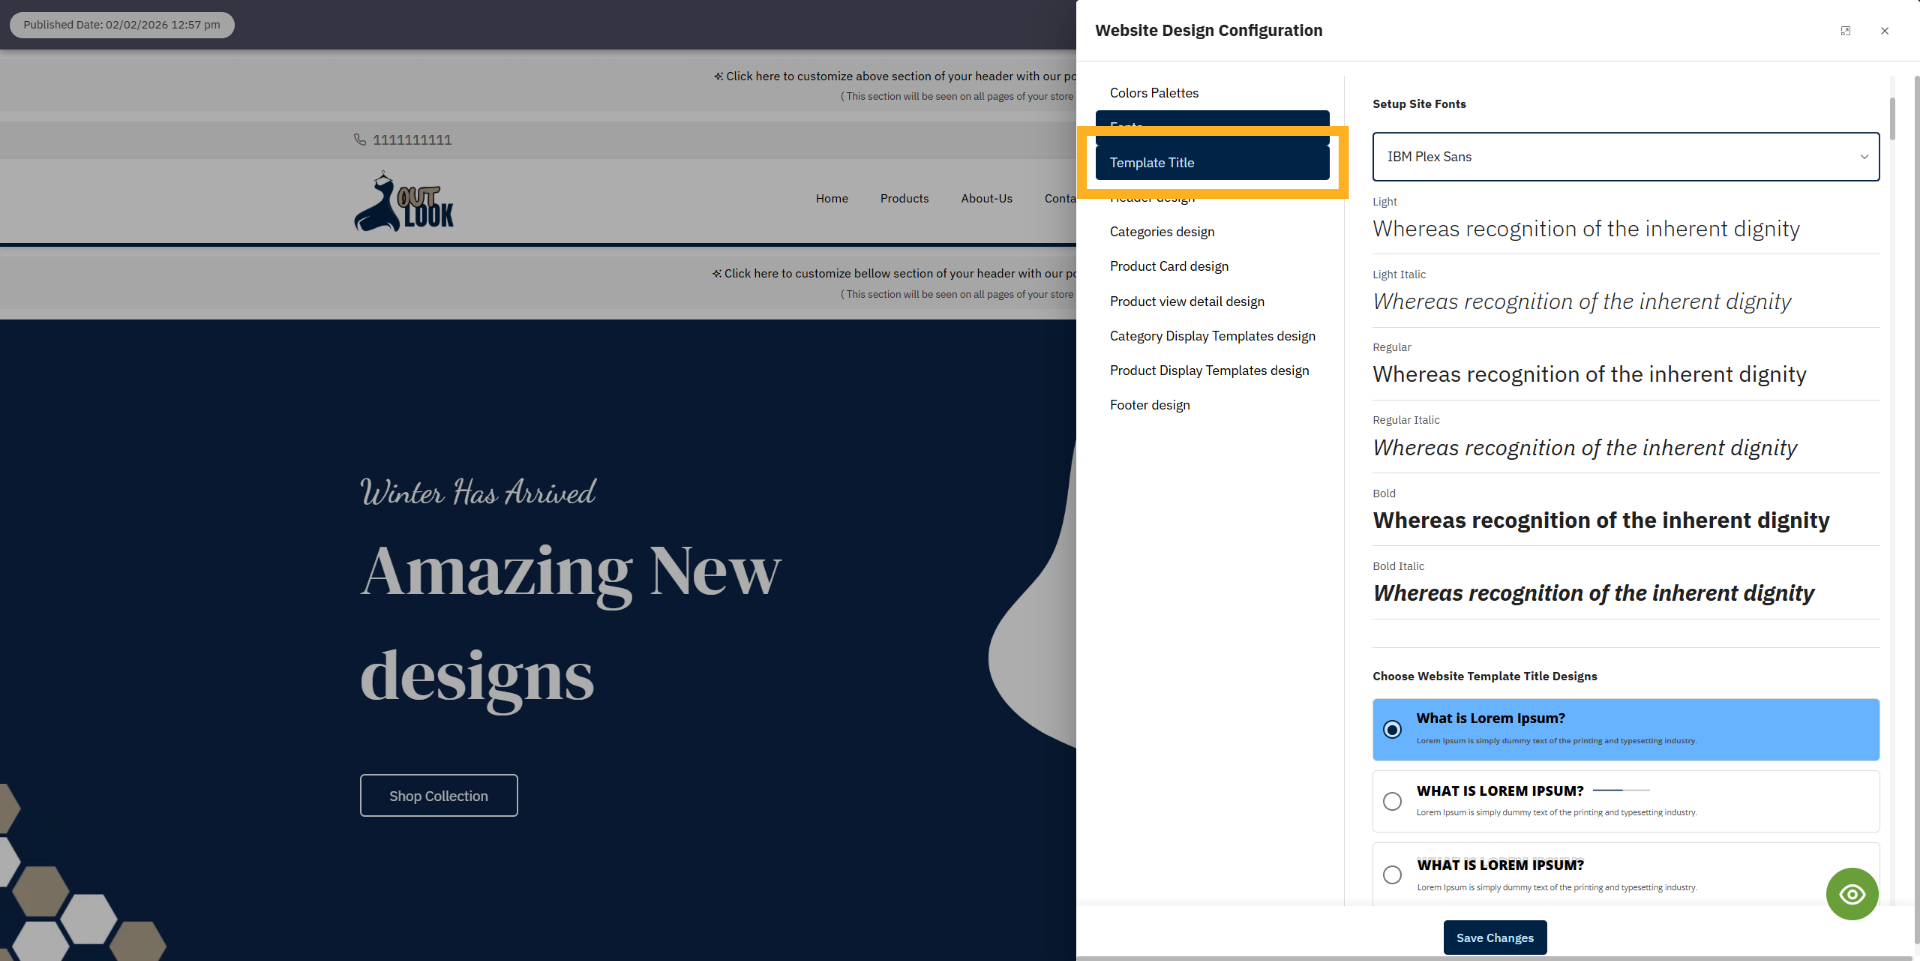
18. Select Template Title
Click Template Title to modify the title design of your website templates.
19. Open Header Design
Click Header design to customize the appearance and layout of your website's header.

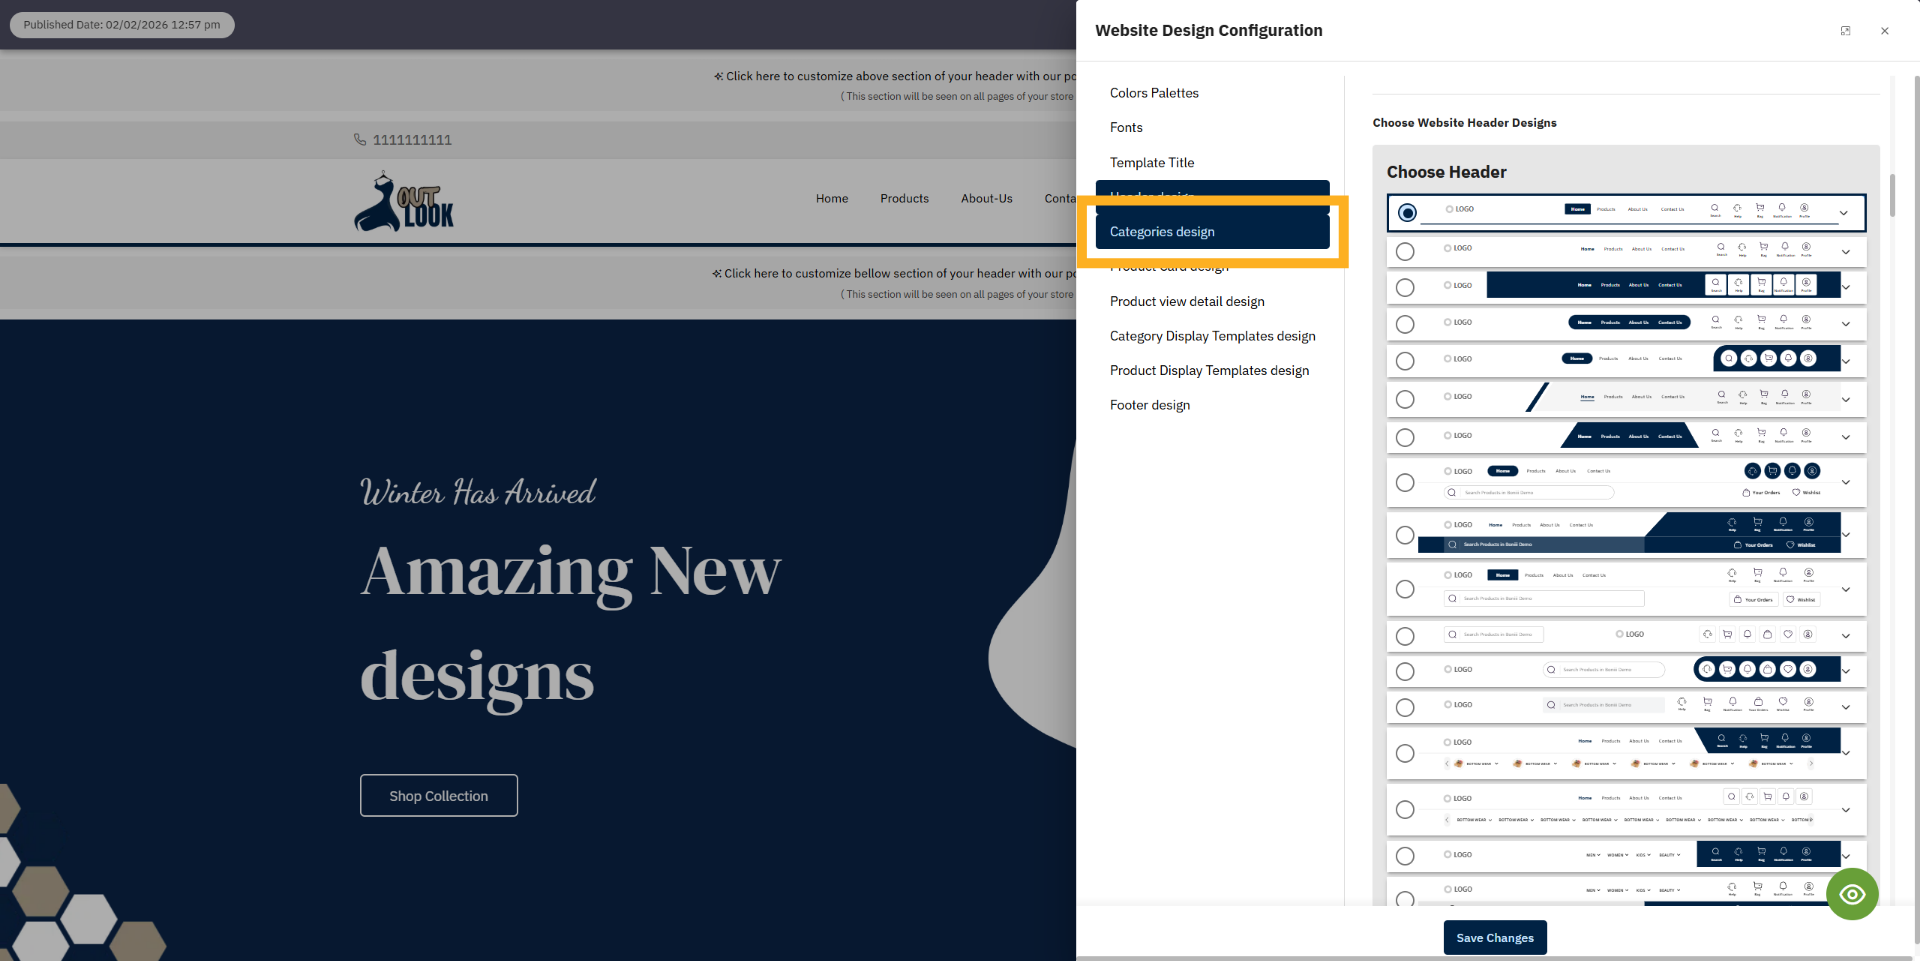
20. Access Categories Design
Click Categories design to adjust how product categories are displayed on your site.
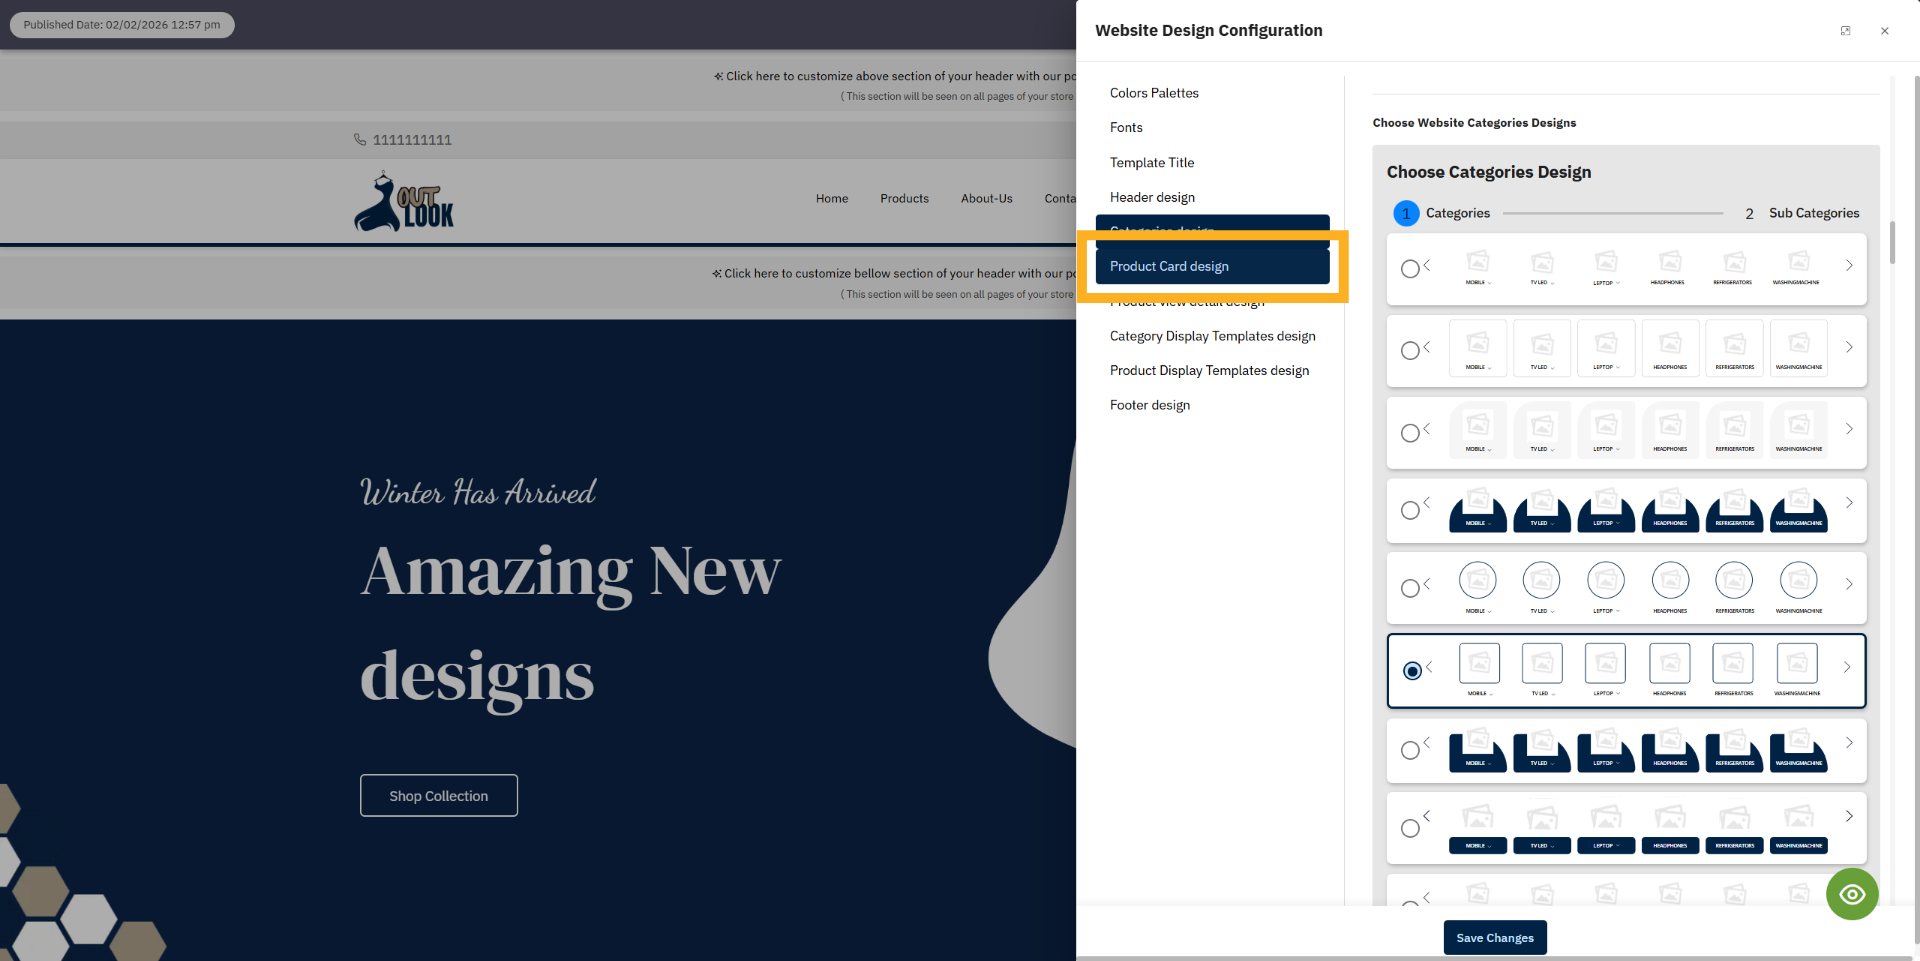
21. Select and set Product Card Design
Click Product Card design to change the card style of product cards.
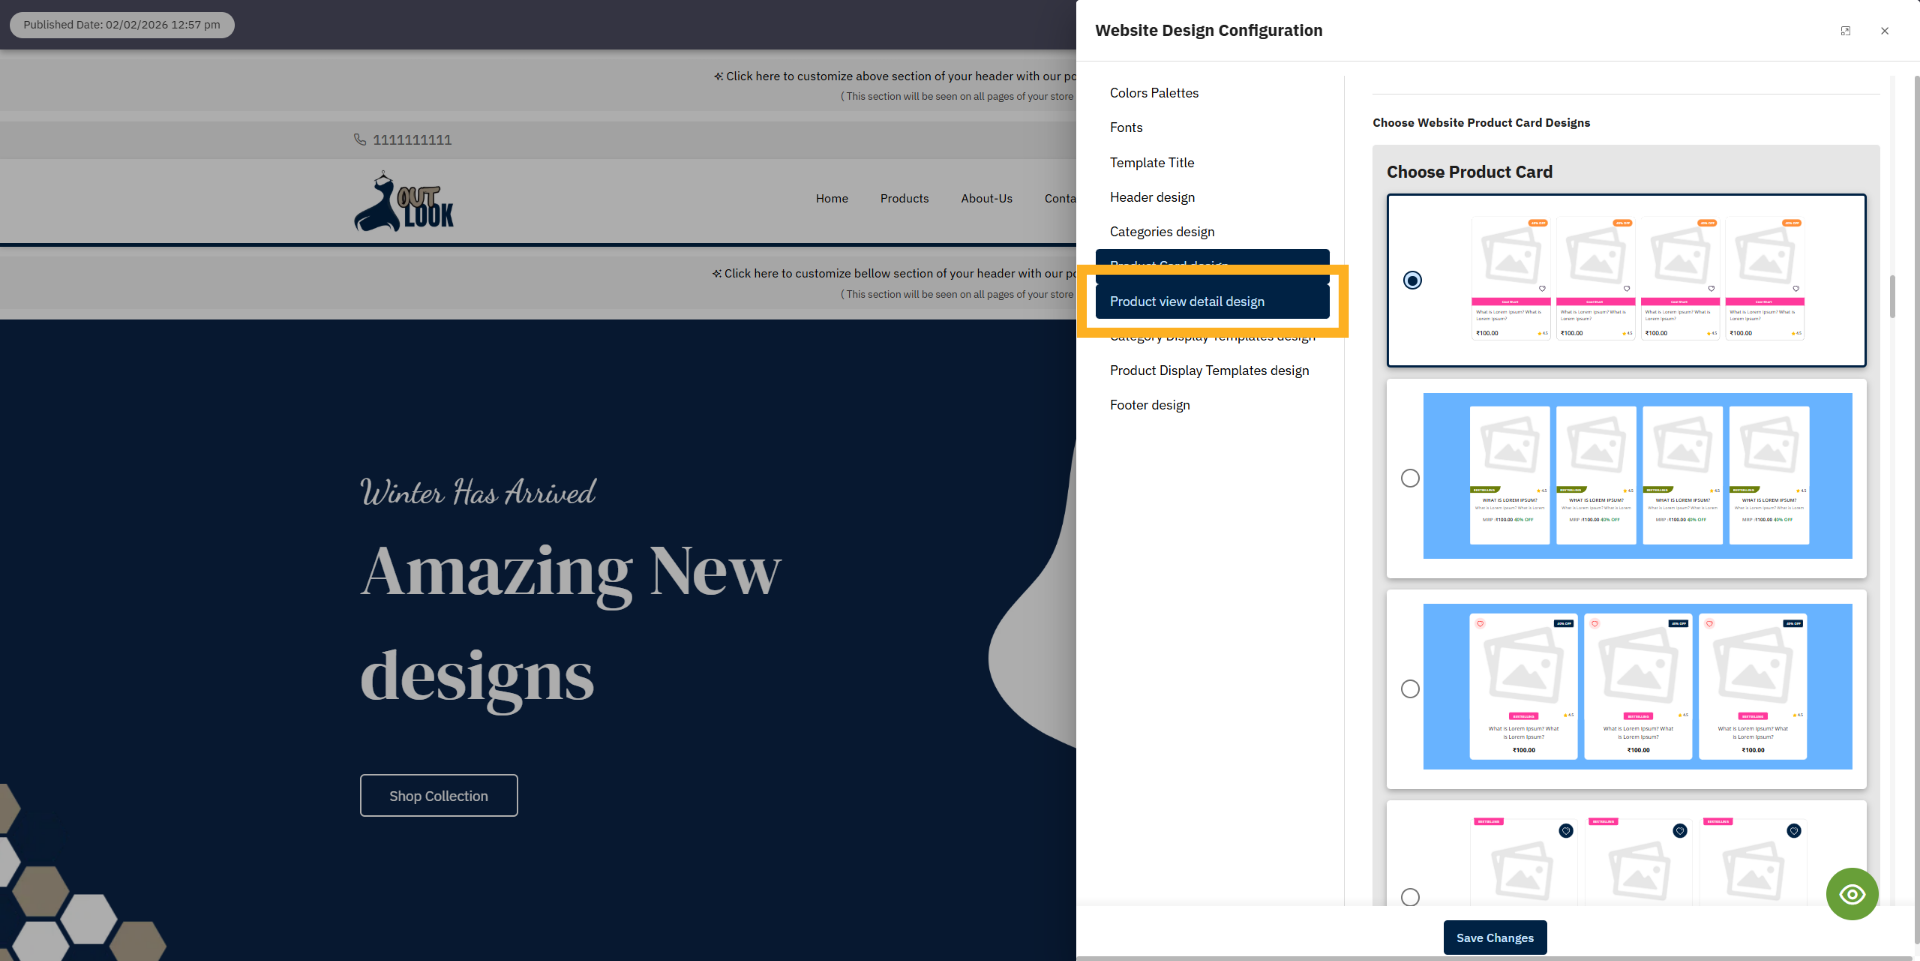
22. Select Product View Detail Design
Click Product view detail to change the Product view detail design.
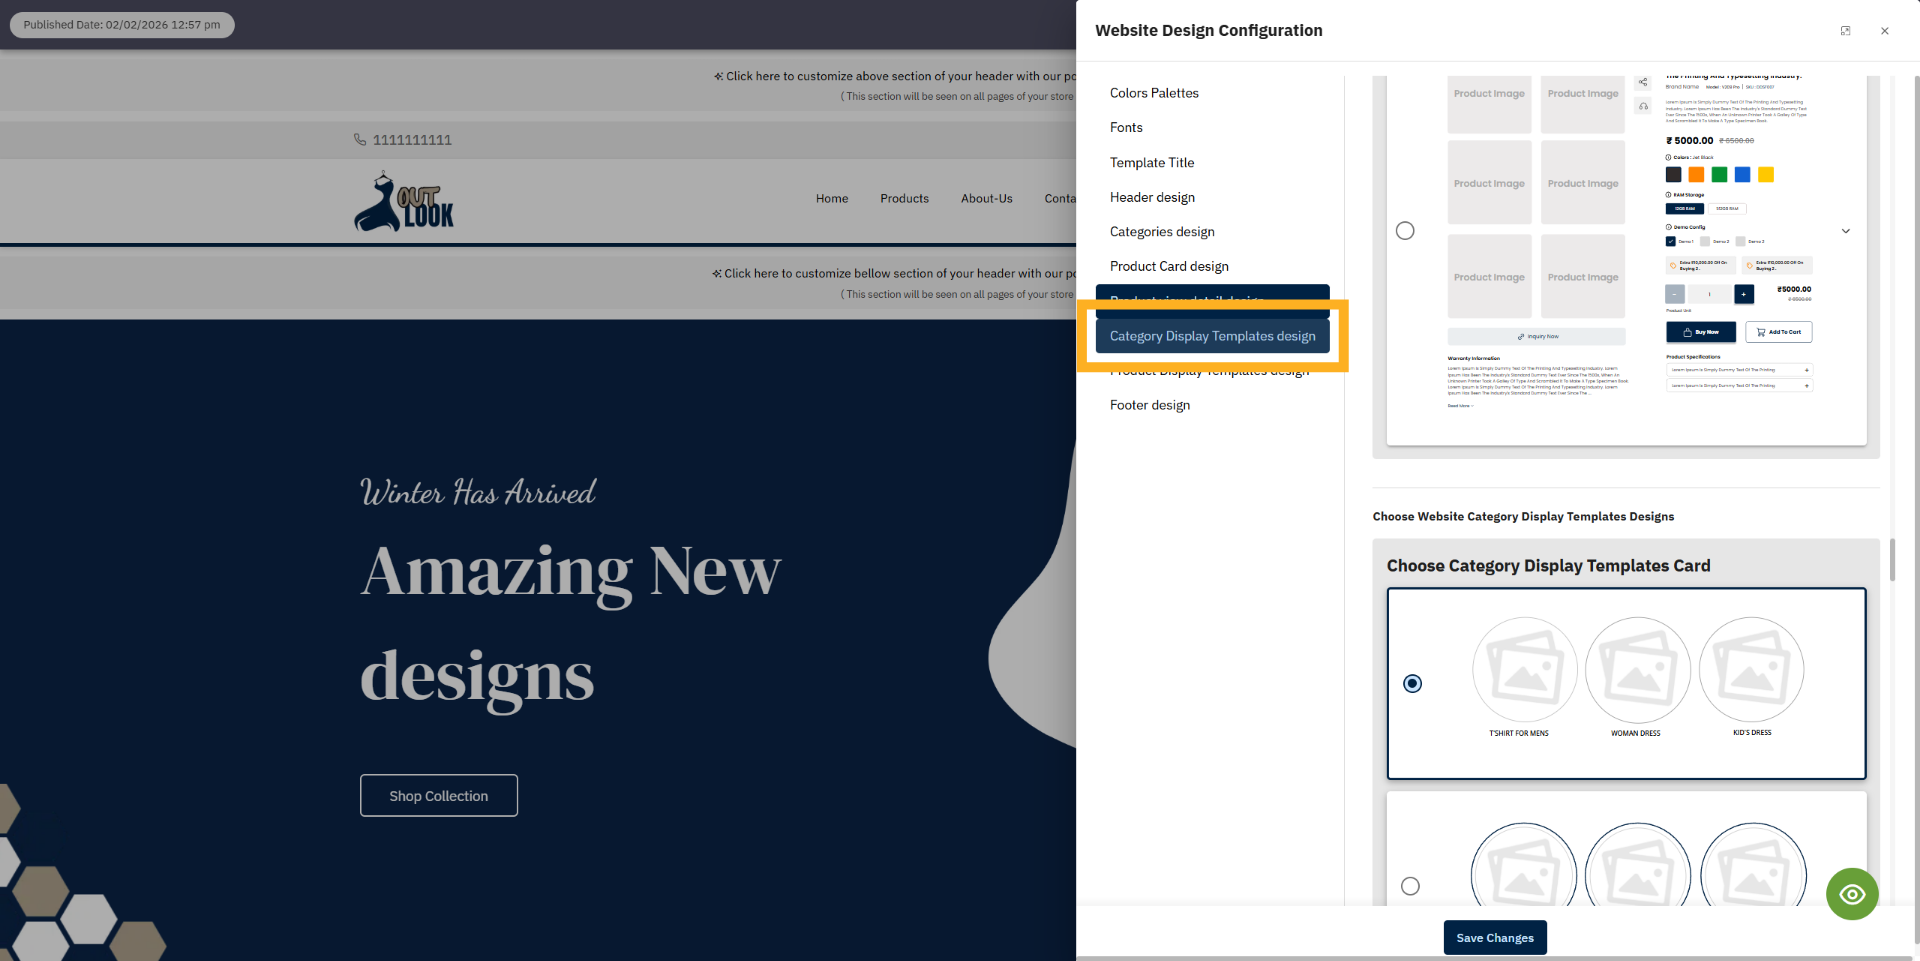
23. Access Category Display Templates
Click Category Display Templates to change the Category design.
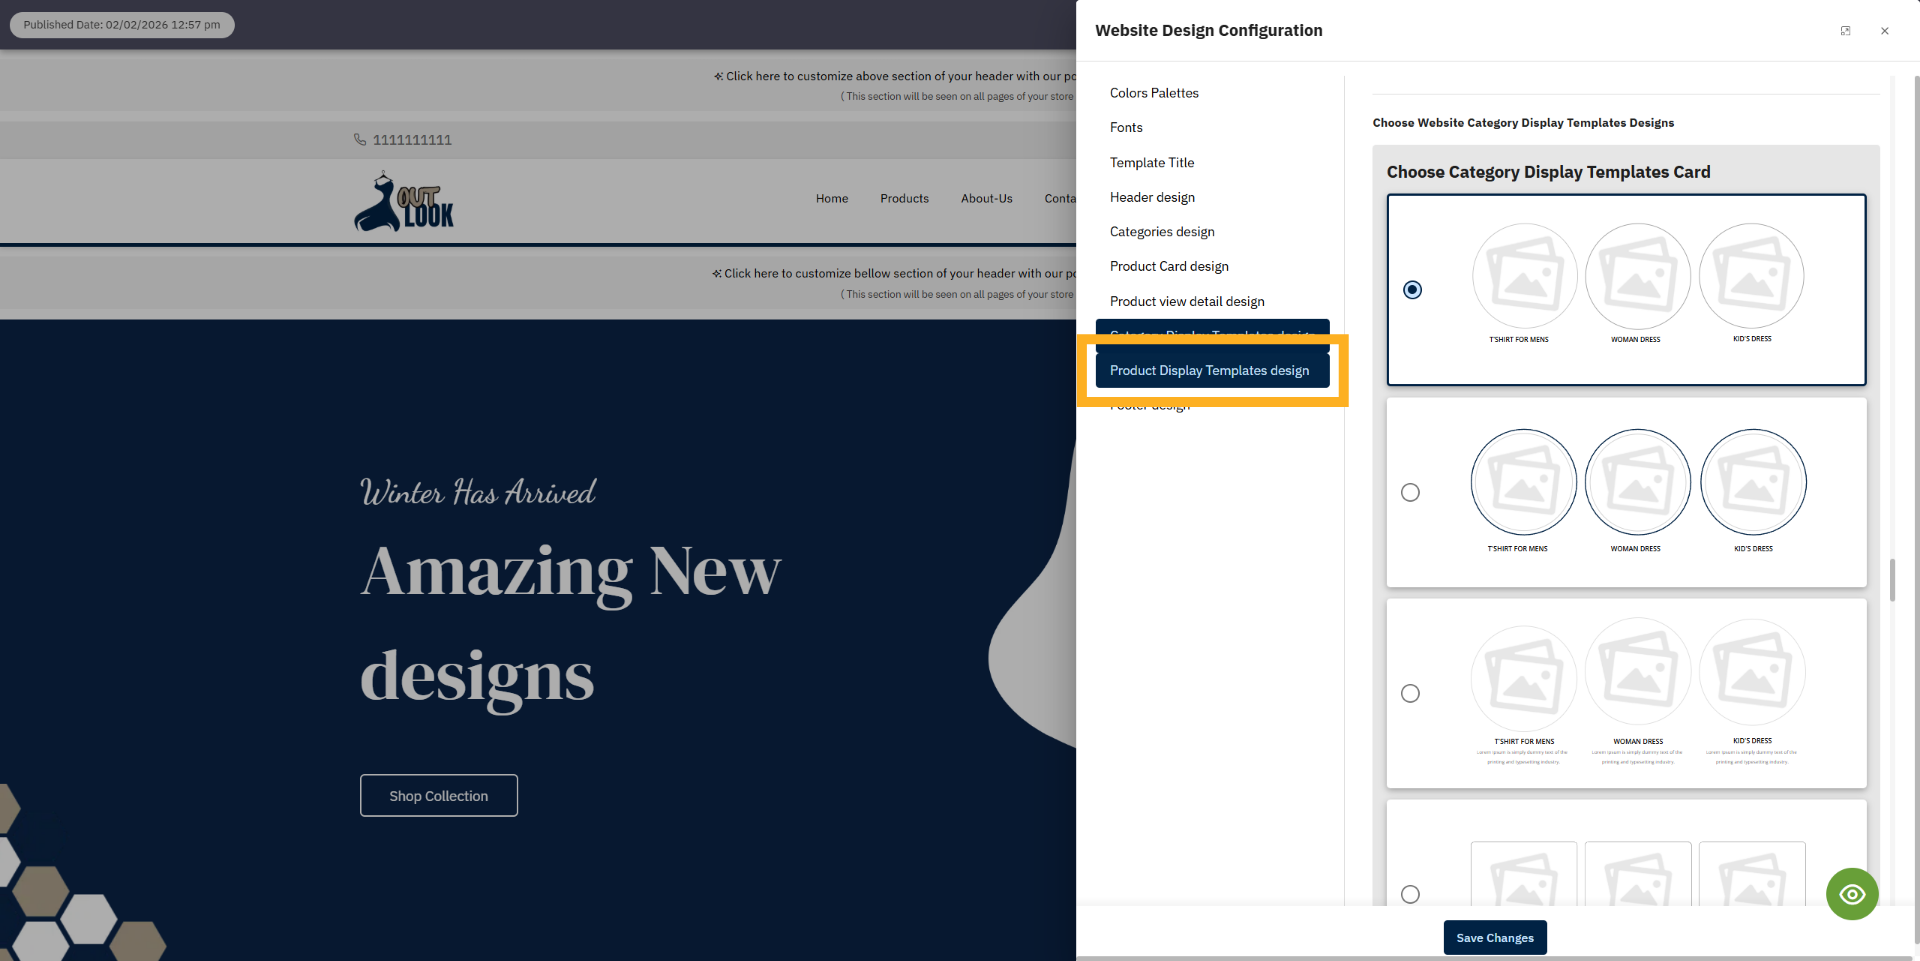
24. Select Product Display Templates
Click top product display templates to change the top product templates design.
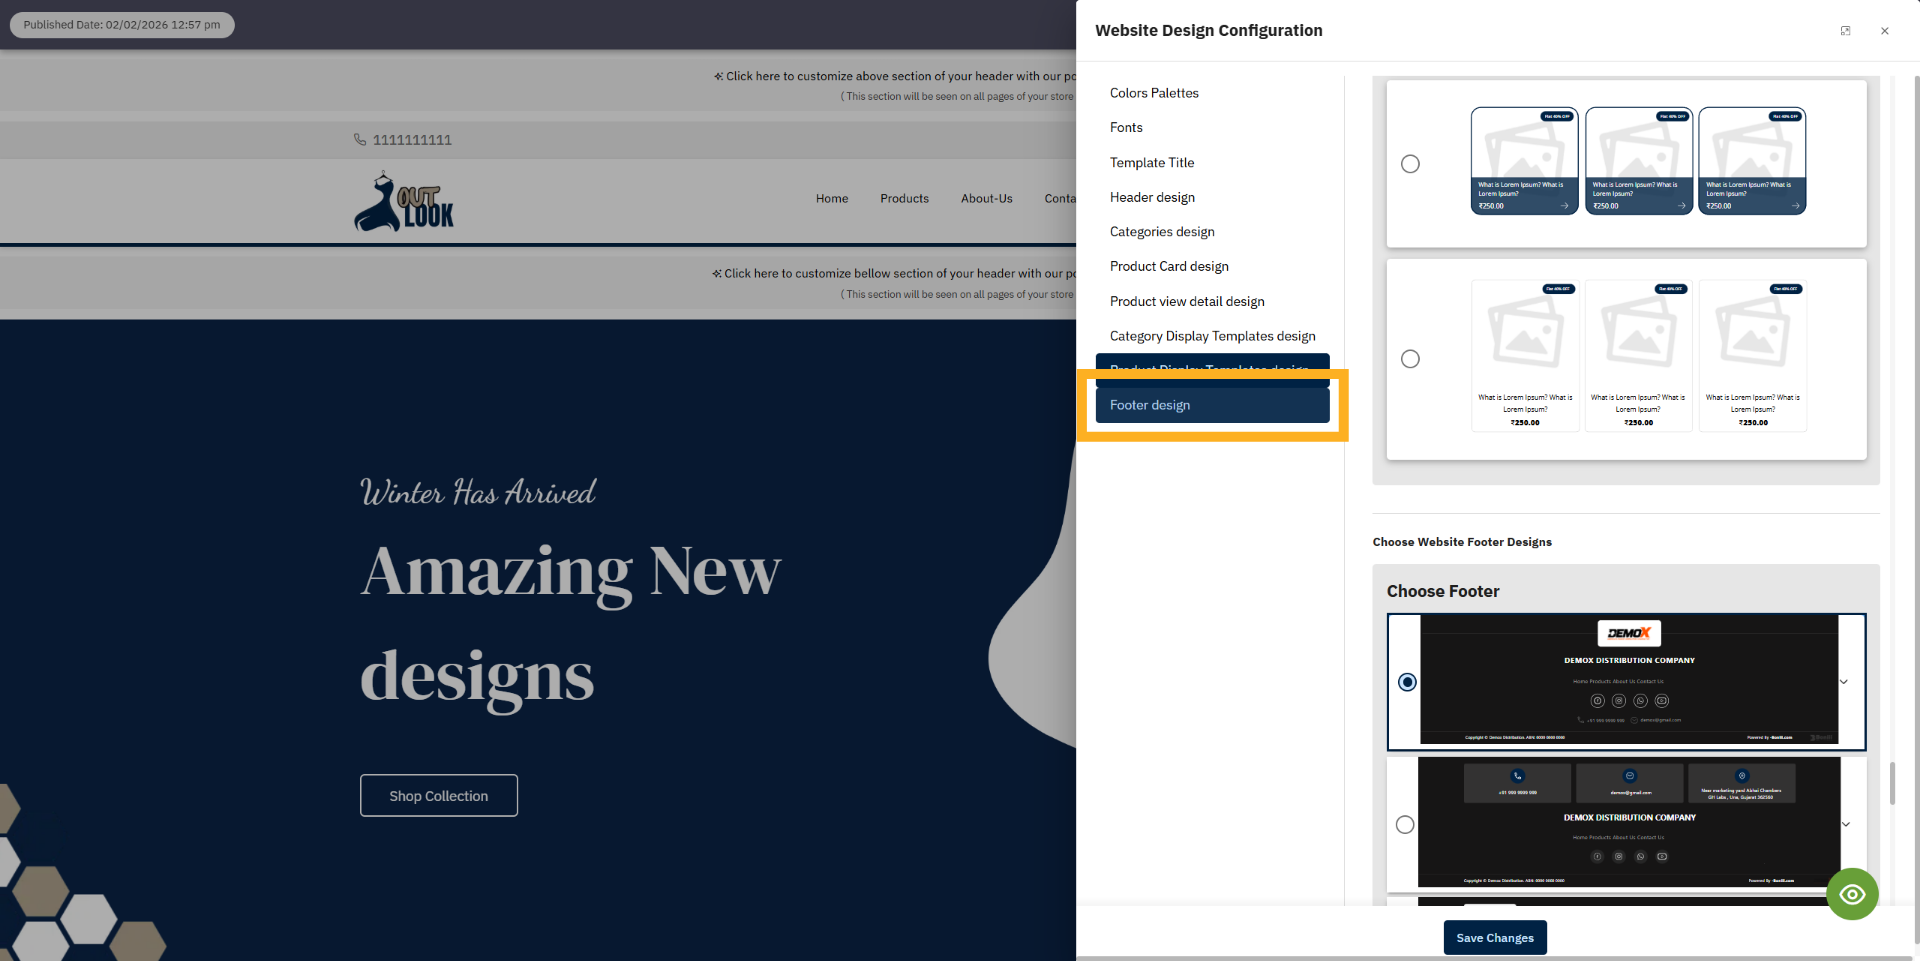
25. Select Footer Design
Click footer display templates to change the top footer templates design.
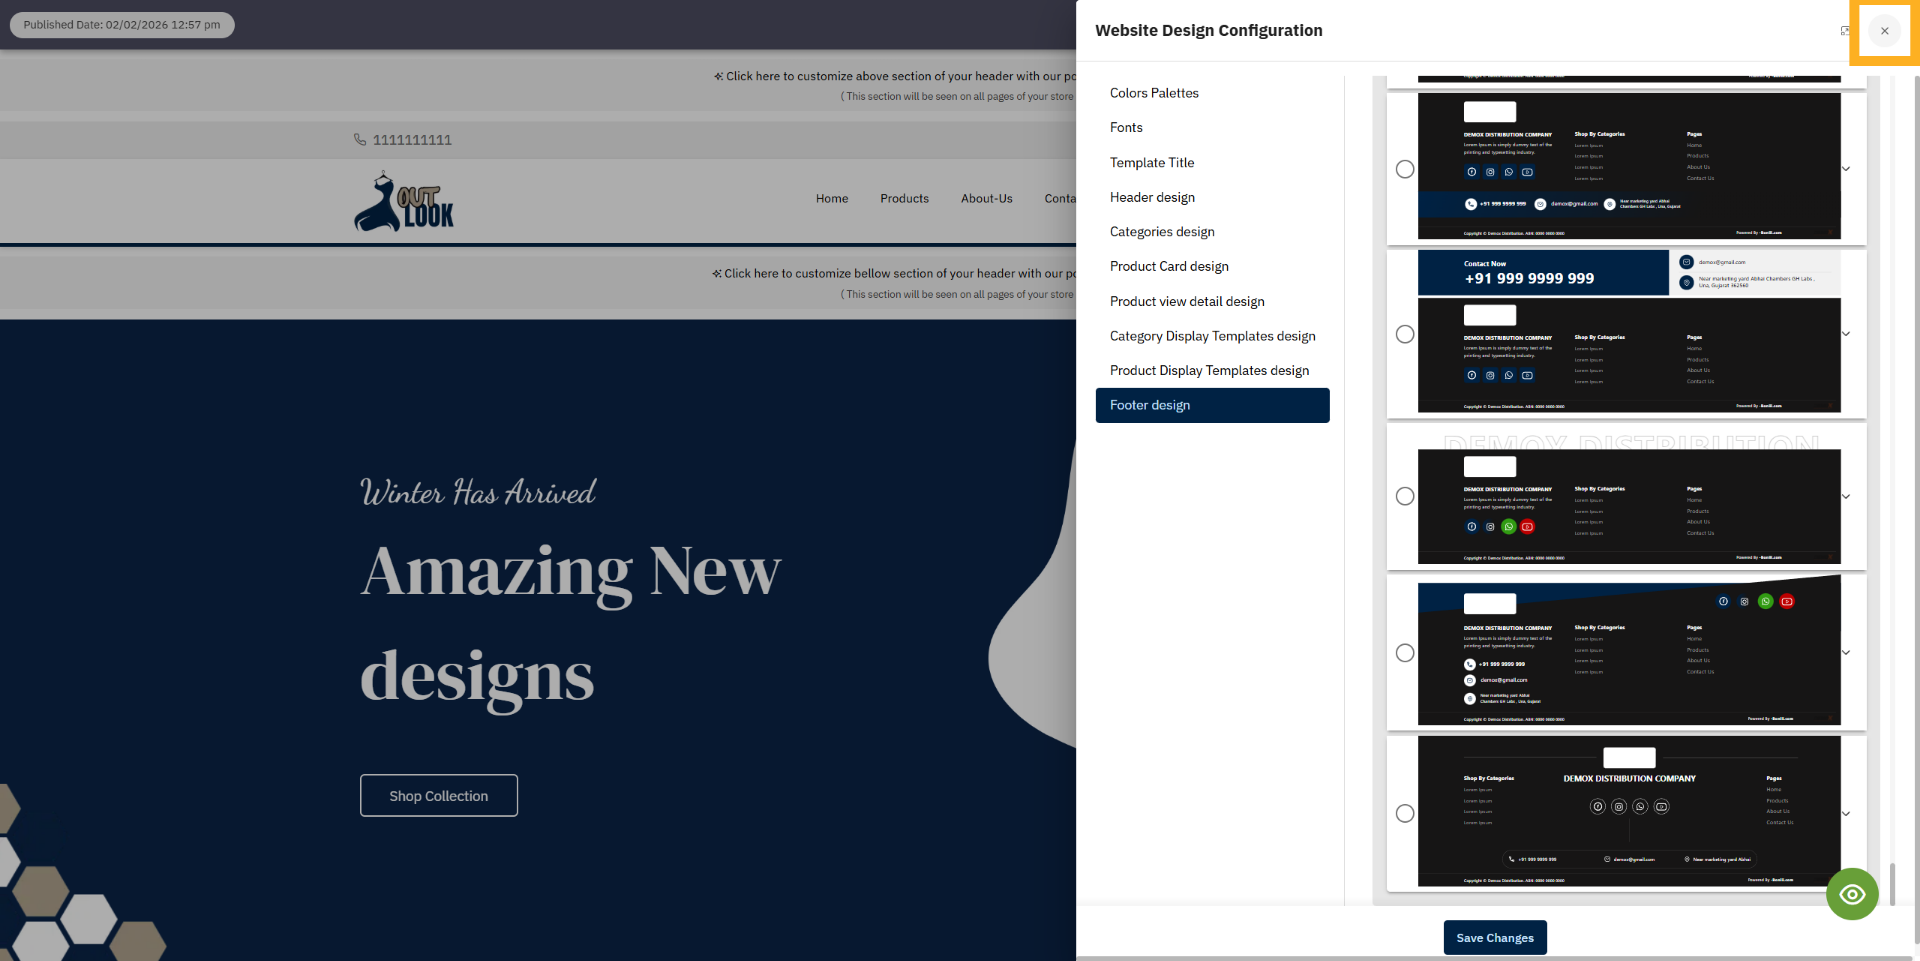
26. Close Design Settings
Click Close to exit the design settings and return to the main configuration area.
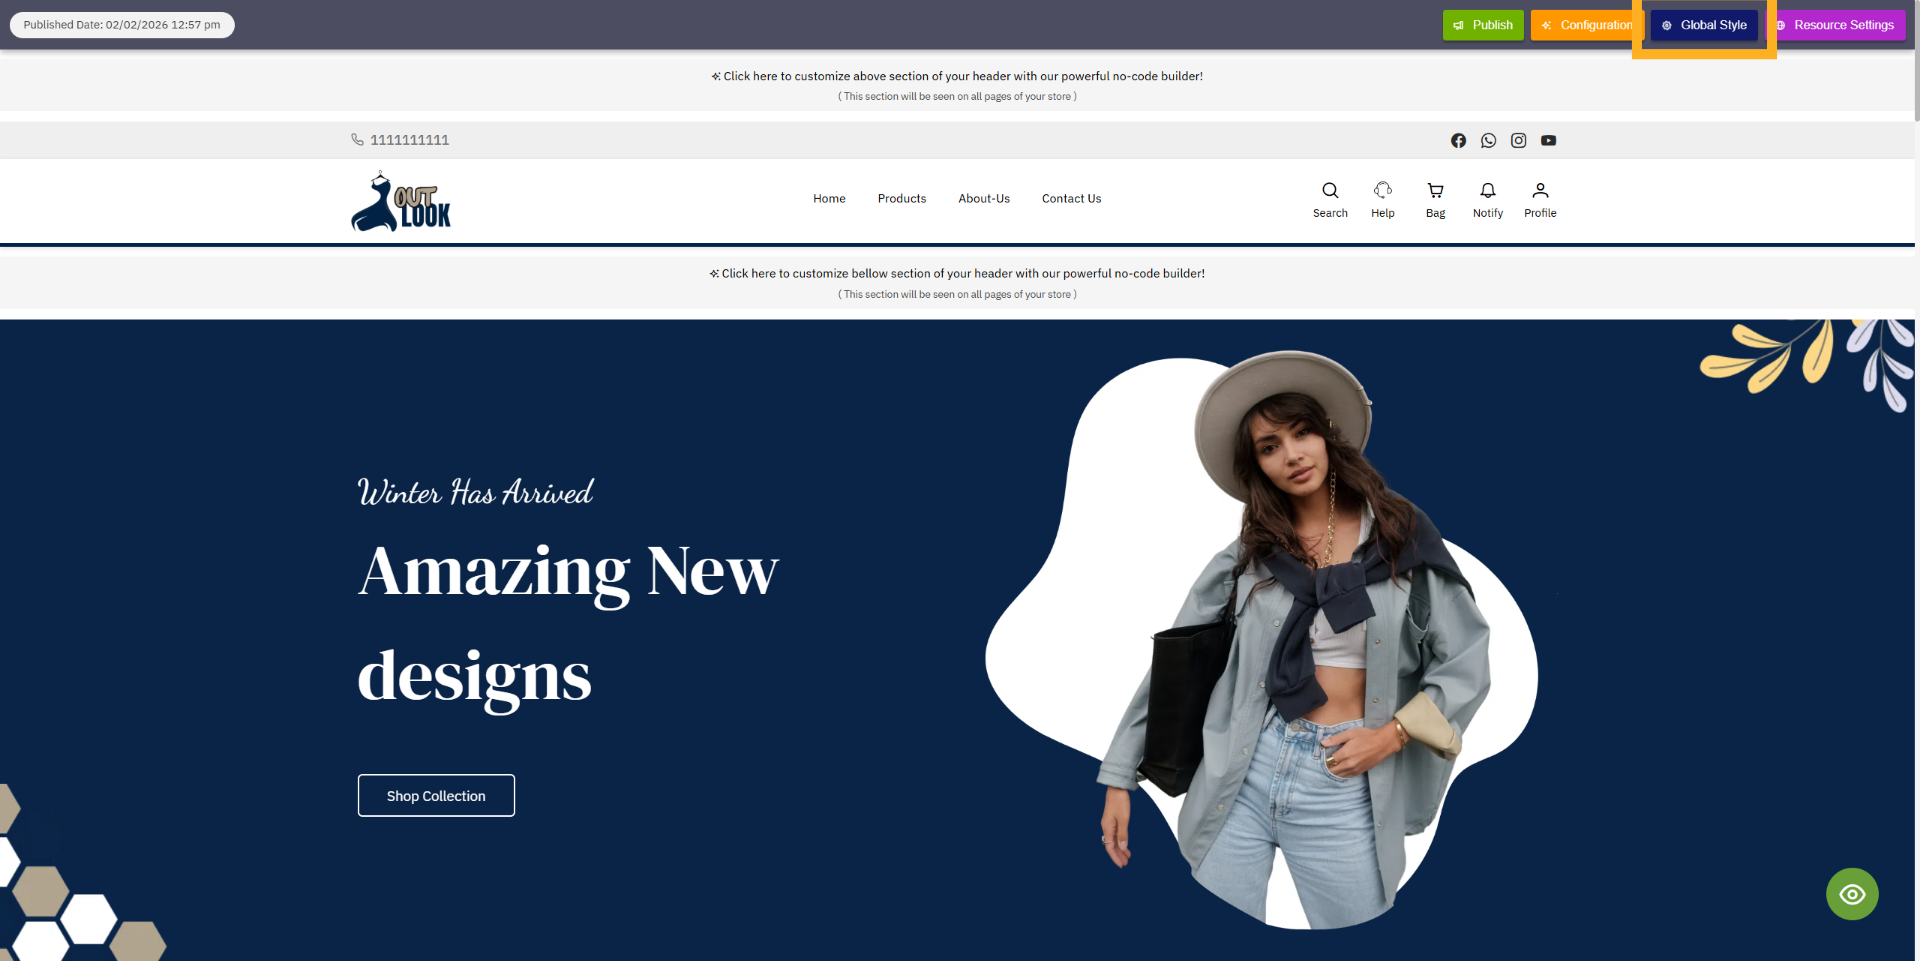
27. Open Global Style Settings
Click Global Style to manage overall style settings that affect your entire website.
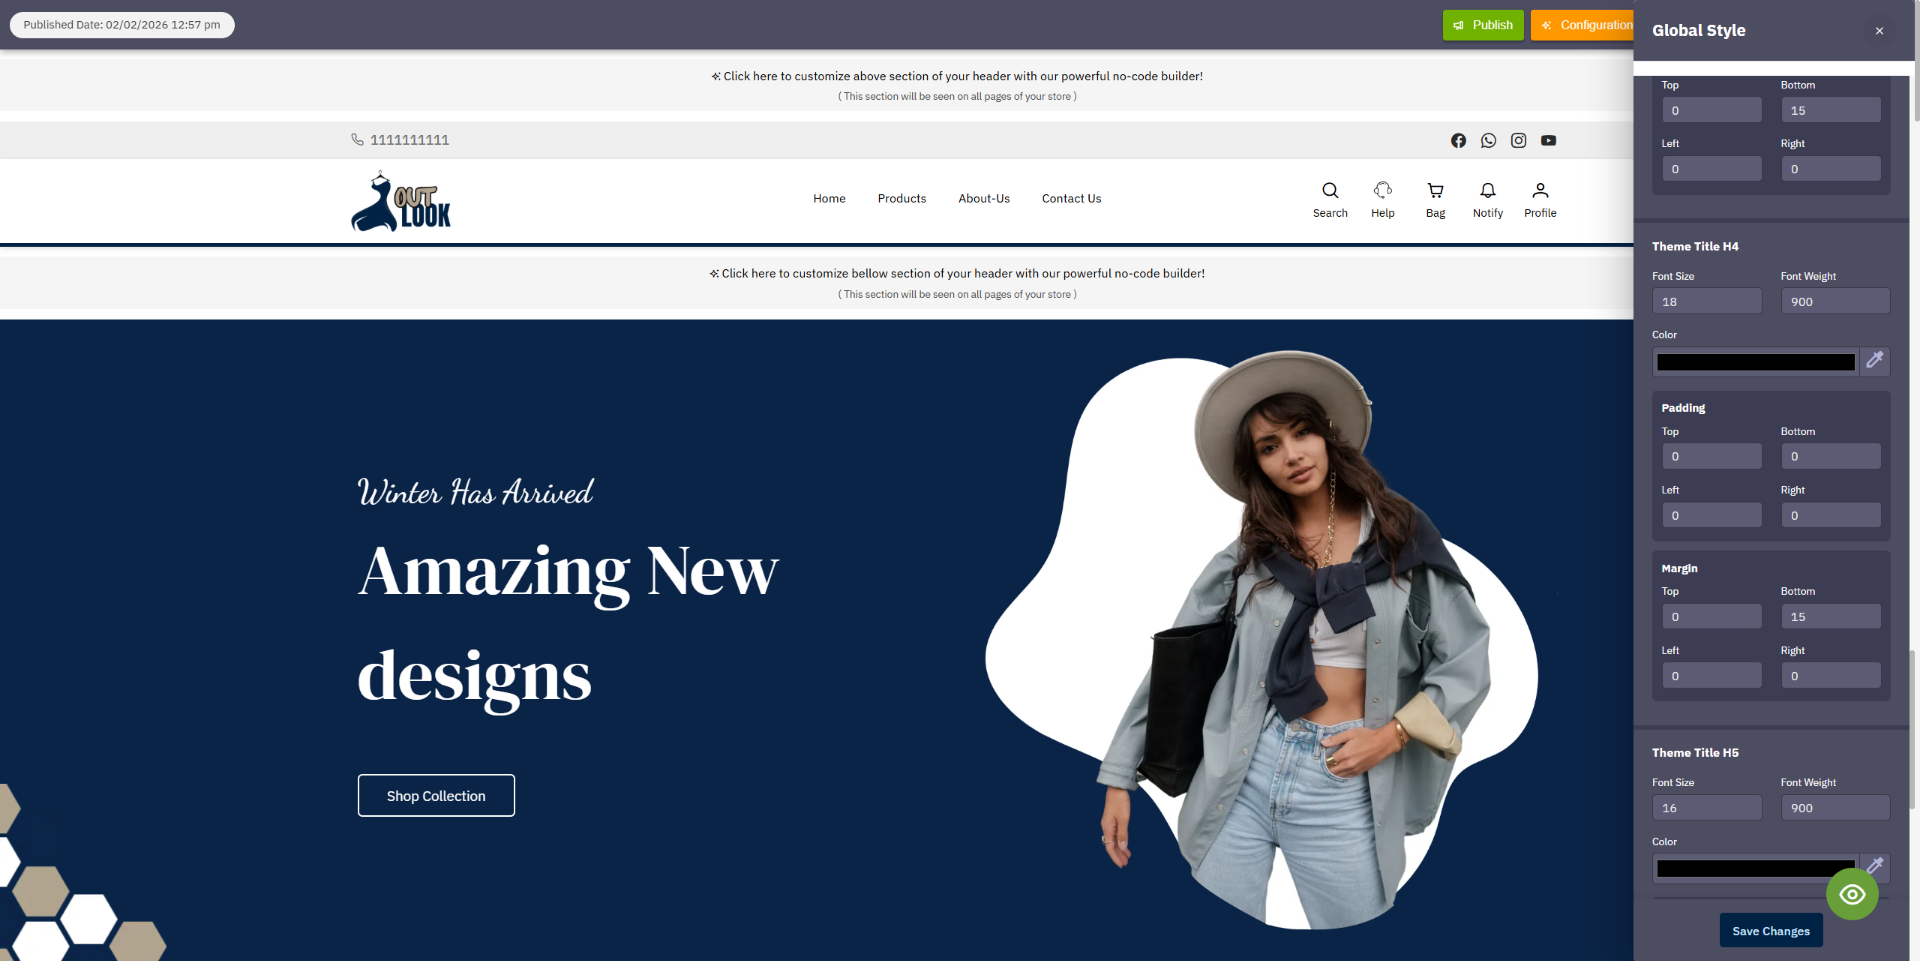
28. Global Style Settings Penal
Global Style Settings allow you to manage your website’s H1 to H6 headings, paragraph text, and font
sizes easily. You can also configure button styles, colors, and overall typography from one place. This
helps keep the design consistent across all pages of your website. Any changes made in the global
settings will automatically apply throughout the entire site.
29. Access Resource Settings
Click Resource Settings to manage resources such as style sheet, script sheet, css, javascript and meta
tags for SEO used on your site.

You have successfully configured the basic information and design settings of your Boni website using
the editor.
Uploading...